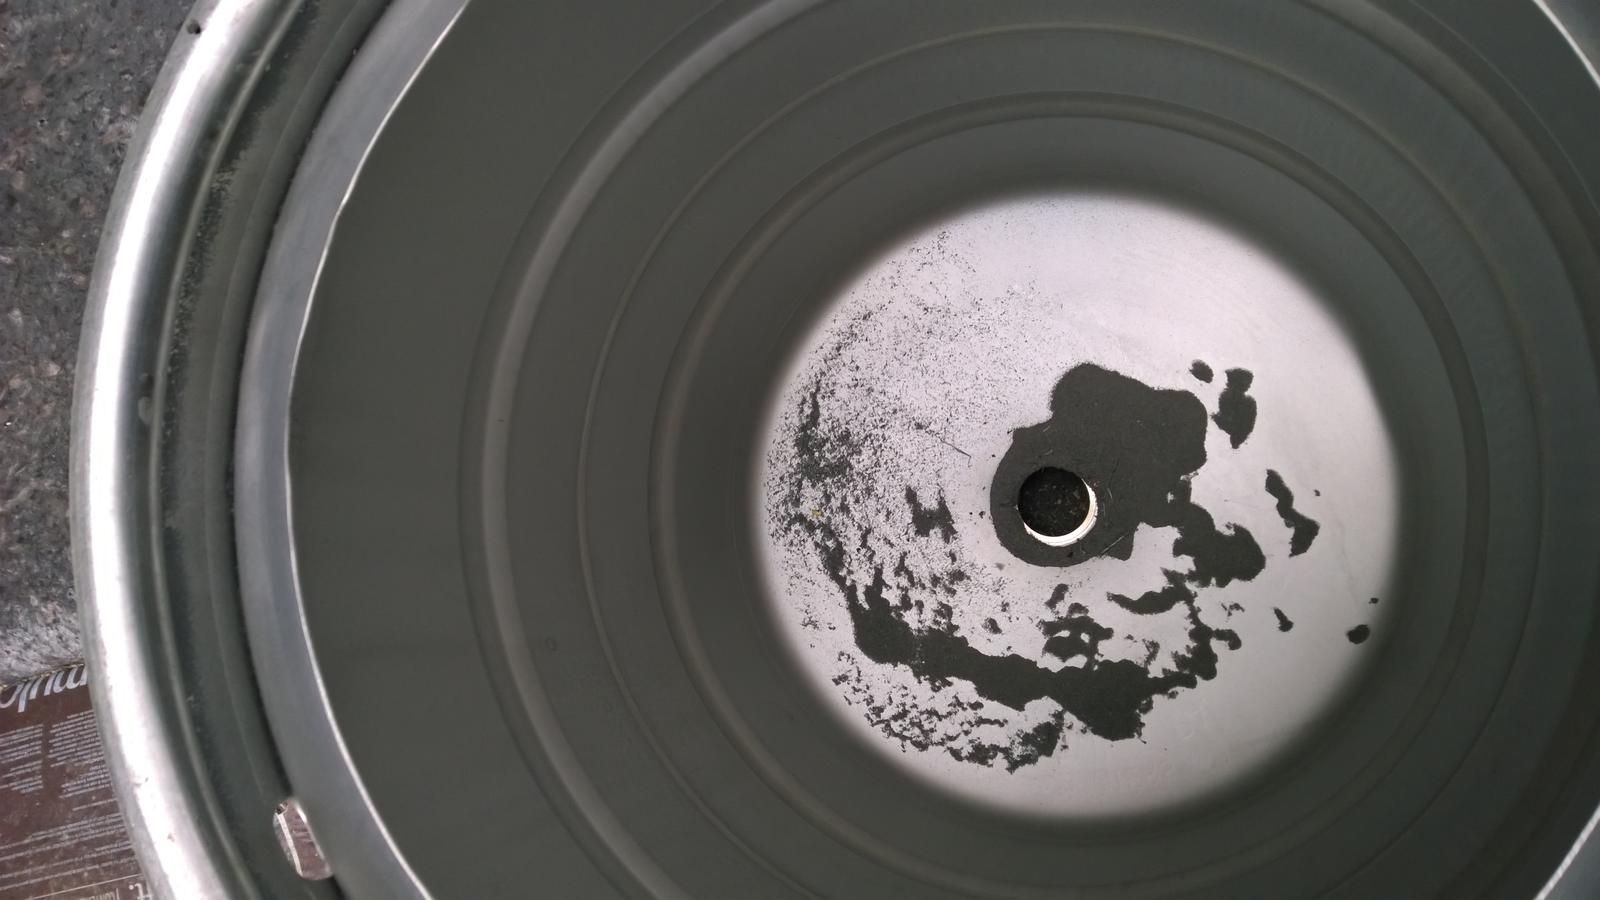
Upside Down Keggles?

Homebrew Talk - Beer, Wine, Mead, & Cider Brewing Discussion Forum

Help Support Homebrew Talk - Beer, Wine, Mead, & Cider Brewing Discussion Forum:

This site may earn a commission from merchant affiliate links, including eBay, Amazon, and others.

carpenike

Well-Known Member
Joined
Oct 13, 2014
Messages
139
Reaction score
7
Location
Maryland
Hi all,

I'm setting up a recirculating E-HERMS with kegs that I have not yet cut. Been reading about flipping the MLT upside down and draining it through the keg top and putting a hole in the bottom instead and am considering doing that. If I'm going that route, is there any reason I wouldn't do the same thing for the HLT and BK to keep things consistent?
 
I plan to have my HLT and BK be bottom drain (currently just my BK is).

My BK has a 1/2" pipe for a bottom drain and I'm going up to a 1" on my new build because it can sometimes be annoying getting whole hops to come out through the 1/2" pipe if I accidentally get some past the strainer
 
Cool, thanks!

Did you guys build some type of jig to cut out the bottom or did you more freestyle it?

Also, what did you build your frame out of?
 
My HLT and MLT are bottom draining.

I did two different things for them, as I wasn't sure how to go about it. The HLT is cut and then a fitting soldered in. That's been a pain, as twice I've had leaks. It's probably not going to happen to someone else, but it is a pain. It's oriented "right side up". My friend did my soldering the first two times, but I hauled it to a welder the last time and so far so good.

For the MLT, I have it upside down, using the sanke connector for my "out" on the bottom. Bobby_M on this forum, of Brew Hardware, sells the parts to turn that into a bottom draining fitting (no welds!) so that's what I did. It works perfectly.

My BK is not bottom draining, as I'm not sure I"m going to do that.

Here's a photo of my stand:
dscn0313-56565.jpg
 
Yeah I saw his kits which is one of the reasons I'm seriously considering this now... that and I haven't cut anything yet. :)

Nice cart.
 
Yeah I saw his kits which is one of the reasons I'm seriously considering this now... that and I haven't cut anything yet. :)

Nice cart.

Ha, Office Max shelving and lawnmower wheels. Ugly, but serviceable, and relatively easy to move.


With the control panel installed, though, it's not fun or easy to clean up spills. If I had it to do over again, I'd mount the CP to the wall, so I could take the stand outside and hose it off. It just gets grungy, even though I'm careful not to spill. My pumps are directly below the valves, and I'd change that as well if I was doing it over. No problems, but still the worry of drips and drops into my CP or my pumps is still present.
 
Cool, thanks!

Did you guys build some type of jig to cut out the bottom or did you more freestyle it?

Also, what did you build your frame out of?

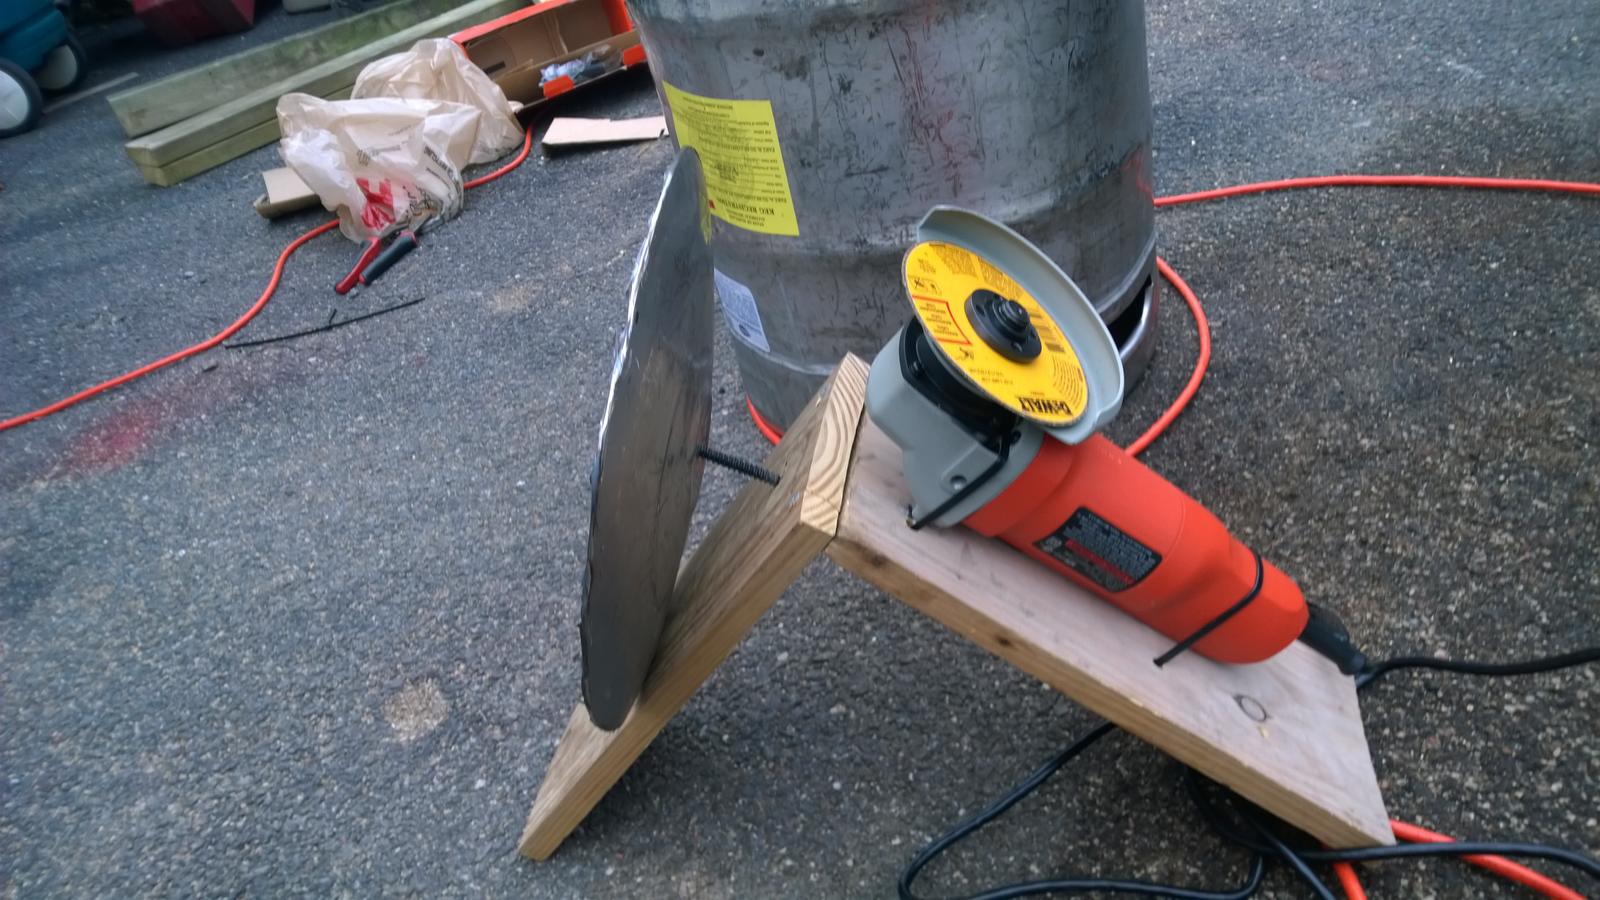
To cut the bottom (new top), just drill a hole in the center the size of a nail or screw, and then use a simple 2x4 or other jig to get your desired diameter. Others have just "freestyled" like you mentioned by riding the angle grinder on the inner keg lip, but the jig method yields a cleaner more true hole.
 
I have Bobby's bottom drain setup on my MT and it works awesome. Totally recommend it!


Sent from my iPhone using Home Brew
 
Cool -- what type of ventilation did you install?

Ha, Office Max shelving and lawnmower wheels. Ugly, but serviceable, and relatively easy to move.


With the control panel installed, though, it's not fun or easy to clean up spills. If I had it to do over again, I'd mount the CP to the wall, so I could take the stand outside and hose it off. It just gets grungy, even though I'm careful not to spill. My pumps are directly below the valves, and I'd change that as well if I was doing it over. No problems, but still the worry of drips and drops into my CP or my pumps is still present.
 
Perfect. Thanks!

To cut the bottom (new top), just drill a hole in the center the size of a nail or screw, and then use a simple 2x4 or other jig to get your desired diameter. Others have just "freestyled" like you mentioned by riding the angle grinder on the inner keg lip, but the jig method yields a cleaner more true hole.
 
I absolutely regret not going the inverted route with my keg conversions.....though it can make connecting/disconnecting hoses a bit more annoying, depending on your stand/table/workbench/whatever
 
I absolutely regret not going the inverted route with my keg conversions.....though it can make connecting/disconnecting hoses a bit more annoying, depending on your stand/table/workbench/whatever
Good to know. I think ill do it.

Side note as im currently researching this, As far as control panels go, is there a primer on putting those together? I've seen the various schematics, that's a step after what I'm looking for.
 
Then again, I could just go to the source and use Kal's... Any other ones out there?

http://www.theelectricbrewery.com/control-panel-part-1

Use the search function here...tons of diagrams... many of them were provided by PJ and are plug and play for auber pids. if your looking for a walk through I havent seen one here besides diagrams.

I used those as a basis but used the much cheaper mypin TD4 series pids with the manual mode feature and saved $100. or so...
 
Thanks. I'd seen PJ's schematics and that was a little down the road then what I was looking for; hobby box recommendations, placement of holes, explanation of SSRs / switches, etc. I think the Electric Brewery one answered most of my questions there though, but curious if other people have laid things out differently than that one.

Use the search function here...tons of diagrams... many of them were provided by PJ and are plug and play for auber pids. if your looking for a walk through I havent seen one here besides diagrams.

I used those as a basis but used the much cheaper mypin TD4 series pids with the manual mode feature and saved $100. or so...
 
I used 2" 90 degree elbows for my bottom drains, I like having the little extra space for the pump to pull from while recirculating the mash...and the tri clamps definitely help with cleaning
ImageUploadedByHome Brew1414512380.381635.jpg
 
I just cut the bottom out of a sanke for my mash tun using bobby's kit and false bottom. It looks awesome
I built a "U" out of 4x4s and sat that on top of my stainless table to get it up off the table so the pipes had a place to go
 
Nice. Yeah figuring I'll use wood to build some type of base for each of them... or build a table so that there's a hole in the bottom large enough for the piping to escape.

Also just found the BCS-462. I'm hooked -- will use that in lieu of PIDs.
 
My brother just cut the bottom out of a keg for me... I have not seen it yet but I am doing all bottom draining for the E setup.
 
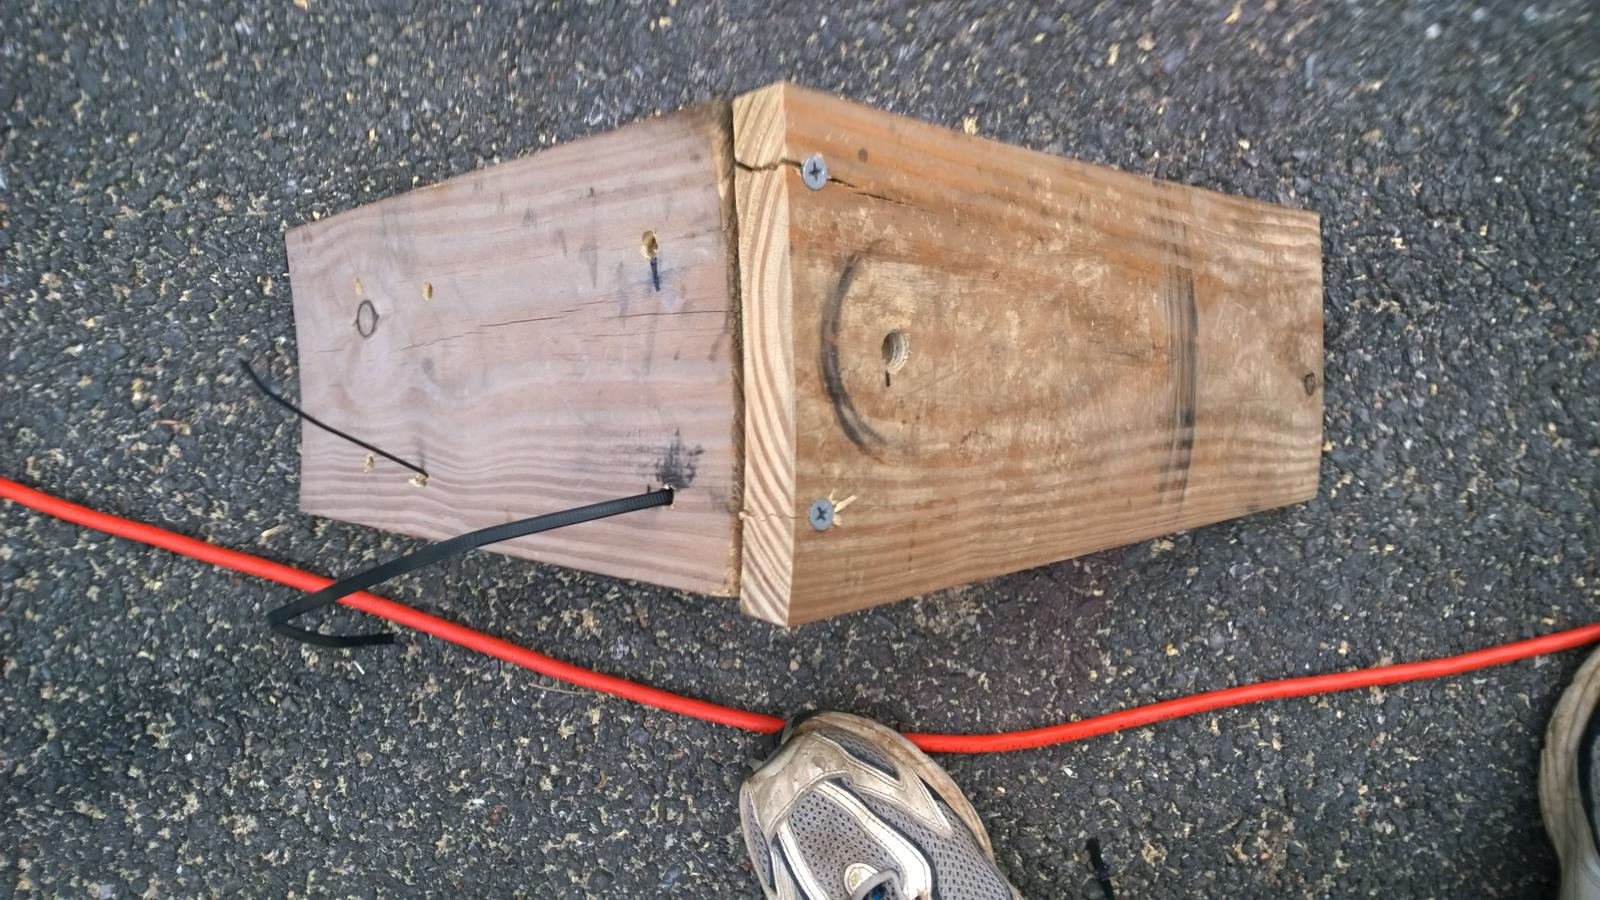
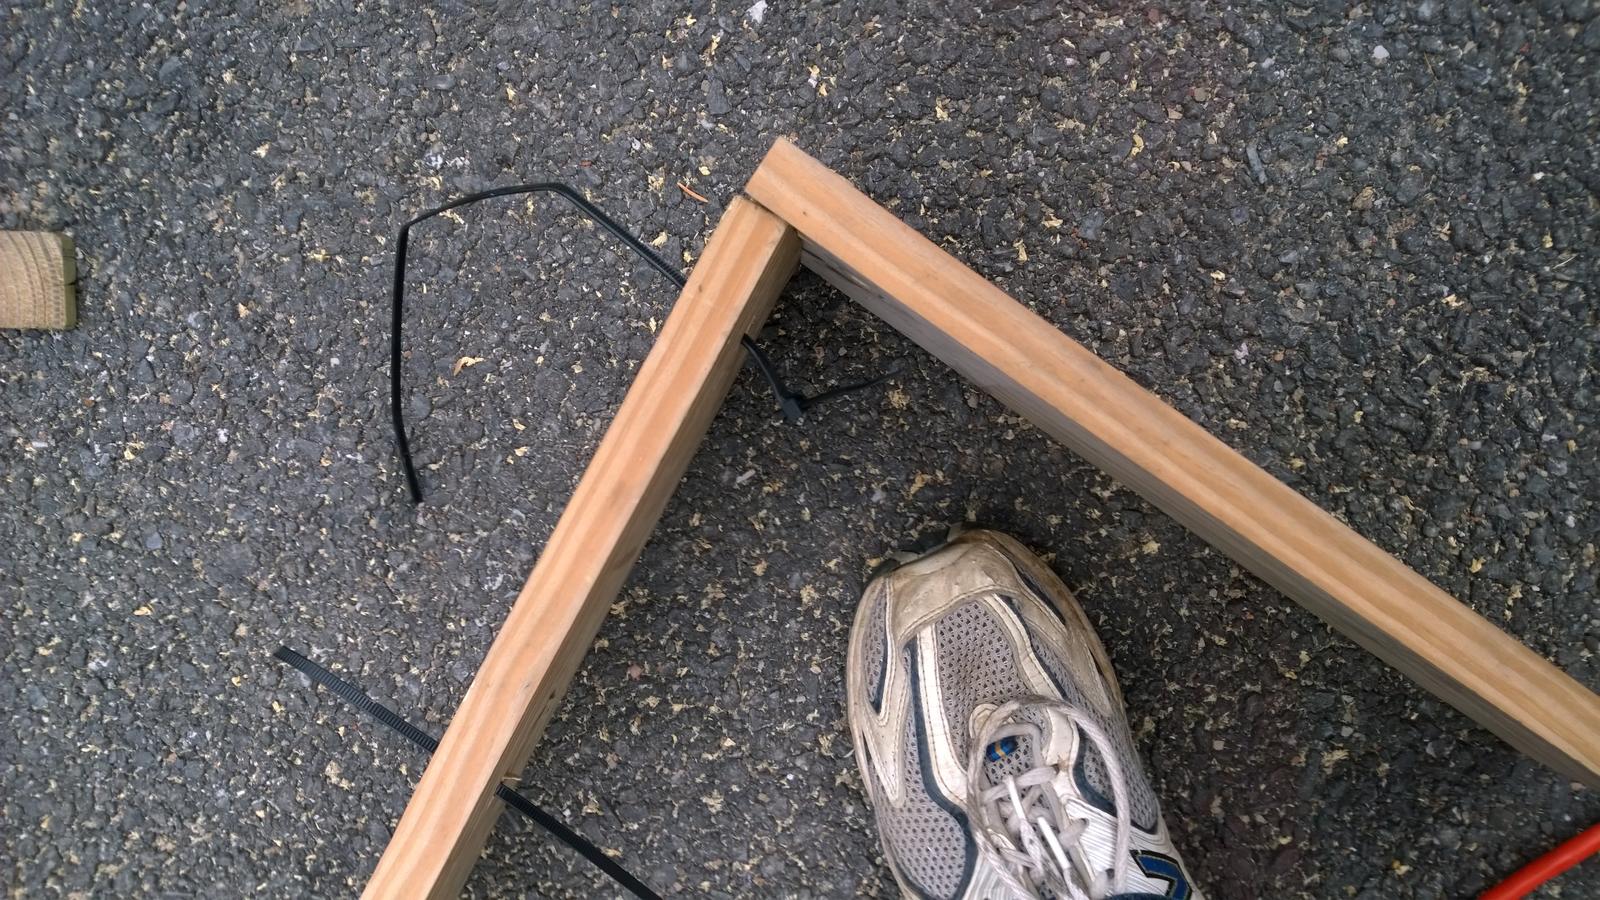
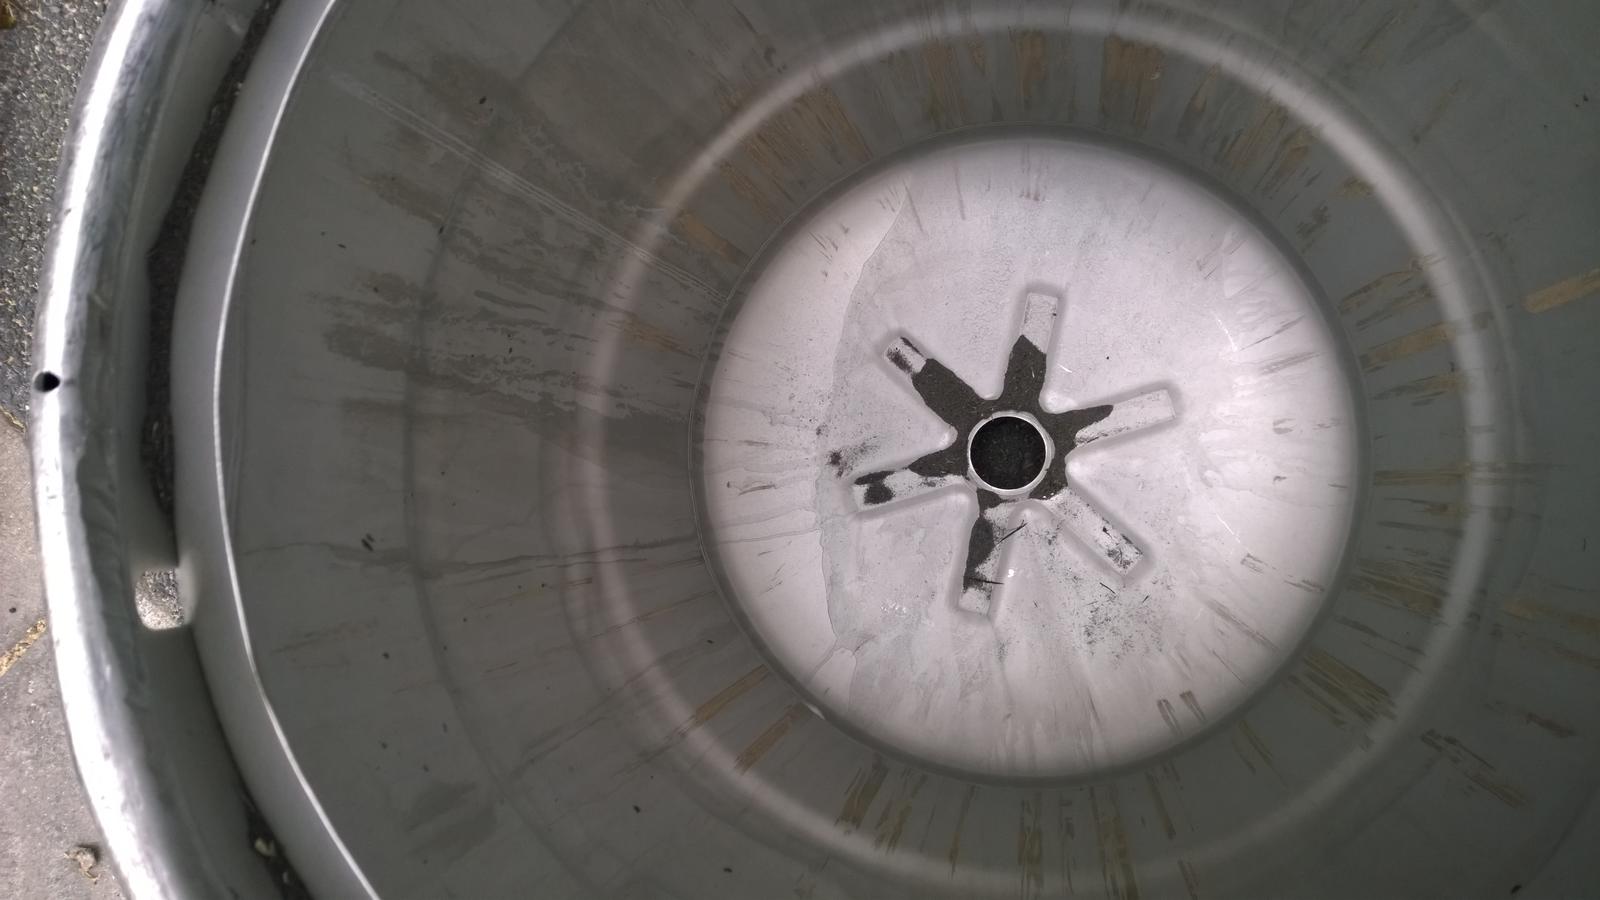
Cut open the bottoms of my three kegs today. Wasn't too bad. Drilled a hole through the center of the bottom and placed a bolt through a board to thread through that hole. All told, it took around 4 hours to gather all the pieces (two trips to the store), make the jig, figure out what I was doing, cut the hole and use a flap disc to clean off the burrs.

Next I'll be getting valves and starting on my control panel.

WP_20141101_15_20_28_Pro.jpg


WP_20141101_15_27_10_Pro.jpg


WP_20141101_15_27_15_Pro.jpg


WP_20141101_15_27_20_Pro.jpg


WP_20141101_16_42_19_Pro.jpg


WP_20141101_16_42_24_Pro.jpg


WP_20141101_16_42_54_Pro.jpg


WP_20141101_16_43_04_Pro.jpg


WP_20141101_16_43_10_Pro.jpg


WP_20141101_16_43_15_Pro.jpg
 
Very nice! I have found 2 kegs. Still searching for my 3rd one. In the mean time I am designing the rest of my setup. Decided to go bottom draining keggles. Planning on buying Brew Hardware's kit from their website. I also like the false bottom they offer. Have you purchased any of your hardware? ie: quick connects, tubing, false bottom, ball valves, pumps....If so please post where you purchased and how much. It would be a great help in deciding different parts of my build. Keep us posted. I'll do the same.


Sent from my iPad using Home Brew
 
Will start ordering tomorrow. I'm going to do the 2" elbow instead of the brewhardware kit.
 
I plan to have my HLT and BK be bottom drain (currently just my BK is).

My BK has a 1/2" pipe for a bottom drain and I'm going up to a 1" on my new build because it can sometimes be annoying getting whole hops to come out through the 1/2" pipe if I accidentally get some past the strainer

That happened to me last week and it was a pain. The hops managed to get into the CFC, so I don't think a larger drain would have helped.
 
Will start ordering tomorrow. I'm going to do the 2" elbow instead of the brewhardware kit.


I somehow overlooked the 2" elbow. That looks like a much better solution.


Sent from my iPad using Home Brew
 
Where did you score those 2" elbows?


Sent from my iPad using Home Brew


I got one from stilldragon.com, and others from brewershardware.com... It would just depend on what all else I was ordering at the time to save on shipping

They also both had the 2" to 1/2"male npt fittings to connect the ball valve as well...

Maybe this pic will help you...

ImageUploadedByHome Brew1414949053.062824.jpg
 
Quick question -- because I'll have some amount of wort in the elbow at the bottom of the BK, should I recirculate during the boil as well or am I overthinking that?
 
Quick question -- because I'll have some amount of wort in the elbow at the bottom of the BK, should I recirculate during the boil as well or am I overthinking that?


+1...I have the same question

I do for this but I'm not sure if it's necessary or not. My thoughts are there is still wort under the element too..not just in the elbow.

I do drain from a side valve to my fermenter to avoid as much cold break and hop matter as possible from chilling...
 
FWIW, during my boil, I connect all of the hoses in preparation for cooling and draining into my fermenting buckets. (HERMS setup Kal clone). Boil dip tube out to pump in. Pump out to HERMS coil in. HERMS coil out to the top of the brew kettle. During the boil, I circulate the boiling wort a few times to sanitize the insides of the hoses/pumps/coil. When the boil is done, I fill my HLT with ice water and move the hose from the boil kettle return, down to the fermenter and slow it to a trickle.
 
Thanks. I suppose it wouldn't hurt to recirculate when you're boiling, would it? Planning on getting 2x chugger pumps so they should be able to handle the work...

Also, I picked up a 60A breaker, 60A spa panel, and 6-3 w/ ground SOOW cabling yesterday from Home Depot. The guy in electric was pretty comfortable with the wire being able to support the amps, any body able to confirm that?
 
Also, another question. Is there any benefit as far as flexibility goes using 60A vs 50A? Is it possible to run 2x 5500w elements on a 50A or do I need 60A for that? The breaker and spa panel are only a few $$ more for the 60A, but the plug and receptacle aren't cheap and are a lot more difficult to find than 50A it seems.

I've seen this guy's build and he uses 60A, but haven't seen many other examples:

https://www.homebrewtalk.com/f170/my-60-amp-kal-mutation-422931/
 
Back
Top