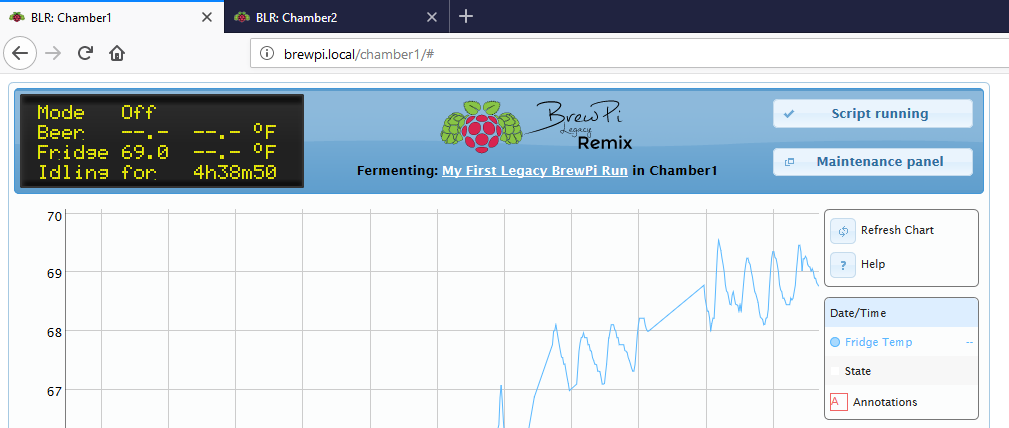
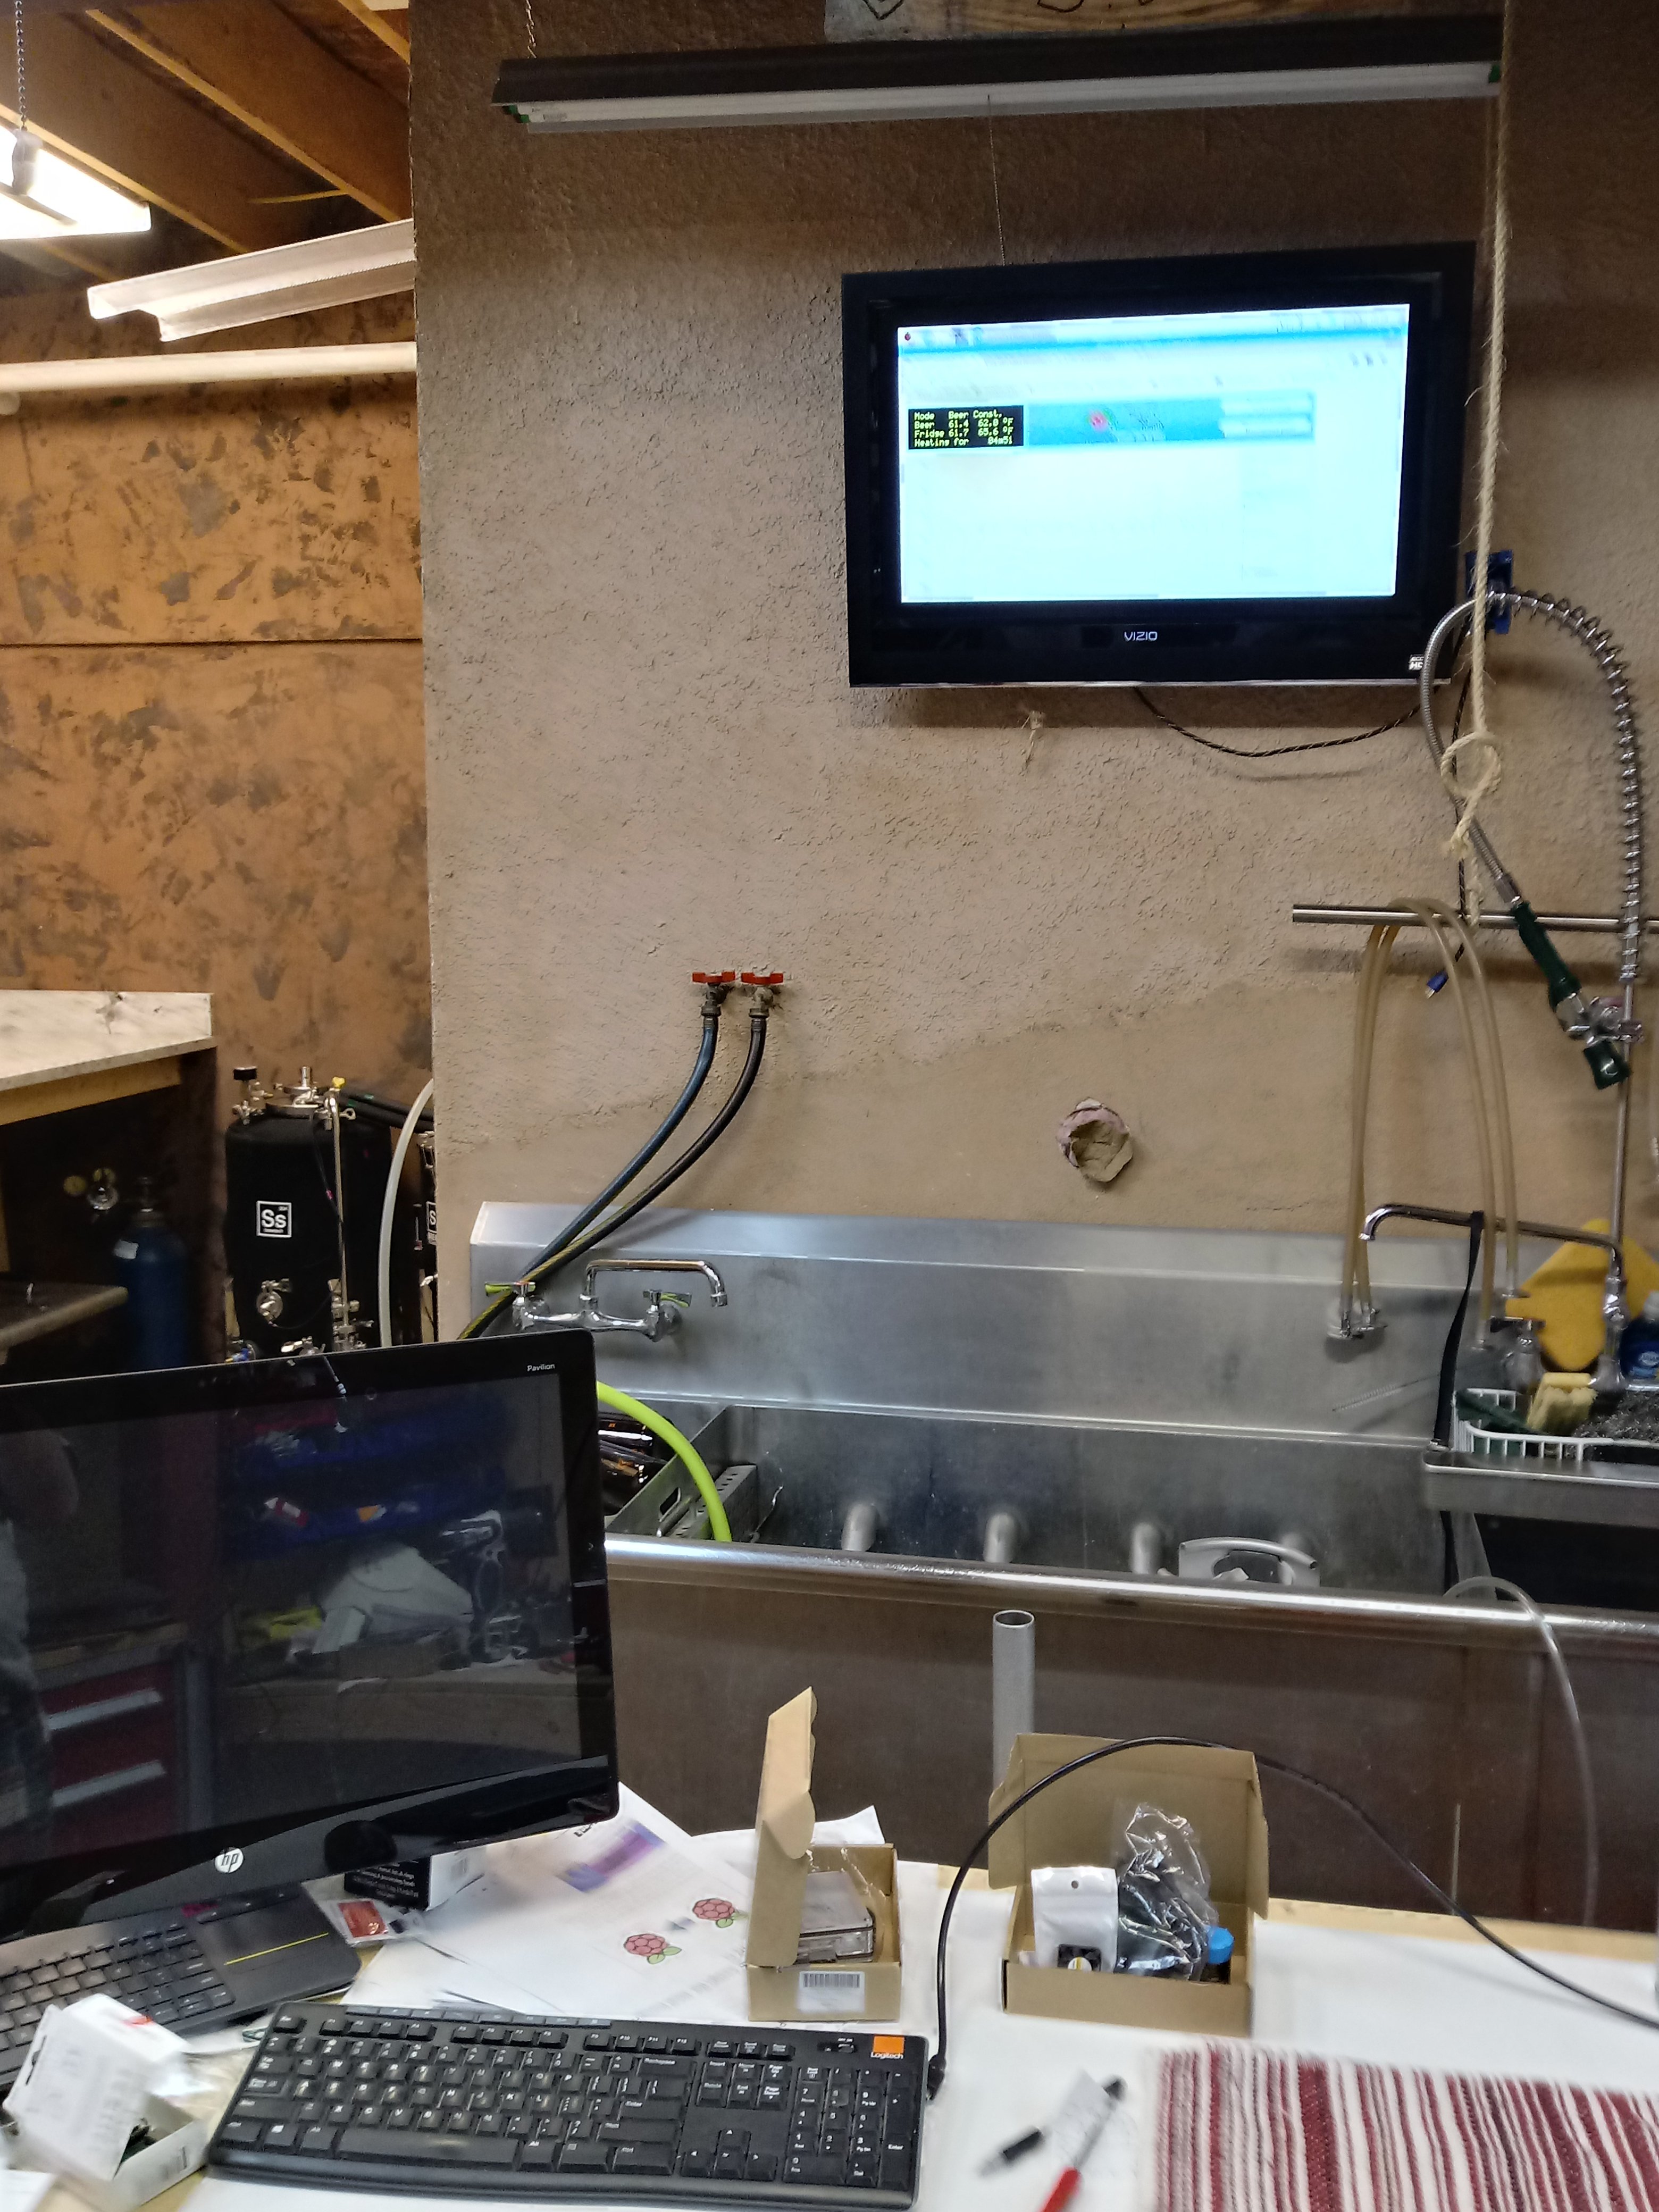
I've been testing my feed & bleed concept. First I built the system as an open loop with an immersion heater inline dumping into my borrowed HLT Gott cooler. I was able to dial in the temperature on Fermentrack with just ambient cooling and gravity return back to the recirc TACO pump. It worked good enough, +/- a degree, that I was able to cook a 2" ribeye "sous vide" style! Seriously it tasted great and I always wanted to do it.
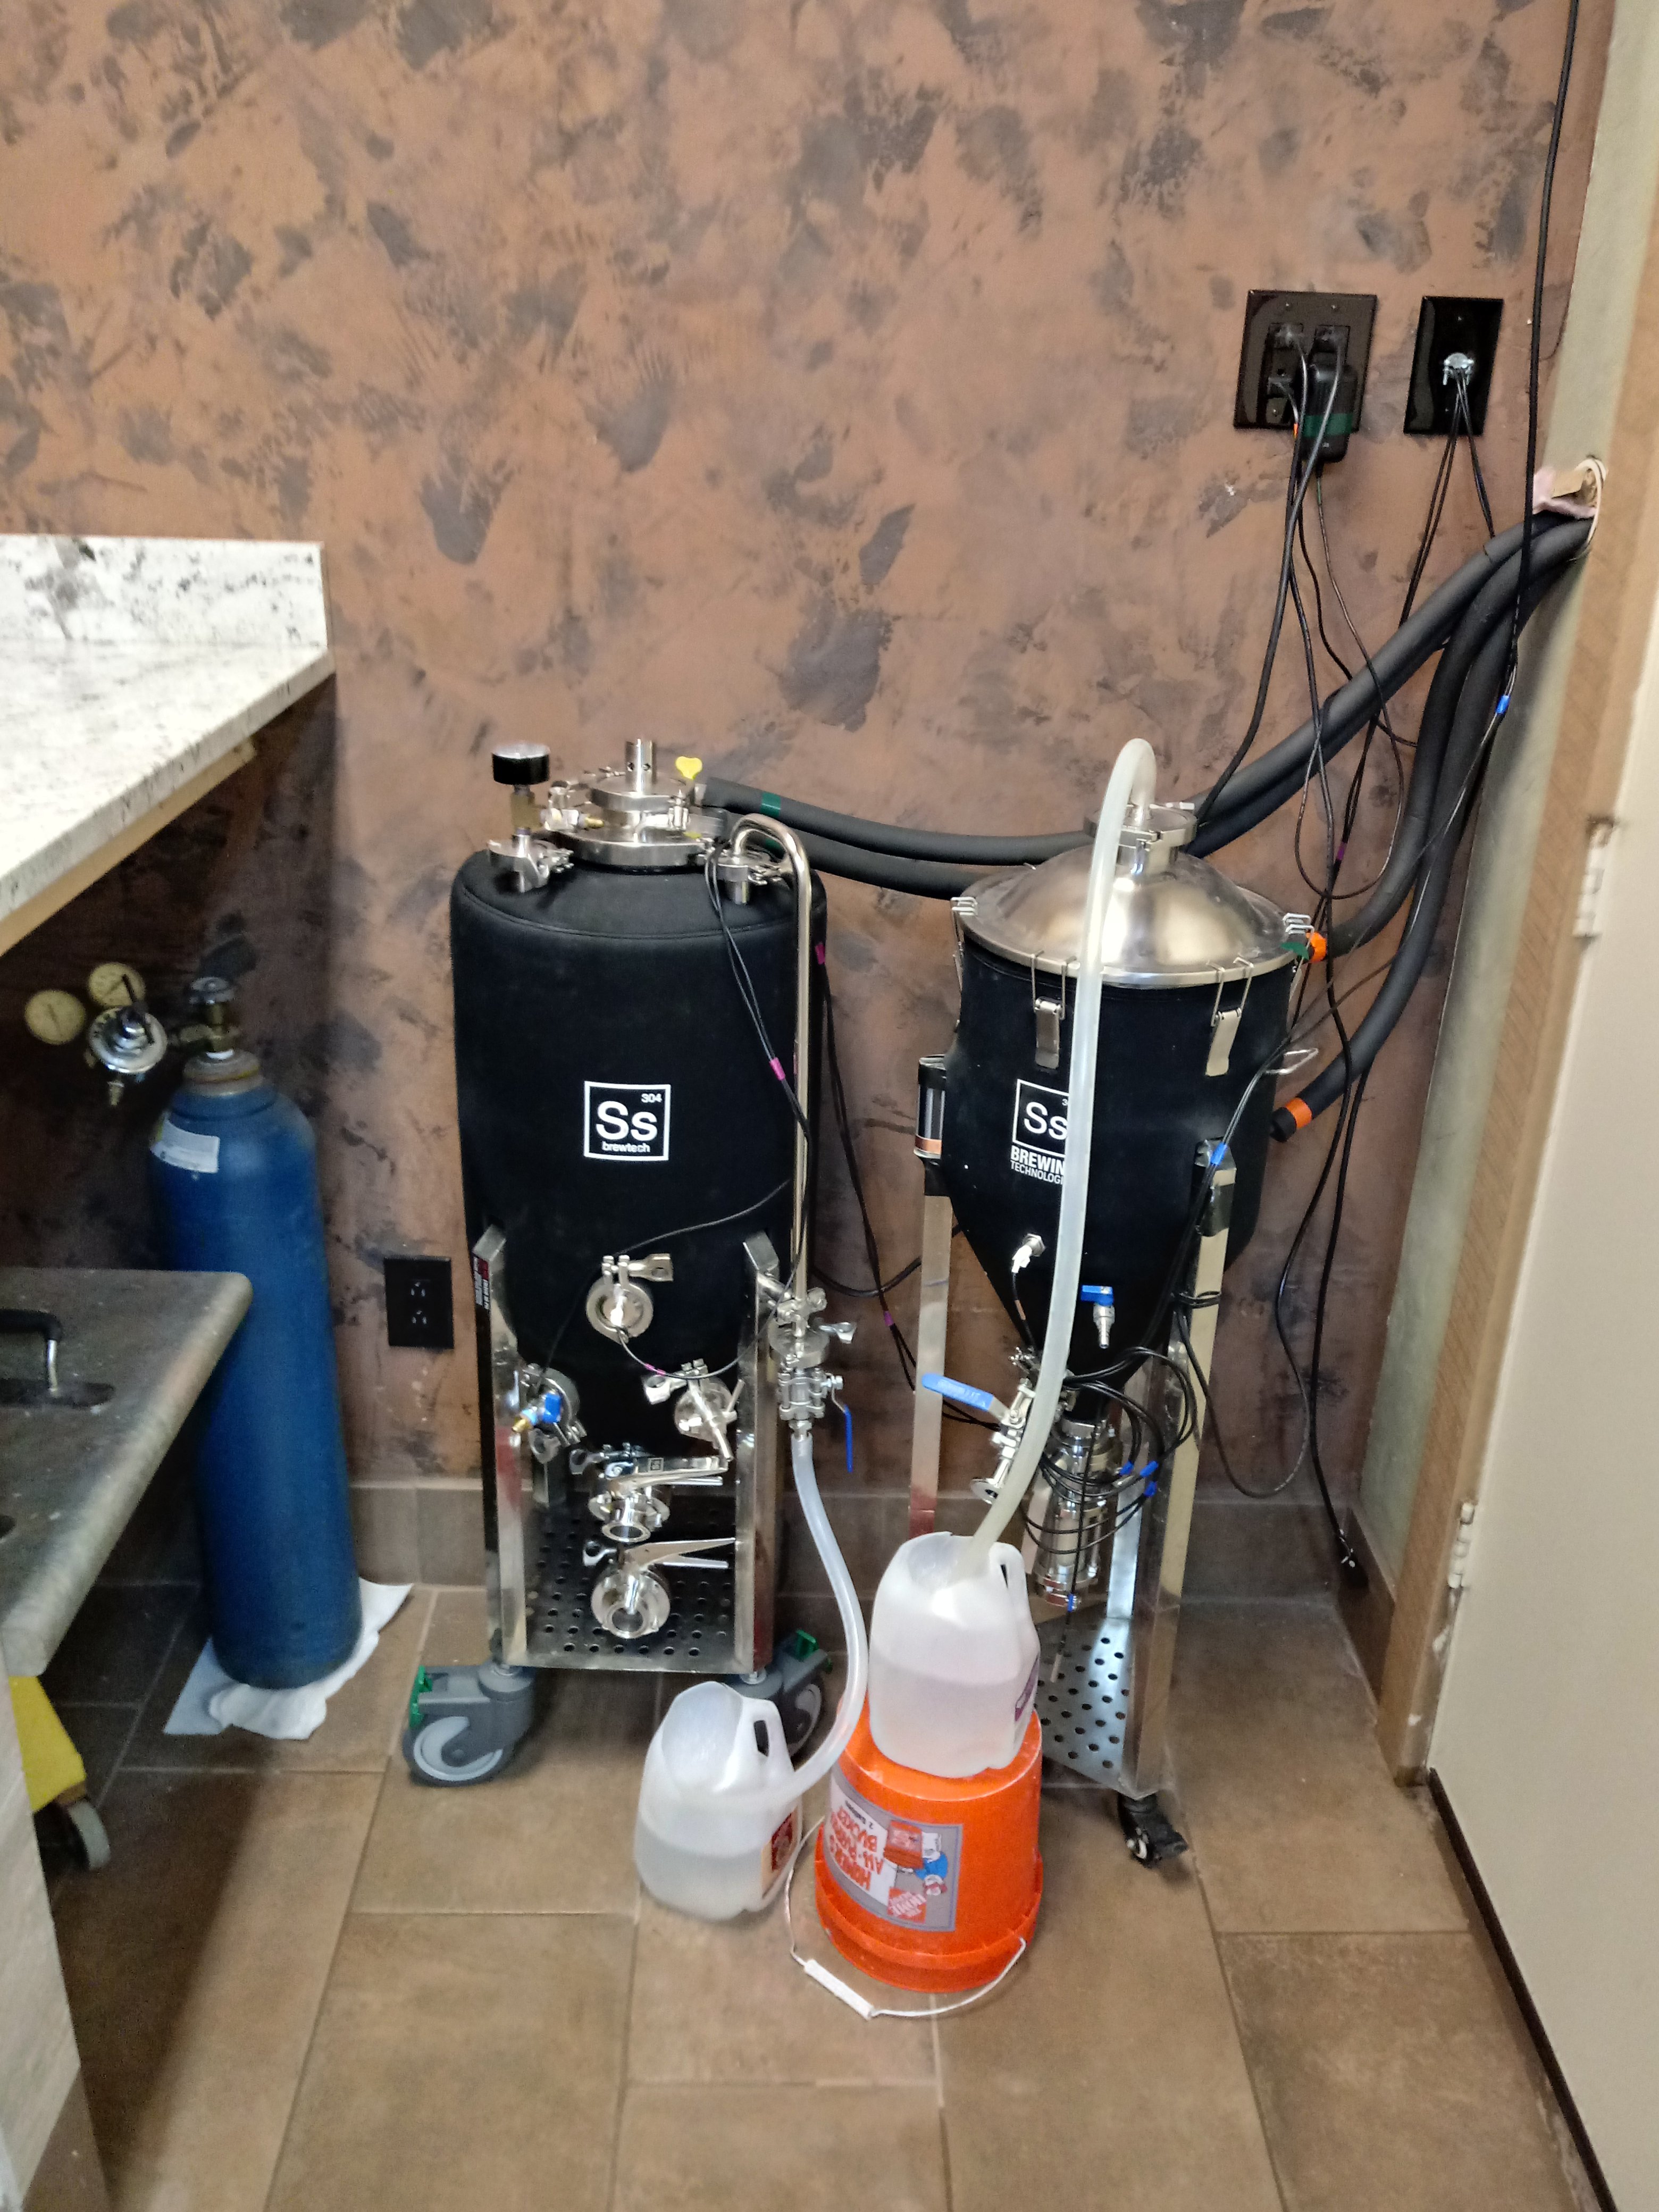
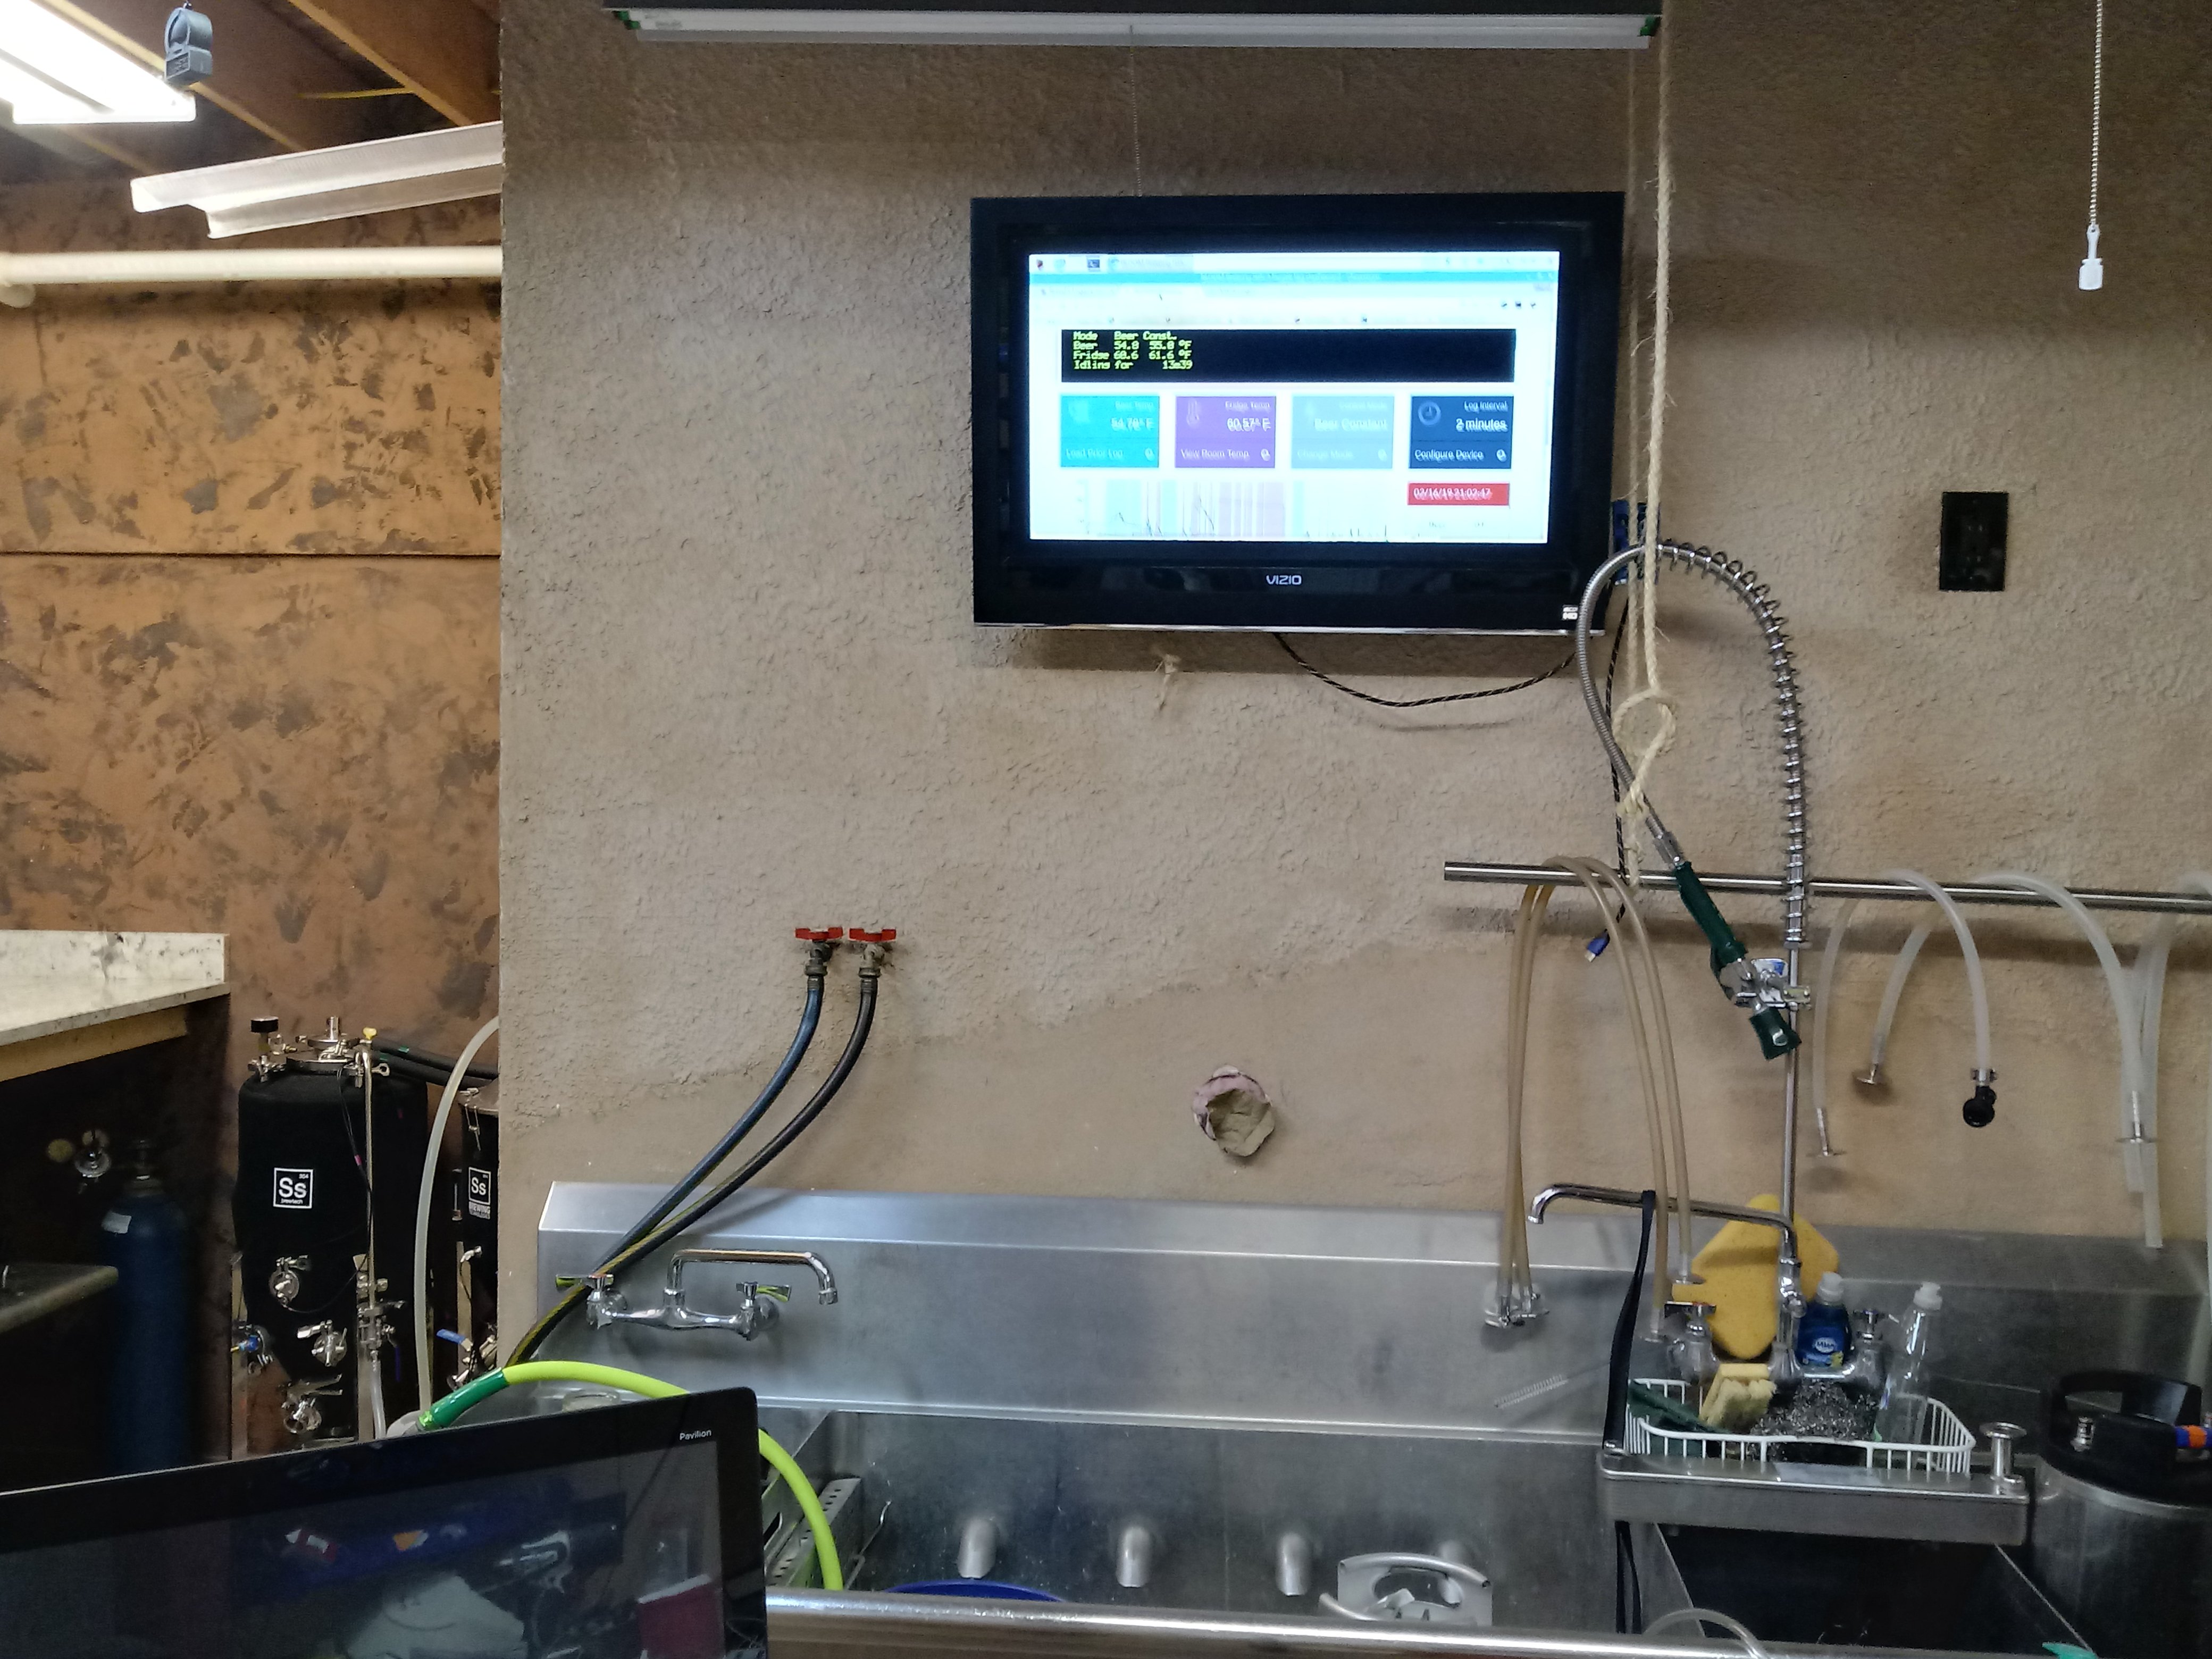
But for the feed & bleed to work and draw in cold water I needed a closed loop to simulate the jackets on my conicals. So I plumbed up a piece of 2" pvc. (see photo). The PID loops will have to be tuned to when I have them plumbed up to the real jacketed conicals but I was able to control temperature through the BrewPi/Fermentrack system. The blue valve in the photo is the valve actuated for cooling. When it opens the flow to the pump inlet comes from the cold water in the green hose rather than the return from the jacket (ie pvc pipe in phot). When heating or idling the cold water flow can't enter the pressurized loop even though the path from the cold supply (green hose) is always open. Any heat expansion of the glycol in a closed loop will be pushed back into the cold supply which in my brewery will be the chiller supply header. I may have to put in other tap points like the thermowell in the picture to measure temp or pressure to balance when on the actual jackets.
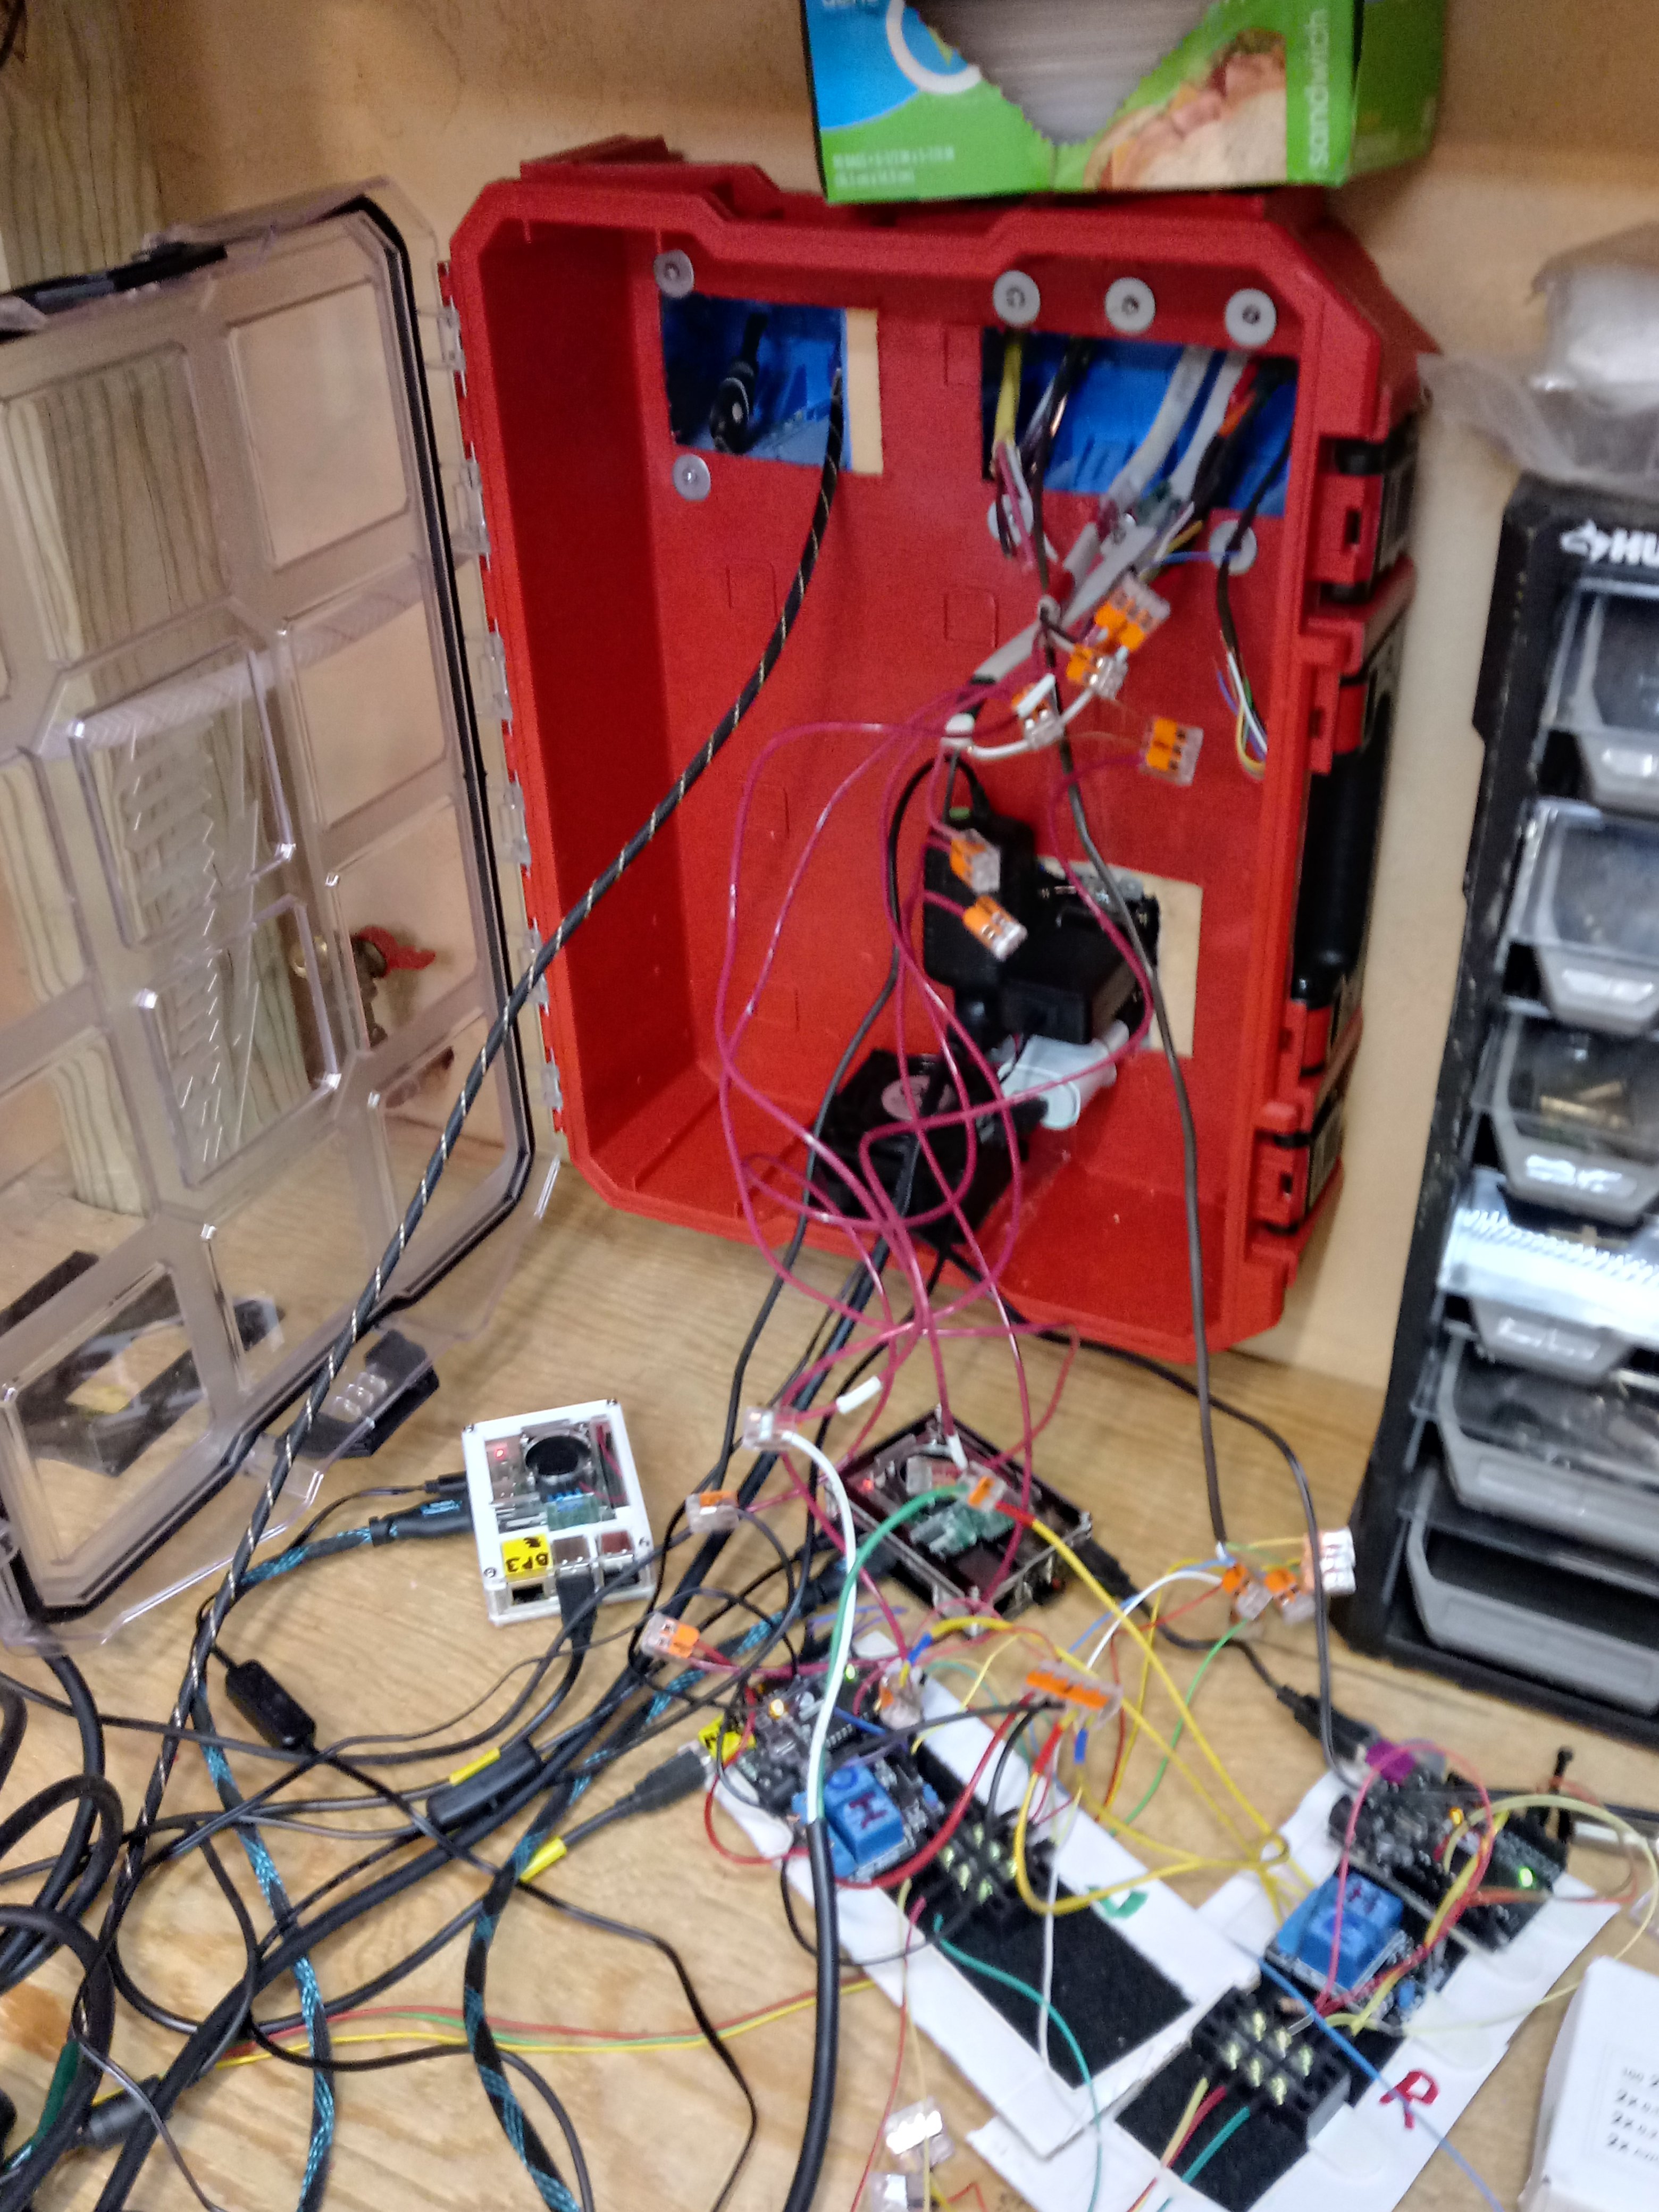
Now I have to move on to building more controls with the version using the ESP8266 instead of the
Uno.
View attachment 612950

")