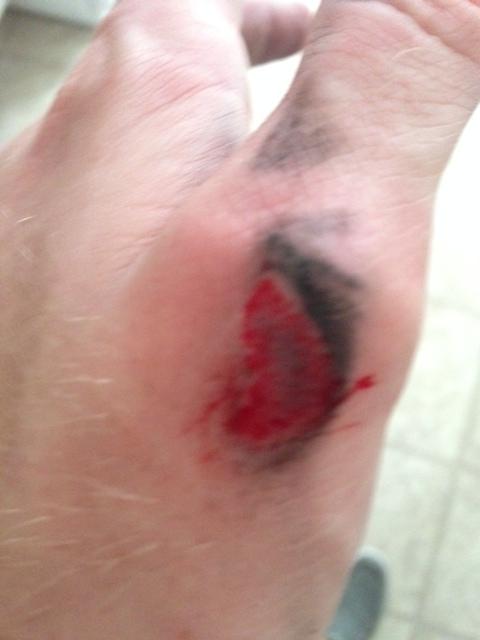
I'm super frustrated. Nothing like spending the entire day working slow and deliberate to reach the home stretch and have your project feel completely derailed... any help would be appreciated. I've done a bunch of research on my own. I've watched Bobby M's videos, dug through a bunch of threads on here, referenced a bunch of instructional tutorials else where.
Bottom Line Up Front:
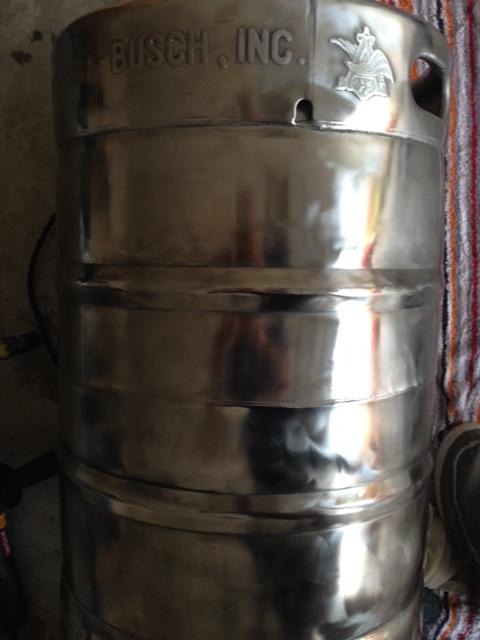
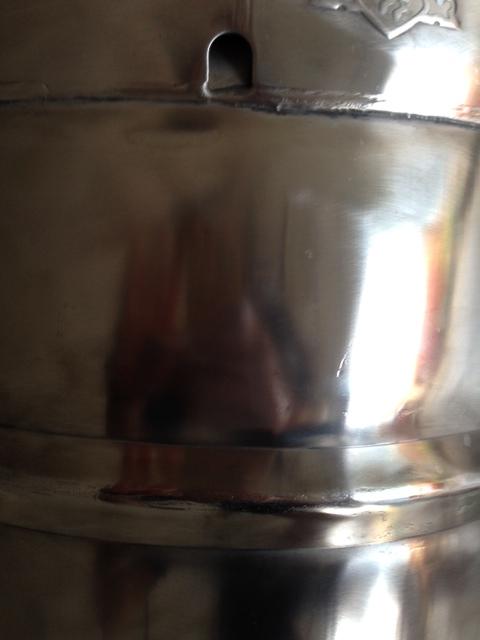
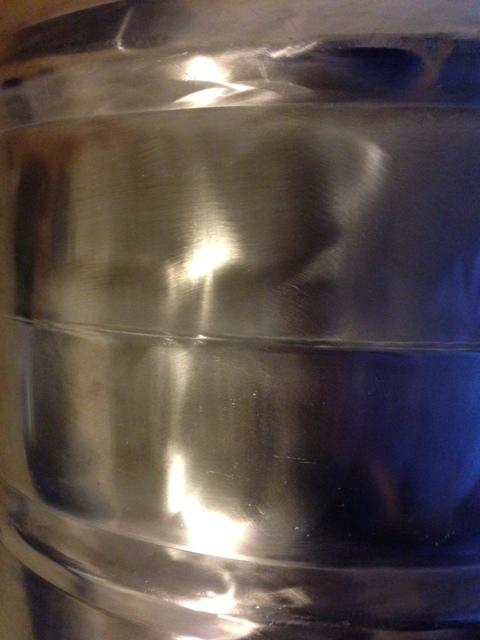
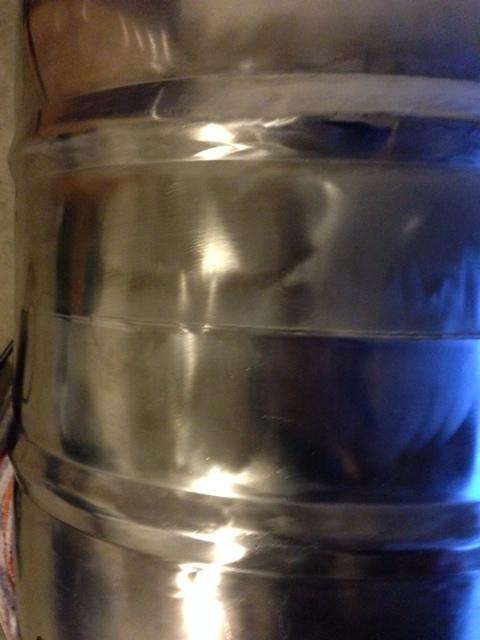
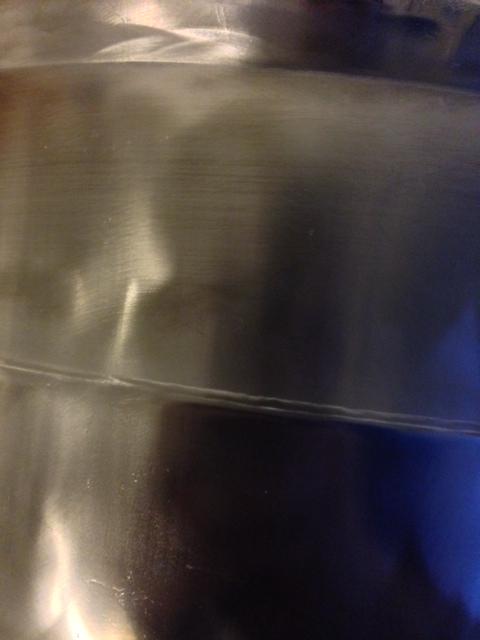
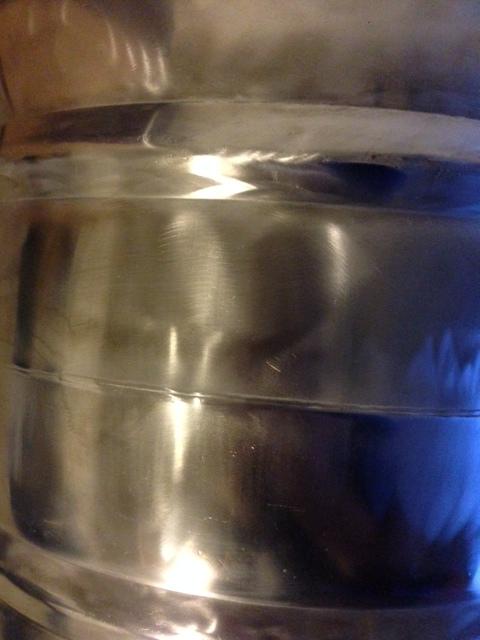
I've spent the entire day polishing it trying to obtain an immaculate shine following this guy's instructions. My problem is no matter what I tried I ended up with a black smudgy result instead of the reflection I was hoping to achieve. My gator polishing pad looks destroyed. I've done all the research I can find and some people said it's removable with paint thinner. I tried it without a whole lot of luck. I plan to try again with a little paint thinner, but is there anything else I'm missing? Should I buy some metal polish and try just buffing it by hand? I mean I pretty much followed the link below (beer syndicate) with everything except the polish brands because I can't find them anywhere.
Should I redo the polish using the kit I bought at lowes (see below) and use the #2 polish first?
Is my technique off? I thought I had a really smooth process for the initial polishing just letting the weight of my grinder act as the pressure as I guided it in small circular motions.
I also tried Bar Keepers Friend to try and clean off the black smudge hoping the shine was hiding underneath. That didn't do me much good.
http://www.beersyndicate.com/learning_resources/beer_tutorials_view.asp?id=17
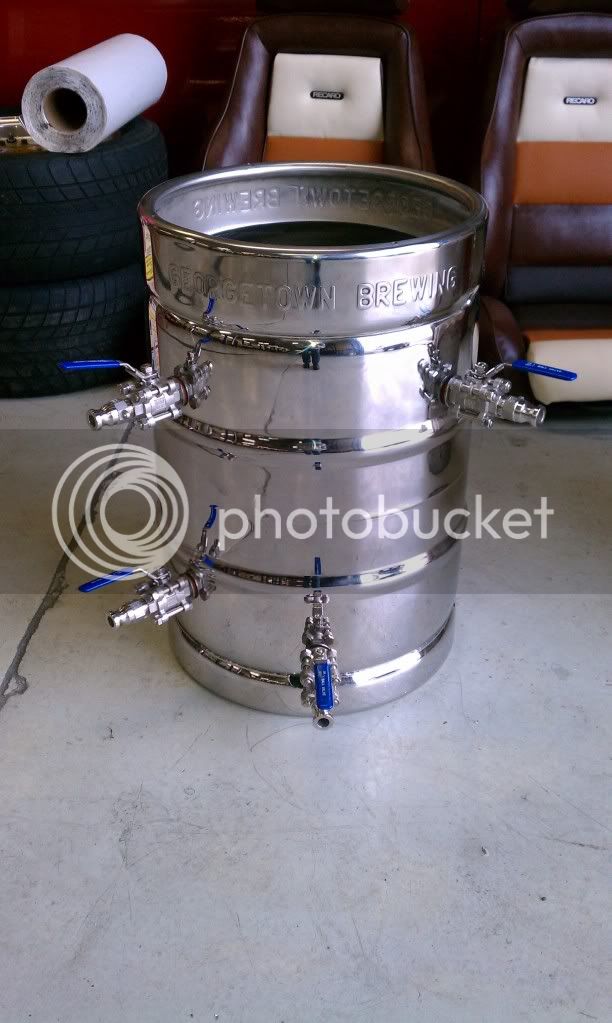
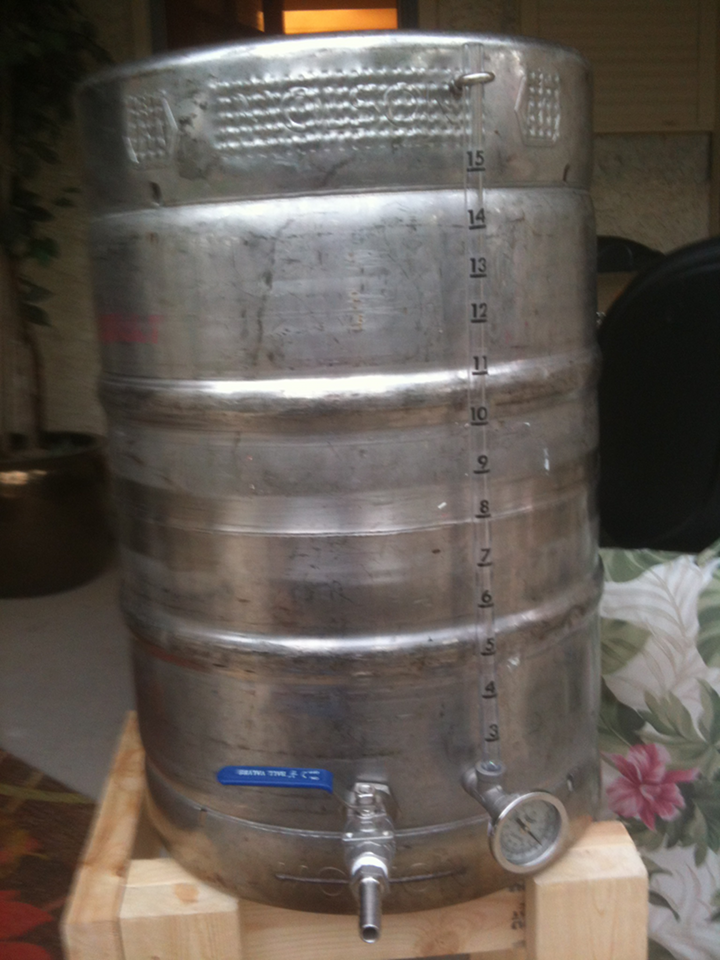
My goal was to get it too look like Lars's as shown here.
I spent a deliberate amount of time buffing the keg with the initial polish. I used the Ryobi E grade compound and got a nice dull gloss to it smoothing out the uneven scratches and such.
Then I used my (next to impossible to find) polishing pad as recommended in the instructions. Initially I tried it with the Ryobi compound which to my dismay started turning black immediately. So I stopped, changed back to the fine pad and cleaned up the black scuffs I just created. Then I ran to Lowes. At Lowes I found these items.
I took my 2nd polishing pad and applied the #5 High gloss compound with optimistic hopes that it would clean up brilliantly and give me the shine I'd worked all day for.
https://www.homebrewtalk.com/f51/keggle-polish-help-239804/
I just ordered a restock of polishing equipment to include the fine and polishing pads. I'm looking into more polish. Hopefully some feedback will stop me from being frustrated and just throwing money at the problem.


 . Oh well. One of these days I'll upgrade to Boilermakers and I won't care anymore.