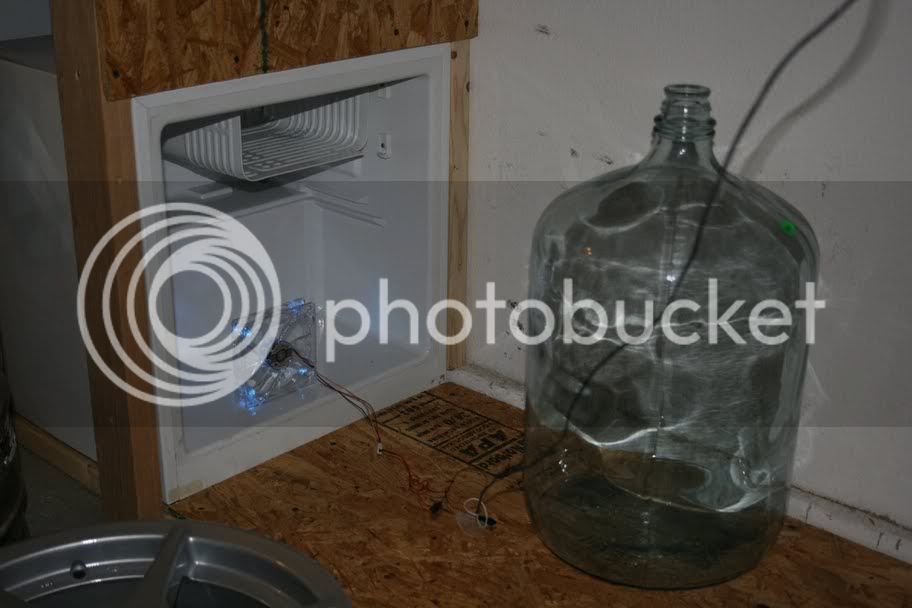
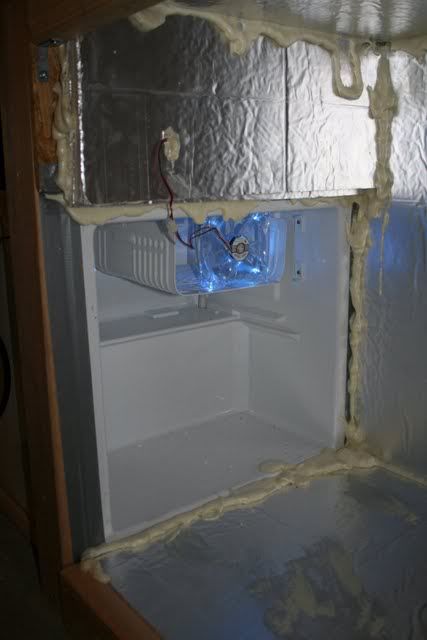
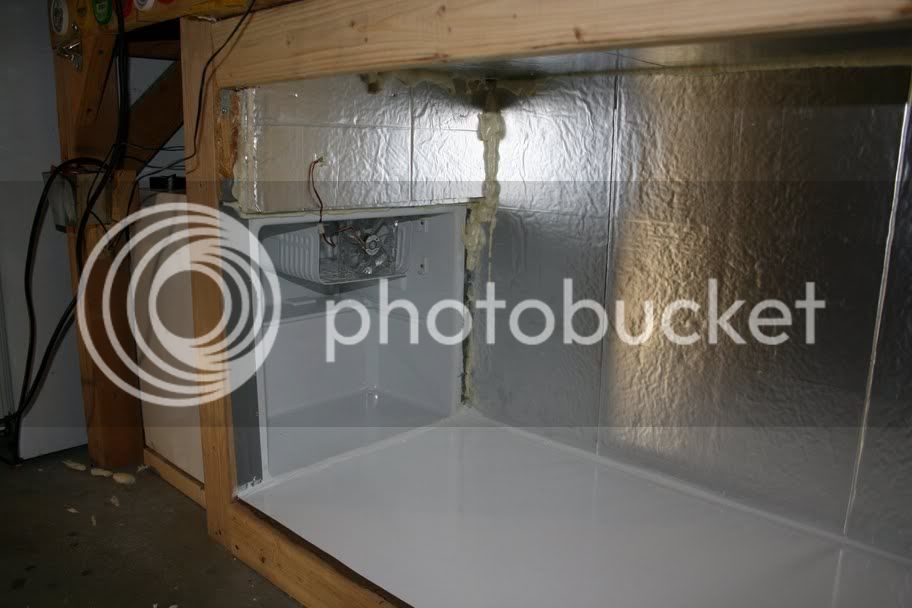
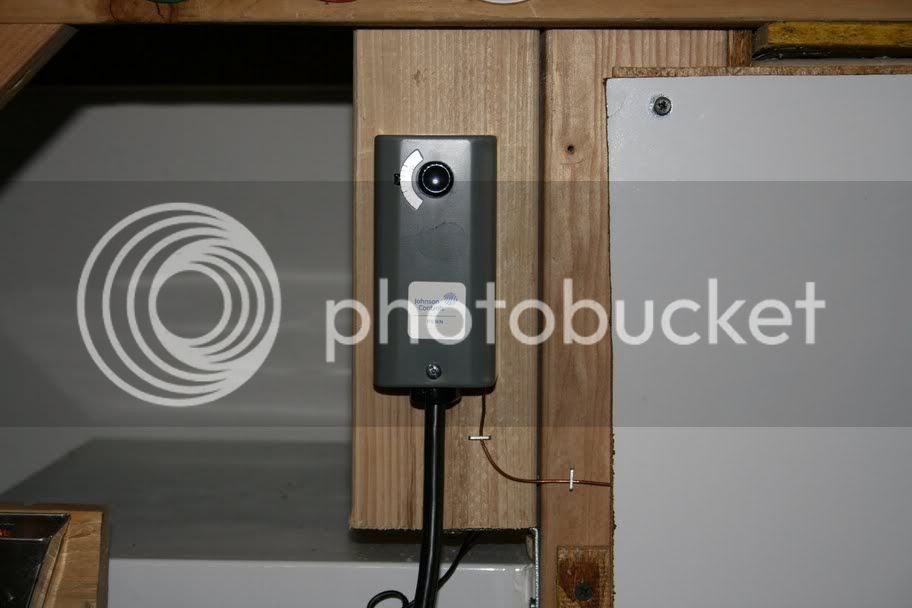
I have one of the Johnson controllers. I just did a 3 socket plug into the grounded socket on the controller. Ran a muffin fan inside the fridge to move the air into the tower of my kegerator (I stole 2Heads idea for that, so he's getting double credit in this thread!) I did put disconnects on the fan leads, so I can replace the fan when (not if) it craps out.
You sure it's 1A and not 1mA? If it's a charger for small electronics, phones etc. then it will be fine. I've run them from 12 down to 3 volts, just depends on the speed you want to run the fan. More V = faster spin.
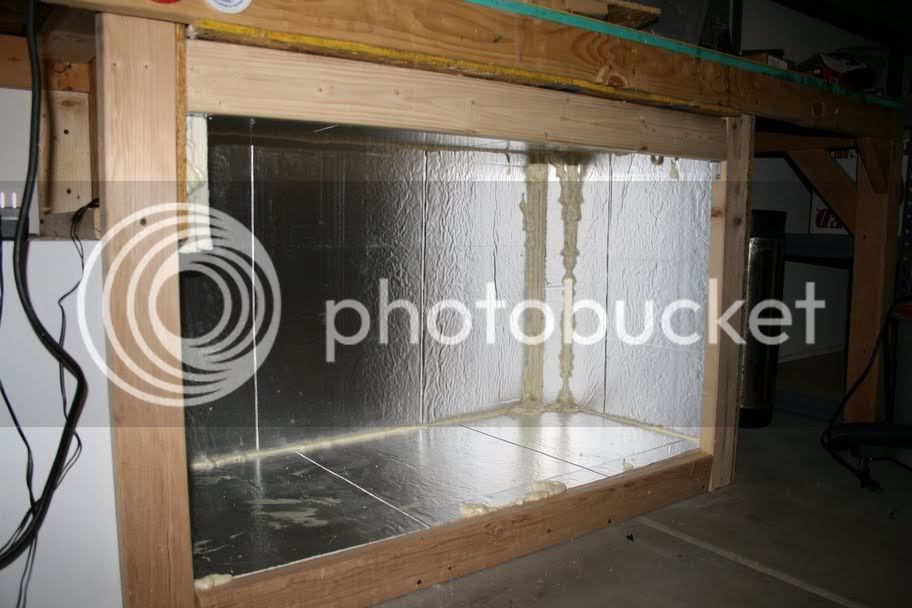
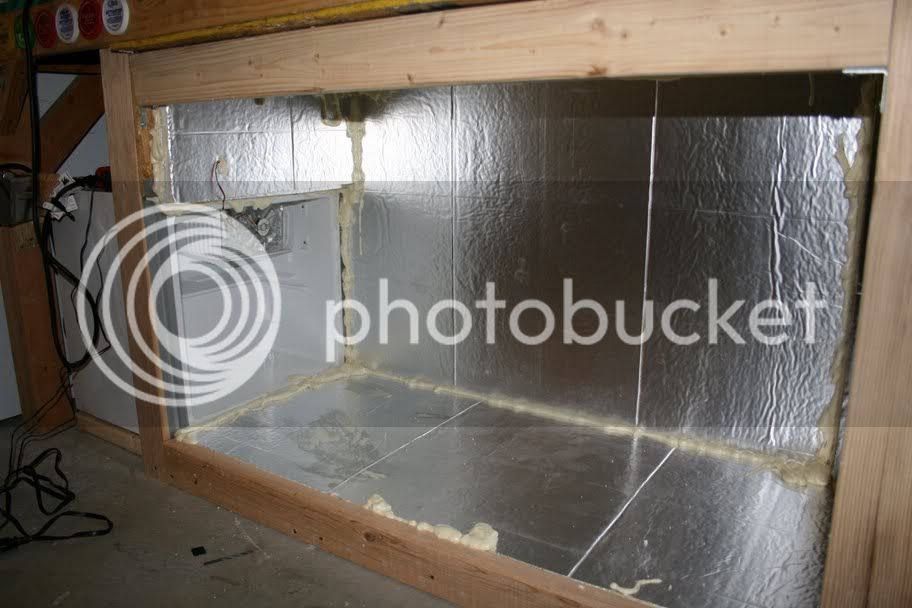
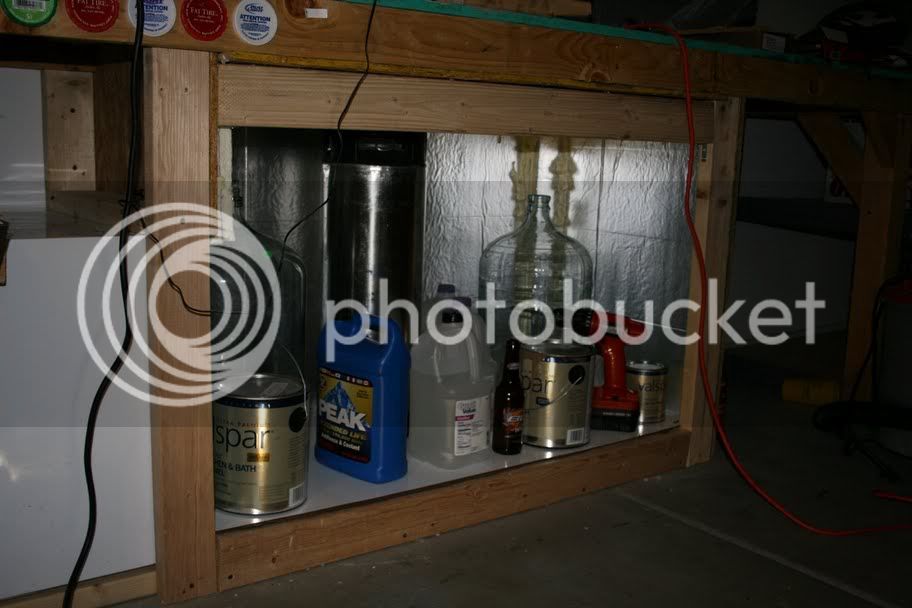
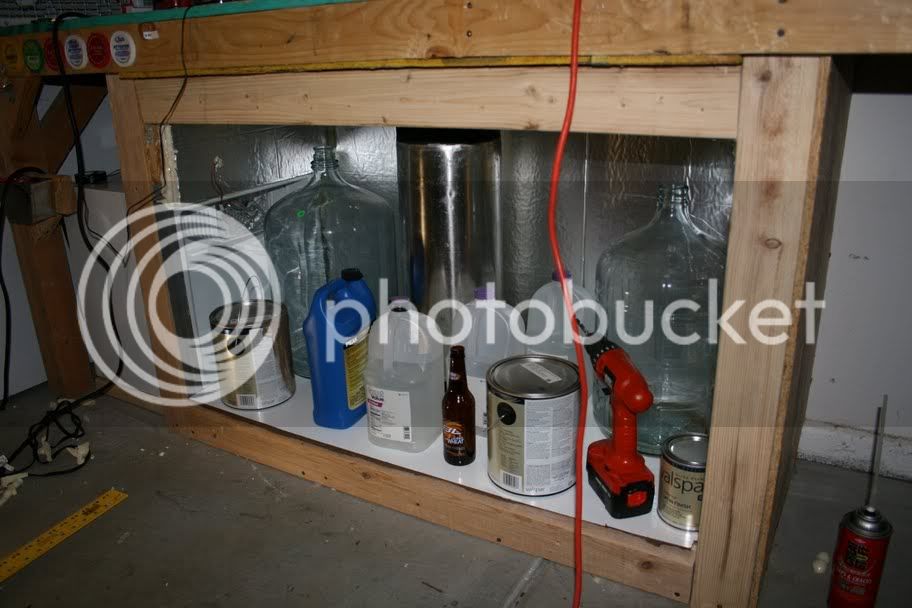
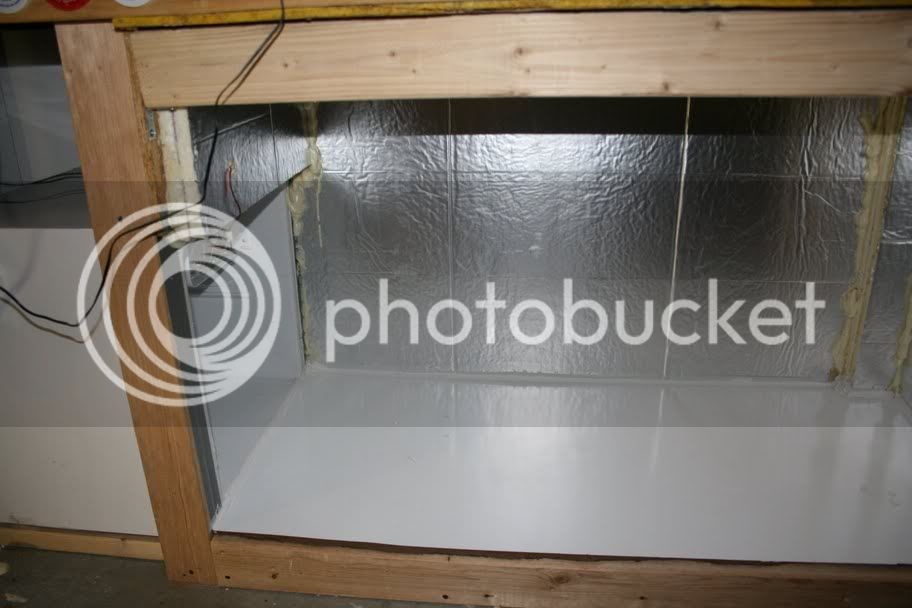
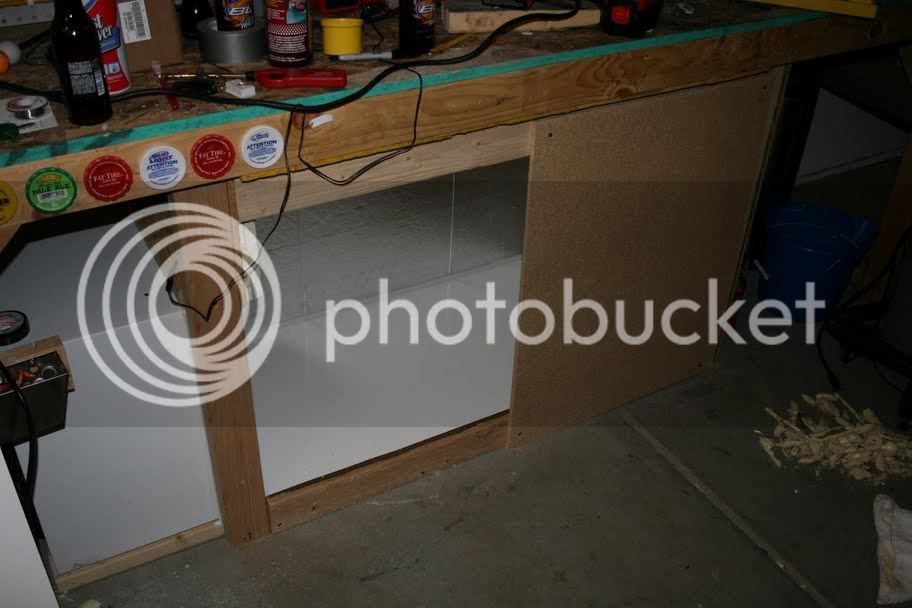
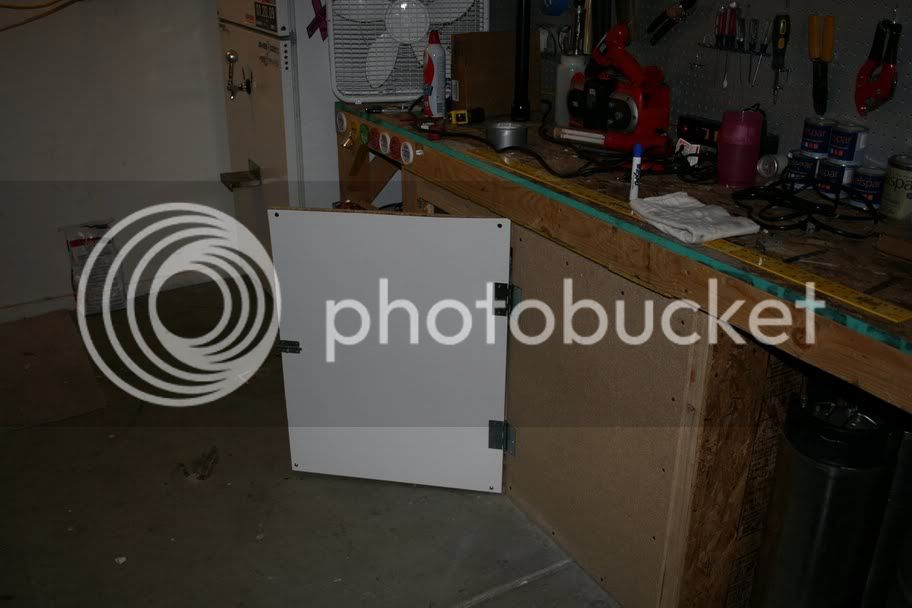
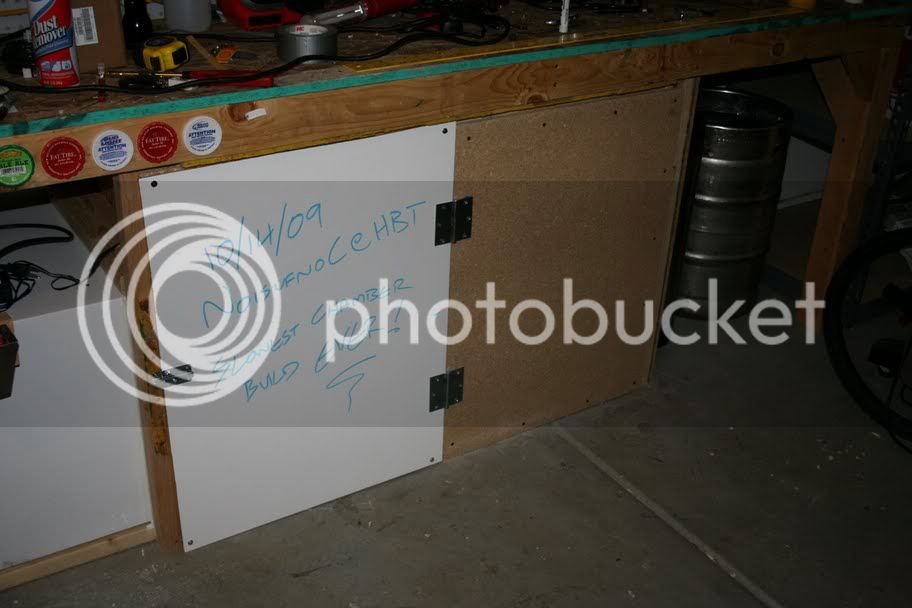
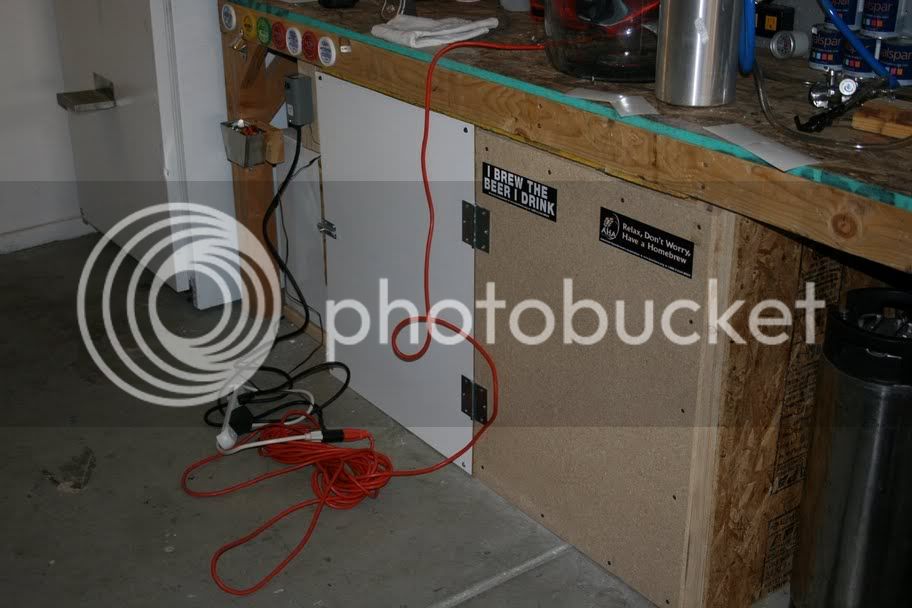
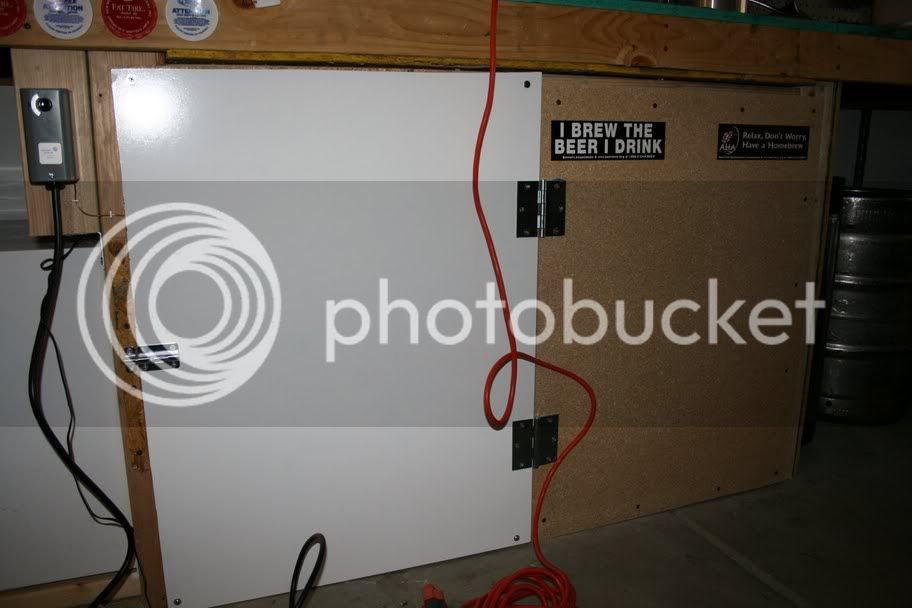
Your setup is looking good! I like the BrewGuyver approach. That's a huge part of what I like about brewing, making stuff for it. I have an old 5 Gallon milk dispenser I'm going to demolish and look at using to convert my ferm chamber from ice to refrigeration. A real Ron Popeal, "Set it and Forget it!"