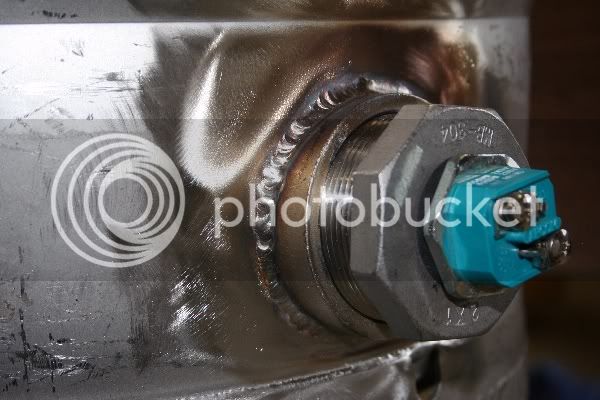
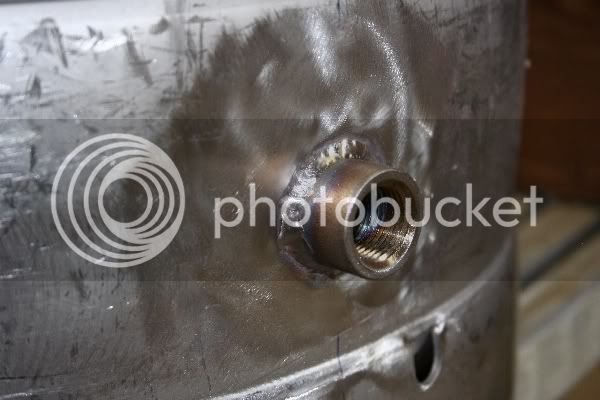
Good thing you didn't put a hole in there. Though it is nothing a piece of tape wouldn't fix.
It sound like you are a good teacher. The weldor in question has never been exposed to this situation. That's obvious. It goes to show, when people pull that DARNED expierence card. I HATE IT! Years experience means nothing if you have lived your life in a 1-2 enviroment situation. Man....I hate the " I have been.......crap." If anything the years should have tought them that there is no 1 way to do anything.
Sorry for the rant. I am not saying that is how these guys are. Just venting a personal pet peve. You know, here you are showing a weldor how to do something. You have gone way above what should have been needed. After all, they are the ones with a shop. The owner knew, and didn't convey the needs OF your work to the weldor. In the end, you are getting somewhere. Kudos to you Ed. Cheers,

I really hope that you get, that type of work from them IF not better, if you have them do anything else. It does take discipline to be a good weldor.
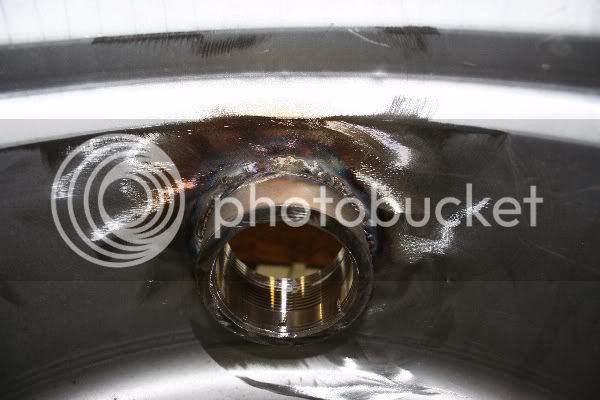
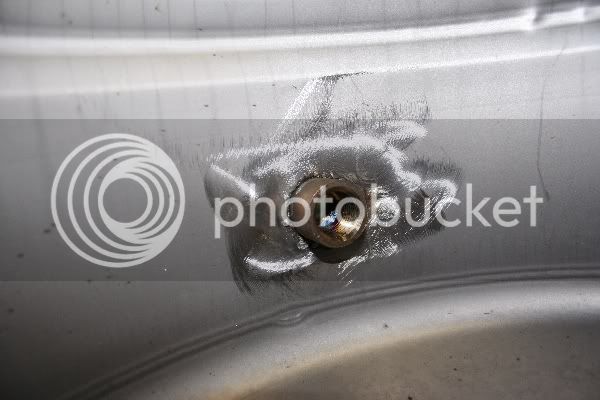
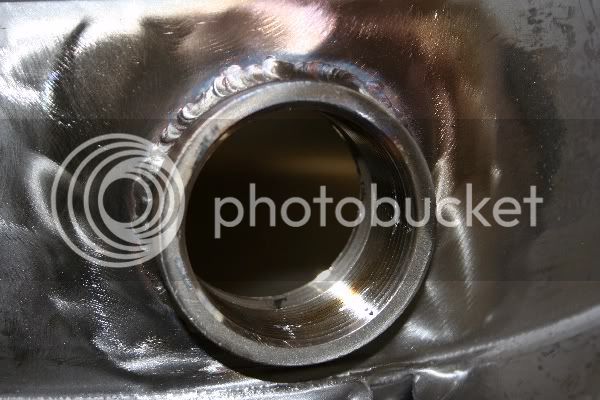
Have a good night. That new work does look a whole lot better.
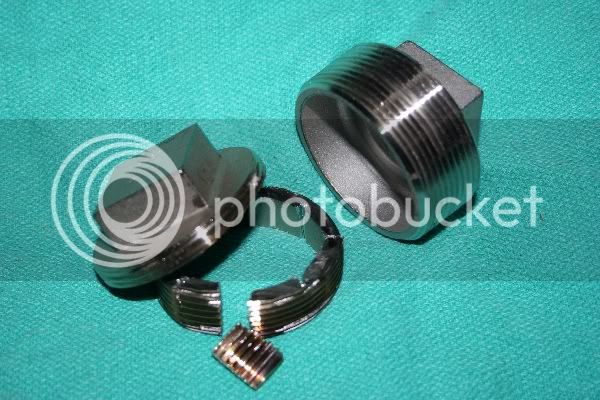
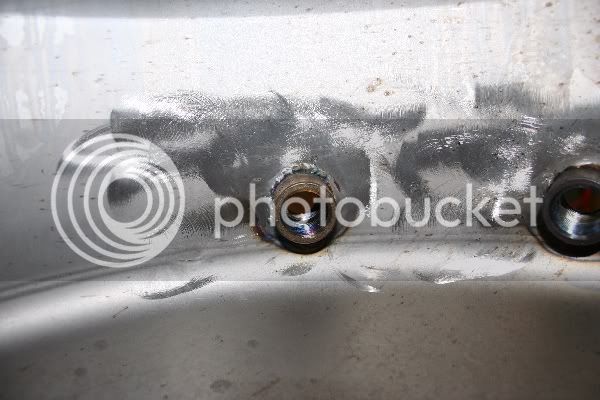
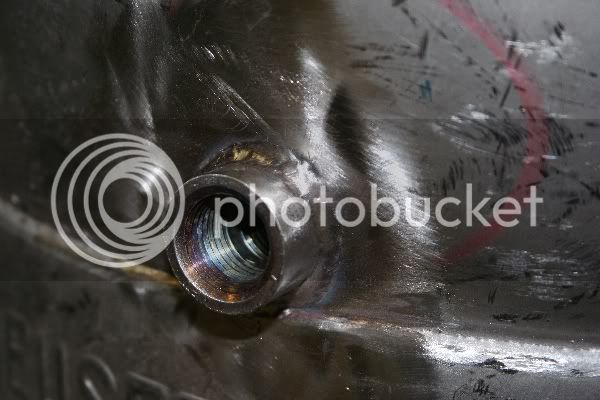
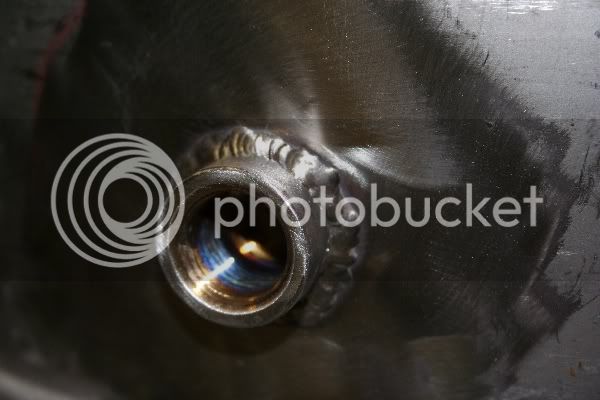
In your new pics, it almost looks like the old couplers are rusting. It that so or is that just the coloration on the inside of the coupler?