Mineral Creek Brewery - Start to Finish e-HERMS basement electric brewery build

Homebrew Talk - Beer, Wine, Mead, & Cider Brewing Discussion Forum

Help Support Homebrew Talk - Beer, Wine, Mead, & Cider Brewing Discussion Forum:

This site may earn a commission from merchant affiliate links, including eBay, Amazon, and others.
your build is awesome. i am looking to do something similar with a bcs, and would like to use something like the amp, watt, volt meter that you have on your control panel. i can't quite make out where it is from. would you please share?

thank you!
 
your build is awesome. i am looking to do something similar with a bcs, and would like to use something like the amp, watt, volt meter that you have on your control panel. i can't quite make out where it is from. would you please share?

thank you!

Thanks augiesd,
I ordered the 416PVA from the following link: http://www.lightobject.com/Programm...tal-AC-Single-Phase-Power-Watt-Meter-P54.aspx

You'll also need an appropriate current transformer. I used a 20:1 which ranges the 0 - 5 amp input to 0 - 100 amp. Here's a link: http://www.lightobject.com/AC-Transformer-Shunt-100A5A-201-P100.aspx

I've been happy with the meter and the accuracy is spot on.
 
Just like you referenced the other members at the beginning of your thread, I will be putting your thread at the beginning of mine. :)
Thanks again KennyM
 
Wow, nice build.

However, if you are wanting this to be up to the National Electrical Code there are a couple points you should realize.

1) The two 20amp breakers in the subpanel with the 60amp GFCI breaker that runs your brewing system are NOT themselves GFCI protected. I think these feed some receptacles in the immediate area which is wet with sinks and such. By code these branch circuits need to have either GFCI breakers or the receptacles must provide the GFCI function. I don't see that in the photos.

2) The wall with the main and subpanels seem to be blocked with shelving. By code the area immediately in front of panelboards must be free of obstruction, I don't recall the minimum distances but right now you have none.

Since the shelf unit could be moved and you can still reach the breakers you might personally decide to ignore this but not having GFCI protected receptacles in the wet area is a real safety hazard.

Carl

Duly noted Carlton and thanks for the comments...

The convinience outlets were installed with what I had on hand and should be replaced with GFCI outlets. I realize the panels do not have the 3' clearance rule in check but I worked with what space I had.

Thanks for your attention to detail....
 
fantastic build...

I have a question, I was also looking into power meters, it looks like in your pics that only one leg, black goes through the CT, wouldnt you need to measure on both hot legs?? sorry, if that sounds stupid, but all the ones I have seen only measure on one leg...

Thanks augiesd,
I ordered the 416PVA from the following link: http://www.lightobject.com/Programm...tal-AC-Single-Phase-Power-Watt-Meter-P54.aspx

You'll also need an appropriate current transformer. I used a 20:1 which ranges the 0 - 5 amp input to 0 - 100 amp. Here's a link: http://www.lightobject.com/AC-Transformer-Shunt-100A5A-201-P100.aspx

I've been happy with the meter and the accuracy is spot on.
 
fantastic build...

I have a question, I was also looking into power meters, it looks like in your pics that only one leg, black goes through the CT, wouldnt you need to measure on both hot legs?? sorry, if that sounds stupid, but all the ones I have seen only measure on one leg...

Thanks wyowolf. No question is stupid...

The panel is powered by a 240 volt single phase circuit like most residential systems are. Current flows in a circuit like water flows in a pipe. What goes in must also come back out. During operation with a 240 volt load, current flows between the black and red wires alternately 60 times a second (in the USA). The current in the black wire will match the current in the red.

Because I also have 120 volt circuits in the panel (wired between the black hot and white neutral wires), that current flows between the black and white wires and not in the red. Monitoring the black wire by itself insures that you account for all the current regardless if it is flowing black to red (240 volt) and/or black to white (120 volt).
 
hmmm OK so if I also use a CT transformer in my panel, with the Volt/Am meter it will read the correct current usage? via the black wire. The only 120 I have in my panel is the 120V for the BCS. I am running a BIAB setup, to try it out mostly , if not I will go back to 3V.

Thank you very much for that info!!

Frank

Yes, if your panel has the 120 volt circuit fed from the black wire then that is the wire you want to install the CT on. It will then measure all of the current drawn by both the 240 and 120 volt loads.
 
Do you have a make and model number on the vent hood you used? I'm looking for something similar to fit in a small space.

Do you notice any condensation using this during a brew day?
 
Do you have a make and model number on the vent hood you used? I'm looking for something similar to fit in a small space.

Do you notice any condensation using this during a brew day?

Hi vinylicious,
The hood I'm using is an XtremeAIR PX10-U48 and I've been very happy with it. I duct-ed it outside with 6" round pipe and although it's rated at 900 CFM, I never need to use it on high.

Manufacture link: http://www.xtremeairusa.com/shop/product_info.php?cPath=4&products_id=557

I have had zero problems with condensation. Any that accumulates stays in the small channels of the filters and evaporates by the time the brew day is over.
 
Sorry it's been awhile since I've updated this thread but I've been working on an FAA certified flight instructor certificate and I haven't had much free time.

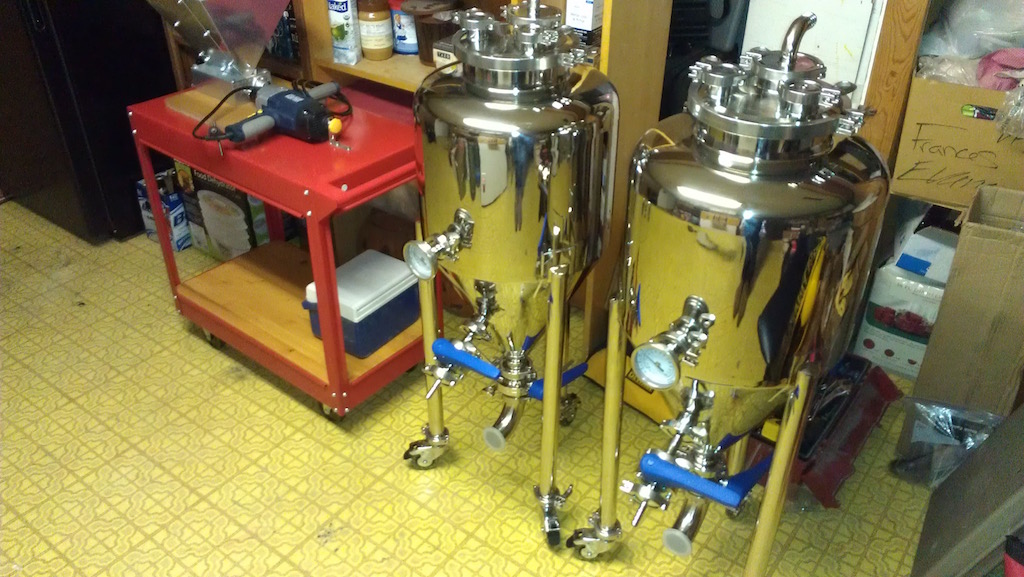
We're on batch #9 now at the Mineral Creek Brewery and the system has been working well and we're getting to know the ins and outs. After fighting with the 6 gallon carboys on big beers and wanting something better, we upgraded to two 15 gallon conical fermetors from Brewers Hardware. So far they've been great.

IMAG1901.jpg


Here are a few photos of recent activity in the brewery...
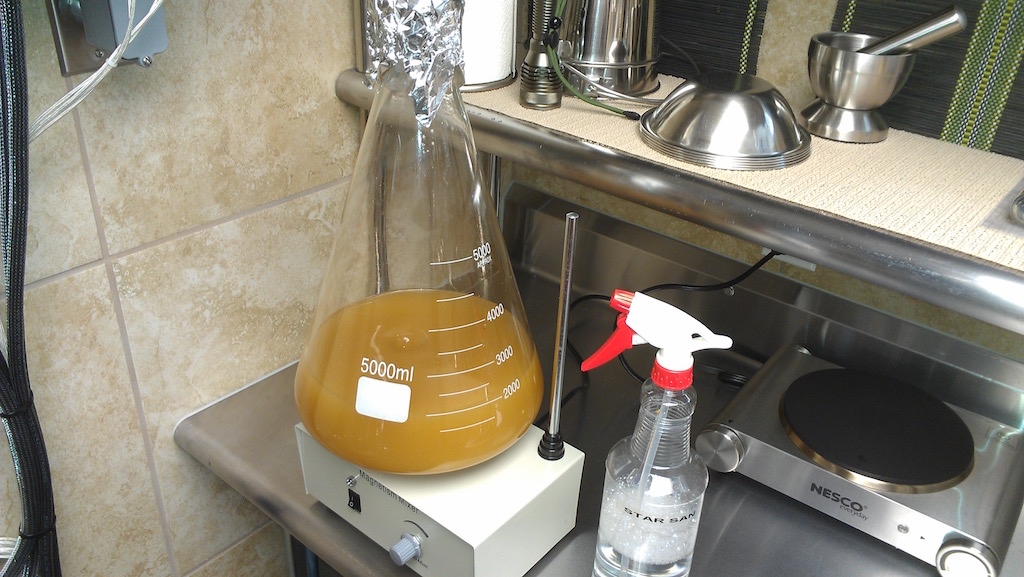
2 Liter yeast starter on the stirplate...
IMAG1839.jpg


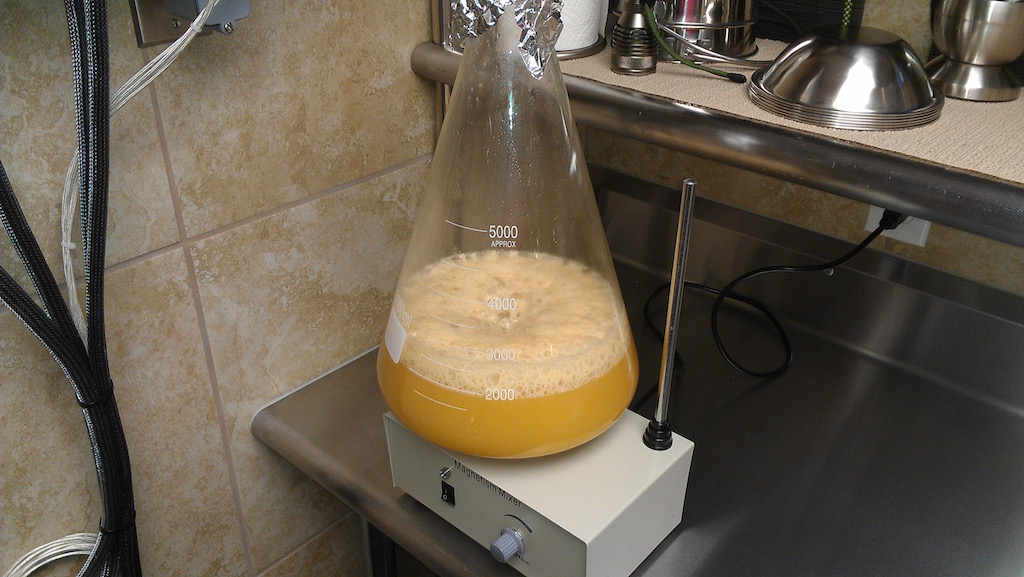
Starter after 24 hours...
IMAG1840.jpg


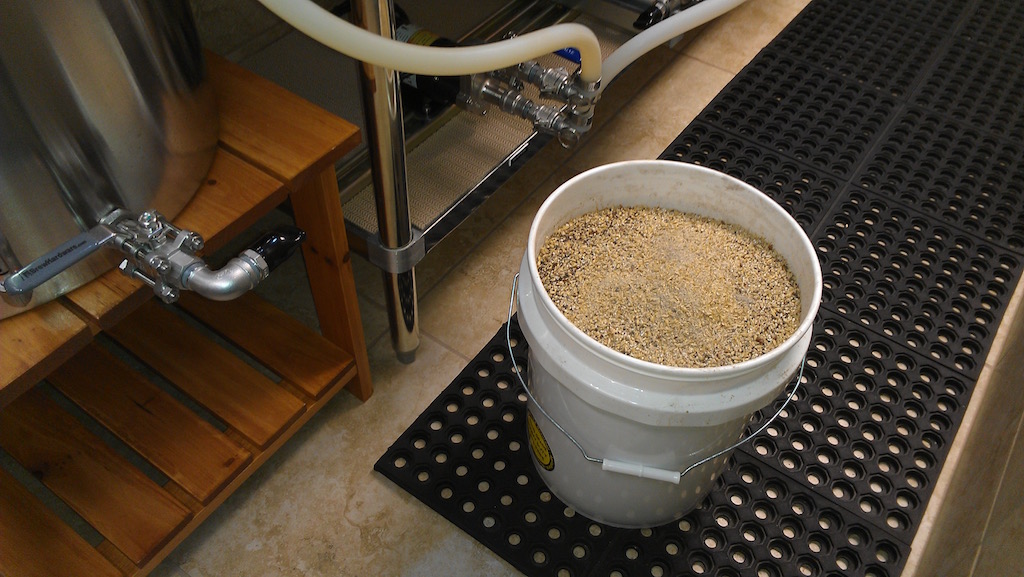
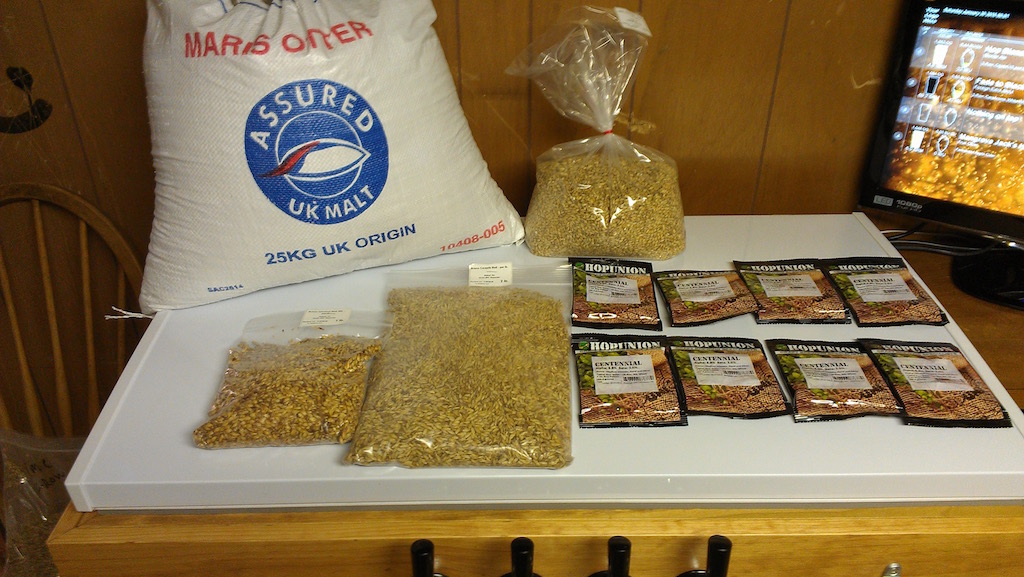
Grain for a Left Hand Brewery Fade-to-Black Vol I clone...
IMAG1842.jpg


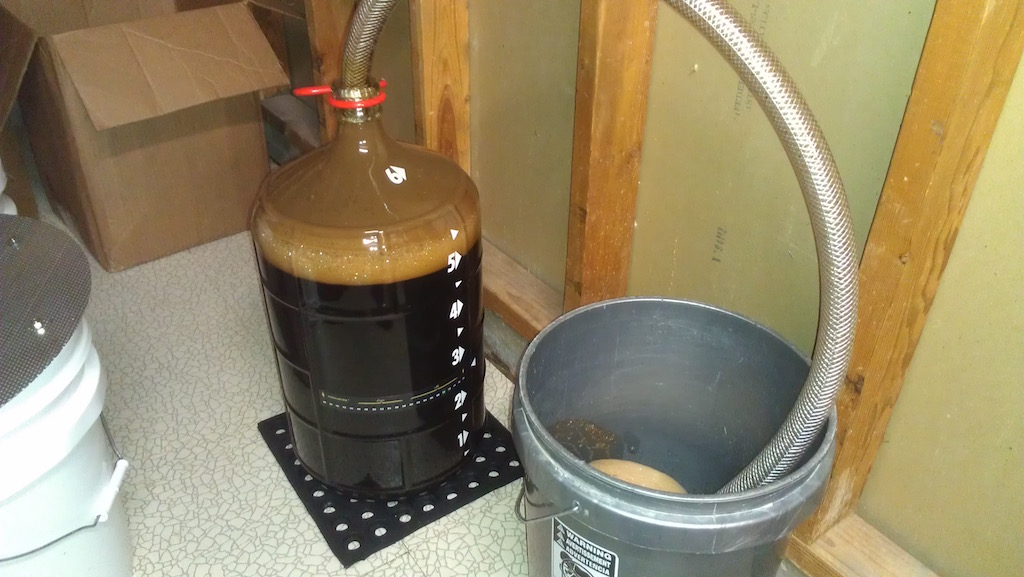
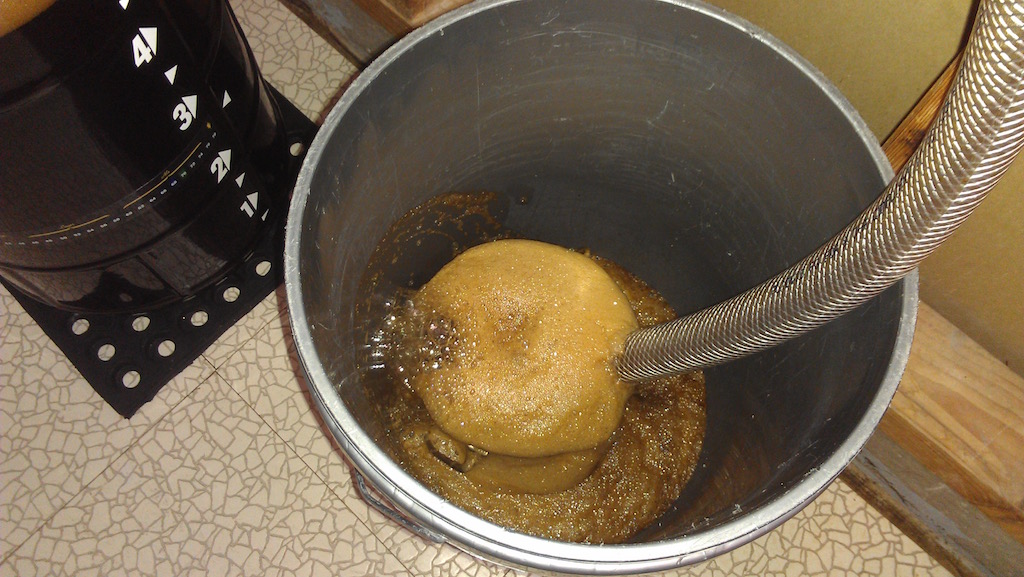
Fade-to-Black fermentation. Need more headspace!
IMAG1844.jpg


IMAG1843.jpg


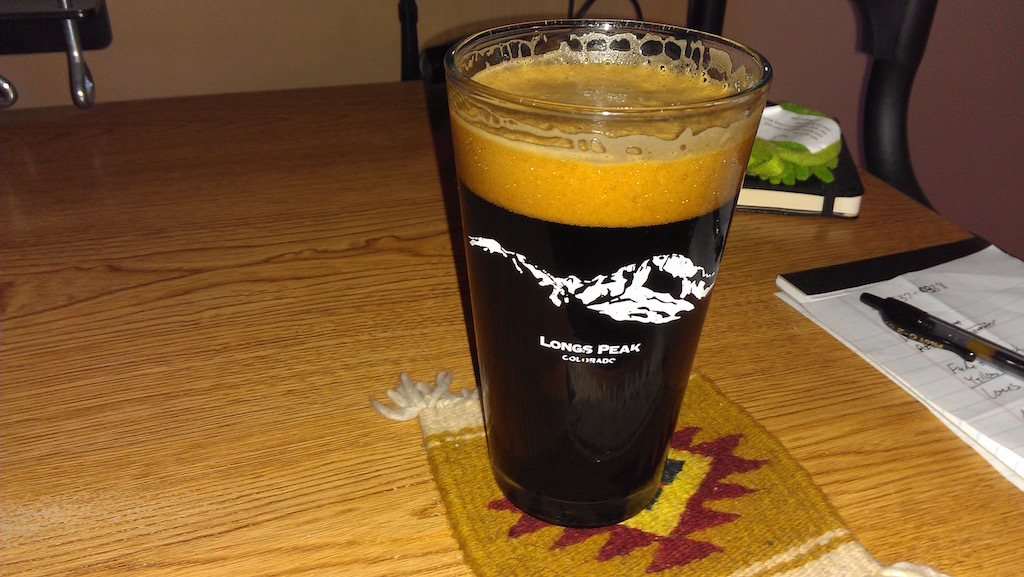
The Fade-to-Black turned out great at 8.6% ABV...
IMAG1886.jpg


Grain and hop bill for a Bell's Two Hearted clone from www.theelectricbrewery.com
IMAG1929.jpg


Raging Red wort color during the mash. Recipe from forum member @Mysticmead https://www.homebrewtalk.com/showthread.php?t=239188
IMAG2019.jpg


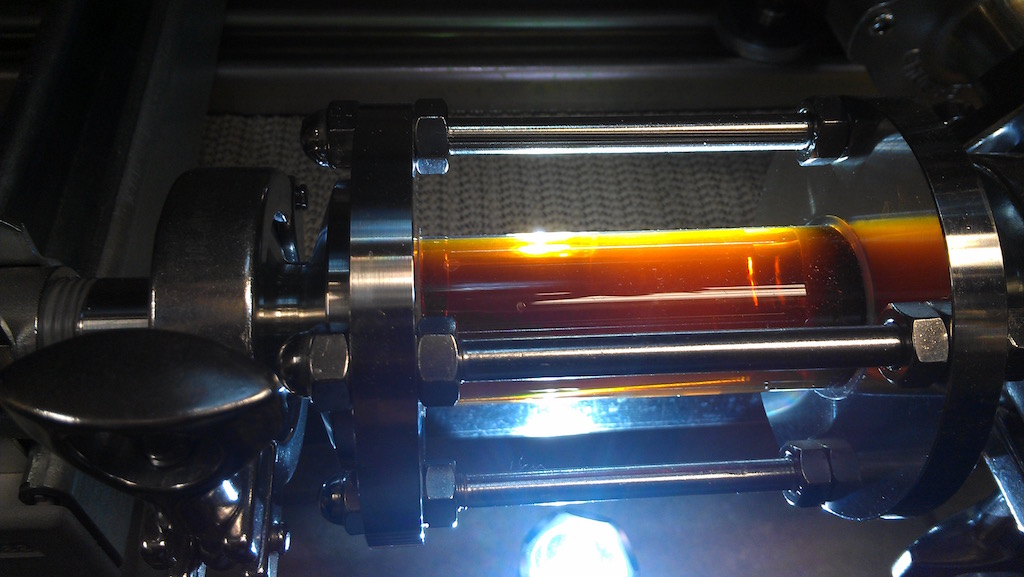
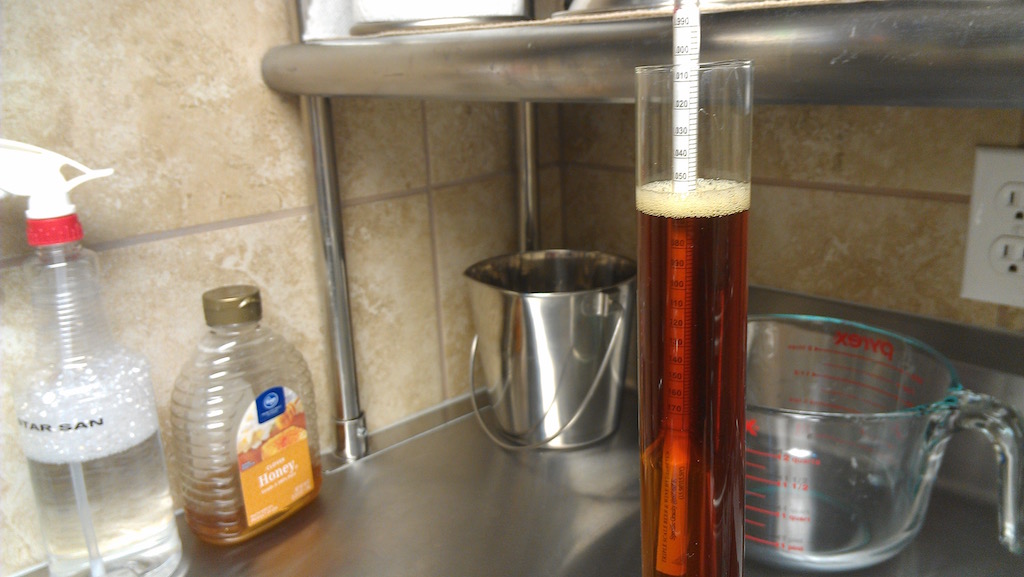
Raging Red hydrometer sample at 1.061...
IMAG2027.jpg


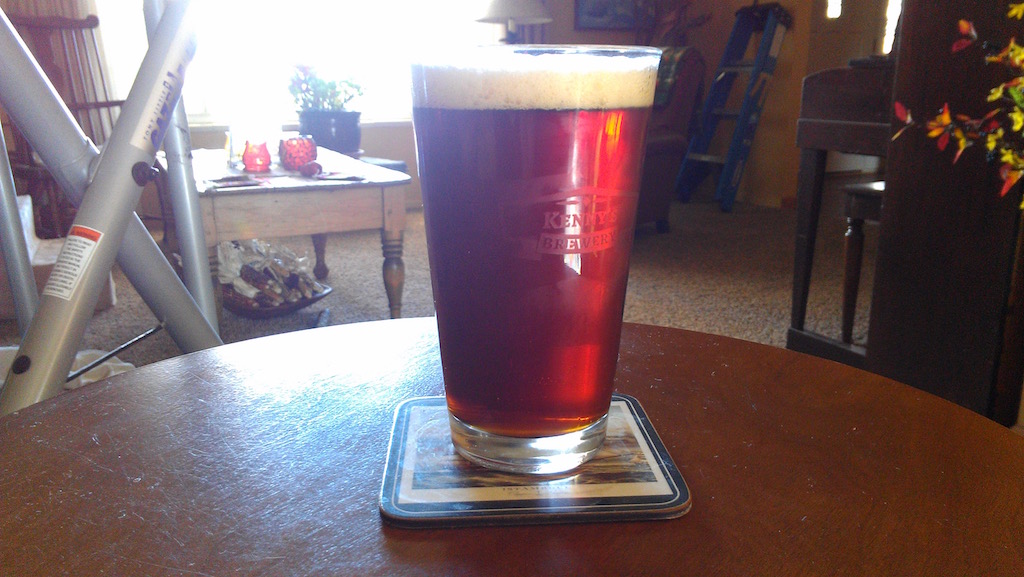
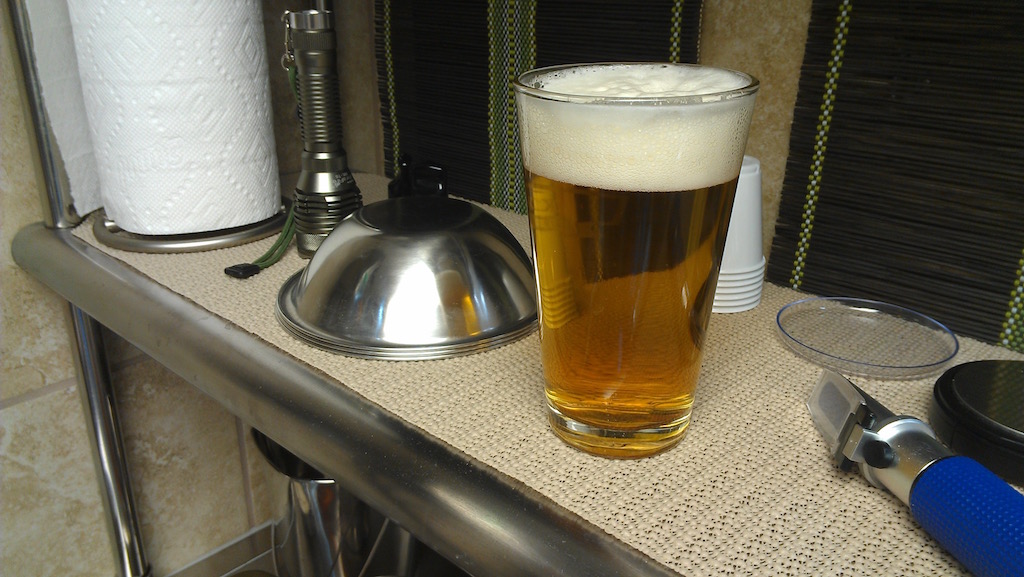
Raging Red finished beer...
IMAG1900.jpg


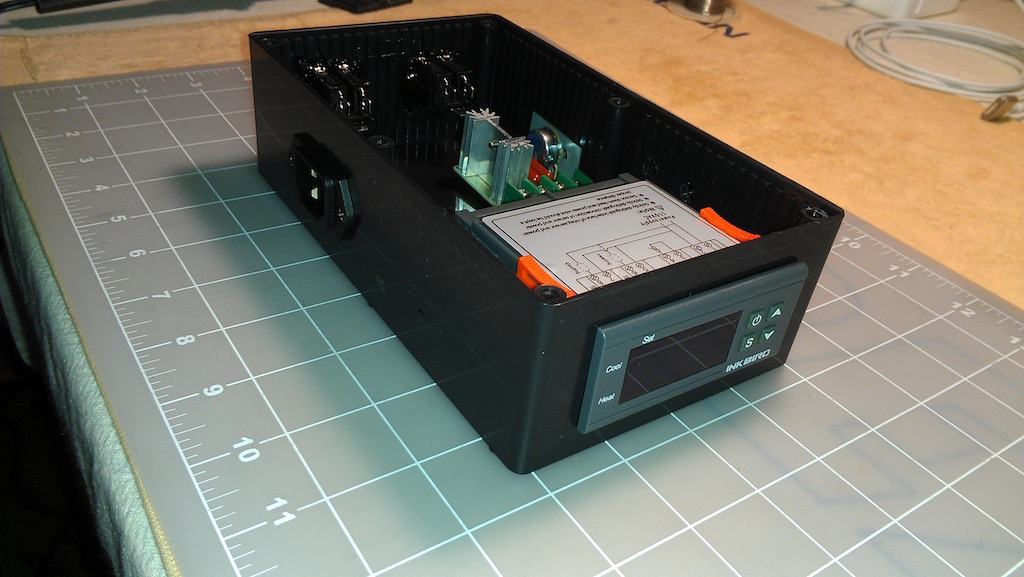
Heat/Cool controller for fermentor temperature jacket under construction...
IMAG1884.jpg


A nice simple hopped up Blonde Ale...
IMAG2025.jpg


Thanks again to everyone for the nice comments. This has been a really fun project!
 
Beautiful project!

I didn't see you mention it anywhere else in the thread, but what is the game plan? Is this all for your personal brewing enjoyment, or are there bigger plans for the brewery, now that your are retired?
 
Simply Perfect!! Amazing use of the space in layout and design... love the fermentors...but they look pricey :) What do you plan for capacity?
 
Beautiful project!

I didn't see you mention it anywhere else in the thread, but what is the game plan? Is this all for your personal brewing enjoyment, or are there bigger plans for the brewery, now that your are retired?

Thank you sars,
At this point, the brewery is just for fun. I enjoy having friends and family over for brew days and we share the beer with everyone. It's amazing how fast a 5 gallon keg goes once people find out you have fresh beer.

Since retirement I've also been a part time contract pilot and will be instructing on the side too. Between that, brewing and house duties, I keep pretty busy.
 
Simply Perfect!! Amazing use of the space in layout and design... love the fermentors...but they look pricey :) What do you plan for capacity?

Hi wyowolf,
Yea, I wish I had a bit more room as it gets a bit cozy with more than two people in the brewing area, but it's workable.

I've been making 10 gallon batches so 2 kegs a batch. I have 20 gallon kettles but 10 gallons final volume seems to work well. I could probably swing a 15 gallon batch if the gravity isn't too high.

The fermentors are 15 gallon each which works well for this size batch (plenty of head space). I tend to run the primary fermentation for about 2 weeks and then dry hop in them for a week after dumping trub and recovering yeast.

The second fermentor is helpful if I need to brew a back-to-back batch or if I want to have a high gravity beer sit in there as a secondary for a longer period of time. I've also just transferred big beers to kegs and let them age in there.
 
Very nice, I also do 10 gal batches now that I went all electric. I just have the one Blichman that i can fit in the fridge... But it is nice to be able brew more batches inside :) very sharp.

Hi wyowolf,
Yea, I wish I had a bit more room as it gets a bit cozy with more than two people in the brewing area, but it's workable.

I've been making 10 gallon batches so 2 kegs a batch. I have 20 gallon kettles but 10 gallons final volume seems to work well. I could probably swing a 15 gallon batch if the gravity isn't too high.

The fermentors are 15 gallon each which works well for this size batch (plenty of head space). I tend to run the primary fermentation for about 2 weeks and then dry hop in them for a week after dumping trub and recovering yeast.

The second fermentor is helpful if I need to brew a back-to-back batch or if I want to have a high gravity beer sit in there as a secondary for a longer period of time. I've also just transferred big beers to kegs and let them age in there.
 
I really like how you have your pumps mounted. very clever. I'm assuming quite flexible because you can slide your pumps. Would you mind telling me what those rail pieces are called and where you got them? Thanks!
 
I really like how you have your pumps mounted. very clever. I'm assuming quite flexible because you can slide your pumps. Would you mind telling me what those rail pieces are called and where you got them? Thanks!

Thanks M25,
The rails are Superstrut from Lowes and available in different sizes.

http://www.lowes.com/pd_20281-53911-ZB1400HS+10___?productId=3128119&pl=1&Ntt=unistruct

Also known as Unistrut and available at electrical supply houses. They make all kinds of fittings for it and you can make just about anything out of it.
 
That's a very sexy set up. Love the control box .Good job on taking pictures .
 
Thanks woo_pig,
Just finished batch #11 and the brewery has been running as expected. A 10 gallon batch of a Deschutes Fresh Squeezed IPA clone and we also have a 10 gallon batch of Yooper's Oatmeal Stout in a fermentor. Thanks to forum member @Yooper for a terrific recipe. It's been really hard to keep up with the demand of drinking and sharing. We love the brewery!
 
Awesome build... maybe I missed this in the thread somewhere, but where did you get the protective "butcher block" mats that you have under your kettles? Those look great - I have nasty cork mats that are a royal pain to keep clean so would love to replace them with something like this.
 
Awesome build... maybe I missed this in the thread somewhere, but where did you get the protective "butcher block" mats that you have under your kettles? Those look great - I have nasty cork mats that are a royal pain to keep clean so would love to replace them with something like this.

Thanks jmark,
The mats come in 3' x 3' sections and can be interlocked together. They are thick black rubber and feel nice on the feet during a long brew day. They can easily be cut to fit with a sharp knife. Take them outside and hose them off when needed.

Available at Lowes: http://www.lowes.com/pd_155419-20787-919115-LGS___?productId=3377248&pl=1&Ntt=floor+mat
 
Those are usually referred to as "pine rounds". You can find them in your big box hardware store near where they have all the wooden staircase stuff. In my experience the quality can be hit or miss and you may need to visit a few locations to get enough that will lay flat.
 
KennyM I'm currently planning/building my own 3V HERMS system and I'm getting a bit confused with the best locations for my temp probes. Reading different opinions every where!!!
Where do you have yours mounted and are you happy with?
Would you change anything now that you have been running the system for some time now?
Cheers mate

bradleybiscuits,
My setup is pretty much as described at the www.theelectricbrewery.com website. I have the HLT probe in the piping leaving the HLT. I recirculate the HLT water back into the HLT and this keeps the water temperature exactly where I have it set on the PID controller.

I have the mash probe also in the piping leaving the mash tun. I recirculate through the HLT HERMS coil back into the mash tun during the mash cycle. I have no trouble keeping the wort temperature exactly as set. I know some people like having the mash probe on the exit of the HERMS coil. I have my system setup to control the HLT heating element from either the HLT temp probe or the mash temp probe. Not really necessary but it gives me control options and I can have different PID tuning values setup between the two controllers.

Typically in process control engineering, you want to monitor your process variable at the exit point of what you are trying to maintain whether it's temperature, pressure, level, etc.

The boil temperature probe is located in the side of the boil kettle close to the bottom.

I also have a temperature probe at the exit of the CFC chiller that displays on its own controller. Again not really necessary but it gives me a backup PID controller in the panel if I ever need it. I also could control the wort flow through the CFC someday for temperature controlled cooling if I every decide to by adding a variable electric valve to the CFC chiller wort inlet.

Overall I am happy with how the system turned out and I wouldn't change anything if doing it again.

Good luck with your build,
KennyM
 
Amazing! One of the most elegant setups I've seen anywhere! Where can we get a blank stainless steel enclosure just like yours that hasn't been cut?
 
Amazing! One of the most elegant setups I've seen anywhere! Where can we get a blank stainless steel enclosure just like yours that hasn't been cut?

Thanks @WhatsBrewing. I got my blank enclosure from ebrewsupply.com but I was unable to find one now on their new website.
 
Very nice setup and finally the HLT/MASH switch I have wanted to use. I'm working on my own 30amp, 4500W HERMS panel plans and will use the same switch setup for Strike water and Mash control. Problem is I have no schematics to pull from and am not an electrical engineer. Is your switch controlling the control voltage directly or via a relay. Can't get my head wrapped around how to keep the HLT PID from bumping heads with the MASH PID with out a cutout.

Prost!

Yes Istrowge, the PID select switch switches the SSR control voltage from the HLT heating element PID's directly. The switch I use has 6 poles, 2 are for the indicator LED's and 4 are for switching the + and - control leads. No relays are used for this function. You can see a wiring diagram of the PTD selectors in post #4.

https://www.homebrewtalk.com/showpost.php?p=6936215&postcount=4

Kenny
 
Thanks KennyM. If I was not going to use LED indicator lights then the Auber SW3 should work right (Selector Switch, 3-Position Maintained 2 NO, 22mm)? Trying to save space on the enclosure so the indicators have to go. Just going to use tags and locate the switch as you have in your diagram.
 
Back
Top