Carlscan26
Well-Known Member
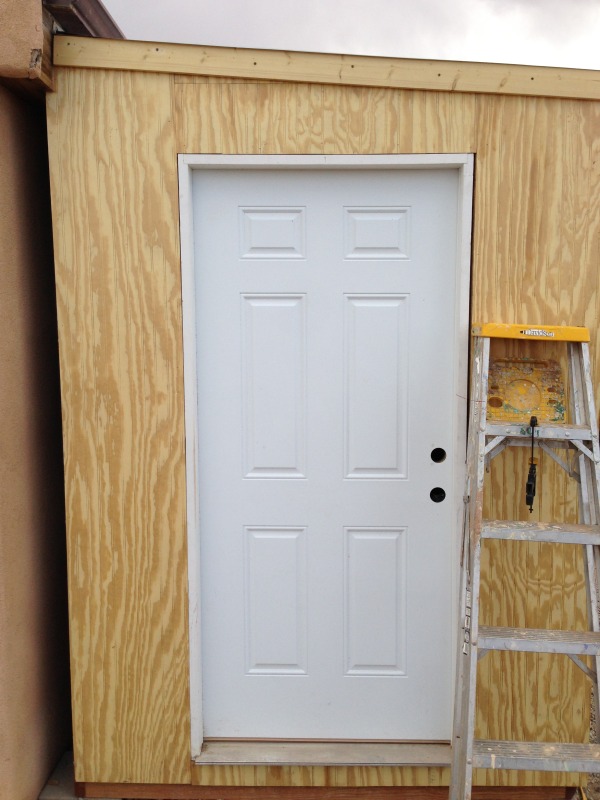
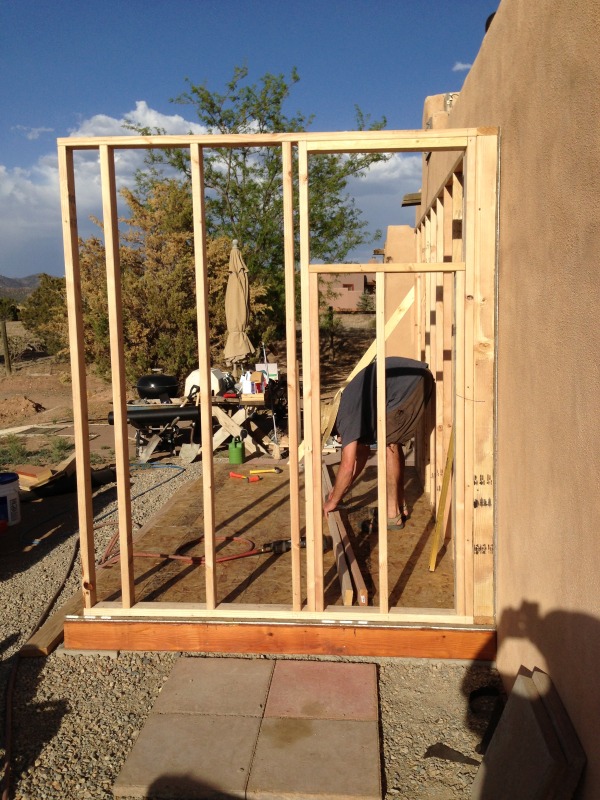
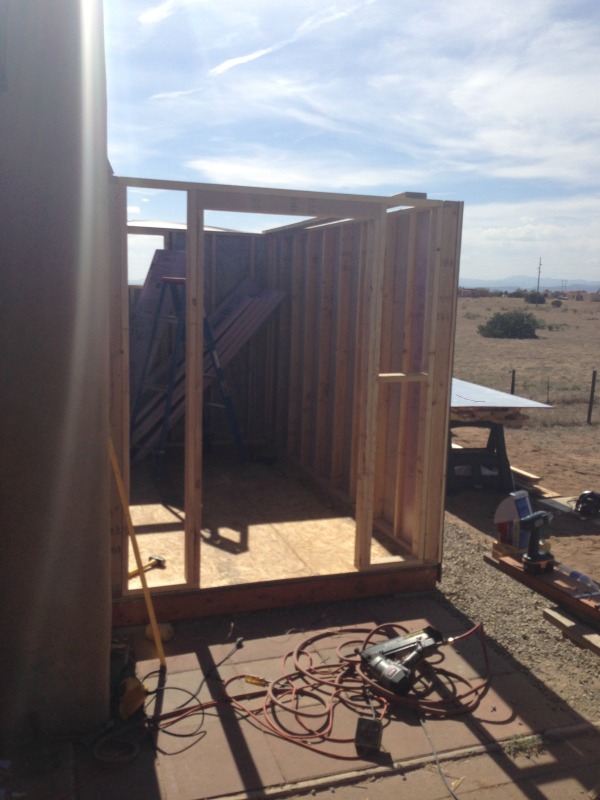
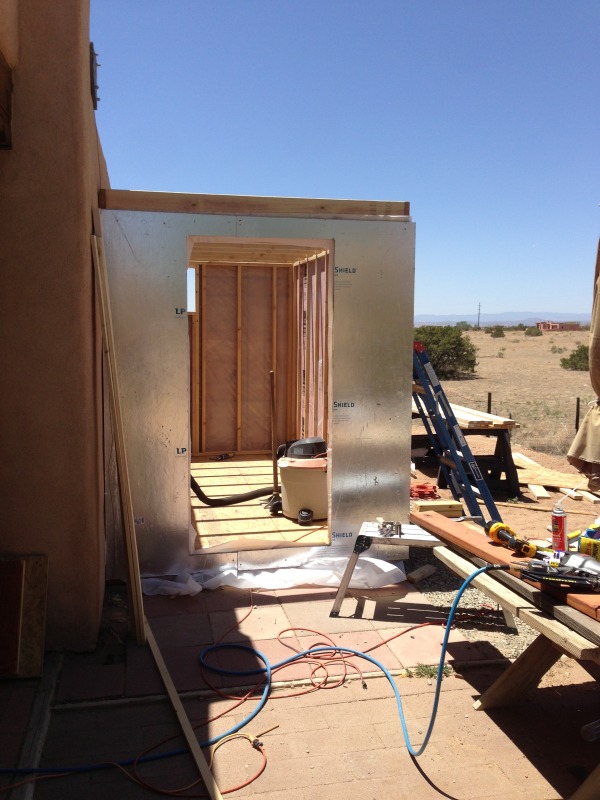
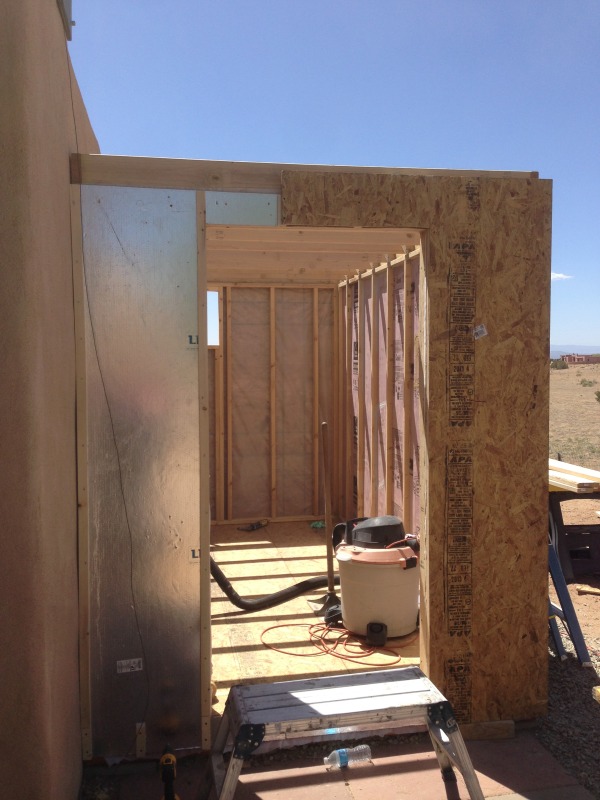
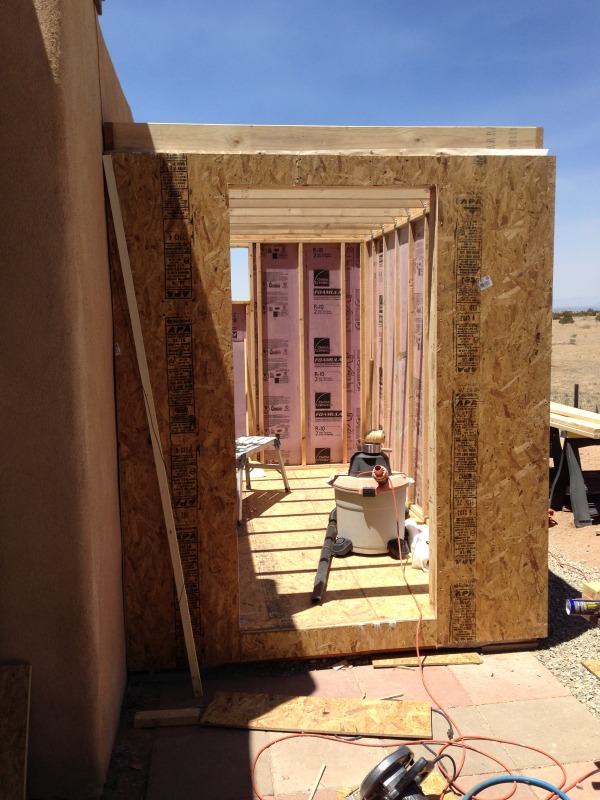
Is the door into the room going to be on the inside or outside of the house?
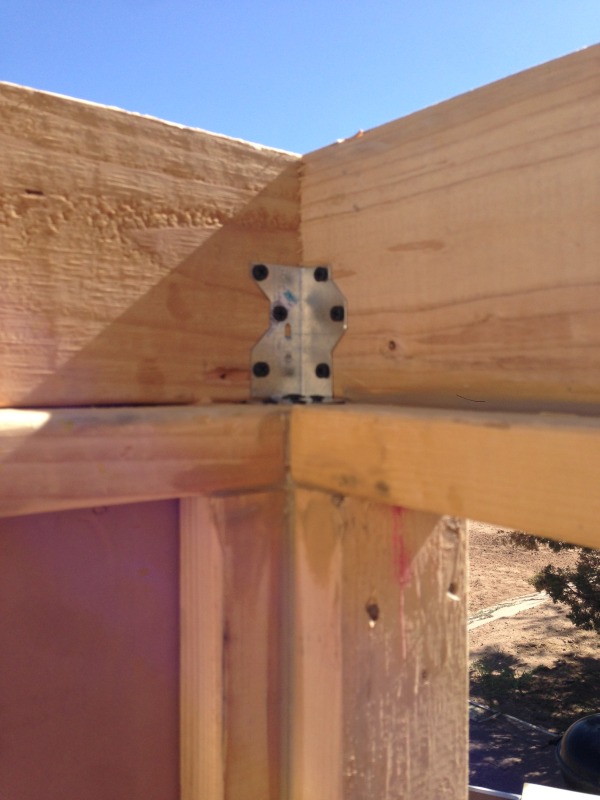
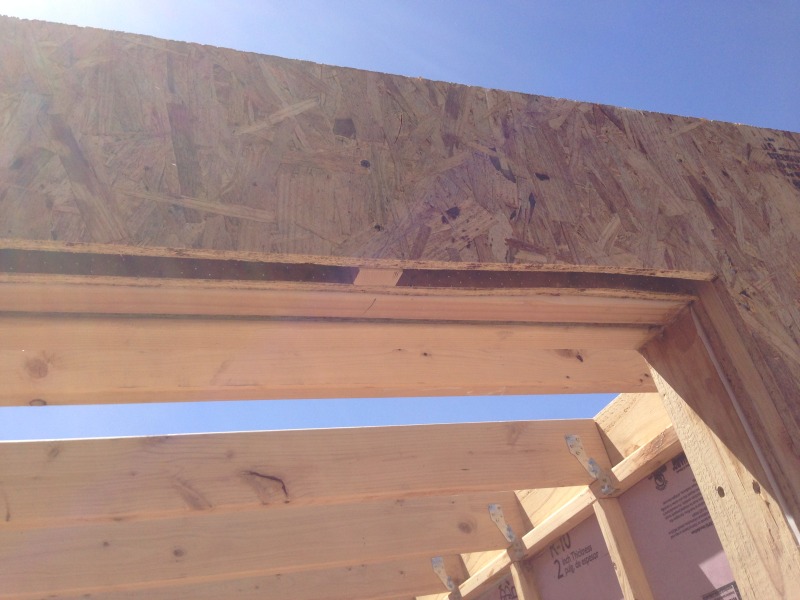
And what is that possible top tier post for anyway?")
And what is that possible top tier post for anyway?


1000 SQ FT? you sure? thats a massive "shed"
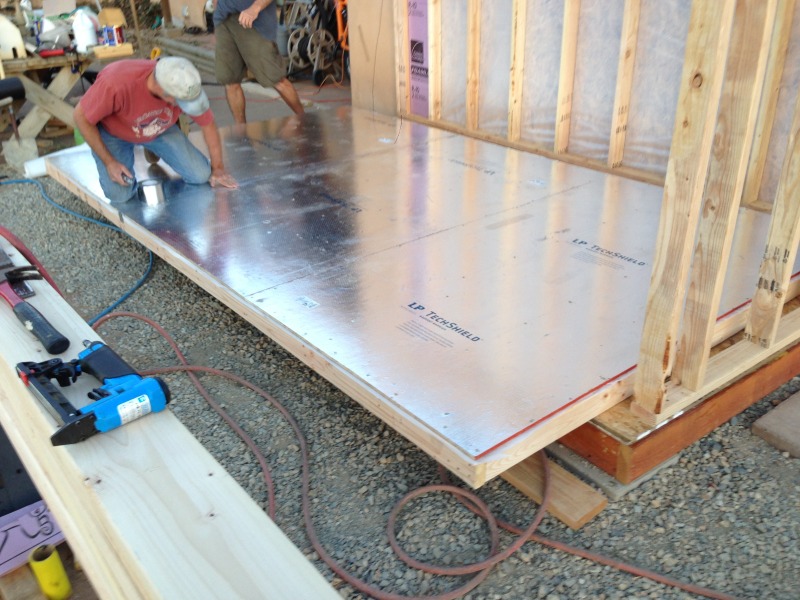
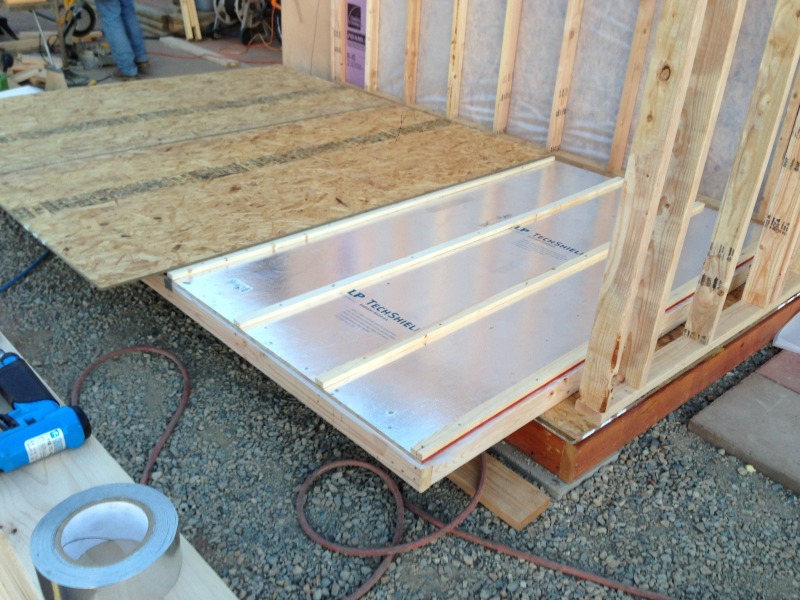
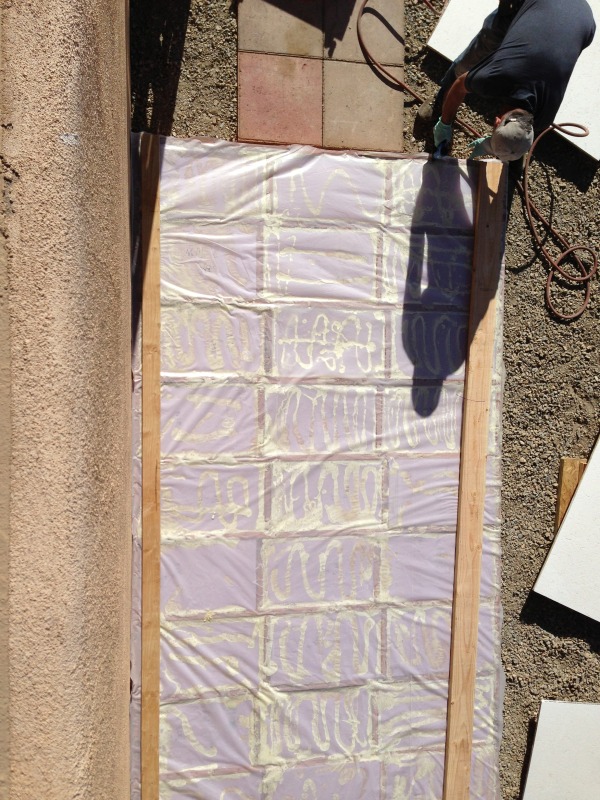
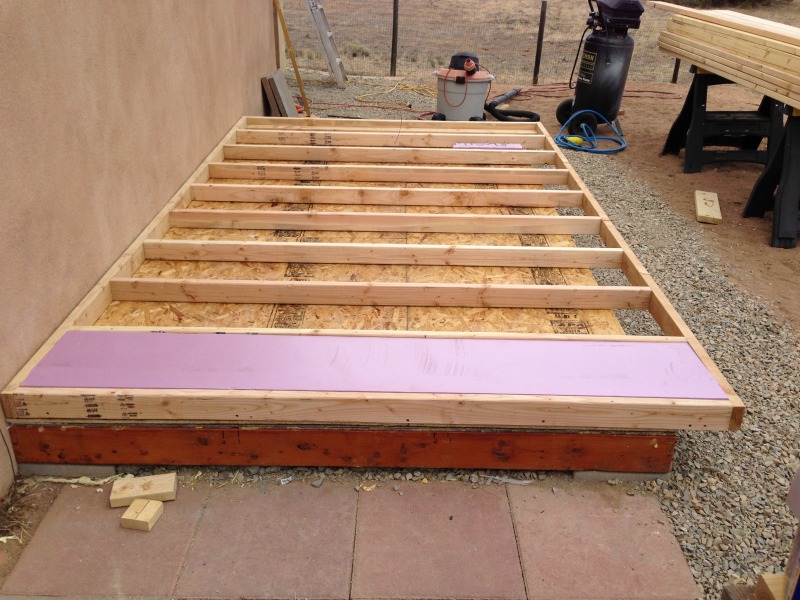
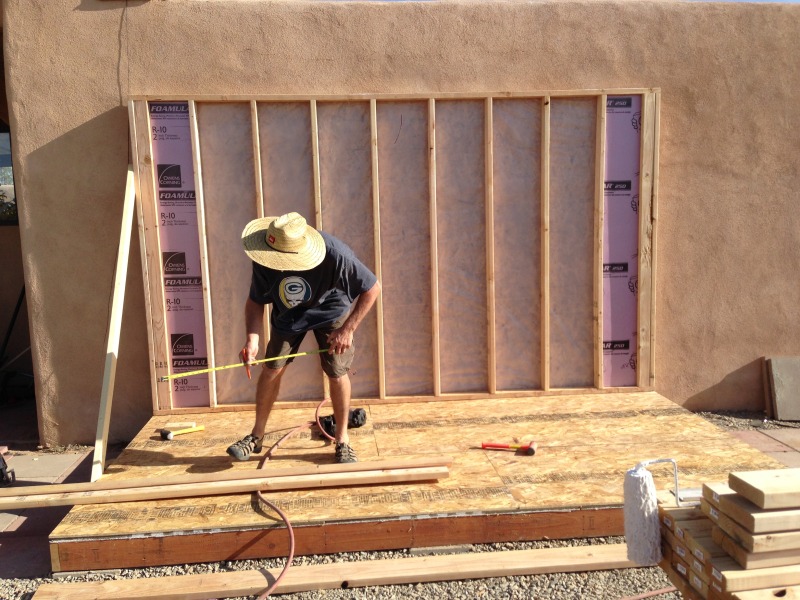
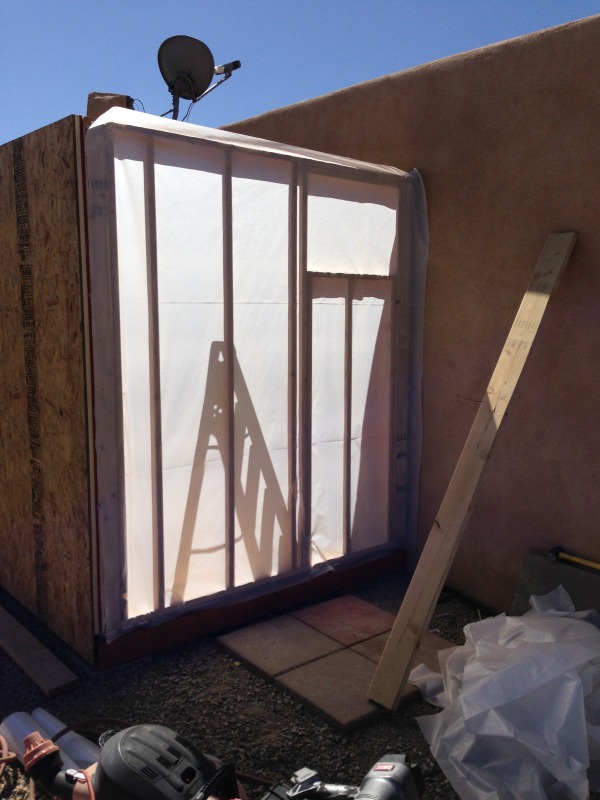
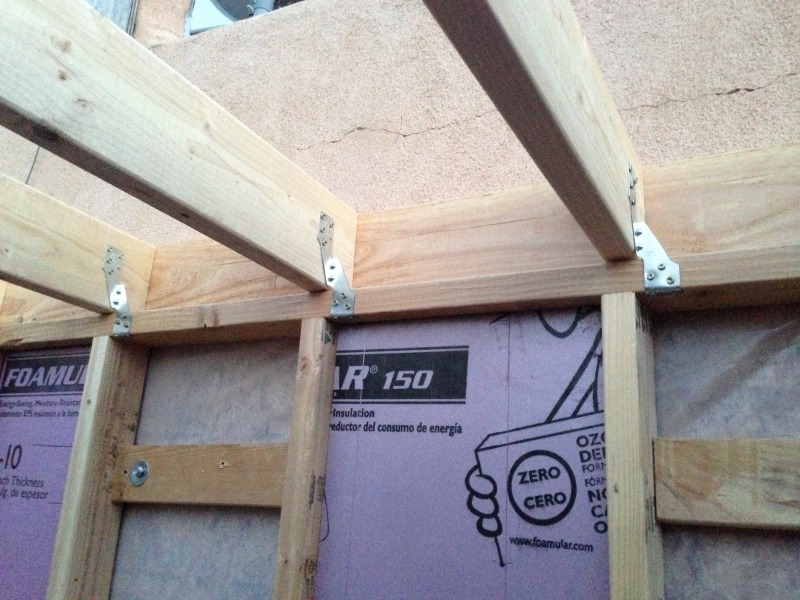
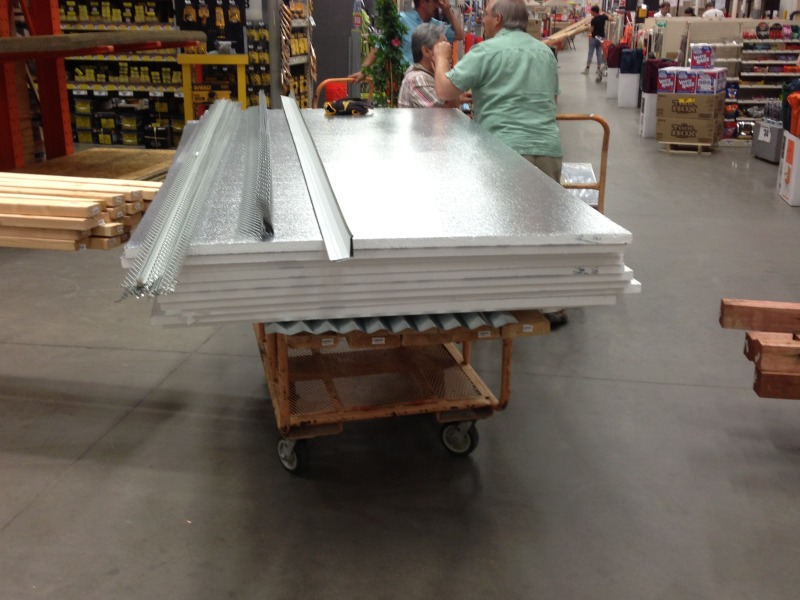
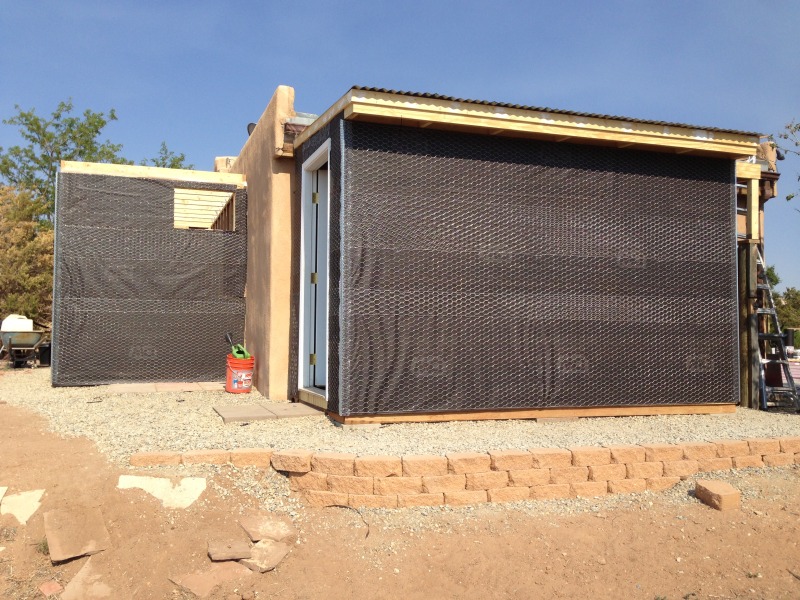
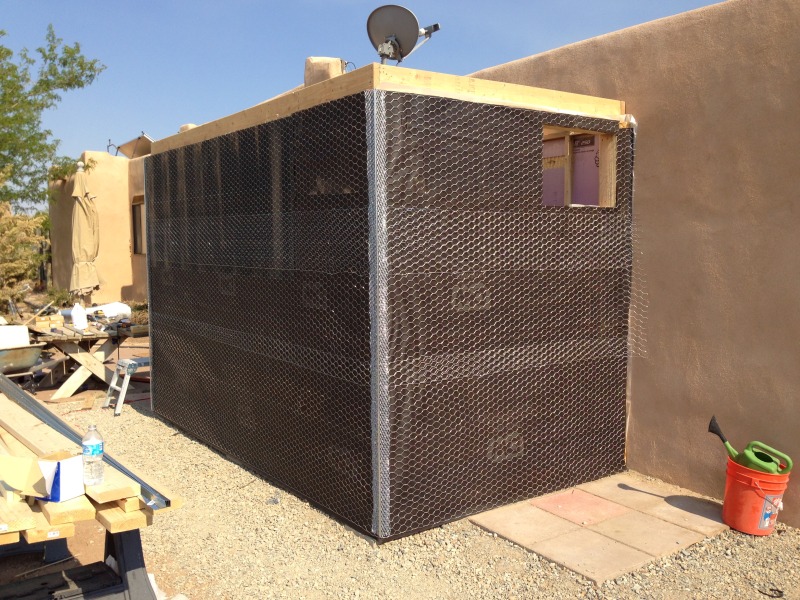
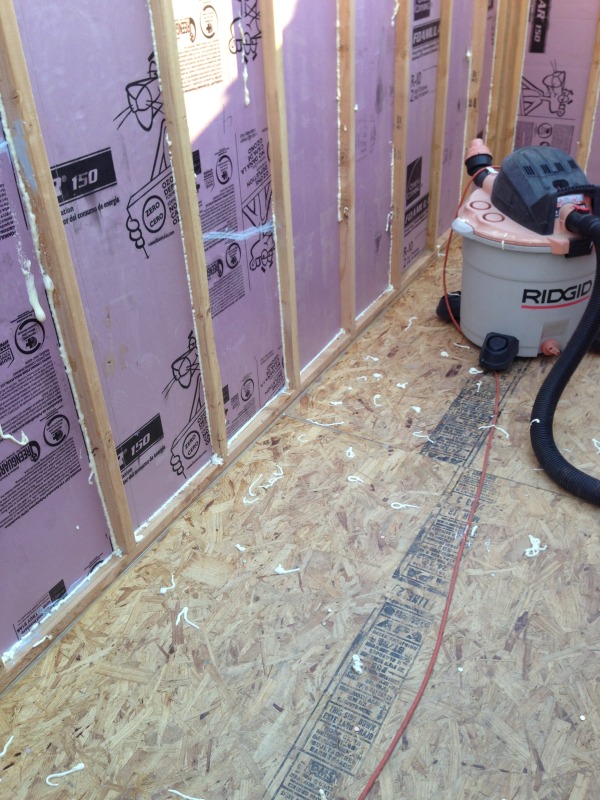
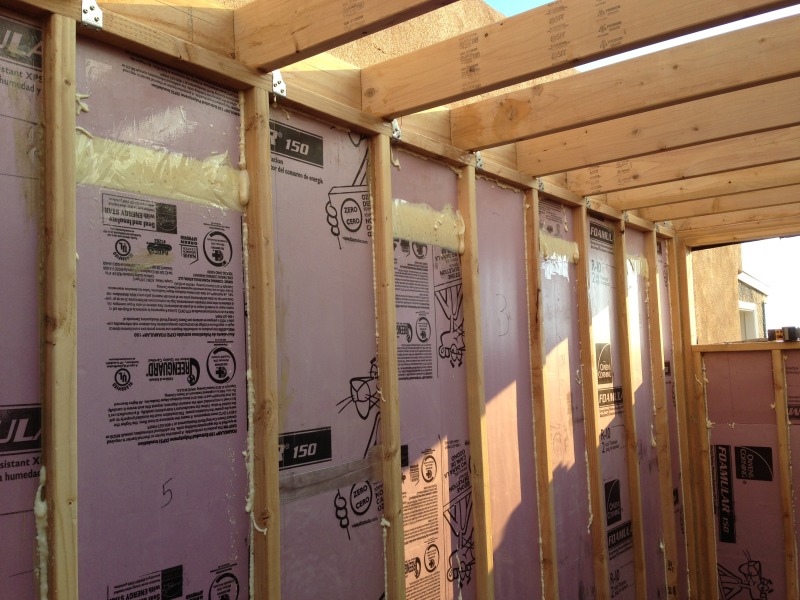
Irrenarzt said:Those will be the outer skin of the room once we have it all framed out.

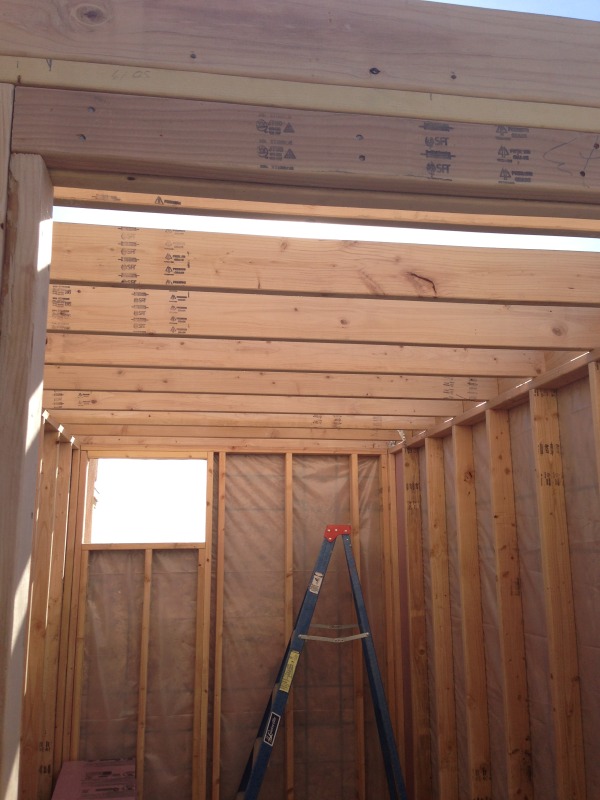

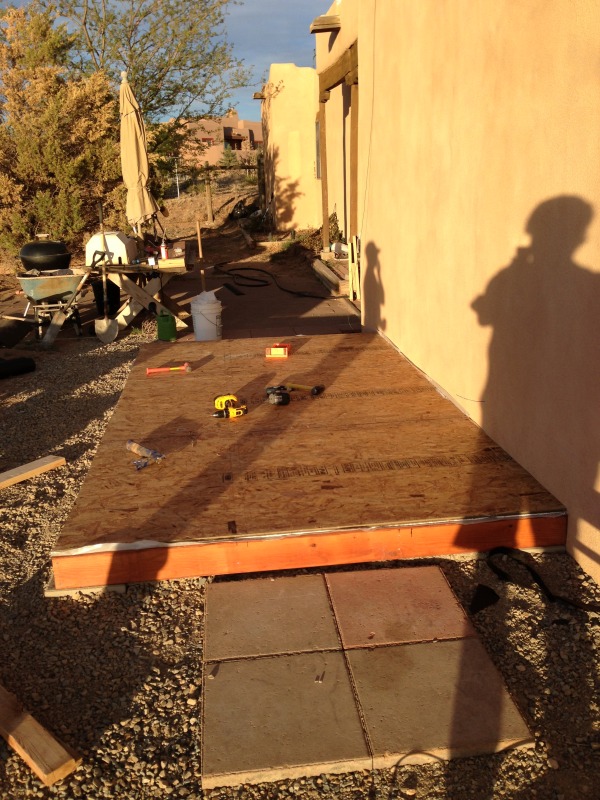
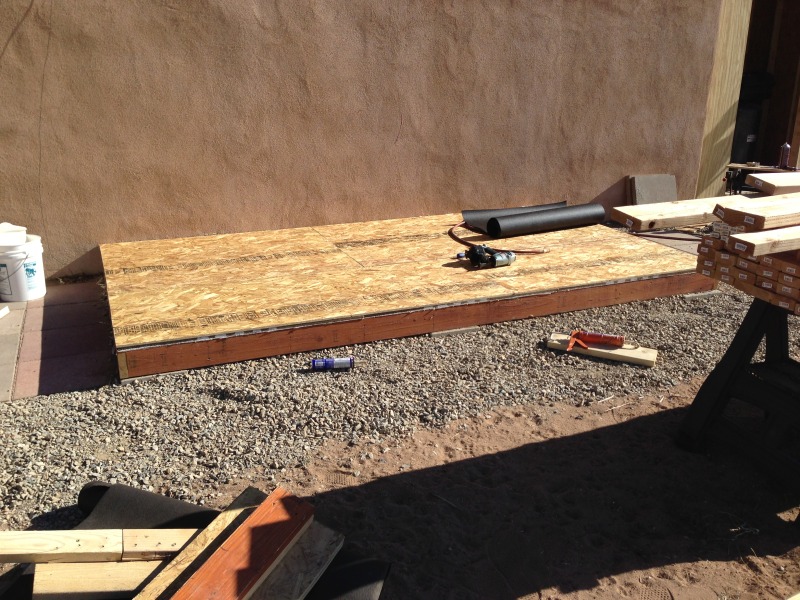
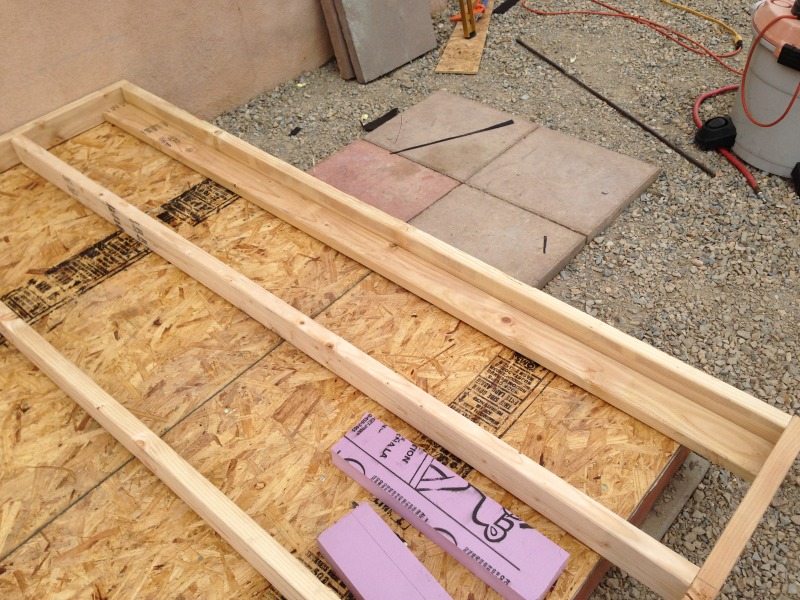
This must be one of the fastest progressing and best-documented DIY projects on here!

Looks like I'm flying mostly solo for the rest of this project as Ghettogyle Greg's SWMBO is putting the kibosh on his helping me as he hasn't been around.
Looks like I'm flying mostly solo for the rest of this project as Ghettogyle Greg's SWMBO is putting the kibosh on his helping me as he hasn't been around. No biggie but this will slow me down a fair amount.
Enter your email address to join:
