Lots of different ways to set up a home brewery. Show us what you've got!
I hope to see lots of different ways to set up a brewspace and brewery, ways that will give me and others ideas on how to do things better.
I'll start with my own kludged-together space. Unlike some who have dedicated brew spaces, I've had to carve this space out of the back of my garage.
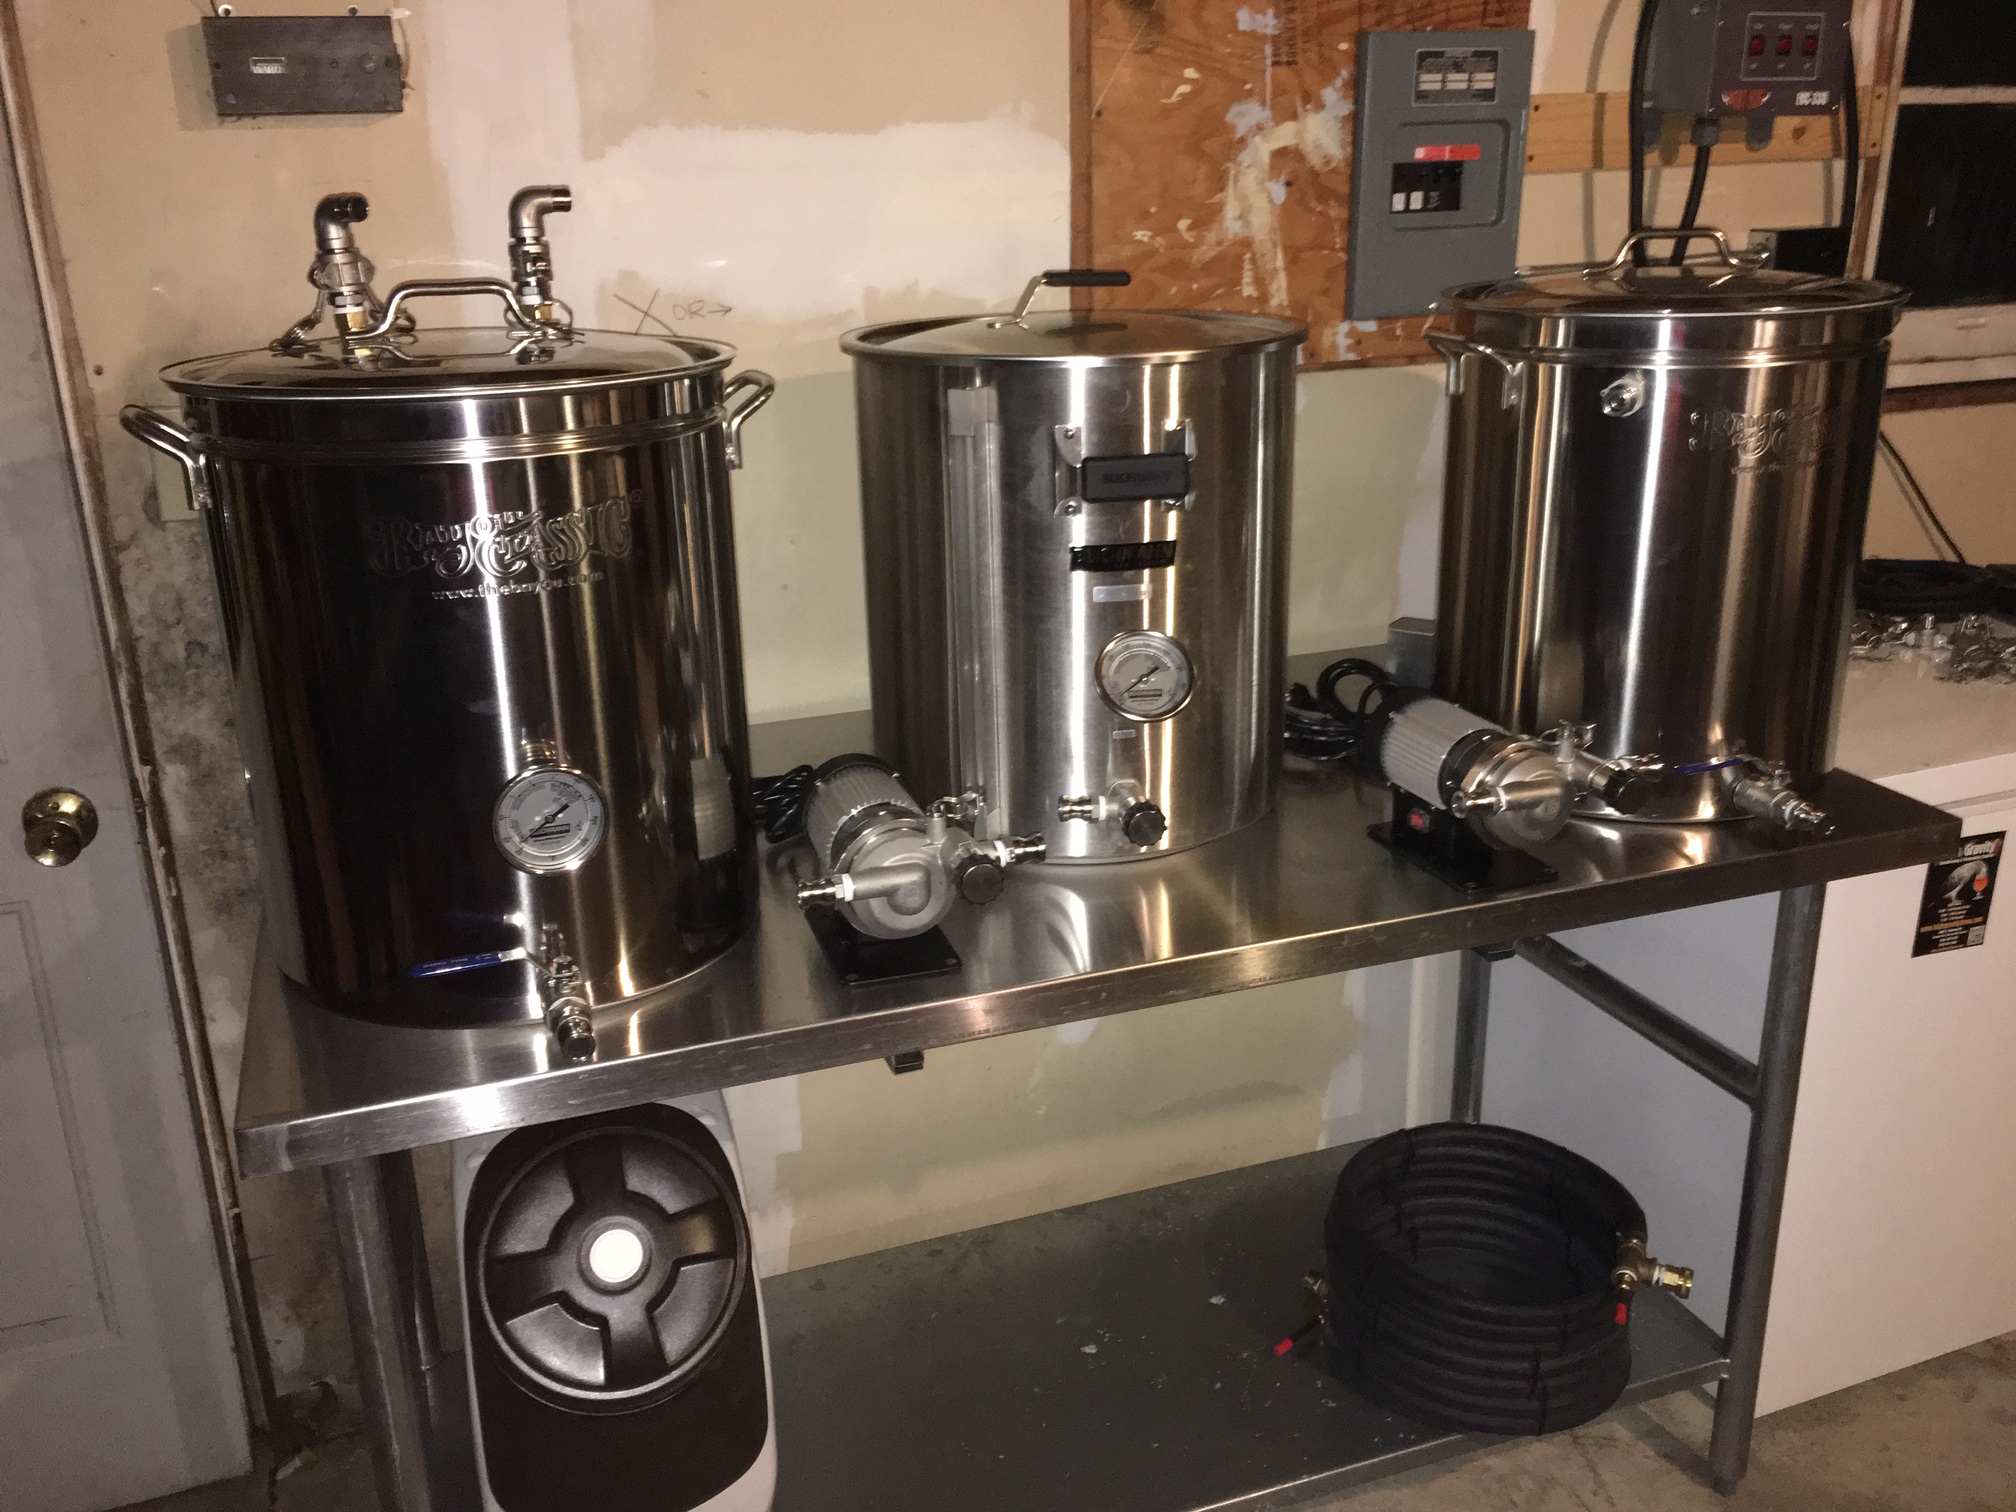
Mine has a panel from Auber Instruments to control the BK and pumps as needed, plus a RIMS system for the MT. The small and large refrigerators are ferm chambers; there is a Penguin chiler to the left of the conical.
You can see the steam slayer from Brewhardware attached to the BK; that drains into the trap under the sink.


Here are some more specific pics of the space. Most of what I've been doing has been trying to be more efficient in the use of space. I only have this section of the garage to work in, so finding ways to store or hang things is important to maximizing space.
To bring electric to my garage I ran a 4-wire line from my basement breaker panel to where it exited from the rim joist in the garage. I installed a subpanel and ran conduit up from the rim joist to the panel, and then up from there along the ceiling from where I could drop it down again where I needed it. Running the wiring through the walls or above the ceiling was going to be very tough, thus this solution.

Showing how the conduit runs along the ceiling and around the corners; you can see it continuing above the blue cooler.

This shows my gas setup. I picked up the 3-gauge regulator cheap, and a buddy gave me--gave me!--the 10# CO2 cylinder, so it was a natural to use it here. One regulator runs to the larger green refrigerator/ferm chamber, where I can carb a keg inside if I want. The other runs to a splitter which feeds two LONG CO2 lines I use for things like pressurized transfers from my conical, and using CO2 to blow out hoses when brewing.
The silicone tubing coming out of the refrigerator attaches to a line inside I can use to transfer fermentation gases (CO2!) outside the refrigerator into an airlock jar, so I can see what's going on by the bubbling.

A wider angle shot--you can see the red CO2 lines hanging on the small ferm chamber refrigerator. I'm using magnetic paper towel holders as hooks for them.
You can see the RIMS tube in front of the MT on the left, and the counterflow chiller below the BK on the right.

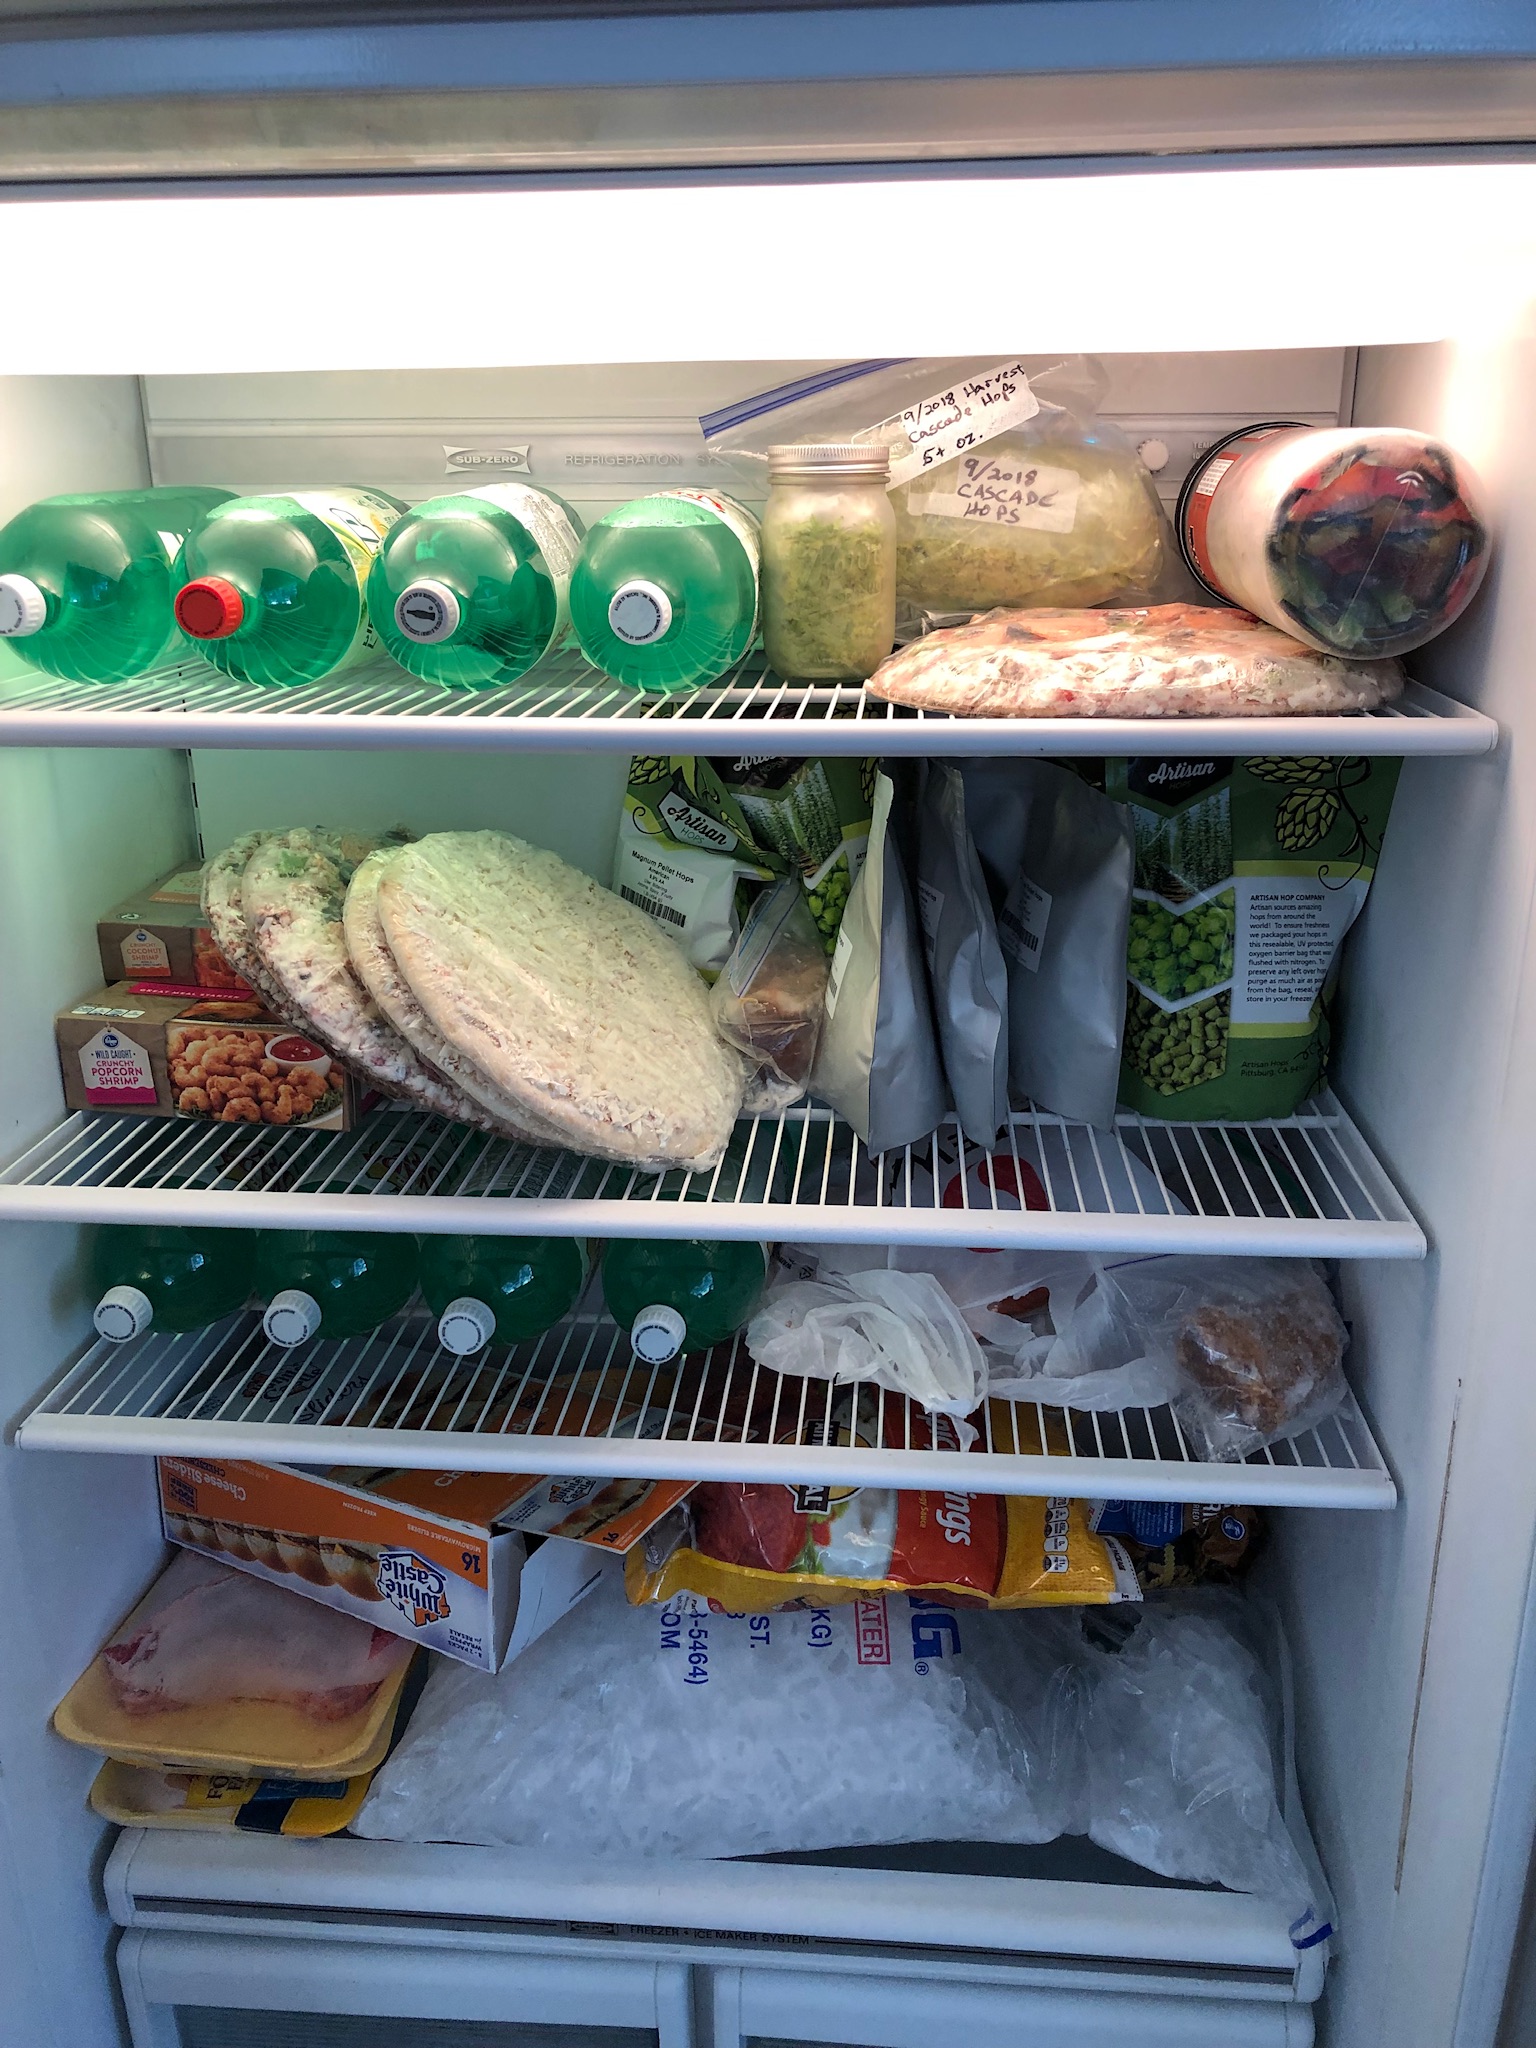
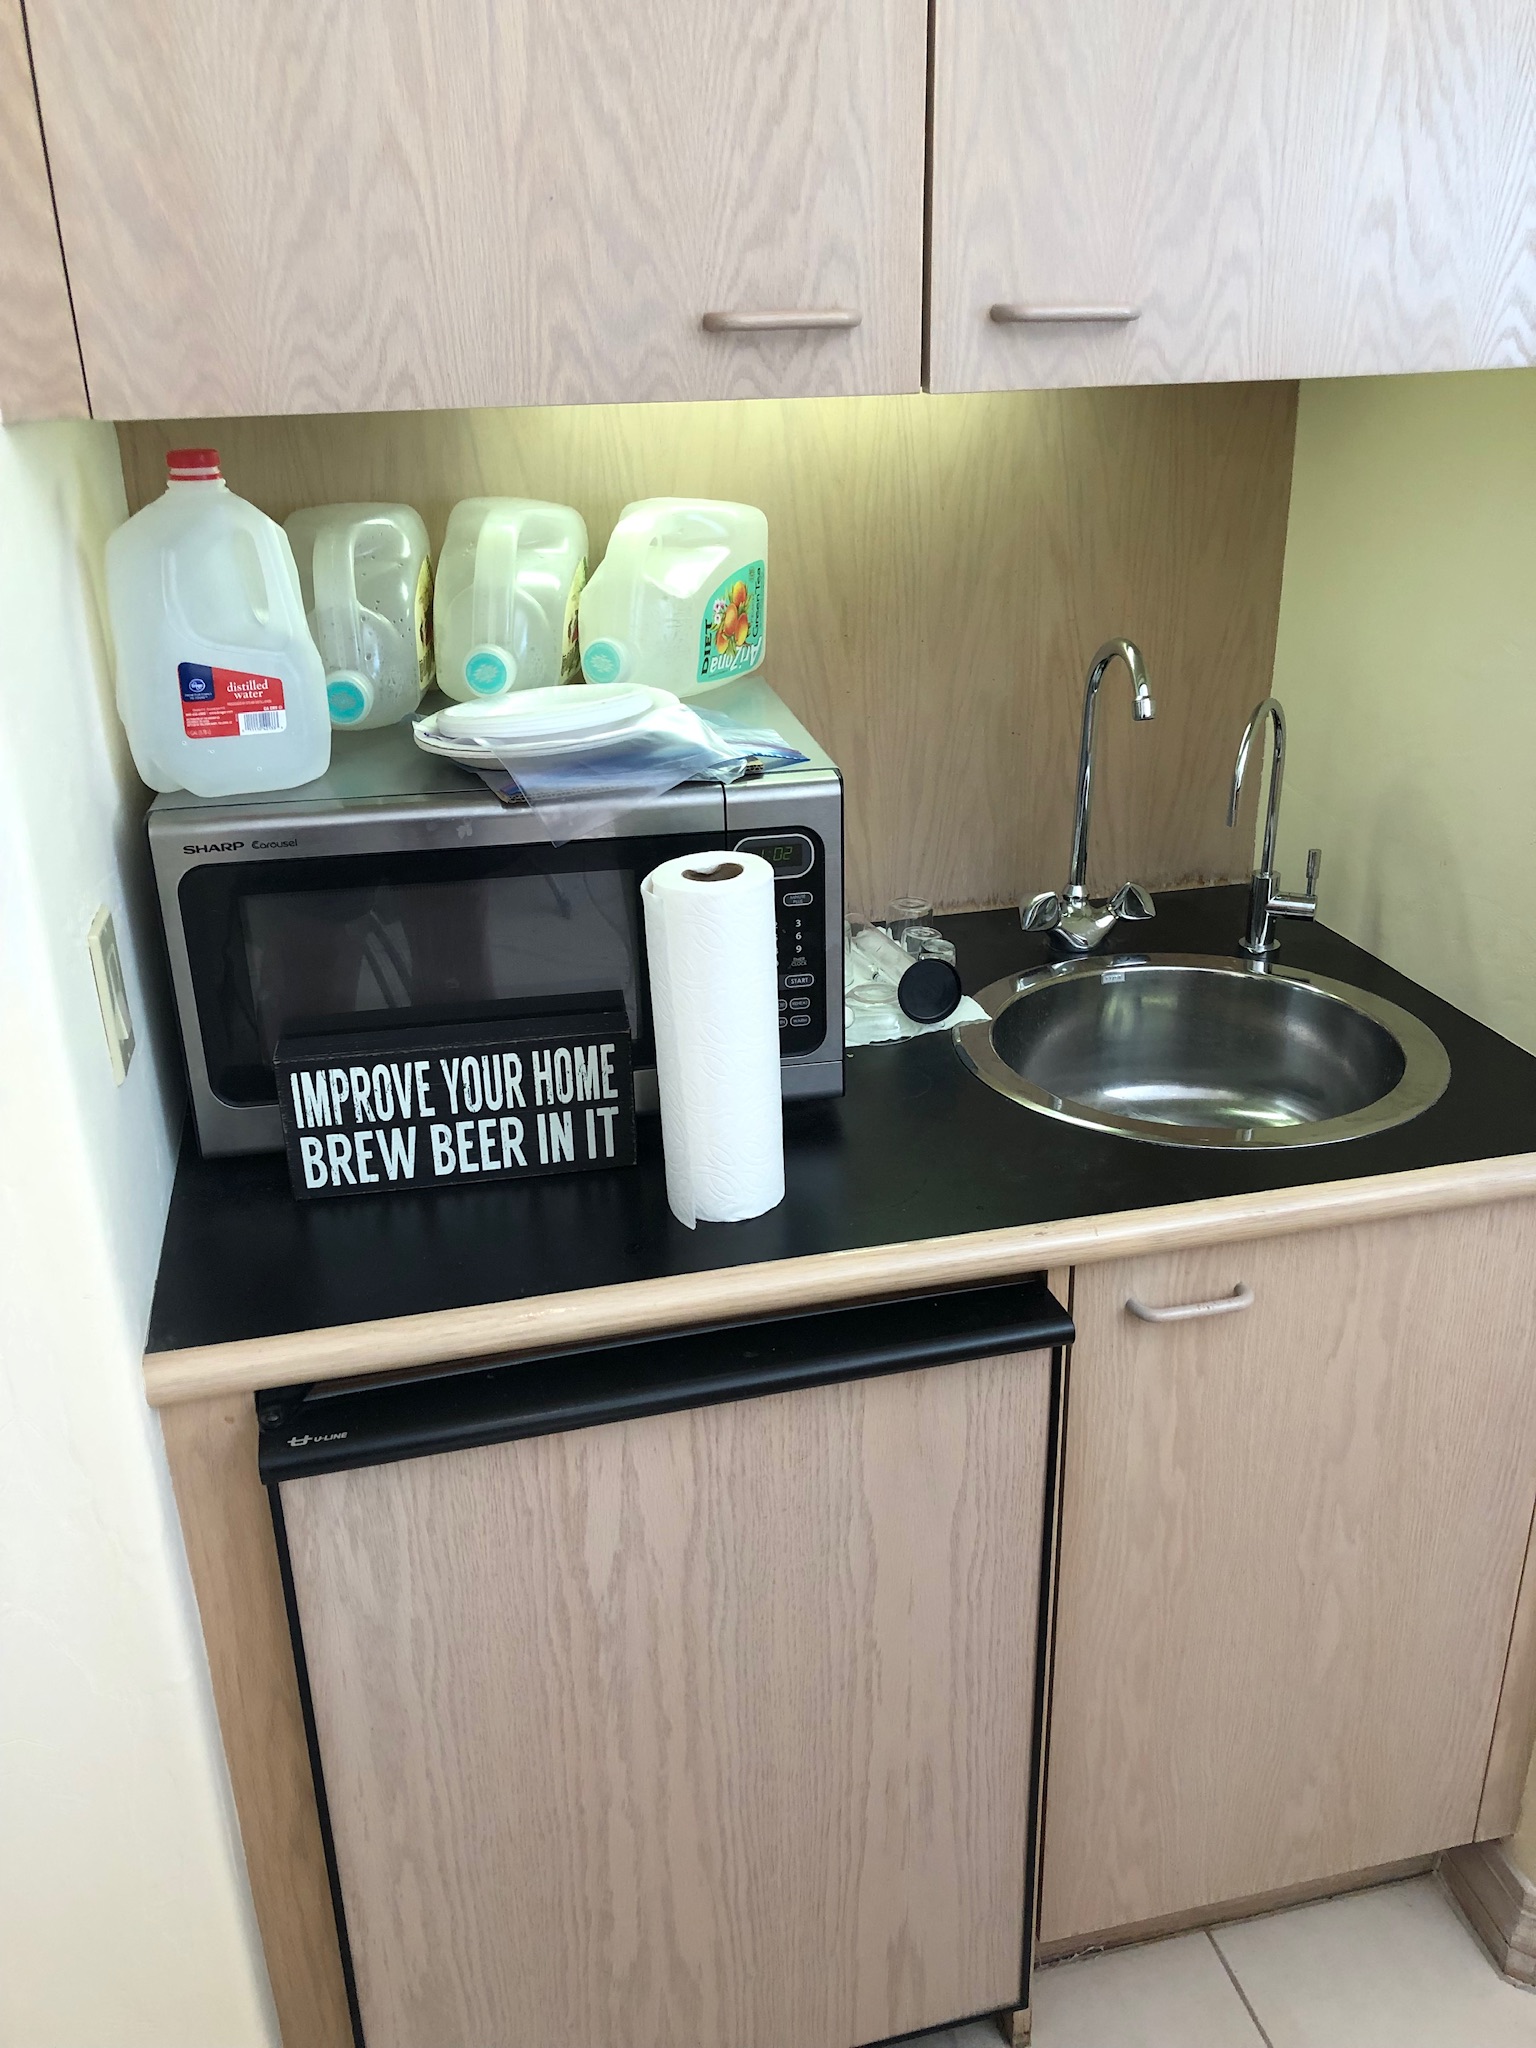
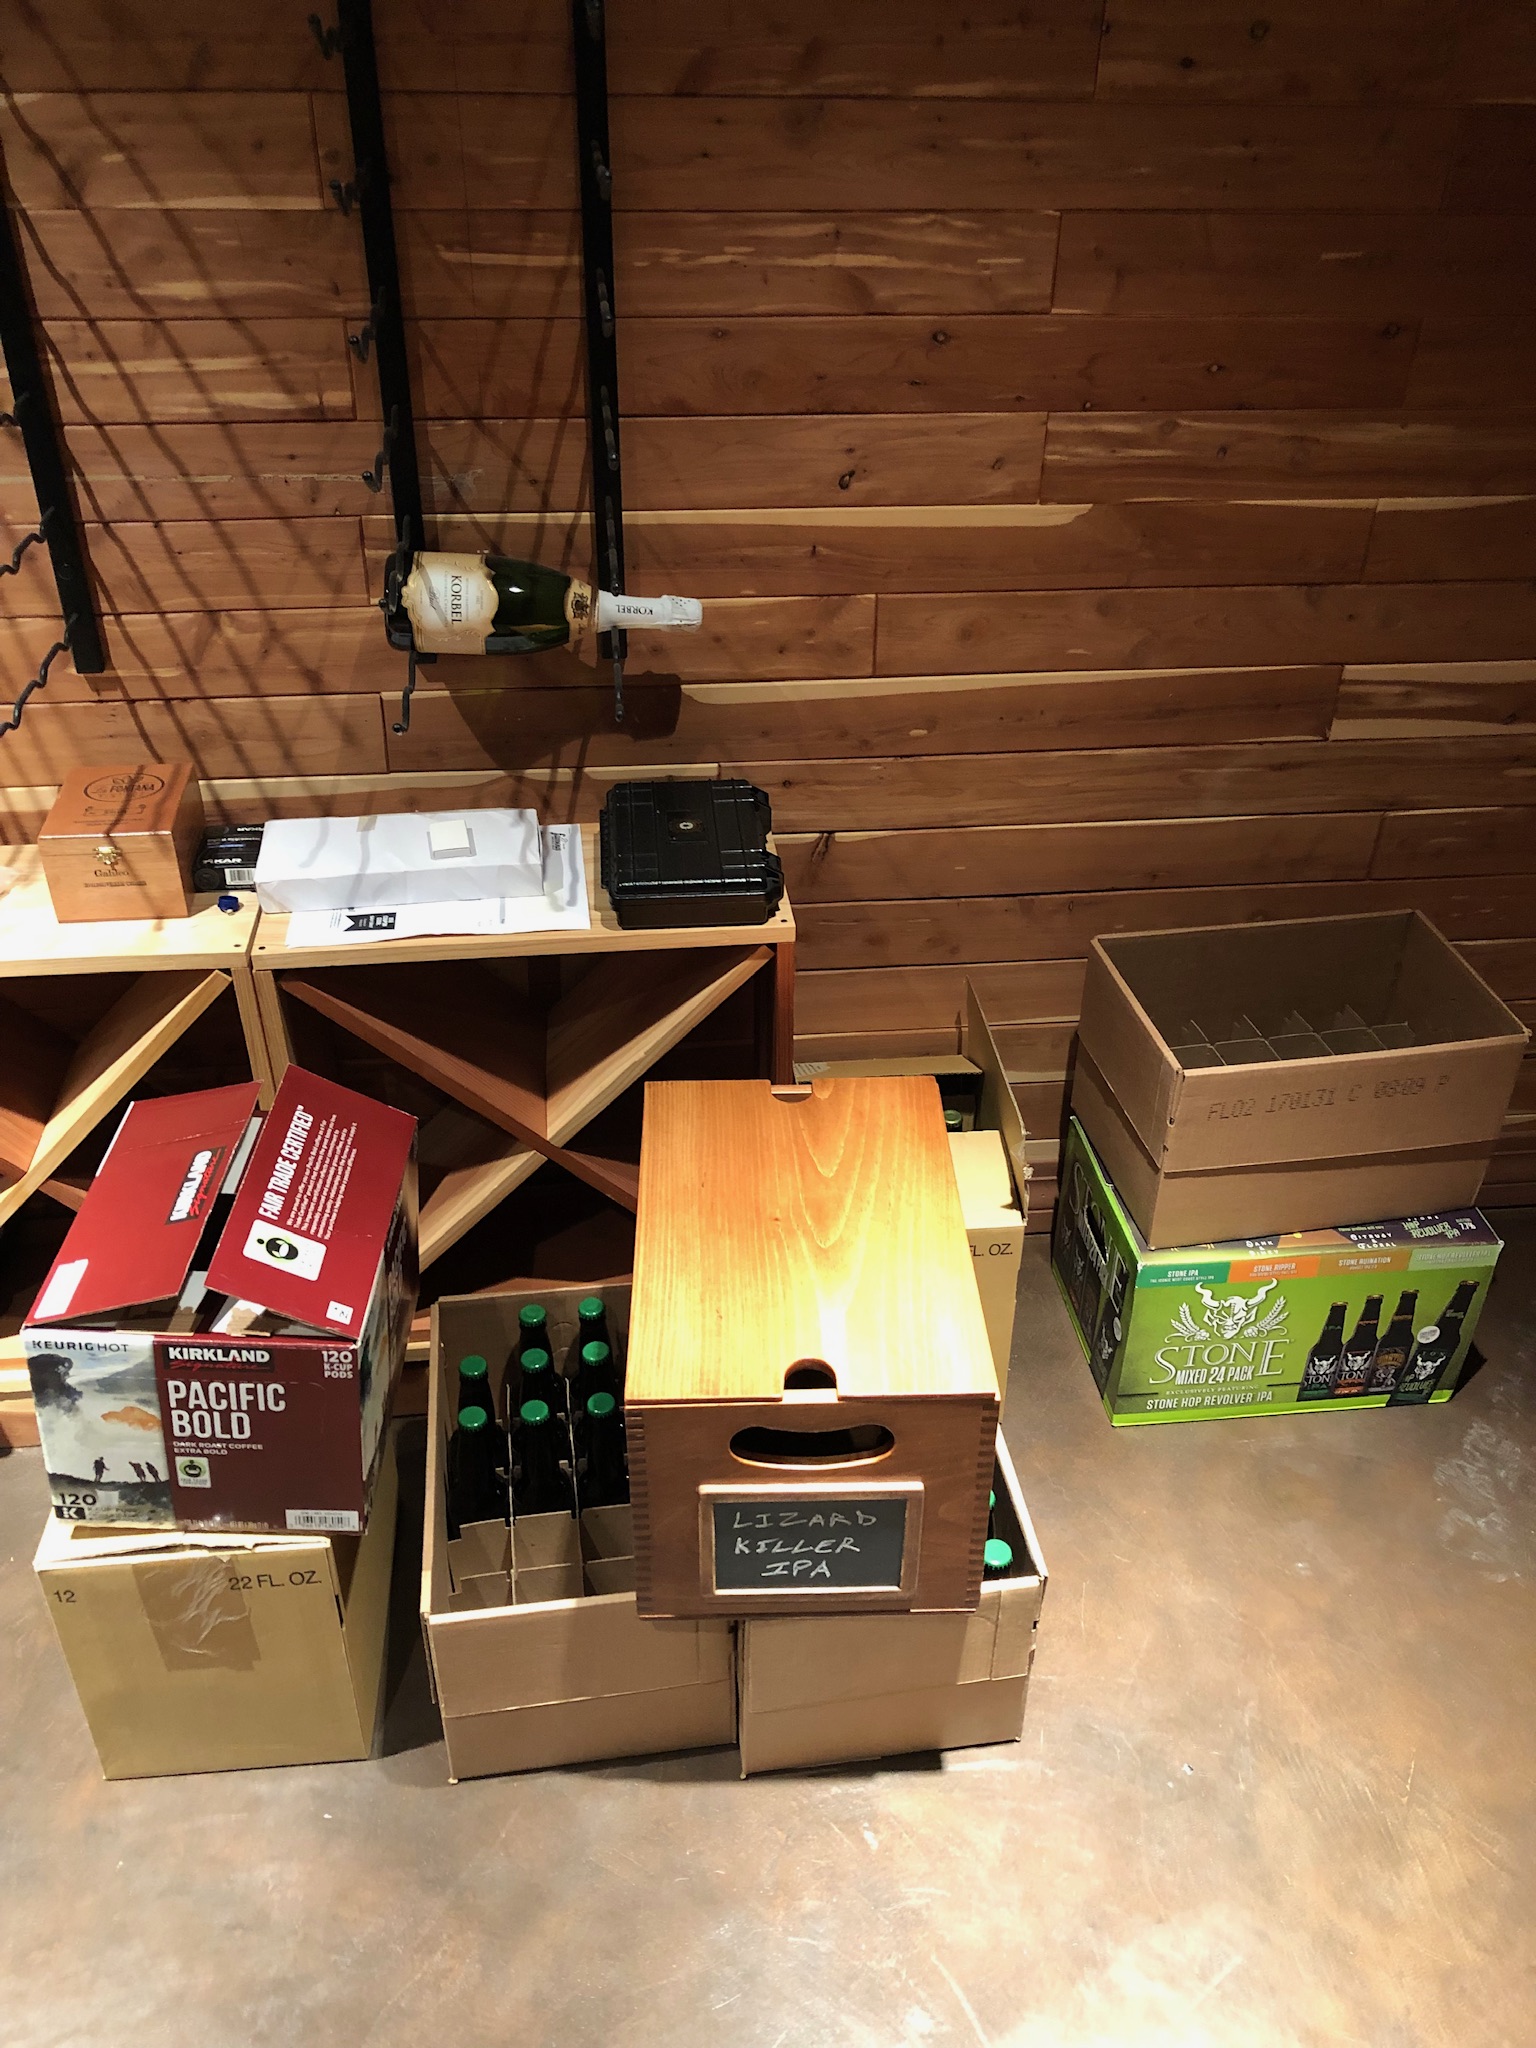
The stuff on the right--I lucked into a free microwave and use it to boil water for sanitizing my O2 wand and for other purposes. The little tip-forward storage bins turn out to be perfect for storing all those various parts--easy to see them through the clear bins.
Because I'm low on space, I rigged up something under the shelf to hold my hydrometers, and I hang the hydrometer cylinders and other flotsam under it as well.

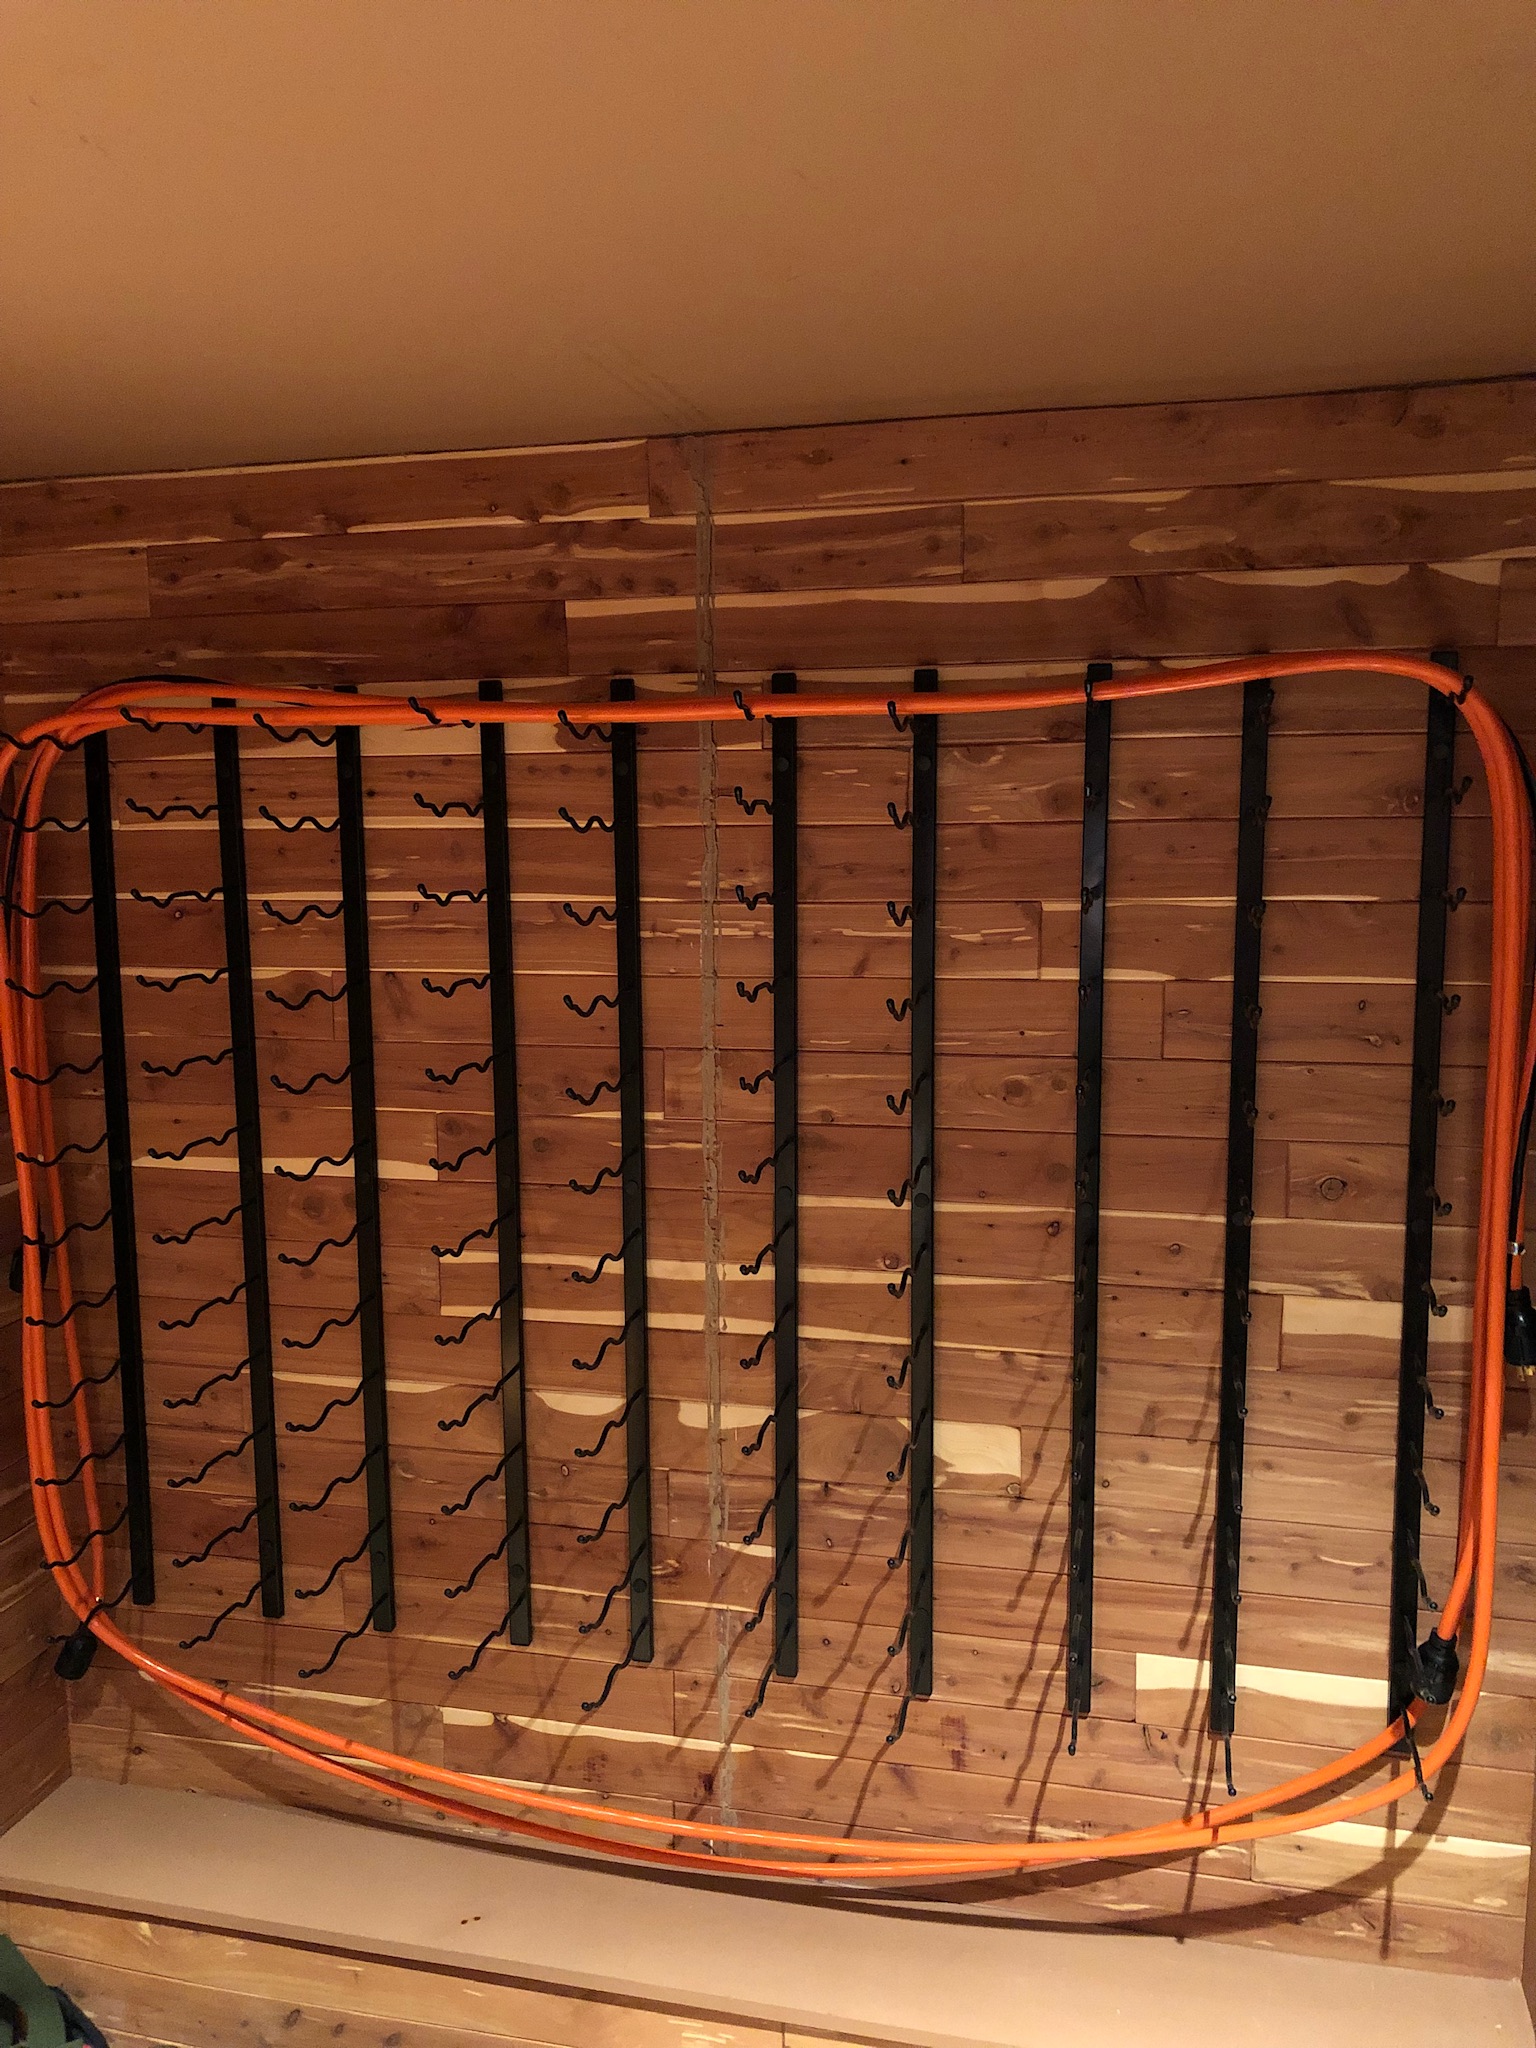
How I'm currently hanging all my hoses. This is the hardest thing to figure out, how to organize them so I can just grab what I need for each stage of brewing.
The shelf attached to the fridge is also held up by a couple of magnetic paper towel holders with the pegs removed.

The chiller and conical. You can see the last conduit coming down to where i have a 20-amp dedicated circuit for the chiller and Inkbird that controls temp in the conical. The insulated tubing for the conical chiller is hanging up on a hook to keep it out of the way.

Last but not least, I use a garden hose to feed water to my chiller and then run the water down a drain in my garage that drains to the street. "Outside" water is about half the price of "inside" water--they're metered separately because inside water goes to the sanitary sewer.
Problem with that is I live in Wisconsin, and winter brewing requires me to go outside and use that hose. It's cold, the garage door has to stay open, sometimes I forget and the hose is frozen....
I had the plumber put a faucet inside the garage that runs off the same line as the outside faucet, so now there's little concern about freezing, plus an easy way to manage the hose.
I hope to see lots of different ways to set up a brewspace and brewery, ways that will give me and others ideas on how to do things better.
I'll start with my own kludged-together space. Unlike some who have dedicated brew spaces, I've had to carve this space out of the back of my garage.
Mine has a panel from Auber Instruments to control the BK and pumps as needed, plus a RIMS system for the MT. The small and large refrigerators are ferm chambers; there is a Penguin chiler to the left of the conical.
You can see the steam slayer from Brewhardware attached to the BK; that drains into the trap under the sink.
Here are some more specific pics of the space. Most of what I've been doing has been trying to be more efficient in the use of space. I only have this section of the garage to work in, so finding ways to store or hang things is important to maximizing space.
To bring electric to my garage I ran a 4-wire line from my basement breaker panel to where it exited from the rim joist in the garage. I installed a subpanel and ran conduit up from the rim joist to the panel, and then up from there along the ceiling from where I could drop it down again where I needed it. Running the wiring through the walls or above the ceiling was going to be very tough, thus this solution.
Showing how the conduit runs along the ceiling and around the corners; you can see it continuing above the blue cooler.
This shows my gas setup. I picked up the 3-gauge regulator cheap, and a buddy gave me--gave me!--the 10# CO2 cylinder, so it was a natural to use it here. One regulator runs to the larger green refrigerator/ferm chamber, where I can carb a keg inside if I want. The other runs to a splitter which feeds two LONG CO2 lines I use for things like pressurized transfers from my conical, and using CO2 to blow out hoses when brewing.
The silicone tubing coming out of the refrigerator attaches to a line inside I can use to transfer fermentation gases (CO2!) outside the refrigerator into an airlock jar, so I can see what's going on by the bubbling.
A wider angle shot--you can see the red CO2 lines hanging on the small ferm chamber refrigerator. I'm using magnetic paper towel holders as hooks for them.
You can see the RIMS tube in front of the MT on the left, and the counterflow chiller below the BK on the right.
The stuff on the right--I lucked into a free microwave and use it to boil water for sanitizing my O2 wand and for other purposes. The little tip-forward storage bins turn out to be perfect for storing all those various parts--easy to see them through the clear bins.
Because I'm low on space, I rigged up something under the shelf to hold my hydrometers, and I hang the hydrometer cylinders and other flotsam under it as well.
How I'm currently hanging all my hoses. This is the hardest thing to figure out, how to organize them so I can just grab what I need for each stage of brewing.
The shelf attached to the fridge is also held up by a couple of magnetic paper towel holders with the pegs removed.
The chiller and conical. You can see the last conduit coming down to where i have a 20-amp dedicated circuit for the chiller and Inkbird that controls temp in the conical. The insulated tubing for the conical chiller is hanging up on a hook to keep it out of the way.
Last but not least, I use a garden hose to feed water to my chiller and then run the water down a drain in my garage that drains to the street. "Outside" water is about half the price of "inside" water--they're metered separately because inside water goes to the sanitary sewer.
Problem with that is I live in Wisconsin, and winter brewing requires me to go outside and use that hose. It's cold, the garage door has to stay open, sometimes I forget and the hose is frozen....
I had the plumber put a faucet inside the garage that runs off the same line as the outside faucet, so now there's little concern about freezing, plus an easy way to manage the hose.
Last edited:


") here's my decidedly low art brewery...
here's my decidedly low art brewery...