Show us your home brewery/brewspace

Homebrew Talk - Beer, Wine, Mead, & Cider Brewing Discussion Forum

Help Support Homebrew Talk - Beer, Wine, Mead, & Cider Brewing Discussion Forum:

This site may earn a commission from merchant affiliate links, including eBay, Amazon, and others.

mongoose33

Supporting Member
HBT Supporter
Joined
Dec 16, 2015
Messages
8,141
Reaction score
8,122
Location
Platteville, WI
Lots of different ways to set up a home brewery. Show us what you've got!

I hope to see lots of different ways to set up a brewspace and brewery, ways that will give me and others ideas on how to do things better.

I'll start with my own kludged-together space. Unlike some who have dedicated brew spaces, I've had to carve this space out of the back of my garage.

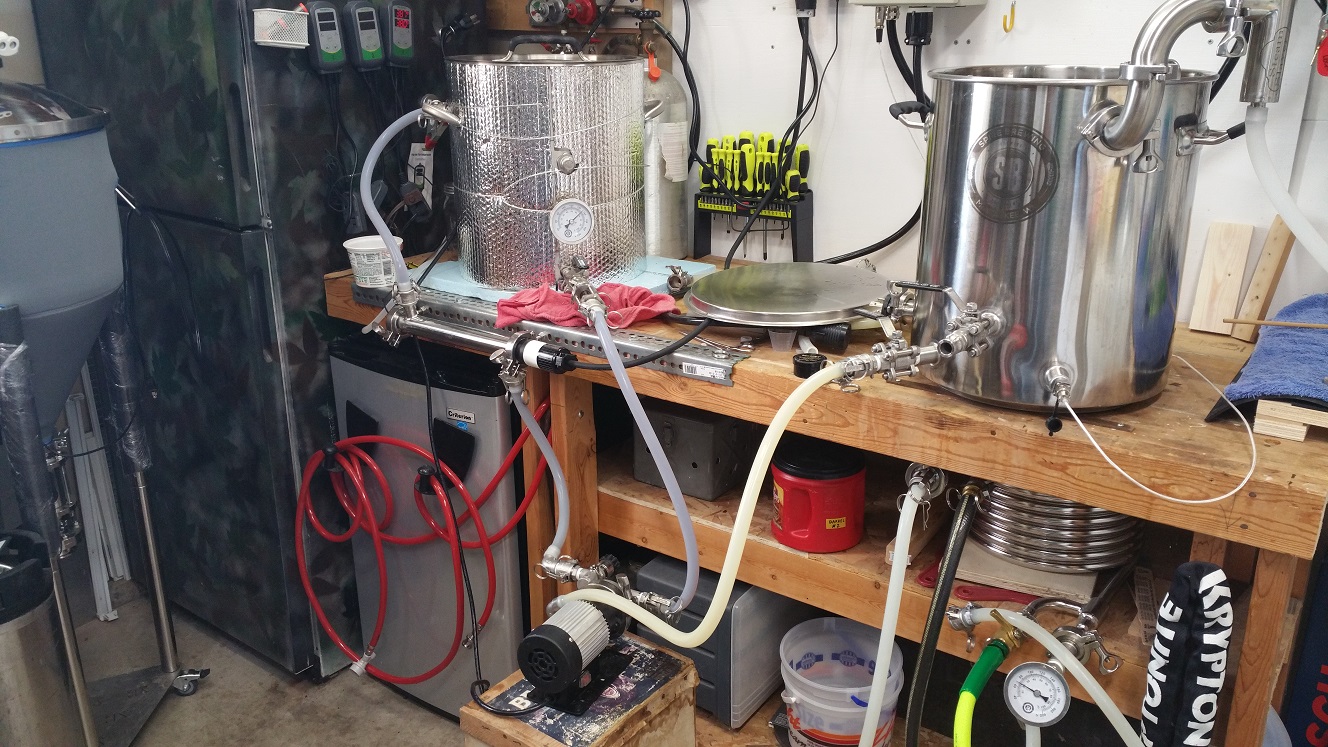
Mine has a panel from Auber Instruments to control the BK and pumps as needed, plus a RIMS system for the MT. The small and large refrigerators are ferm chambers; there is a Penguin chiler to the left of the conical.

You can see the steam slayer from Brewhardware attached to the BK; that drains into the trap under the sink.
newsetup10.jpg

slayer3.jpg

newsetup9.jpg


Here are some more specific pics of the space. Most of what I've been doing has been trying to be more efficient in the use of space. I only have this section of the garage to work in, so finding ways to store or hang things is important to maximizing space.

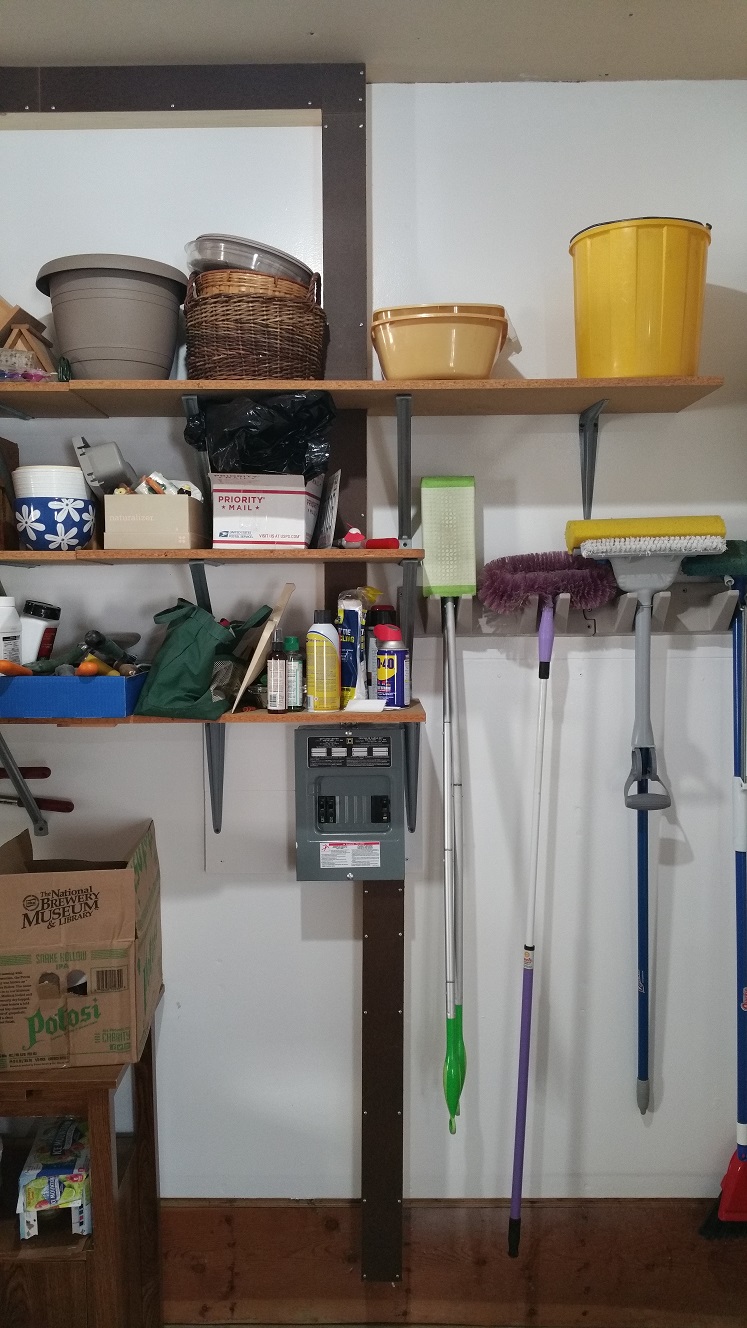
To bring electric to my garage I ran a 4-wire line from my basement breaker panel to where it exited from the rim joist in the garage. I installed a subpanel and ran conduit up from the rim joist to the panel, and then up from there along the ceiling from where I could drop it down again where I needed it. Running the wiring through the walls or above the ceiling was going to be very tough, thus this solution.

brewspacesubpanel.jpg


Showing how the conduit runs along the ceiling and around the corners; you can see it continuing above the blue cooler.

brewspaceconduit.jpg


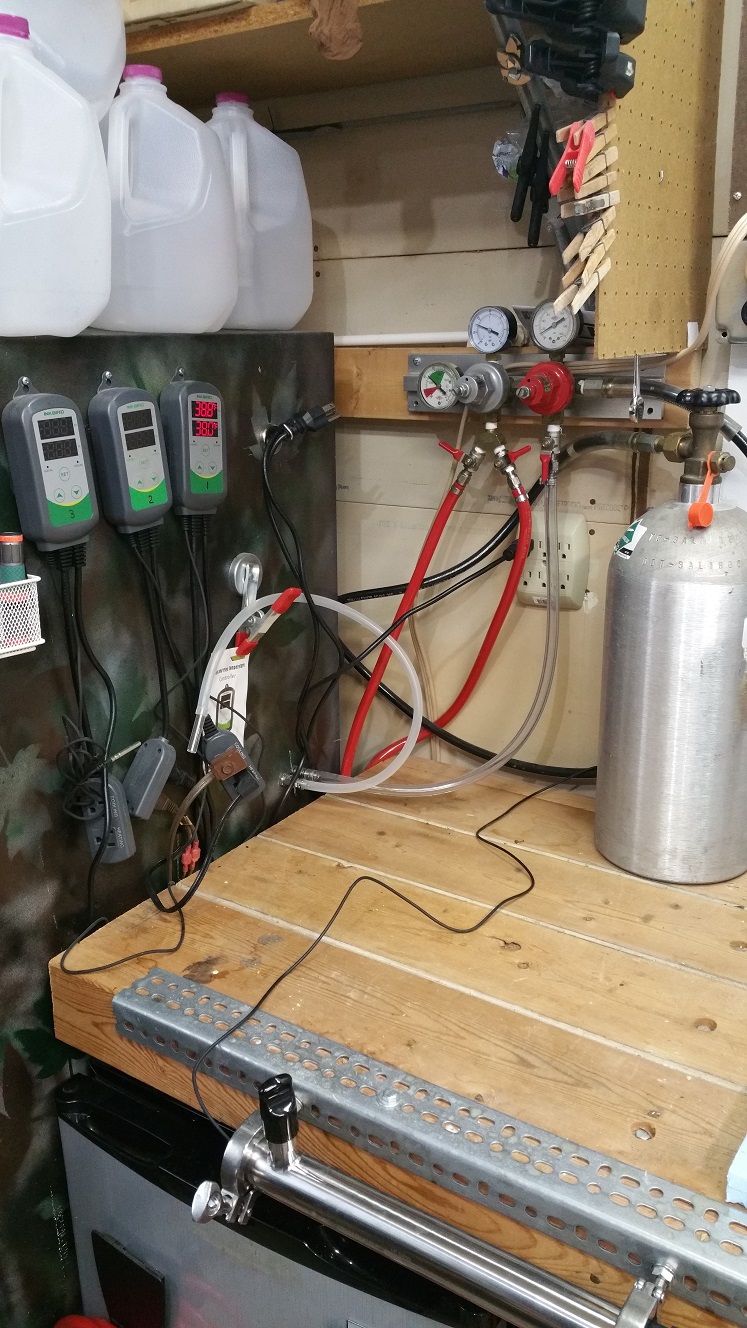
This shows my gas setup. I picked up the 3-gauge regulator cheap, and a buddy gave me--gave me!--the 10# CO2 cylinder, so it was a natural to use it here. One regulator runs to the larger green refrigerator/ferm chamber, where I can carb a keg inside if I want. The other runs to a splitter which feeds two LONG CO2 lines I use for things like pressurized transfers from my conical, and using CO2 to blow out hoses when brewing.

The silicone tubing coming out of the refrigerator attaches to a line inside I can use to transfer fermentation gases (CO2!) outside the refrigerator into an airlock jar, so I can see what's going on by the bubbling.

brewspacegassetup.jpg


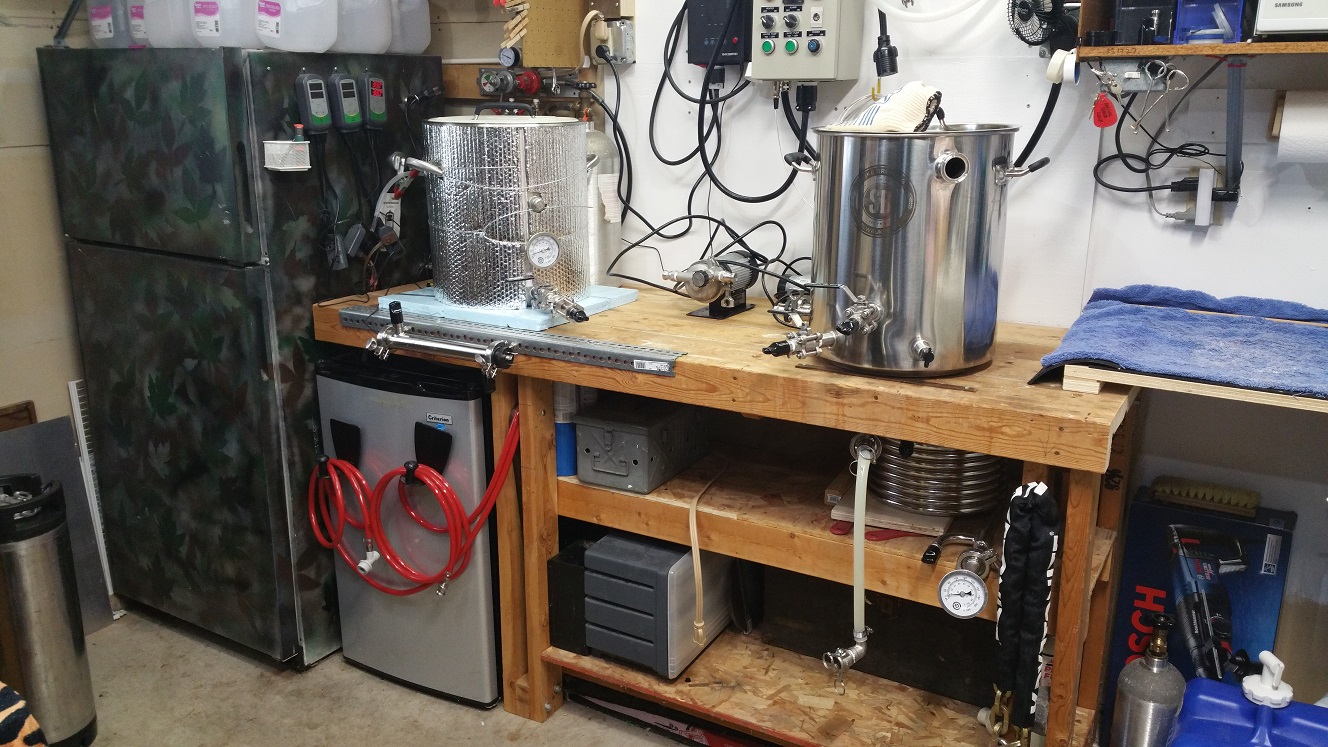
A wider angle shot--you can see the red CO2 lines hanging on the small ferm chamber refrigerator. I'm using magnetic paper towel holders as hooks for them.

You can see the RIMS tube in front of the MT on the left, and the counterflow chiller below the BK on the right.

brewspacewideangle.jpg


The stuff on the right--I lucked into a free microwave and use it to boil water for sanitizing my O2 wand and for other purposes. The little tip-forward storage bins turn out to be perfect for storing all those various parts--easy to see them through the clear bins.

Because I'm low on space, I rigged up something under the shelf to hold my hydrometers, and I hang the hydrometer cylinders and other flotsam under it as well.

brewspacerightside.jpg


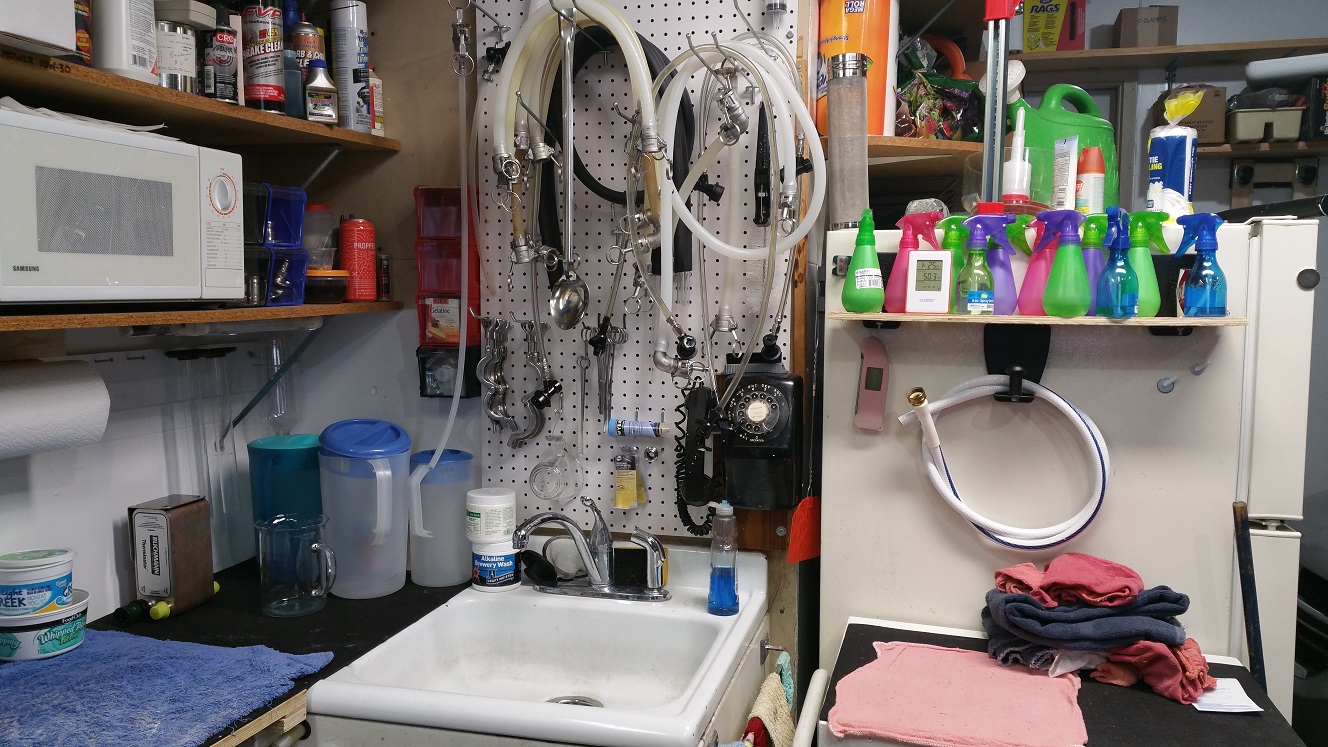
How I'm currently hanging all my hoses. This is the hardest thing to figure out, how to organize them so I can just grab what I need for each stage of brewing.

The shelf attached to the fridge is also held up by a couple of magnetic paper towel holders with the pegs removed.

brewspacesink.jpg


The chiller and conical. You can see the last conduit coming down to where i have a 20-amp dedicated circuit for the chiller and Inkbird that controls temp in the conical. The insulated tubing for the conical chiller is hanging up on a hook to keep it out of the way.

brewspacechillerconical.jpg


Last but not least, I use a garden hose to feed water to my chiller and then run the water down a drain in my garage that drains to the street. "Outside" water is about half the price of "inside" water--they're metered separately because inside water goes to the sanitary sewer.

Problem with that is I live in Wisconsin, and winter brewing requires me to go outside and use that hose. It's cold, the garage door has to stay open, sometimes I forget and the hose is frozen....

I had the plumber put a faucet inside the garage that runs off the same line as the outside faucet, so now there's little concern about freezing, plus an easy way to manage the hose.
 
Last edited:
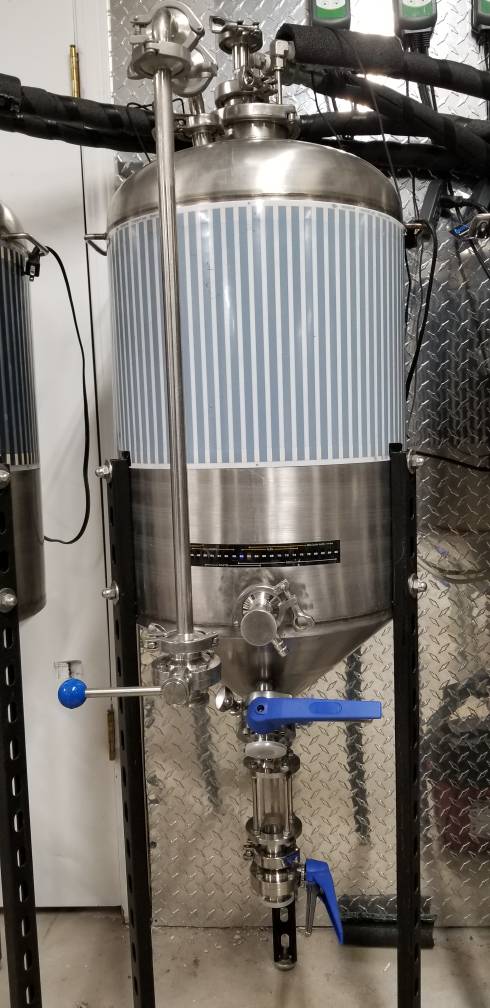
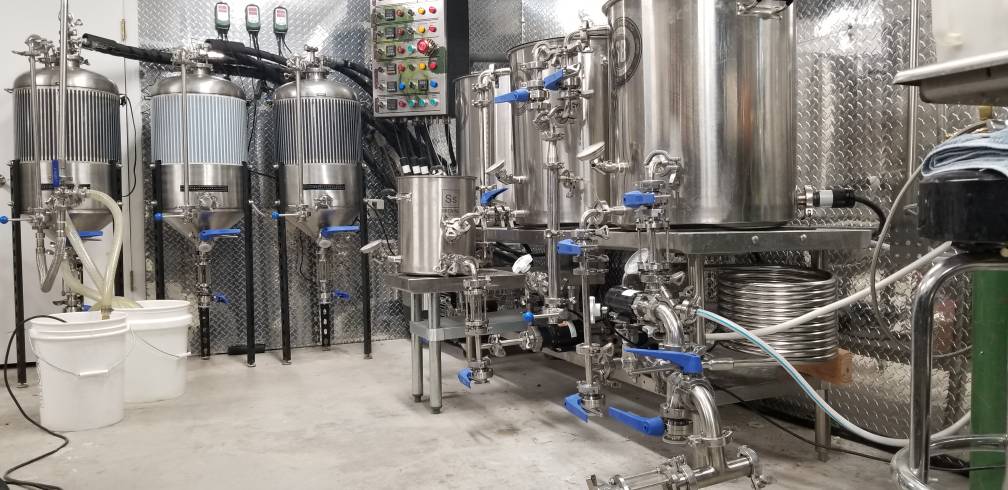
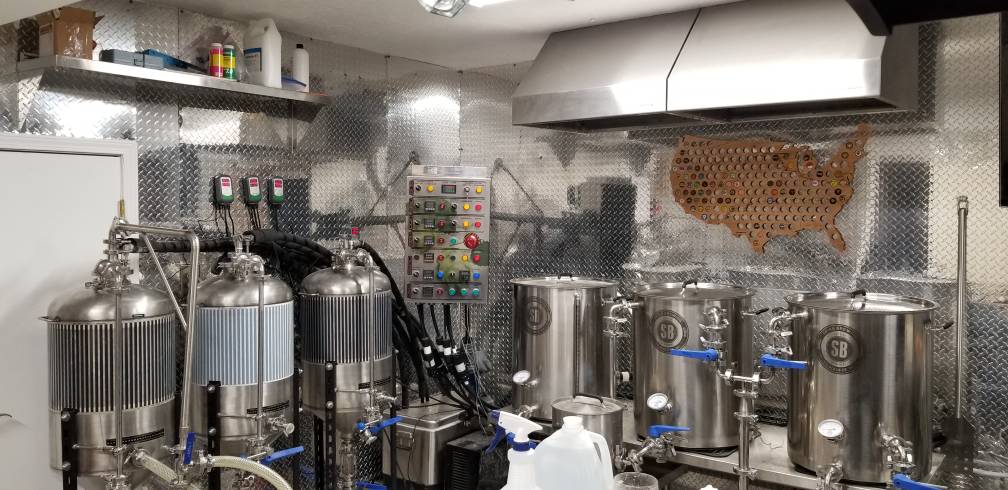
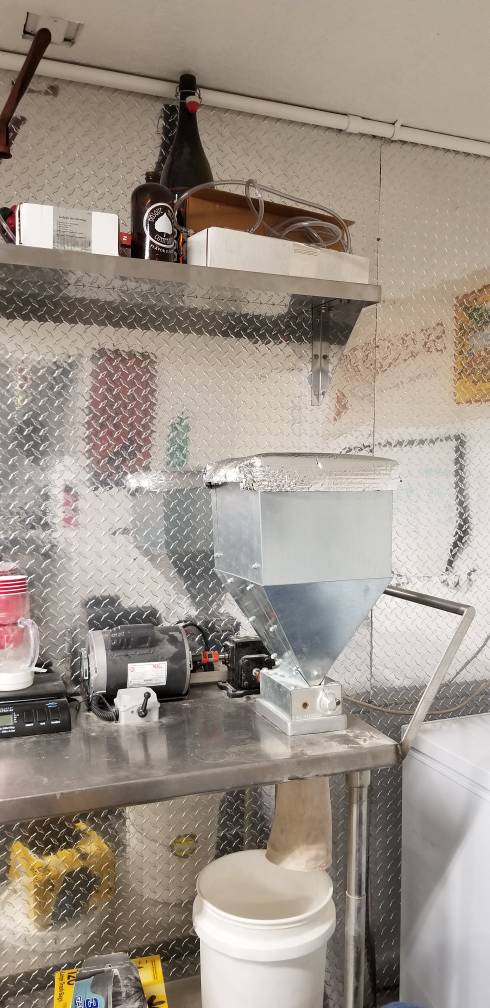
Here are a few pictures of my home brewery. A lot of time and $$ have been put in to this brewery over many years. I'm pretty pleased with how its turned out

I have 3 spike 30 gal custom kettles running on a custom built 60amp control panel. I use 2 elements in the hlt and 2 in the boil with a rims tube. I wanted to be able to have room to go bigger kettles eventually.

I have 3 brewhemoth 22 gallon fermenters with a home build ac glycol chiller.

Monster mill mm2 pro motorized

And the most important thing my massive 3 bay stainless sink makes cleanup easy.

Not pictured is my true tdd-4 6 tap kegerator

A lot of my stuff has been craigslist finds- the kegerator, sink, kegs, fermenters. I have been lucky to find equipment in different cities where I had friends or family able to pick it up for me for great deals.

20181113_023243.jpeg
20181121_235252.jpeg
20181121_235302.jpeg
20181121_235312.jpeg
20181121_235341.jpeg
20181121_235323.jpeg
20181113_030246.jpeg
20181127_020359.jpeg
20181127_020347.jpeg
20181127_020210.jpeg
 
Last edited:
Brew rig 3.jpg
IMG_20180217_134938098.jpg
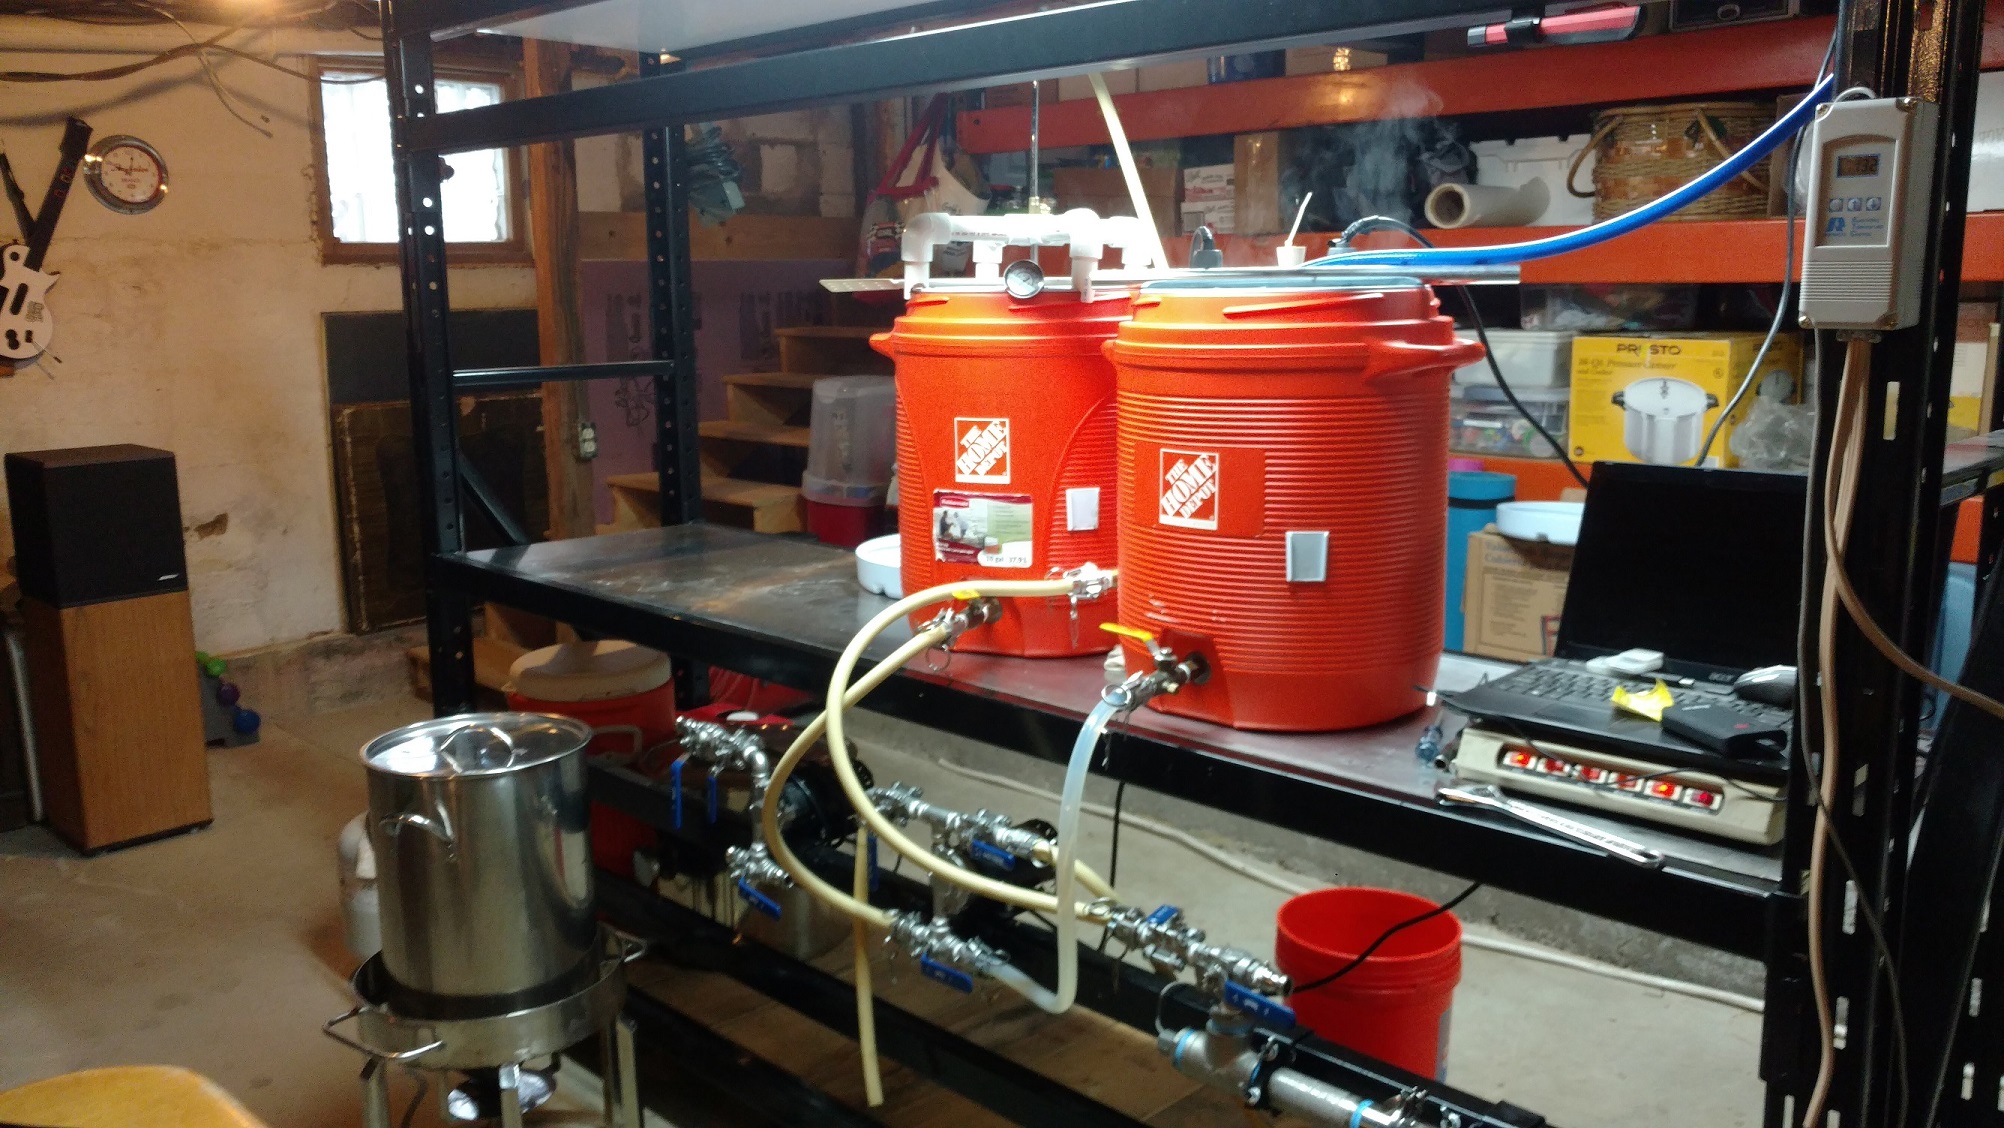
Started years and years ago with the typical gravity set up using chairs, tables and milk crates.
This set up has been a work in process over the past few years. The stand itself is scrounged items that I modified to suit my needs. The structure is a Ridge U Rack industrial shelf unit that I shortened to fit under an I-beam in my basement. overall length is 8'. I built a set of retractable casters so, I could move it when necessary. The stainless steel top was cut off a 10' prep station that the local Pizza Hut was disposing of because they got a new one. This was a nice score because I still have a bunch of stainless sheeting for future projects. The HLT and MLT are the typical cooler setups. Currently I'm still using the turkey fryer that I started brewing with in the beginning. Over the past year I've started adding pumps and a RIMS tube. I have an electric brew kettle built and most of the stuff to build a 220v 50 amp controller, just need time to assemble. I also converted a sanke keg to an electric HLT.
Its been a blast to build and better yet make tasty beer.
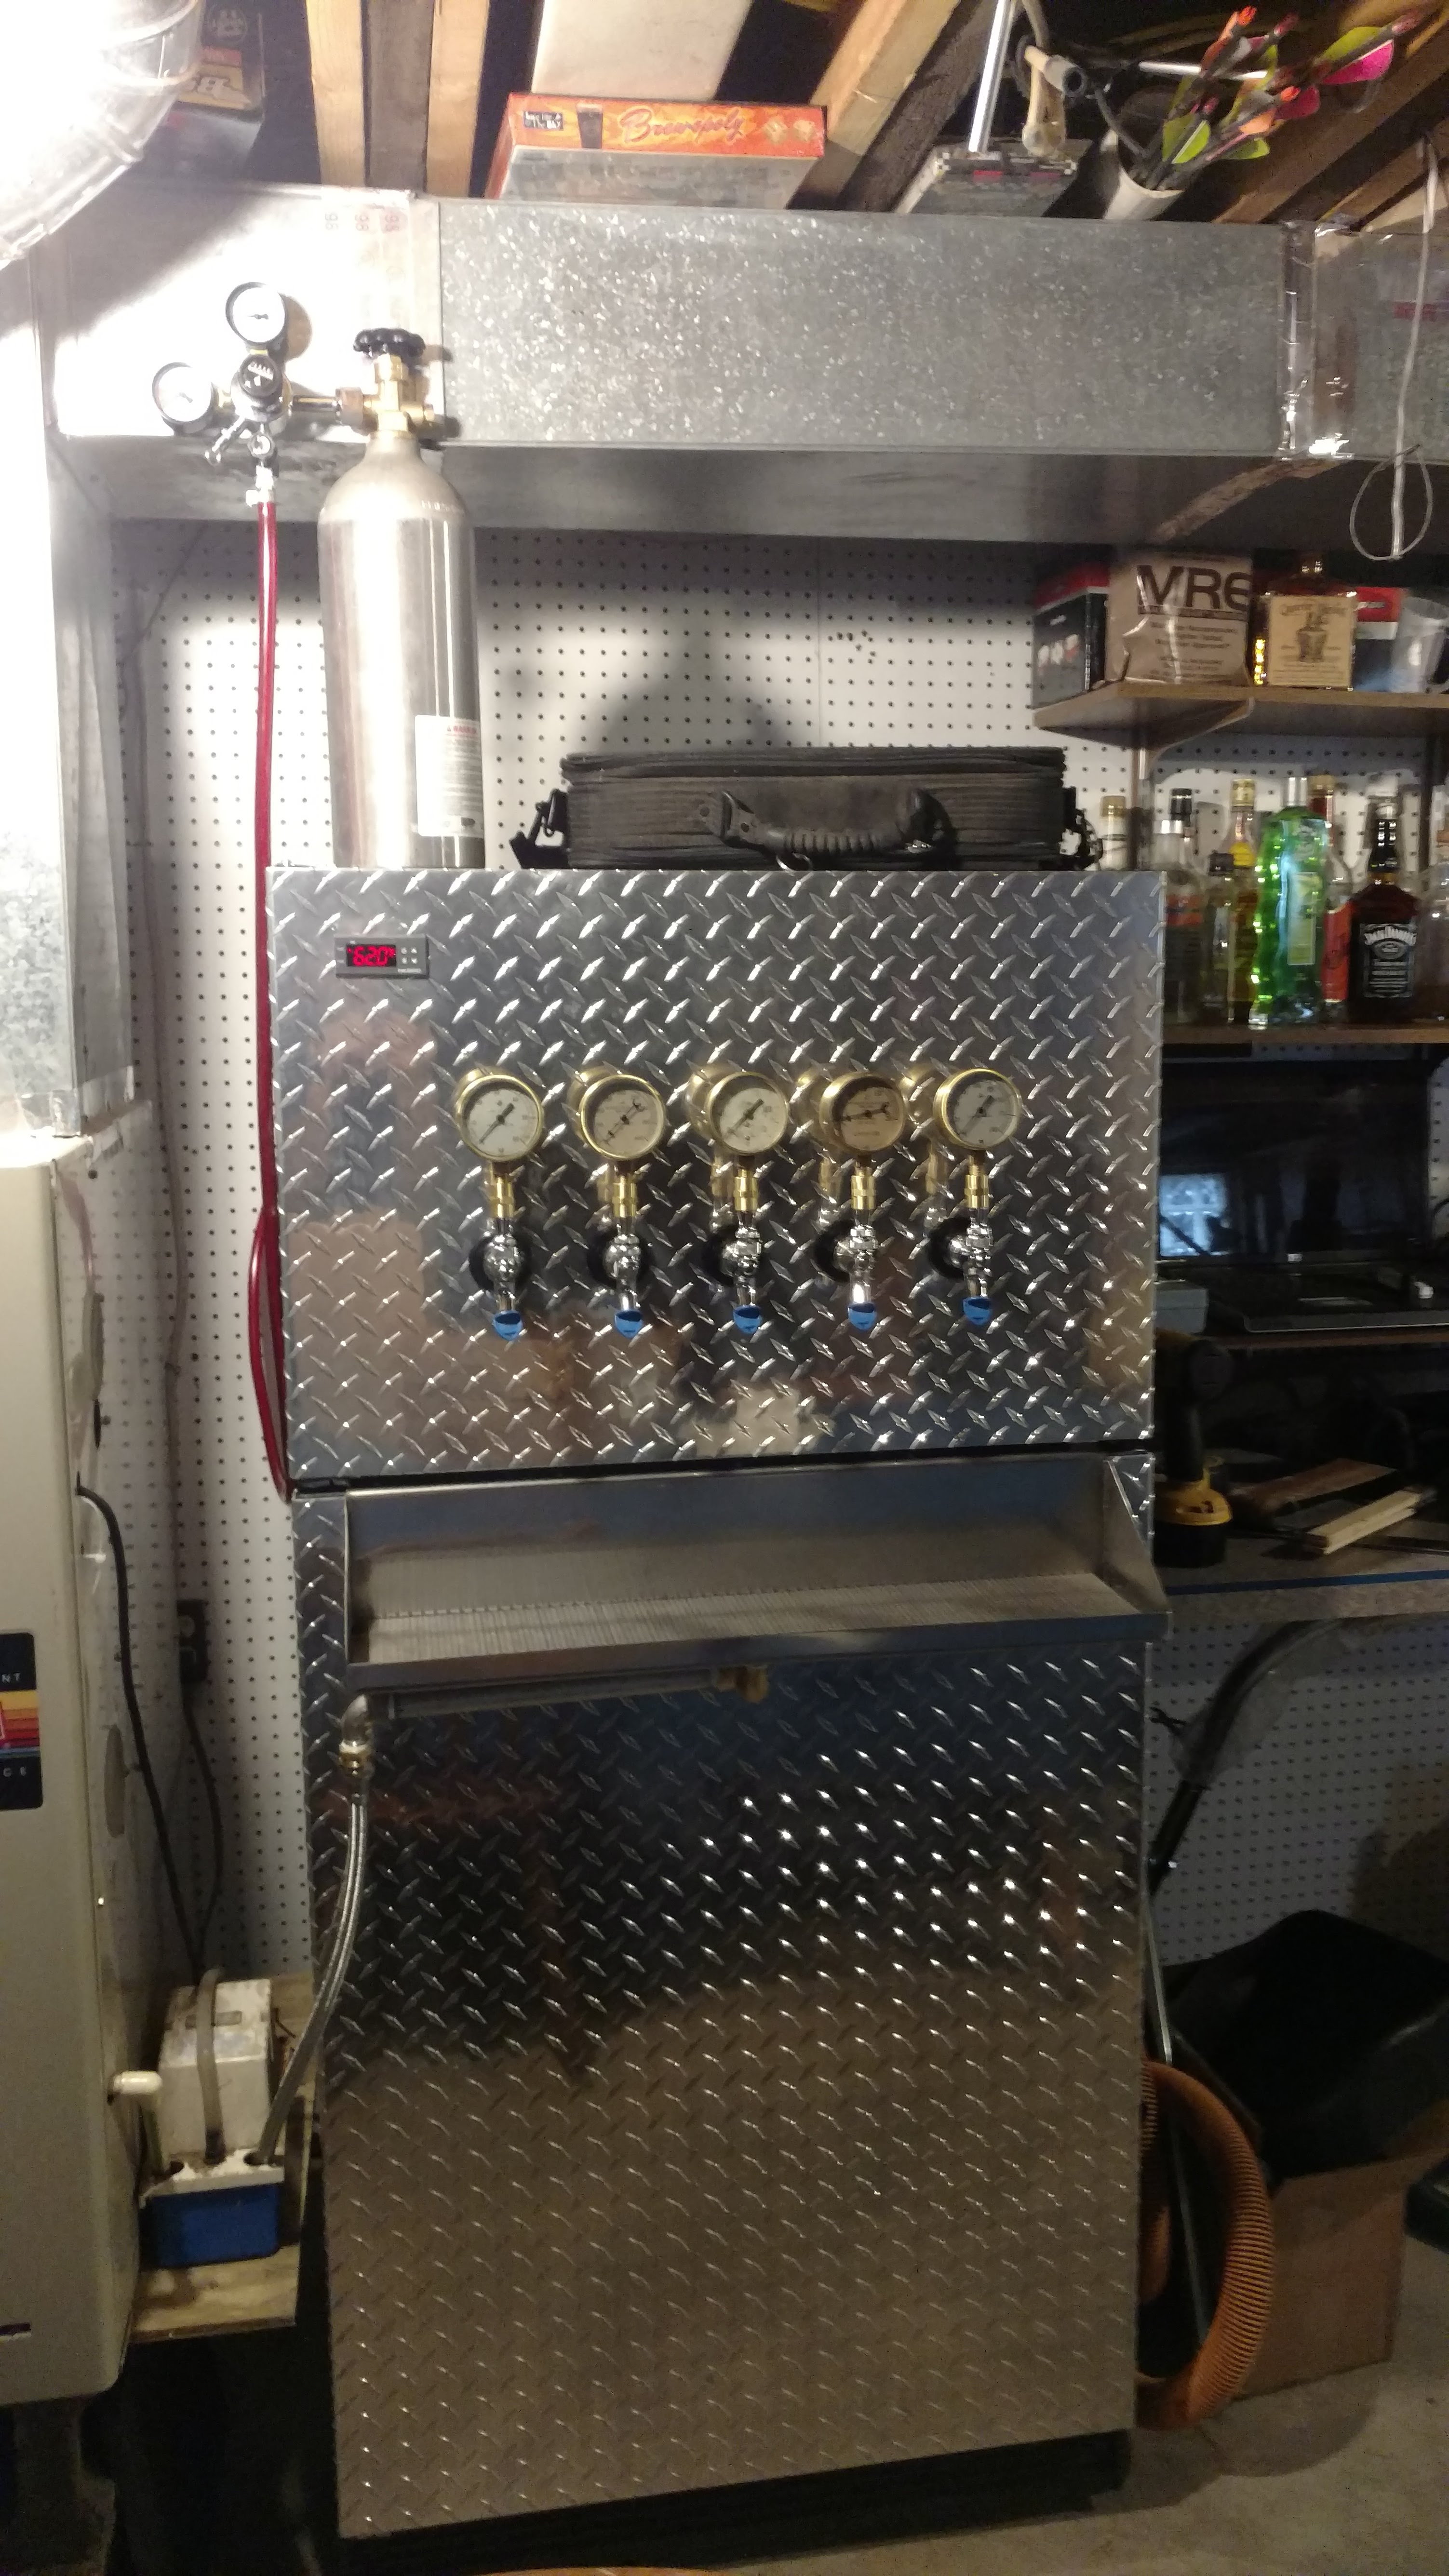
Finished my keg fridge early las spring. I built it from a free GE fridge. It was cleaned and coated with black raptor liner on the outside then I wrapped some polished diamond plate I had laying around. I bypassed the thermostat and installed an inkbird controller. It holds 6 kegs but I decided 5 taps were enough. I removed the inner door panels and replaced with glass board. The holes I drilled in between the upper and lower section to run the lines supply enough air flow to equalize the temp inside. The drip tray is made from stainless and conveniently the drain goes right to my condensation pump for my furnace.
IMG_20180217_134120904.jpg
 
Here are a few pictures of my home brewery. A lot of time and $$ have been put in to this brewery over many years. I'm pretty pleased with how its turned out

I have 3 spike 30 gal custom kettles running on a custom built 60amp control panel. I use 2 elements in the hlt and 2 in the boil with a rims tube. I wanted to be able to have room to go bigger kettles eventually.

I have 3 brewhemoth 22 gallon fermenters with a home build ac glycol chiller.

Monster mill mm2 pro motorized

And the most important thing my massive 3 bay stainless sink makes cleanup easy.

Not pictured is my true tdd-4 6 tap kegerator

A lot of my stuff has been craigslist finds- the kegerator, sink, kegs, fermenters. I have been lucky to find equipment in different cities where I had friends or family able to pick it up for me for great deals.

View attachment 603873View attachment 603874View attachment 603875View attachment 603876View attachment 603877View attachment 603878View attachment 603879View attachment 603880View attachment 603881View attachment 603882

Looks awsome! Great job!
 
View attachment 603883 View attachment 603886 Started years and years ago with the typical gravity set up using chairs, tables and milk crates.
This set up has been a work in process over the past few years. The stand itself is scrounged items that I modified to suit my needs. The structure is a Ridge U Rack industrial shelf unit that I shortened to fit under an I-beam in my basement. overall length is 8'. I built a set of retractable casters so, I could move it when necessary. The stainless steel top was cut off a 10' prep station that the local Pizza Hut was disposing of because they got a new one. This was a nice score because I still have a bunch of stainless sheeting for future projects. The HLT and MLT are the typical cooler setups. Currently I'm still using the turkey fryer that I started brewing with in the beginning. Over the past year I've started adding pumps and a RIMS tube. I have an electric brew kettle built and most of the stuff to build a 220v 50 amp controller, just need time to assemble. I also converted a sanke keg to an electric HLT.
Its been a blast to build and better yet make tasty beer.
Finished my keg fridge early las spring. I built it from a free GE fridge. It was cleaned and coated with black raptor liner on the outside then I wrapped some polished diamond plate I had laying around. I bypassed the thermostat and installed an inkbird controller. It holds 6 kegs but I decided 5 taps were enough. I removed the inner door panels and replaced with glass board. The holes I drilled in between the upper and lower section to run the lines supply enough air flow to equalize the temp inside. The drip tray is made from stainless and conveniently the drain goes right to my condensation pump for my furnace.
View attachment 603888

I really like that beer fridge. So there is no issue with the lines freezing in the freezer compartment? The holes through which the lines pass don't seem like they'd be large enough to equalize the temps between the two compartments.

Maybe I missed it--where is your temp probe?

Are the gauges on the taps functional or just serving as tap handles?

When building this I wanted the taps high enough so I didn't have to bend over to get a beer. I haven't seen many set up like this. I didn't want to give up on the storage space from the freezer section but the other few examples I found had the floor of the freezer cut out significantly.
The Temp probe is in the freezer section. The condenser is located there and I determined that if I controlled that section the lower should follow closely. I did have some concern about the temp between the two sections but it turned out to be a non issue. There is only a 2 to 3 degree temp difference between the two. I did also remove the baffle that regulates the freezer section when in stock form so, that provides additional air movement to the fridge section.

The gauges are just handles. I polished then clear coated them. I have thought about making inserts to identify the various brews.
 
Lots of different ways to set up a home brewery. Show us what you've got!

I hope to see lots of different ways to set up a brewspace and brewery, ways that will give me and others ideas on how to do things better.

I'll start with my own kludged-together space. Unlike some who have dedicated brew spaces, I've had to carve this space out of the back of my garage.

Mine has a panel from Auber Instruments to control the BK and pumps as needed, plus a RIMS system for the MT. The small and large refrigerators are ferm chambers; there is a Penguin chiler to the left of the conical.

You can see the steam slayer from Brewhardware attached to the BK; that drains into the trap under the sink.

View attachment 603726
View attachment 603727
View attachment 603733

Here are some more specific pics of the space. Most of what I've been doing has been trying to be more efficient in the use of space. I only have this section of the garage to work in, so finding ways to store or hang things is important to maximizing space.

To bring electric to my garage I ran a 4-wire line from my basement breaker panel to where it exited from the rim joist in the garage. I installed a subpanel and ran conduit up from the rim joist to the panel, and then up from there along the ceiling from where I could drop it down again where I needed it. Running the wiring through the walls or above the ceiling was going to be very tough, thus this solution.
View attachment 603751

Showing how the conduit runs along the ceiling and around the corners; you can see it continuing above the blue cooler.

View attachment 603750

This shows my gas setup. I picked up the 3-gauge regulator cheap, and a buddy gave me--gave me!--the 10# CO2 cylinder, so it was a natural to use it here. One regulator runs to the larger green refrigerator/ferm chamber, where I can carb a keg inside if I want. The other runs to a splitter which feeds two LONG CO2 lines I use for things like pressurized transfers from my conical, and using CO2 to blow out hoses when brewing.

The silicone tubing coming out of the refrigerator attaches to a line inside I can use to transfer fermentation gases (CO2!) outside the refrigerator into an airlock jar, so I can see what's going on by the bubbling.
View attachment 603749

A wider angle shot--you can see the red CO2 lines hanging on the small ferm chamber refrigerator. I'm using magnetic paper towel holders as hooks for them.

You can see the RIMS tube in front of the MT on the left, and the counterflow chiller below the BK on the right.
View attachment 603748

The stuff on the right--I lucked into a free microwave and use it to boil water for sanitizing my O2 wand and for other purposes. The little tip-forward storage bins turn out to be perfect for storing all those various parts--easy to see them through the clear bins.

Because I'm low on space, I rigged up something under the shelf to hold my hydrometers, and I hang the hydrometer cylinders and other flotsam under it as well.

View attachment 603747

How I'm currently hanging all my hoses. This is the hardest thing to figure out, how to organize them so I can just grab what I need for each stage of brewing.

The shelf attached to the fridge is also held up by a couple of magnetic paper towel holders with the pegs removed.
View attachment 603746

The chiller and conical. You can see the last conduit coming down to where i have a 20-amp dedicated circuit for the chiller and Inkbird that controls temp in the conical. The insulated tubing for the conical chiller is hanging up on a hook to keep it out of the way.

View attachment 603745

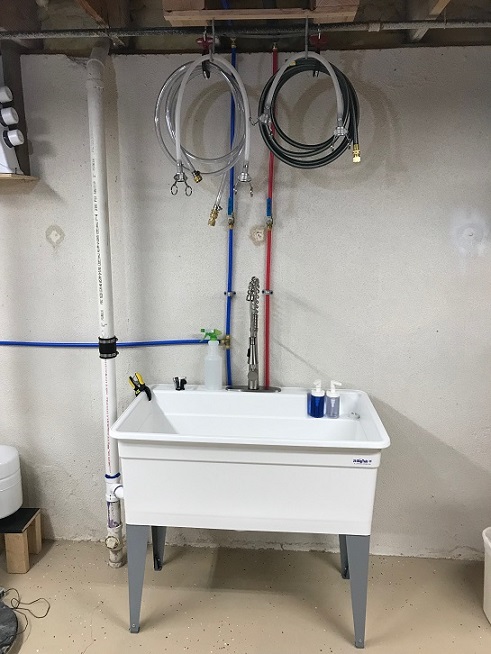
Last but not least, I use a garden hose to feed water to my chiller and then run the water down a drain in my garage that drains to the street. "Outside" water is about half the price of "inside" water--they're metered separately because inside water goes to the sanitary sewer.

Problem with that is I live in Wisconsin, and winter brewing requires me to go outside and use that hose. It's cold, the garage door has to stay open, sometimes I forget and the hose is frozen....

I had the plumber put a faucet inside the garage that runs off the same line as the outside faucet, so now there's little concern about freezing, plus an easy way to manage the hose.

Mongoose, that is one jealous-invoking setup! Thanks for the thread, and for taking us through your setup. Really nice. Couple of things.

Toying with a CFC v. PC, as I'm very likely moving to whole hops and a hopback. Would you mind, what CFC is that?

The other thing I'm thinking is a mini-flash chiller for keeping a cask upstairs. Either a saddle circuit or internal probe. Better would be finding a great deal on a double door back bar cooler, but this flash setup is pretty nice:

ultimate-home-bar-solution_0.jpg

I've come across the ones that seem to be associated with Angram (only because I've seen them in their materials), but I know nothing about the makes. I've never seen Penguin. Can you talk about yours a bit?

Edit: On your CFC, I believe that's the Stout, right? Do you have the thermo on a T, off the T/C, then? It's actually Stout's 2.8 gallon hopback I'm looking at.
 
Last edited:
Lots of different ways to set up a home brewery. Show us what you've got!

I hope to see lots of different ways to set up a brewspace and brewery, ways that will give me and others ideas on how to do things better.

I'll start with my own kludged-together space. Unlike some who have dedicated brew spaces, I've had to carve this space out of the back of my garage.

Mine has a panel from Auber Instruments to control the BK and pumps as needed, plus a RIMS system for the MT. The small and large refrigerators are ferm chambers; there is a Penguin chiler to the left of the conical.

You can see the steam slayer from Brewhardware attached to the BK; that drains into the trap under the sink.

View attachment 603726
View attachment 603727
View attachment 603733

Here are some more specific pics of the space. Most of what I've been doing has been trying to be more efficient in the use of space. I only have this section of the garage to work in, so finding ways to store or hang things is important to maximizing space.

To bring electric to my garage I ran a 4-wire line from my basement breaker panel to where it exited from the rim joist in the garage. I installed a subpanel and ran conduit up from the rim joist to the panel, and then up from there along the ceiling from where I could drop it down again where I needed it. Running the wiring through the walls or above the ceiling was going to be very tough, thus this solution.

View attachment 603751

Showing how the conduit runs along the ceiling and around the corners; you can see it continuing above the blue cooler.

View attachment 603750

This shows my gas setup. I picked up the 3-gauge regulator cheap, and a buddy gave me--gave me!--the 10# CO2 cylinder, so it was a natural to use it here. One regulator runs to the larger green refrigerator/ferm chamber, where I can carb a keg inside if I want. The other runs to a splitter which feeds two LONG CO2 lines I use for things like pressurized transfers from my conical, and using CO2 to blow out hoses when brewing.

The silicone tubing coming out of the refrigerator attaches to a line inside I can use to transfer fermentation gases (CO2!) outside the refrigerator into an airlock jar, so I can see what's going on by the bubbling.

View attachment 603749

A wider angle shot--you can see the red CO2 lines hanging on the small ferm chamber refrigerator. I'm using magnetic paper towel holders as hooks for them.

You can see the RIMS tube in front of the MT on the left, and the counterflow chiller below the BK on the right.

View attachment 603748

The stuff on the right--I lucked into a free microwave and use it to boil water for sanitizing my O2 wand and for other purposes. The little tip-forward storage bins turn out to be perfect for storing all those various parts--easy to see them through the clear bins.

Because I'm low on space, I rigged up something under the shelf to hold my hydrometers, and I hang the hydrometer cylinders and other flotsam under it as well.

View attachment 603747

How I'm currently hanging all my hoses. This is the hardest thing to figure out, how to organize them so I can just grab what I need for each stage of brewing.

The shelf attached to the fridge is also held up by a couple of magnetic paper towel holders with the pegs removed.

View attachment 603746

The chiller and conical. You can see the last conduit coming down to where i have a 20-amp dedicated circuit for the chiller and Inkbird that controls temp in the conical. The insulated tubing for the conical chiller is hanging up on a hook to keep it out of the way.

View attachment 603745

Last but not least, I use a garden hose to feed water to my chiller and then run the water down a drain in my garage that drains to the street. "Outside" water is about half the price of "inside" water--they're metered separately because inside water goes to the sanitary sewer.

Problem with that is I live in Wisconsin, and winter brewing requires me to go outside and use that hose. It's cold, the garage door has to stay open, sometimes I forget and the hose is frozen....

I had the plumber put a faucet inside the garage that runs off the same line as the outside faucet, so now there's little concern about freezing, plus an easy way to manage the hose.

How does the steam slayer work? I don't have a very good way to have a hood set up.
 
Last edited:
How does the steam slayer work? I don't have a very good way to have a hood set up.

Not sure if you mean how effective or what is the process.

It works very, very well. Lets me brew in the garage in the winter without all the steam overwhelming the insulation in the walls.

A water line feeds a sprayer inside the steam slayer, which cools the steam coming from the boil kettle. This creates a partial vacuum, which draws more steam into the slayer.

The water drains either into a bucket or, in my case, into a drain. The water flows at 9 gallons per hour.

I have a couple 90-degree elbows on mine to elevate the steam slayer so it can drain into the p-trap and allow me to position it where I want, but many people don't use those and just drain it into a 5-gallon bucket.

slayer3.jpg


Here's a video showing it in action:

 
Mongoose, that is one jealous-invoking setup! Thanks for the thread, and for taking us through your setup. Really nice. Couple of things.

Thank you. Lots of this wouldn't be possible w/o the help and input and ideas of people on HBT.

Toying with a CFC v. PC, as I'm very likely moving to whole hops and a hopback. Would you mind, what CFC is that?

That is the Stout one. It's a tank, if there's a downside it's that it's SS which isn't as conductive of heat as copper. But that's the tradeoff in order to get copper out of the system.

The other thing I'm thinking is a mini-flash chiller for keeping a cask upstairs. Either a saddle circuit or internal probe. Better would be finding a great deal on a double door back bar cooler, but this flash setup is pretty nice:

View attachment 604435
I've come across the ones that seem to be associated with Angram (only because I've seen them in their materials), but I know nothing about the makes. I've never seen Penguin. Can you talk about yours a bit?

It's this one: https://www.penguinchillers.com/product/12-hp-glycol-chiller/

It has a 2-gallon reservoir, recommendation by Penguin is 1 gallon water, 1 gallon glycol. It can handle up to four devices it's chilling.

The recovery is astounding. I have it set on a 3-degree differential, with the temp set at 28 degrees; when it rises to 31 the chiller kicks on and drives it right back down to 28.

It is *not* a cheap solution. I had tried to do a chiller in the freezer compartment of my green ferm chamber, and it worked, actually, but I wanted something that would work faster and drive the ferm chamber cold crash temp lower. Oddly, I can't get that fermenter lower than 8-10 degrees above the chiller temp (28 degrees). It's not the chiller that's the problem, it's that the fermenter brings in so much heat from ambient via all the protuberances sticking out (legs, valves, handles, I think there's something like 11 of them).

Edit: On your CFC, I believe that's the Stout, right? Do you have the thermo on a T, off the T/C, then? It's actually Stout's 2.8 gallon hopback I'm looking at.

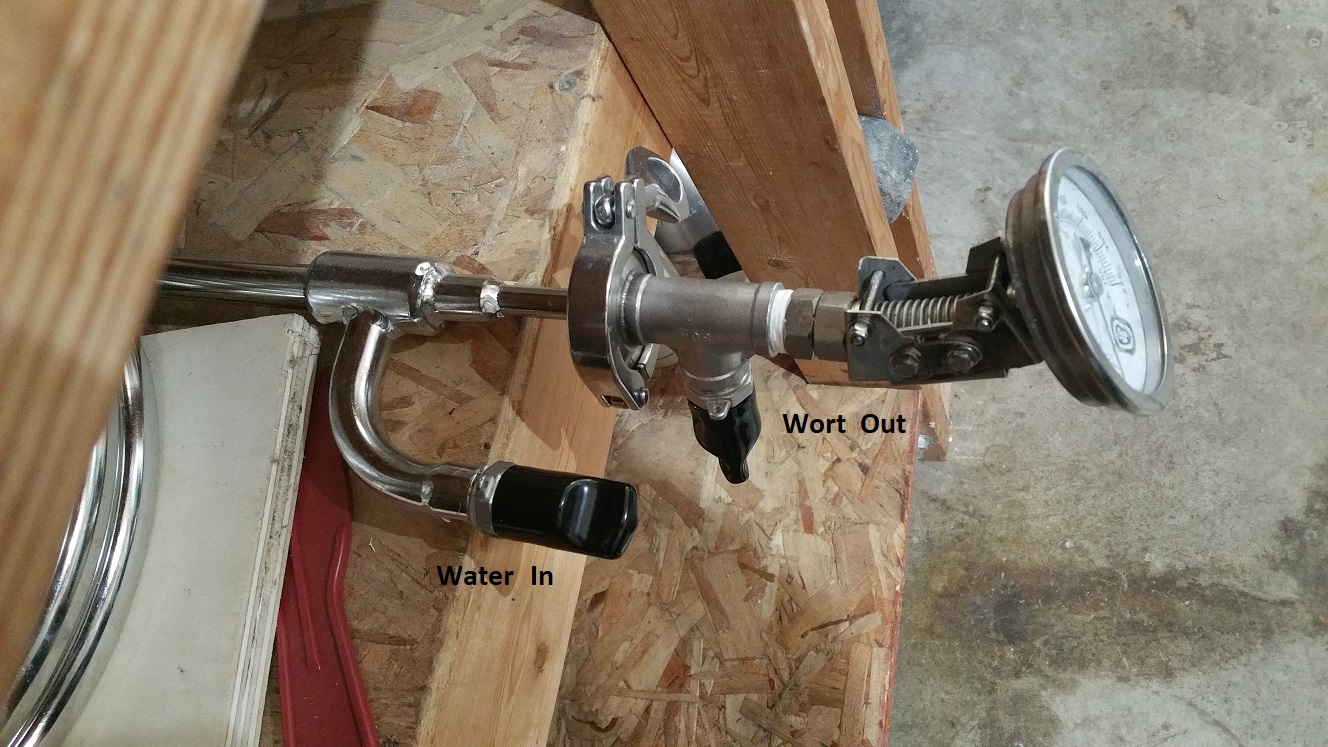
Yes, it's the Stout offering. Here's a pic that I think shows it fairly well:

CFCconnections.jpg
 
Thank you. Lots of this wouldn't be possible w/o the help and input and ideas of people on HBT.


That is the Stout one. It's a tank, if there's a downside it's that it's SS which isn't as conductive of heat as copper. But that's the tradeoff in order to get copper out of the system.


It's this one: https://www.penguinchillers.com/product/12-hp-glycol-chiller/

It has a 2-gallon reservoir, recommendation by Penguin is 1 gallon water, 1 gallon glycol. It can handle up to four devices it's chilling.

The recovery is astounding. I have it set on a 3-degree differential, with the temp set at 28 degrees; when it rises to 31 the chiller kicks on and drives it right back down to 28.

It is *not* a cheap solution. I had tried to do a chiller in the freezer compartment of my green ferm chamber, and it worked, actually, but I wanted something that would work faster and drive the ferm chamber cold crash temp lower. Oddly, I can't get that fermenter lower than 8-10 degrees above the chiller temp (28 degrees). It's not the chiller that's the problem, it's that the fermenter brings in so much heat from ambient via all the protuberances sticking out (legs, valves, handles, I think there's something like 11 of them).


Yes, it's the Stout offering. Here's a pic that I think shows it fairly well:

View attachment 604459

Wow, fantastic, thanks so much Mongoose. Sorry for being a dumba$$ on all things mechanical, but is that thermo Spike's adjustable thermo, 2" tee?

Sorry to hear about the issues your having with the crash cooling. I would never have realized that the various fittings, etc., that stick out would even do this. Seems like a tough problem, too, because you obviously can't get them cooled absent a cool room, which doesn't make sense. Is this something you're going to live with, or are you thinking on a solution?
 
Wow, fantastic, thanks so much Mongoose. Sorry for being a dumba$$ on all things mechanical, but is that thermo Spike's adjustable thermo, 2" tee?

Yep, that's exactly what it is. I have the temp sensor for my brew panel in the brew kettle, which eliminated the need for a separate thermometer in the BK. One day I was puzzling over how to manage exit temp of the wort from the CFC, and it dawned on me that I had a thermometer I could use.

Sorry to hear about the issues your having with the crash cooling. I would never have realized that the various fittings, etc., that stick out would even do this. Seems like a tough problem, too, because you obviously can't get them cooled absent a cool room, which doesn't make sense. Is this something you're going to live with, or are you thinking on a solution?

It's a funny problem, and one I will eventually solve, I think.

I went through a series of efforts to get that temp down to acceptable levels, even created a "cool room" where I built a 2-foot-square "closet" around the fermenter and placed it next to a window air conditioner so I could cool the ambient temp next to the fermenter. Got it down to 50 degrees. Didn't make any difference.

closet.jpg

I also insulated the fermenter using reflextix. My wife saw it and said "Hey! The Tin Man!" Also didn't make any real difference. Wrapped it in a big moving blanket, ala how we wrap a mash tun. No real difference.

tinman.jpg movingblanket.jpg

The search continues.

I *can* get it down to the high 30s--38 degrees is possible, and I've gotten it down to 36.5 when the garage was down to about 45 degrees. So it's not like it's not working, and 38 is fine for cold crashing. The beer is great.

My interest in getting it down to about 32 is that I'm letting it finish under pressure, which is partially carbonating the beer before I rack it to a keg. The lower the temp, the more of that headspace CO2 I can get absorbed into the beer.

Yeah, it's kind of ridiculous, but it's now become borderline obsession. I'm sure it's just a matter of insulation. You're right, a cool room would solve the problem, but doesn't make sense. If I had such a thing I could just put the whole fermenter in that room, cool the room to 28 or so, and I'd be there.

First world problems. :)
 
Last edited:
Not sure if you mean how effective or what is the process.

It works very, very well. Lets me brew in the garage in the winter without all the steam overwhelming the insulation in the walls.

A water line feeds a sprayer inside the steam slayer, which cools the steam coming from the boil kettle. This creates a partial vacuum, which draws more steam into the slayer.

The water drains either into a bucket or, in my case, into a drain. The water flows at 9 gallons per hour.

I have a couple 90-degree elbows on mine to elevate the steam slayer so it can drain into the p-trap and allow me to position it where I want, but many people don't use those and just drain it into a 5-gallon bucket.

View attachment 604457

Here's a video showing it in action:


Thanks for the reply.
Sorry I wasn't more clear on my question. I was going for the effectiveness of it. I've seen various setups and looked on the website but, I was looking for someone who was actually using one.
 
Yep, that's exactly what it is. I have the temp sensor for my brew panel in the brew kettle, which eliminated the need for a separate thermometer in the BK. One day I was puzzling over how to manage exit temp of the wort from the CFC, and it dawned on me that I had a thermometer I could use.


It's a funny problem, and one I will eventually solve, I think.

I went through a series of efforts to get that temp down to acceptable levels, even created a "cool room" where I built a 2-foot-square "closet" around the fermenter and placed it next to a window air conditioner so I could cool the ambient temp next to the fermenter. Got it down to 50 degrees. Didn't make any difference.

View attachment 604523

I also insulated the fermenter using reflextix. My wife saw it and said "Hey! The Tin Man!" Also didn't make any real difference. Wrapped it in a big moving blanket, ala how we wrap a mash tun. No real difference.

View attachment 604524 View attachment 604522

The search continues.

I *can* get it down to the high 30s--38 degrees is possible, and I've gotten it down to 36.5 when the garage was down to about 45 degrees. So it's not like it's not working, and 38 is fine for cold crashing. The beer is great.

My interest in getting it down to about 32 is that I'm letting it finish under pressure, which is partially carbonating the beer before I rack it to a keg. The lower the temp, the more of that headspace CO2 I can get absorbed into the beer.

Yeah, it's kind of ridiculous, but it's now become borderline obsession. I'm sure it's just a matter of insulation. You're right, a cool room would solve the problem, but doesn't make sense. If I had such a thing I could just put the whole fermenter in that room, cool the room to 28 or so, and I'd be there.

First world problems. :)

Hope you get it worked out Mongoose. That's a drool-worthy brewery you got going there!

Sort of in a similar spot with cask ale. I have a coolbot so a room is possible, but I'd have to run a ridiculously long hosing to get it up here. The mini-flash chiller idea is appealing but man, yep, expensive. Placing most hope in a used back bar cooler. That, or damn the torpedos, we live in a house no higher than 54F!:ban::D
 
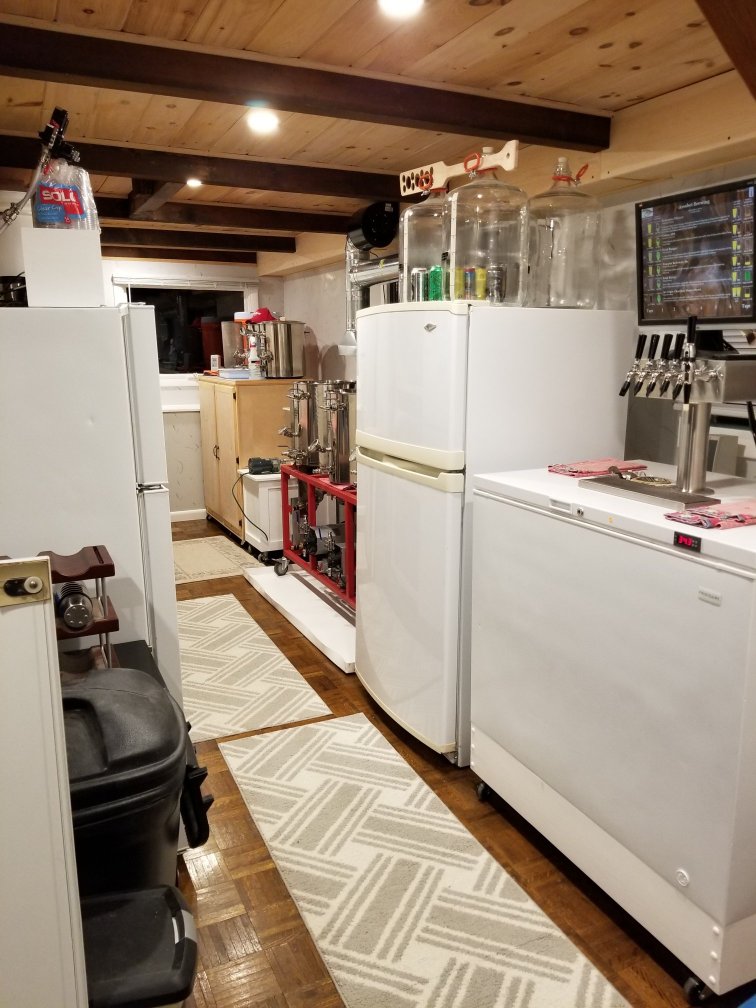
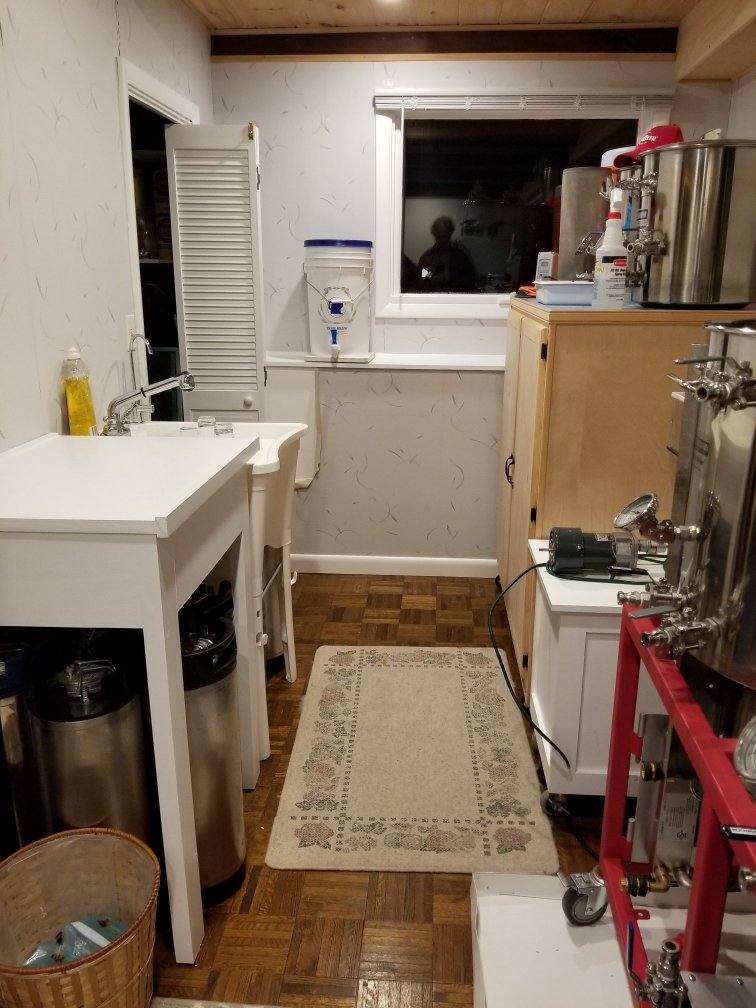
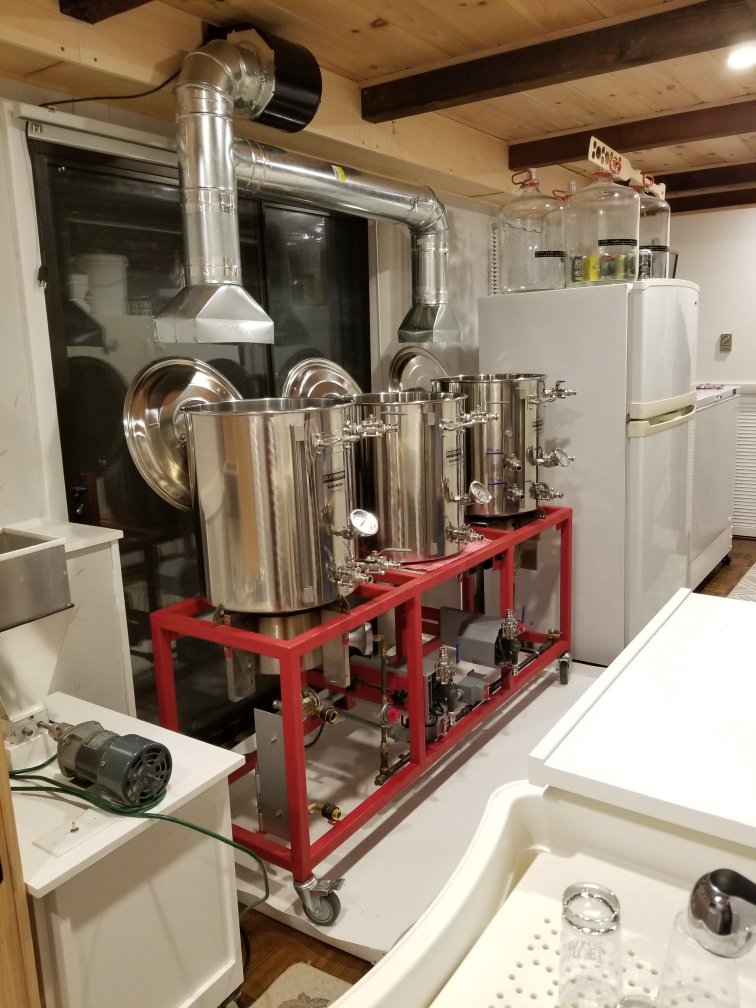
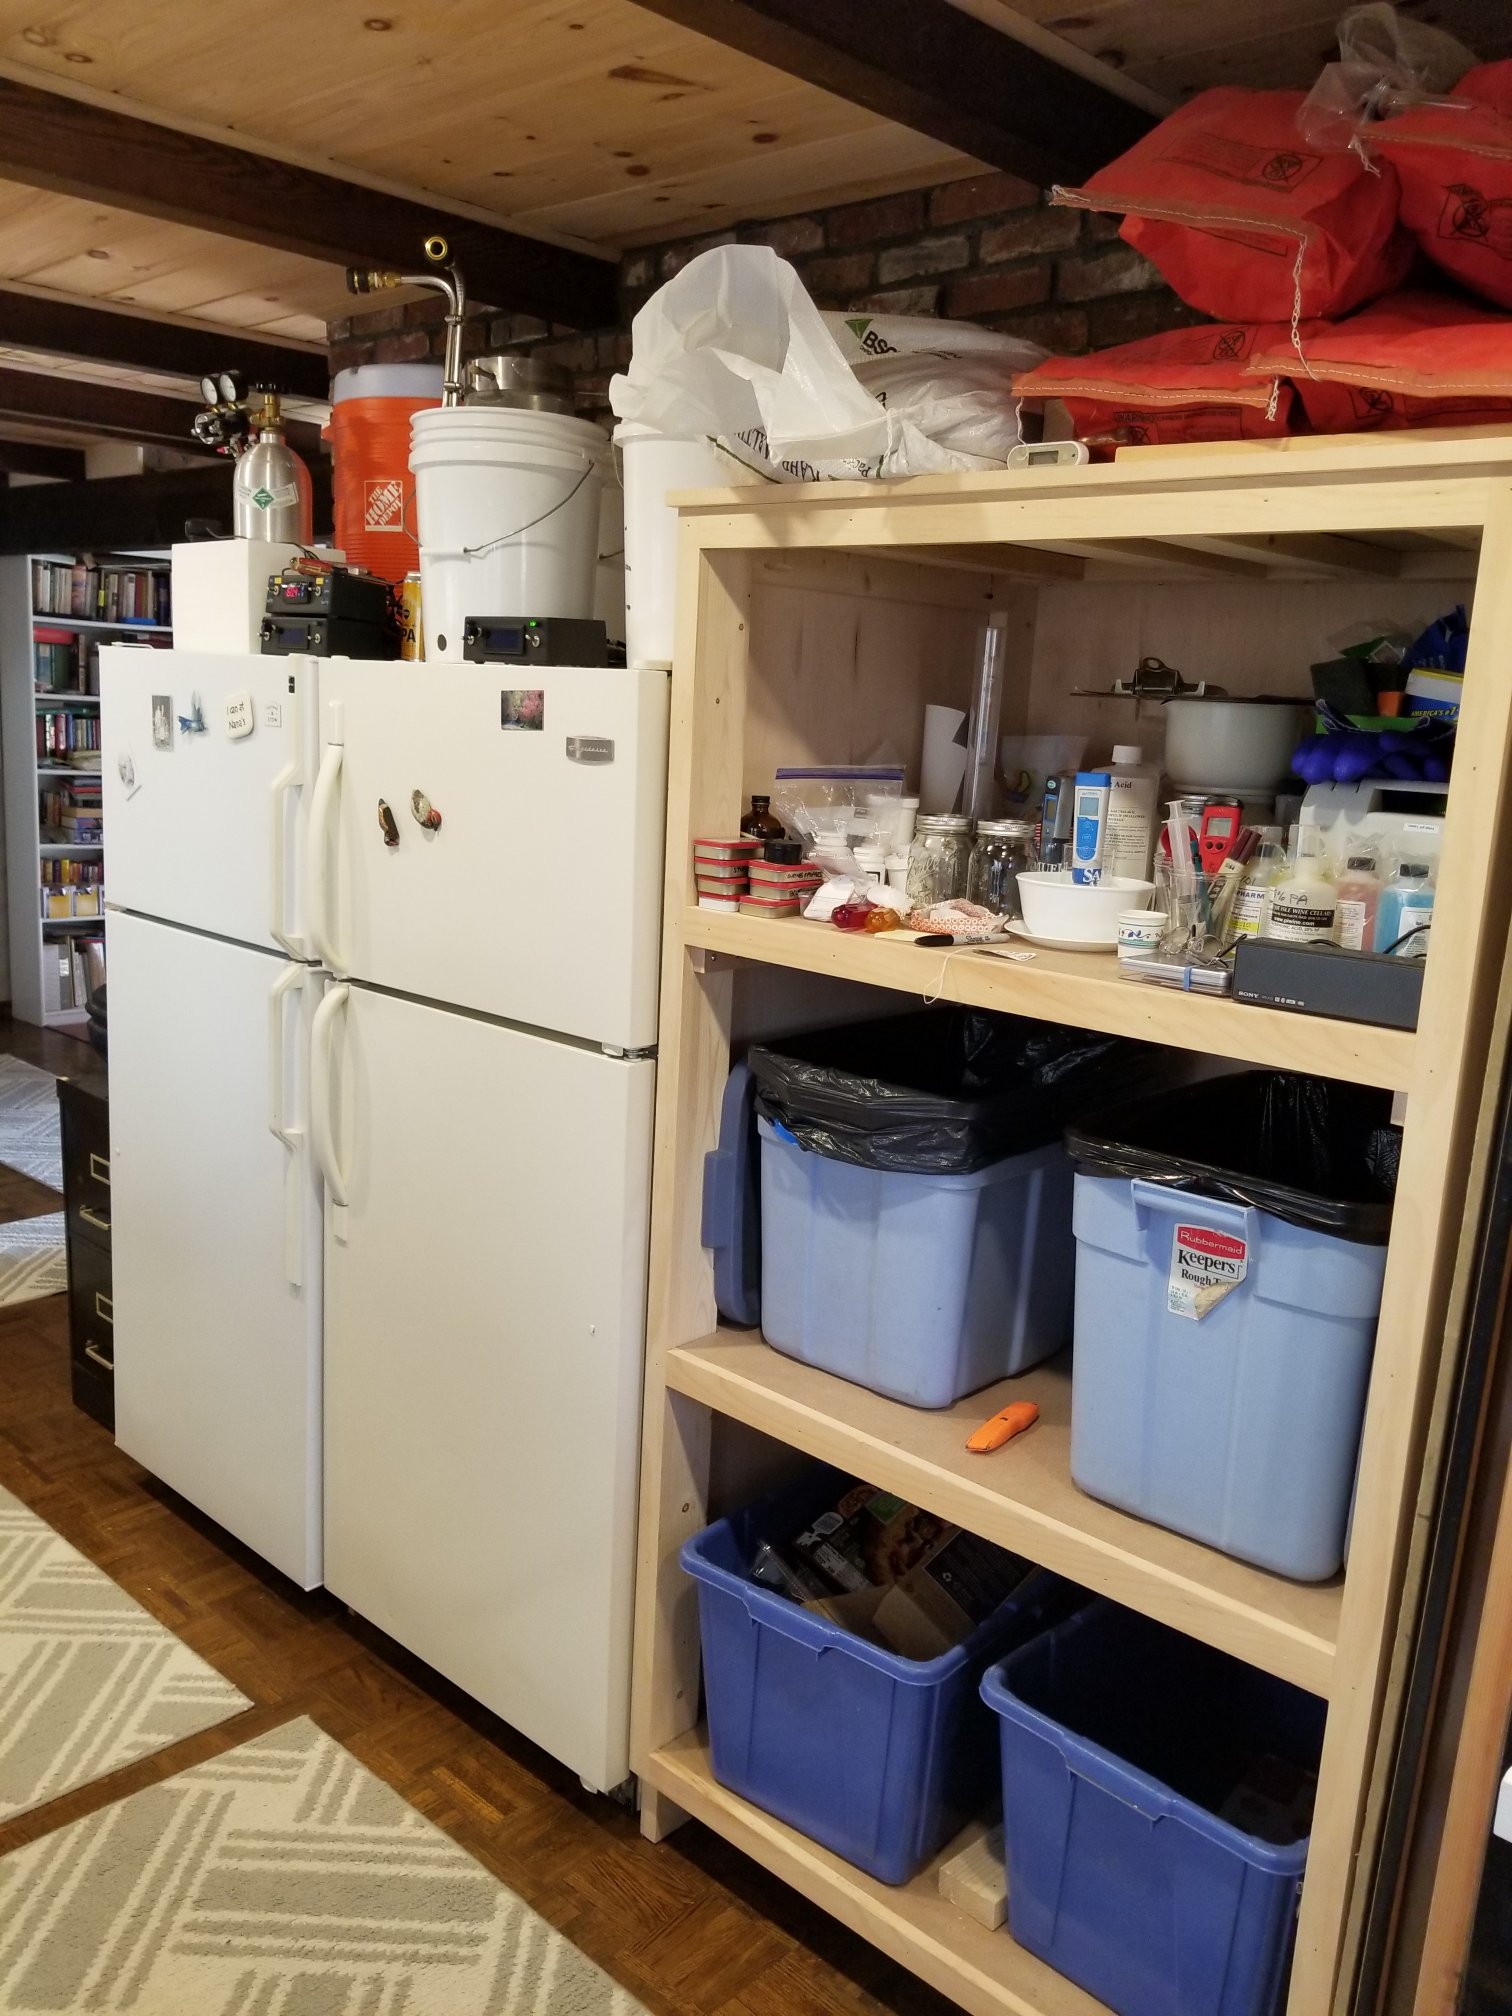
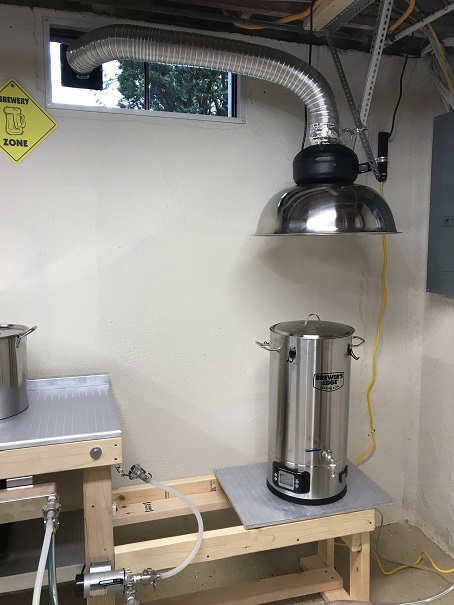
This is my basic brewing setup :). On last November 3rd I got introduced to home brewing at my LHBS which motivated me to renovated my basement area and built this as a winter project. The kettle base has wheels to move it from under the hood to lift the mash basket. Last Wednesday I just did my first extract brew. Later on will try all grain. Everything worked great. Hoping to learn a lot in this forum!
1a.JPG
2b.JPG
3c.JPG
5.jpg
 
Last edited:
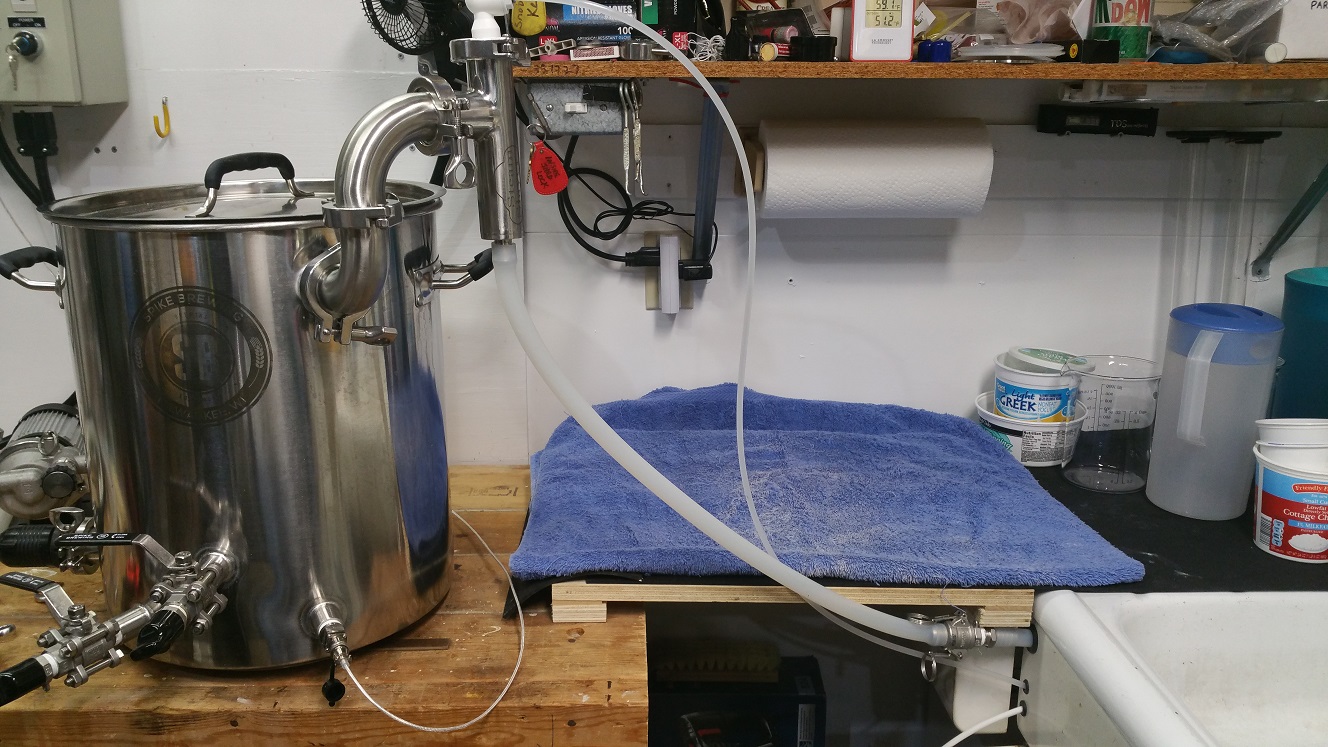
Alex4mula, where did you get that hood? I need something exactly like that for brewing in my basement during the winter.
 
Here are a few pictures of my home brewery. A lot of time and $$ have been put in to this brewery over many years. I'm pretty pleased with how its turned out

I have 3 spike 30 gal custom kettles running on a custom built 60amp control panel. I use 2 elements in the hlt and 2 in the boil with a rims tube. I wanted to be able to have room to go bigger kettles eventually.

I have 3 brewhemoth 22 gallon fermenters with a home build ac glycol chiller.

Monster mill mm2 pro motorized

And the most important thing my massive 3 bay stainless sink makes cleanup easy.

Not pictured is my true tdd-4 6 tap kegerator

A lot of my stuff has been craigslist finds- the kegerator, sink, kegs, fermenters. I have been lucky to find equipment in different cities where I had friends or family able to pick it up for me for great deals.

View attachment 603873View attachment 603874View attachment 603875View attachment 603876View attachment 603877View attachment 603878View attachment 603879View attachment 603880View attachment 603881View attachment 603882
That setup is no joke. I'd say your on the way with going pro
 
This is my basic brewing setup :). On last November 3rd I got introduced to home brewing at my LHBS which motivated me to renovated my basement area and built this as a winter project. The kettle base has wheels to move it from under the hood to lift the mash basket. Last Wednesday I just did my first extract brew. Later on will try all grain. Everything worked great. Hoping to learn a lot in this forum!
View attachment 604984 View attachment 604985 View attachment 604986 View attachment 604987
Where did you get the sink?
 
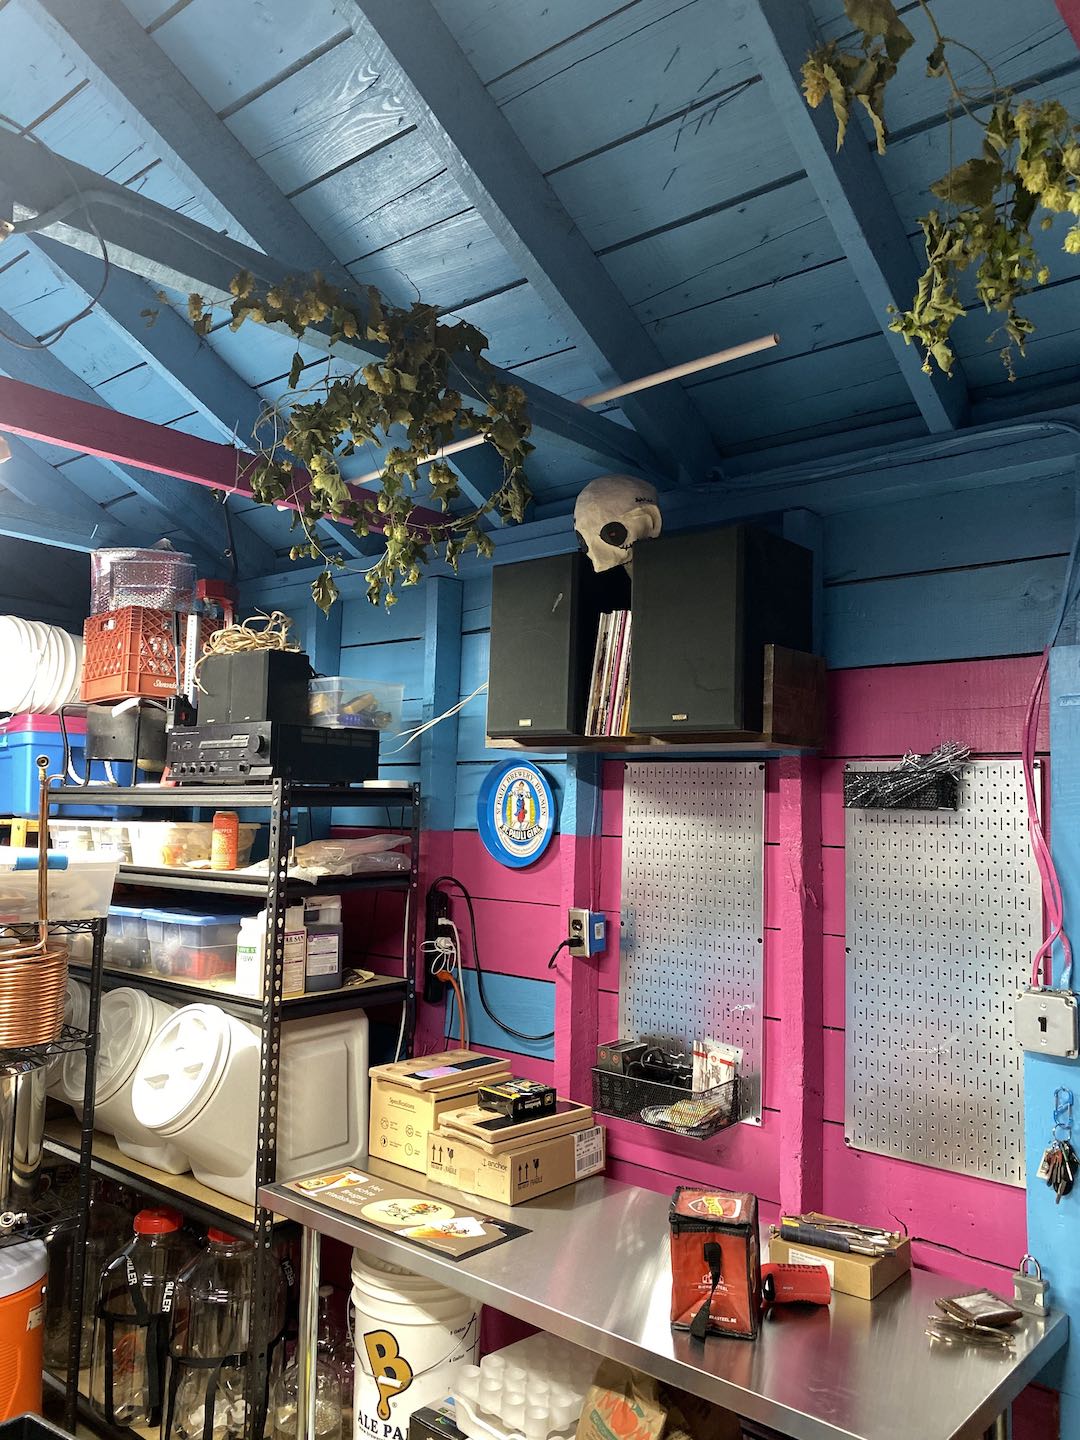
Certainly, not as nice as others. I have taken over a few areas...
 

Attachments

  • image.jpeg
    image.jpeg
    798.5 KB · Views: 264
  • image.jpeg
    image.jpeg
    577.1 KB · Views: 262
  • image.jpeg
    image.jpeg
    740.8 KB · Views: 268
  • image.jpeg
    image.jpeg
    585.3 KB · Views: 264
  • image.jpeg
    image.jpeg
    585.4 KB · Views: 271
  • image.jpeg
    image.jpeg
    997.7 KB · Views: 273
  • image.jpeg
    image.jpeg
    779.8 KB · Views: 273
  • image.jpeg
    image.jpeg
    550.9 KB · Views: 269
  • image.jpeg
    image.jpeg
    937.6 KB · Views: 260
  • image.jpeg
    image.jpeg
    768.1 KB · Views: 257
IMG_5371.JPG
IMG_5372.JPG
IMG_5373.JPG
IMG_5374.JPG


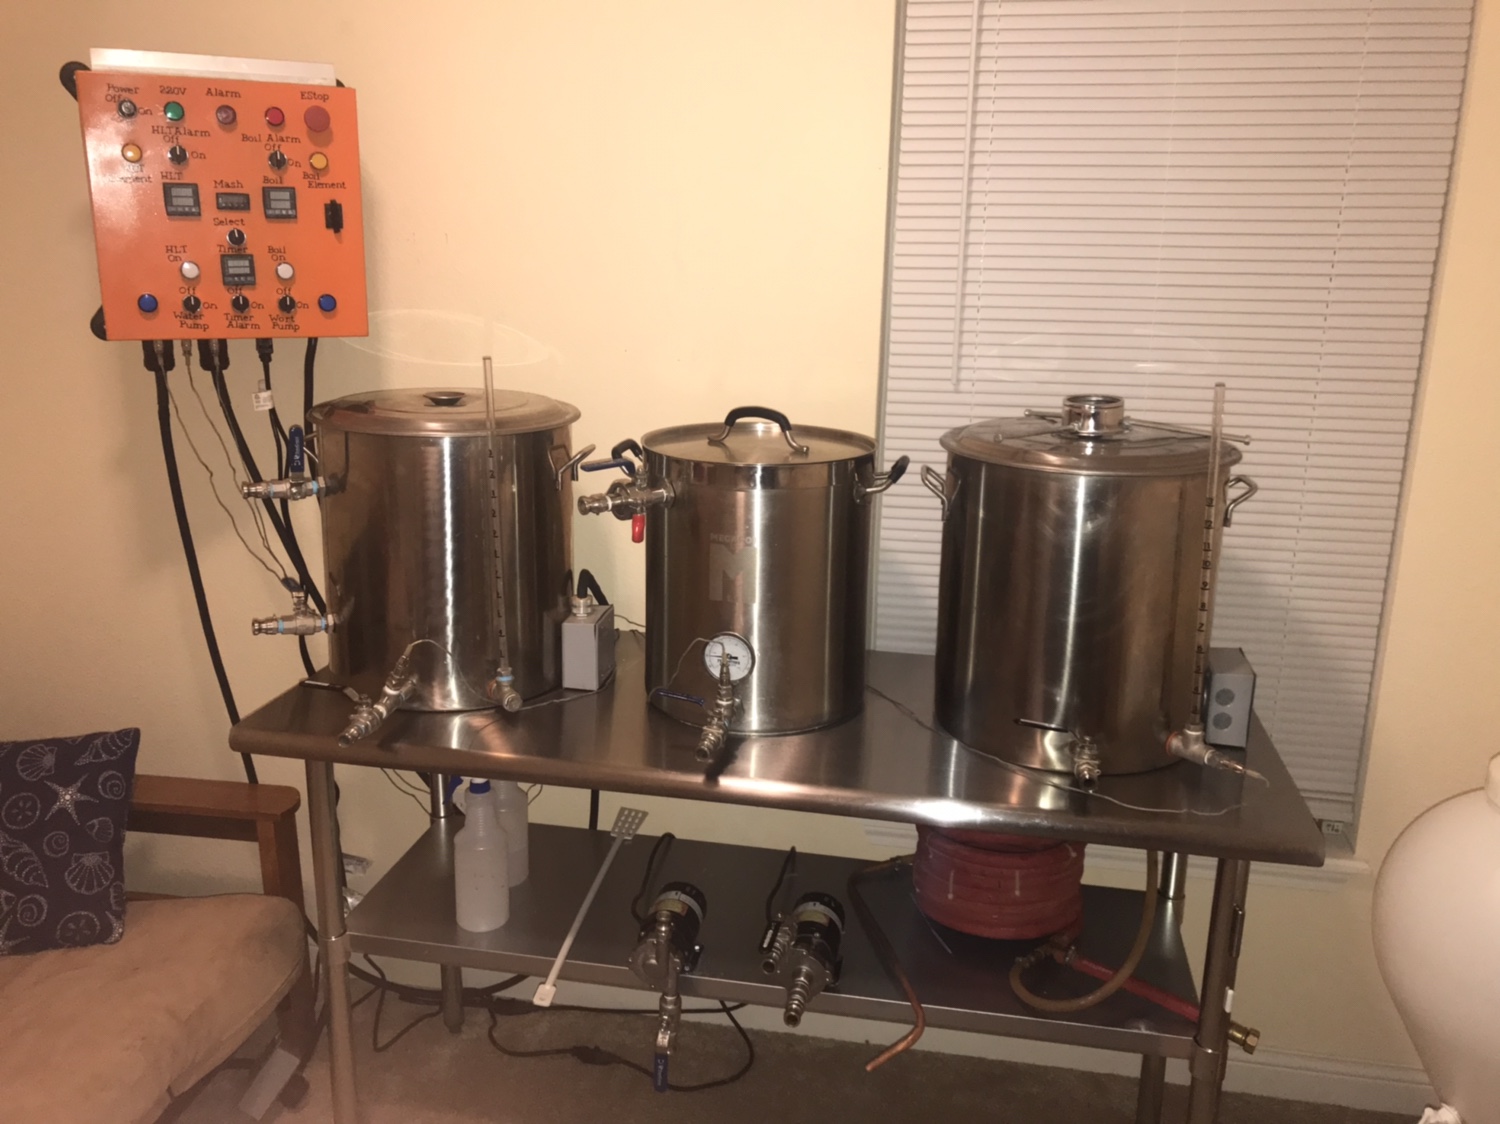
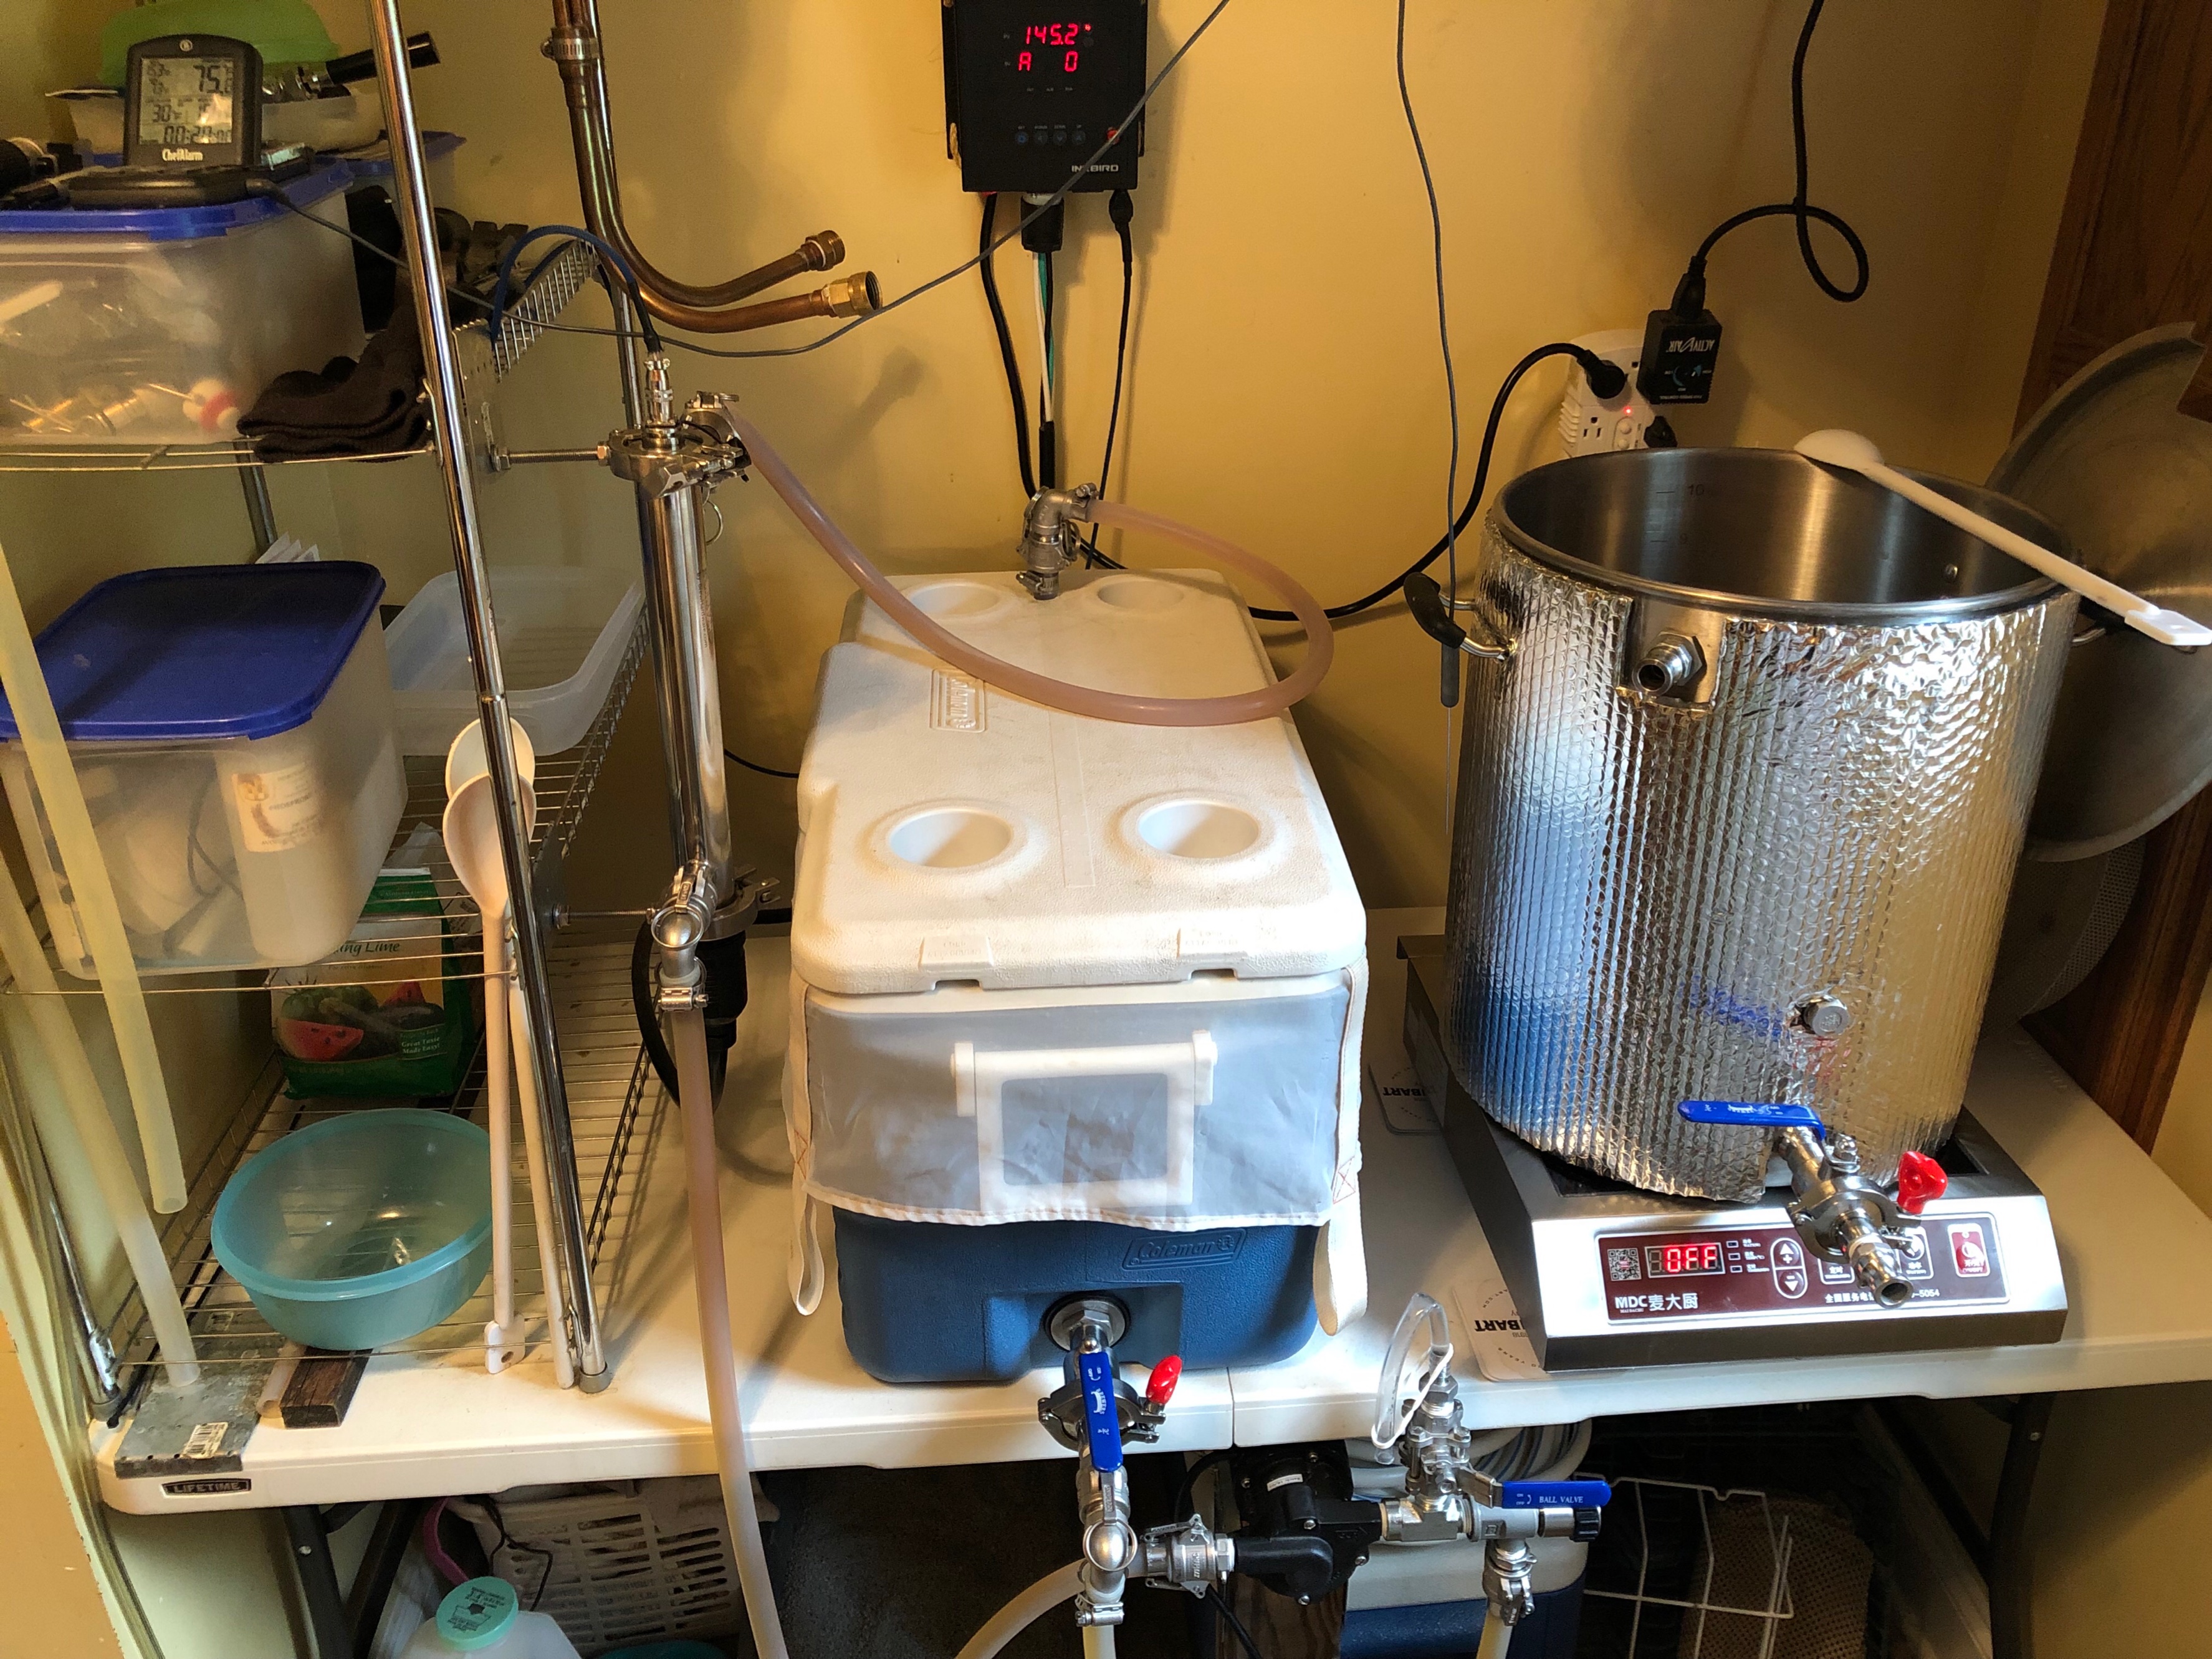
3 vessel 15 gallon HERMS. 30 amp panel running 5500 watt elements. DIY counter flow chiller. I had a spare bedroom we converted into our “brewery” the stainless table is from webstaraunt. 2 fast ferments and a couple buckets, one dedicated to sours. In case you’re wondering, it’s a caramel amber ale from HBT in the FF, and a Pliny clone in the bucket.

The keezer I built in November. 4 perlick faucets and in the box it has a 4 way micromatic manifold. Currently have a Belgian Tripple, blonde, blueberry ale, and a chocolate cherry RIS on tap.

My biggest issue so far is cleaning. I have to take apart the system and bring the kettles into the kitchen to clean. Also the carpet in the brewery isn’t ideal. Last is ventilation. Right now I just open the window behind the BK and use a fan to blow out the steam. We’re moving soon so I decided to hold off on the hood project. But most likely I’ll use the bowl and fan method that others have posted.

Once we move I’m hoping to do a brewery build in a basement or shop. So when that happens I’ll update

Cheers
 
Back
Top