JLeuck64
Well-Known Member
OK, I know these cooler mash tun builds have been beat to friggin' death but can I just add my own two cents? I recently decided to upgrade my mash capacity a bit. I started with a 54qt rectangular cooler and just used a stainless braided hose connected through a ball valve to control the flow. That mash tun worked pretty good I thought through several batches. The braided hose eventually was damaged during the mash in, incidental contact with the mash paddle ya know, long story short I replaced the stainless braided hose a couple of times and just couldn't get the grain bed to settle during the drain. I always could see a little bit of grain particulate passing through the hose into the brew kettle. Dang...
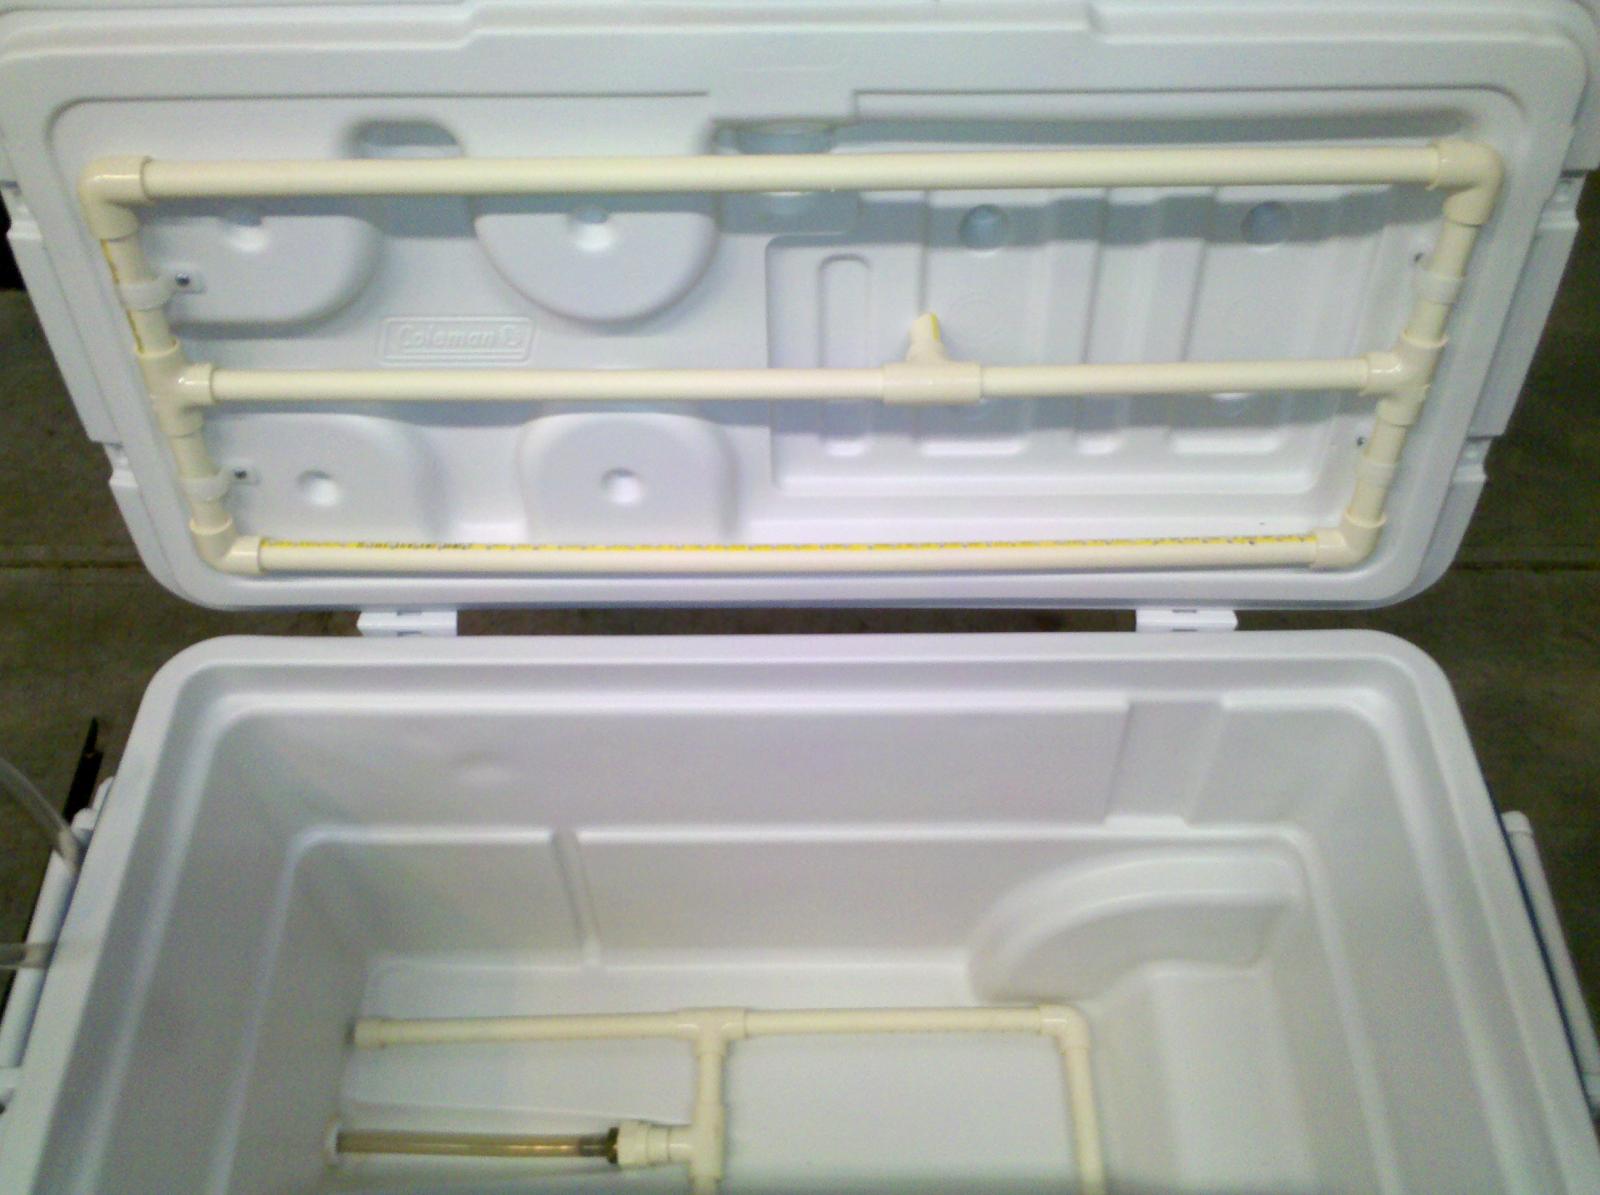
So I started reading up a bit and I noticed that several brewers on HBT were dissatisfied with that style of mash tun also. So it got me thinking about building a manifold drain, which also got me thinking about a larger cooler ( ; Why the heck not, after all a larger cooler would make brewing those higher gravity beers a tad bit easier eh? I also decided to revisit "how to brew" by Palmer, specifically the appendix on building a mash tun The diagrams in that appendix that show the pressure differentials based on the number of total drain pathways really caught my attention. That math is WAY over my head but I can appreciate those scientific folks that spend the time to study efficiency. It's the efficiency of multiple drain pathways that really caught my interest.
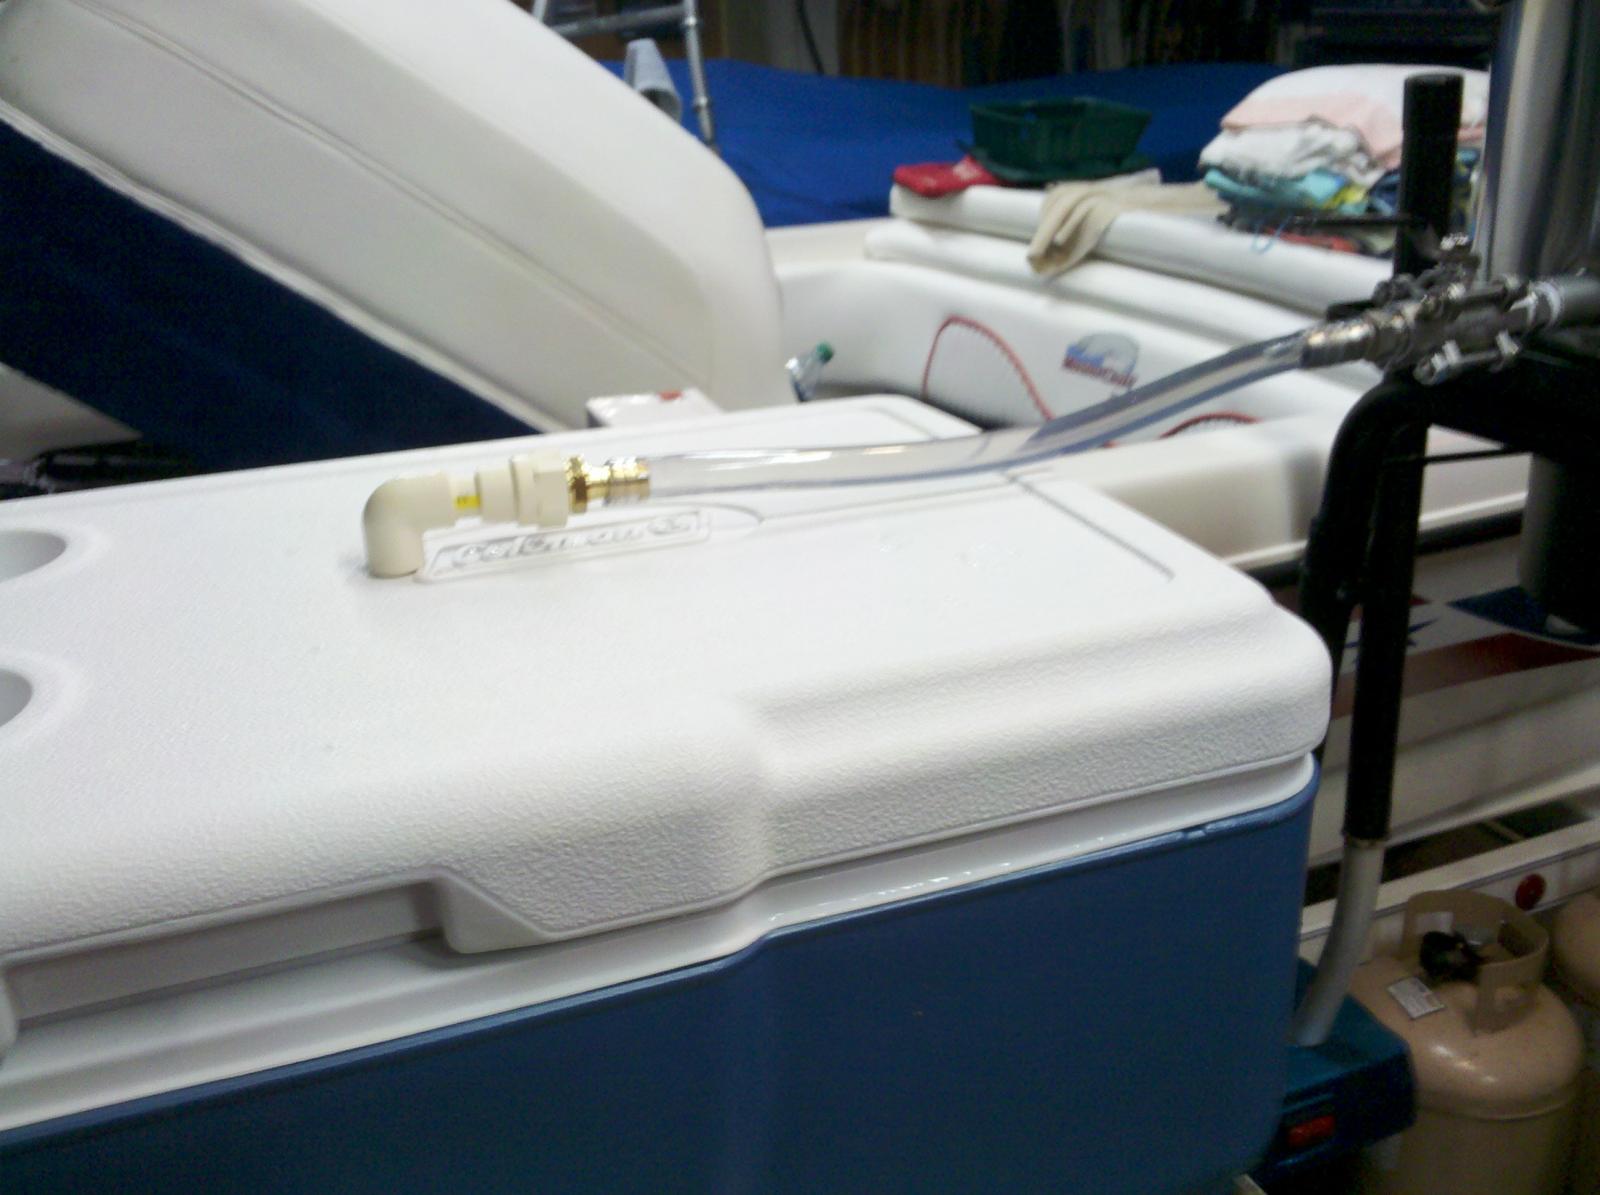
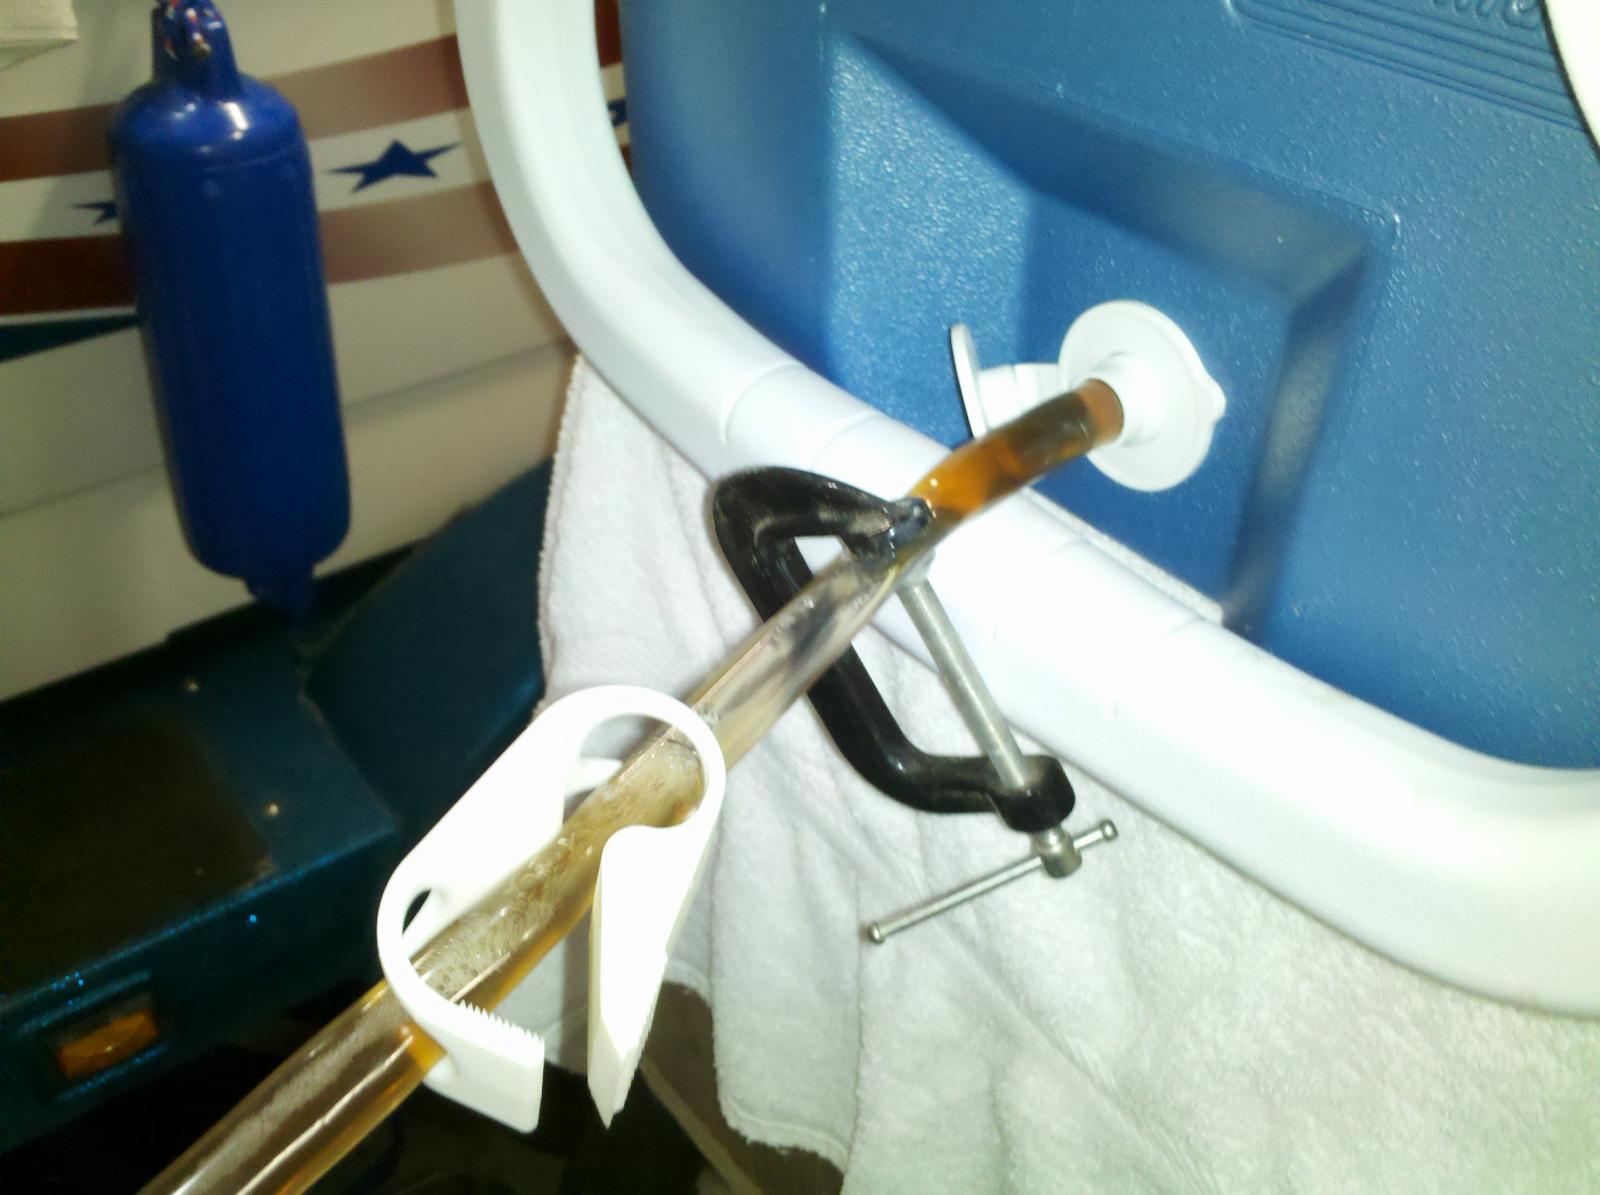
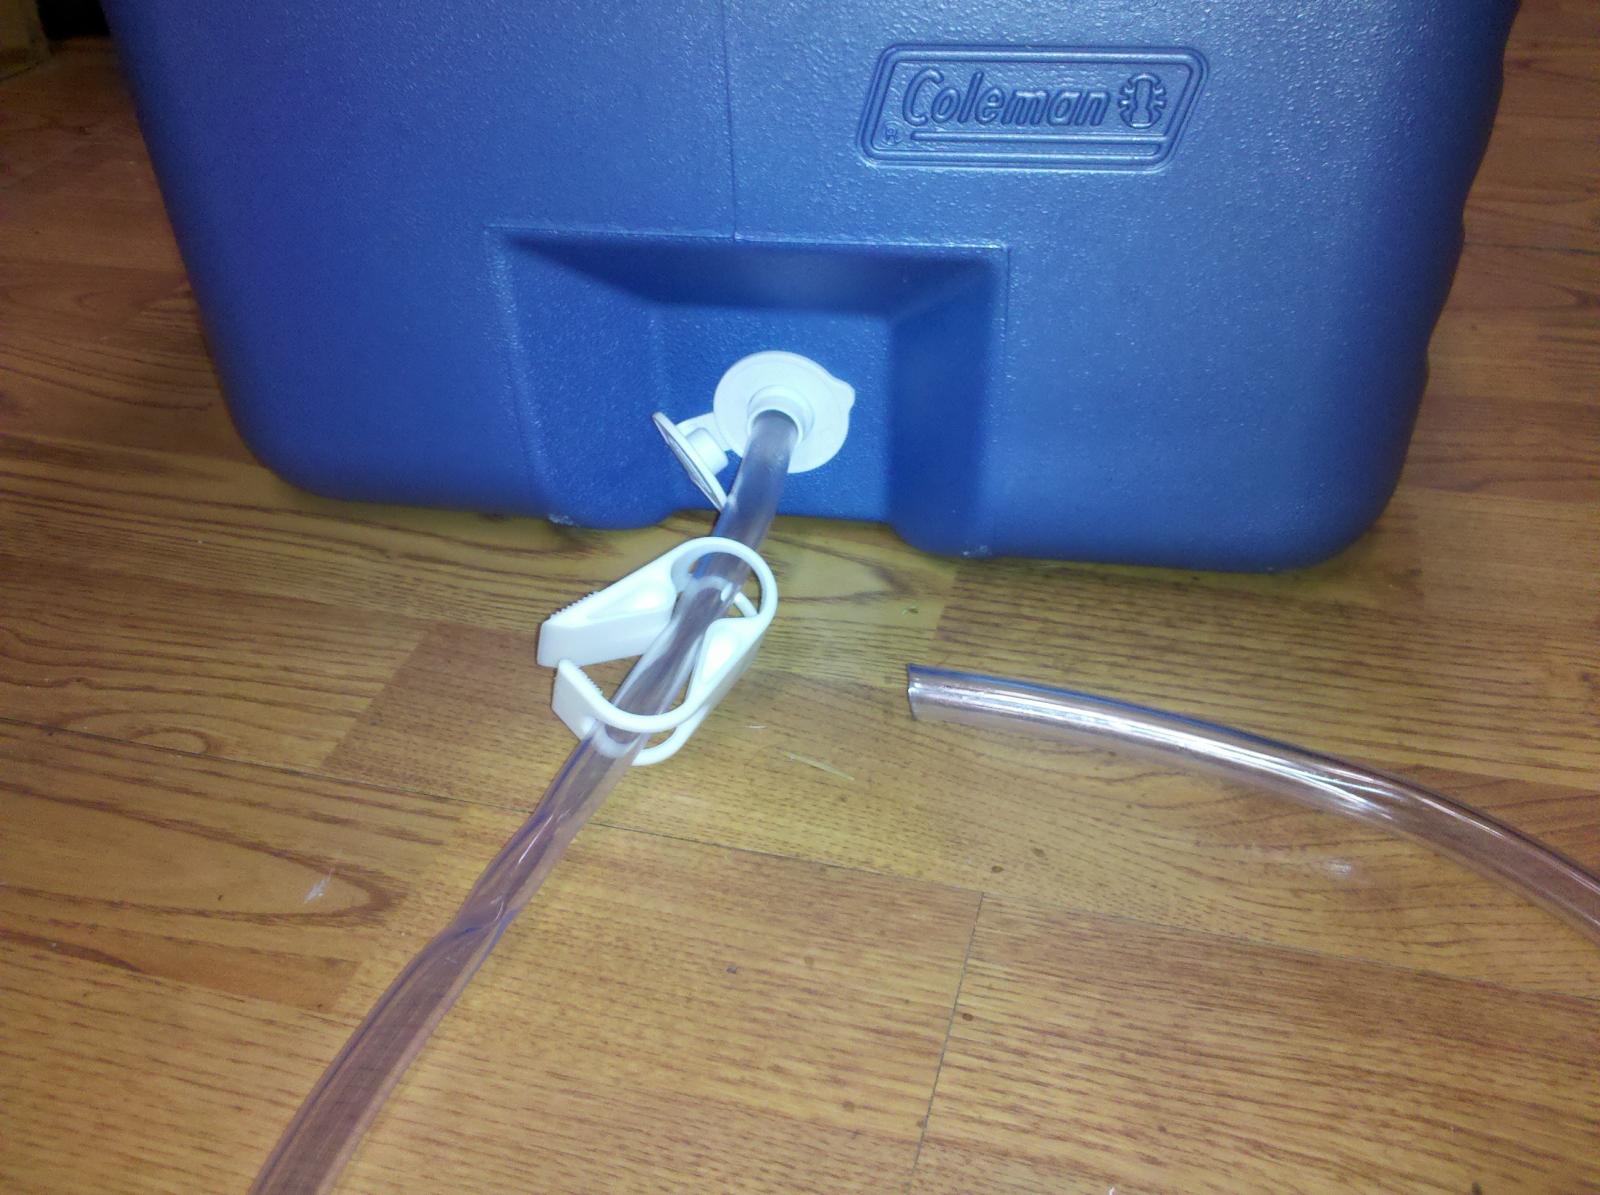
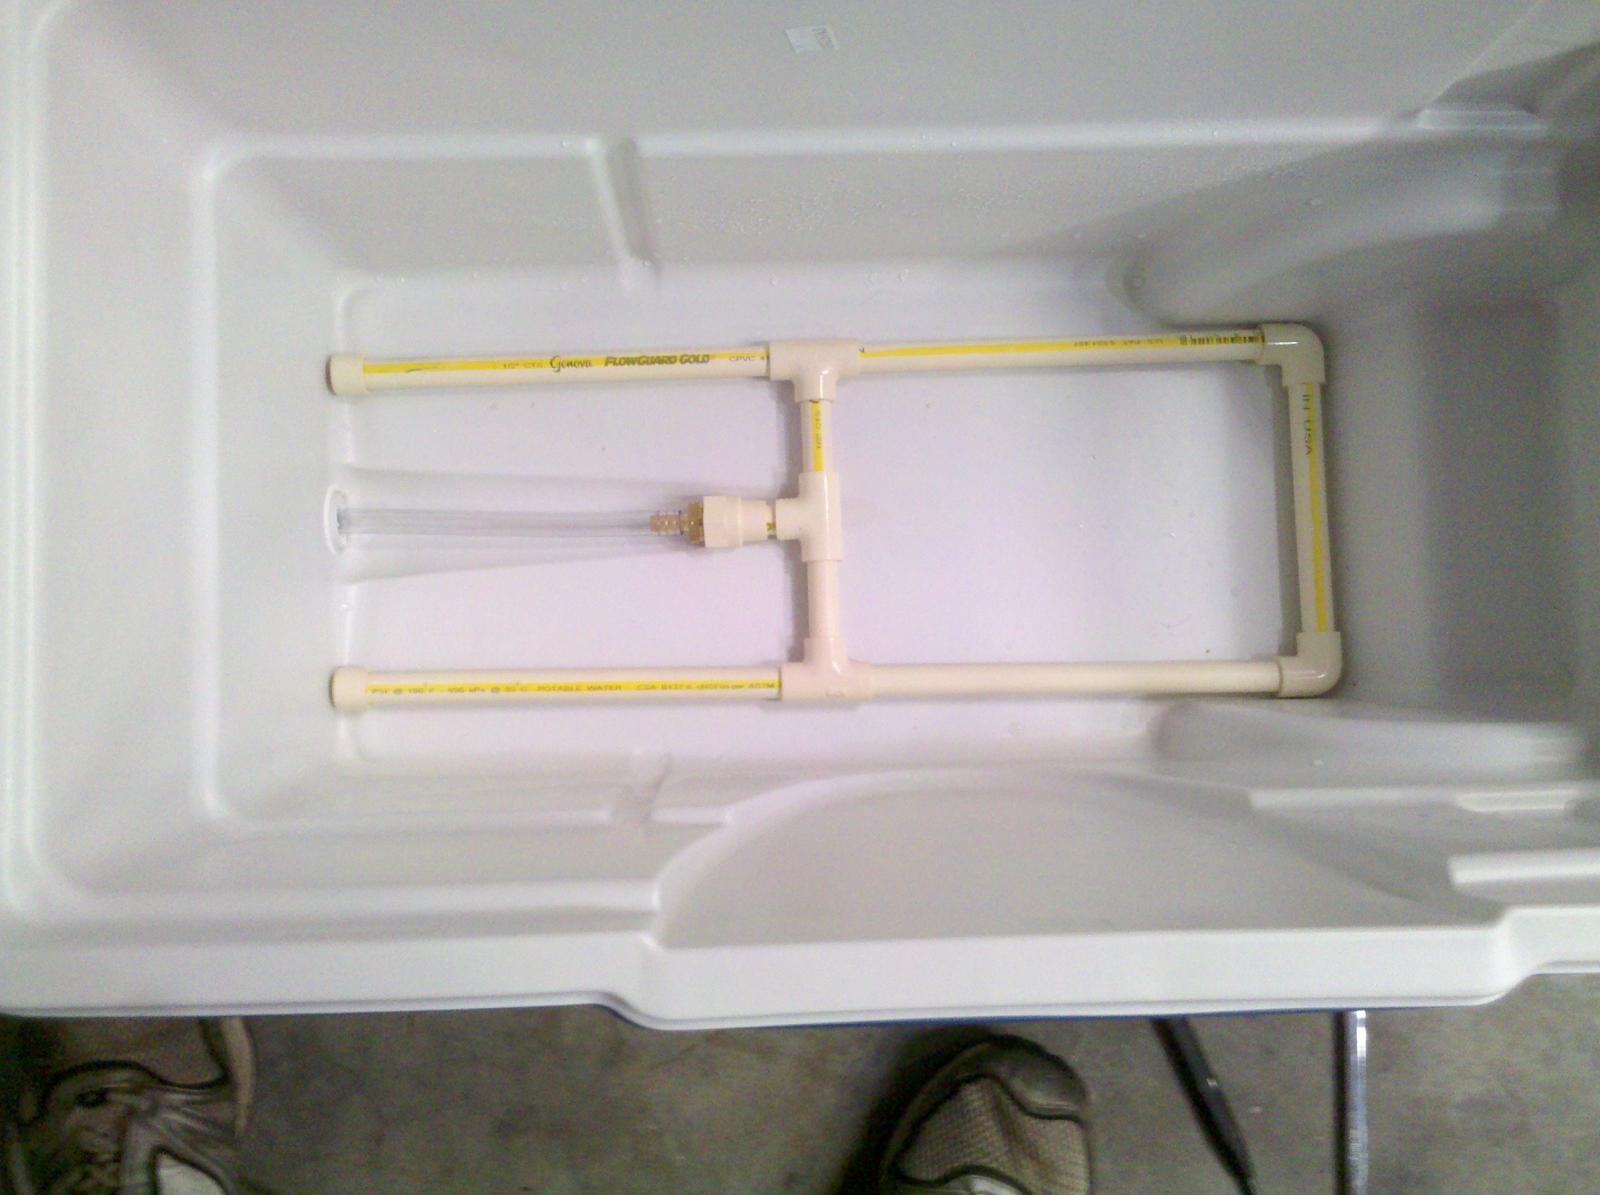
So the moral of this little story is this: I bought a 62Qt Xtreme cooler, some plastic water pipe and fittings, a brass 1/2" male pipe thread to 3/8" male hose barb fitting, 10ft of vinyl tubing and a tubing clamp. Which by the way cost me less than the original 54qt cooler, brass ball valve and 3 stainless steel faucet hoses I used trying to get a clear wort did... Plus I didn't have to dink around with getting the thing to seal. I went at this project on the cheap. I found that 3/8" I.D. by 1/2" O.D tubing would push through the factory drain on the 62Qt Xtreme cooler AND seal perfectly!
The mash tun 2.0, as I like to call it, only has a 22oz dead space. Once the wort clears, it drains SO much dang faster it ain't funny! No kidding, I have saved almost an hour during my typical brew day just watching wort drain into the kettle! I don't see any grain particles moving through the hose any longer.
I should have called this thread "death to the braided stainless steel mash tun filter" LOL. U guys that are still using a single drain pathway in your mash tuns seriously need to try building a manifold! Don't waste your $$$ on copper pipe to build a manifold, just use the plastic stuff! Cut the slots with 1/2" spacing, about a third of the way through the tubing, and drain that sweet wort... at warp speed!


