I started out doing it manually with a spoon, but with the NEIPAs I brew, that can lead to 45 minutes of stirring between a WP hopstand and chilling. Plus, if I tried to stir, take a break, stir some more when it slows down, etc. I had to find a place to set the spoon down and then re-sanitize it each time. Huge PITA.
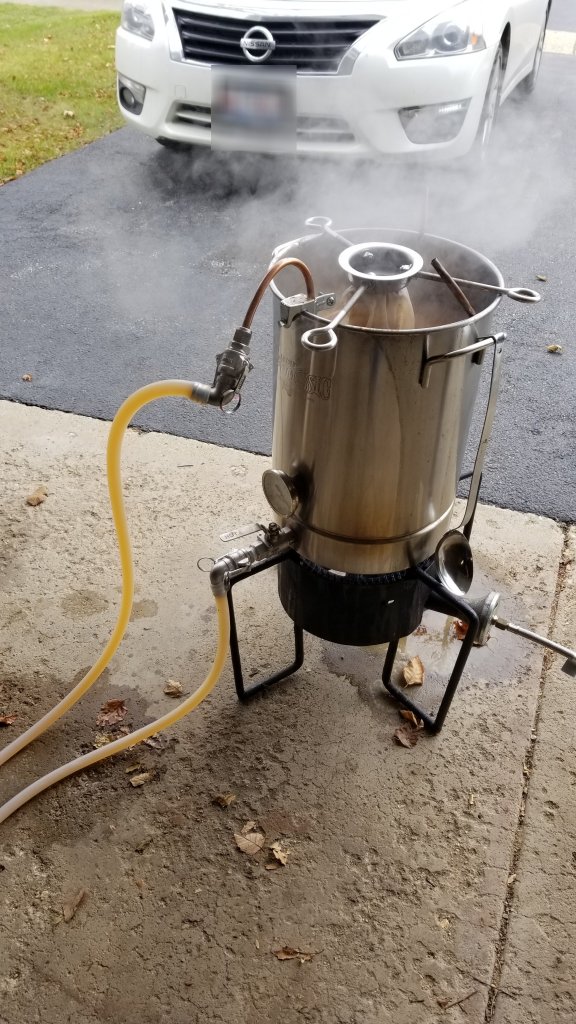
Plus, I brew in my garage. During the summer, bugs can be an issue. Fortunately, I have a kettle with a lid that features a cutout. I can run the WP arm and the immersion chiller arms through that cutout, then I drape a star-san soaked tea towel over the opening and arms. Bug free WP and chilling and I can be cleaning and putting stuff away while it happens.
I'd be fine with a WP port and short internal arm, but I didn't want to spend for a custom kettle and I'm not a fan of weldless fittings.