Upright Keezer, 8 taps, 11 kegs

Homebrew Talk - Beer, Wine, Mead, & Cider Brewing Discussion Forum

Help Support Homebrew Talk - Beer, Wine, Mead, & Cider Brewing Discussion Forum:

This site may earn a commission from merchant affiliate links, including eBay, Amazon, and others.
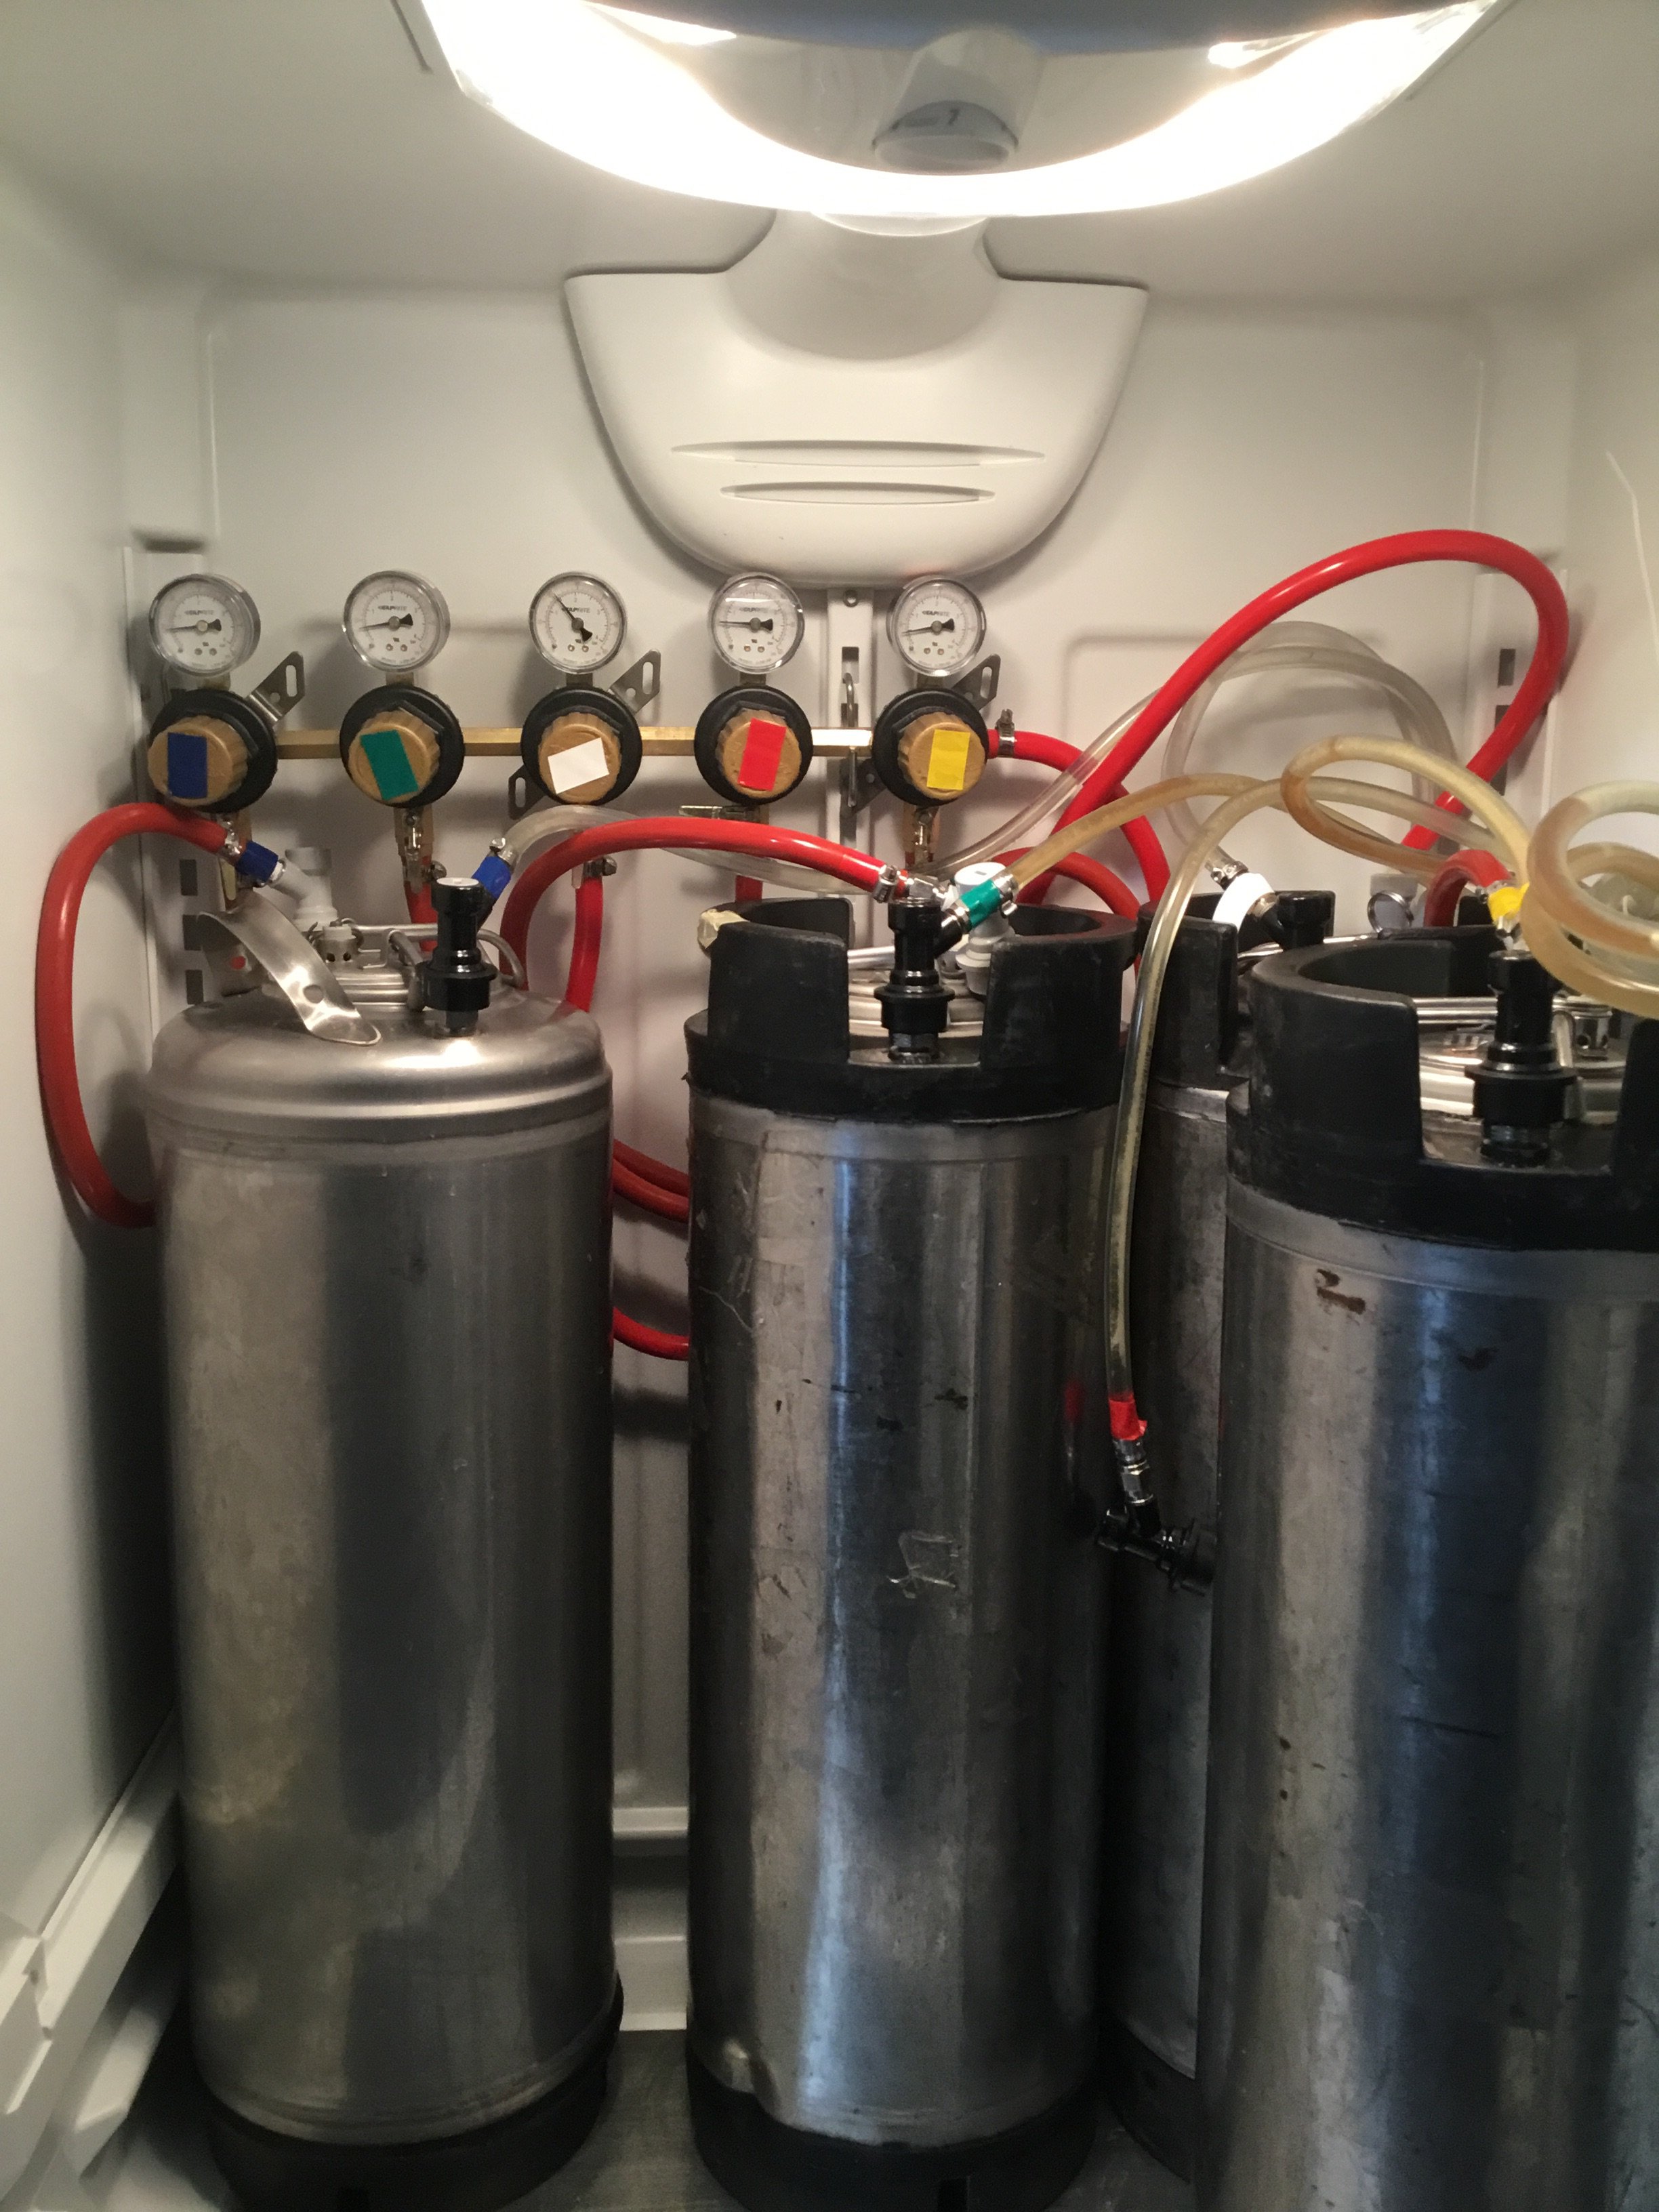
And when run at refrigerator temperatures the coils will rust and leak brown gunk all over your kegs. At least an older model did when I tried to use it as a bottle fridge

None of the models being used here have internal coils around the shelves. These are frost free models where the coils are in the walls. Sounds like you had a condensation problem that caused your rusting.
 
I was reading through this and noticed a lot of you getting freezers off Craigslist used for around $200. I am finding a few in the $300 range Denver Area.
My question is;
How old is too old to get? I mean is $225-$250 for a 2006 unit good should I be buying newer or paying less (he is asking $300)
I have looked at 2 in very good condition and working well one from 2006 and the other was 2001.

I'd buy newer. I bought an old cheap beat up freezer and it lasted maybe 6 years. It would be worth paying $100 more and knowing the freezer is probably more efficient and may last longer.

While the market may be different in Denver, with Craigslist you may just have to wait to find the model and price you want.
 
have any of you mounted your secondary regulators to the back wall with some self tapping screws? I know the rear wall is just an air chamber, but don't know if it can hold the weight of 6 secondary regulators.
 
Will a sanke 1/2 fit in here without cutting out the shelving? I have one coming Thursday and not quite sure it will fit. Kinda want to keep the shelves so I'm hoping.

The 1/2 bbl keg is usually 1 - 1.5" shorter than a corny, so it mostly depends on your sanke tap. Some taps are lower profile than others, but with the right tap, it's no problem.
 
The 1/2 bbl keg is usually 1 - 1.5" shorter than a corny, so it mostly depends on your sanke tap. Some taps are lower profile than others, but with the right tap, it's no problem.


I was thinking about the door shelving and if I'd be able to shut the door. I really want to keep the shelving if possible.
 
Jon,

Does your freezer have a defrost? If so did you just unplug it or did you go to the trouble of removing the defrost timer too? Any idea of the defrost heater would be strong enough to use as a heat source if using such a freezer for s fern chamber? I can't find specs on the wattage for these things.
 
I just left mine connected. I did a keezer and a fermentation fridge with the same model freezer. The heater is just a small heater connected to the evaporator coil meant to defrost the coil if it ices up. Wont work for fermentation control probably. I wired up a receptical to the heating output of my STC1000 and plugged in a small space heater. The second receptical is connected to main power to plug in a stir plate.

View attachment 1496360296262.jpg

View attachment 1496360313061.jpg

View attachment 1496360323512.jpg
 
I just left mine connected. I did a keezer and a fermentation fridge with the same model freezer. The heater is just a small heater connected to the evaporator coil meant to defrost the coil if it ices up. Wont work for fermentation control probably. I wired up a receptical to the heating output of my STC1000 and plugged in a small space heater. The second receptical is connected to main power to plug in a stir plate.


Thanks! What model heater is that?
 
So I did a little research and a simple resistance rest and the defrost heater on the freezer I have is about 340 watts...that seems plenty for a heat source - the one linked above is 200 watts.

I've wired it up to try it out. I also wired the fan above the coils to always be on to help distribute the heat the same way the cold would be. I'm currently repainting the interior but once that's done I'll be able to test it out.

Sounds like it should work then. Wiring the fan to run constantly is a good idea. Should help with heat stratification and heat transfer.
 
Well it turns out that it may not work after all ... basically there's no modulation with this the way I have it setup right now. So to raise my beer (8 gals) 1.1 deg F it heated the chamber to an ambient of 133 and overshot by nearly 3 degrees. It was the ambient of 133 that scared me. I need to put some kind of pulse width modulation control on this heating element or switch over to something like what you're using...running flat out this thing just gets way too hot.

Jon, sorry for the thread hikack. I'll start my own thread about this but wanted to close the loop on my comments here
 
I finally finished up my build this weekend. 6 taps with room for 2 more. 6 regulator secondary, and another with a Y for carbing.

I used pressure sensitive veneer for the backsplash. Stained and then glued down the trim with construction adhesive. I then stained the veneer to match, and put 2 coats of urethane on the whole thing. I built the drip tray shelf with a piece of pine, more trim, and corbels I ordered through home depot online.

The goal was to make it nice enough that SWMBO would allow it in the house. It now sits in our formal dining room.:mug:

View attachment 362609

View attachment 362610

View attachment 362611

View attachment 362612

View attachment 362613

Long shot here since this is 2 years old.. can you link where you got that drip tray?

Looking for one wide enough for 6-8 taps, but the one I found is only 4" in depth, which seems to be barely wide enough (my tap nozzle sticks out like 3.75".. so it would be dripping on edge of drip tray.

I found a 6" deep one, but it's only 16" wide, which leaves 1/2" on each side of 6 taps spaced 3" apart.
https://www.kegoutlet.com/drip-tray-for-6-draft-beer-faucets-with-drain.html
 
Long shot here since this is 2 years old.. can you link where you got that drip tray?

Looking for one wide enough for 6-8 taps, but the one I found is only 4" in depth, which seems to be barely wide enough (my tap nozzle sticks out like 3.75".. so it would be dripping on edge of drip tray.

I found a 6" deep one, but it's only 16" wide, which leaves 1/2" on each side of 6 taps spaced 3" apart.

ebay. And amazingly the seller is still selling them...

https://www.ebay.com/itm/drip-tray-super-heavy-24-x5-x-75-5002189-/140722141489?hash=item20c3b17931
 
Yeh that has the perfect dimensions. I wonder where he sources it? Hate to fork up almost $20 in shipping.

Frazeart, I don't need one that hangs off the taps.. that raises price significantly.
 
I got mine from eBay and had to fork up the $20 in shipping. It hurt, but I was unable to find it elsewhere.
 
I had time over the weekend to install the Co2, drill the door and mount the drip trays. Thanks to Jonw and other posters in this thread for all the inspiration and help. I ended up going with 2 three port drip trays because this model freezer has a vertical door divider on the inside that I wanted to avoid. Also thanks to the heads up from jeffcosgrove, I was able to avoid the vertical wiring in the door. Originally I was not going to populate all the faucet ports (just four to start) but as I thought it through I decided to do all the drilling at one time so 2 more shanks and faucets are on the way. On the fourth shank I over torqued the little sleeve at the faucet end and broke it. They are a little hard to find but I have more of those on the way as well.

Thank You HBT!

View attachment 182029

View attachment 182030
Hey Flounder21 or jeffcosgrove. I've gotten a Frigidaire with the same kind of LCD display. Where was the wiring located? Center, or to the right side of the door where it comes in from the hinge location? Have tap marks lined up but don't want to drill into the wiring if I can avoid it.
 
Got the freezer one year old, starting to source the parts. How long are the shanks have to be?
Any issues with defrosting?? Anything you would do differently from the original build?

I will be removing all the shelves so my plan is to have 10 taps (if it is possible) and 2 lines for carbonation so total will be 12 kegs. Also I am thinking of getting Inkbird controller. Where do you put your temperature probe??? I would guess in the middle of the fridge..

Thanks

No issues with the defrost. The cycle is short enough that you don't notice it with the thermal load.

10 taps would be tough but do-able I would think. I am running 6, with shanks in place for 2 more. Doubt you could get 12 kegs in due to the hump at the back on the bottom. 6 on top max. I have been able to squeeze 4 in on the bottom a few times.

Shanks were 4- 1/8"

Edit: Forgot to comment on the inkbird. I would skip it. You can use the coarse adjust screw on the built in thermostat. Takes an hour or two to dial it in, but once you get it where you want, you are set. Saves $ and un-necessary modification.

Instructions here: https://www.homebrewtalk.com/forum/...tat-to-32f-eliminate-external-control.249612/

Thank you, I'll try to see if I can dial it in. I did went through that thread and it looks like the newer fridges are harder to adjust. I am removing all the shelves and there should be enough space for 12 kegs.
Yes, I am not 100% sure if I could fit 10 taps, need to measure everything again, but it would be nice.
The only way you might get 12 kegs in is if you remove the door shelves. Otherwise they best you'll do is 5 kegs on the bottom in a staggered configuration. 11 Kegs on mine gets very tight. I also wouldn't give up my door shelves as it's nice to put glasses and bottled beer there.
 
Hose management will be a limiting factor with 10 taps.

I just finished mine today (still need to clean it up). I have the CO2 & Nitro tank in fridge, and I went with regular taps so i have 10ft of draft lines - 8 kegs & 8 taps. 20cuft.

CO2 goes to three secondaries each with a distribution block mounted in back.
  • One set for NEIPA at 2.2 vol
  • One set for Pilsner, WCPA, Wheat at 2.5 vol
  • One set for soda water & force carb

Also have One CO2 auxilary line through the ran through back to outside for closed system transfer. And a Nitro auxiliary line out back to outside for purging cans & growlers.

Thanks for the inspiration @JonW

9E3C9664-6D12-404A-A568-DD7380857248.jpeg
22B68E2C-FAB3-45E0-A8D6-B401F3567113.jpeg
 
No issues with the defrost. The cycle is short enough that you don't notice it with the thermal load.

10 taps would be tough but do-able I would think. I am running 6, with shanks in place for 2 more. Doubt you could get 12 kegs in due to the hump at the back on the bottom. 6 on top max. I have been able to squeeze 4 in on the bottom a few times.

Shanks were 4- 1/8"

Edit: Forgot to comment on the inkbird. I would skip it. You can use the coarse adjust screw on the built in thermostat. Takes an hour or two to dial it in, but once you get it where you want, you are set. Saves $ and un-necessary modification.

Instructions here: https://www.homebrewtalk.com/forum/...tat-to-32f-eliminate-external-control.249612/

Will this shank work??
https://www.ebay.ca/itm/Intertap-4-...190646?hash=item3d56424cb6:g:6OYAAOSwrMlZe1-D

it says it is 4" but you said you used 4-1/8
 
have any of you mounted your secondary regulators to the back wall with some self tapping screws? I know the rear wall is just an air chamber, but don't know if it can hold the weight of 6 secondary regulators.
No screws, just used the existing shelf brackets.
 

Attachments

  • image.jpg
    image.jpg
    1,007.4 KB · Views: 170
Urrgh. I'm just about to buy a chest freezer but the cost per cubic foot is a lot higher than the same in an upright. Has to live in my garage; starting to think an upright makes more sense.
 
Back
Top