TungstenBeer
Well-Known Member
Another thread, another new build. I'm hoping to stay diligent so I can chronicle this whole thing with pictures, links, and Q&A (from both ends).
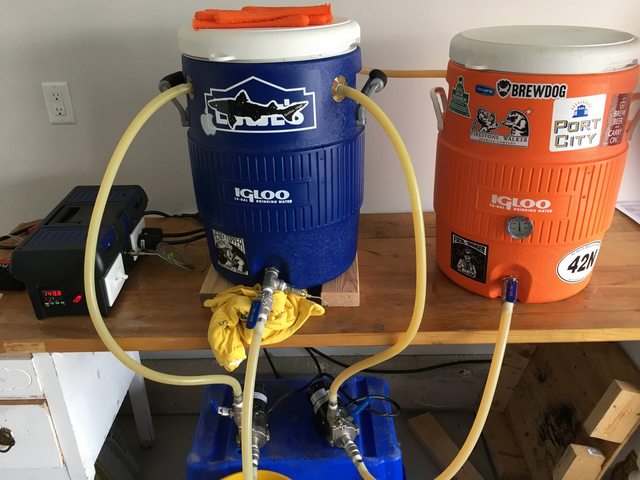
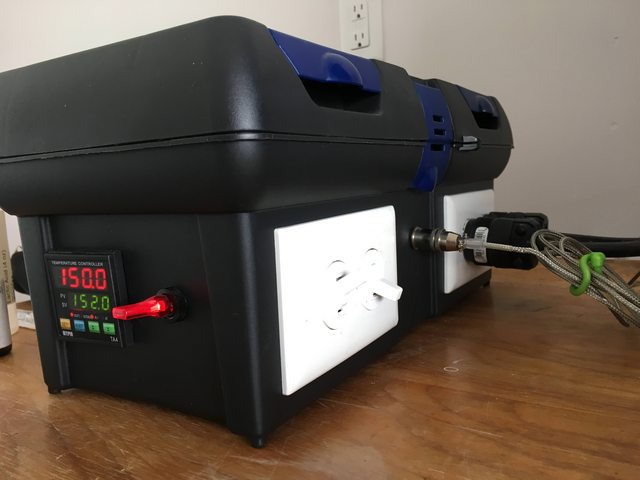
I came across Kal's website and the idea for an indoor brewery somewhere in the summer or fall of 2013. Shortly thereafter I constructed a temporary "mini" electric brewery to improve consistency between brews and I am glad I did. Actually, I only did one all-grain batch ever without using some kind of electric mash. I can't imagine brewing without it. So, right now I do an electric mash using an E-HERMS set-up out of two 10 gallon coolers (yup), and boil with propane in my garage. I knew based on my career path that the house I owned at the time had become a temporary living situation for me, so the plan was to use that setup for a few years until I got into a new house and could construct a big boy brewery.
For purposes of this thread, I'll refer to my current system as "Mini" and the new system "Big Boy."
Here's a rough timeline so far:
Late summer 2013: Found Kal's website.
December 2013: Planned out construction of a Mini E-HERMS setup using two coolers.
March 2014: Finished Mini system, and started brewing.
October 2014: Stopped buying any new parts that could not also be used in the Big Boy system.
March 2015: Started buying Control Panel parts for the Big Boy setup, and other parts when I found them on sale (for example, a HERMS coil that was on sale).
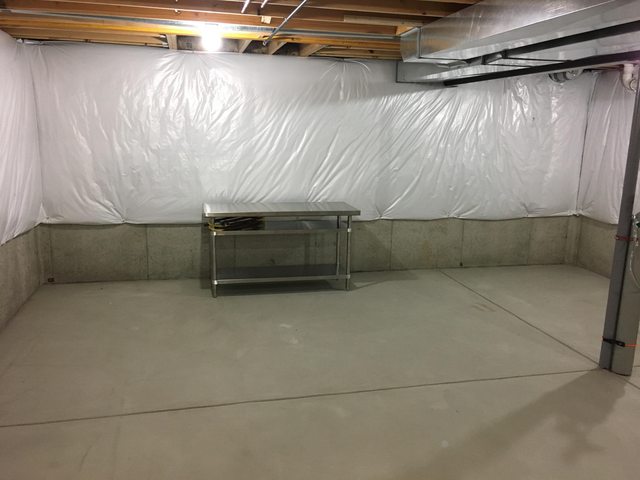
March 2016: Construction started on the new house, and a space in the basement was earmarked for the brewery (however, not all the infrastructure was originally installed, since we decided to spend that money on a bigger driveway, which I do not regret at all).
May 2017: Started construction of the infrastructure and Big Boy panel.
My design will be very similar to Kal's, but not quite a clone. Here are some key differences I decided to put in:
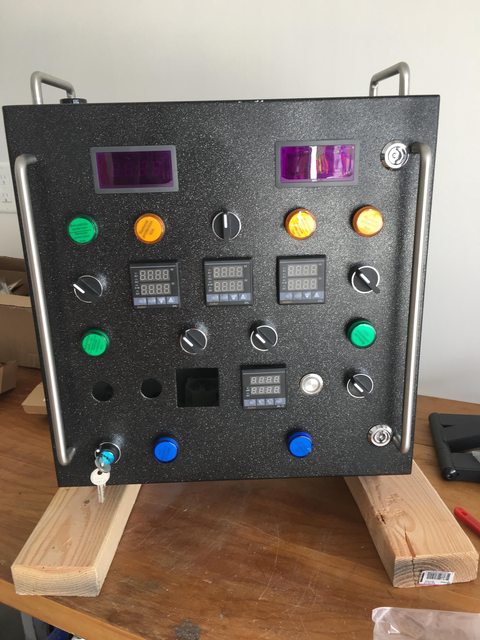
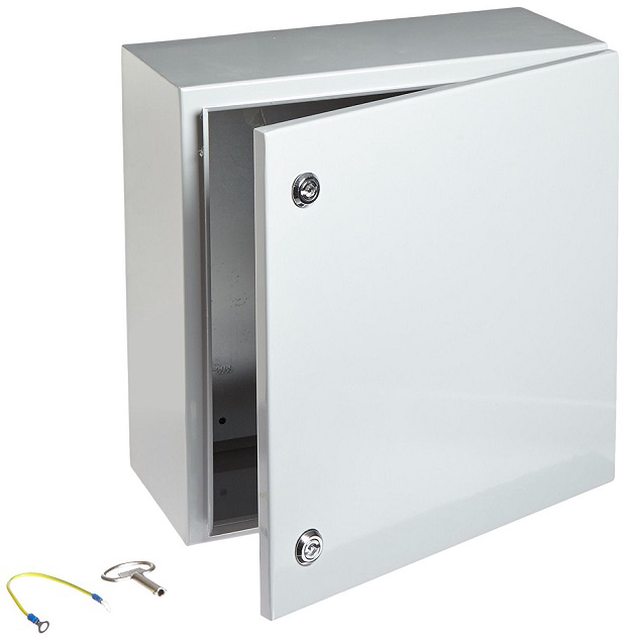
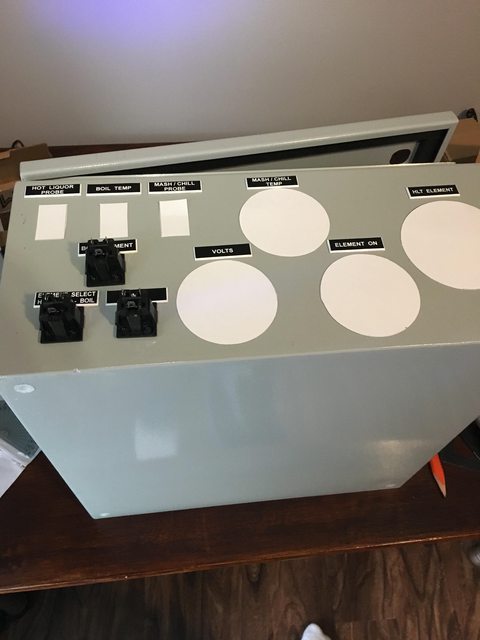
No post is complete without pictures, so here's the enclosure I'm using for the panel. I like it because it has metal locks instead of plastic, and there is no access panel or whatever it's called that has to be JB welded to secure it.
https://www.amazon.com/gp/product/B005T5H18U/?tag=skimlinks_replacement-20
Now, for the initial progress report... my first step based on weather and friends' availability to help out was to start work on the control panel.
Measuring and cutting holes in the proper place is one of the most challenging things for me. I try to dry fit as much as possible beforehand, or if I'm missing components, I use paper to cut out "replicas":
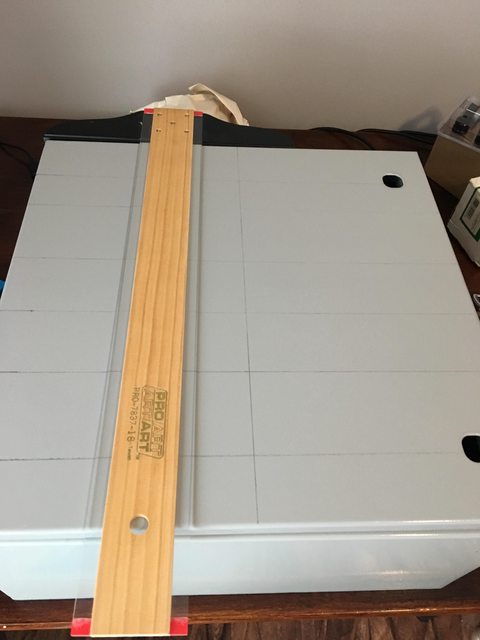
I use a T-square and a couple triangles and rulers to measure:
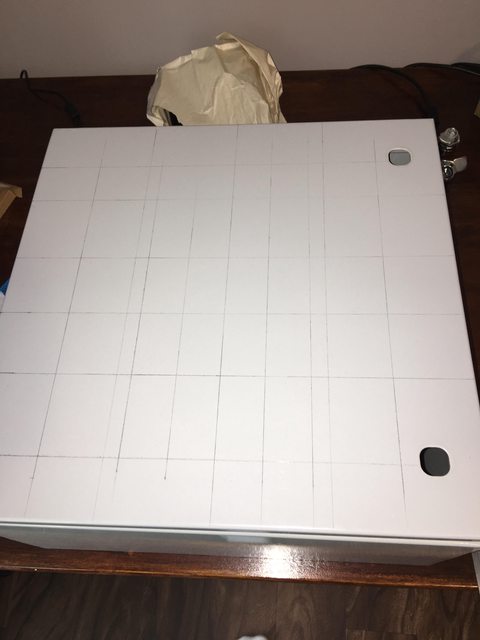
All measured! You'd need a decoder ring to understand it, but I get it:
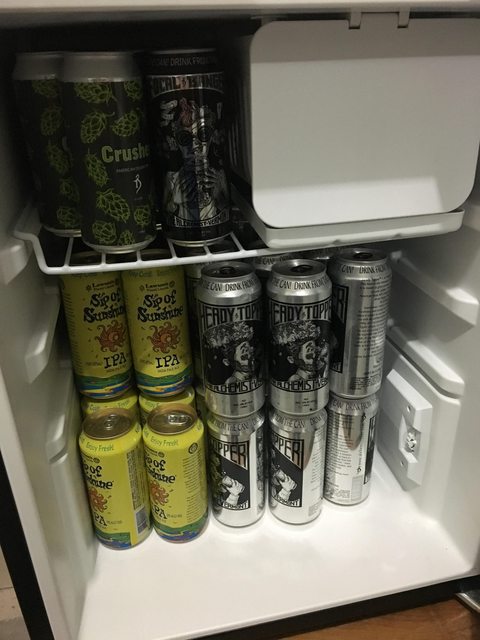
It's impossible to work on this stuff without having a beer, so I tapped into my stash from Vermont visit a couple weeks ago:
I came across Kal's website and the idea for an indoor brewery somewhere in the summer or fall of 2013. Shortly thereafter I constructed a temporary "mini" electric brewery to improve consistency between brews and I am glad I did. Actually, I only did one all-grain batch ever without using some kind of electric mash. I can't imagine brewing without it. So, right now I do an electric mash using an E-HERMS set-up out of two 10 gallon coolers (yup), and boil with propane in my garage. I knew based on my career path that the house I owned at the time had become a temporary living situation for me, so the plan was to use that setup for a few years until I got into a new house and could construct a big boy brewery.
For purposes of this thread, I'll refer to my current system as "Mini" and the new system "Big Boy."
Here's a rough timeline so far:
Late summer 2013: Found Kal's website.
December 2013: Planned out construction of a Mini E-HERMS setup using two coolers.
March 2014: Finished Mini system, and started brewing.
October 2014: Stopped buying any new parts that could not also be used in the Big Boy system.
March 2015: Started buying Control Panel parts for the Big Boy setup, and other parts when I found them on sale (for example, a HERMS coil that was on sale).
March 2016: Construction started on the new house, and a space in the basement was earmarked for the brewery (however, not all the infrastructure was originally installed, since we decided to spend that money on a bigger driveway, which I do not regret at all).
May 2017: Started construction of the infrastructure and Big Boy panel.
My design will be very similar to Kal's, but not quite a clone. Here are some key differences I decided to put in:
- Most of my batches are 5 gallon batches, although I wanted to have the capability for 10 gallon batches too, so my kettle sizing will be 20/15/20. If I do any 10 gallon batches they wouldn't be higher gravity, so 15g for the MLT will be a little more favorable to me.
- 50 amp panel which will allow for both back-to-back batches as well as faster ramp times on single batches. There will be a 3 way switch controlling a toggle between elements in the BK and HLT (standard), and then a 2-way switch toggling an "auxiliary" HLT element. I'm undecided on the size of the elements as of right now. This will allow me to have faster ramp times for single batches, and also give me the ability to do a back to back brewday if I want.
- Auxiliary receptacle and switch/LED installed for either a future 3rd pump, or miscellaneous use.
- Additional timer in case of back to back brews.
- Reduced footprint of alarm components on the control panel compared to a traditional Kal clone. I don't use any alarm functionality currently, and while I know I will start I'm sure that I won't need as much space dedicated to alarms. I will be including only two alarm switches (one for each timer), two momentary combination LED switches for an alarm notification + reset button, and that's it. A non-illuminated black buzzer will be installed on the top of the panel next to the heatsink.
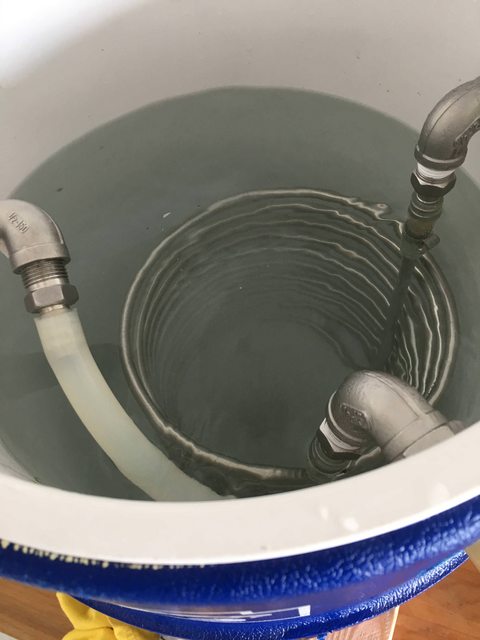
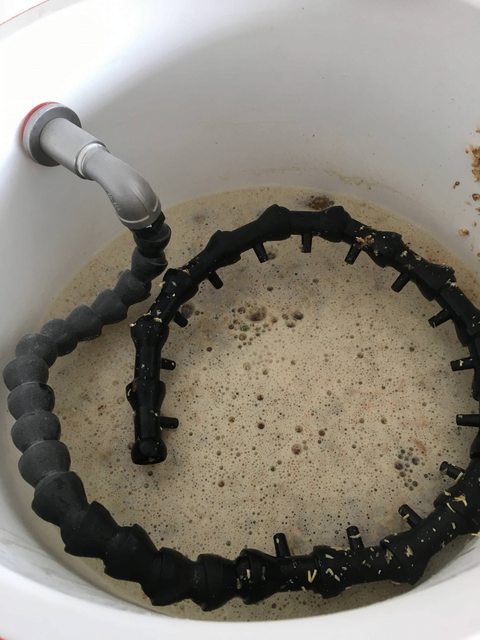
- Blichmanns will be used for the kettles, but I will be installing a whirlpool arm (which I have now as well) and will use a JaDeD recirculation counterflow chiller for chilling.
- Panel will be mounted on an articulating TV mount.
- More to come as I think of them.
No post is complete without pictures, so here's the enclosure I'm using for the panel. I like it because it has metal locks instead of plastic, and there is no access panel or whatever it's called that has to be JB welded to secure it.
https://www.amazon.com/gp/product/B005T5H18U/?tag=skimlinks_replacement-20
Now, for the initial progress report... my first step based on weather and friends' availability to help out was to start work on the control panel.
Measuring and cutting holes in the proper place is one of the most challenging things for me. I try to dry fit as much as possible beforehand, or if I'm missing components, I use paper to cut out "replicas":
I use a T-square and a couple triangles and rulers to measure:
All measured! You'd need a decoder ring to understand it, but I get it:
It's impossible to work on this stuff without having a beer, so I tapped into my stash from Vermont visit a couple weeks ago:
Last edited by a moderator: