MrFoodScientist
Well-Known Member
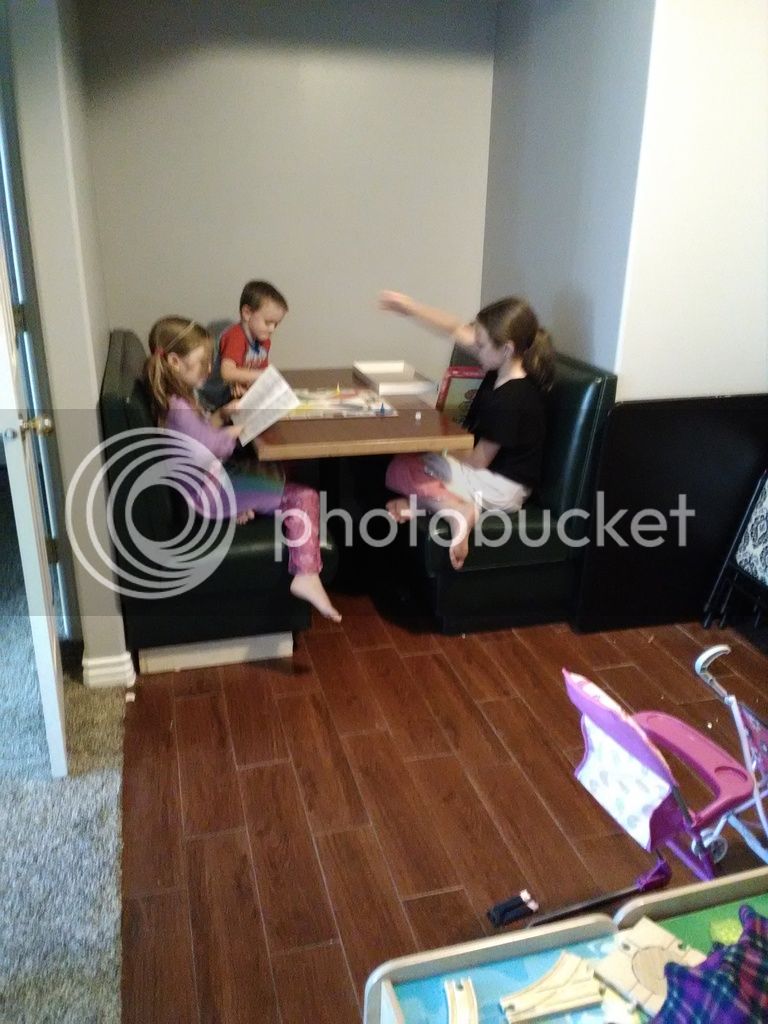
So I bought a house about a year ago and one of the selling points was that the family room in the basement had a weird setup which just sort of naturally separates the room into two. It didn't really make sense for a normal family room and the surround sound wiring was sideways from how I would have set it up.
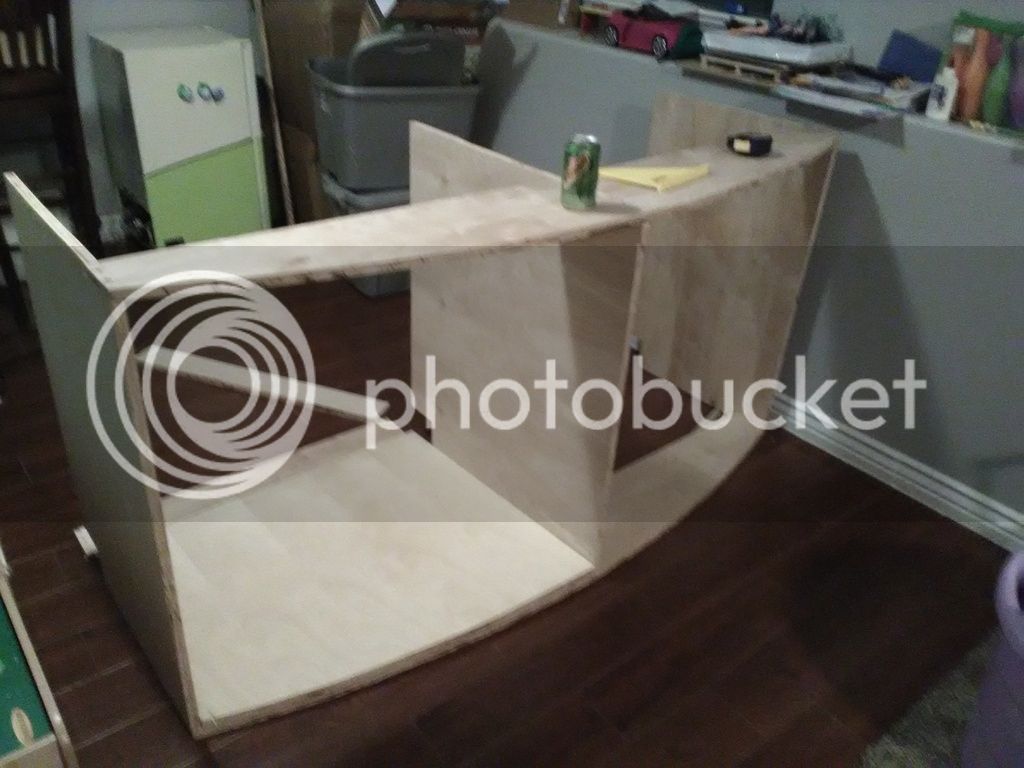
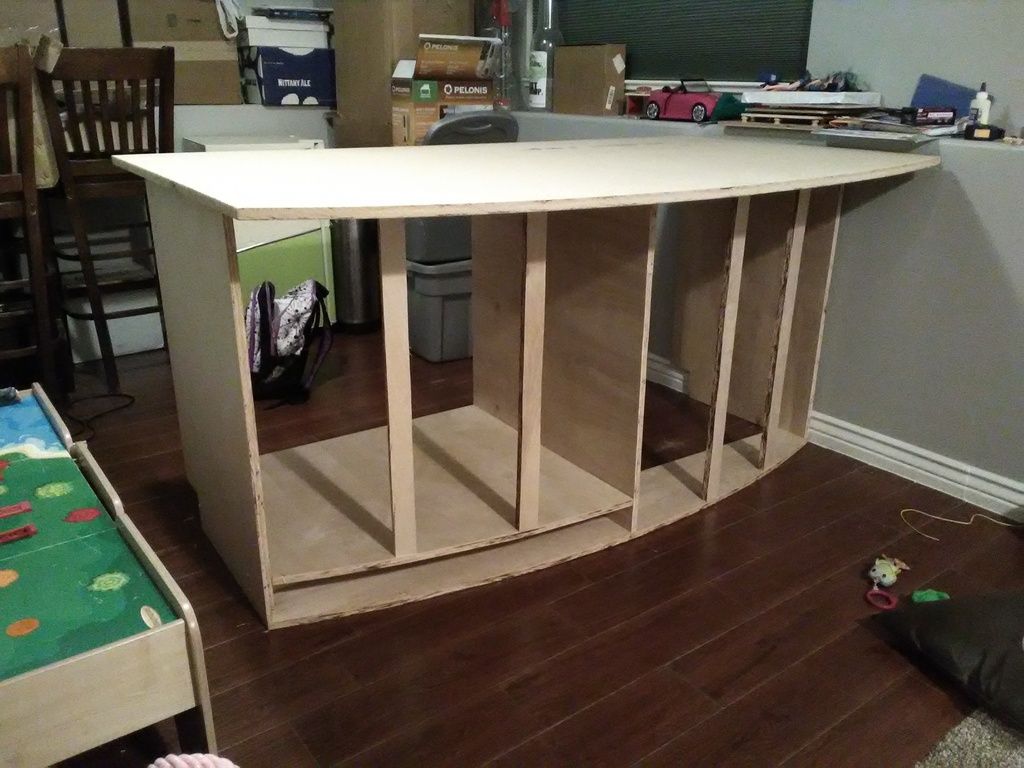
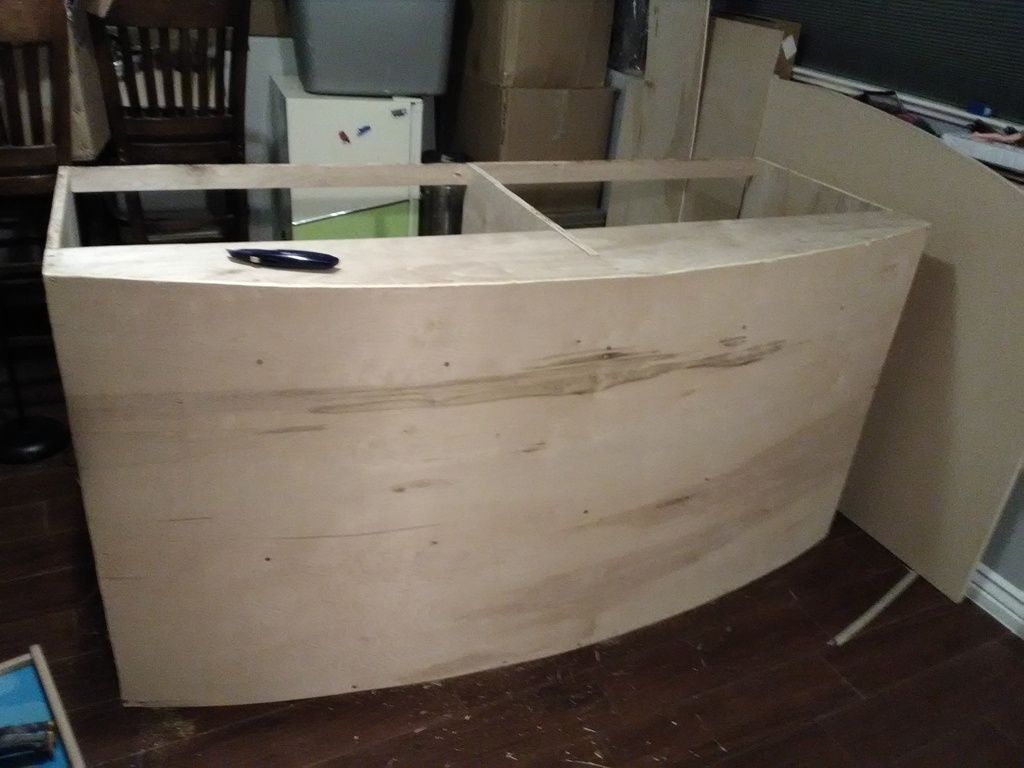
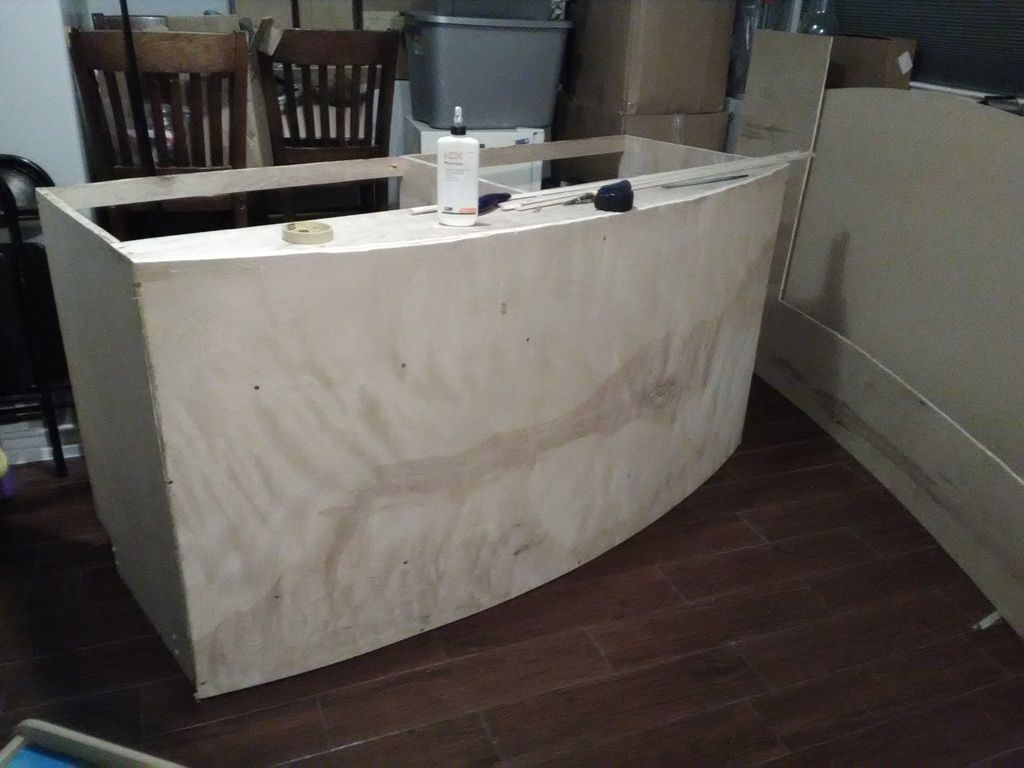
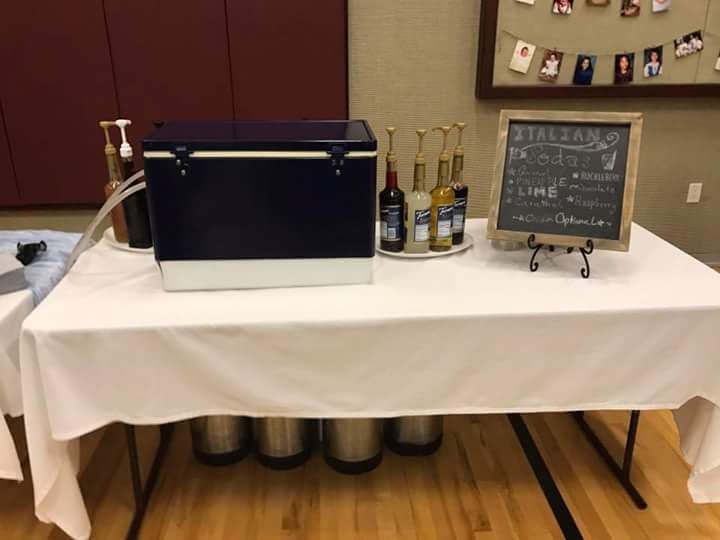
So we took the plunge and split it in half by tiling the one half where I'll be building a bar.
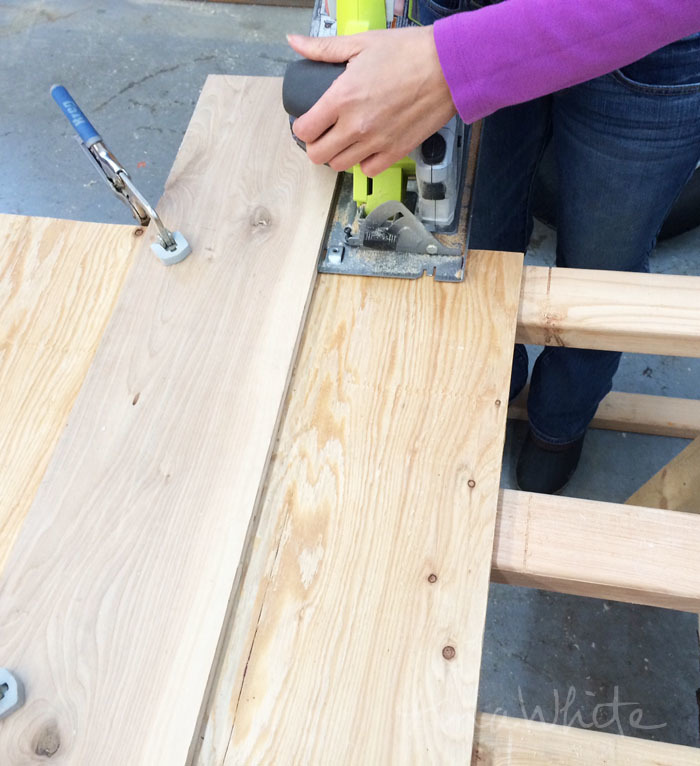
Step 1, tile:
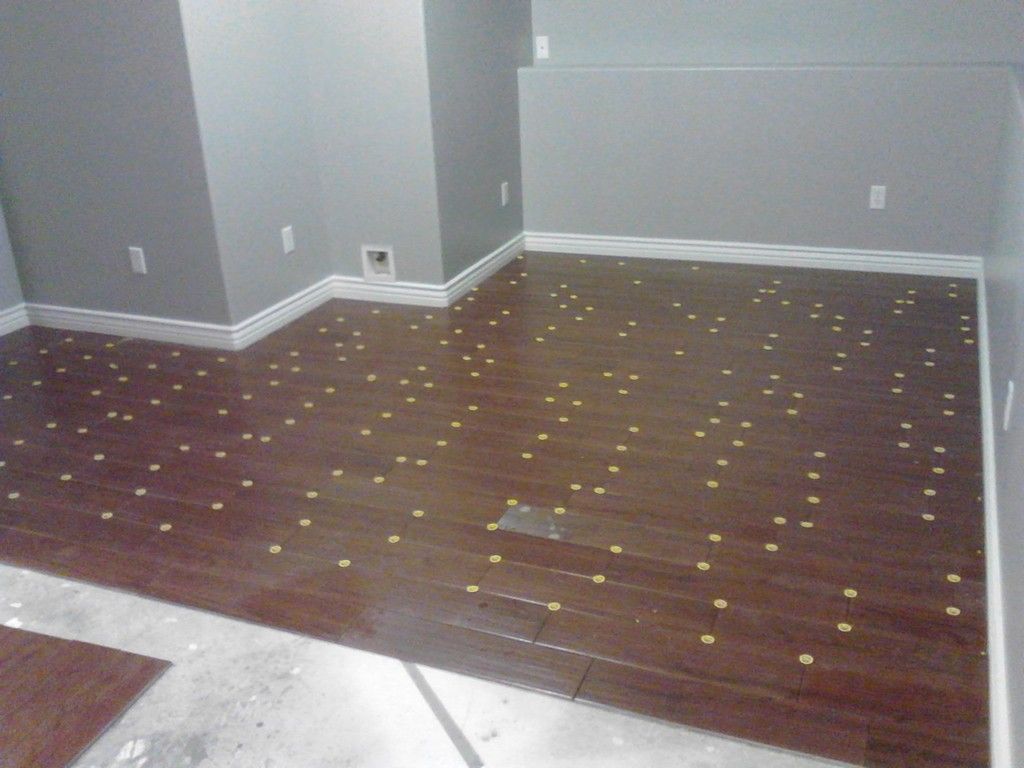
I picked a wood look tile from Lowe's because I had a 10% off coupon from moving and they had better selection than home Depot. This was my first time laying tile, so I picked up a book from the library and read it from cover to cover twice. In the process and from the book I learned a few things. #1 Yeah, libraries still exist apparently. #2 if you want it to be random like real hardwood flooring, start from one side and move to the other with one row, trim the excess and use that to start the next row going the other direction. Works great and doesn't look like a brick wall. #3 it's amazing how many people will post pictures of their great looking tile shower project where they put tile directly onto the drywall. Not a good plan. #4 tile isn't as hard as I thought it would be.
I tiled right on top of the concrete, hopefully it doesn't make it too cold in the winter time.
So we took the plunge and split it in half by tiling the one half where I'll be building a bar.
Step 1, tile:
I picked a wood look tile from Lowe's because I had a 10% off coupon from moving and they had better selection than home Depot. This was my first time laying tile, so I picked up a book from the library and read it from cover to cover twice. In the process and from the book I learned a few things. #1 Yeah, libraries still exist apparently. #2 if you want it to be random like real hardwood flooring, start from one side and move to the other with one row, trim the excess and use that to start the next row going the other direction. Works great and doesn't look like a brick wall. #3 it's amazing how many people will post pictures of their great looking tile shower project where they put tile directly onto the drywall. Not a good plan. #4 tile isn't as hard as I thought it would be.
I tiled right on top of the concrete, hopefully it doesn't make it too cold in the winter time.
")