Skraelings keezer build

Homebrew Talk - Beer, Wine, Mead, & Cider Brewing Discussion Forum

Help Support Homebrew Talk - Beer, Wine, Mead, & Cider Brewing Discussion Forum:

This site may earn a commission from merchant affiliate links, including eBay, Amazon, and others.

skraeling

Scientist Extraordinaire
Joined
Sep 26, 2013
Messages
721
Reaction score
285
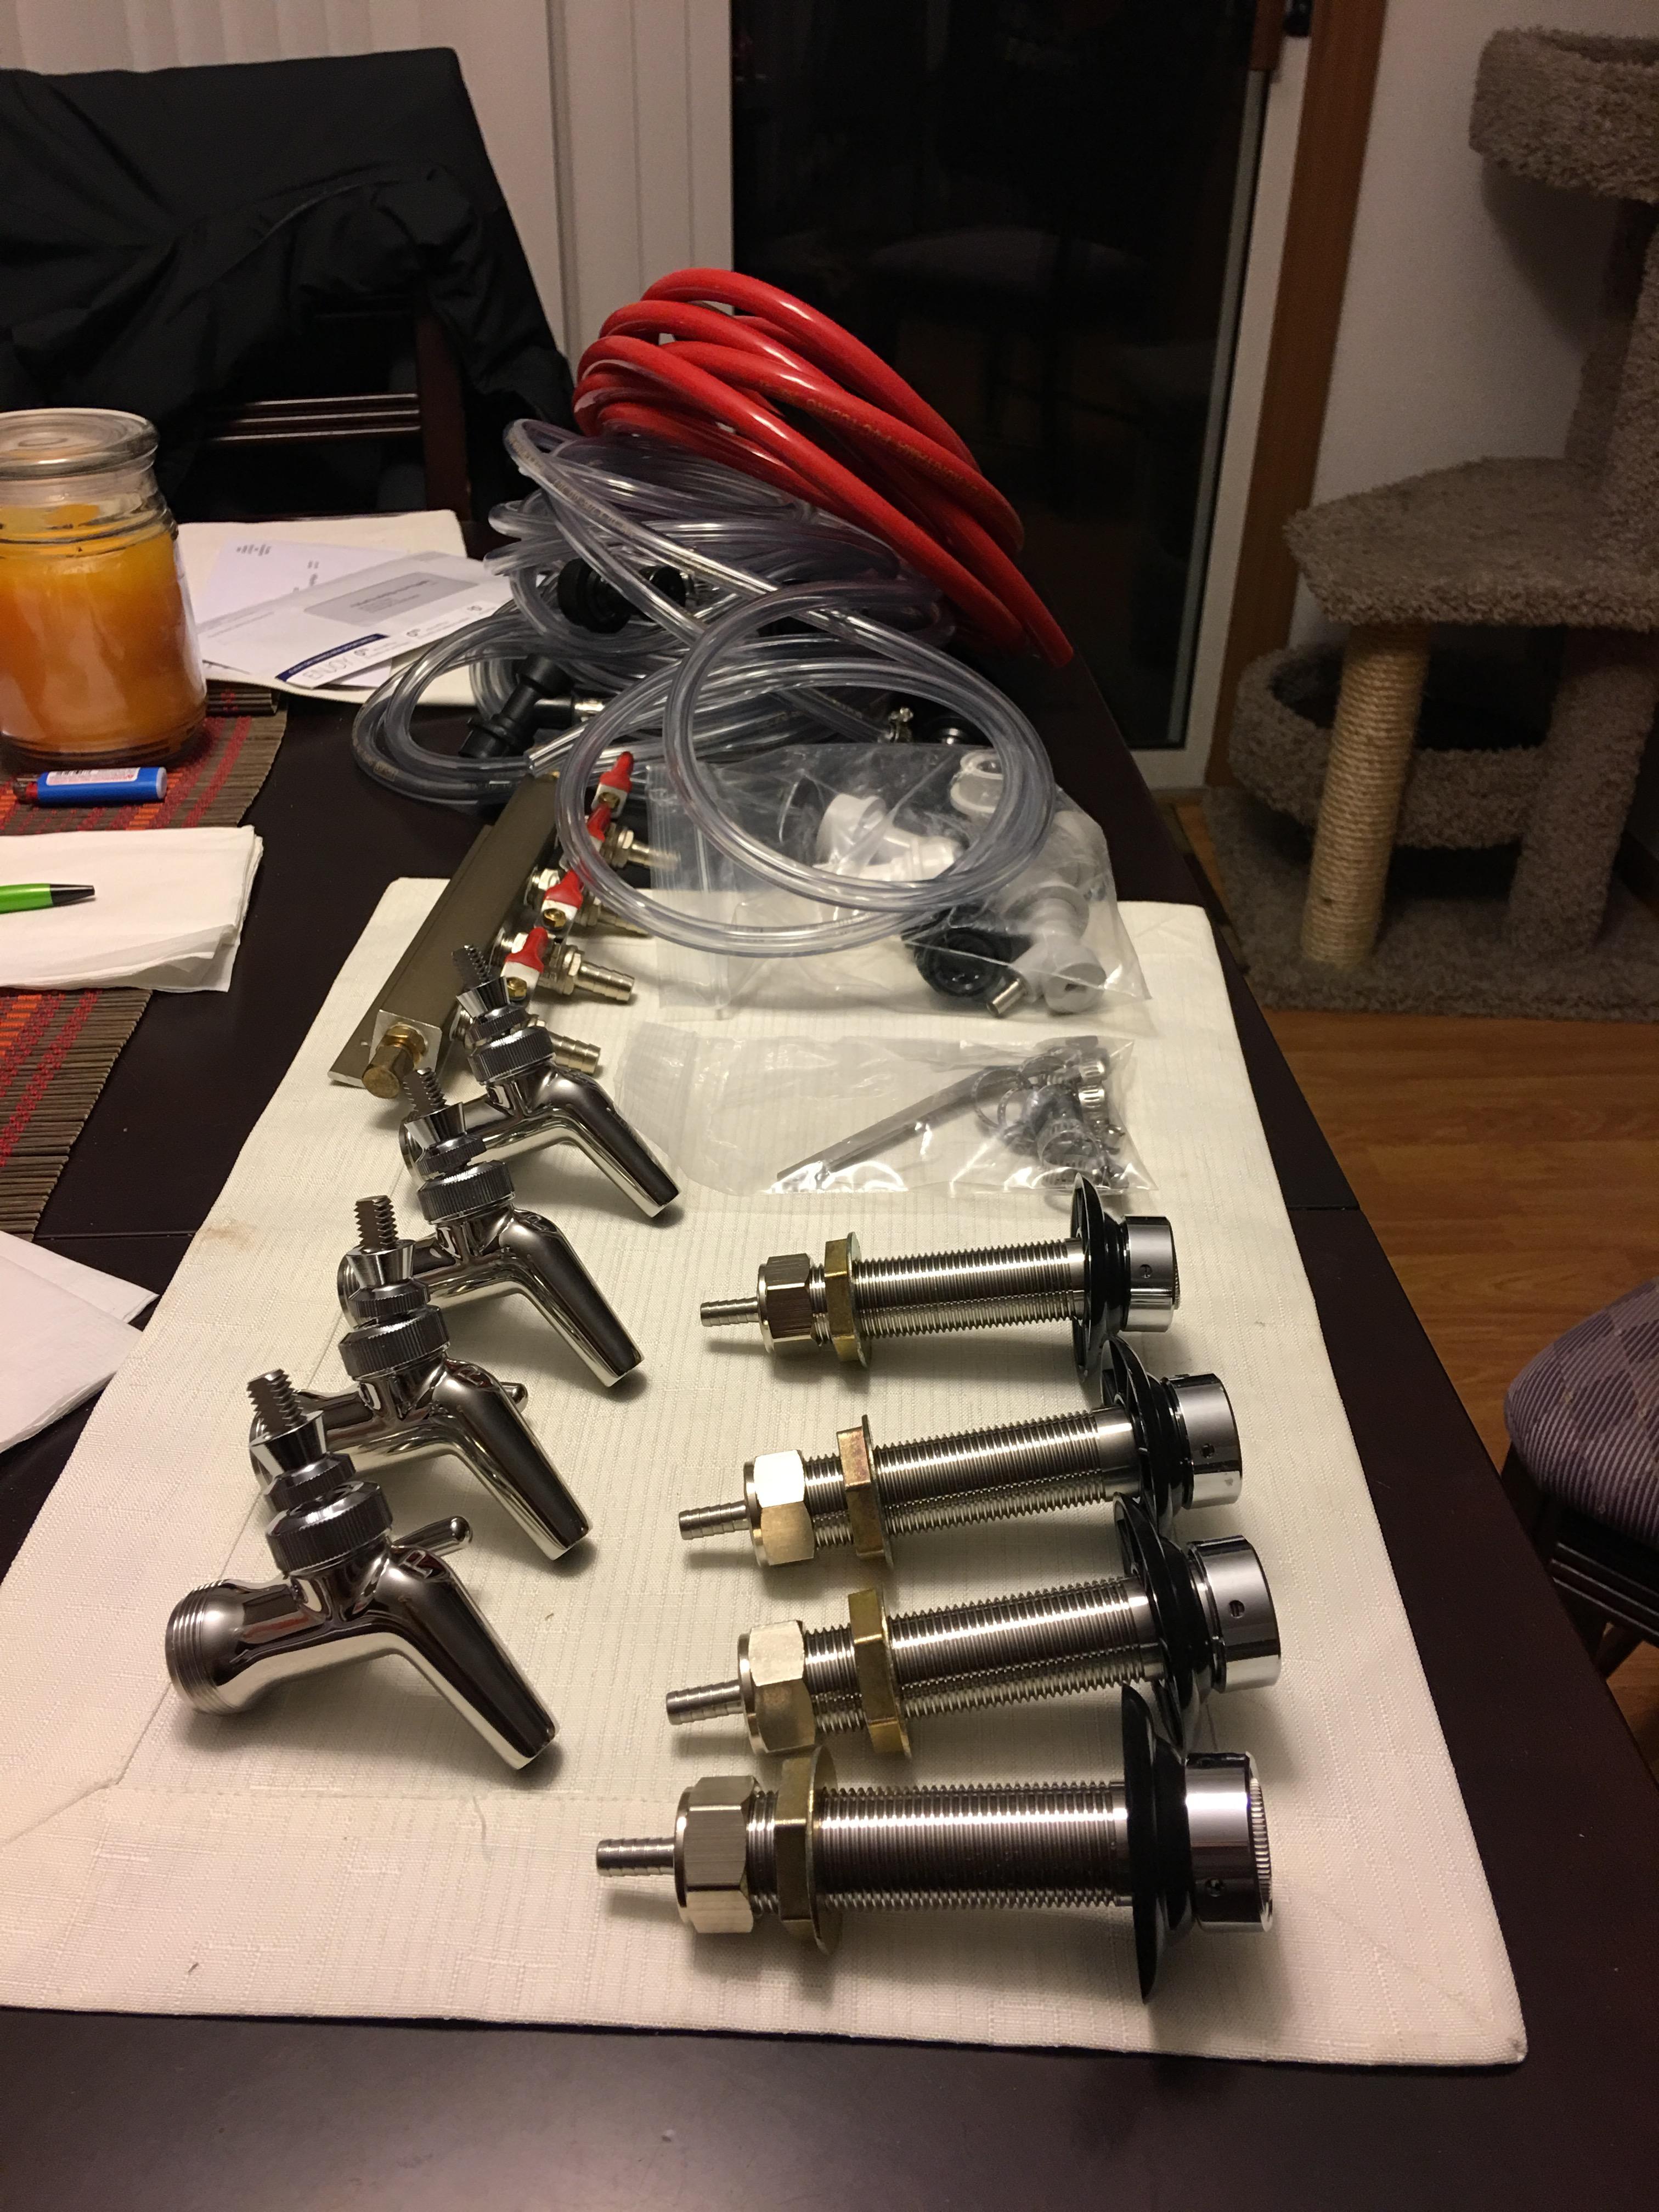
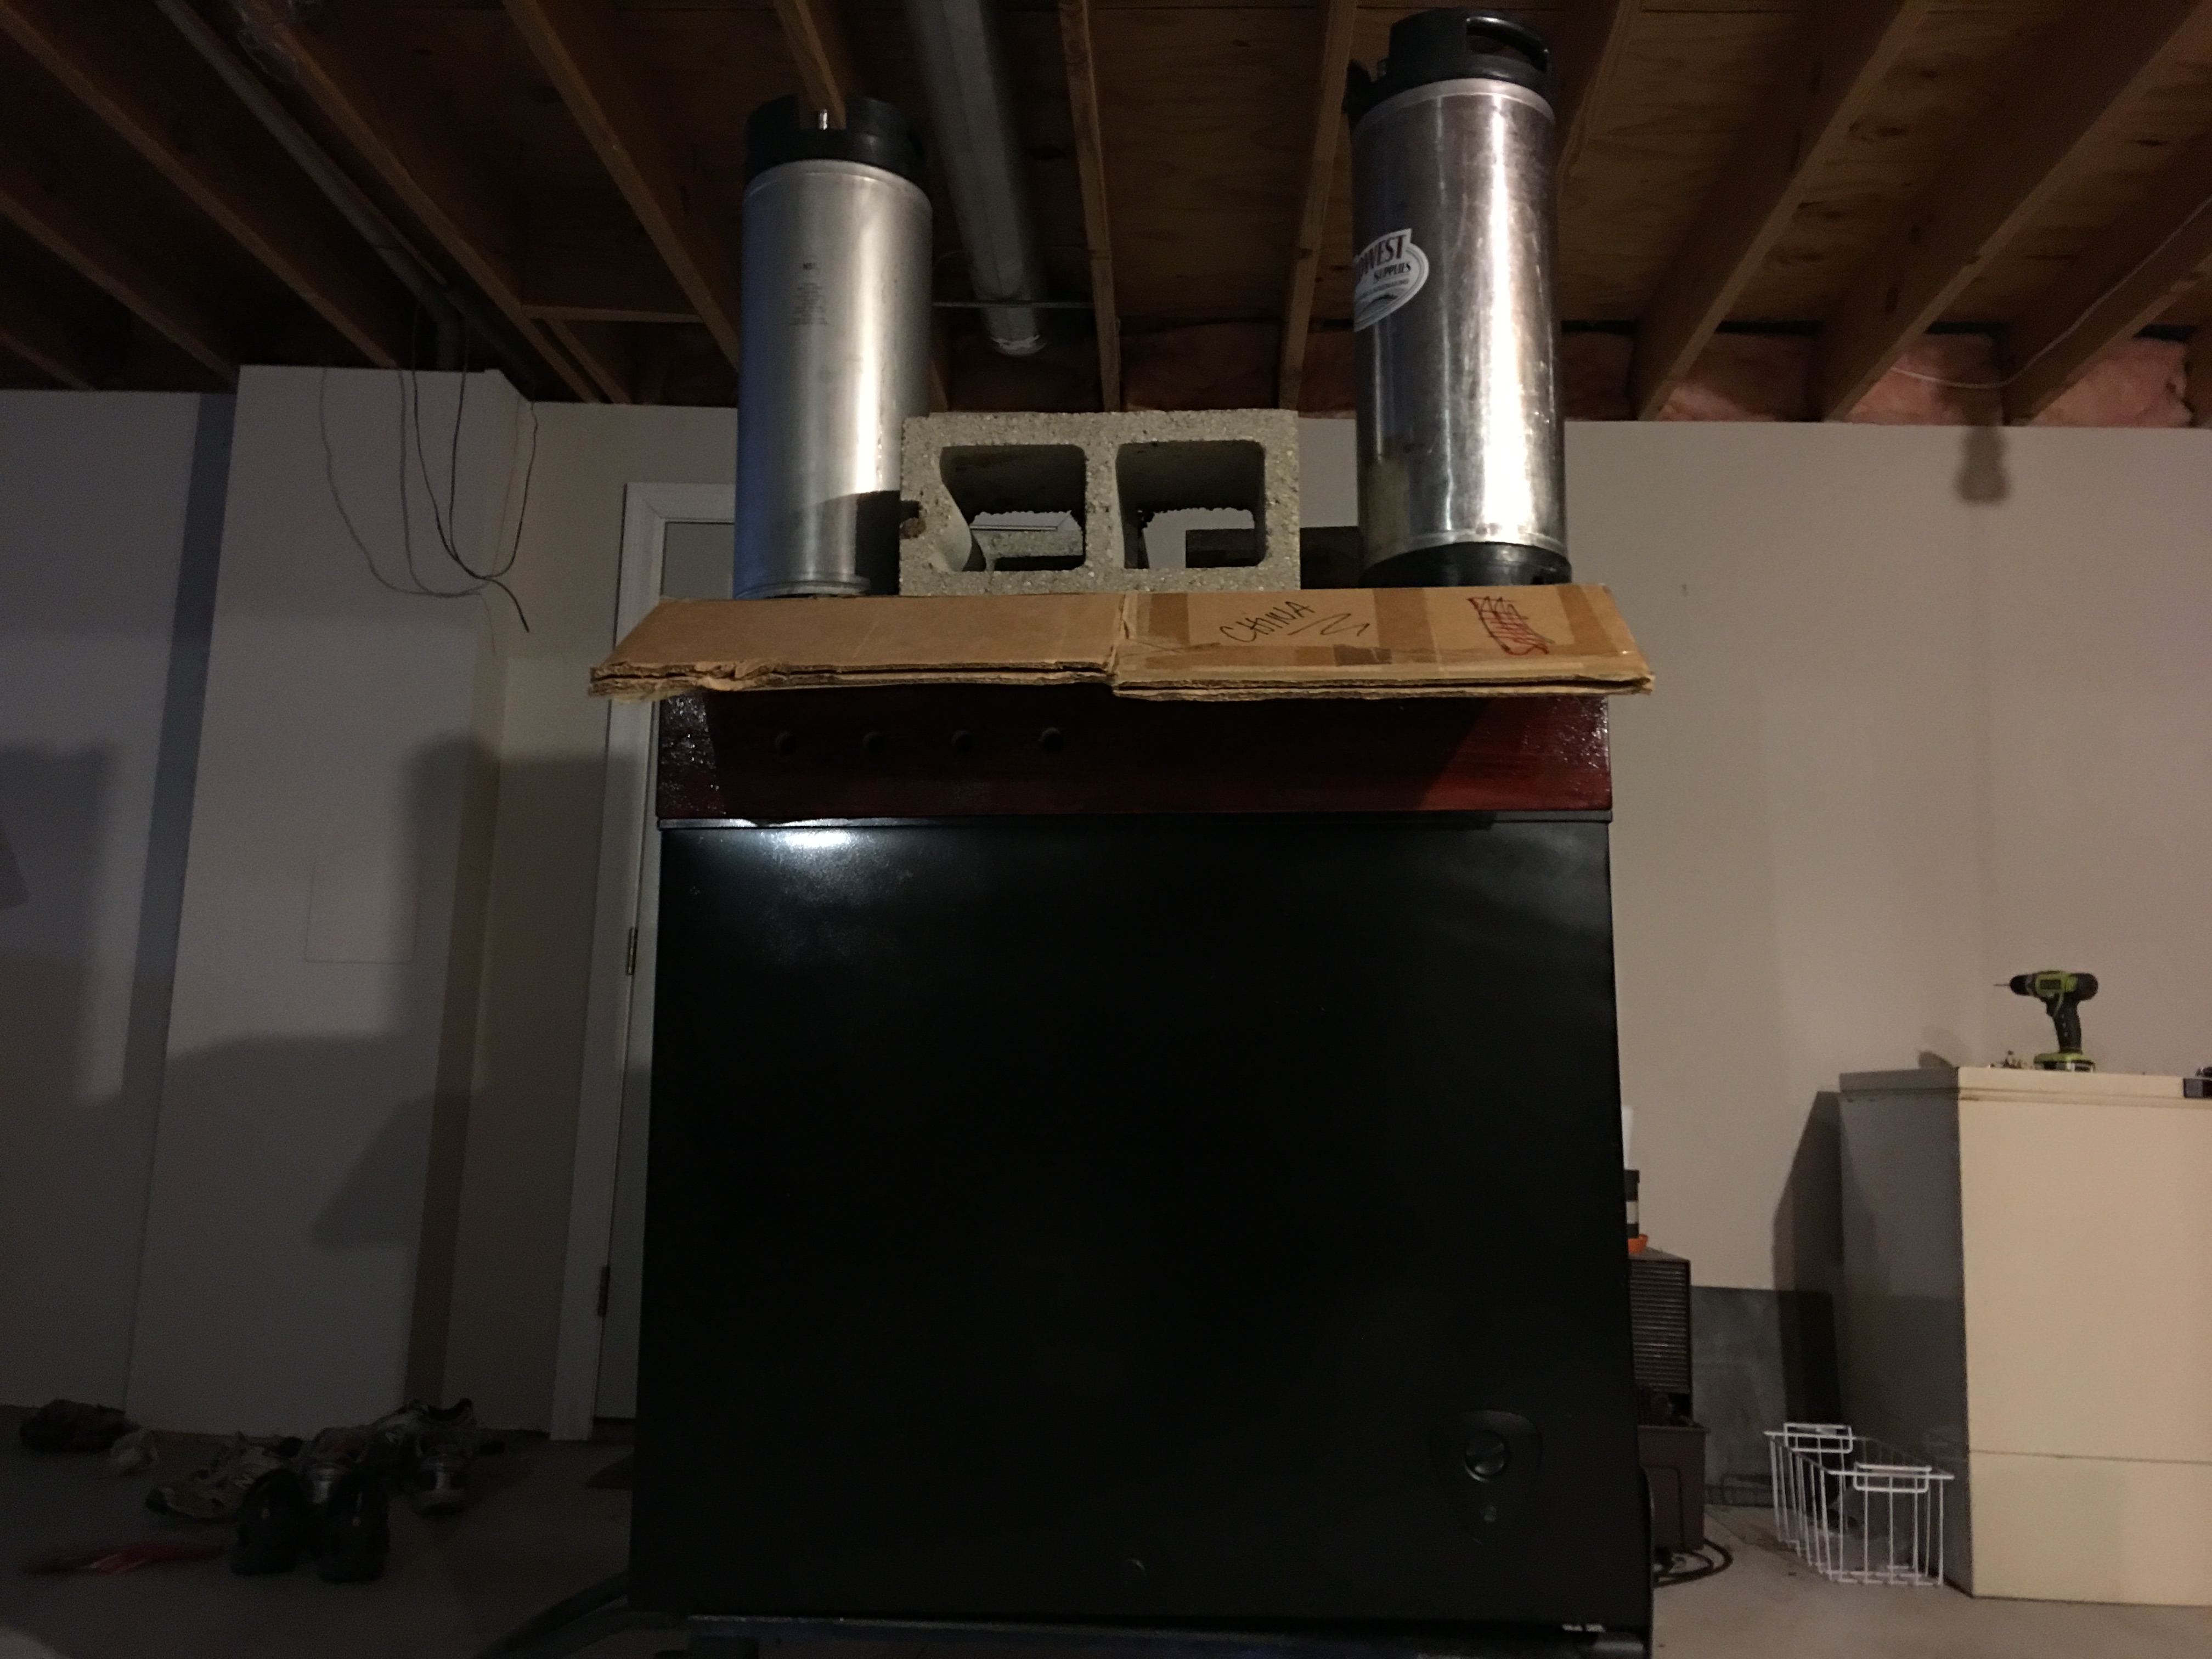
So parts have finally arrived. Still waiting on two kegs that I just ordered.
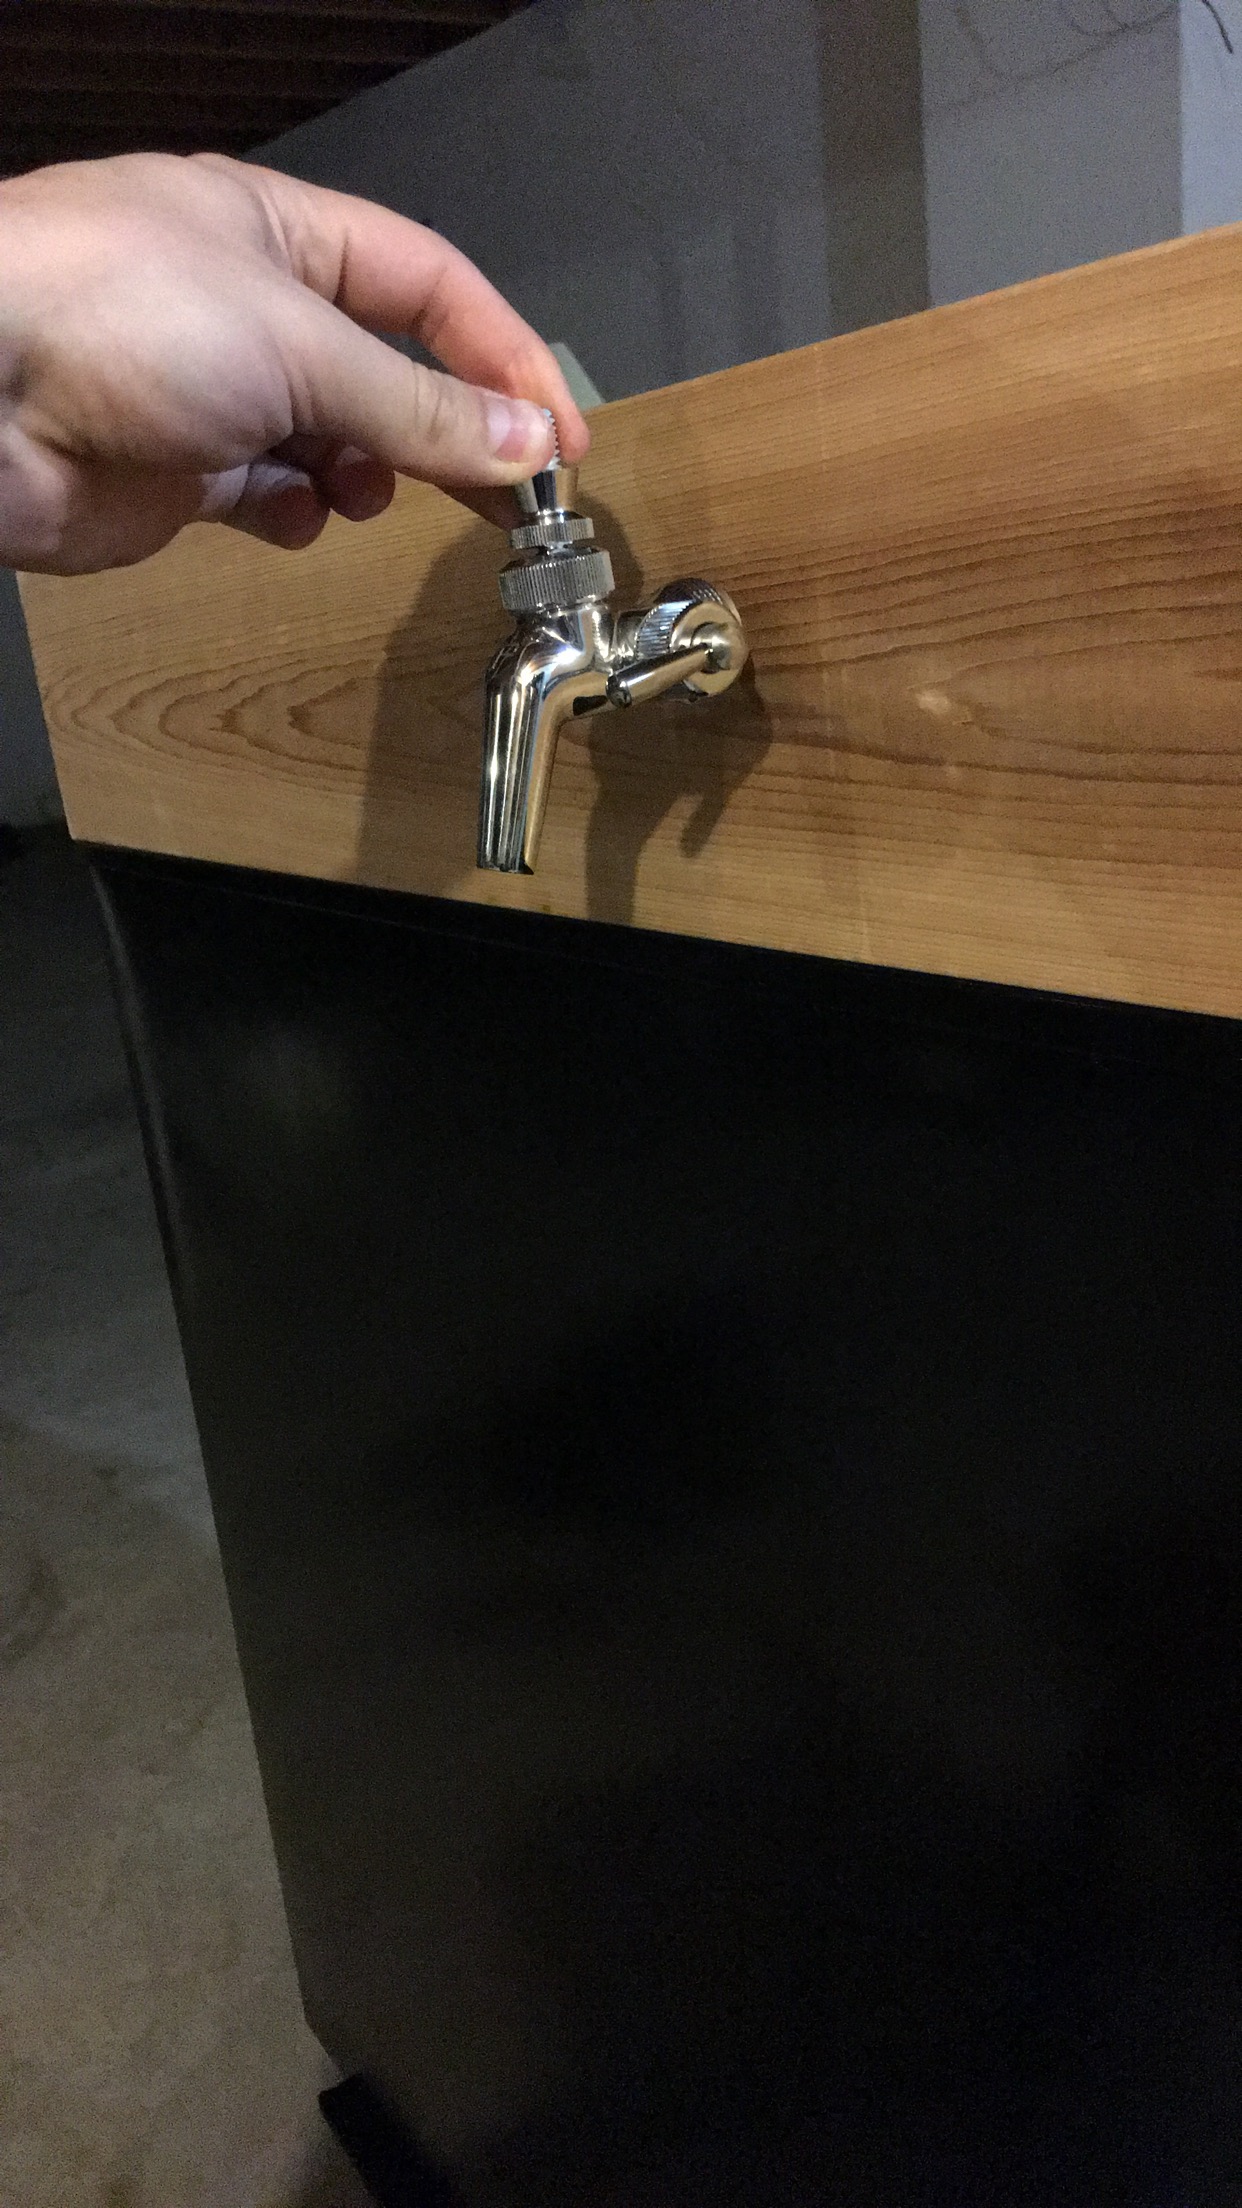
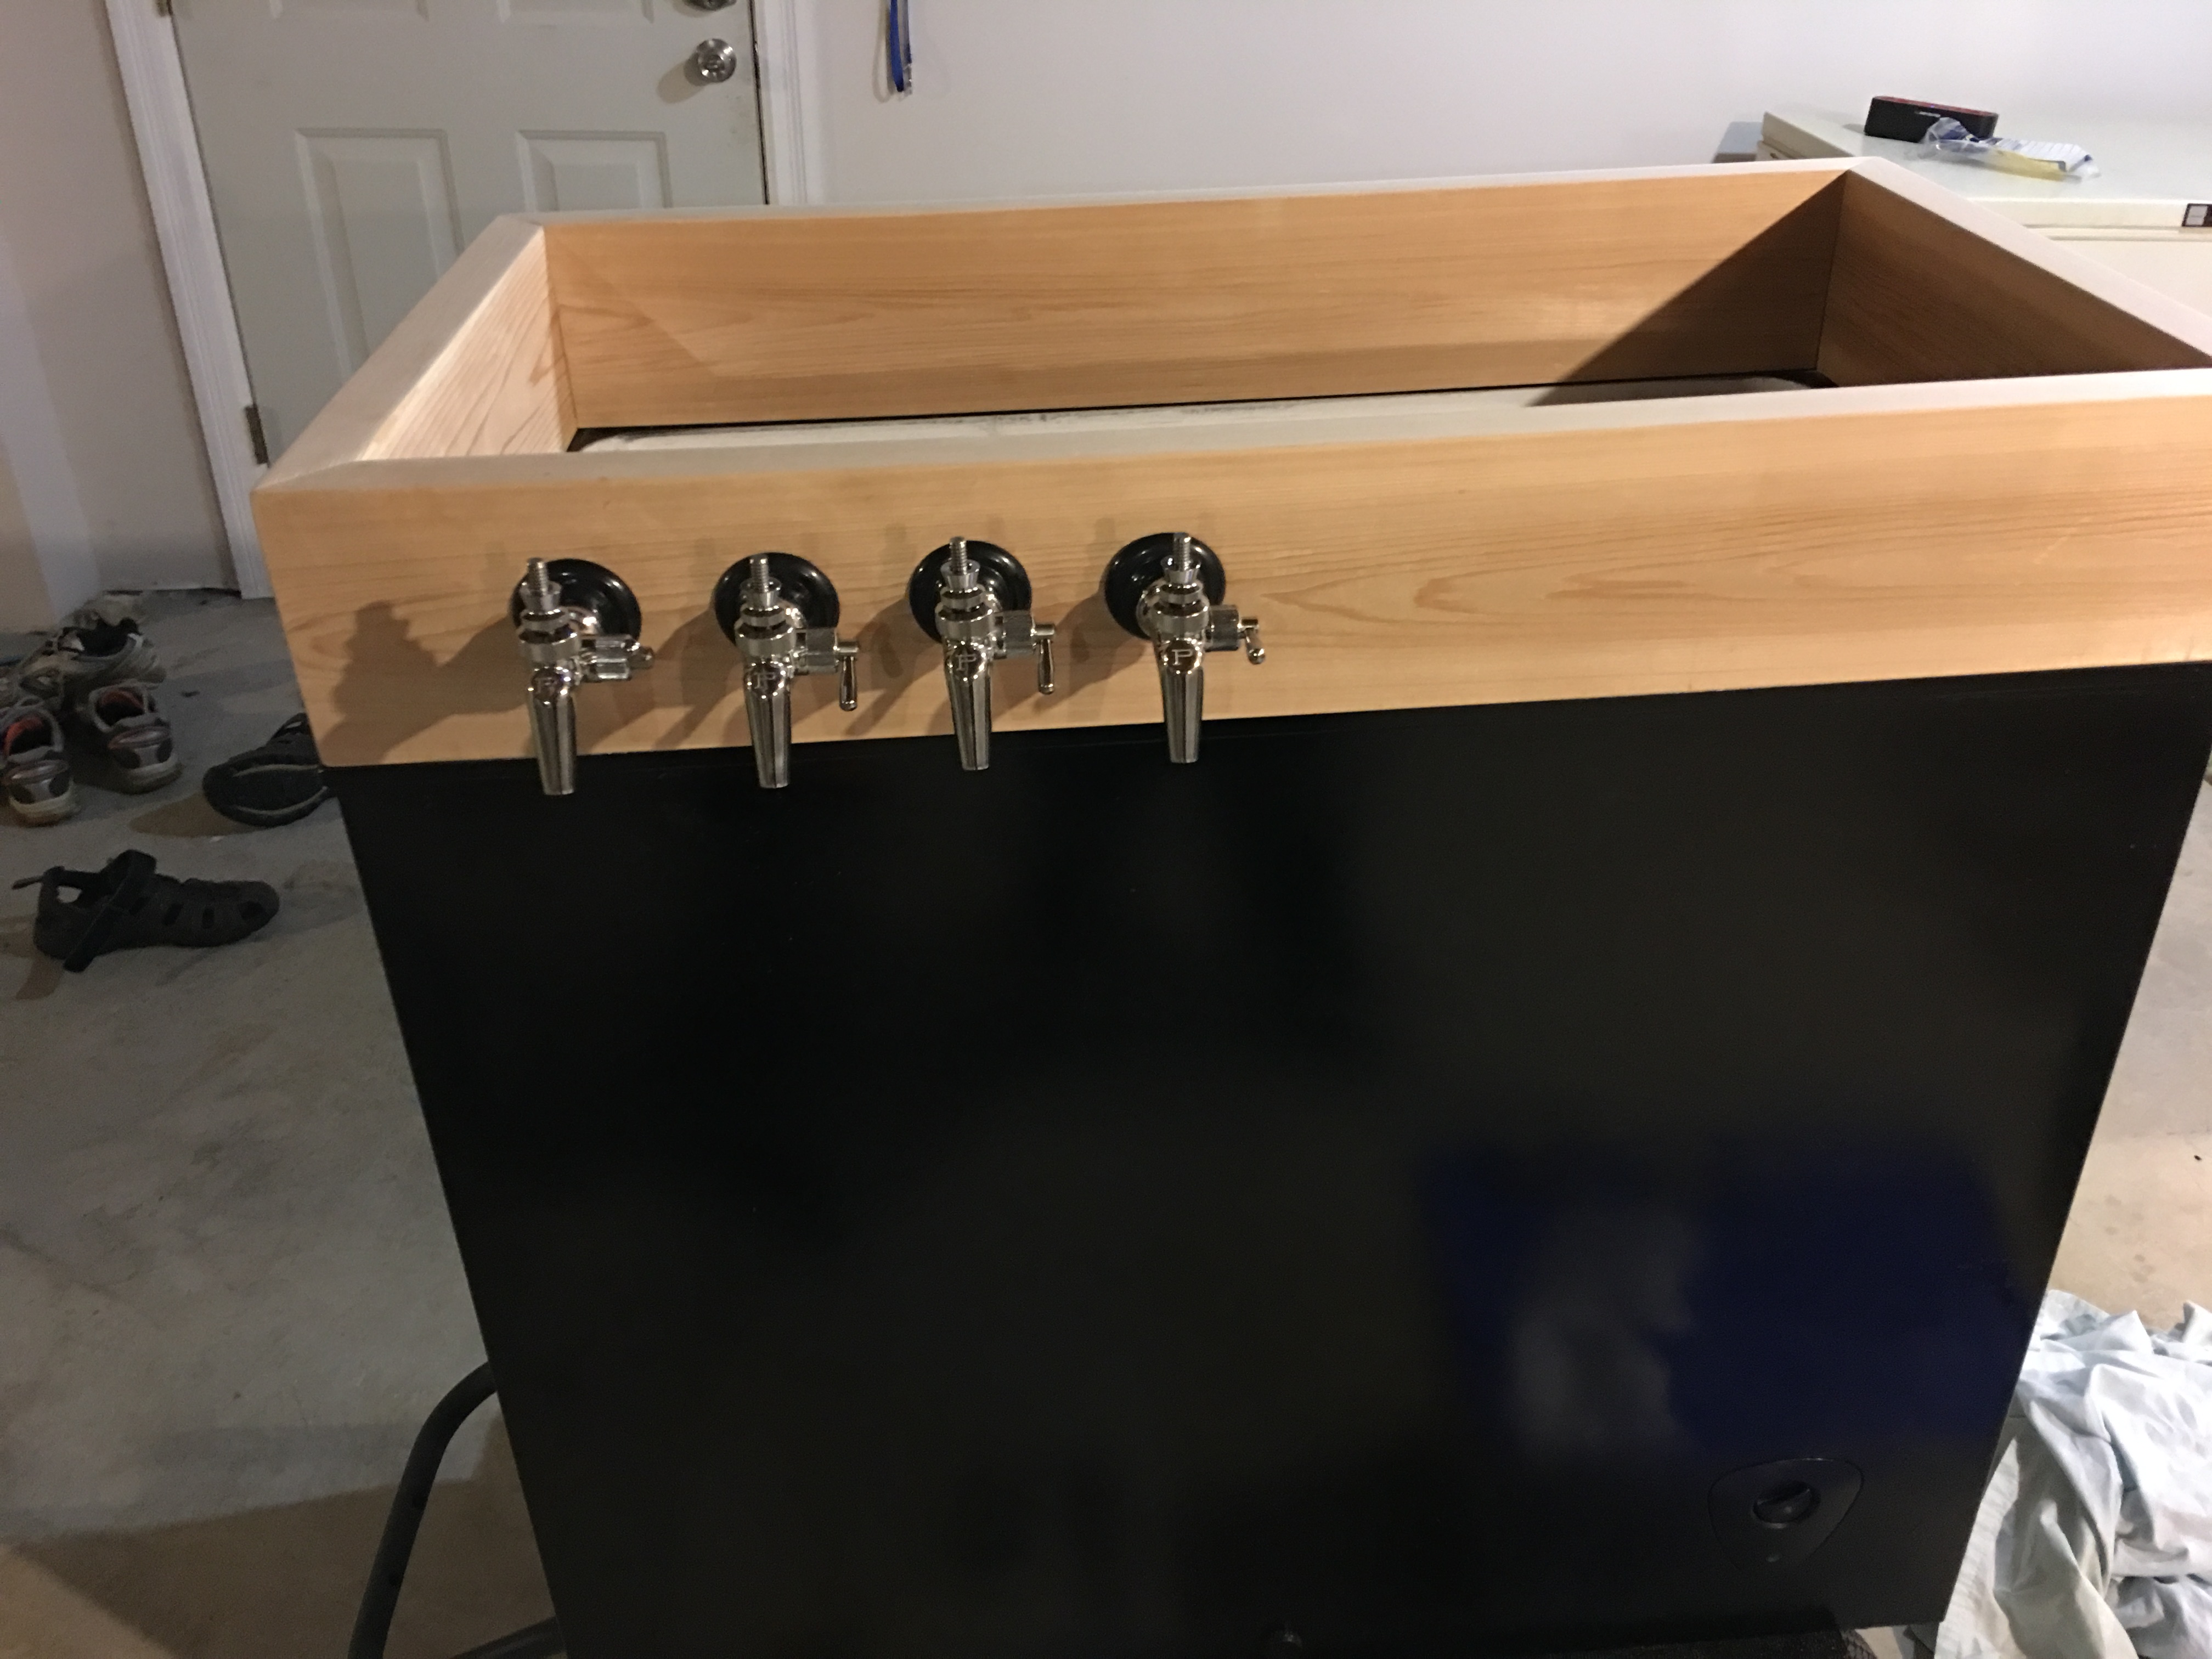
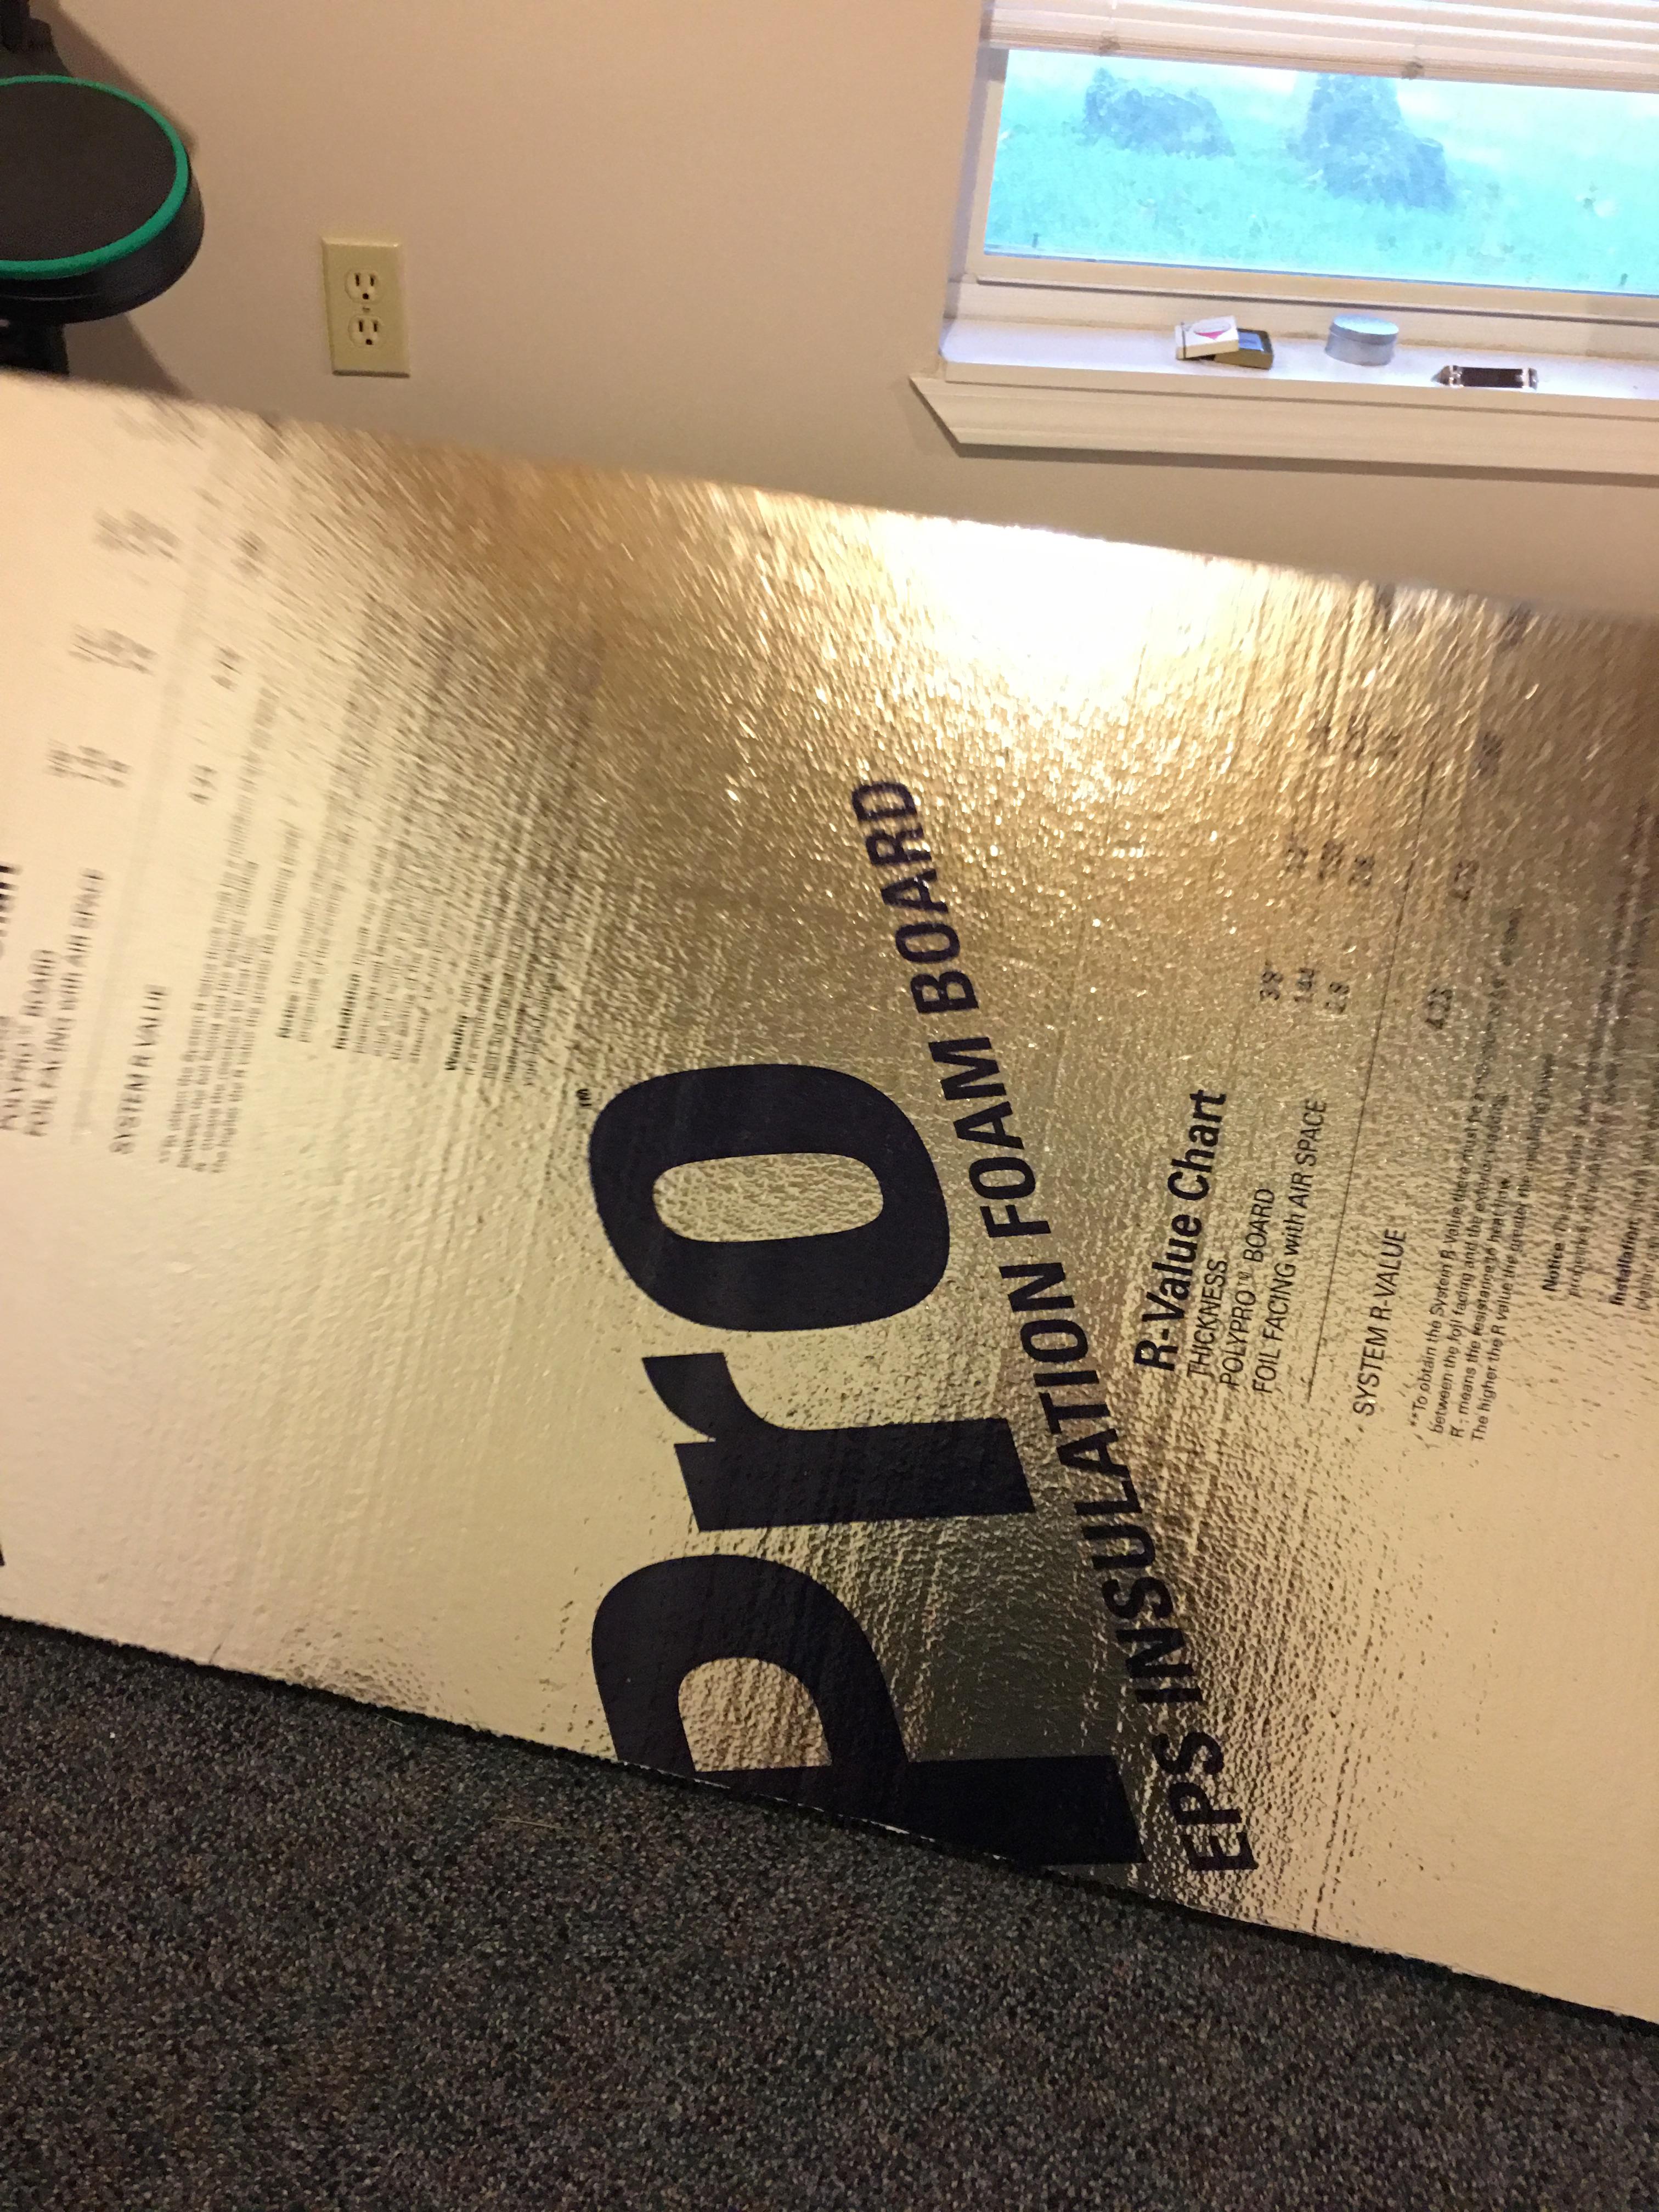
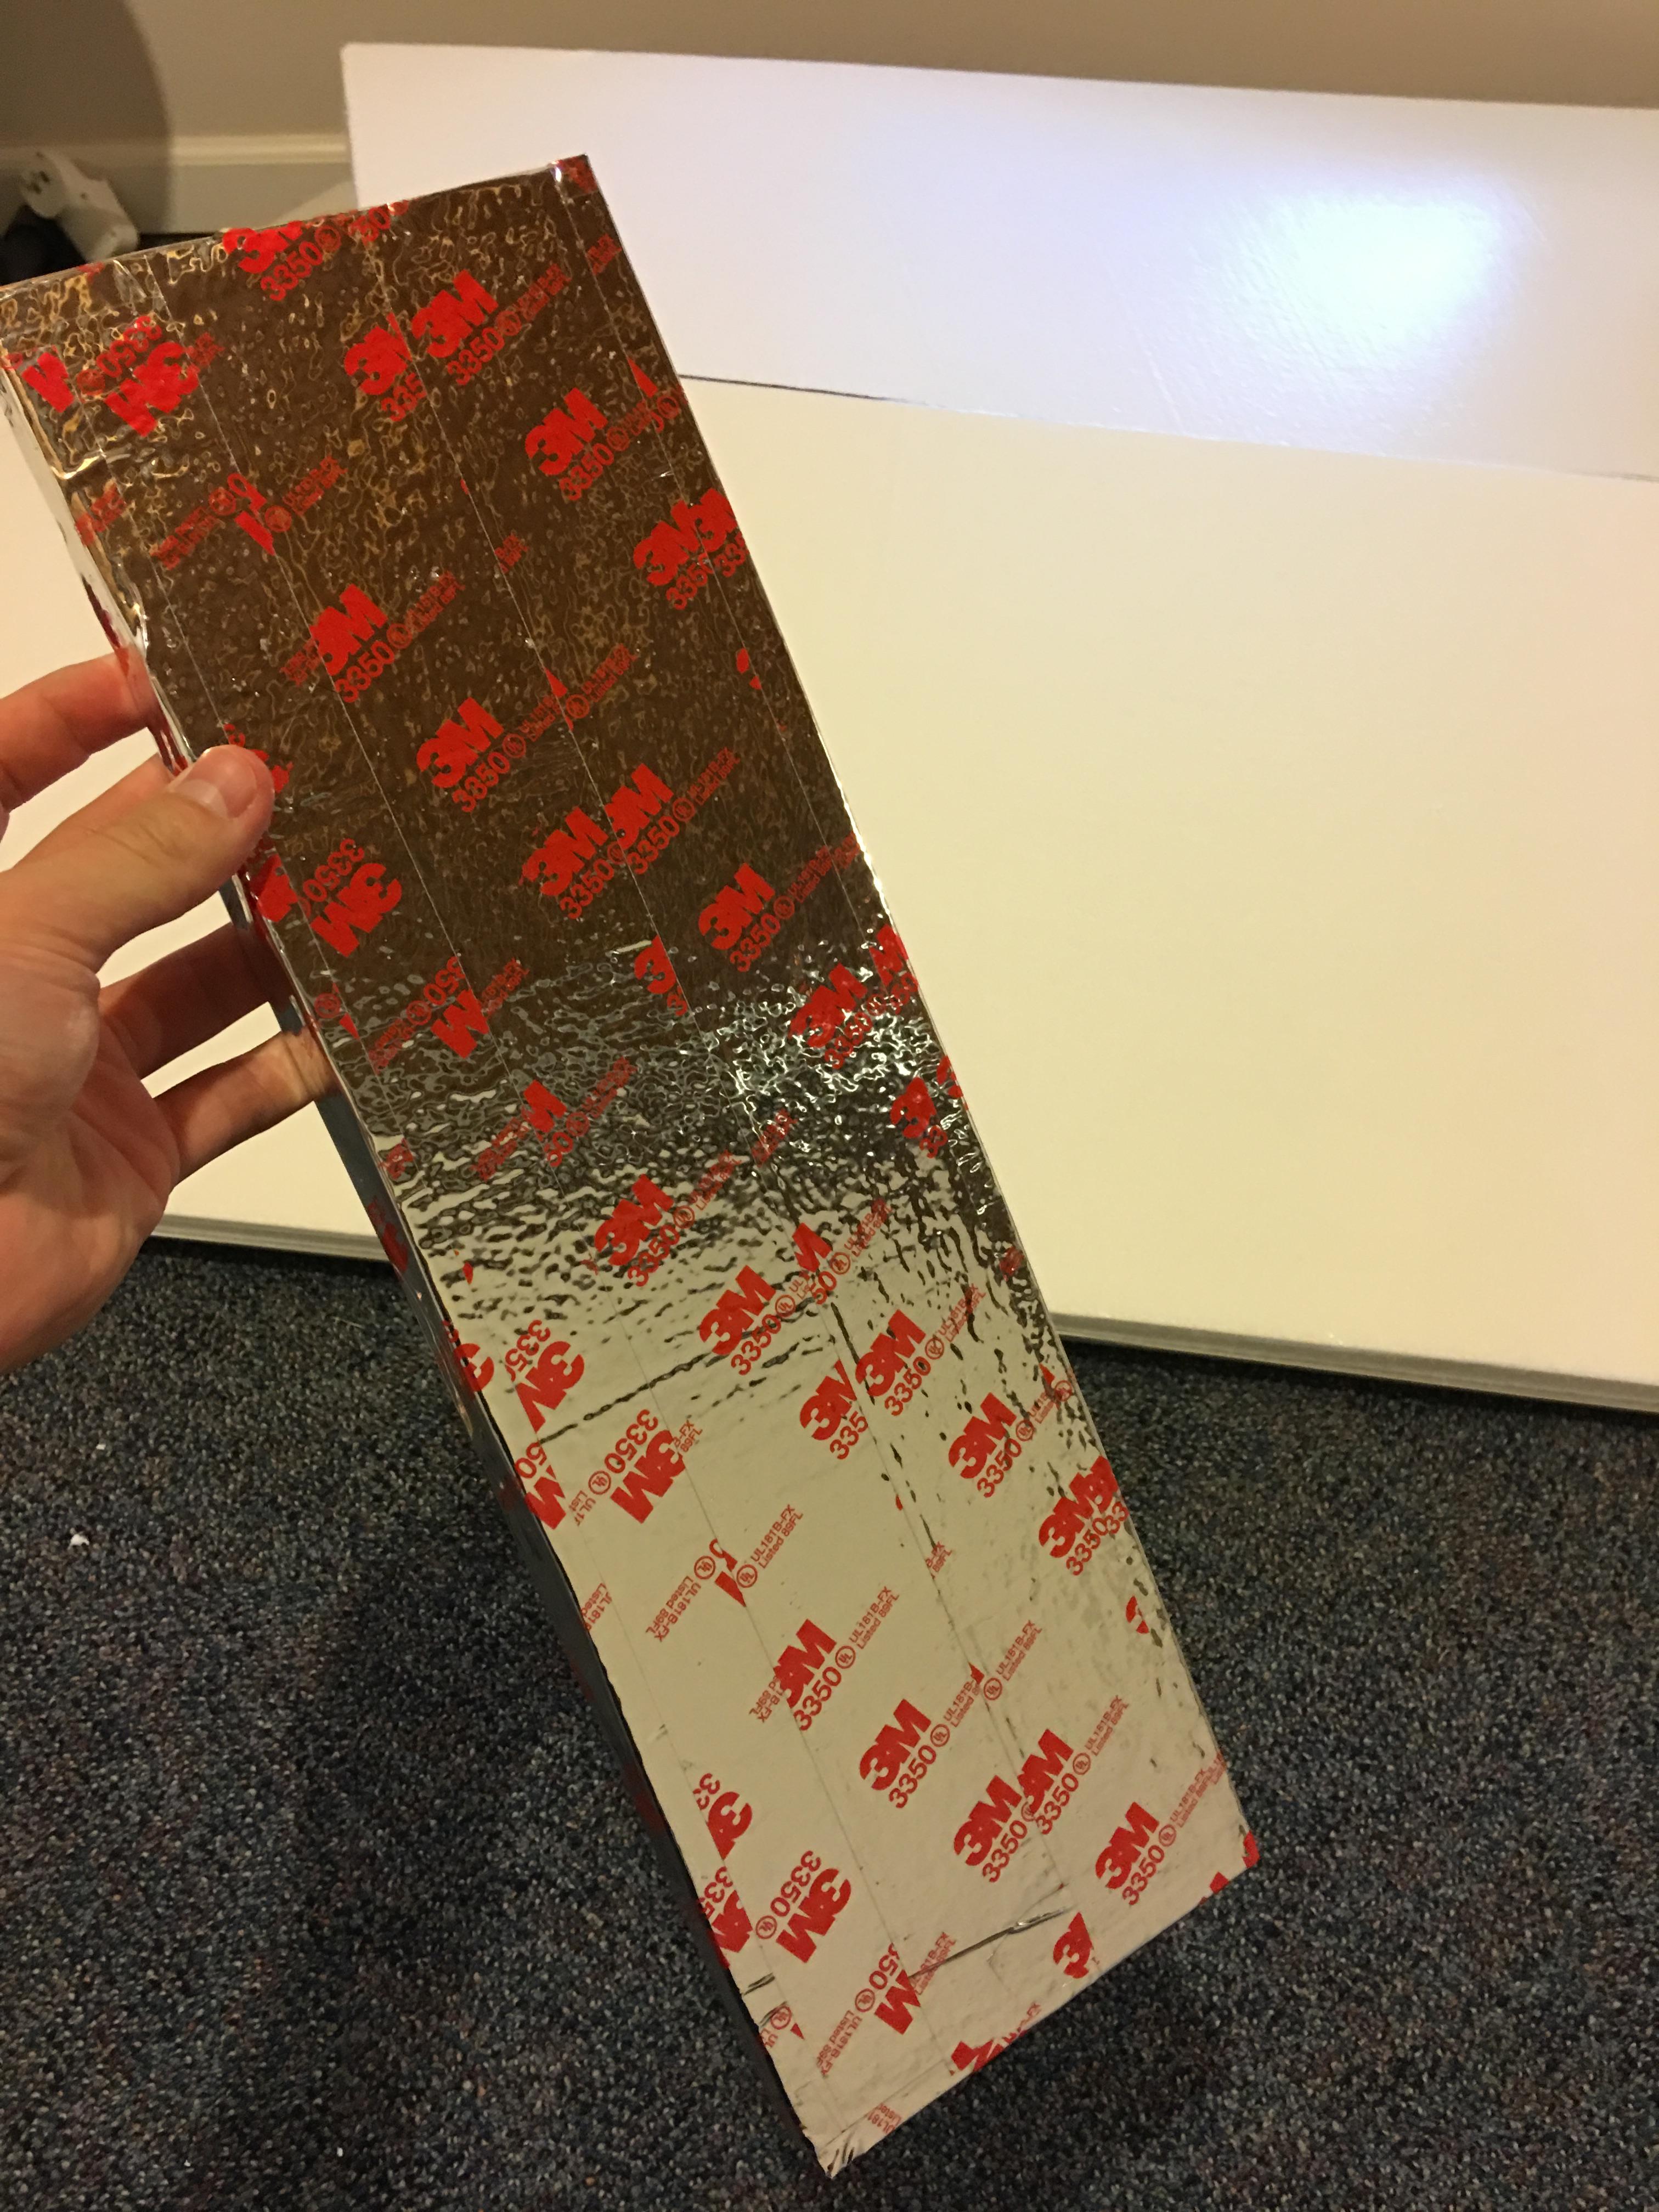
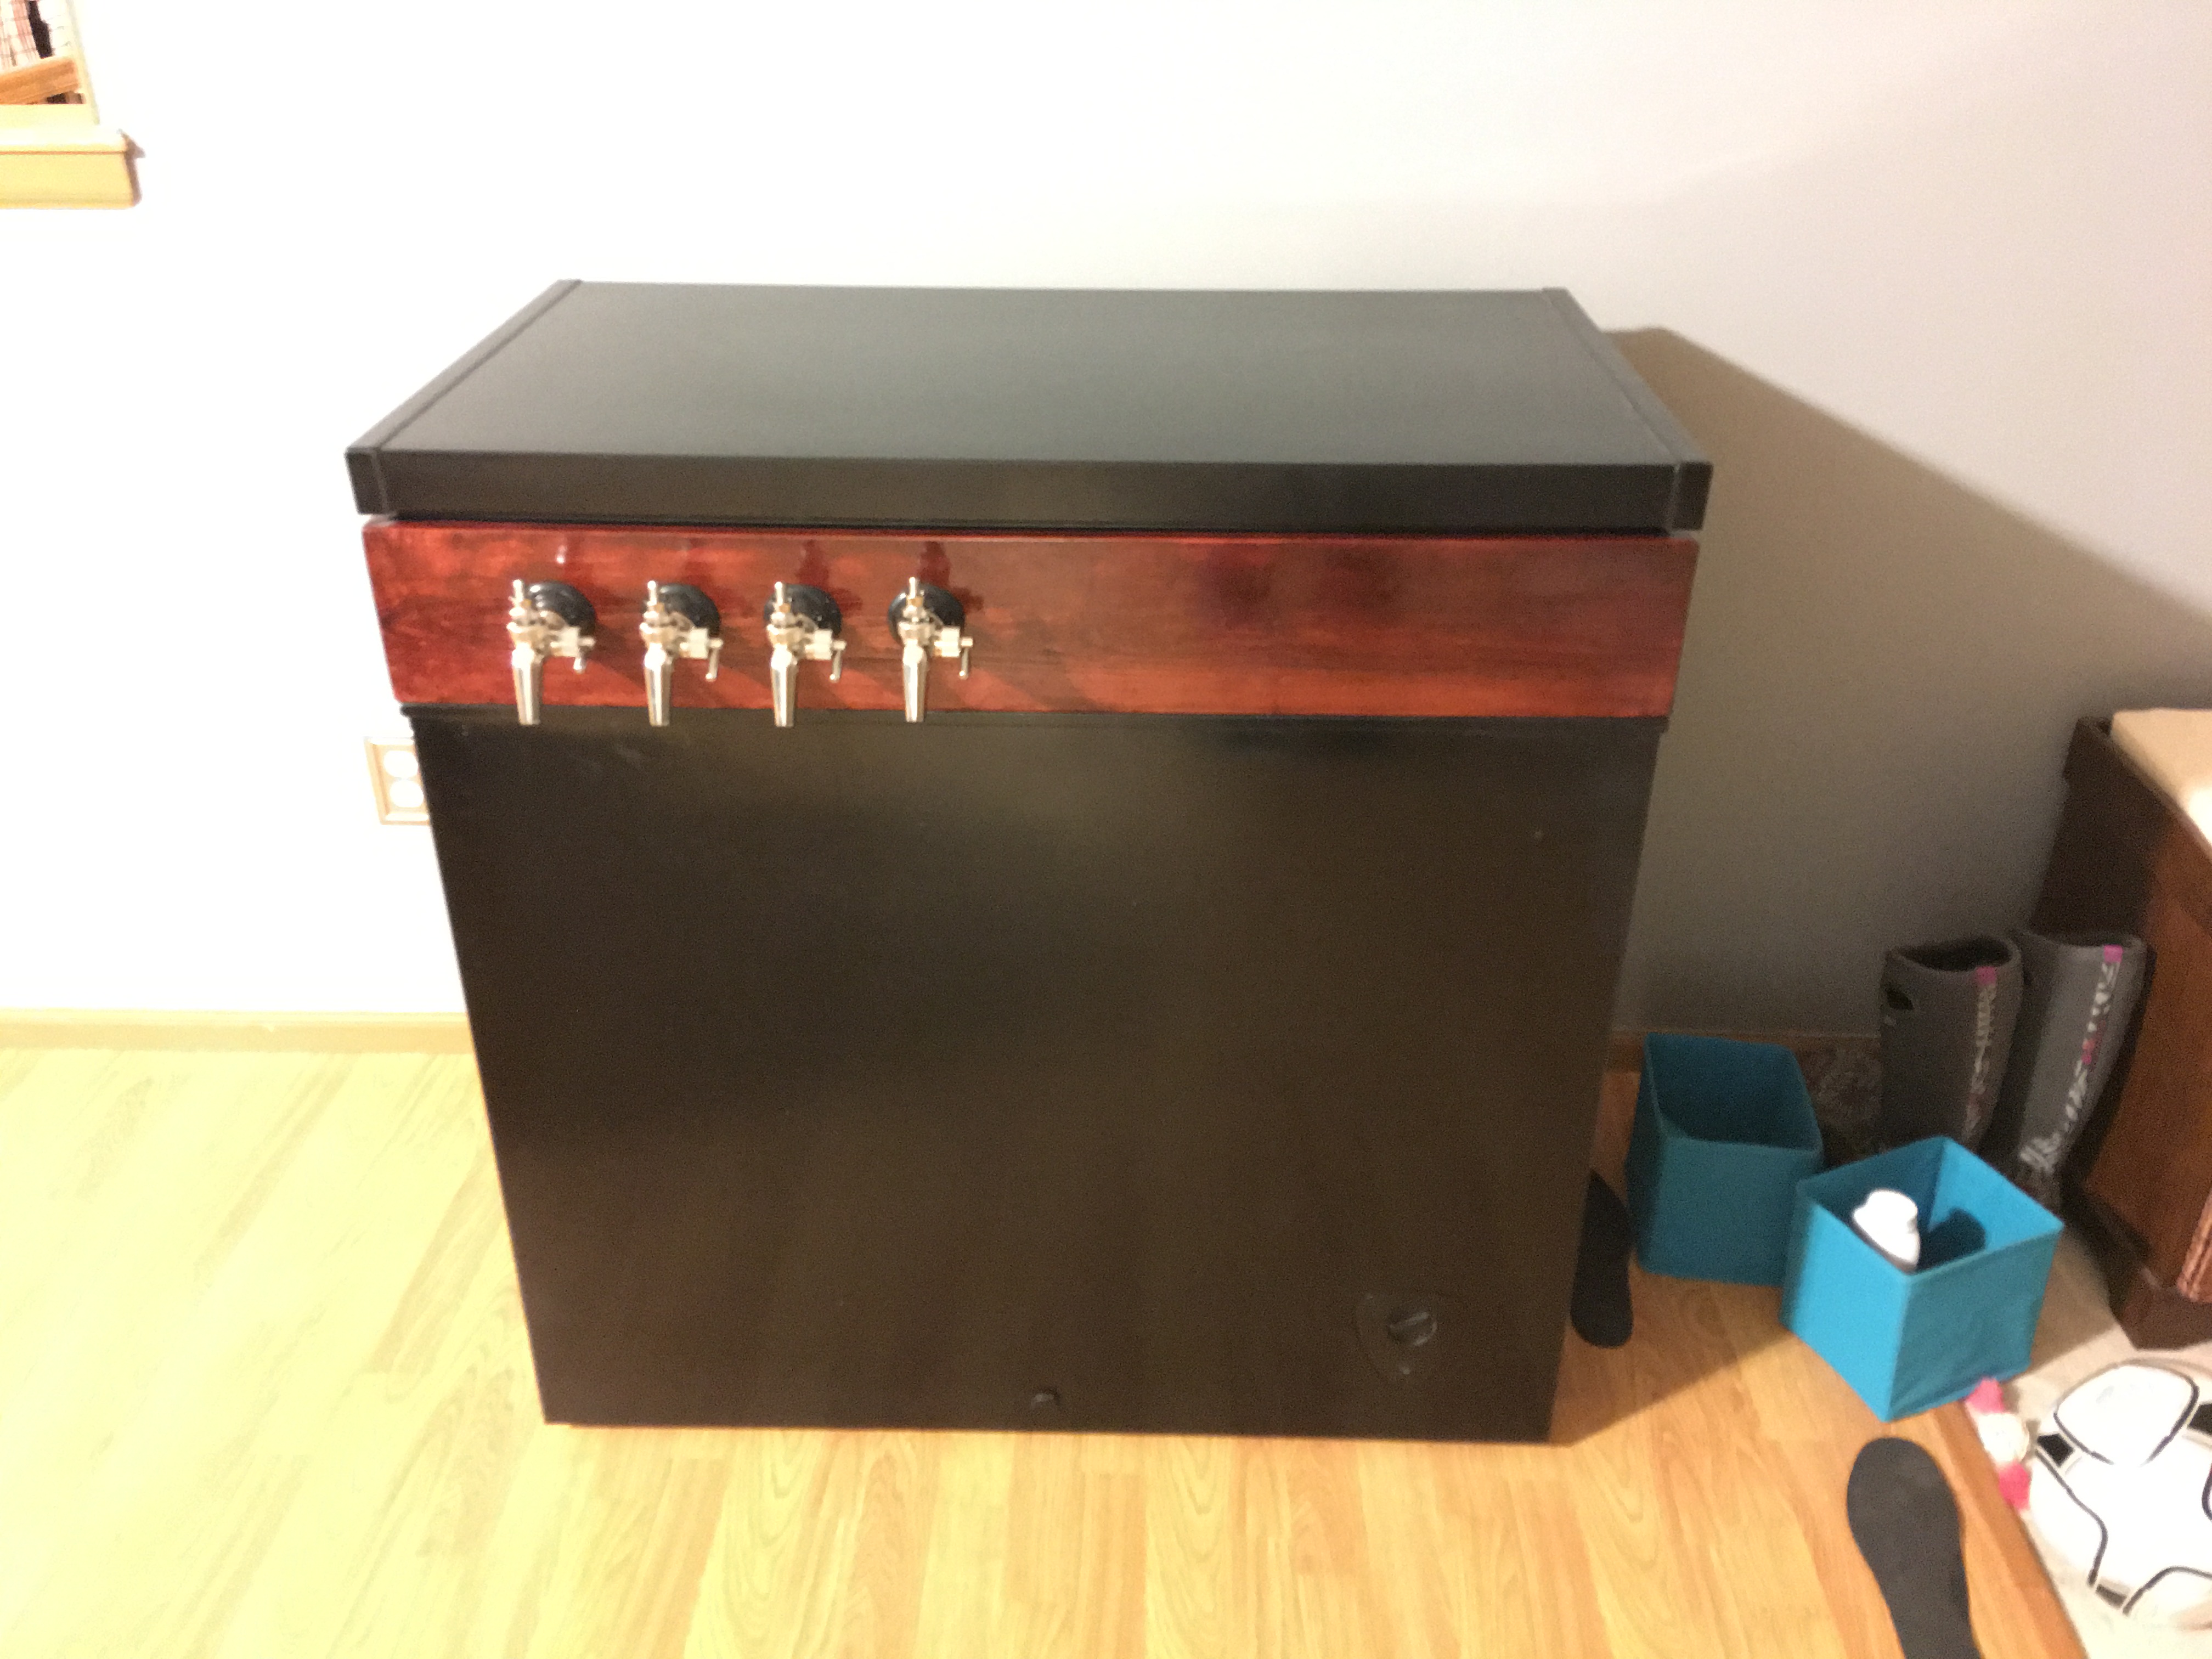
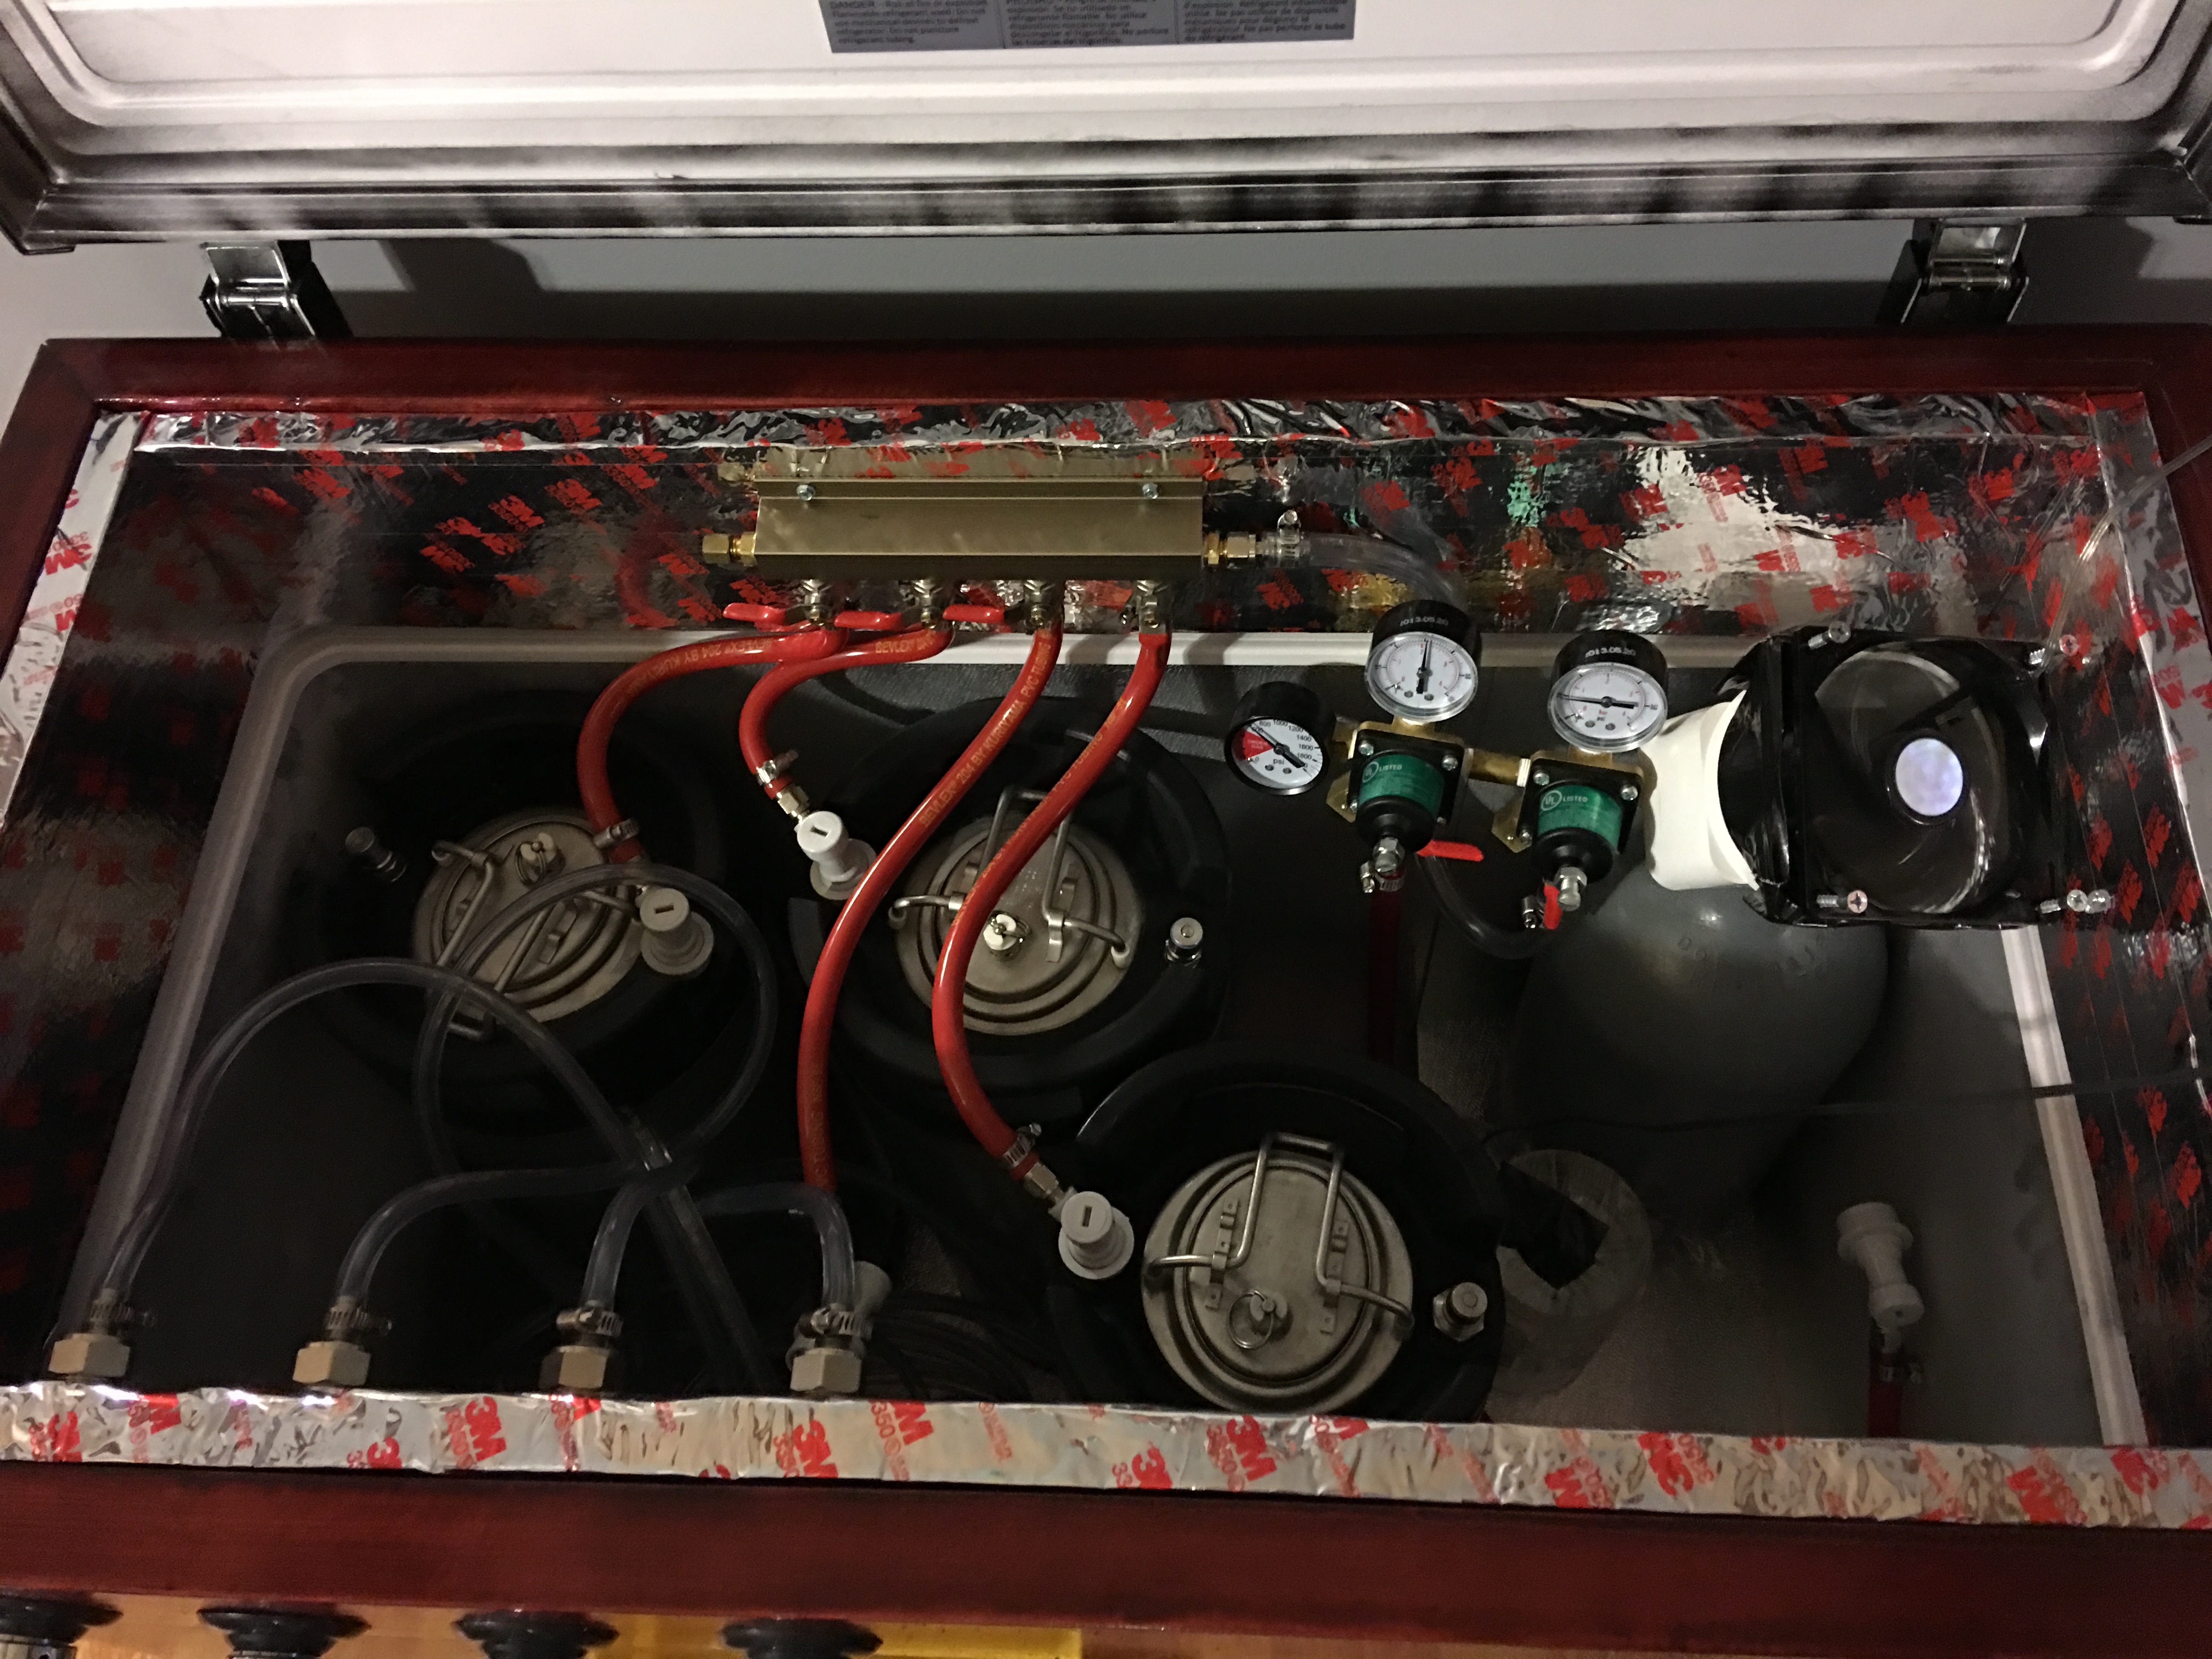
Parts so far
fnu1m


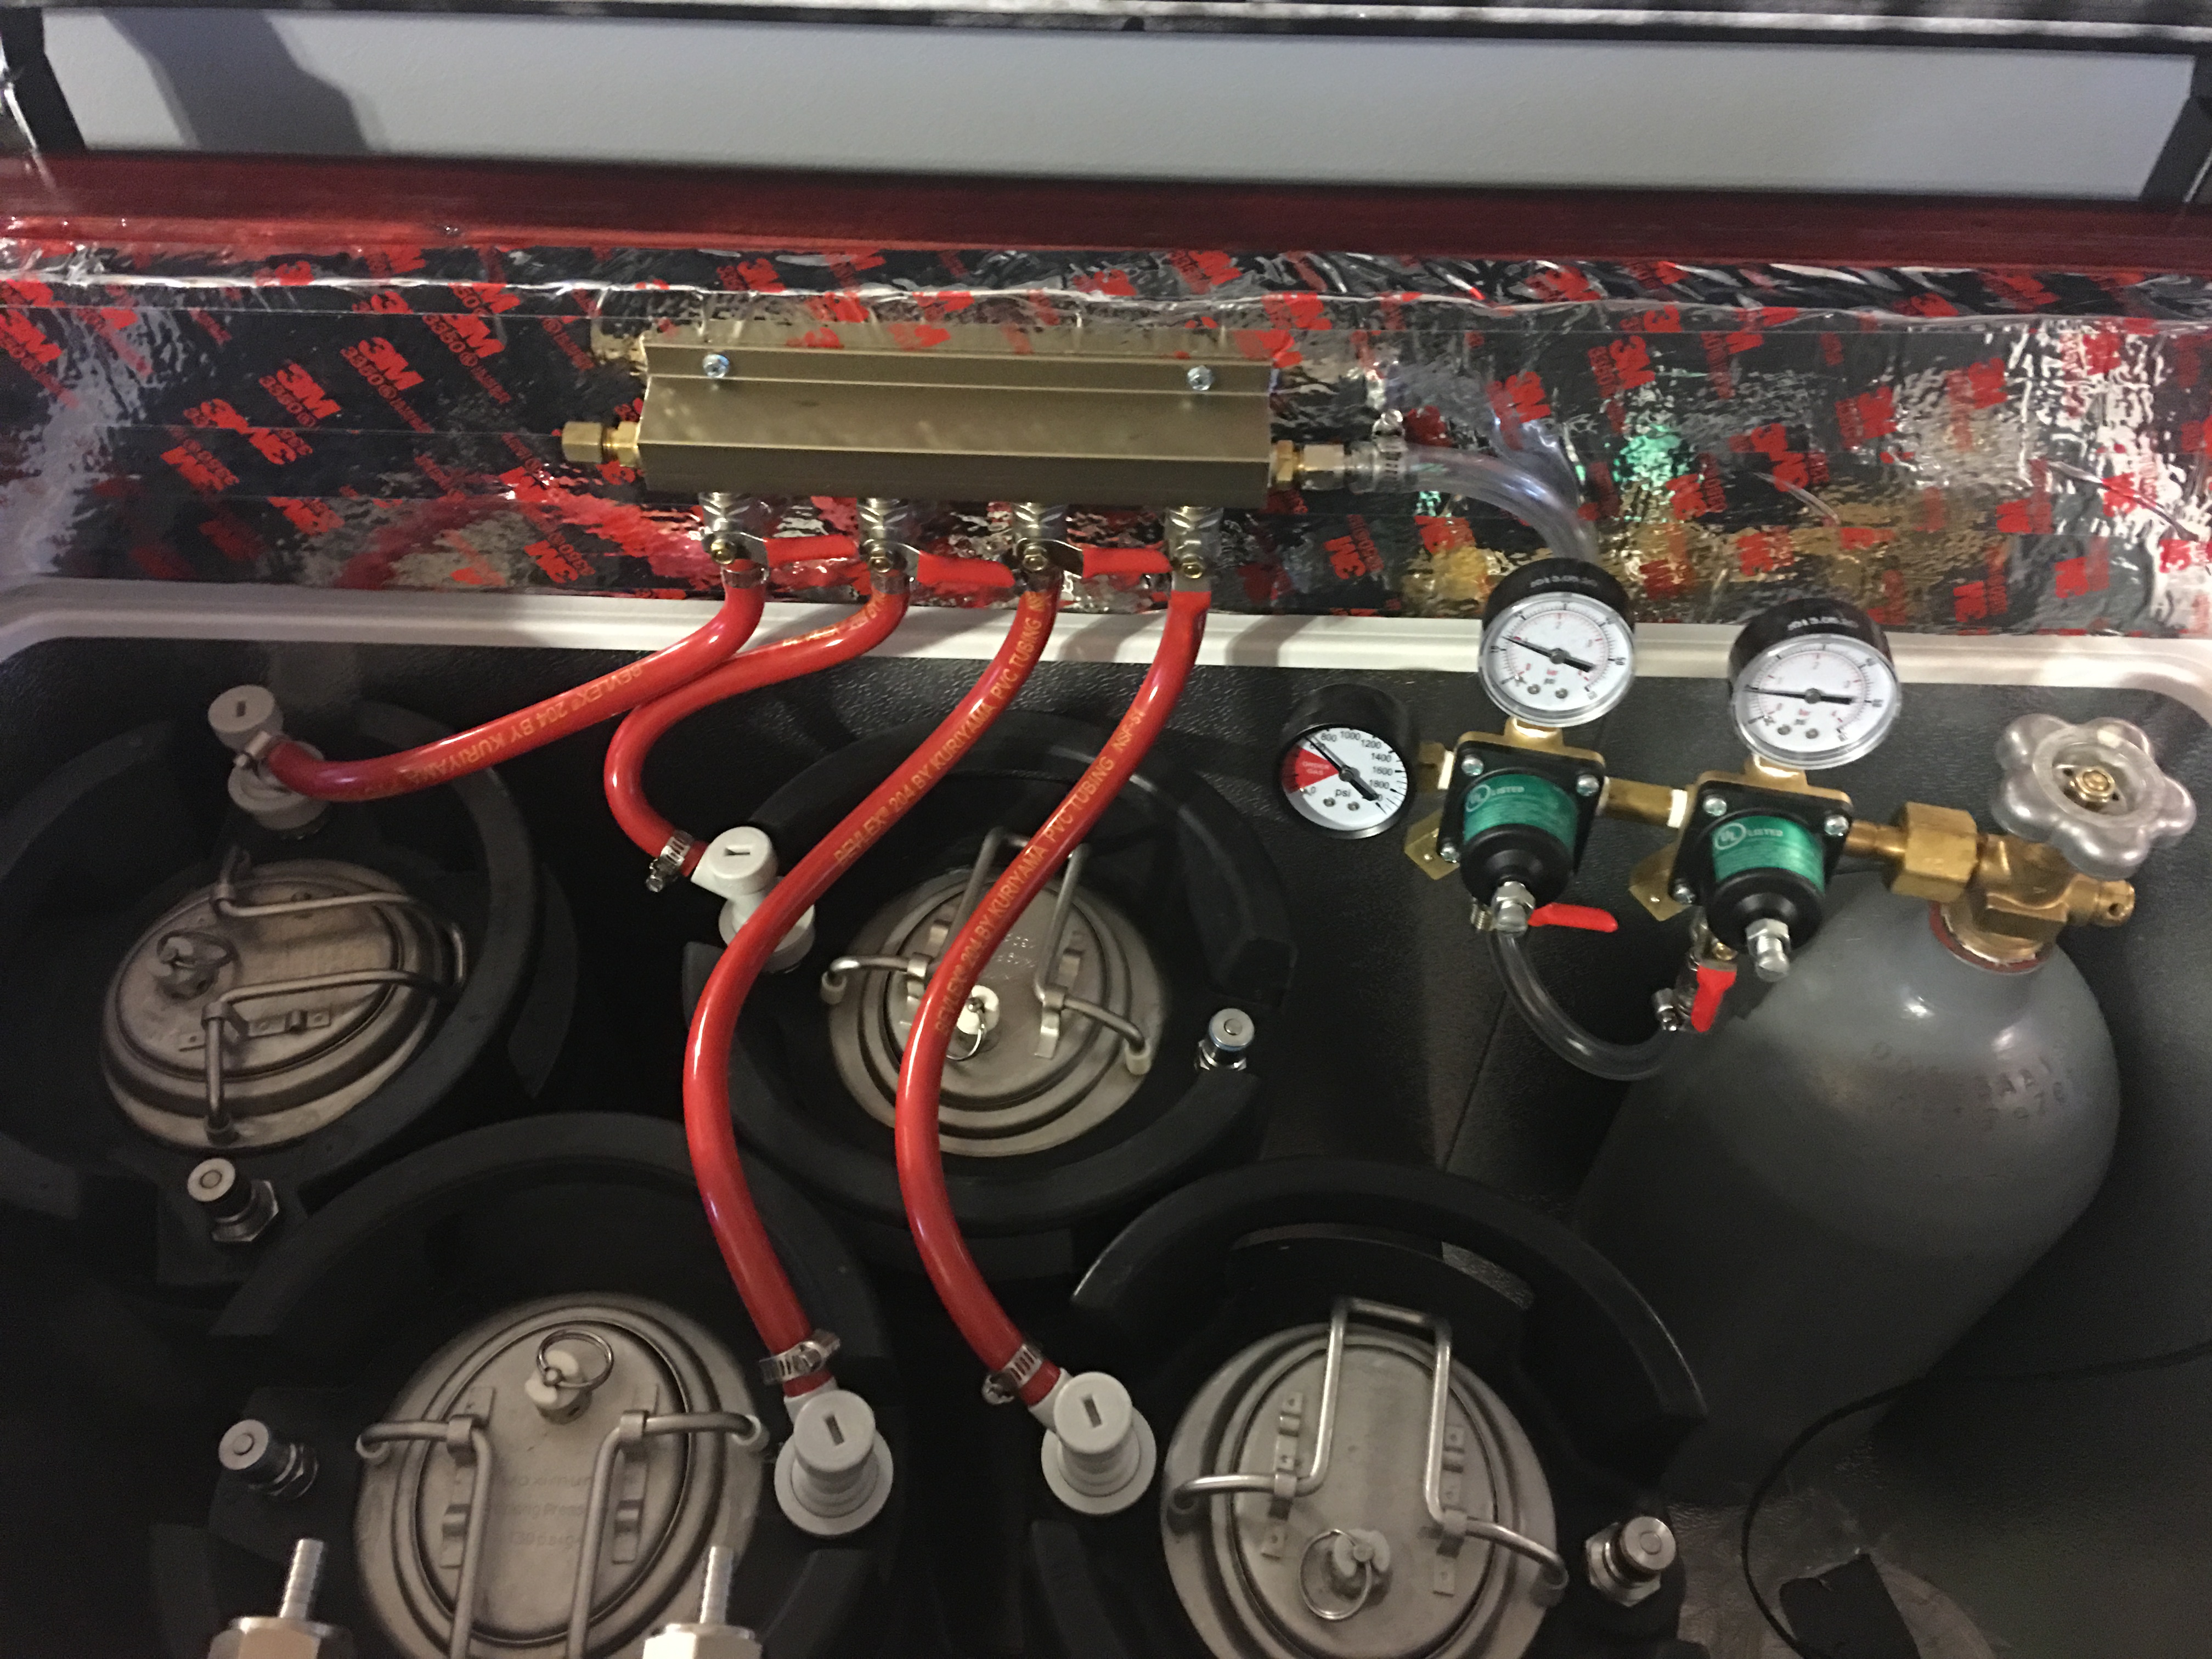
I still need to order a gas manifold two more faucets plus associated lines and fittings.

fnu1m

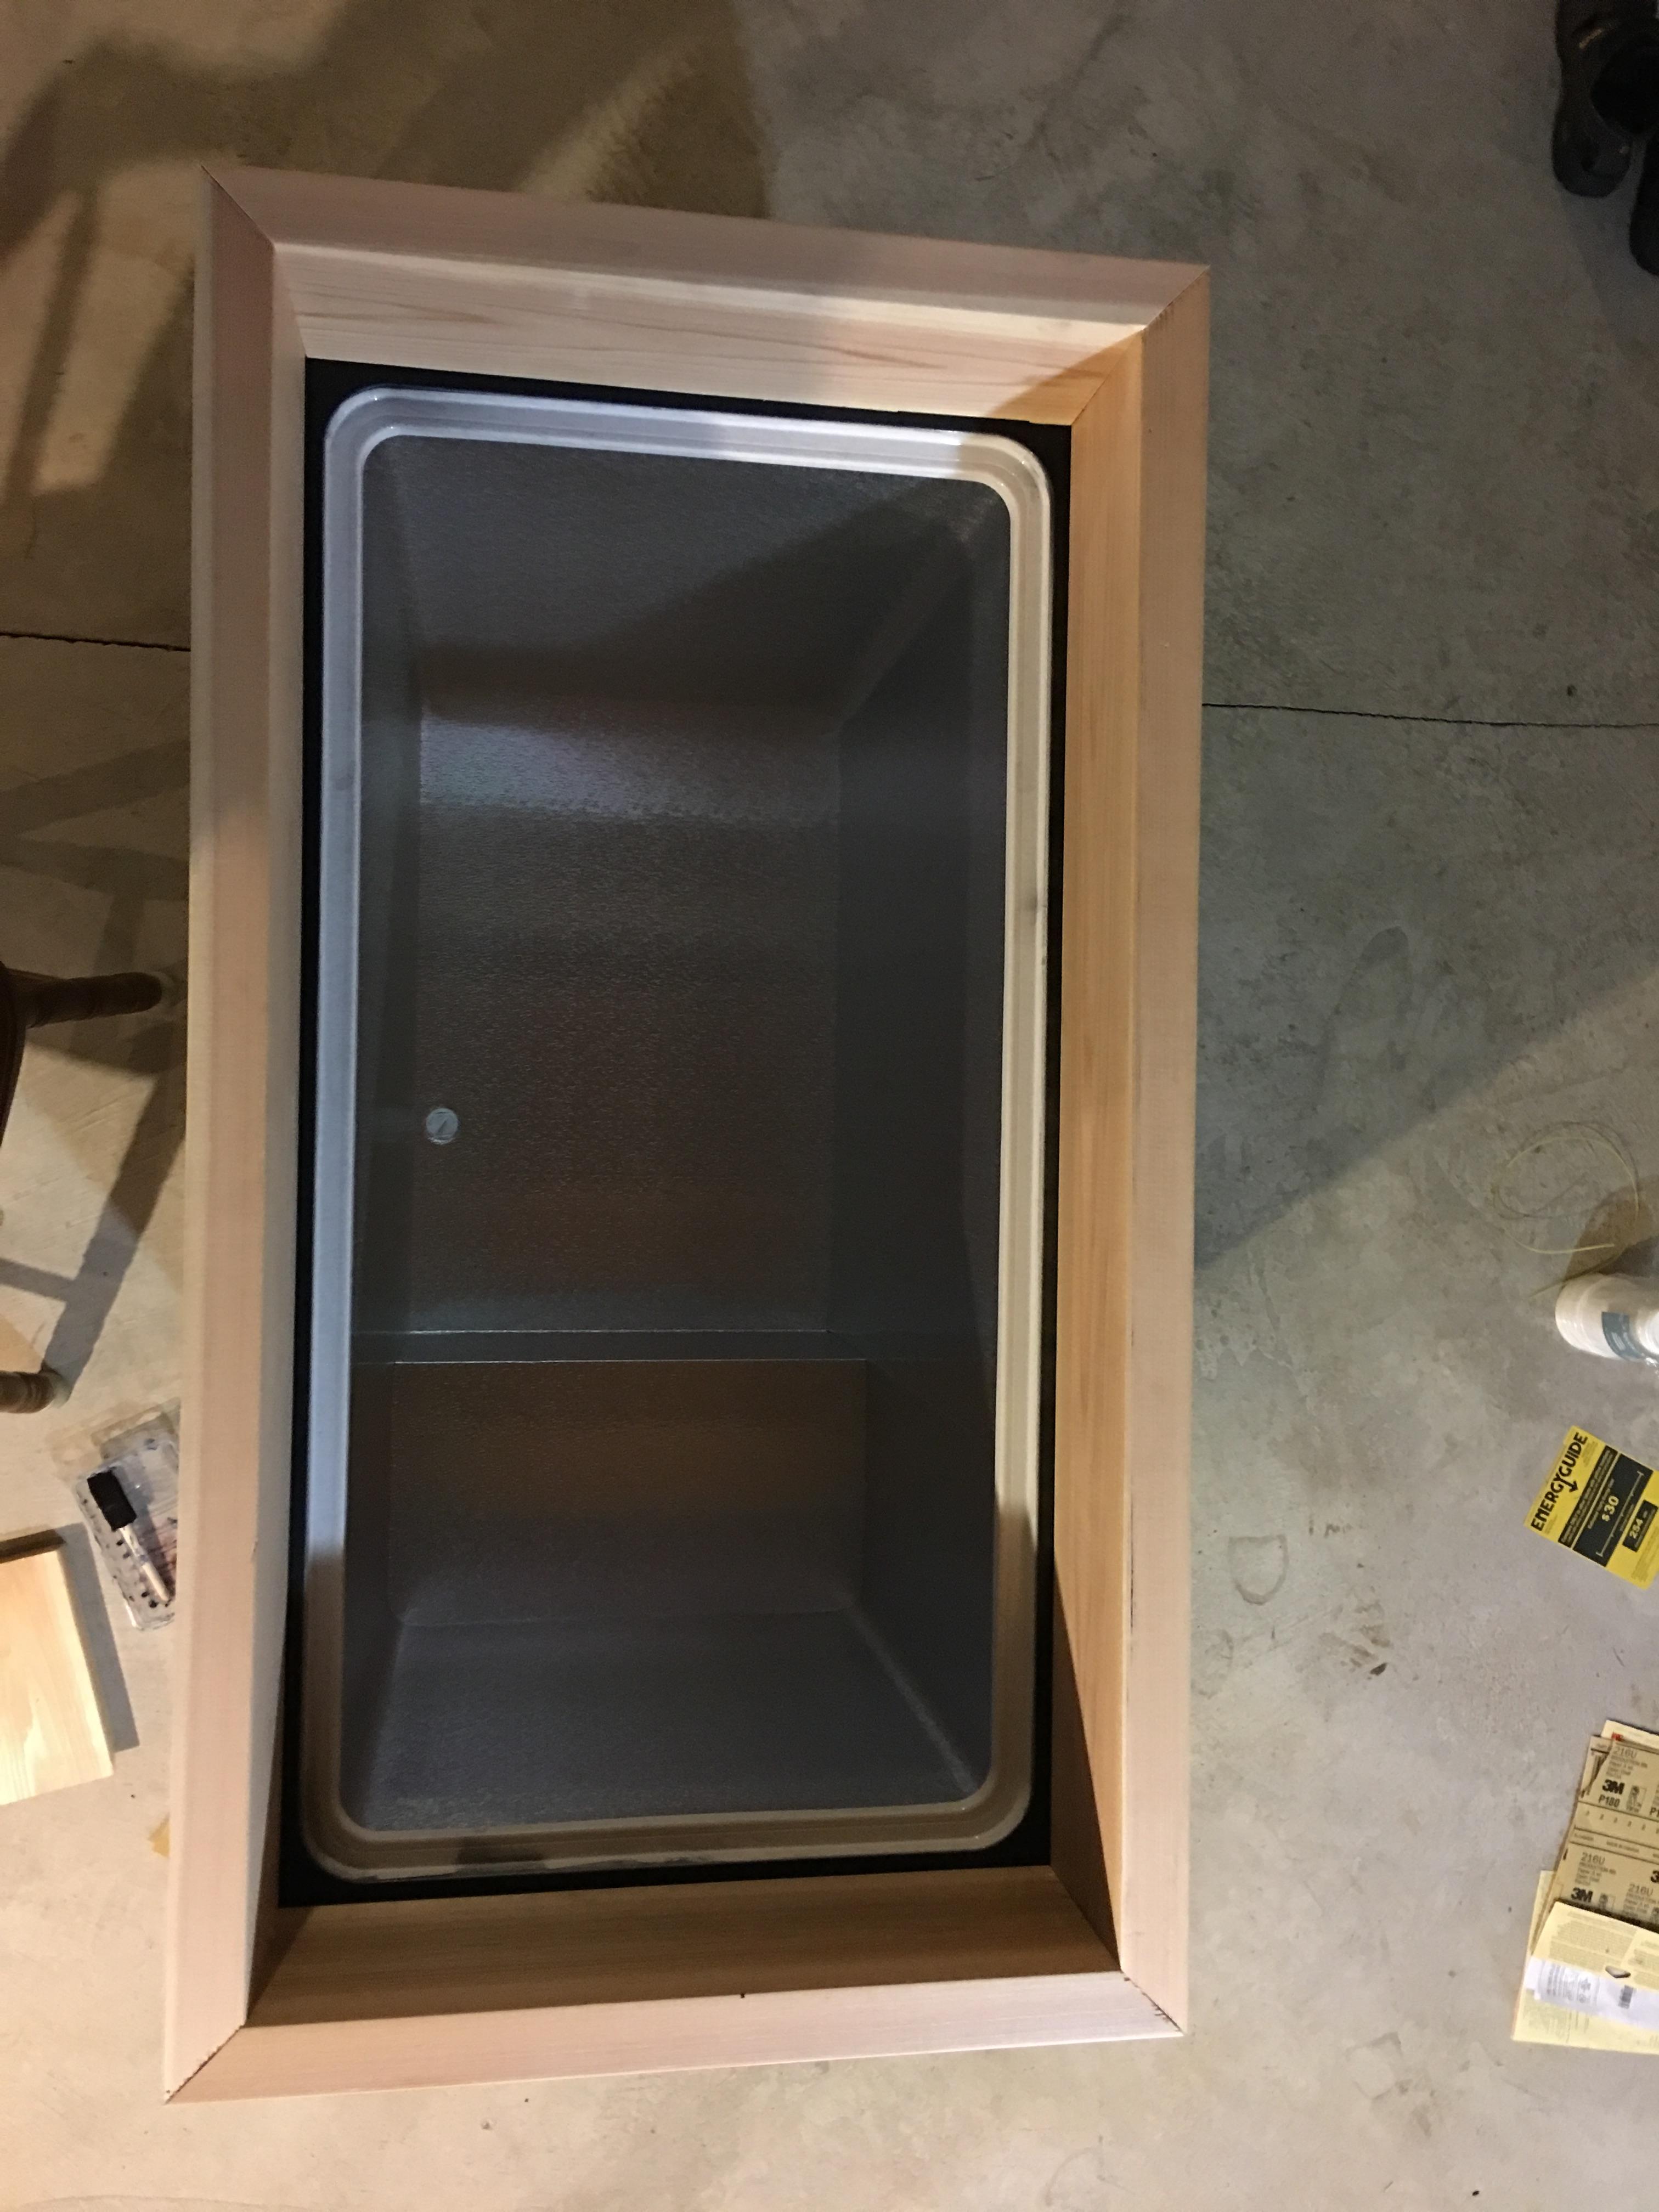
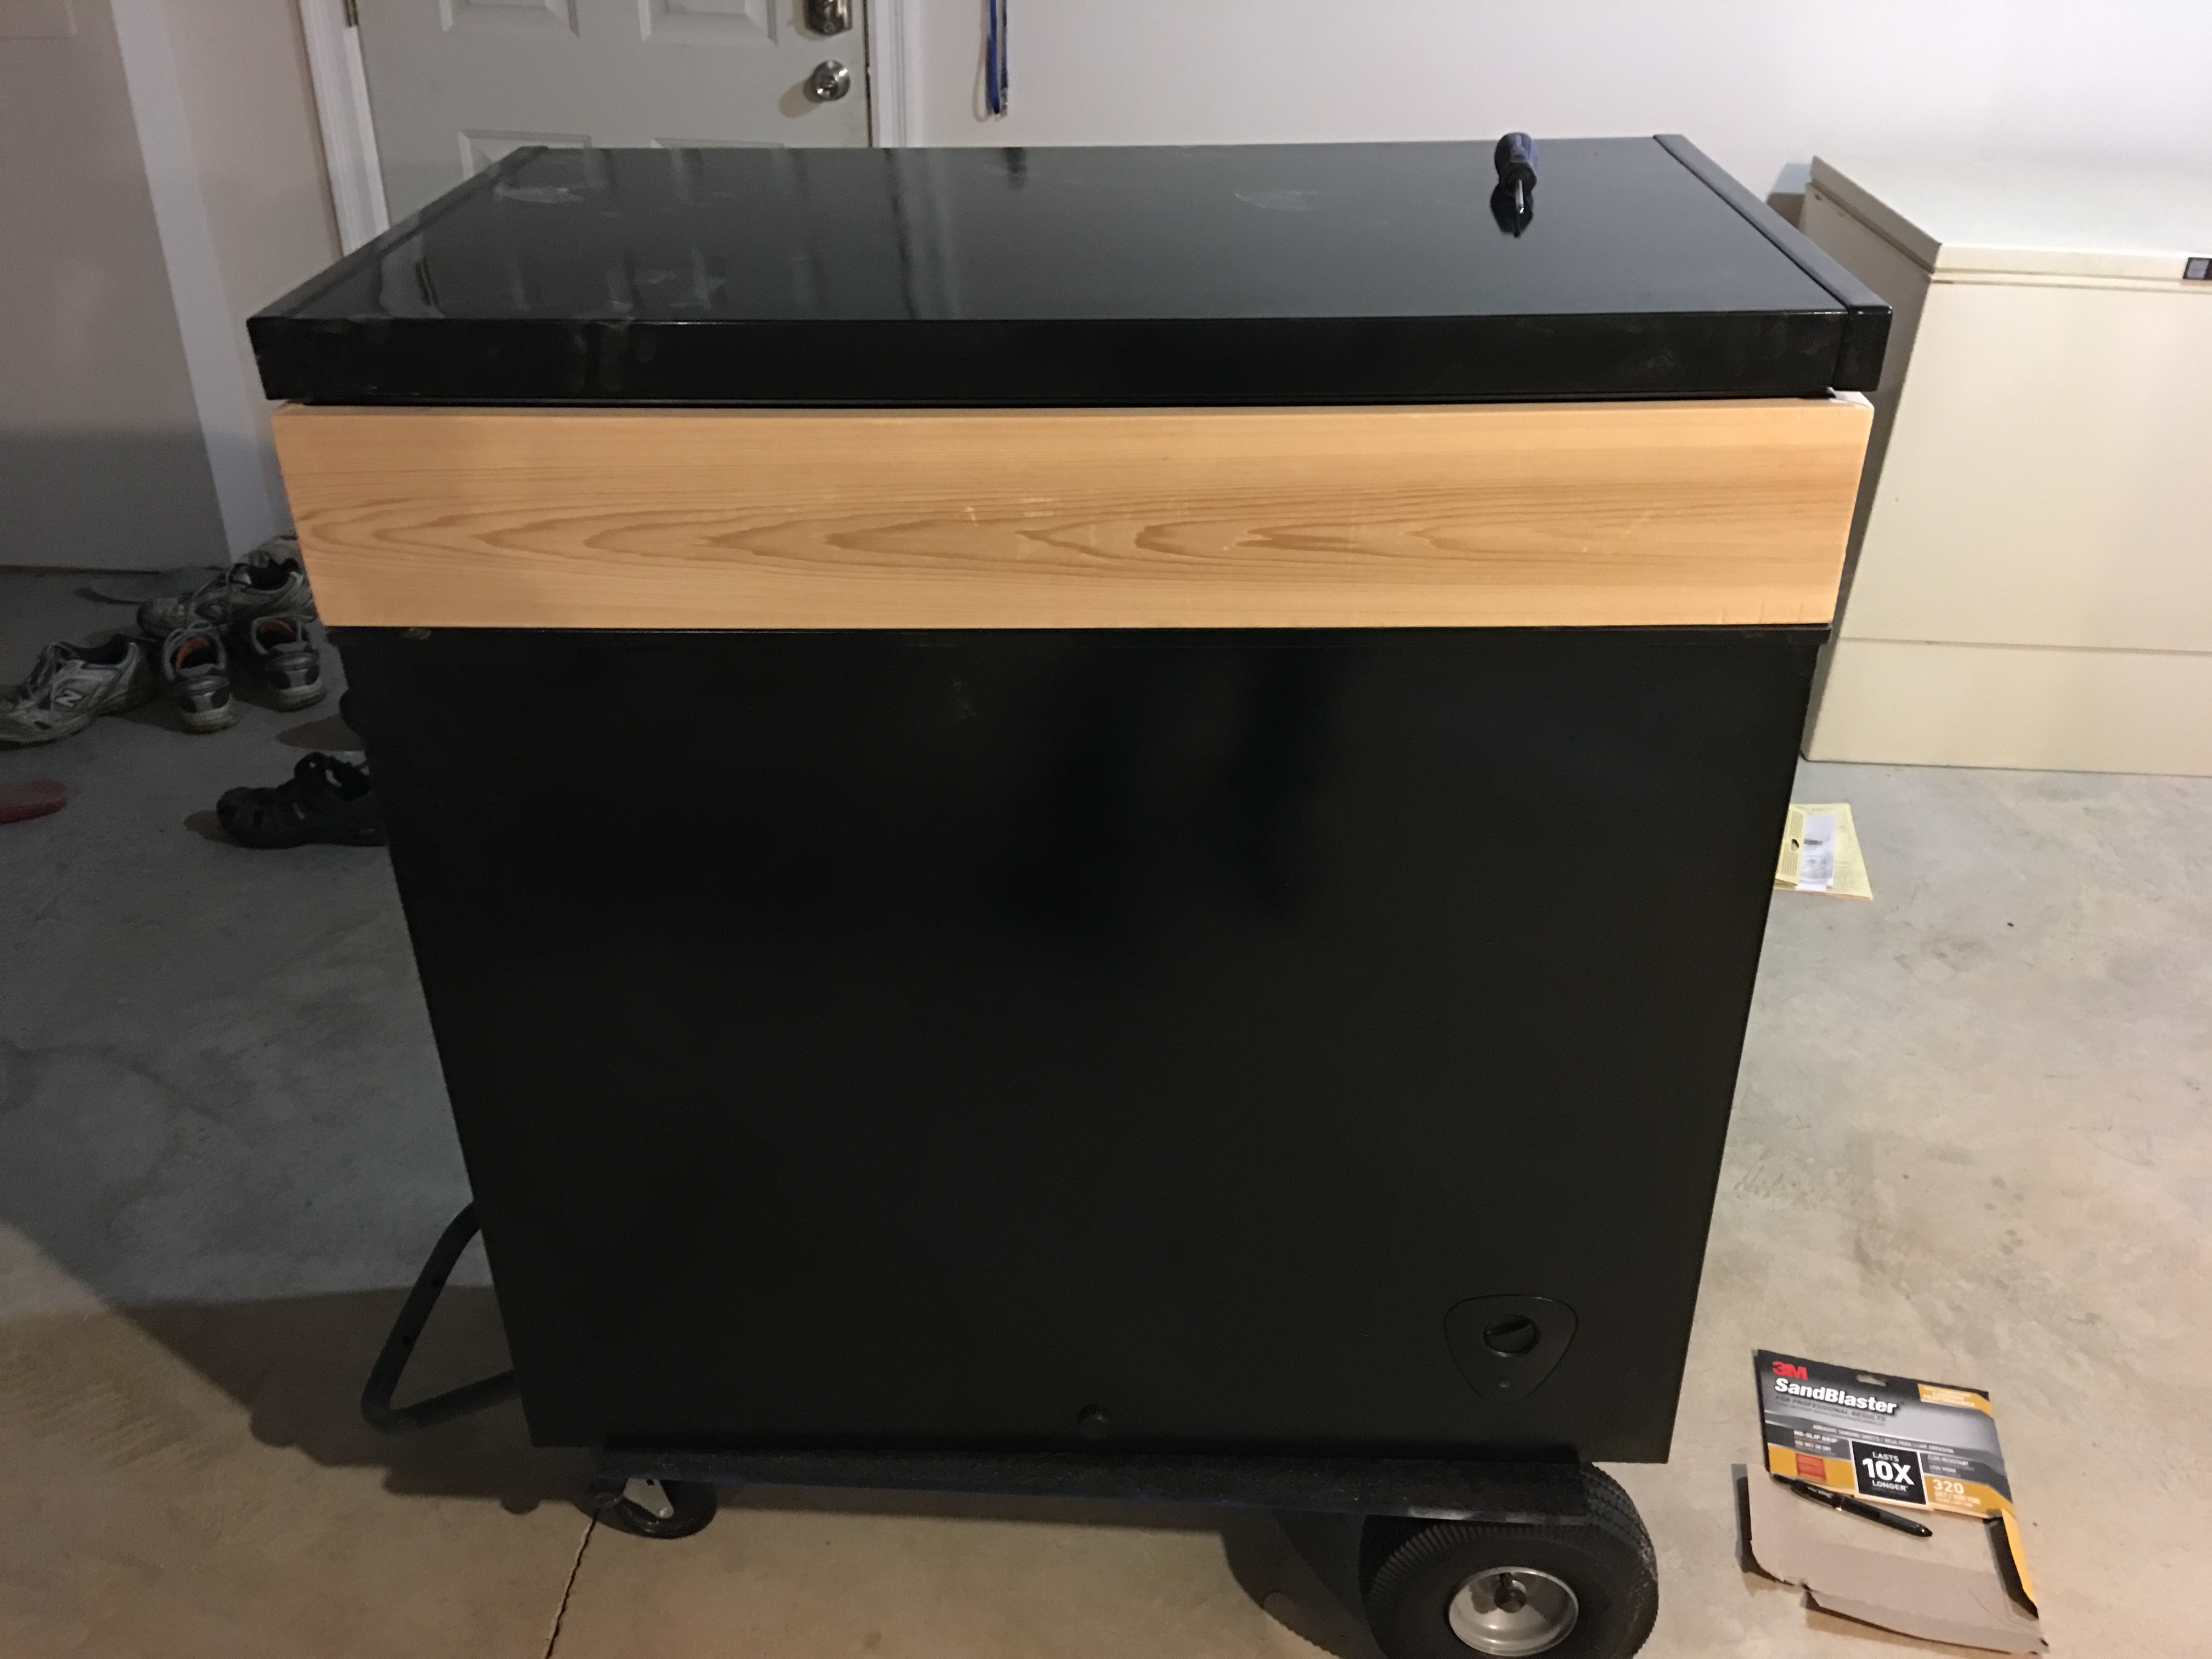
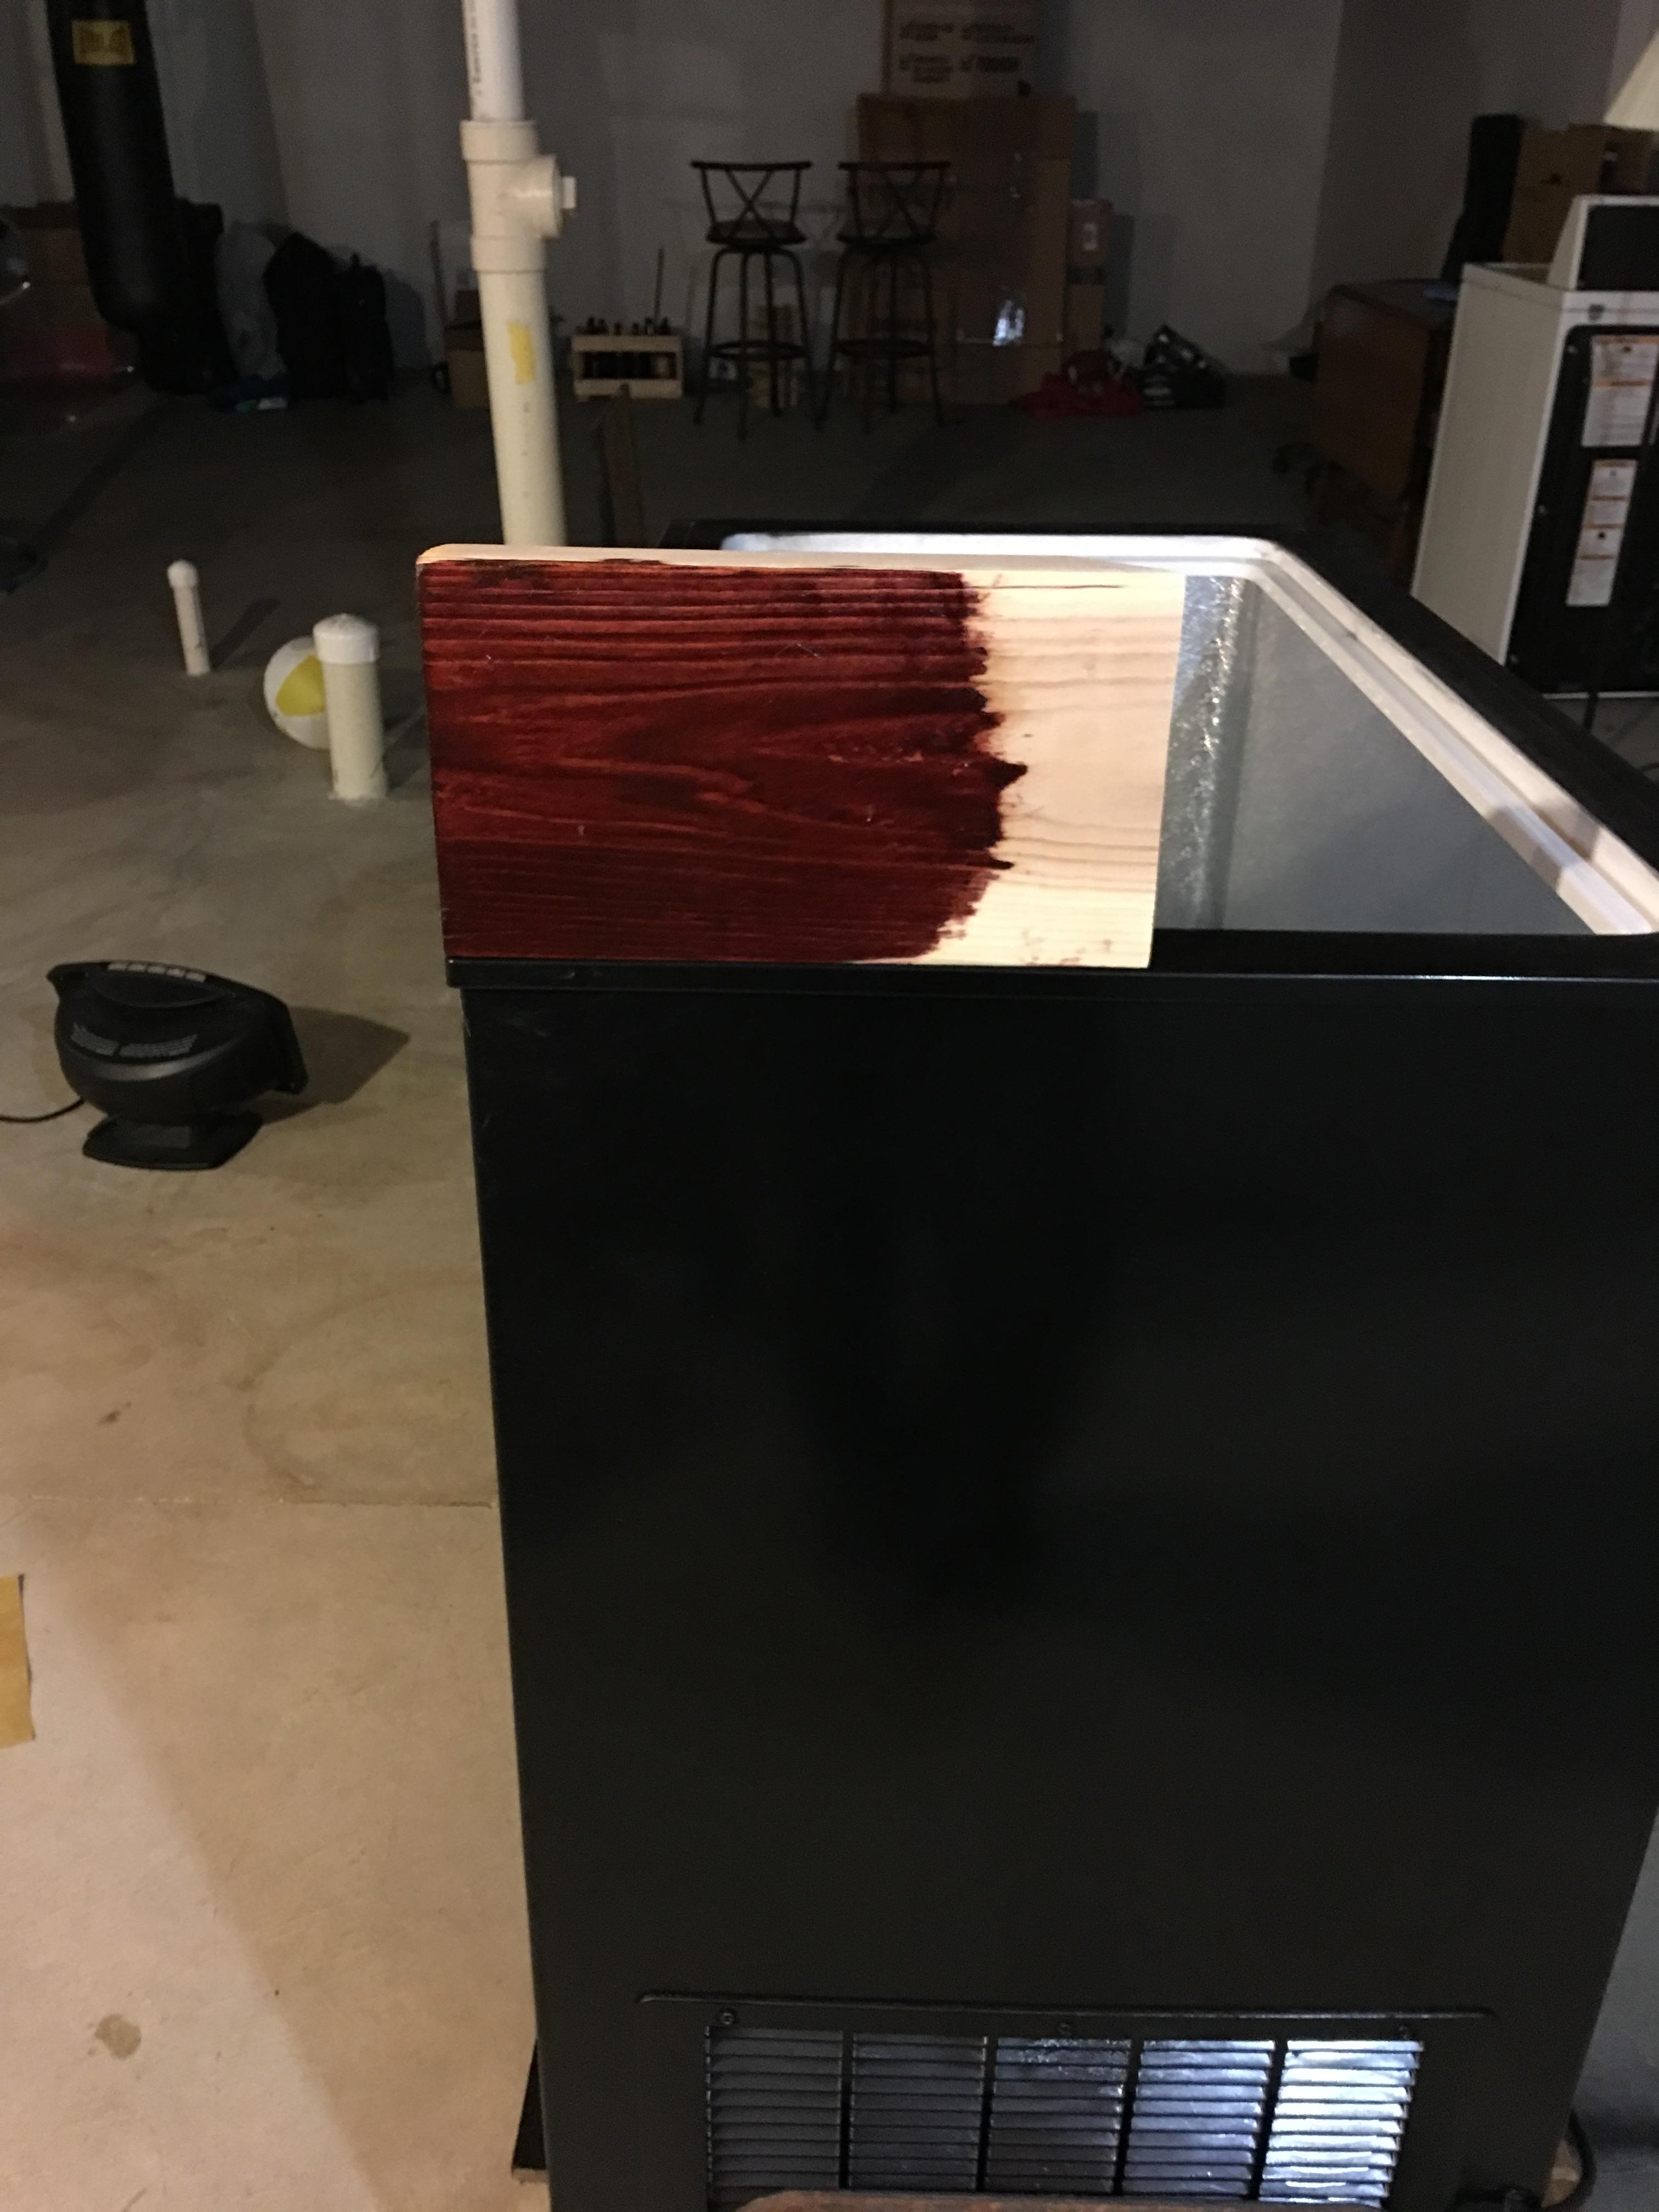
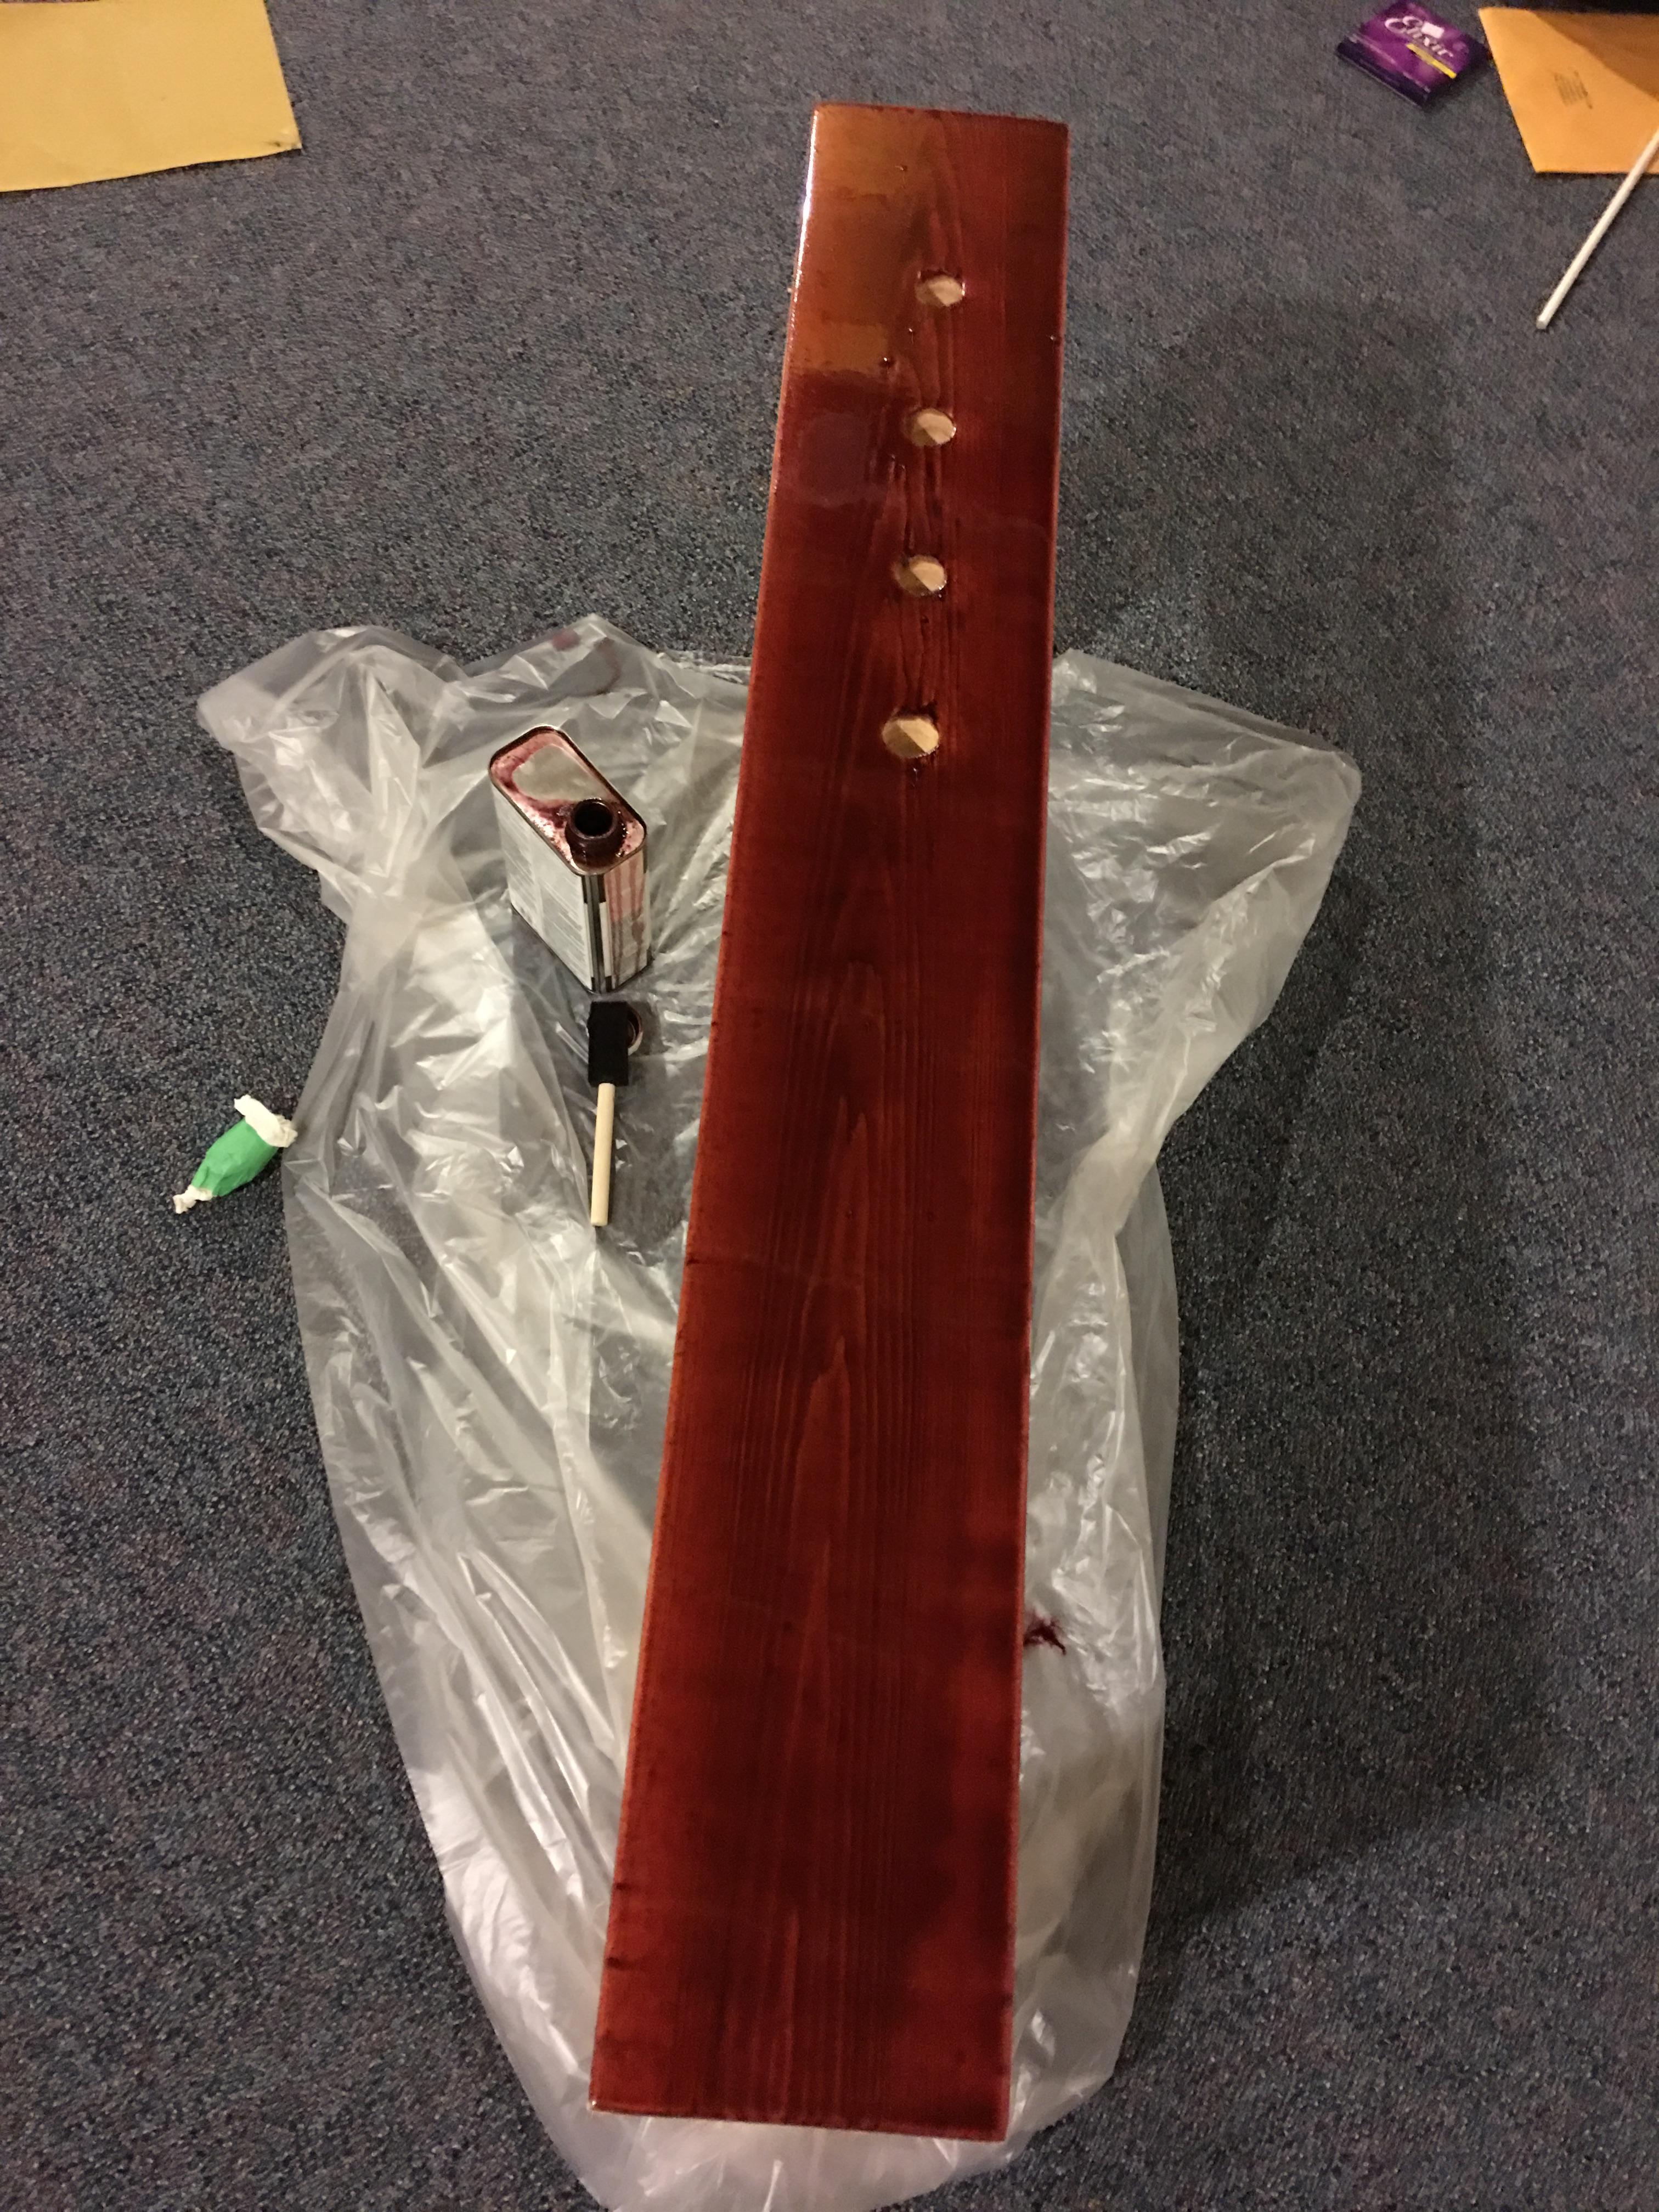
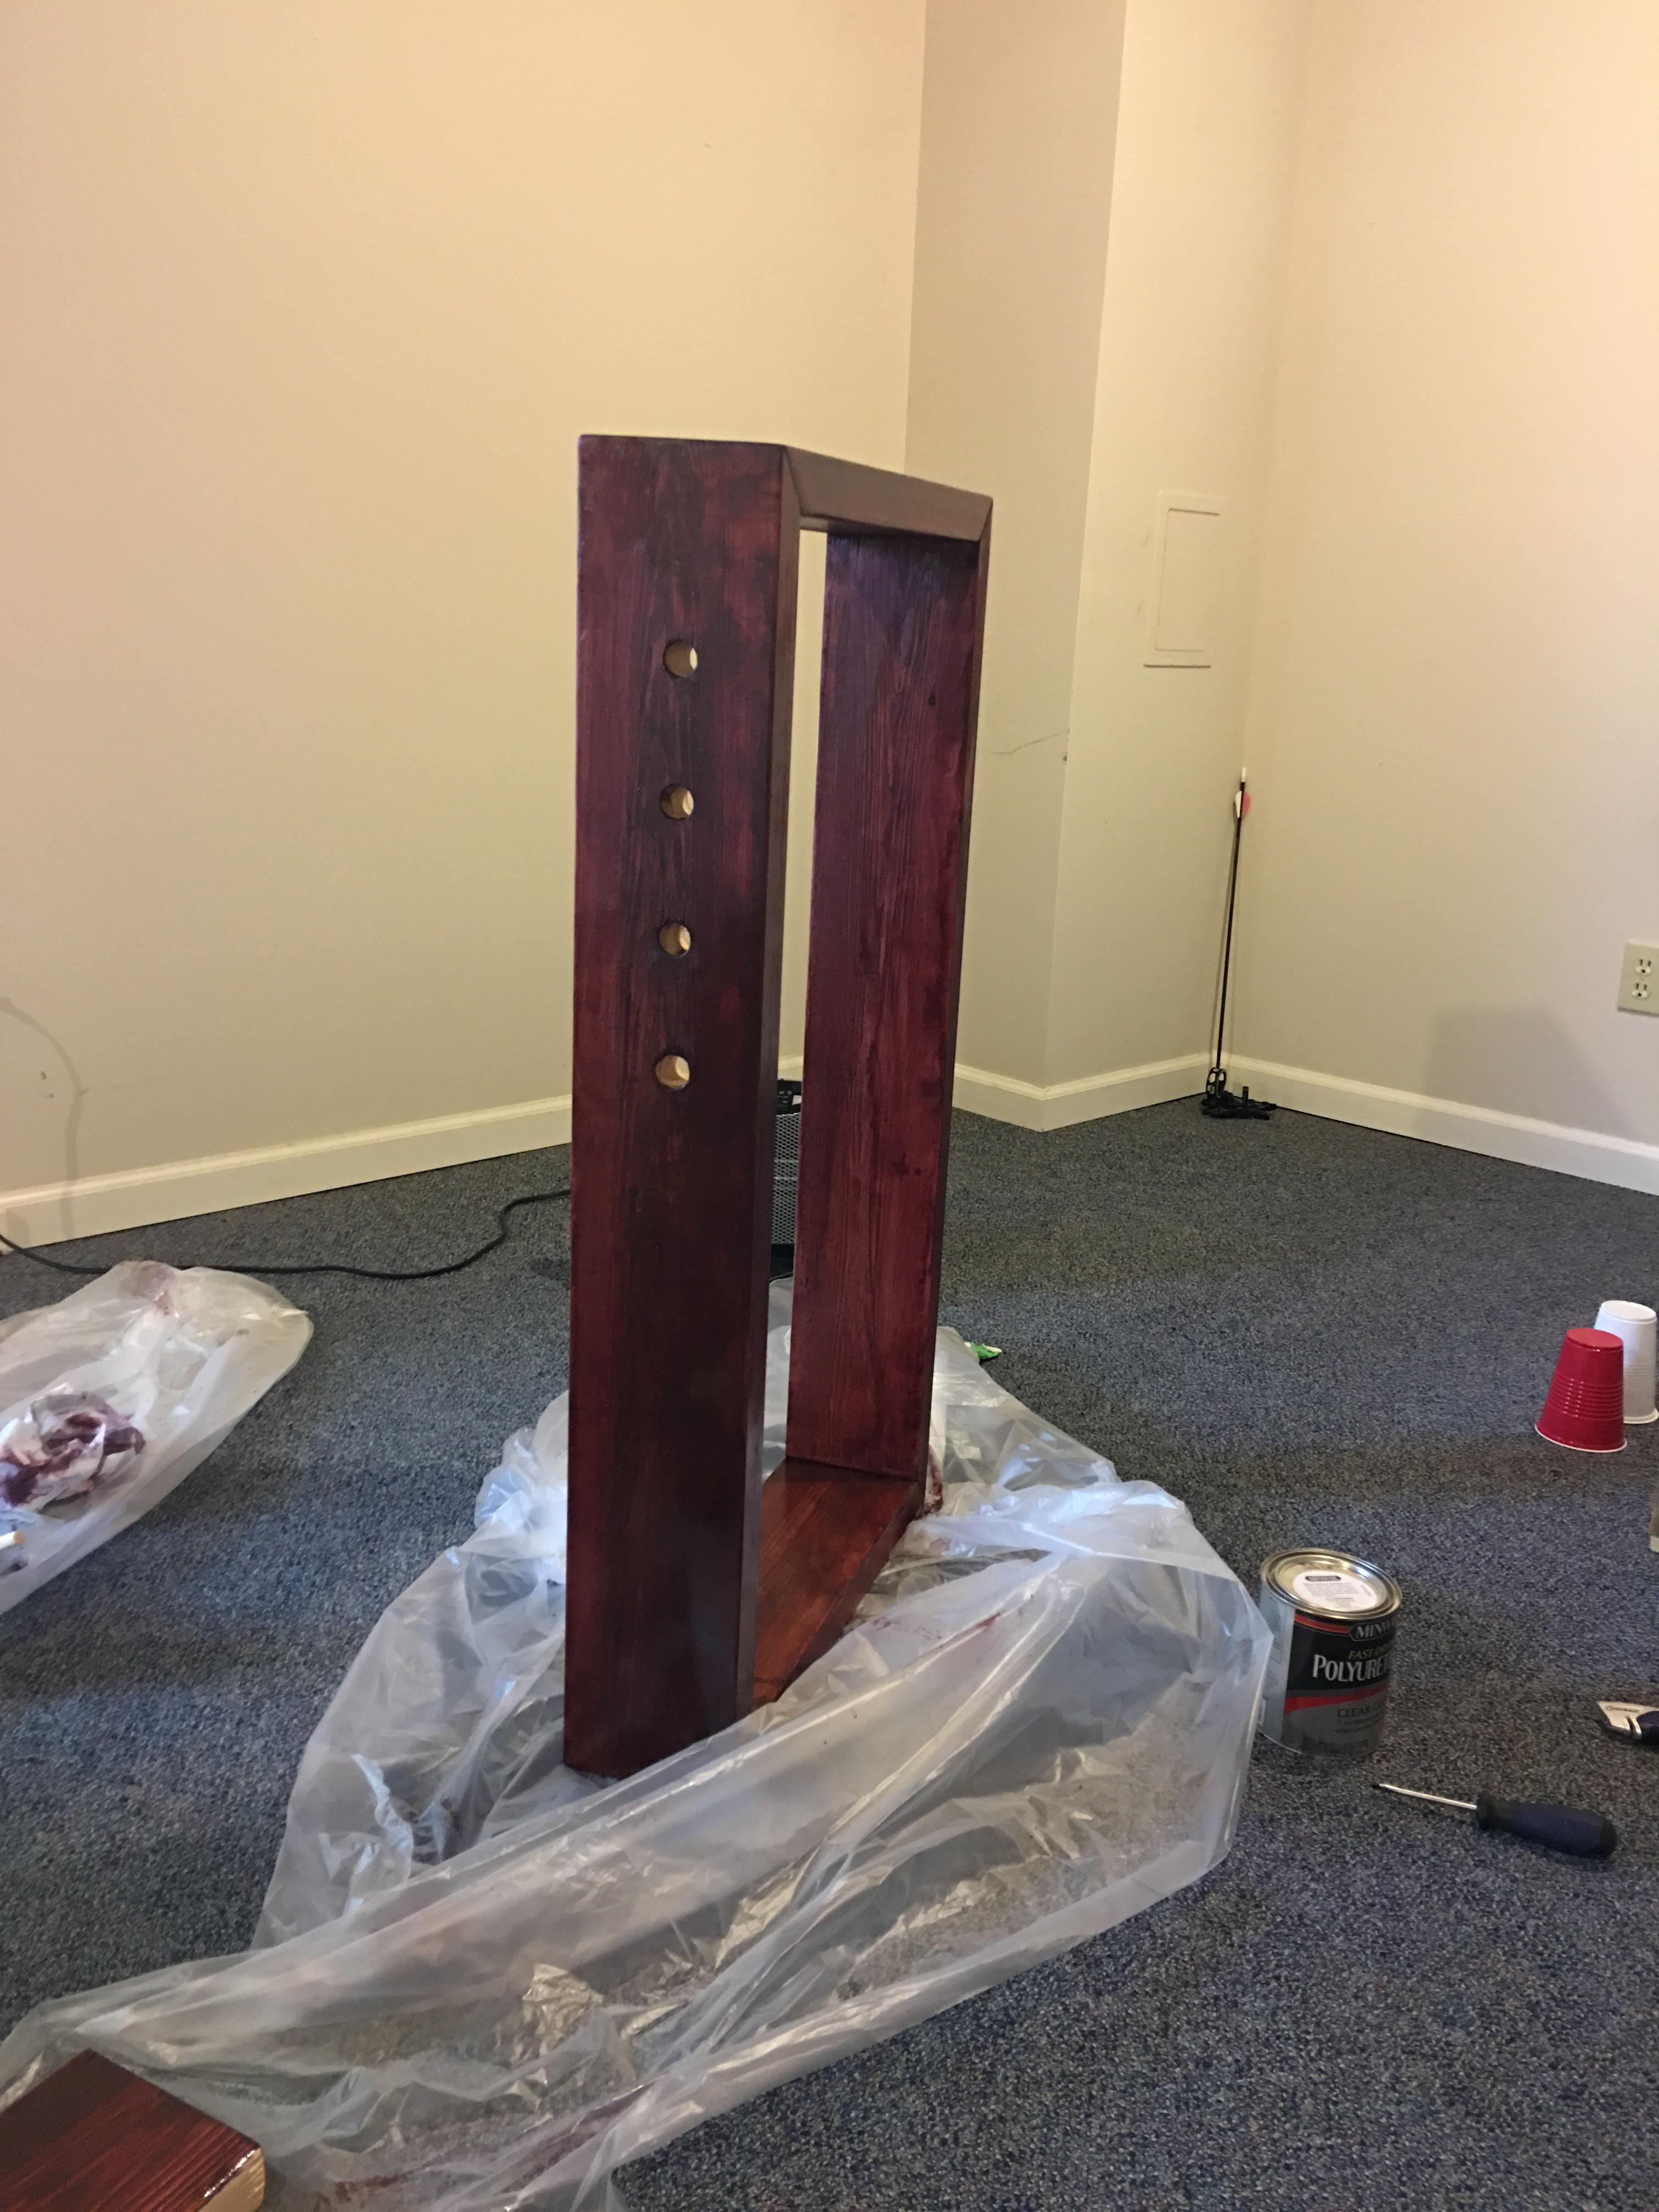
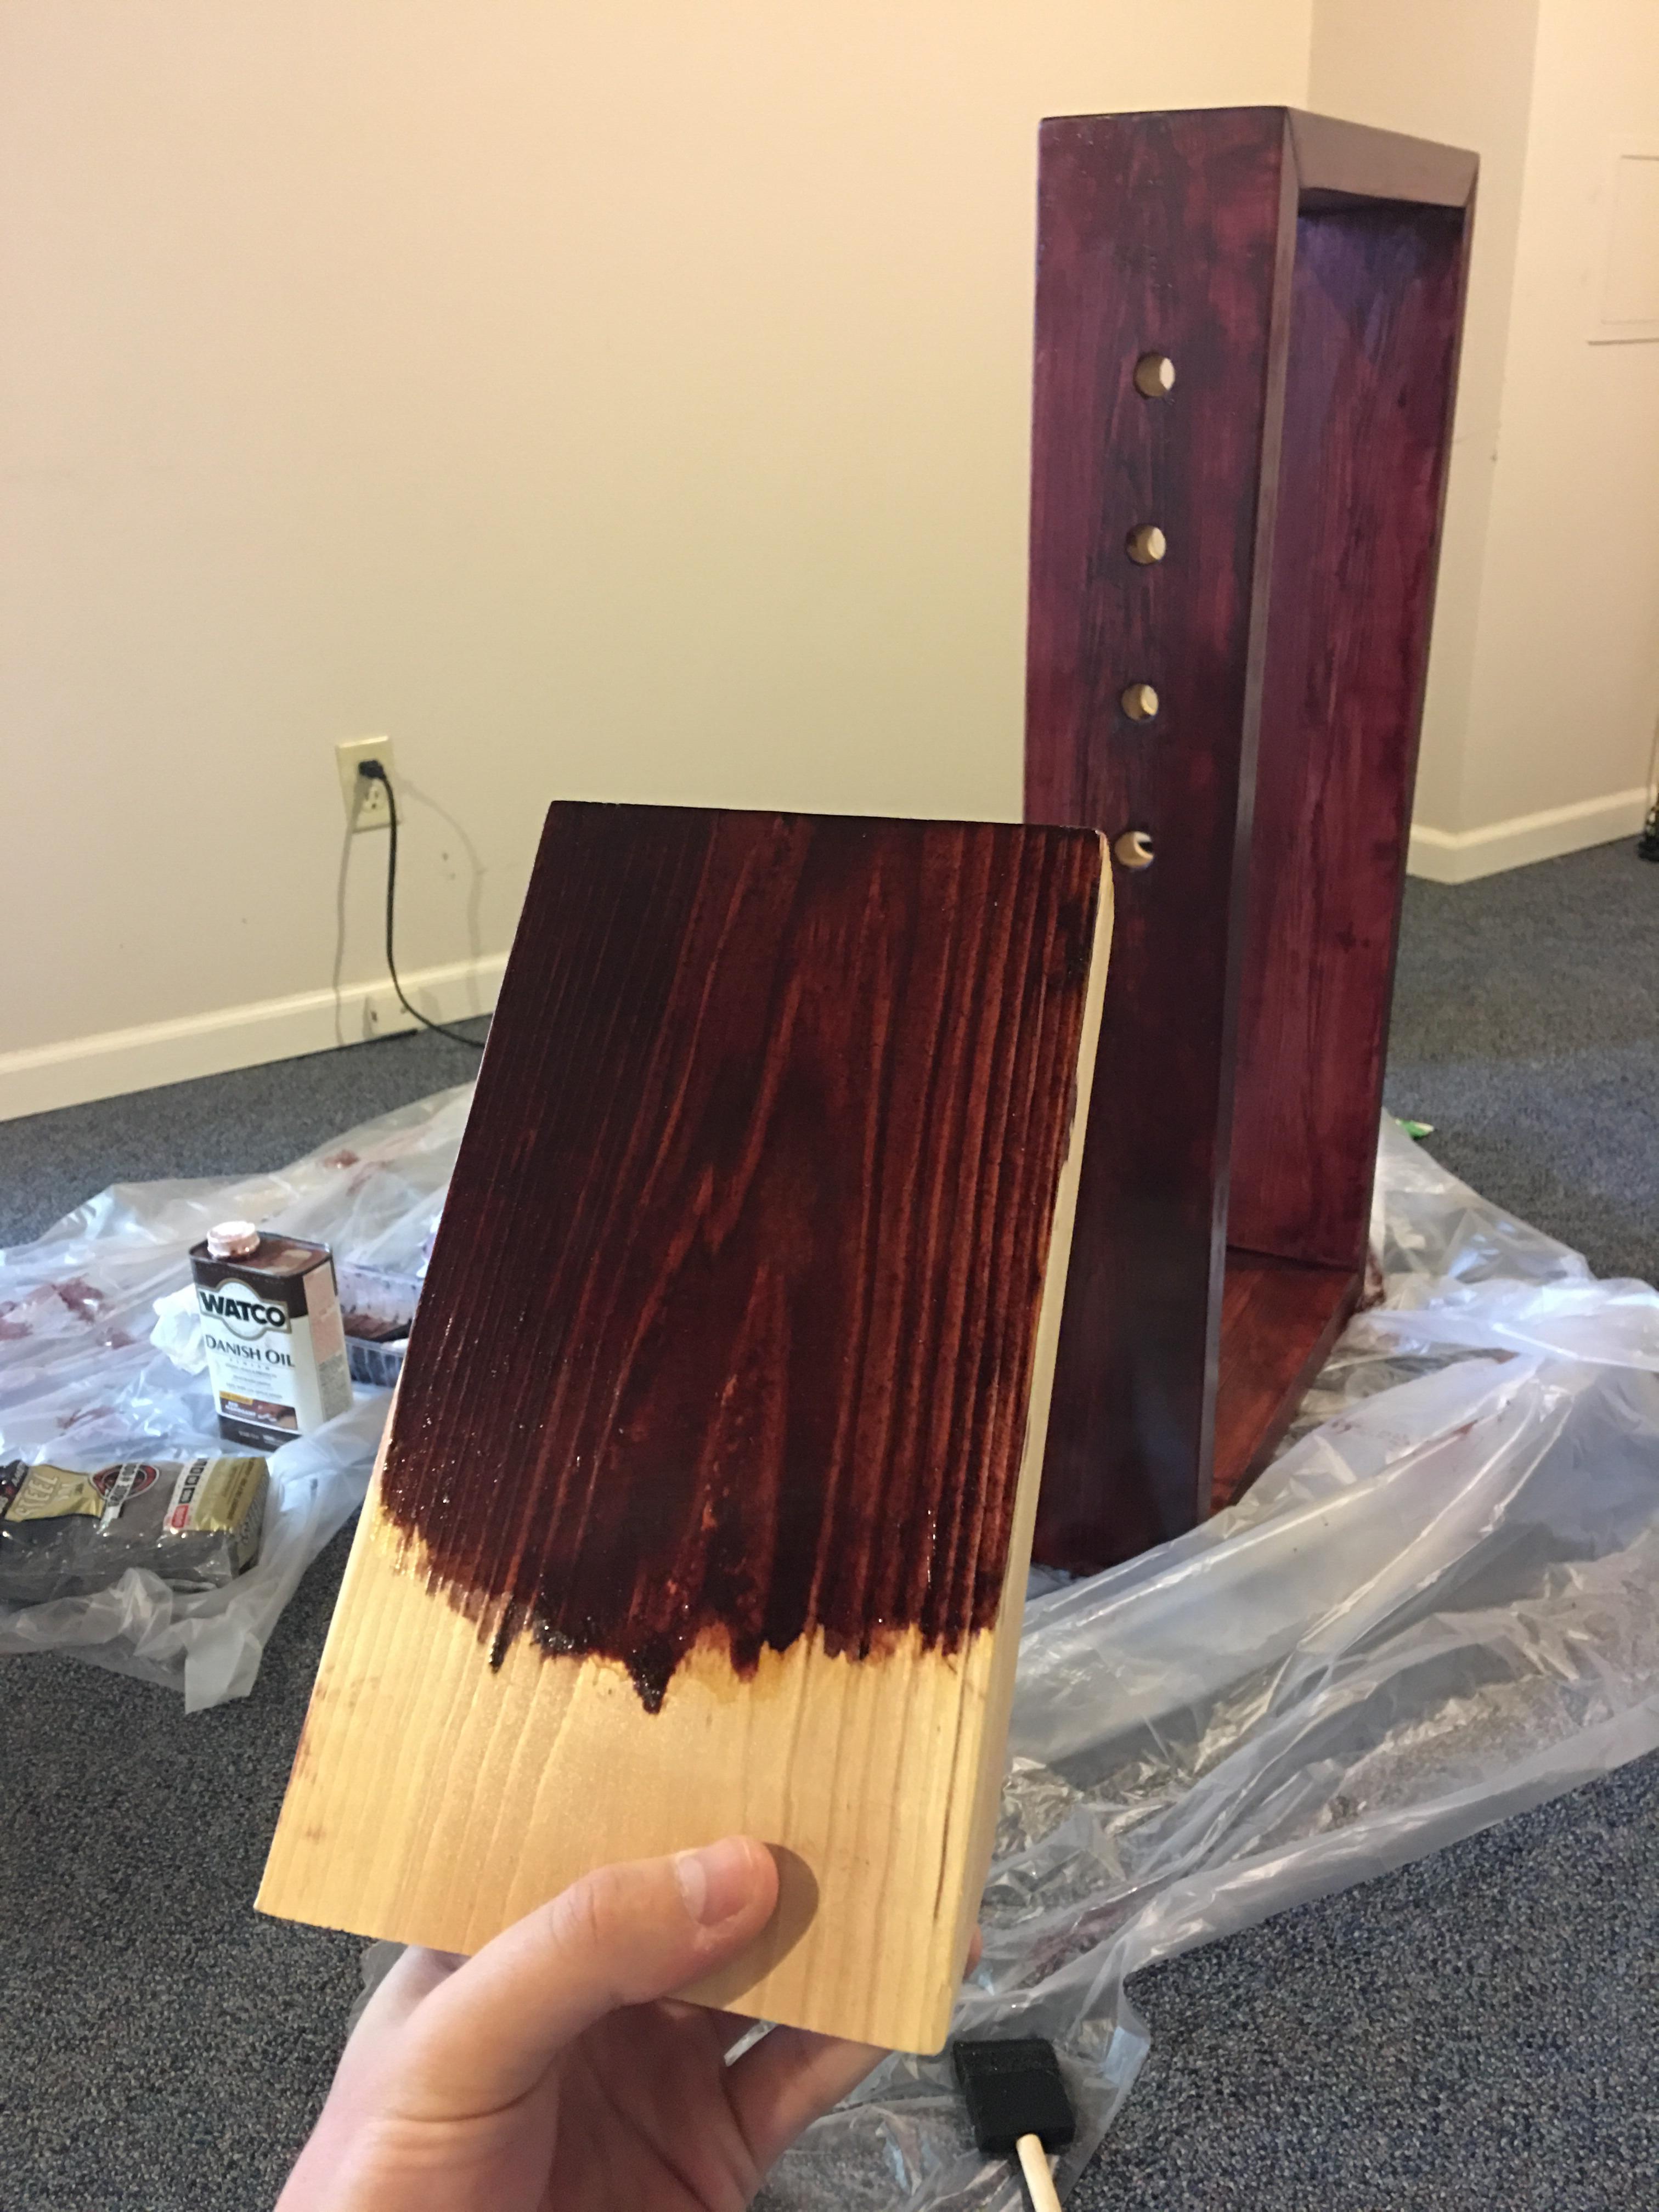
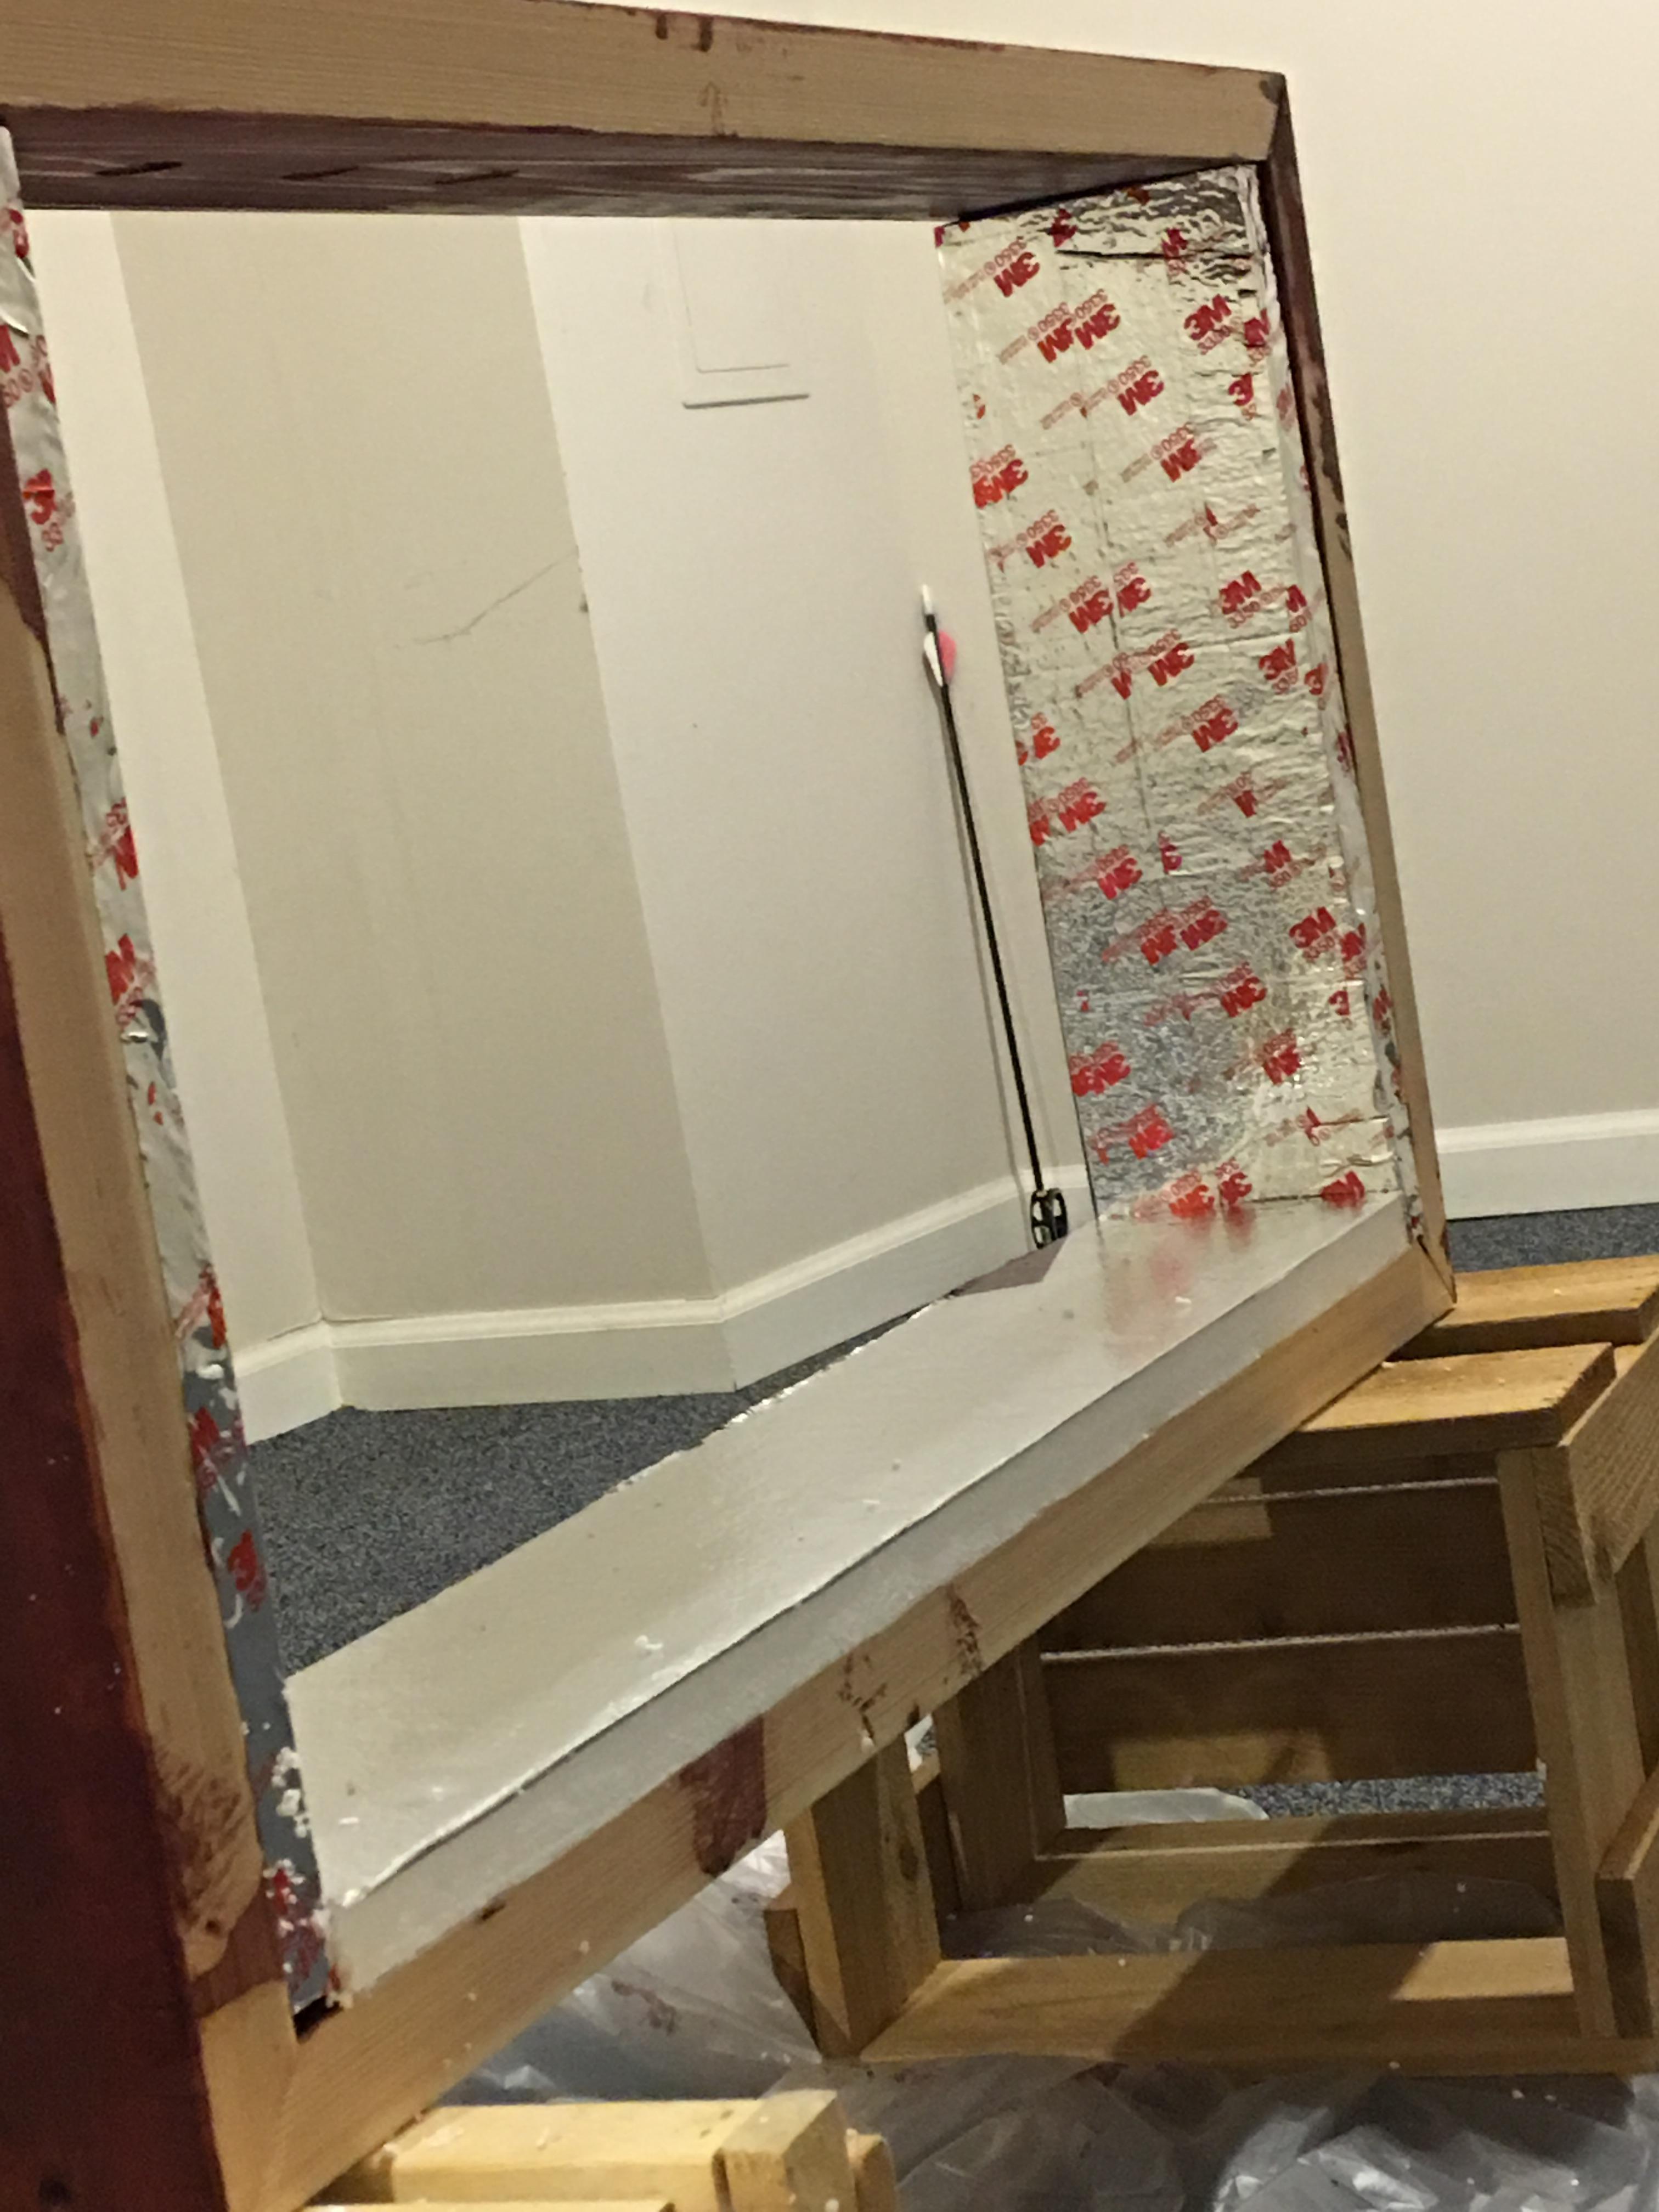
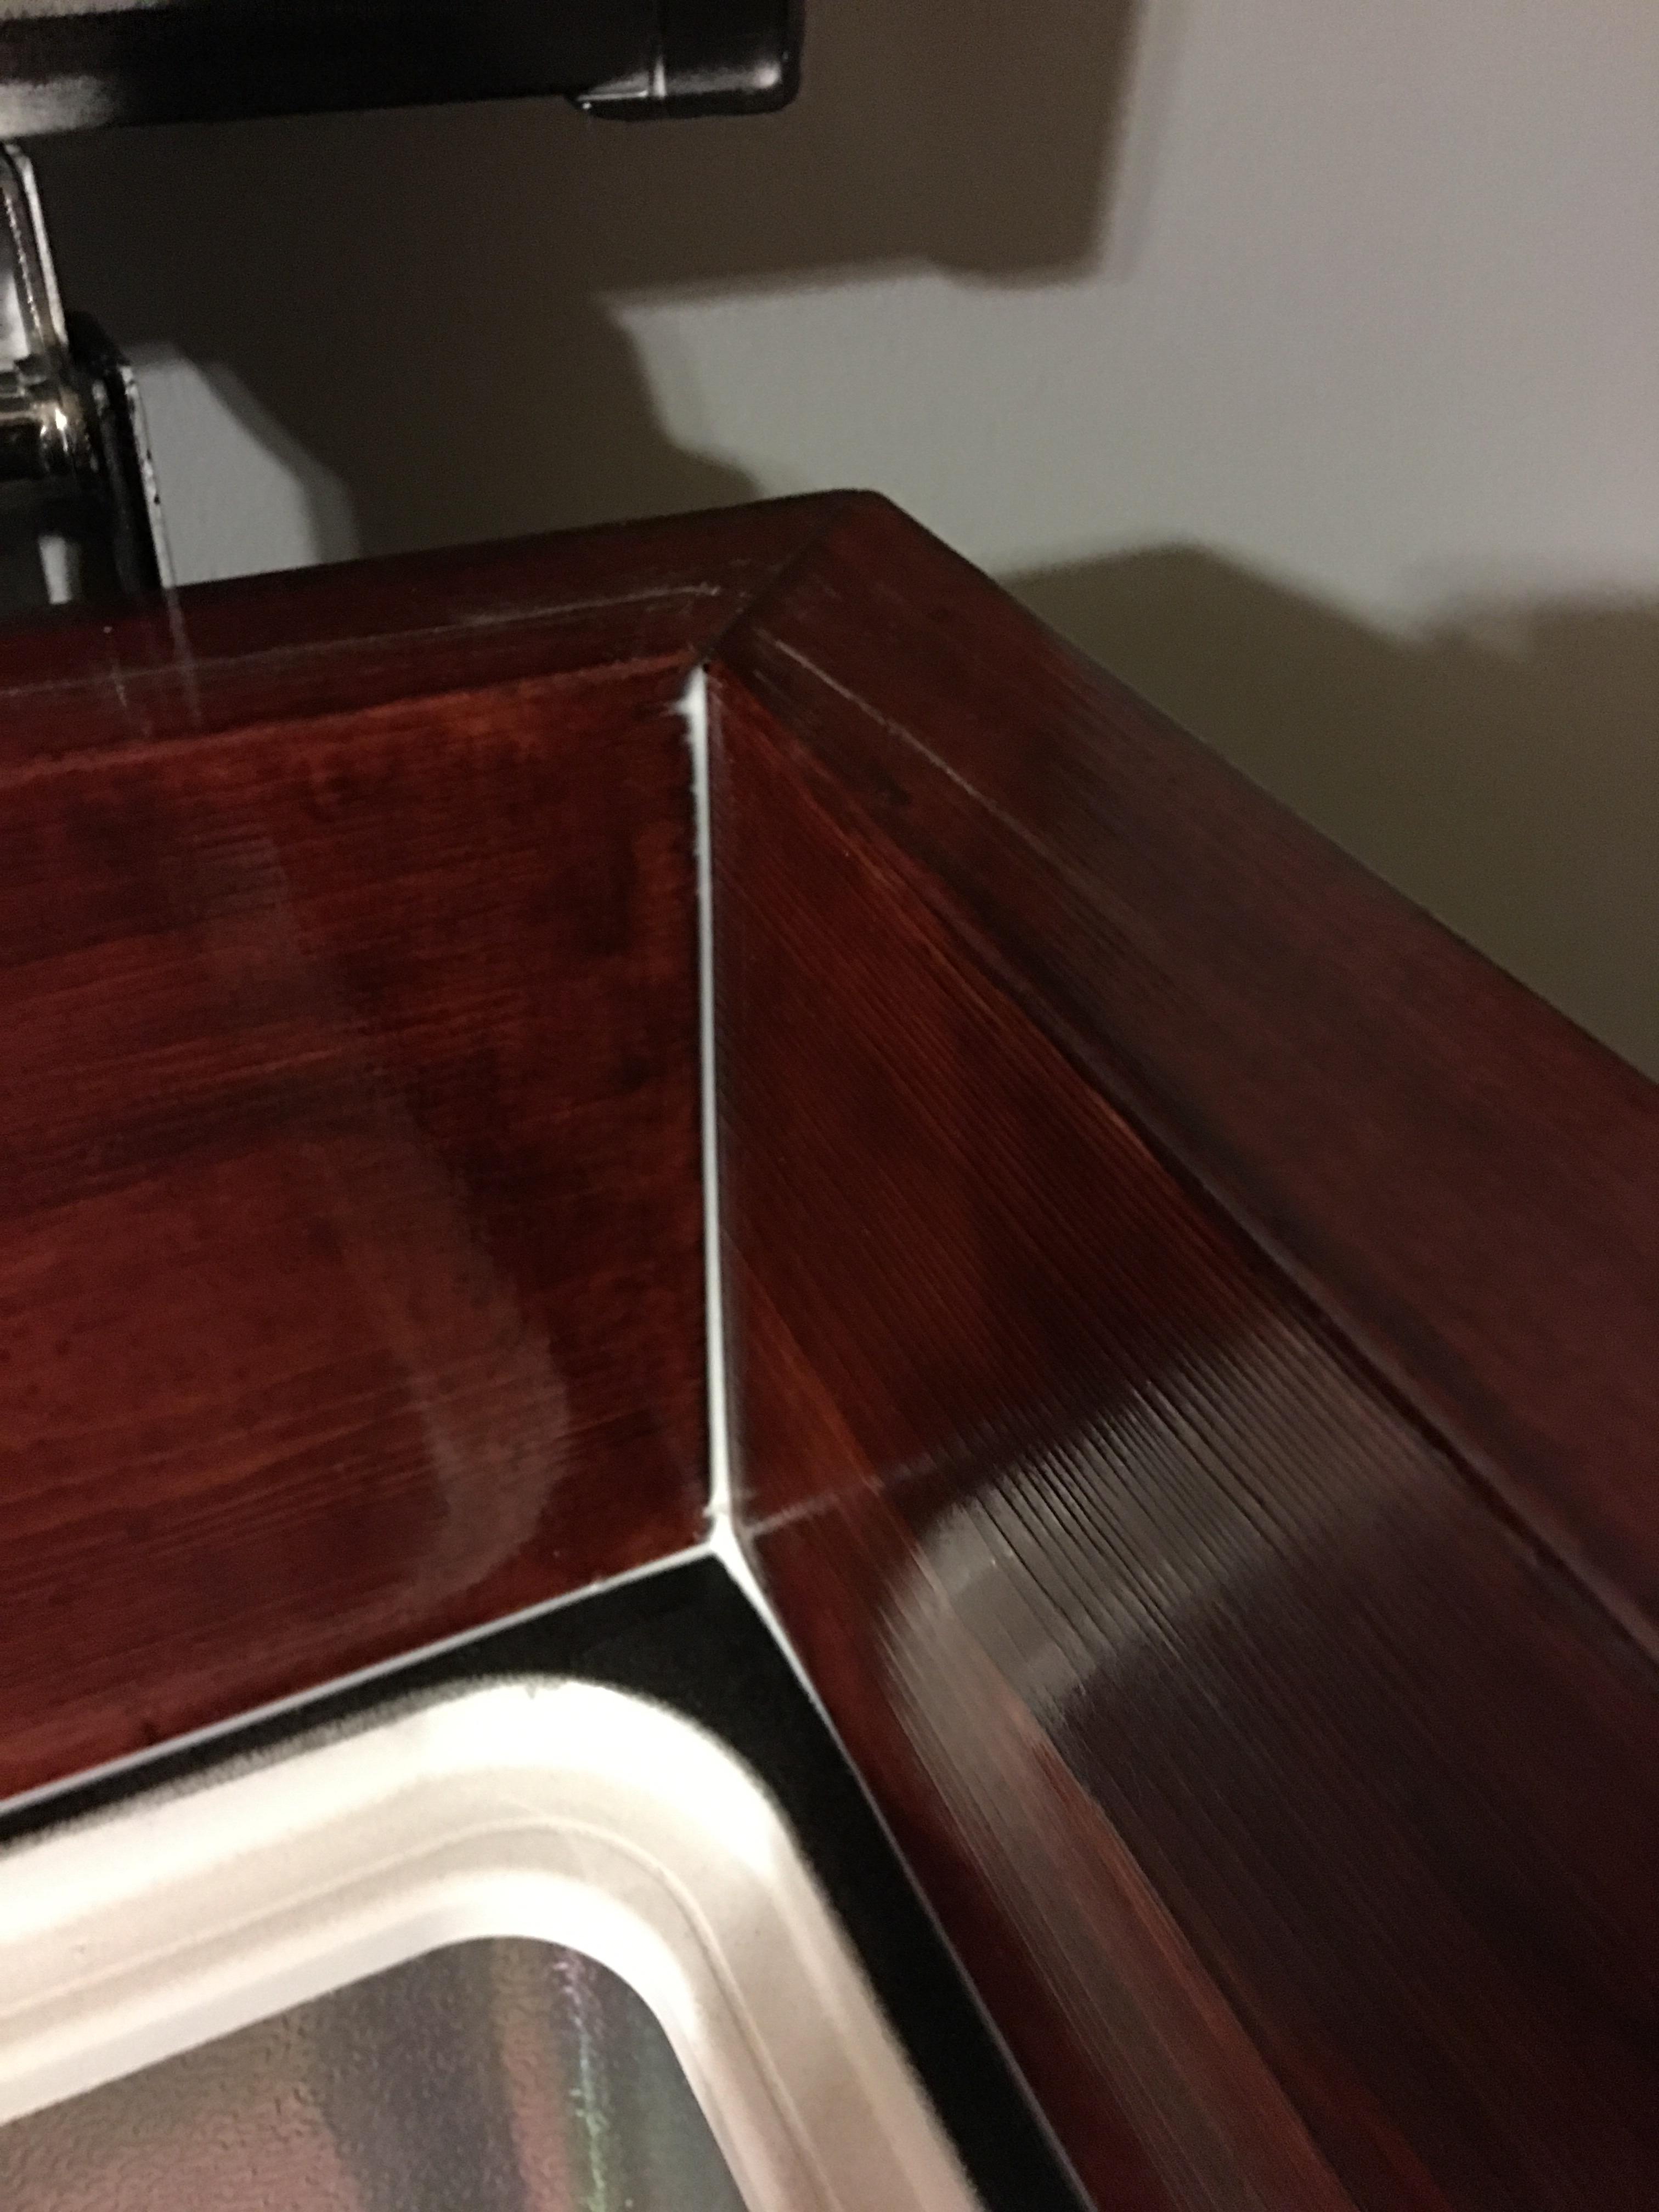
Testing out stain on cedar. Yeah that'll look real nice. Still need to pick up the poly for a shiny top layer though.

View attachment ImageUploadedByHome Brew1476565311.254214.jpg

View attachment ImageUploadedByHome Brew1476565357.318322.jpg
 
It can be a big help to have a several regulators. Manifolds are great but to be able to hit a keg with 30 psi to carb up without messing with what's on tap pays for itself quickly. You can also run different pressures for different styles. I'm not saying you need a regulator for each faucet but you might consider at least one extra one.
 
More parts showed up today. Hopefully going to get the freezer this week/weekend. courtesy of ritebrew.

attachment.php
 
Just finished mine this weekend! Your gonna feel pretty accomplished once you finish, so much nicer having a faucet vs picnic tap
 
Looks great so far--you might want to check your "four on the floor" and make sure. Looks to me like you can only get three there.

Its a bad angle to show it, but four will for sure fit with room to spare even. I lifted the keg from the far left and just moved it over without moving the other two and it fit fine.

Id put the actual fourth one in there, but its in the chest freezer just off to the right of this one being kept cold for a movie night at the end of november.
 
It can be a big help to have a several regulators. Manifolds are great but to be able to hit a keg with 30 psi to carb up without messing with what's on tap pays for itself quickly. You can also run different pressures for different styles. I'm not saying you need a regulator for each faucet but you might consider at least one extra one.

I originally had a dual-regulator setup in my keezer, and for whatever reason, didn't work all that well for me. I finally realized I had the capacity to force carb in my keezer if I didn't overthink it.

While I have a separate ferm chamber/cold crash refrigerator with its own regulator and tank with which I can force carb (and I do!), there's a way to do it with only one regulator in a keezer. All I have to do is either turn off the gas to the serving kegs or disconnect the QDs to those kegs, and connect one to the force carb keg and bump up the regulator.

Rarely do I need to serve a ton of beer every day, and since force carbing only takes 24 hours, I only have those kegs out of commission for that long. And the reality is that I *still* can pour from them on residual pressure, as long as I don't need to pour several beers.
 
May still want to use a collar as it will be easier to plumb the taps, shanks and mount your regulators, etc.

Oh I fully plan to build a collar, was just shocked it was tall enough without one even.

I originally had a dual-regulator setup in my keezer, and for whatever reason, didn't work all that well for me. I finally realized I had the capacity to force carb in my keezer if I didn't overthink it.

While I have a separate ferm chamber/cold crash refrigerator with its own regulator and tank with which I can force carb (and I do!), there's a way to do it with only one regulator in a keezer. All I have to do is either turn off the gas to the serving kegs or disconnect the QDs to those kegs, and connect one to the force carb keg and bump up the regulator.

Rarely do I need to serve a ton of beer every day, and since force carbing only takes 24 hours, I only have those kegs out of commission for that long. And the reality is that I *still* can pour from them on residual pressure, as long as I don't need to pour several beers.

My current keg thats hanging out in the other chest freezer was fully carbed in ~4/5 days give or take at just 12psi. Which is fine I can live with not drinking something for a few days after what the 3-4weeks it was in primary to begin with.
 
It's a tight fit but it does fit. The Amcyl kegs have a slightly bigger rubber base it seems there is a rib that runs around it making it slightly bigger on the left is the amcyl right is traditional corny. I may see if I can't shave that rubber rib down. It is not rubber for my pleasure.
xdLhH
43LoO4o


But they do fit with some effort
qtEU3om


Got some spraying done today.
O4b9Ro9

zfObO17

ZT2TOha

oYORr0g


View attachment ImageUploadedByHome Brew1478448166.764883.jpg

View attachment ImageUploadedByHome Brew1478448204.588832.jpg

View attachment ImageUploadedByHome Brew1478448226.687303.jpg

View attachment ImageUploadedByHome Brew1478448247.712104.jpg

View attachment ImageUploadedByHome Brew1478448256.246021.jpg

View attachment ImageUploadedByHome Brew1478448263.891866.jpg
 
What model is the chest freezer and where did you get it from

Frigidare 7.3cf
FFFC07M1QW

From homedepot.

Sort of f'd up doing the second spray. something didn't like it and i got bubbling on the bottom right corner... on the front of course. Shaved it off and am respraying it (because I'm an idiot apparently and should have left it alone).

Pretty impressed with the freezer at least for now. Did plug it in to test if it worked, and it did... i think. Anyway, its interesting as I can lift the entire unit myself... and im only 165lb so... yeah pretty easy to move in and outside to spray / do whatever as needed. However it seems QUITE insulated which isnt surprising as most newer freezers are.

Also the interior is rather soft so be careful dropping stuff into it. already have some mild denting. I need to do a pvc air recirc / grate setup like ive seen on here (thread to be linked later).
 
How is the build going? I have the same freezer and am nearly ready to get started. Looking forward to seeing how yours turns out.
 
How is the build going? I have the same freezer and am nearly ready to get started. Looking forward to seeing how yours turns out.

Grabbed the piece of cedar im going to use. Plan on dragging it over to my dads and having him rip away with his absolutely badass miter/chop saw rig. That should happen on wednesday. Then Ill probably spend the rest of the week assuming we dont screw up making the collar staining it then probably poly it this coming weekend.

All the spraying is done so far to a point im satisfied it wont get any better (seriously... next time im just buying that bigger 8.1cf in black).

Brewed the Holiday Ale off the recipie thread on here that is fermenting away. Have a stout and that ale both going. Still have one more keg to fill, but I dont have any more room in my fermentation fridge. So ill have 3/4 kegs filled once I get this built.
 
Well wood is cut, just need to fasten it together which the miter wasnt perfect so its been a bit of sanding to get everything smooth. My dad being the nerd he is picked up some 45* clamps for us to use on this. I think he just wants access to lots of beer when he comes over.

eHIz8rD.jpg


zw8lgUo.jpg
 
Ok so updates!

All of my parts are finally in. Time to start burning on this bad boy now. My dad being the rockstar nerd that he is actually bought two miter clamps so once he cut the joints we could screw them together with ease. Now if we had known that the stupid plastic piece that they had inserted wasnt needed they would have been cleaner, but ah well live and learn.

hail hail the gangs all here.
UYqEijK.jpg

Much shiny, very stainless, so dispensing.

Ended up back at the parents house as thats where the saw is and its easier to carry wood to their house instead of a heavy ass saw and stand to mine. Here is the rough result of that endeavor.
eHIz8rD.jpg


Not too shabby, little off but nothing sanding the absolute tits off this thing wont fix.

ok dry fit with everything screwed together and sanded... oh yeah, now im getting excited.
RGwAhlV.jpg


Just two coats of watco danish oil (not fully dried yet) this is the uh... burgandy red? Whatever the dark red wine one. I think itll look good. Plan to do a few coats of this 0000 stainless wool it down some, then do probably 1-2 coats of clear poly. Yes I know danish oil has poly in it already, but I want clear once I get the color im looking for.
QdO1ywn.jpg
 
Finally manned up and bought the bit for doing the holes. It went ok though both my drills were woefully underpowered for this.

looking good, everything seems straight enough... though word of warning... stainless threads are SHARP.
yyVmWQb.jpg

igyLKOa.jpg


laying down the stain.
LL4kq6y.jpg
 
Well staining is all done, now to let it dry for 3 days :\

YSObXe0.jpg


Testing out the poly on a small piece. me like.
m5CU2WC.jpg
 
I made the same decision on my keezer--if I was going to put all that work in, I was going to have great faucets too.

im just sad i have to wait a few days for the stain to fully cure before I do the poly.. going to be a LOOOONG three days. Good news is my second inkbird 308 shows up on monday + faucet caps + growler filler (which we shall see if it works worth a damn.

Oh and the orange peels for the holiday ale.
 
im just sad i have to wait a few days for the stain to fully cure before I do the poly.. going to be a LOOOONG three days. Good news is my second inkbird 308 shows up on monday + faucet caps + growler filler (which we shall see if it works worth a damn.

Oh and the orange peels for the holiday ale.

I have a growler filler for my Perlicks. Yes, it works worth a damn. :)

I also use it from time to time to fill bottles prior to capping. If you want to fill a few prior to heading out somewhere with them, it works pretty well for that, too.
 
I have a growler filler for my Perlicks. Yes, it works worth a damn. :)

I also use it from time to time to fill bottles prior to capping. If you want to fill a few prior to heading out somewhere with them, it works pretty well for that, too.

curious to see if my biermuncher bottle filler wont still be handier to use.
 
Well the danish oil dried enough (at least in my opinion) so I said screw it and tested the poly on an area that will get covered up anyway. It seemed to take just fine so went whole hog on it.

HmR2BVb.jpg


Now this is getting good.
5eVsdLP.jpg


Also today while I gave the oil a bit more time to dry I bought some of that foil backed poly foam insulation. What happens when OCD meets opportunity? This mess.

77OK2RS.jpg

4hdKKm1.jpg

Plus having actual ducting tape laying around.
1bAwU6o.jpg

vrB9B4B.jpg
 
Heres hoping I used enough liquid nails. Ill find out when its fully cured I assume haha.

I swear all my pics are of me waiting for things to dry lately. Thankfully this is the LAST bit of waiting I have to do. Assembly starts tomorrow. sadly the inkbird I was expecting yesterday said the box was damaged in transit so it went back automatically :\ Itll show up sometime this week supposedly.

oXMXMsQ.jpg
 
Where its final resting place will be. I still need to do all the internal plumbing. I caulked all the internal joints. It seems I will need to do weather stripping (any reccomendations on this?) though as the lid doesnt quiiite seal along either side.
9WHJ7Yi.jpg

It will dry clear, eventually.
wQc4KO8.jpg
 
Well, gas is done (no leaks!..that I can tell). I somehow miscounted how many clamps I need so i cant do the beverage connections just yet.
XUYOFAQ.jpg


Thankfully im within 5minutes of two lowes, a homedepot and a LHBS.
 
Well, one of my gas in disconnects was bad... also I realized I got the WRONG size barb'd fittings on them and my gas line is 5/16" lol... whoops. Another quick trip to my LHBS to buy proper MFL disconnects with the proper barbs.
So got all the bev lines fitted... all those went just fine yay. Im now dubbing this thing 100% done... for now.

MdgTA1K.jpg

7Uv5reJ.jpg

My inkbird shows up saturday, having to borrow my friends sousvide inkbirk that he built temporarily. I still need to do a proper drip tray and im not sure im happy with how much air this fan moves, might replace it with a more powerful desk fan. Plus I need to pick up some EVadrys.
 
Looks great! I see you have the fan with some tube in there as well nice. Almost ready to get some beer in there?

Is that the final state of your drip tray? I bought one but I am still undecided as to how to attach it. I have read a lot of interesting threads here with ideas on how it can be done, just not sure yet.

One of the kegs does have beer in it. Sadly its slated for a party in a week so I cant really drink it haha. Na I need to do a proper magnet mount one, but after having dumped another chunk of cash on new disconnects and mfl nipples... yeah thatll wait.

I have two beers currently fermenting right now.
 
Well, gas is done (no leaks!..that I can tell). I somehow miscounted how many clamps I need so i cant do the beverage connections just yet.
XUYOFAQ.jpg


Thankfully im within 5minutes of two lowes, a homedepot and a LHBS.

Looking awesome.. did you screw the manifold into the foam, or through the foam and into the wood?
 
Back
Top