_TheTrevster_
Active Member
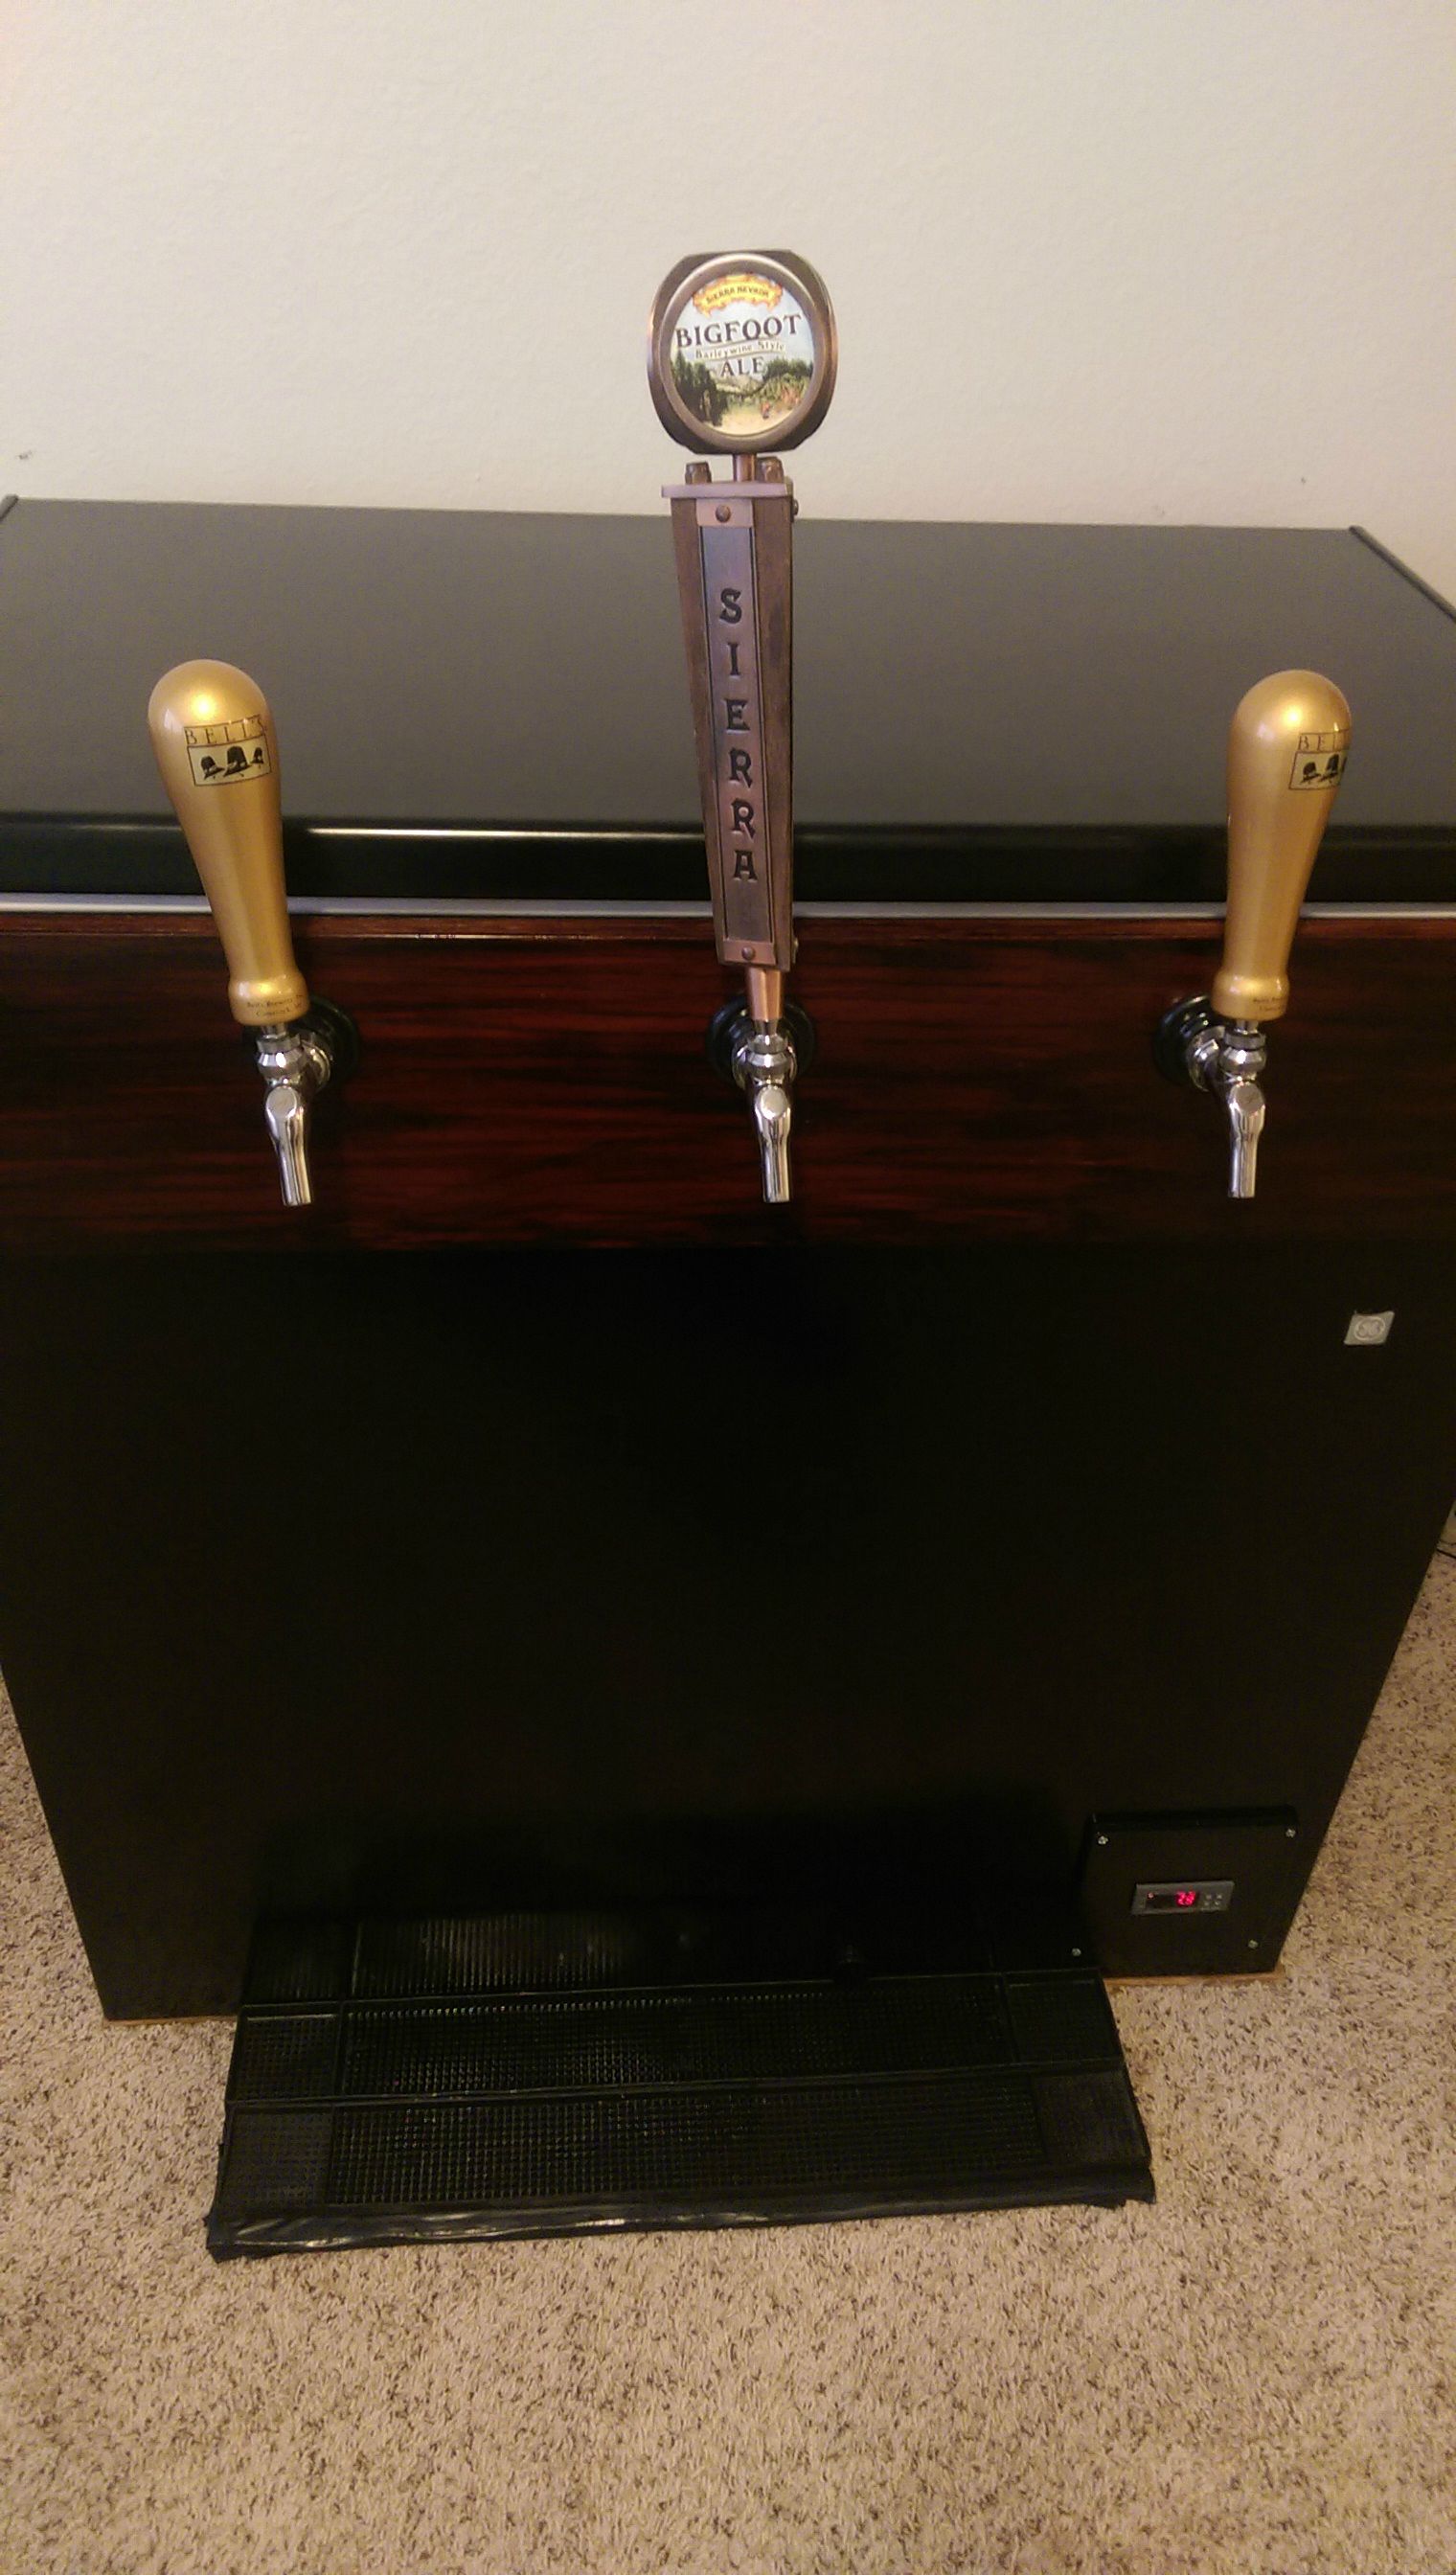
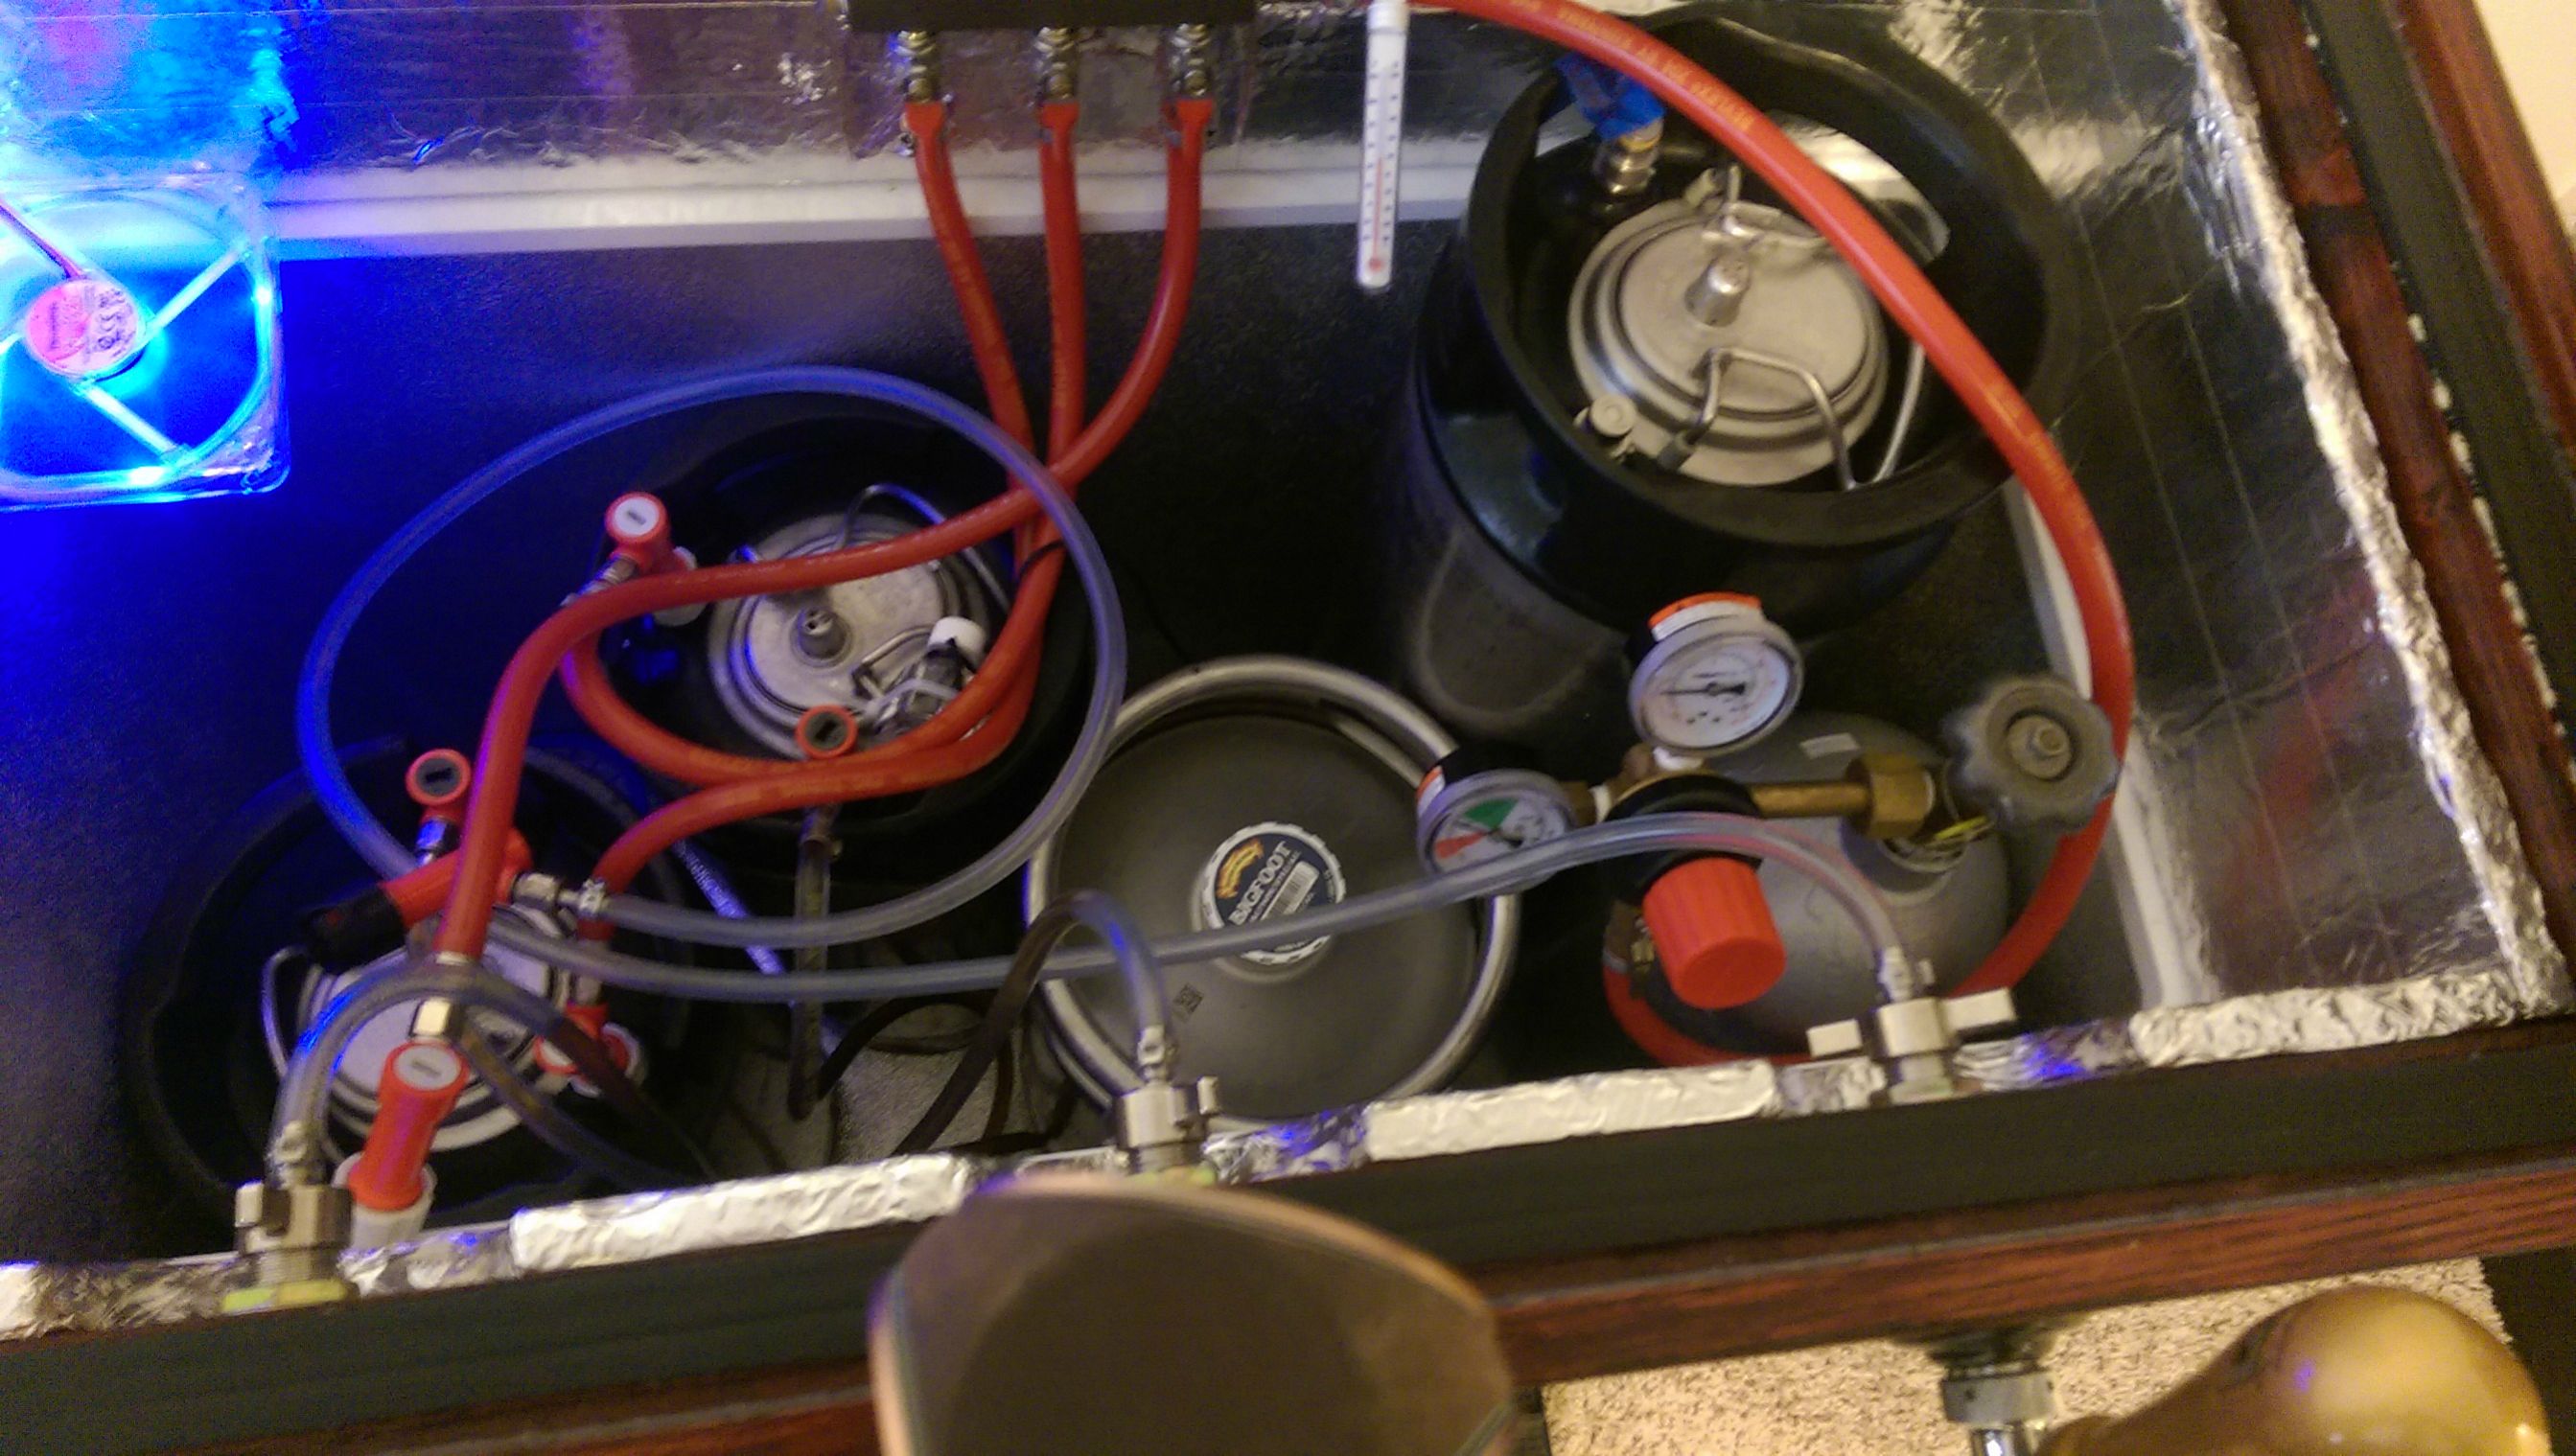
In this thread I will describe the steps I took to replace the stock temperature controller that came with my Chest Freezer with an aftermarket controller. Most of the temperature controller threads I have seen involve creating an outlet that the controller turns on and off, plugging the freezer into that outlet, and then hanging the probe inside the freezer. My preference was to utilize the existing space to create a cleaner and simpler design. I initially intend to use the freezer as a fermentation chamber, and have future plans to modify it further into a Keezer. The steps I took for this project were gathering supplies, removing the old controller, and installing the new controller in its place.
Step 1:Supplies
Step 2: Removing Old Temperature Control
First I removed side vent, which let me access the clips on the back of the front face plate. I removed the clips, and was able to detach the face plate from the freezer. The connection I had to unplug were the positive/negative for the Power On light (Red/Black & White/White), the positive/negative for the temperature control unit (Red & Black), and the natural ground (green).
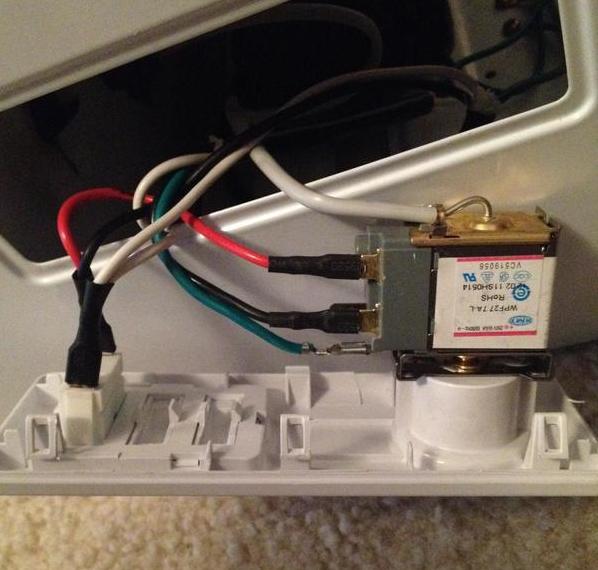
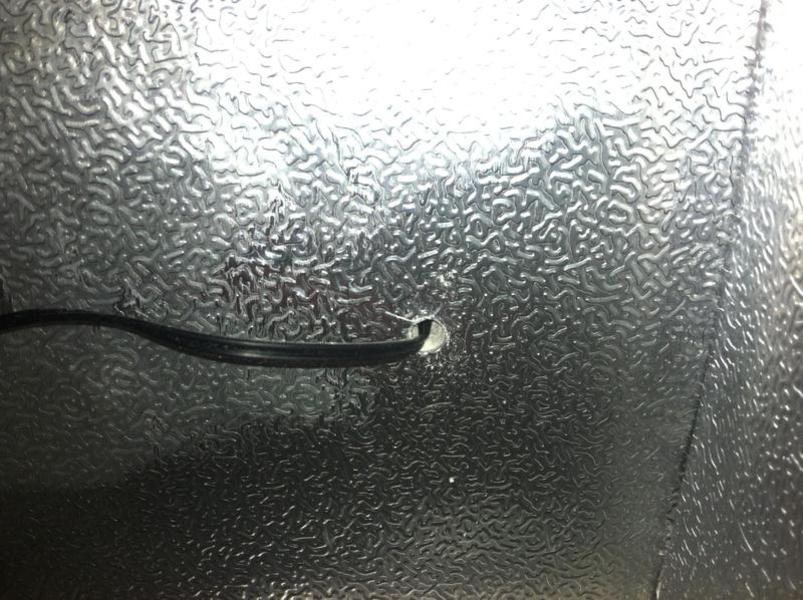
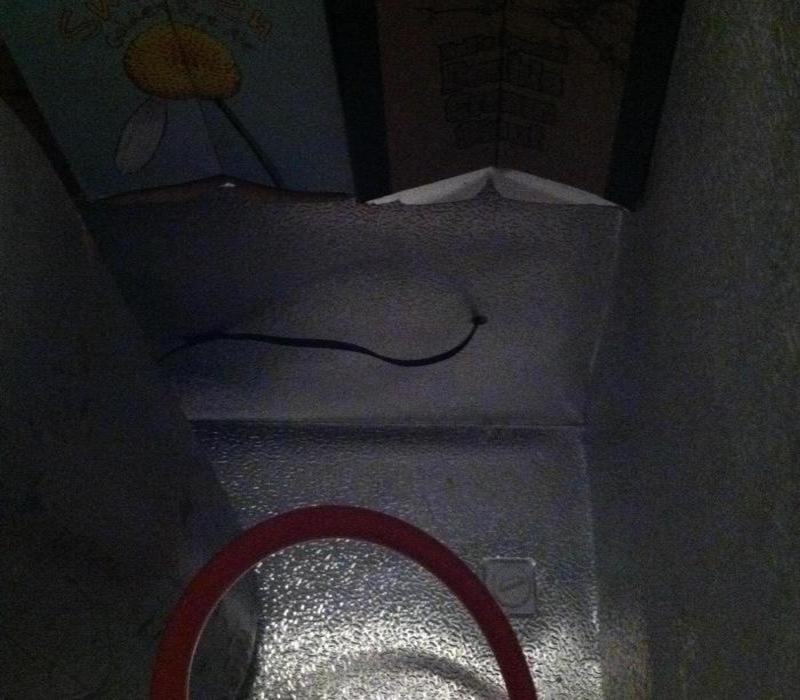
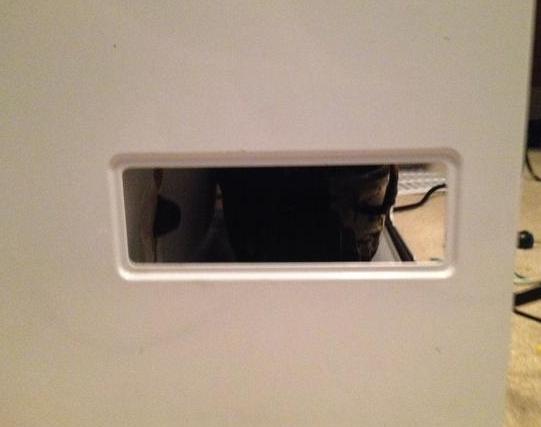
The only connection left was the temperature probe, which came inserted into a plastic tube into the bowels of the freezer. I pulled this out and removed the entire controller. This left a hole in the front of the freezer where the previous controller and faceplate were.
Step 3: Installing the New Temperature Controller
The first task was to remove the connectors from the ends of the wires for the old controller, which looked like this:
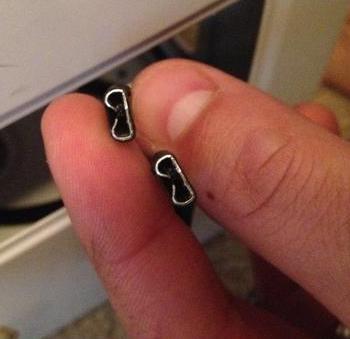
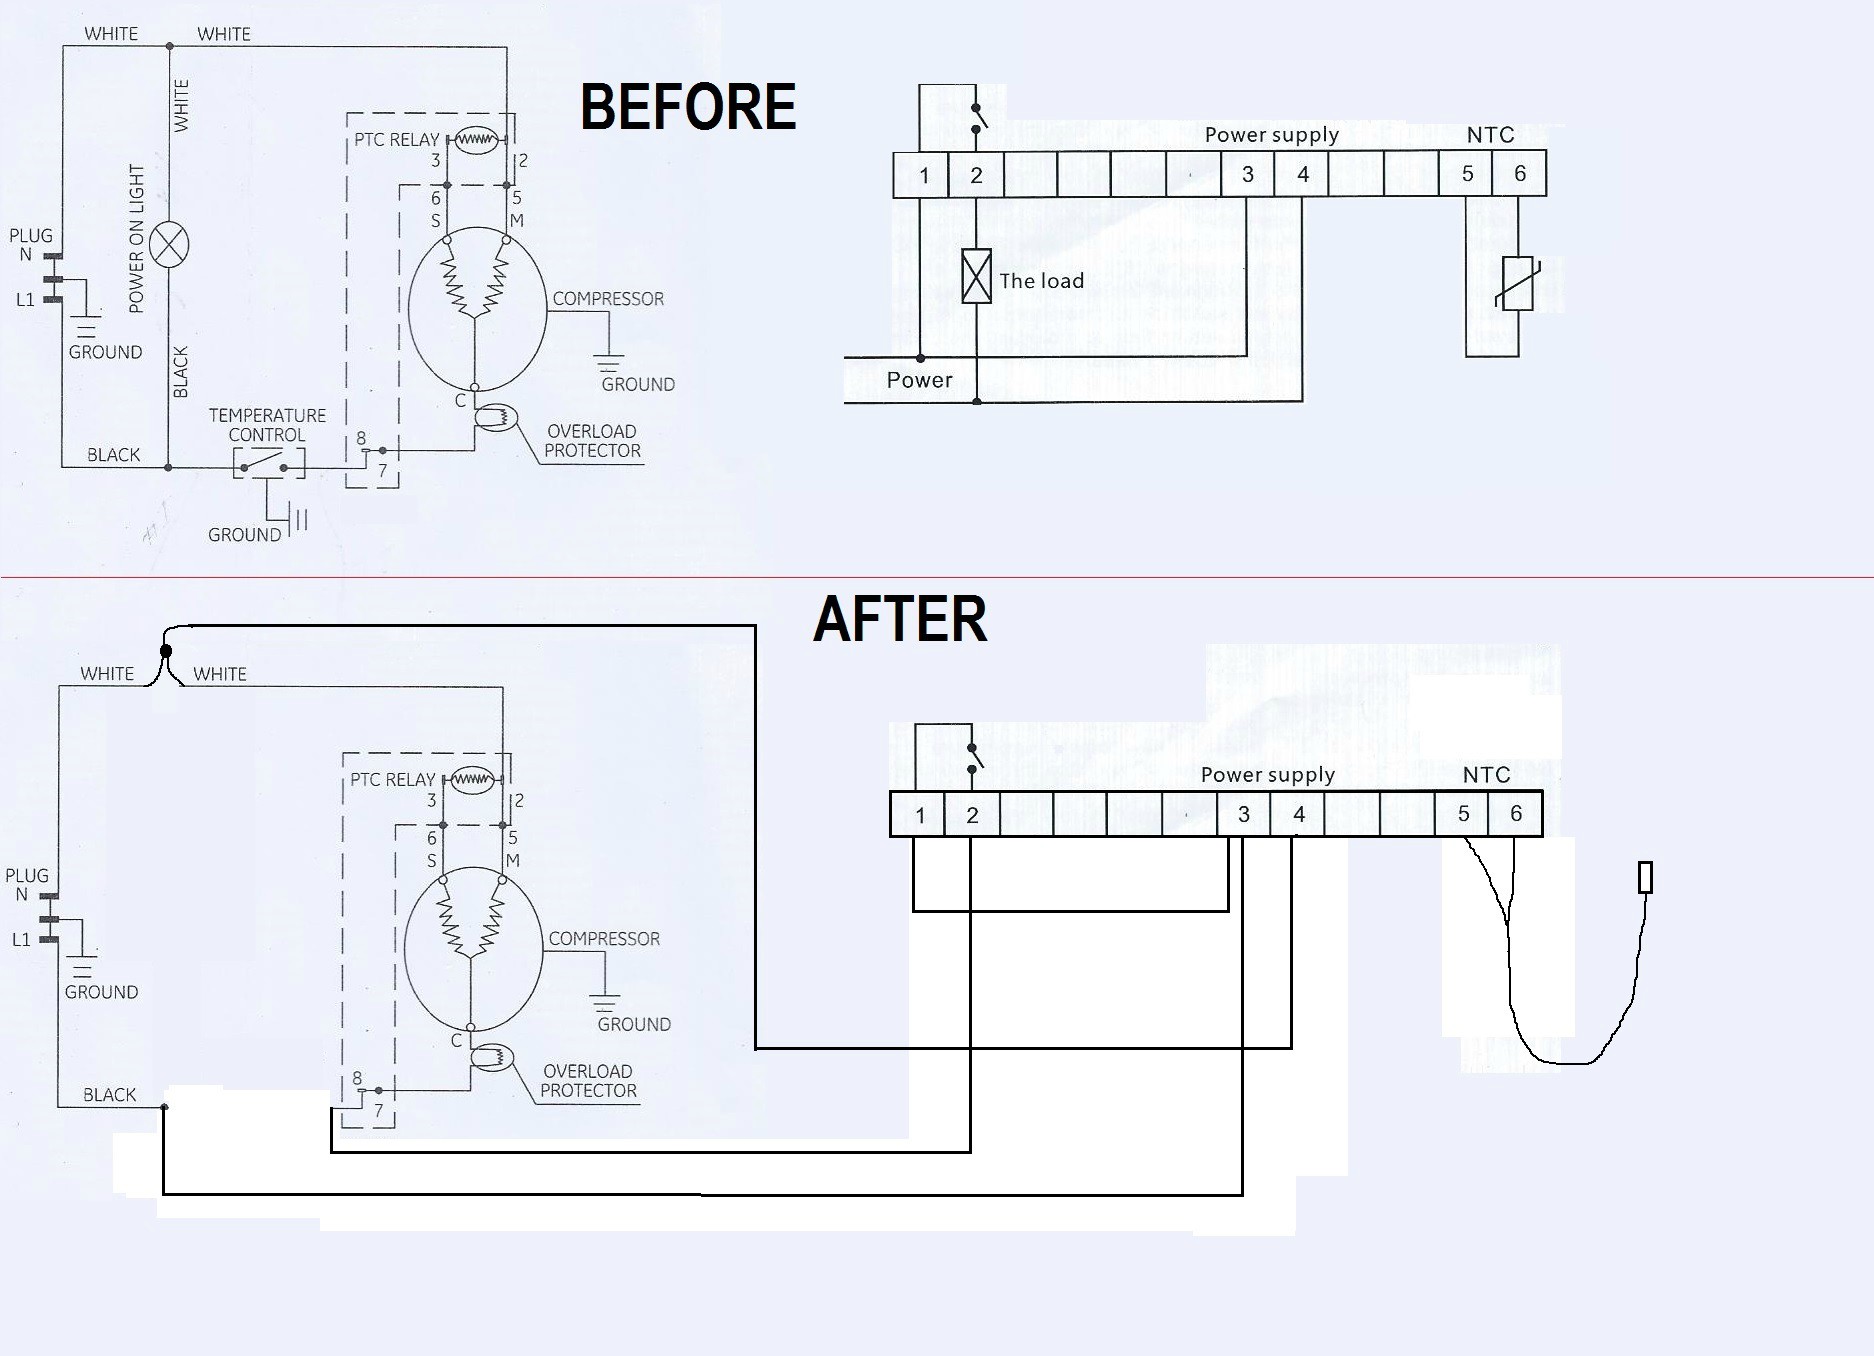
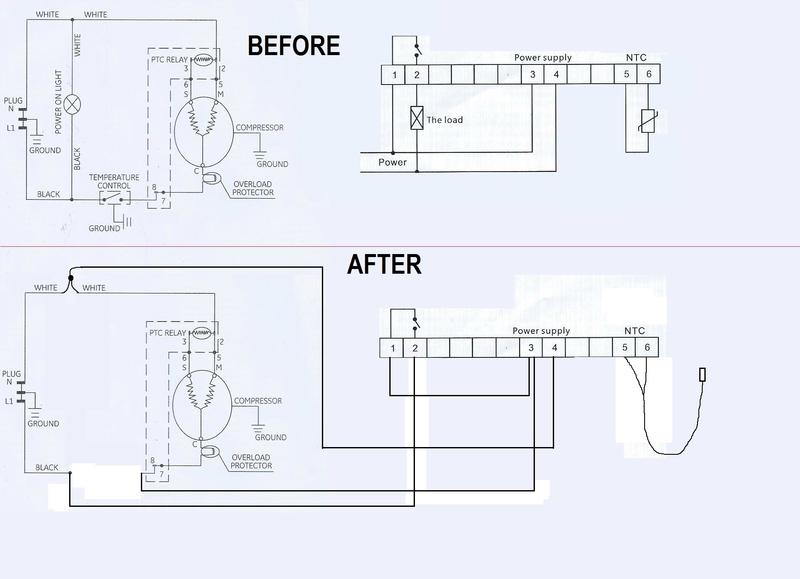
I cut them off and stripped them. Next I cut four 6 lengths of wire, stripped them, and inserted them into the new controller. I now had bare wires coming out of the freezer, and bare wires coming out of my new temperature controller. All that was left was to connect them. This diagram outlines the connections I made.
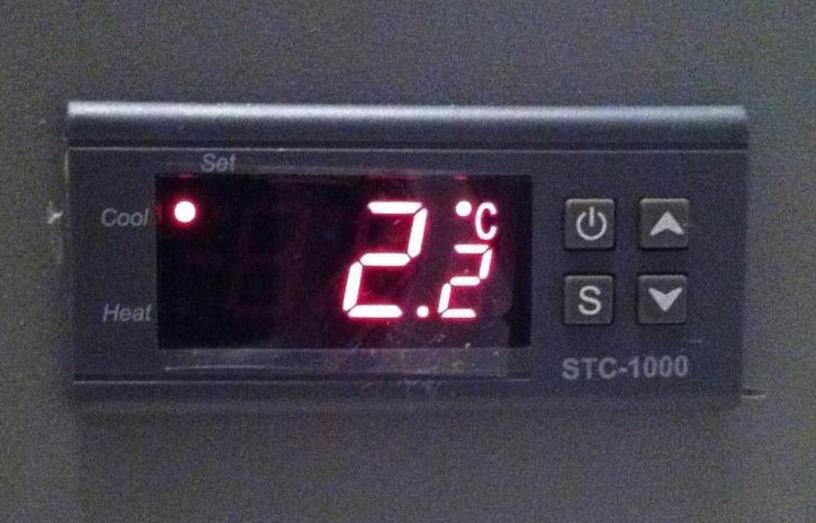
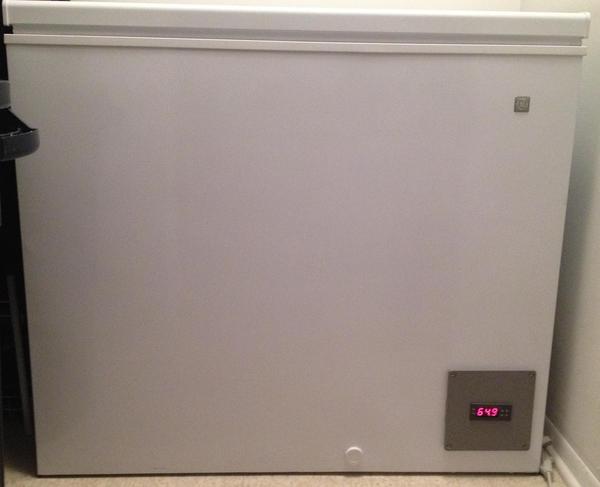
Using the stencil that was included in the instructions, I measured a spot for the controller on the lid of the junction box. I cut out the stenciled shape with a coping saw, though a Dremel or other power tool would have been much easier. I set the junction box lid, now my new faceplate, into place and primed the screw holes with a drill. I inserted the new controller into the freshly cut lid, and connected the loose wires to the freezers wires using the twist-on wire connectors. I inserted the new temperature probe into the plastic tube that housed the old probe. Before I screwed the new face plate onto the freezer, I tested to make sure everything was working properly.
Success!
Step 1:Supplies
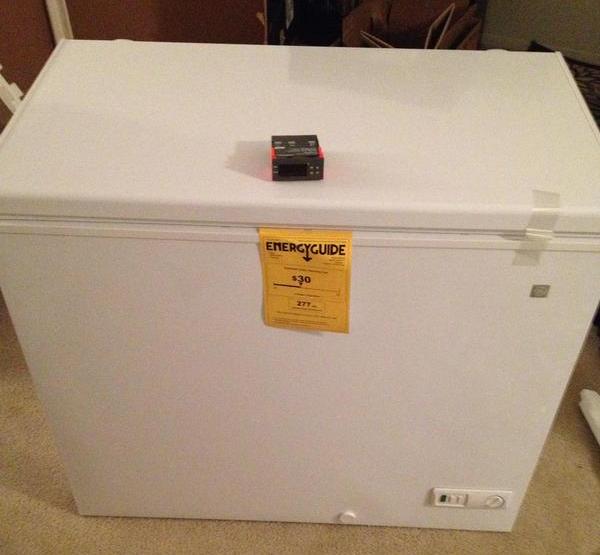
- Chest Freezer (Mine is a 7.0 cubic foot GE Chest Freezer (model FCM7SUBWW).
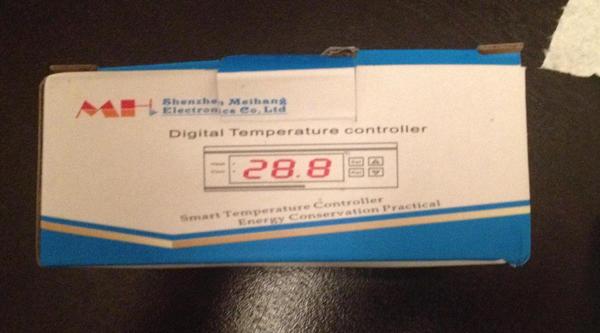
- Temperature Controller (http://www.newegg.com/Product/Product.aspx?Item=9SIA1NV1055349).
- 12 gauge stranded copper wire
- Twist-on Wire Connectors
- 6" x 6" Junction Box, I chose this part is for aesthetics only, as I plan on painting the Freezer in the future. (http://www.amazon.com/dp/B000HEIX6W/?tag=skimlinks_replacement-20)
Step 2: Removing Old Temperature Control
First I removed side vent, which let me access the clips on the back of the front face plate. I removed the clips, and was able to detach the face plate from the freezer. The connection I had to unplug were the positive/negative for the Power On light (Red/Black & White/White), the positive/negative for the temperature control unit (Red & Black), and the natural ground (green).
The only connection left was the temperature probe, which came inserted into a plastic tube into the bowels of the freezer. I pulled this out and removed the entire controller. This left a hole in the front of the freezer where the previous controller and faceplate were.
Step 3: Installing the New Temperature Controller
The first task was to remove the connectors from the ends of the wires for the old controller, which looked like this:
I cut them off and stripped them. Next I cut four 6 lengths of wire, stripped them, and inserted them into the new controller. I now had bare wires coming out of the freezer, and bare wires coming out of my new temperature controller. All that was left was to connect them. This diagram outlines the connections I made.
Using the stencil that was included in the instructions, I measured a spot for the controller on the lid of the junction box. I cut out the stenciled shape with a coping saw, though a Dremel or other power tool would have been much easier. I set the junction box lid, now my new faceplate, into place and primed the screw holes with a drill. I inserted the new controller into the freshly cut lid, and connected the loose wires to the freezers wires using the twist-on wire connectors. I inserted the new temperature probe into the plastic tube that housed the old probe. Before I screwed the new face plate onto the freezer, I tested to make sure everything was working properly.
Success!
Last edited by a moderator:
")