Rebuilding My Brutus Hybrid Into a Kal Clone

Homebrew Talk - Beer, Wine, Mead, & Cider Brewing Discussion Forum

Help Support Homebrew Talk - Beer, Wine, Mead, & Cider Brewing Discussion Forum:

This site may earn a commission from merchant affiliate links, including eBay, Amazon, and others.
That's a good question Fuzze, it must be for a reason, or just the way they like to install them....It's fine with me though it works great!

John

Maybe Kal or someone else will come in and throw down some knowledge :mug:
 
by convention, black goes on the gold terminal. the silver terminal is traditionally for a neutral but in this application, the red conductor is landed on the silver screw. it doesn't matter either way for a 240v load with no neutral but panel fabricators are used to putting black on gold.
 
by convention, black goes on the gold terminal. the silver terminal is traditionally for a neutral but in this application, the red conductor is landed on the silver screw. it doesn't matter either way for a 240v load with no neutral but panel fabricators are used to putting black on gold.

+1

I remember it as "BB". Black = Brass

Which, for some reason, always gets the AC/DC song Back in Black going through my head whenever I'm wiring up a HOT line. "Brass is black I hit the sack... I been too long I'm glad to be back...." ;)

[ame=https://www.youtube.com/watch?v=pAgnJDJN4VA]Back in Black[/ame]
Kal
 
by convention, black goes on the gold terminal. the silver terminal is traditionally for a neutral but in this application, the red conductor is landed on the silver screw. it doesn't matter either way for a 240v load with no neutral but panel fabricators are used to putting black on gold.
:mug:

more-you-know.jpg
 
Wow that explains that! Thanks for chiming in itsnotrequired and Kal and explaining why it's done that way!

John
 
I did a little research and here is a great little thread I found on the "Electric Brewery Forum" on the pump problems associated with the March and Chugger inline pump heads. It's a good read (only two pages) with excellent info on why to use the center inlet heads and how they work better for these herms type systems. Here is the link if anyone else is having the same pump flow issues: http://www.theelectricbrewery.com/f...&start=0&sid=32e33daa286329df49b24b48daf0b9c7

John
 
jcav,

I did a brew last night and had the problem of uncoupling again. But now I know when it happened and kinda why. I think my issue is different than yours but wanted to share anyway.

It decouples on mine when I turn my whirlpool arm circuit on. There is essentially NO restriction from the pump output to the kettle. I could hear the pump start, sound like normal strain for a second, then sound like "high speed". Unplugging it had it spool down slowly, then "click" again on the last few revolutions. Returning power would do the same thing.

The solution to the problem was adding a slight restriction after the pump. I did this by putting a clamp on the silicone hose. This creates back pressure which solves the problem, though in truth I am not sure why. Must have something to do with the near boiling temperature and low pump head differential pressure. Maybe someone has some insight. I'm a (well, was a long time ago) damn ME so your would think I would know...

I need to add a nozzle at the output of my whirlpool arm to increase exit velocity anyway, so that should solve it.

-BD
 
Very interesting on how your pumps decouple like that and then back pressure seems to solve it for you. That is great info for those that are experiencing the same problem you are having. I saw a post on a thread somewhere on HBT that had some really high tech information on cavitation and they had a link to this site that explains a lot about this problem. Here is the link for those that want to check it out: http://www.pumped101.com/cavitation.pdf

Your right my pump problem is different. I still am in the middle of this kitchen remodel and it is almost finished. Have to put on the back splash tile and then paint the whole kitchen. I will put on my new center inlet pump heads next week and I plan on brewing again the week after Christmas (a Swamp Head Big Nose IPA Clone). The next time I brew I will start the beginning of the mash slowly at first and then after a few minutes I will open up the valve after the pump wide open, to see it that solves my problem.

John
 
Your link caused me to someone more research (thanks for that) and this has led me to realize that my problem is actually related to cavitation. For those less inclined to read a highly scientific paper, there are some good videos simply demonstrating cavitation like this: http://youtu.be/oRYYP4F8LTU

The issue of course is related to low absolute pressure, not relative across the pump head. Reducing pressure of previously near boiling liquid is the concern, and that is why raising the pump's head helps. Cavitation always happen in places other than the pump, so it's a good reminder that there should never be any restrictions on the inlet side of the pump circuit such as valves.

What I don't necessarily understand is why in my circumstance, the pump decouples. I might call Chugger for feedback, but this would be an academic exercise, as the resolution remains the same: increase the outlet pressure. In my case a nozzle in the whirlpool arm will do it.
 
That is an excellent video on cavitation. At least this problem seems to occur with all pumps that handle boiling liquids and not just these March and Chugger pumps (I feel a little better about that, not much but a little).......Thanks for posting this BrunDog. In your case the nozzle in the whirlpool arm may just do it for you. I would still call Chugger though and find out why your pump decouples so easily. I don't think other chugger owners have this decoupling problem like your experiencing or they don't know what it is and are not complaining.... Maybe you have a defective one that causes it to decouple too soon. Looks like your on your way to getting it solved though!

John
 
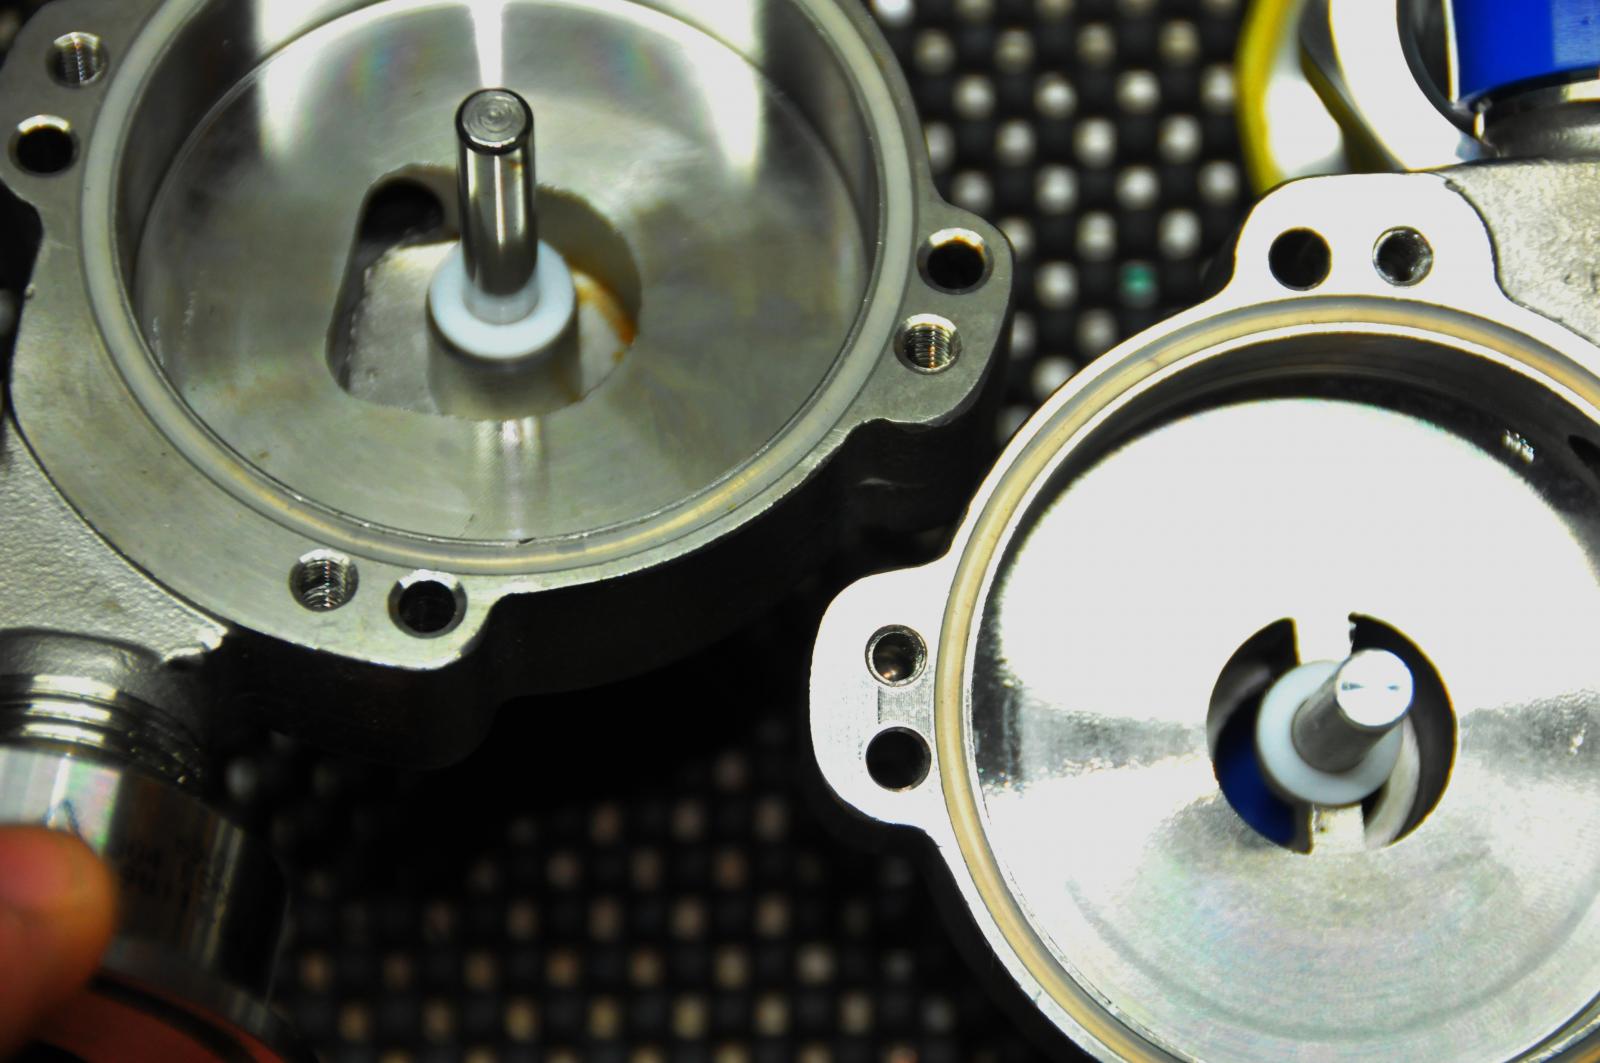
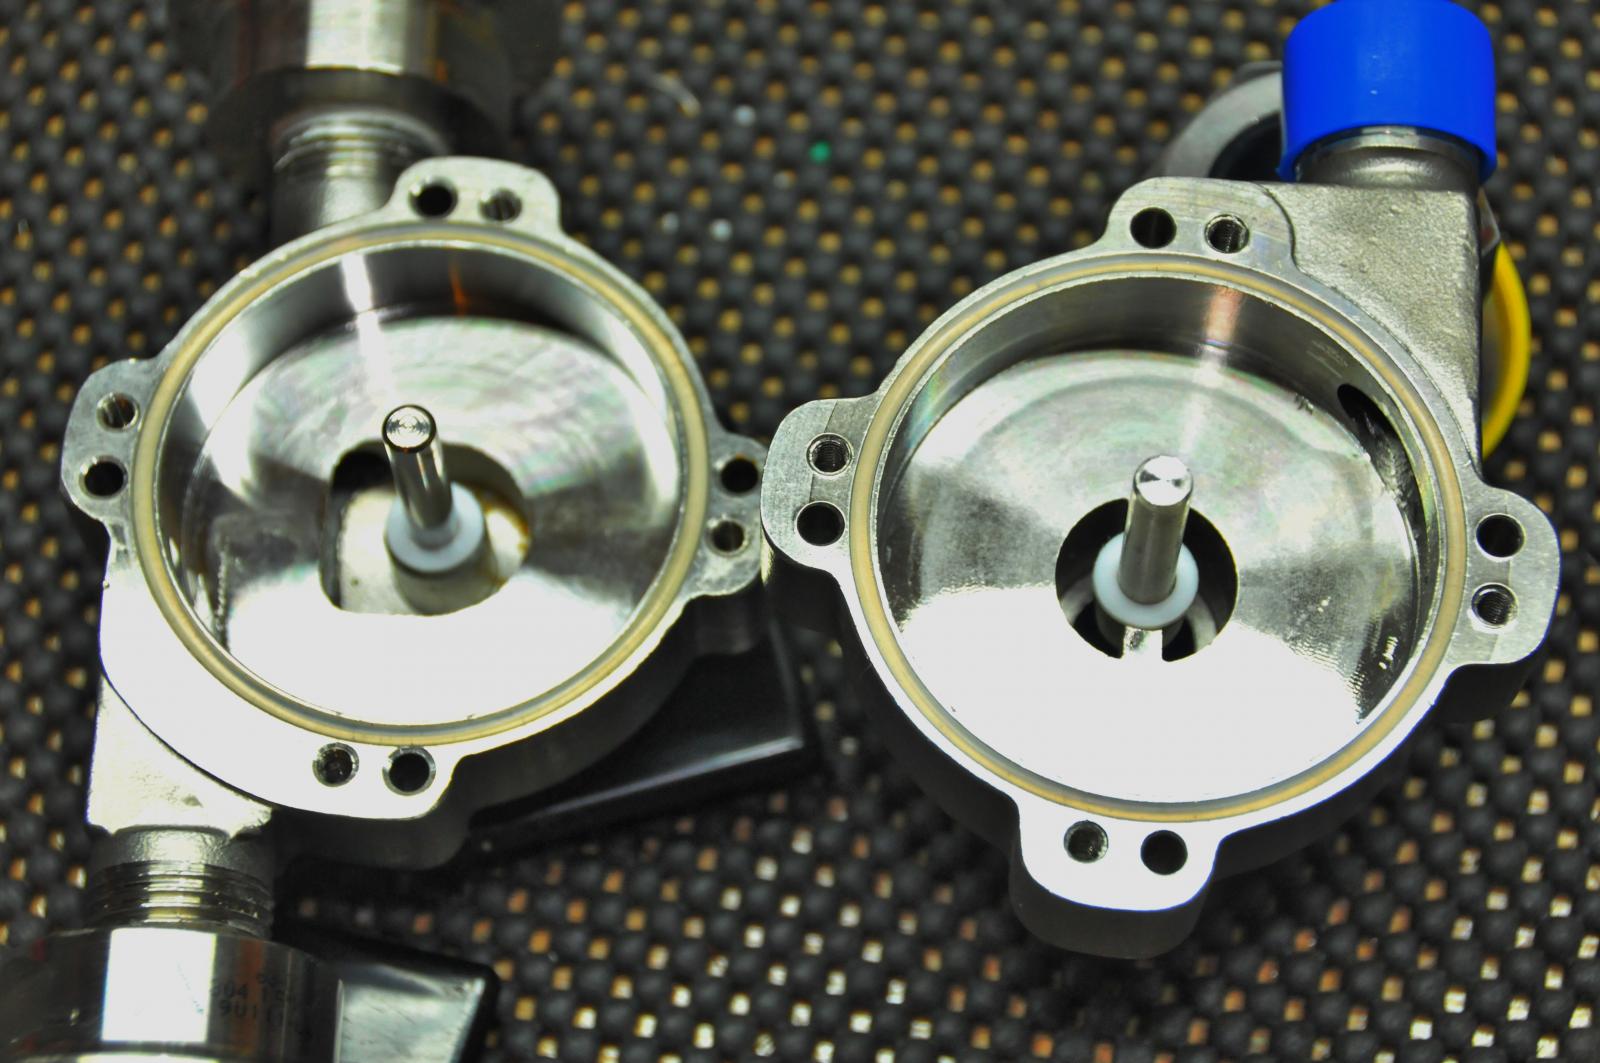
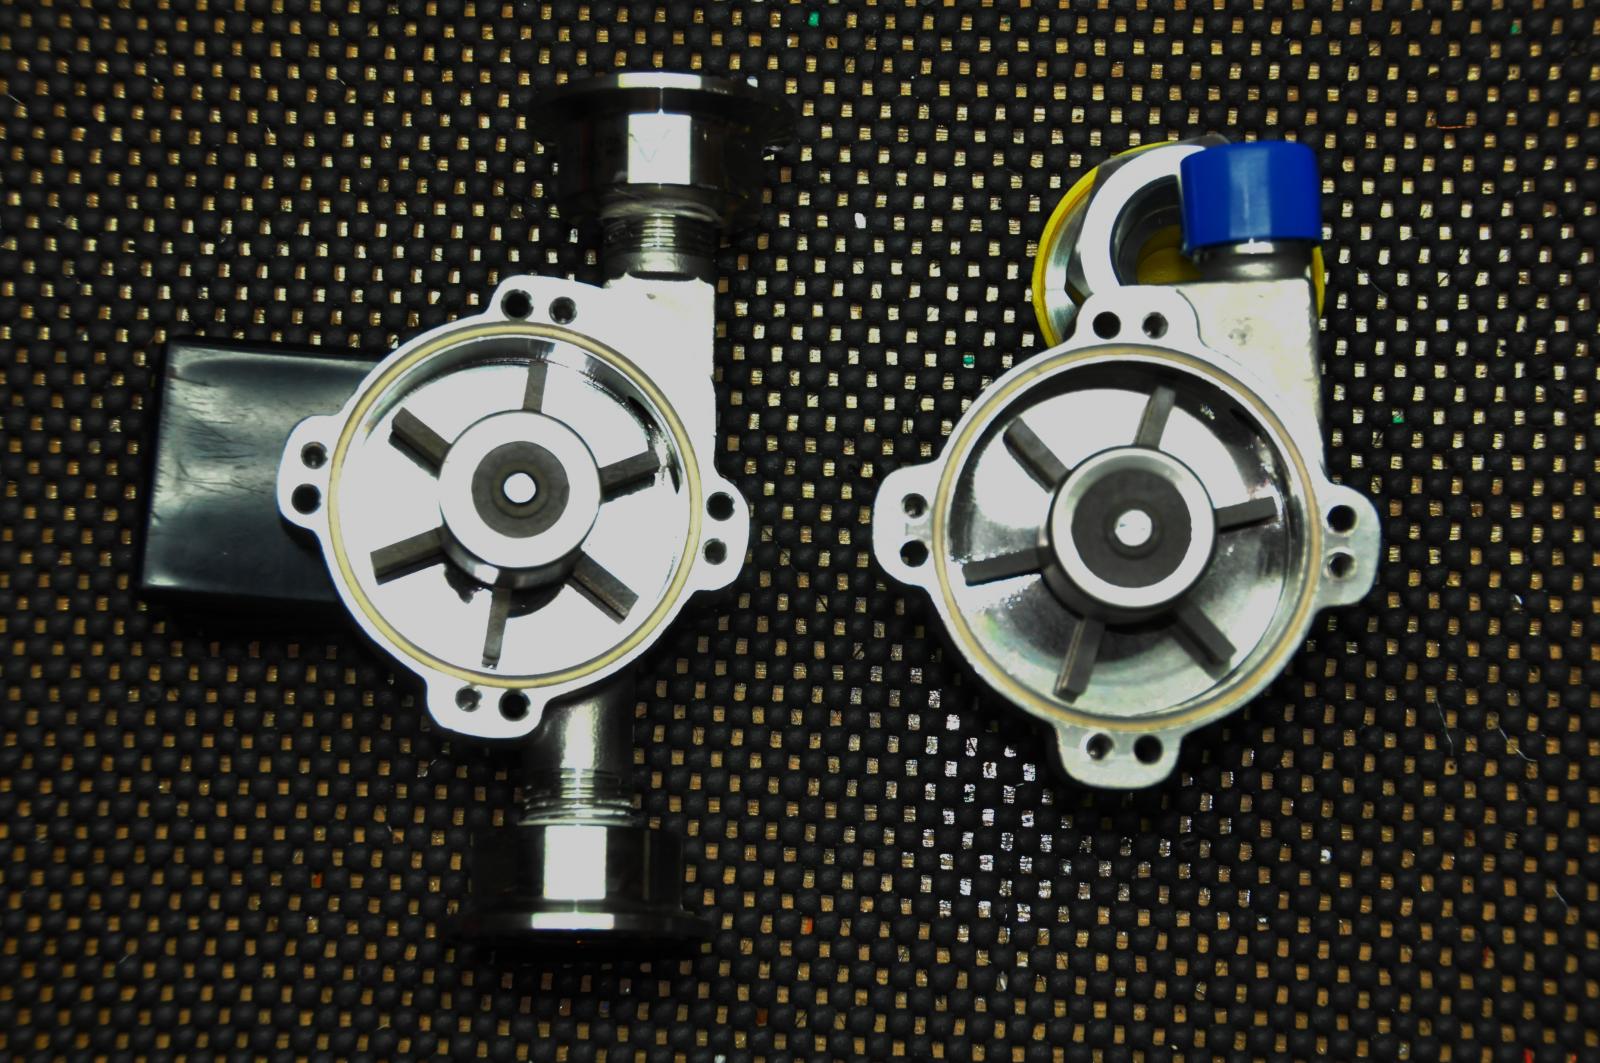
Well I brewed again on Saturday and made a Swamp Head Big Nose IPA clone. It is a very hoppy but very smooth balanced beer. Anyway I put on the new center inline pump heads that I ordered on my March pumps, and hoped for the best. When I got them I took the heads apart and checked out the differences between the inline heads and the center inlet head. There is a big difference between the two in the size of the hole for the inlet for water or wort to get to the impeller. The inline head has a very small kind of narrow opening, whereas the center inlet has a considerably larger circle opening adjacent to the impeller. Right away I thought oh this just might work..... Then I doughed in and started to recirculate from the mash tun through the herms coil. This is where my pump failed on the first brew day with the new system. I watched the wort go through the pump head, out of the pump and climbed into the HLT and then a few moments later the wort came out of the herms coil and flowed back into the mash tun return, and there was plenty of power and not a little trickle!! These pump heads work! The brew day went very smooth and Kal's control box worked like a dream, and I was even able to mash out and reach temps very quickly. Man was I in home brewery heaven! All I can say is if you are building this type of herms system do yourself a favor and get the center inlet pump heads and save yourself some headaches!! I was also even able to recirculate boiling wort to sanitize my chiller and do a whirlpool during chilling.

Here are some pics of the two different pump heads: The center inlet is on the right and my old inline head is on the left.
DSC_6021.jpg

Look at the small opening just to the upper left corner of the shaft in the left pump head, as compared to the much bigger center opening/hole surrounding the shaft in the center inlet pump head.
DSC_6023.jpg


DSC_6024.jpg


DSC_6033.jpg

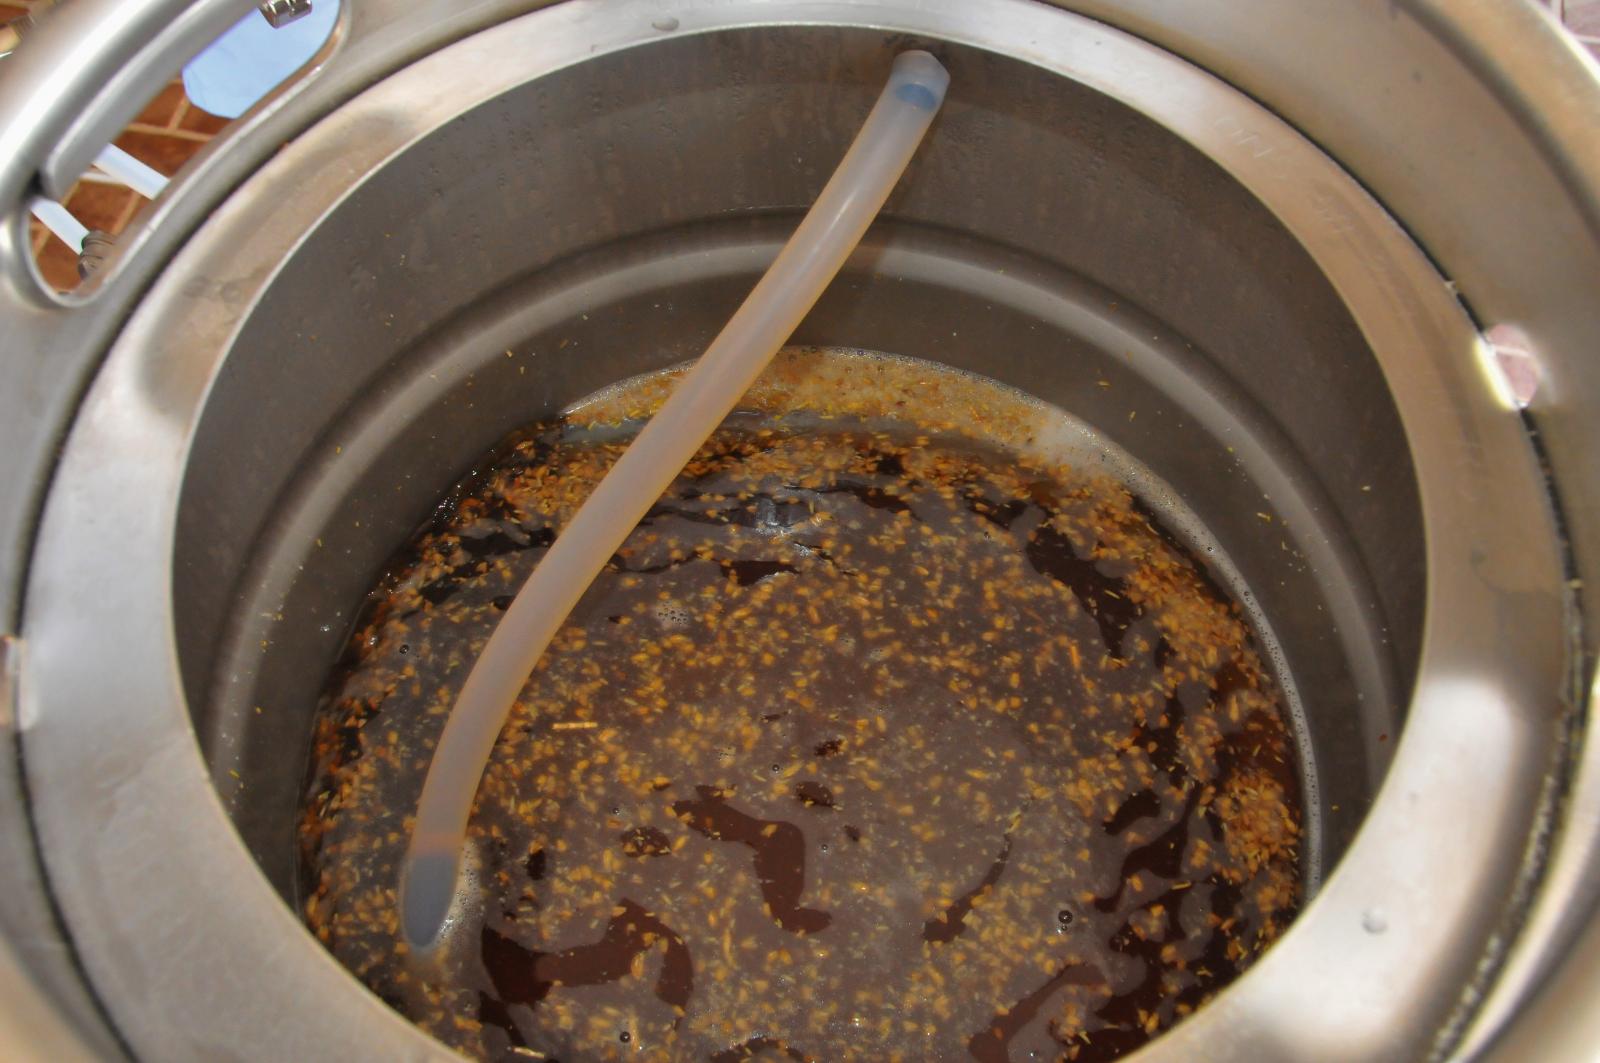
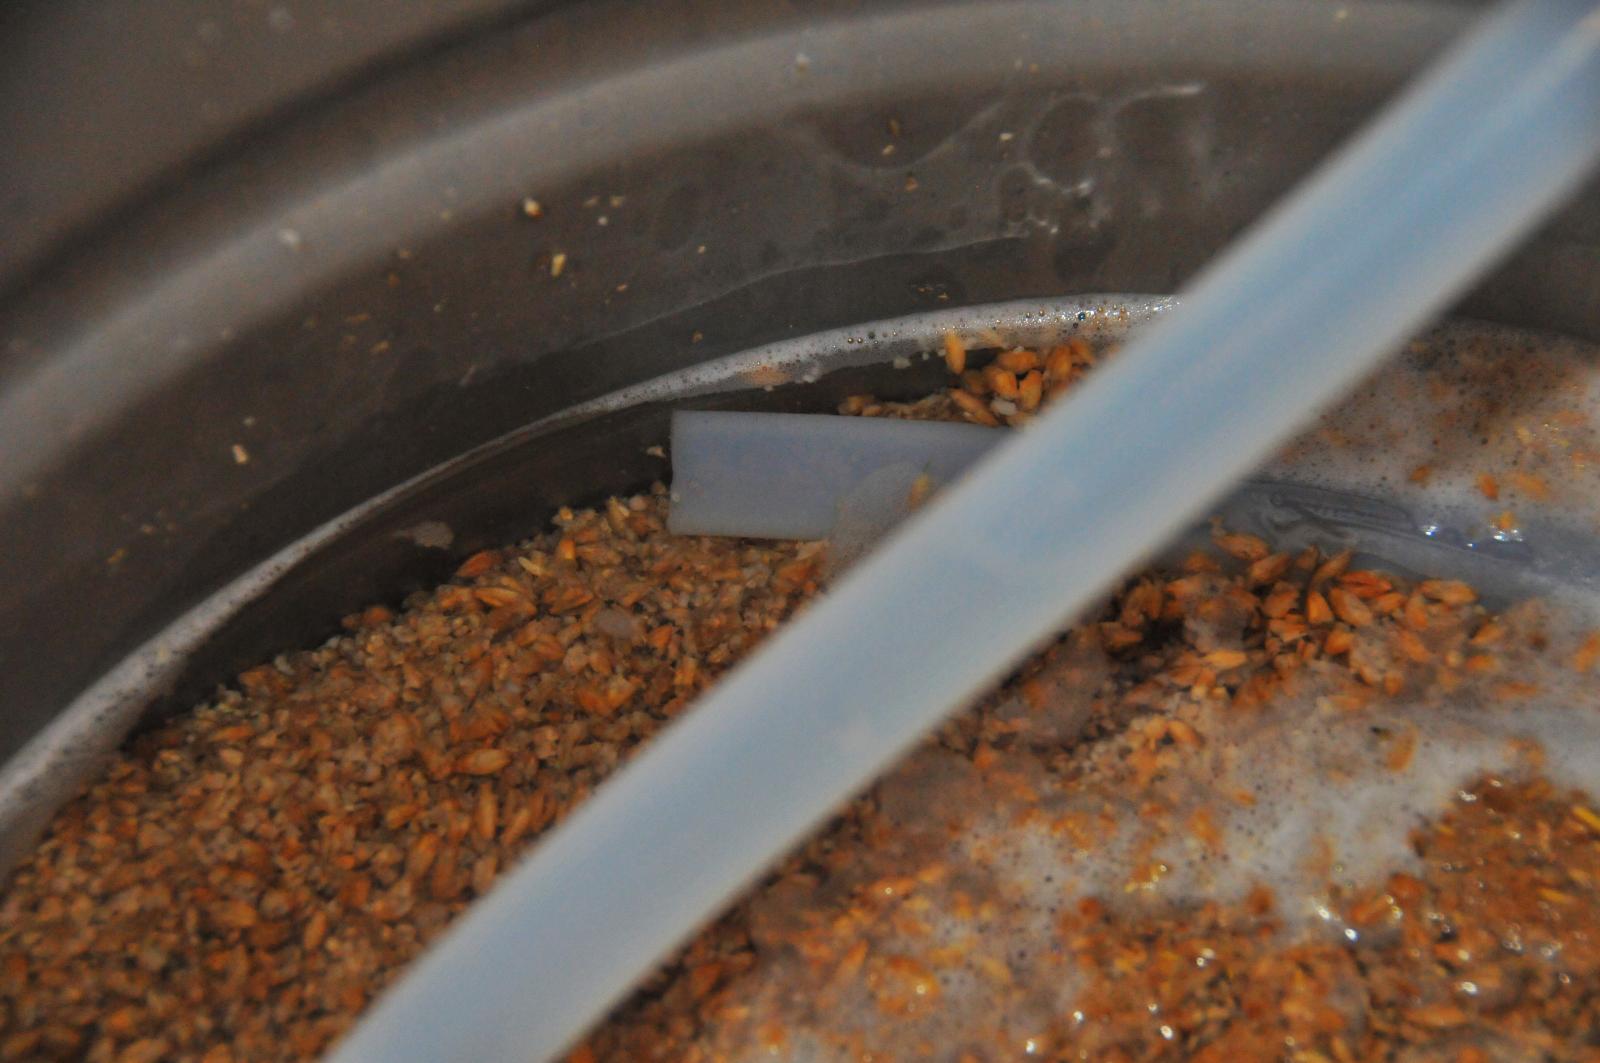
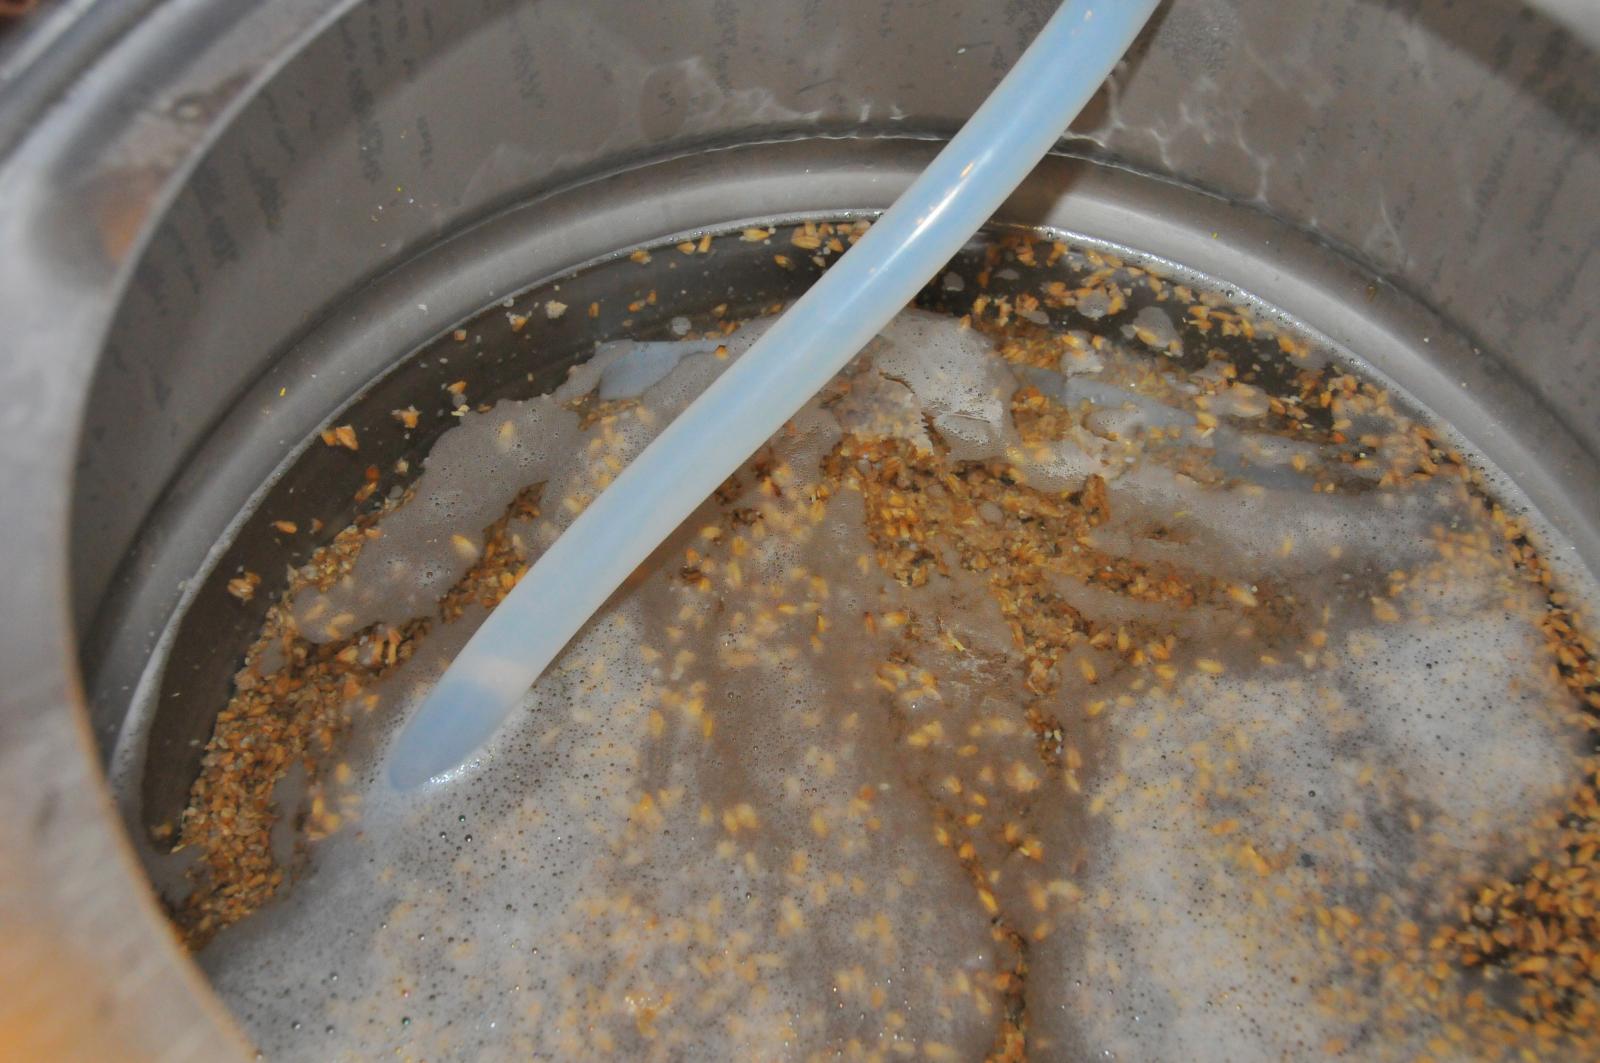
Brew day went smooth!
DSC_6031.jpg


DSC_6038.jpg

Recirculating during the mash.
DSC_6032.jpg

The wort really cleared nicely.
DSC_6043.jpg

Sparging
DSC_6047.jpg

Oh yea I got a new Fermenter, first time using it instead of glass carboys, I really like it so far!
DSC_6048.jpg
 
Last edited by a moderator:
Kal, you are absolutely right! I had the inline heads from my other build so I already had them and thought they would work fine for this system. Man was I wrong....If I was building from scratch I would have just purchased the center inlet heads like your e-book recommends from the beginning. I still can't get over how much of a difference they made on my March pumps. If I didn't witness it myself I would have thought prior to this that the inline heads were just as good as the center inlet heads, and it was just hype. But the center inlet heads really work, and at least for me and my system they are the difference between functioning pumps and a smooth brew day, or little to no flow and a frustrating brew day.

By the way your control box worked flawlessly and we even had a front start to come through later in the afternoon and it was windy on my porch. Even though I know I was loosing heat in my tubing due to the windy conditions, the control box didn't miss a beat and ramped up to mash out temps and kept the temps at the set point. The element light on the HLT flashed on and pulsed a little more than last time without the wind, and got a little work out, and did it's job perfectly! Very fun to use and very cool to see it do it's thing like it was designed to do! :mug:

John
 
Thanks, it was well worth the wait and the effort to make and I am so glad I built this. I am looking forward to many years of brewing on this rig. It's like a tank, I will probably be passing it along to my kids one day...........

John
 
bark at me about the control panel stand! i may need to do something similar...
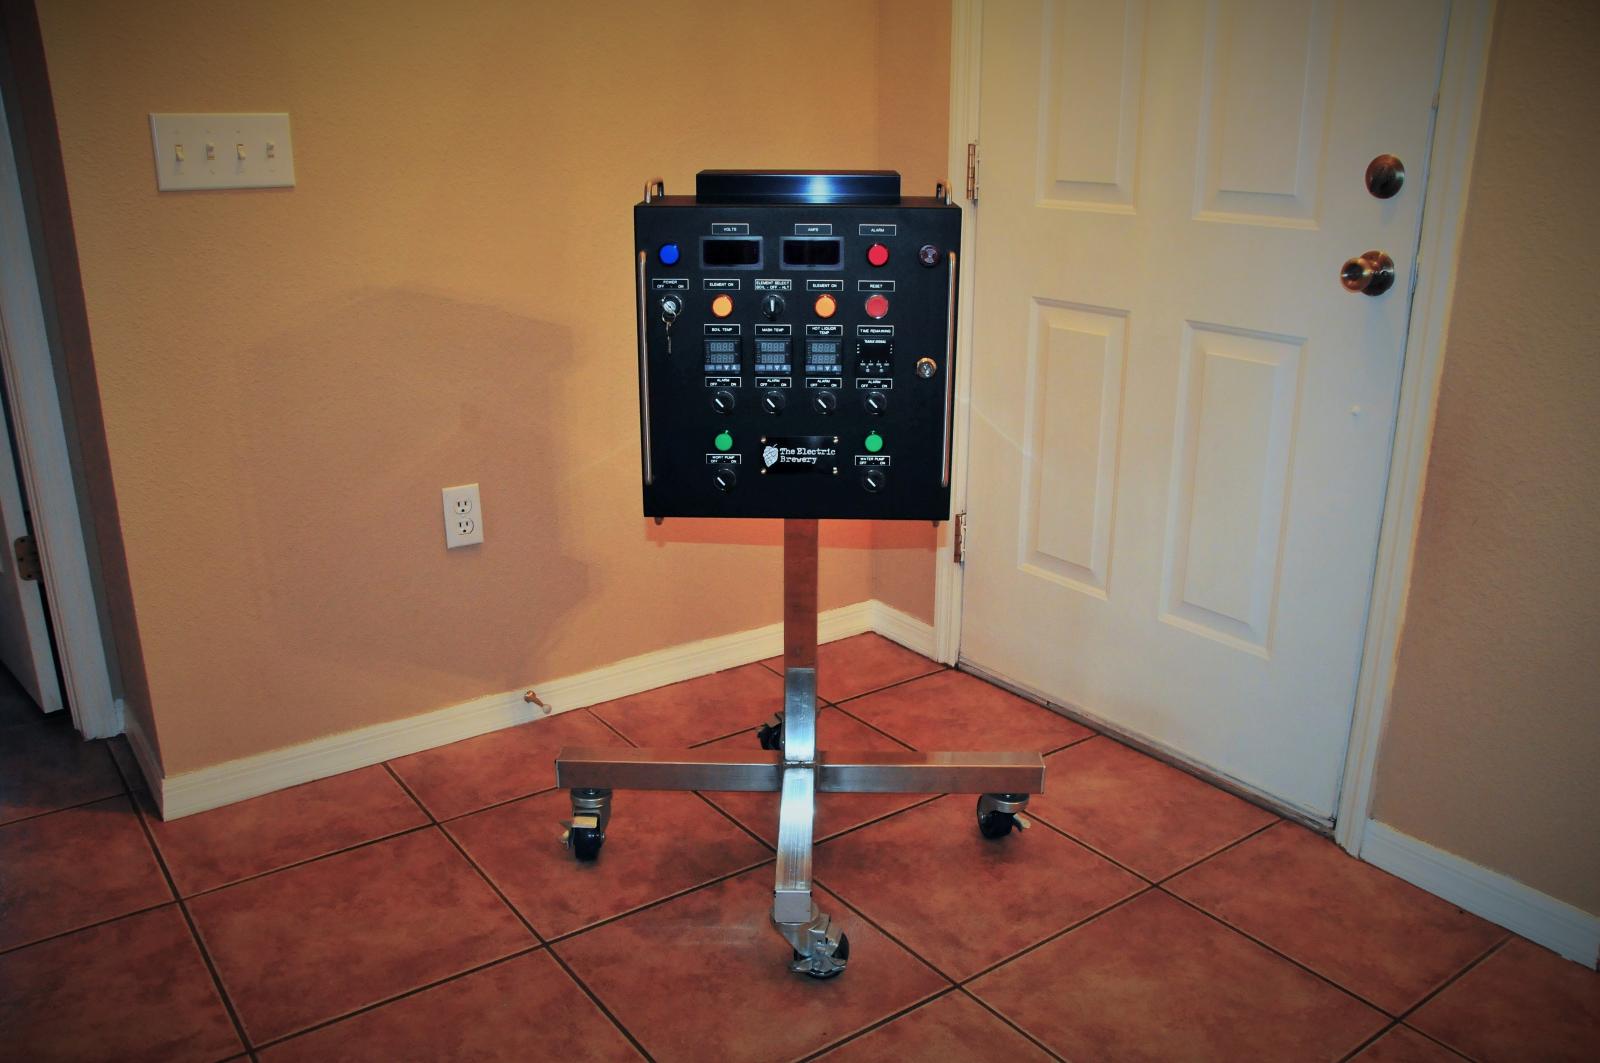
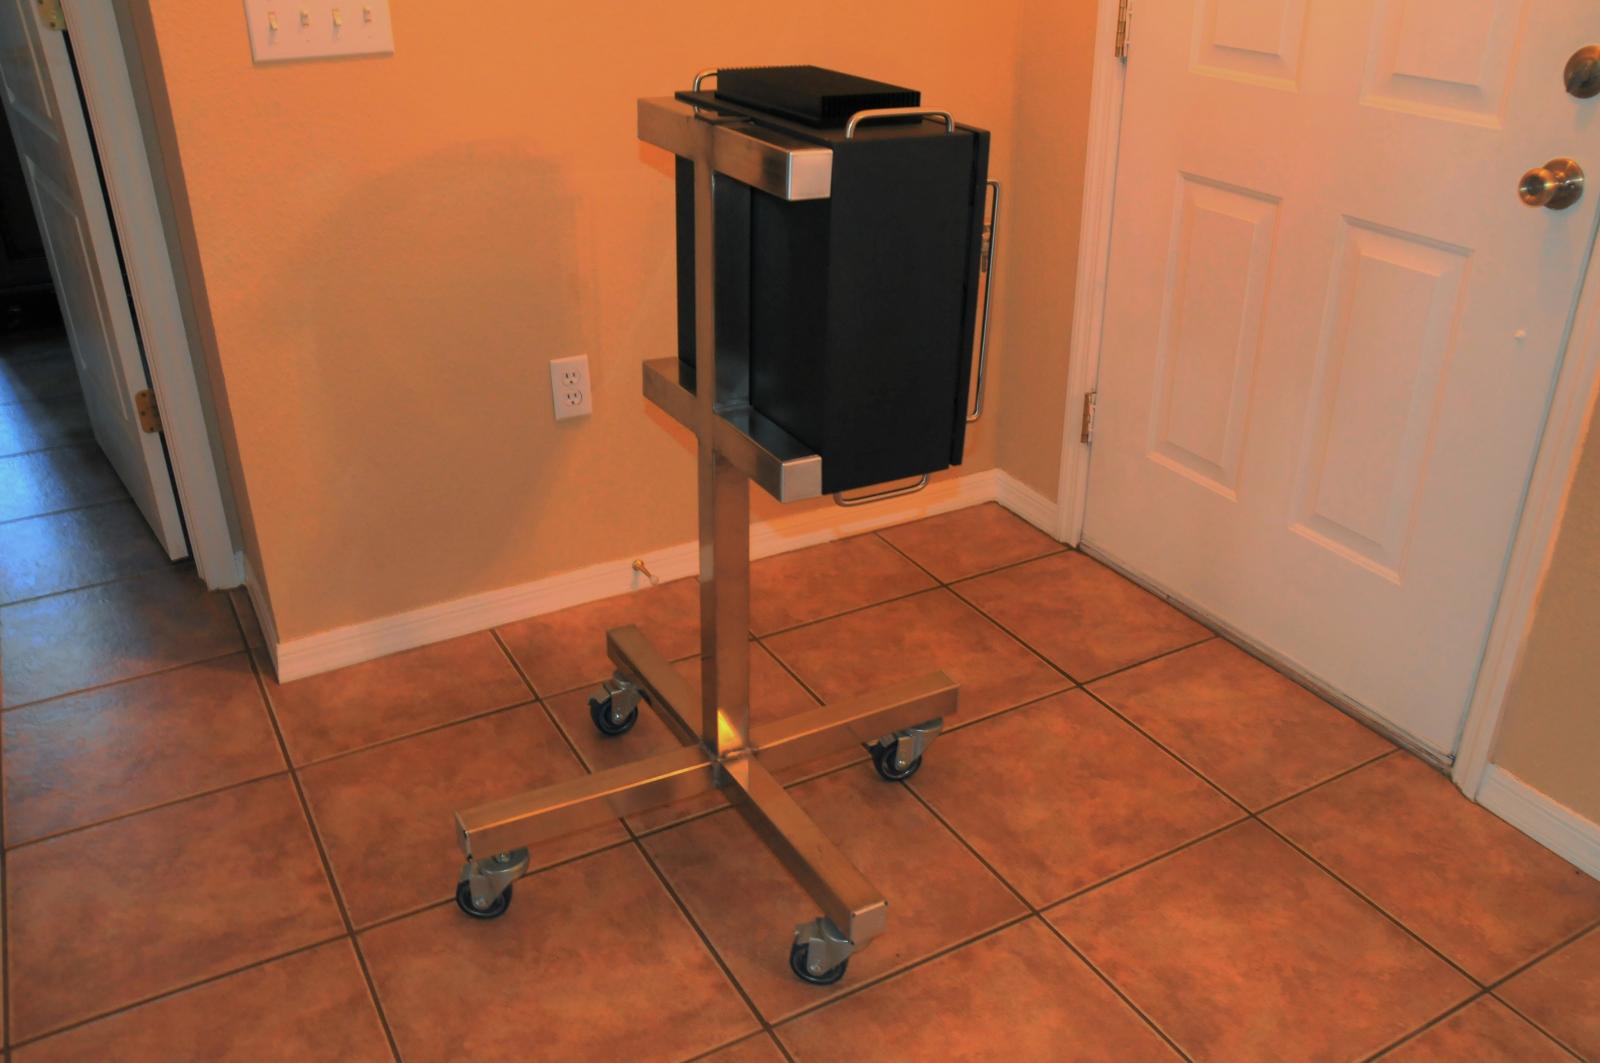
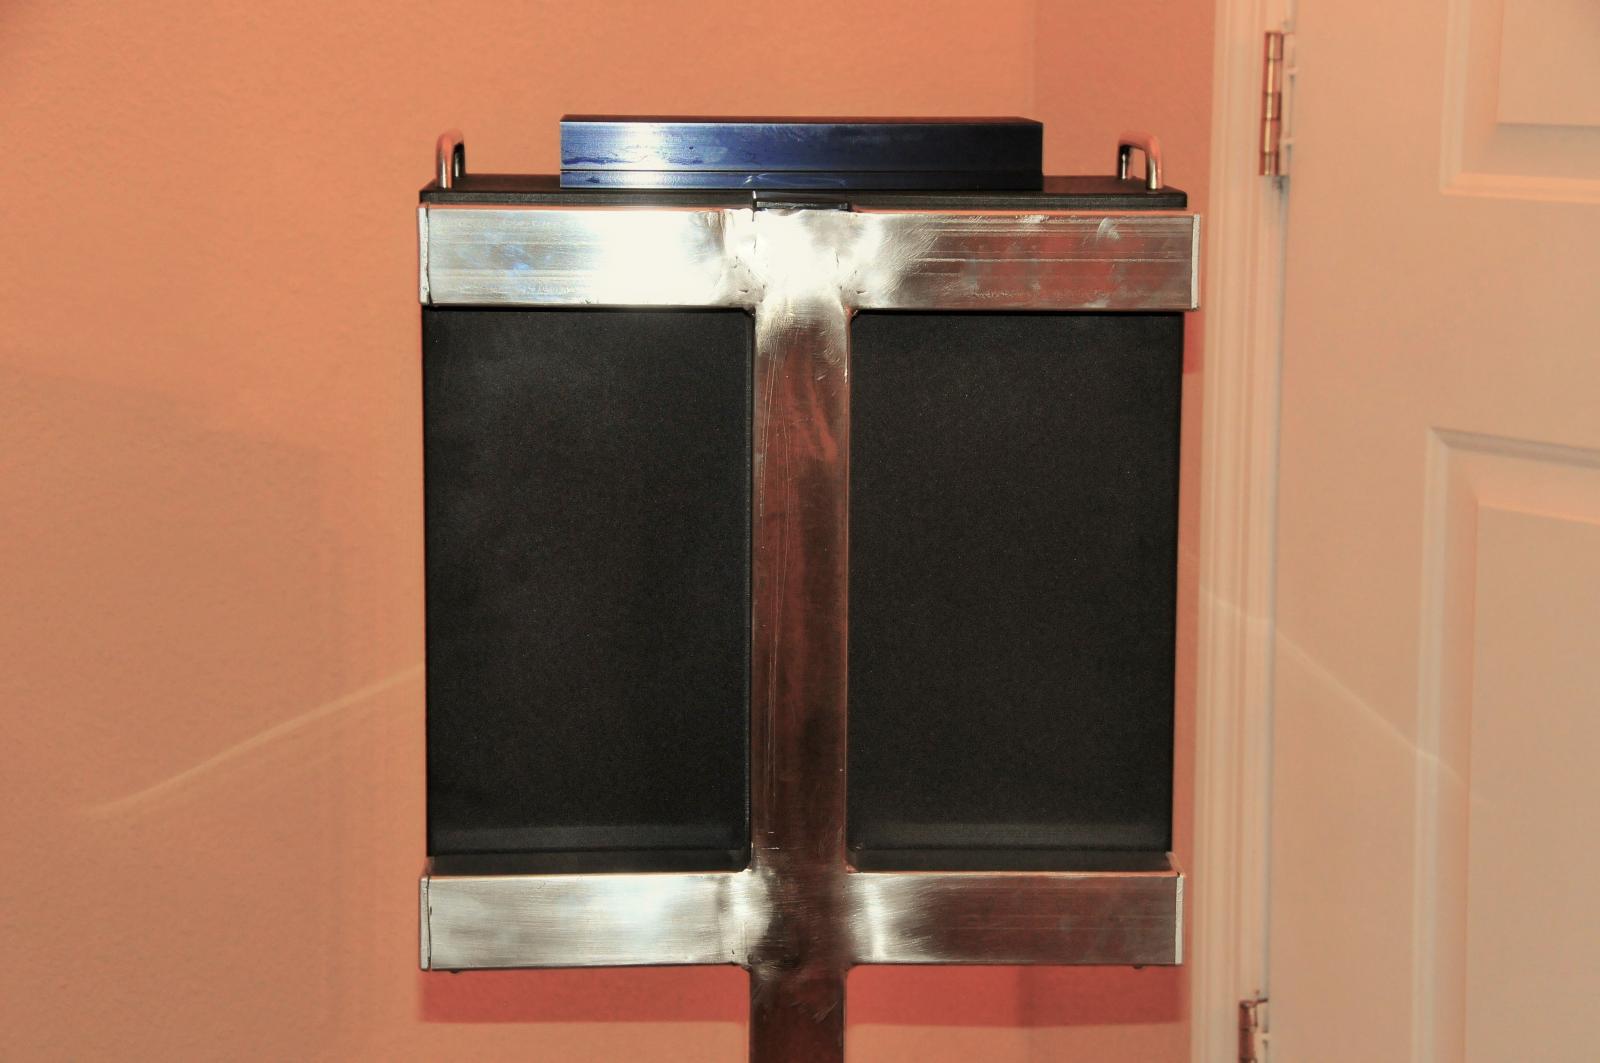
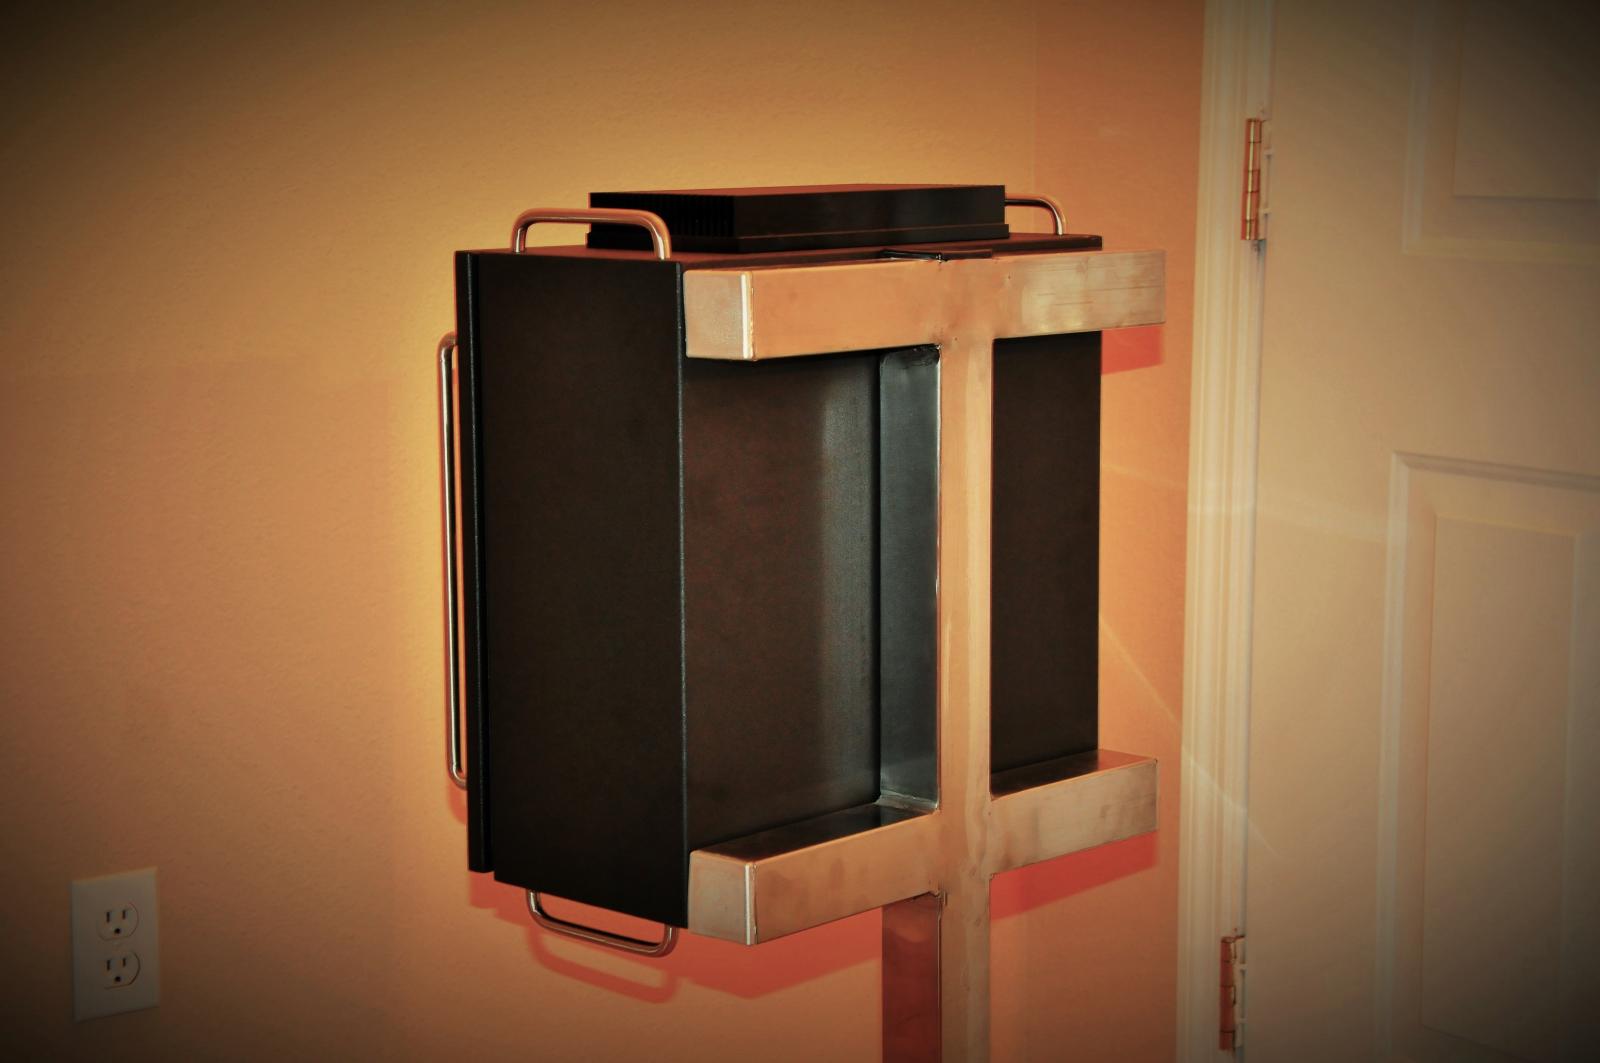
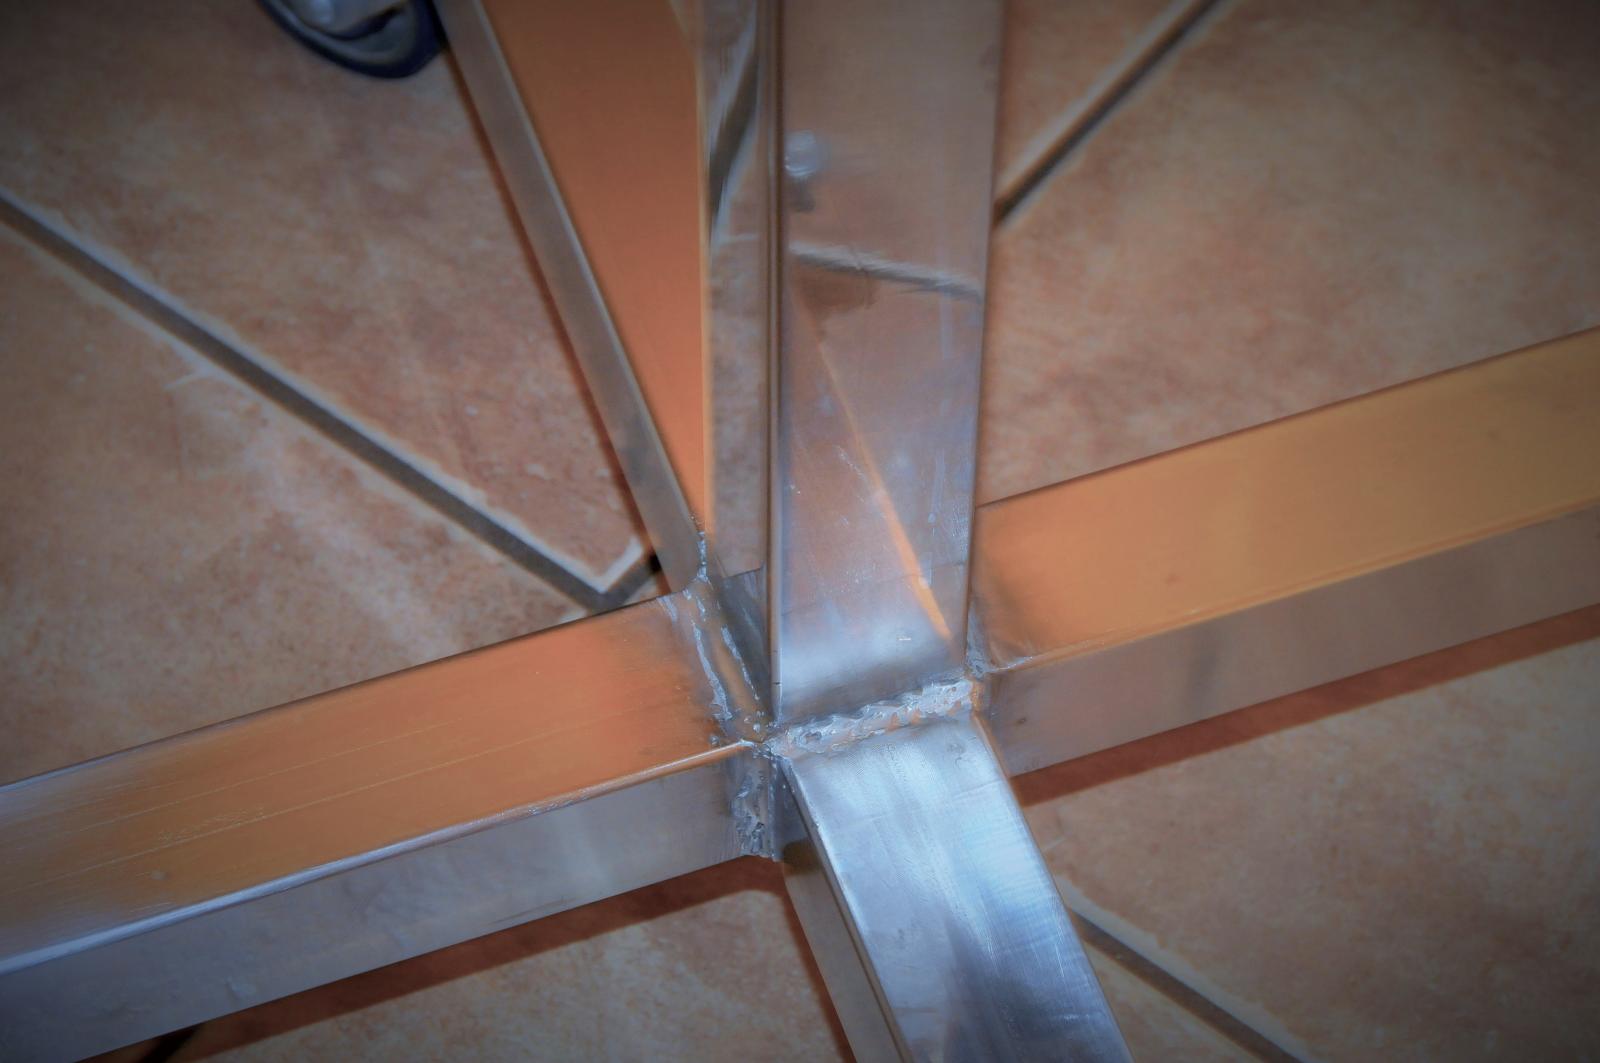
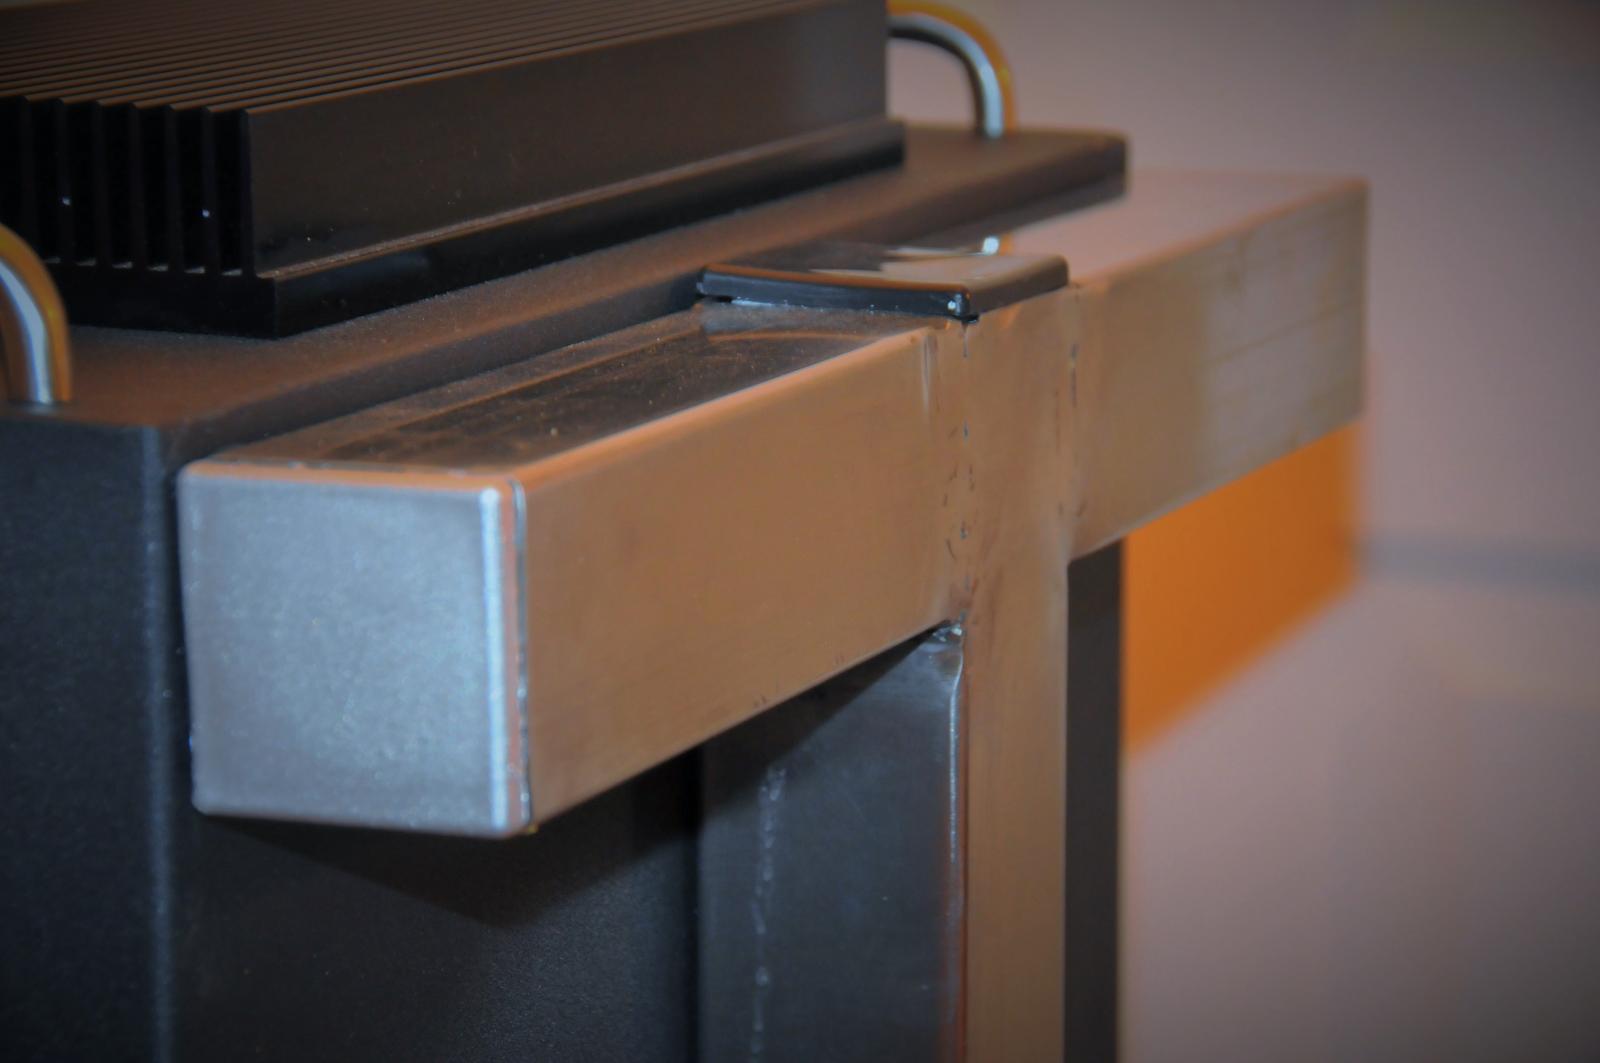
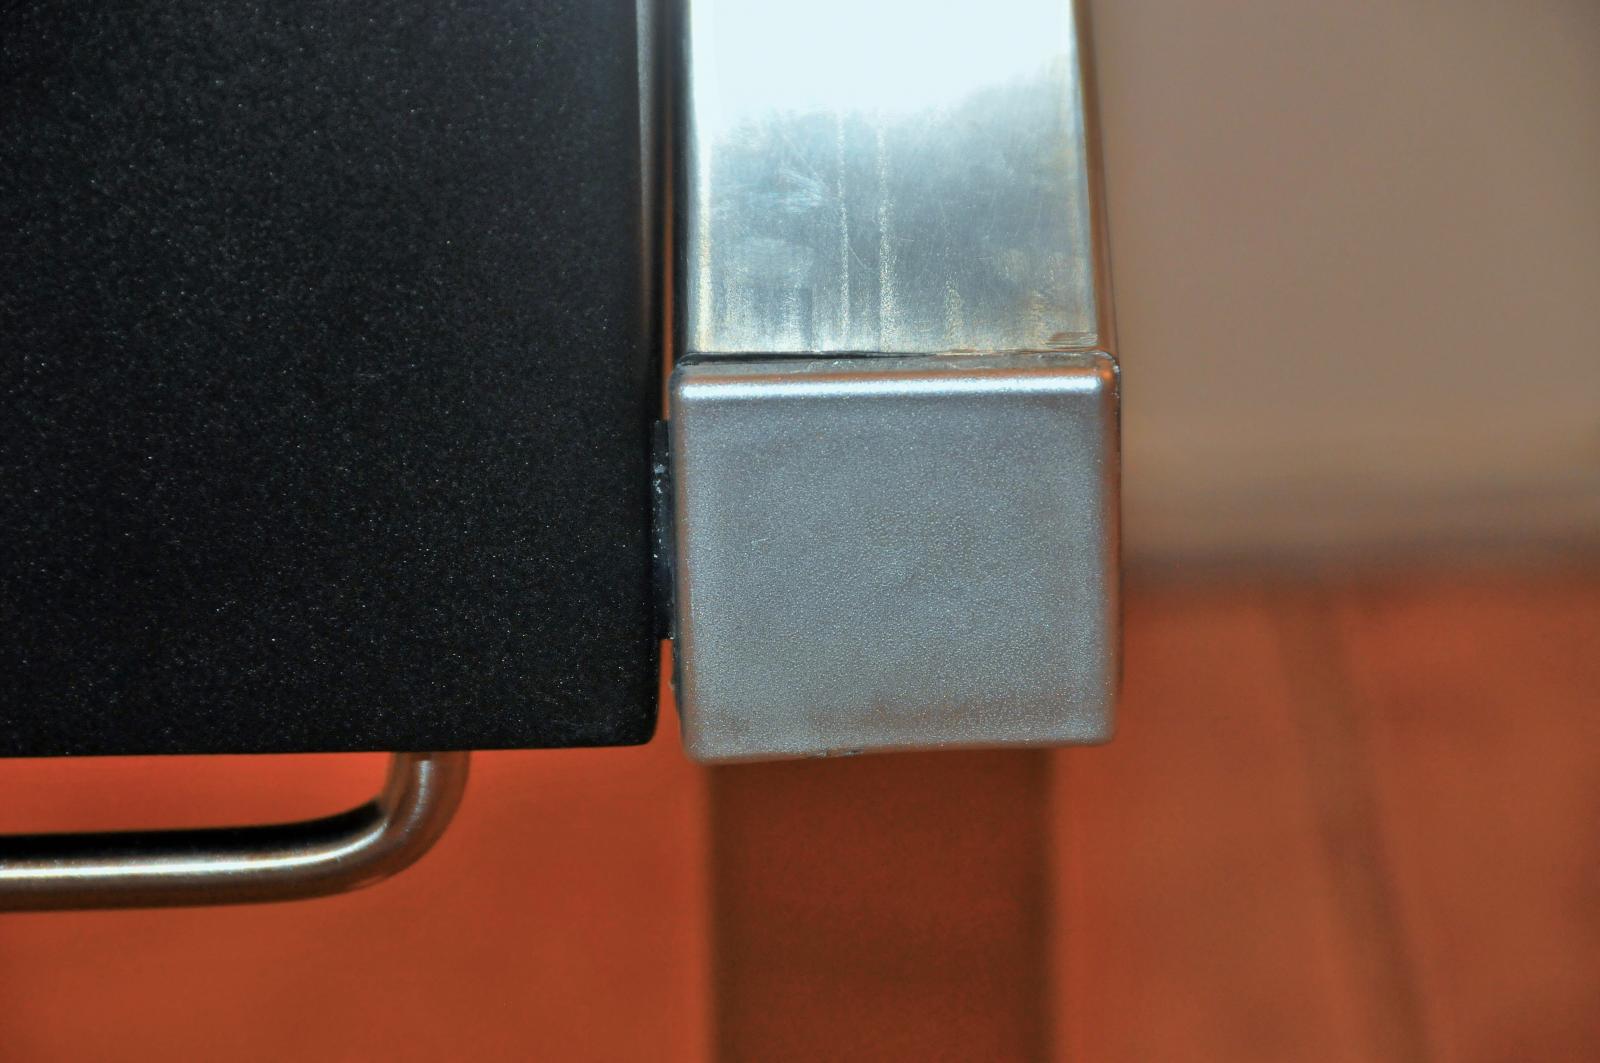
Sure, I used 2 inch stainless steel bar stock. Its 40 1/2 inches tall with the casters. 15 1/4 inch wide arms welded to each side of the main middle verticle beam, to mount the control box. The bottom leg portions are 14 inches wide each to give it good stability, so it won't tip, that box is very heavy. Just used a stick welder with stainless rod to weld it up. I drilled the holes for the control box and mounted it directly to the metal bars without the hanging clips, but I used rubber washers inbetween the mounting nuts to protect the box from scratches. I bought plastic end caps but they only came in black so I spray painted them metallic silver, and then put them on all the open ends of the square bar to finish it off. If you need anything else let me know, I could also take a pic of the back so you can see the metal beams.

John
 
bark at me about the control panel stand! i may need to do something similar...

Ok I took some quick pics....

DSC_6074.jpg


DSC_6061.jpg


DSC_6065.jpg


DSC_6081.jpg


DSC_6077.jpg


DSC_6083.jpg

Here is one of the end caps that I didn't paint silver, as it really doesn't show when you look at the box from the front, since it's hidden by the heat sink.
DSC_6084.jpg

Here is a shot of the rubber washer inbetween the control box and the metal bar, that I put on the mounting bolts, to protect the finish on the box.
DSC_6087.jpg

14 inches for each leg plus 2 inches for the main beam is 30 inches. Plenty stable for the heavy box without tipping, and it will just get through doorways.
DSC_6089.jpg

Just angle it as you go through and she fits through doorways just fine.
DSC_6091.jpg
 
Last edited by a moderator:
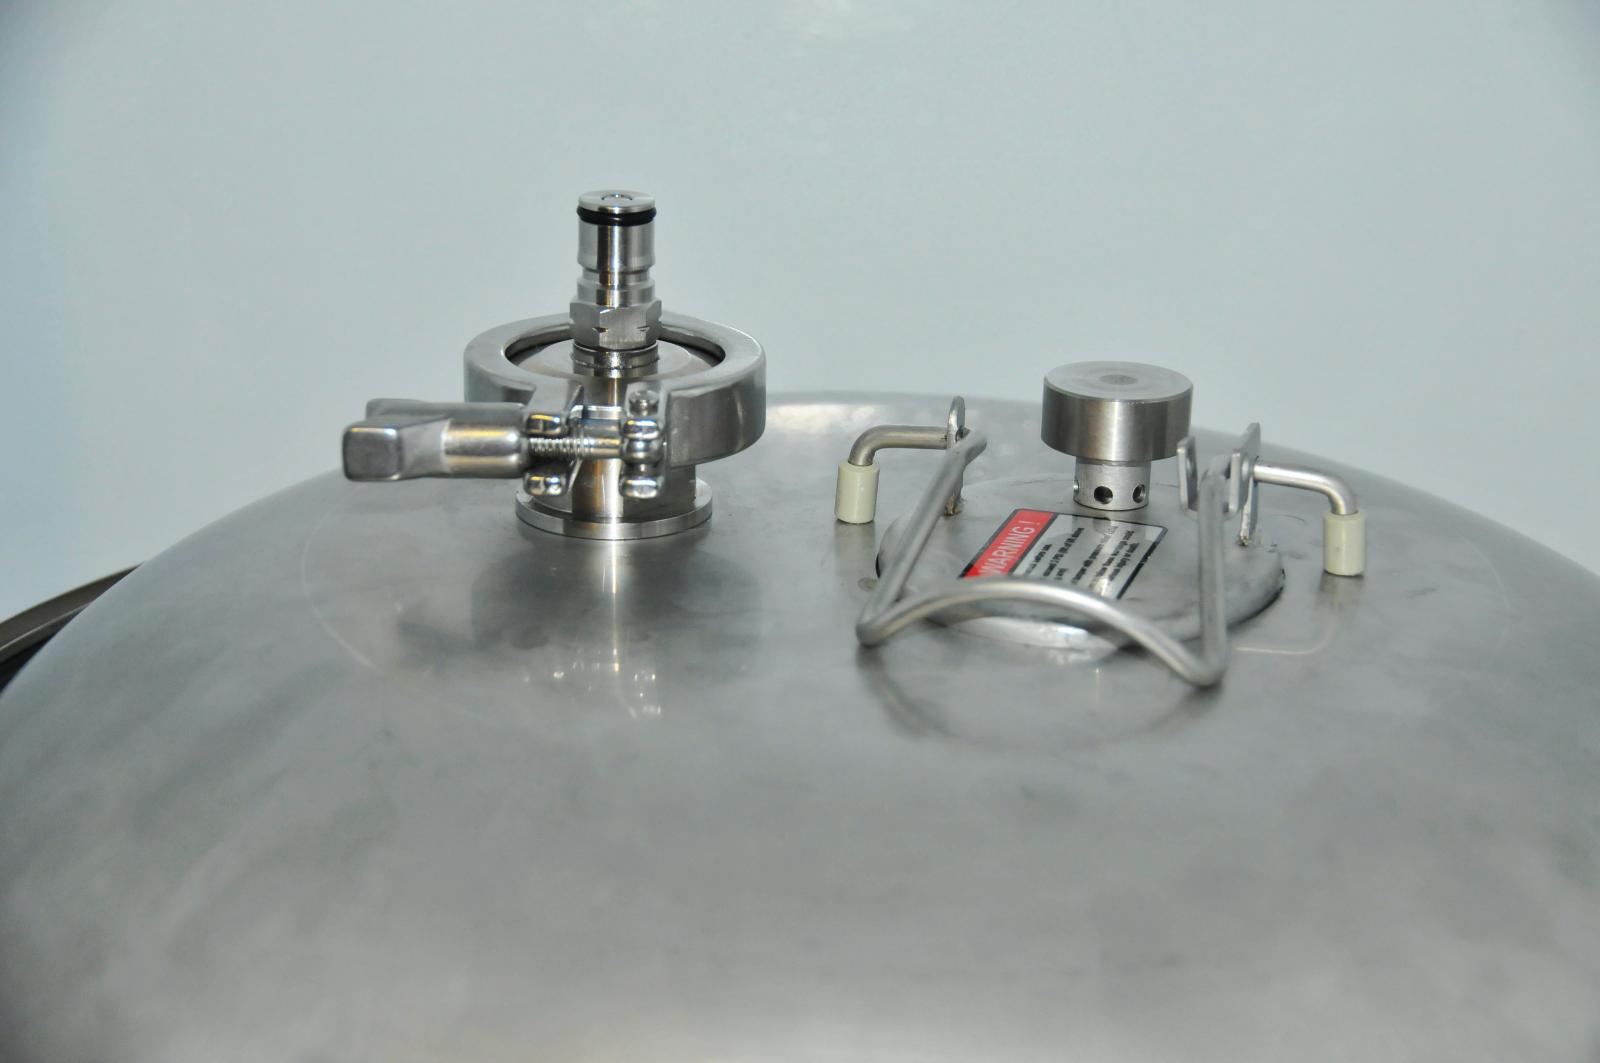
I wanted to be able to force Co2 into my conical fermenter via a tri clover to gas ball lock fitting. I searched the web and could only find one example and they wanted like $86.67 for the fitting, :eek: Yikes! So I posted a thread inquiring about this type of fitting and where I could get one or have one made. I also hinted for Bobby_M to possibly make one for me. Here is the thread if you want to take a gander at it: https://www.homebrewtalk.com/showthread.php?t=569963

Bobby_M got back to me right away and after talking the next day on the phone he actually made me a custom one that same day! Talk about unbelievable customer service! I just got to give him props, he really took care of me! He also shipped it to me the same day as well, and even charged me a very reasonable price including the shipping, I mean what more could you want?...I couldn't believe it!...... Anyway here are the pics of the fitting he made me and it being put to use:

DSC_6110.jpg

Here is the fitting sitting on top of the fermenter.
DSC_6099.jpg

Here it is attached and ready to go, after the blow off assembly was removed.
DSC_6103.jpg

I just attached my ball lock gas fitting to this keg post fitting, and dialed in 2 psi on my regulator. I was able to blanket the top of the fermenter with Co2 after removing the hatch and dry hopping my IPA that I have fermenting right now....
DSC_6107.jpg

Worked like a charm. I was able to purge the air by removing the pressure relief piston and then I put the piston back and that was it. I will also use this fitting to pressurize the fermenter to up to 3 psi, to transfer my beer into my kegs when fermentation is over and I'm ready to keg.
DSC_6108.jpg

This fitting is a great solution and I call that problem solved!

John
 
Last edited by a moderator:
Just a quick pick of when I used the fitting to pressurize the fermenter with Co2, to transfer my IPA into the corny keg under pressure. This fitting worked fantastic also for this and I transferred the beer with no issues. I will do it this way from now on.
DSC_6111.jpg


DSC_6121.jpg
 
Last edited by a moderator:
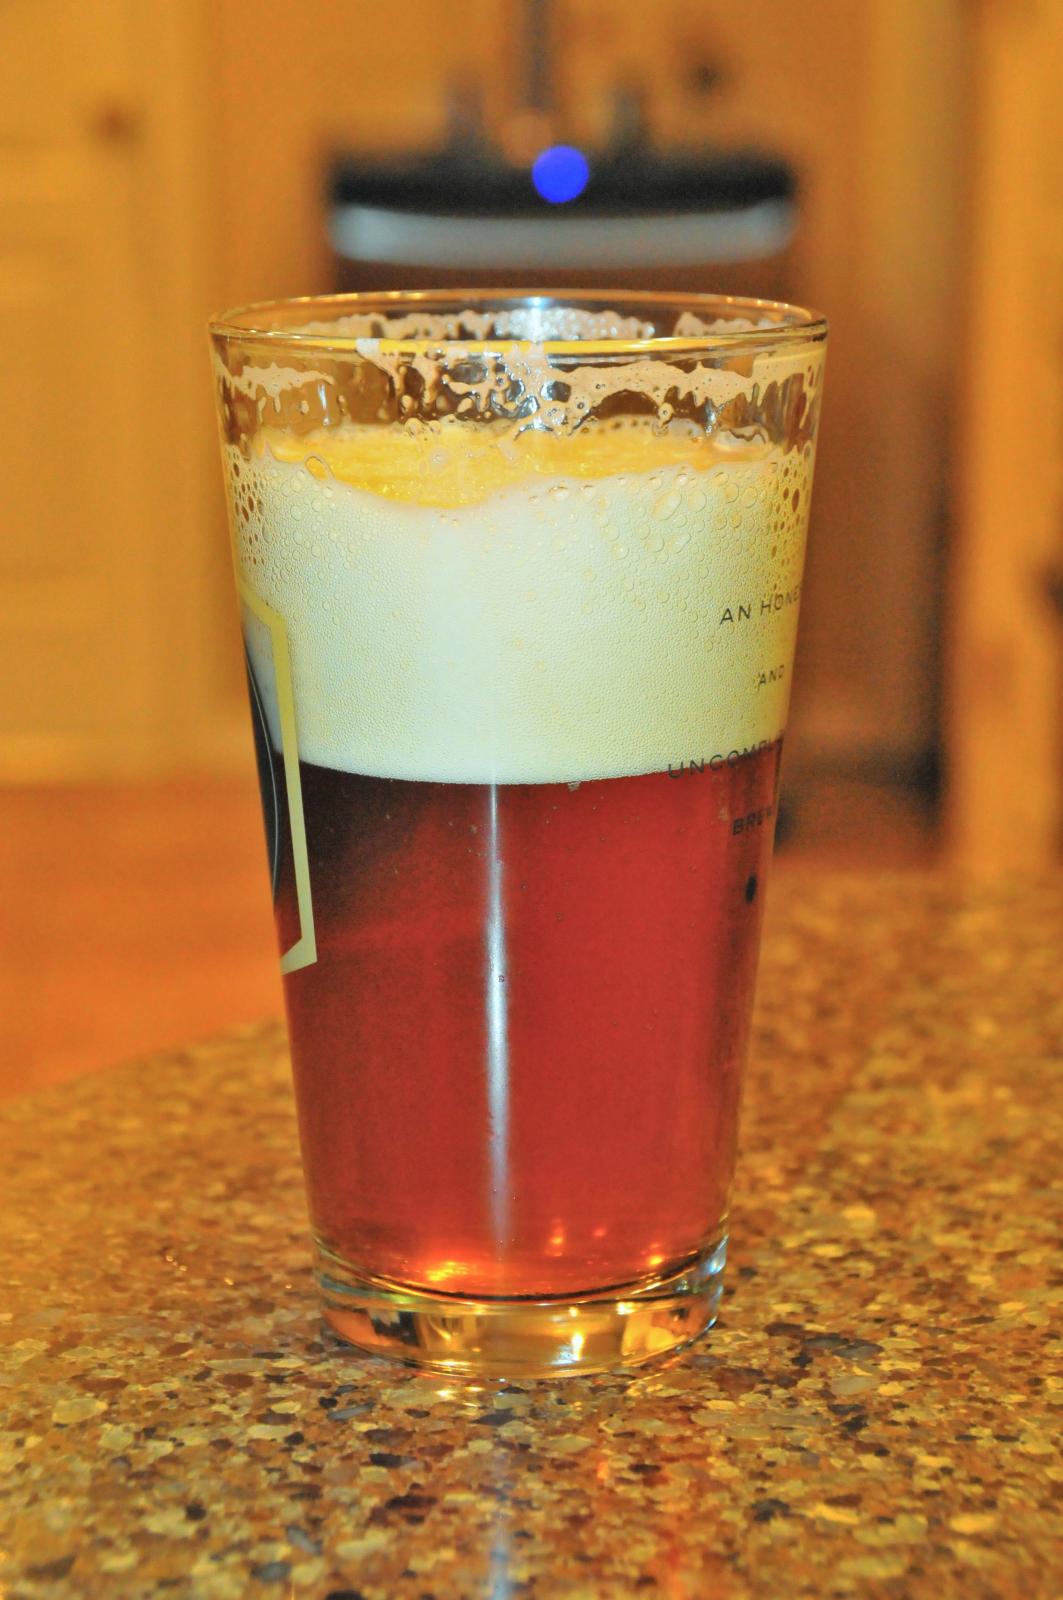
That IPA came out incredible by the way!
DSC_6176.jpg

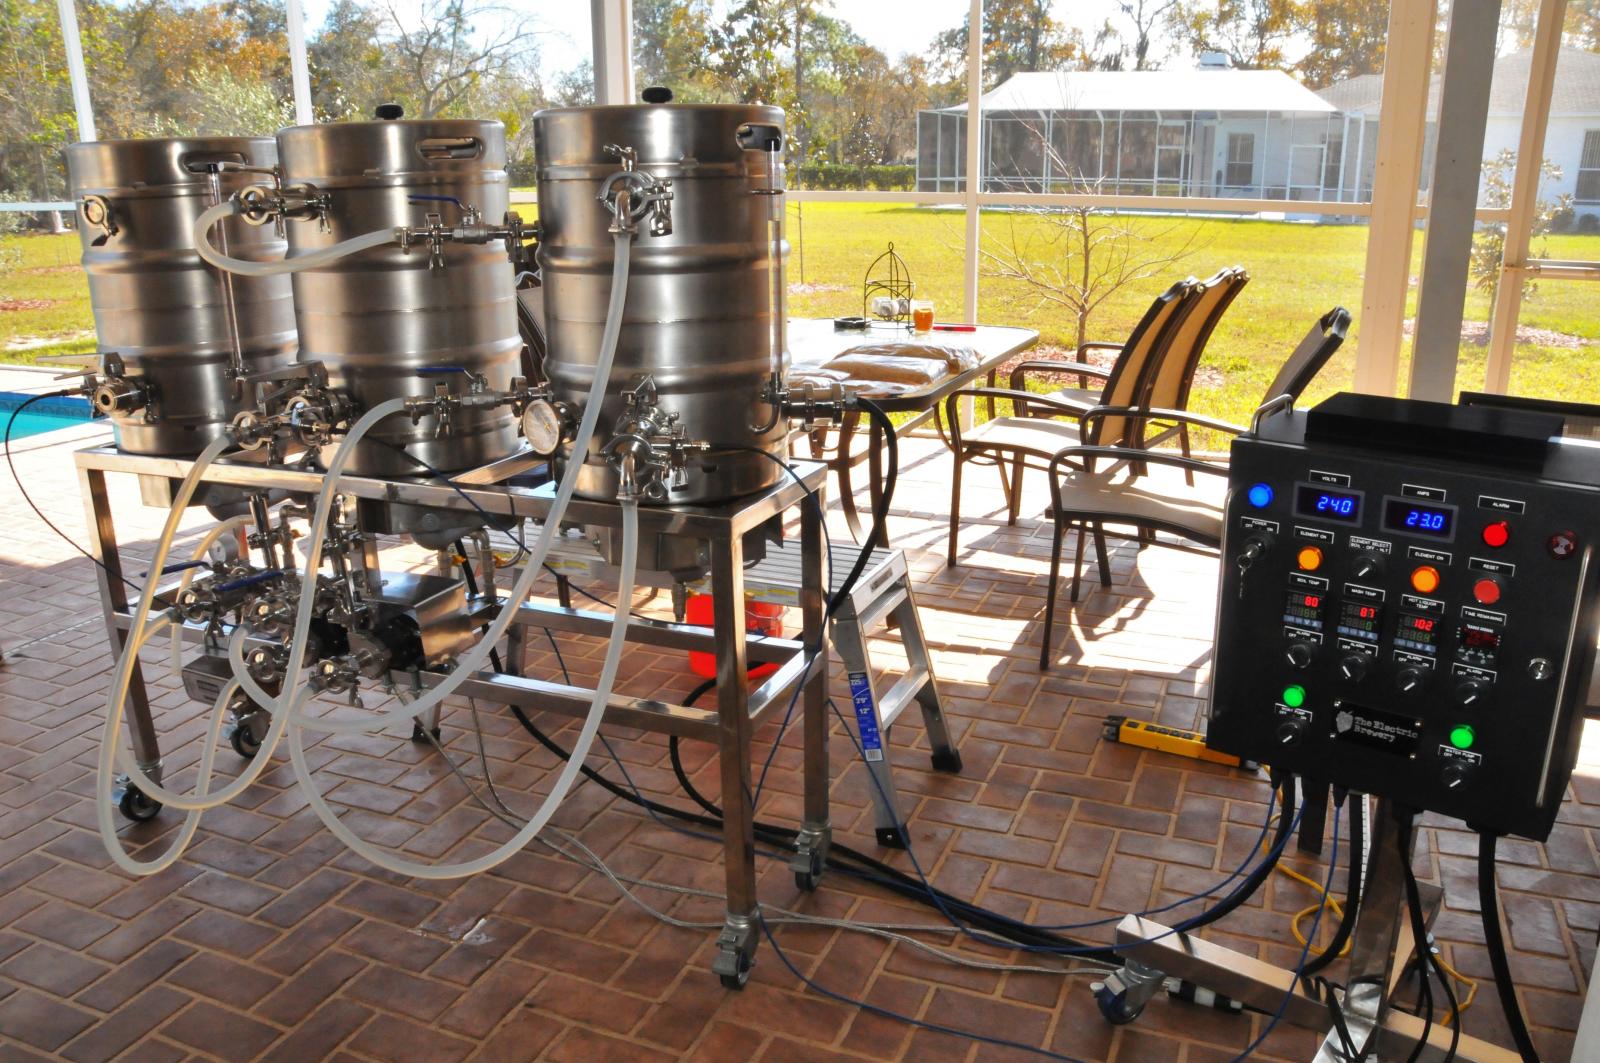
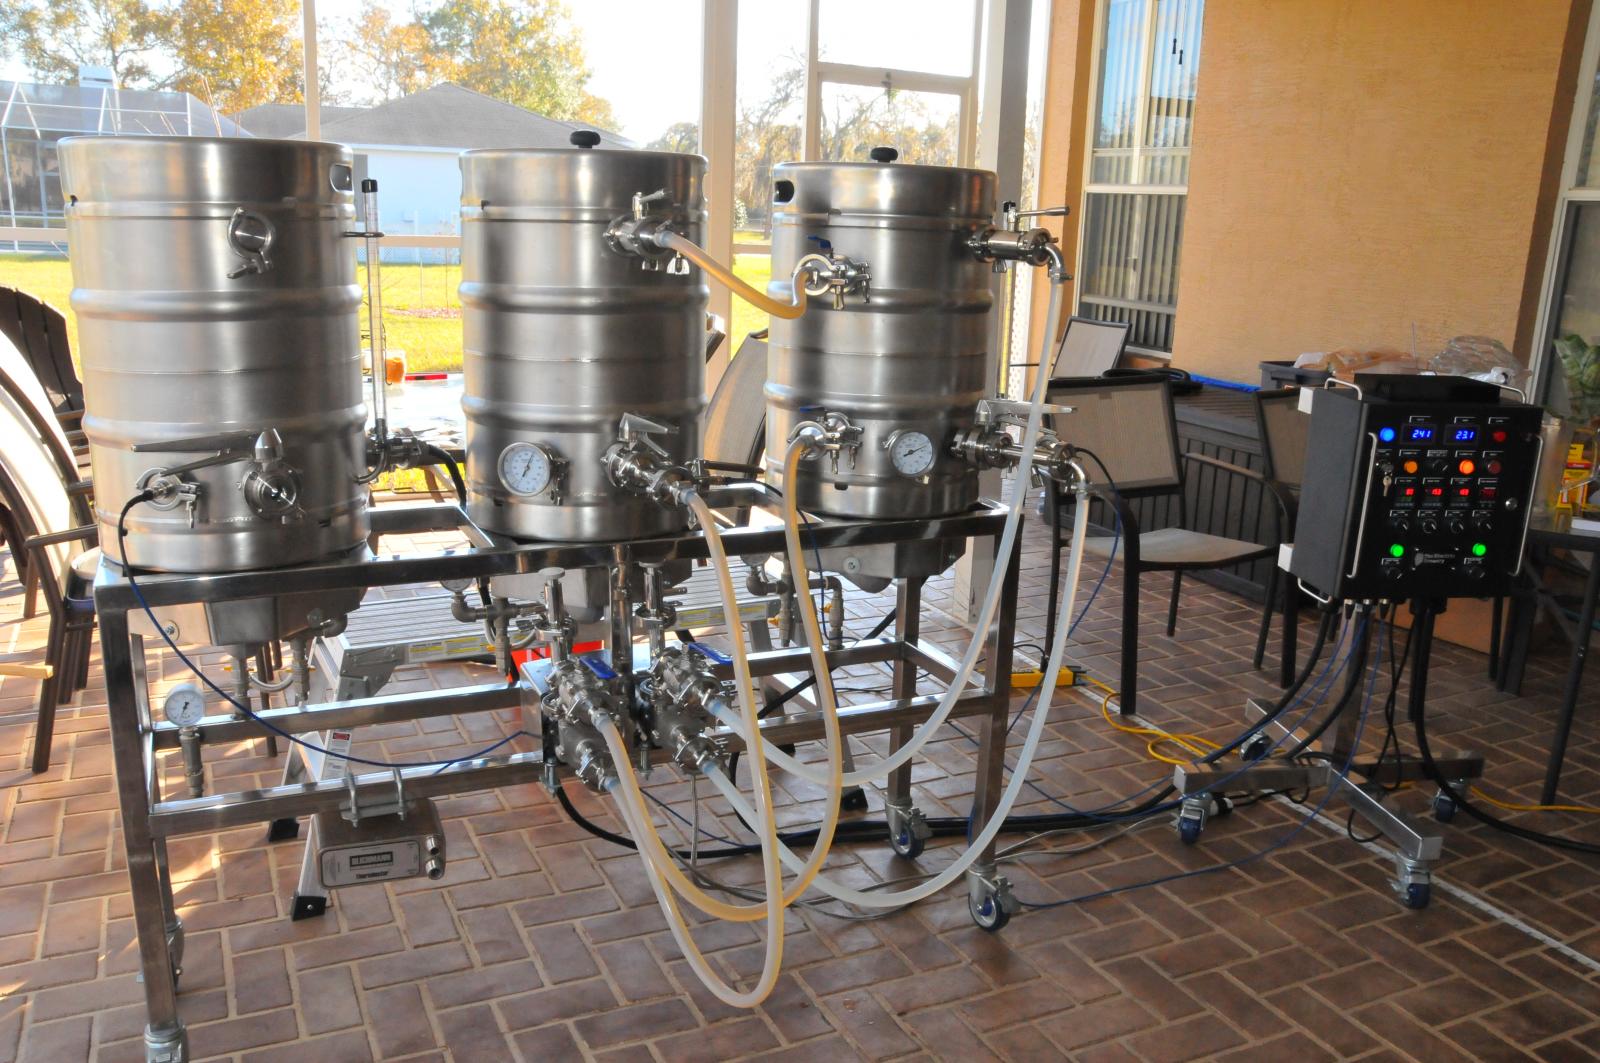
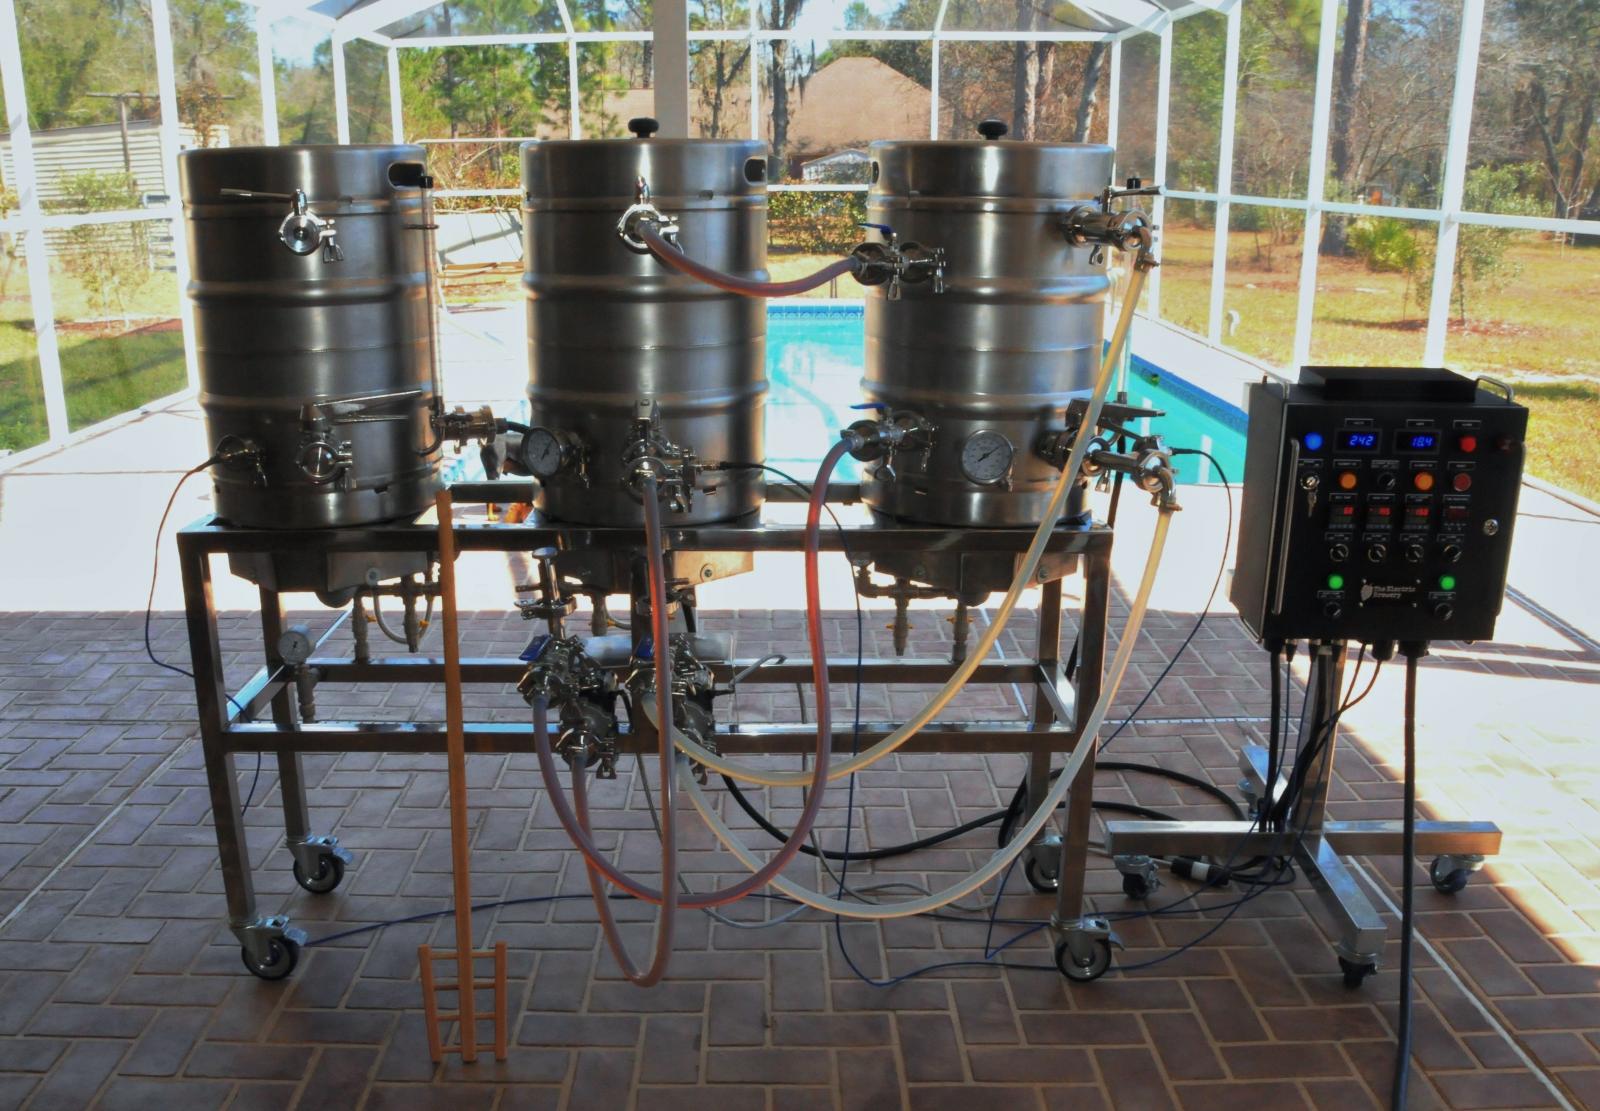
It was so nice here last Saturday, it was 68 degrees before the front came through, so I brewed a German Dunkelweizen by the pool!
DSC_6139.jpg
 
Last edited by a moderator:
I used "Bar Keepers Friend" to clean up the keggles. They look so much better with all the smudges and streaks gone. I really should polish them to a mirror finish, but I heard it's such a pain......

Did you use a specific technique to clean up the keggles? By hand or with some tools?

I'm looking to do something similar, but unfortunately haven't figured out a decent way to do this? Any suggestions?
 
Did you use a specific technique to clean up the keggles? By hand or with some tools?

I'm looking to do something similar, but unfortunately haven't figured out a decent way to do this? Any suggestions?

Hi vanvlack, I started with new Sabco kegs so they were already in excellent new condition almost five years ago, when I first got them. After awhile they did get a little dinged and scratched and kinda dingy looking. So I used the same technique that I used when I was making my brew stand shine. I actually used sand paper blocks and some sheet sand paper on them. Since they were not very badly scratched or gouged, I used a fine grit on them. I used 320 grit and then went up from there. I ended up using 600 grit on the stand to make the dull stainless steel shine. On the kegs I used 320. The trick is I used a spray bottle of water as I was sanding by hand and wet the area and used the sand paper wet.

You might want to try an area in the back of the keg low on the skirt area first. Just do a small area and sand the heck out of it in the same direction. I went horizontally when I sanded the kegs. Do a small section and see how it cleans it up and you will get a shine. If you keep going to a higher grit you will get the mirror finish eventually, but I only cleaned them up a little and kept it a matte finish. You will see very quickly the results and you can then gauge how much more shine you want and then you can go to a higher grit or leave it the way you like it. Once you decide the level of shine you require on the small area you can then decide if you want to do that to the entire keg. It does take some time though and you will go through a lot of sand paper or sanding sponge blocks. Use gloves on your hands as it will get a black grime all over and its very hard to get off your hands.

After that the Bar Keepers Friend will clean up the black sanding grime and residue and it really made the kegs look fantastic. The other thing that really keeps them clean and fingerprint free is a product called "Weimann" stainless steel cleaner & polish. It comes in a spray bottle and you get it a Home Depot. My wife uses it to clean all of her stainless steel kitchen appliances. The trick with this polish is you have to use a micro fiber cloth (also bought at Home Depot) and this stuff works like a dream. Hope this helps...

John
 
Vanvlack you could also follow Bobby_M and his awesome method here in this video. There is also a thread on here about it as well. Here is the vid.
[ame]https://www.youtube.com/watch?v=9Ln-plGzVc4[/ame]
 
Man your system is awesome! I've already showed the wife. I can't wait until we get our own place, and build something like this.
 
Man your system is awesome! I've already showed the wife. I can't wait until we get our own place, and build something like this.

Thanks, I really love this rig. The brew days are fun, easy, and my beers are fantastic. Good luck when you build yours. It's worth it I promise!

John
 
Awesome thread... tons of hard work and research and it looks like it's really paid off. Nice job!
 
Seriously gorgeous setup. Your hard work and craftsmanship is apparent! Very nice.

Thanks HettyBrooster! My three sons are coming over on Sunday for a brew day! Gonna brew an "American Honey Brown Ale" at around 7%, using several pounds of Florida orange blossom honey, at the end of the boil. Should be a great Memorial Day weekend! :D

John
 
Back
Top