Gravitysucks
Well-Known Member
Are far more brittle than they appear.
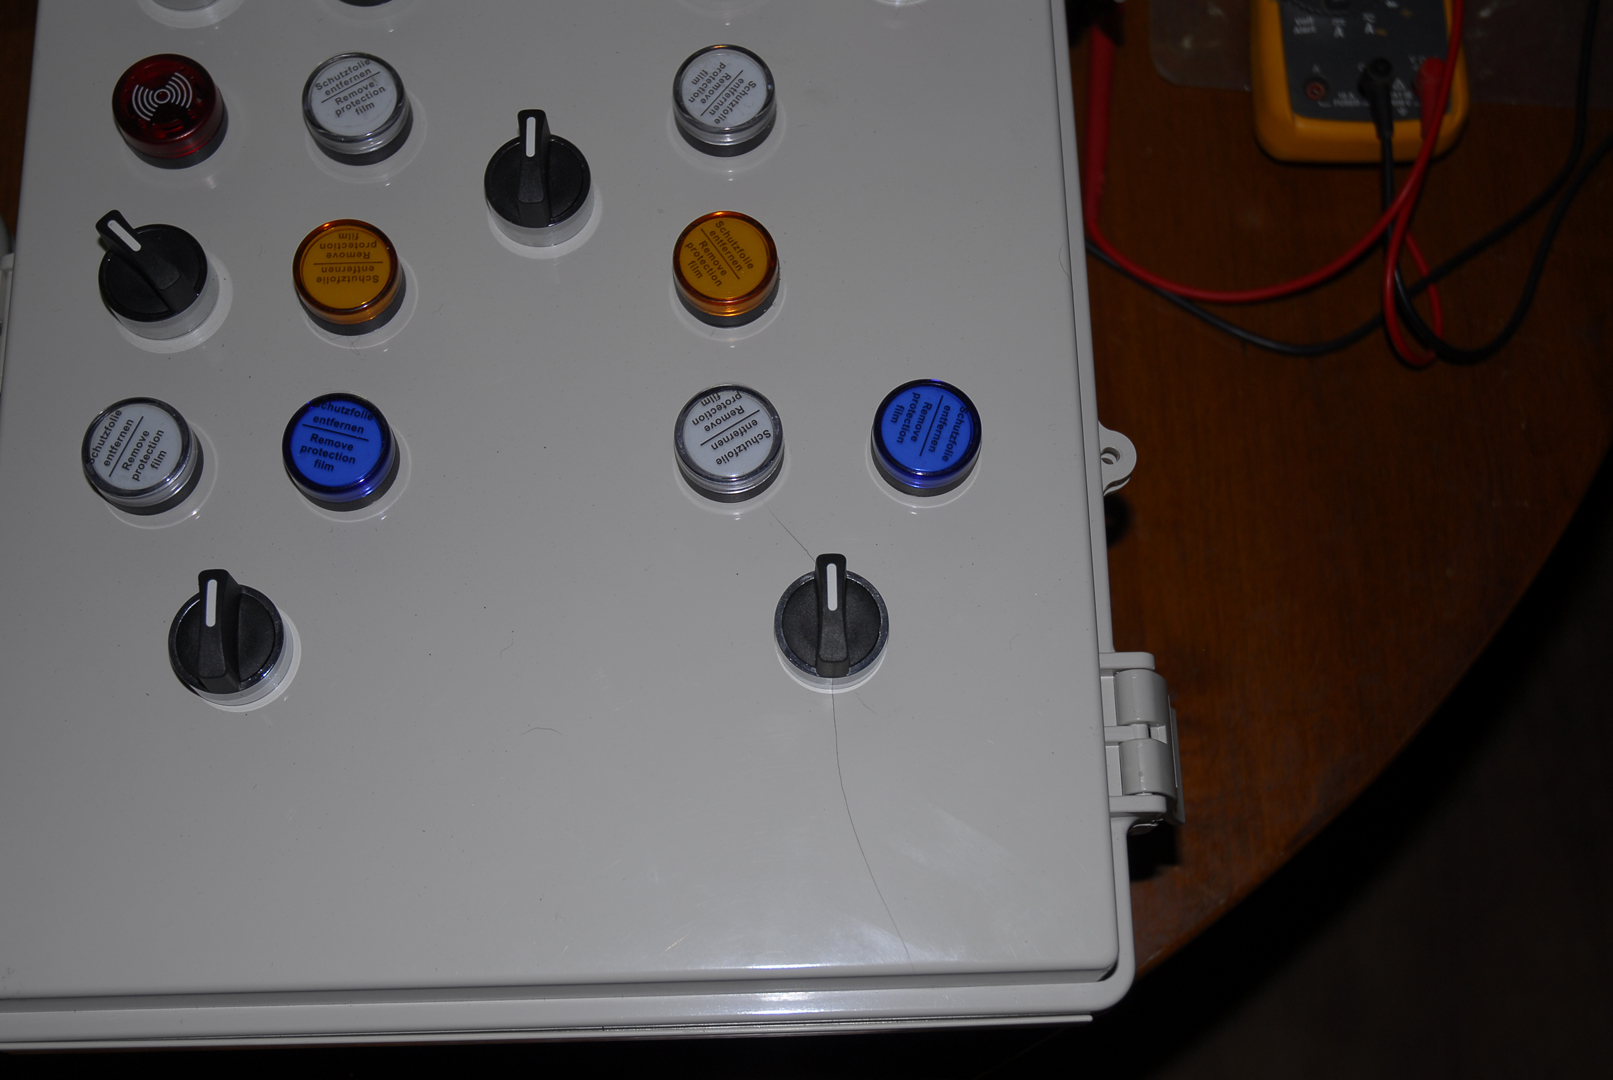
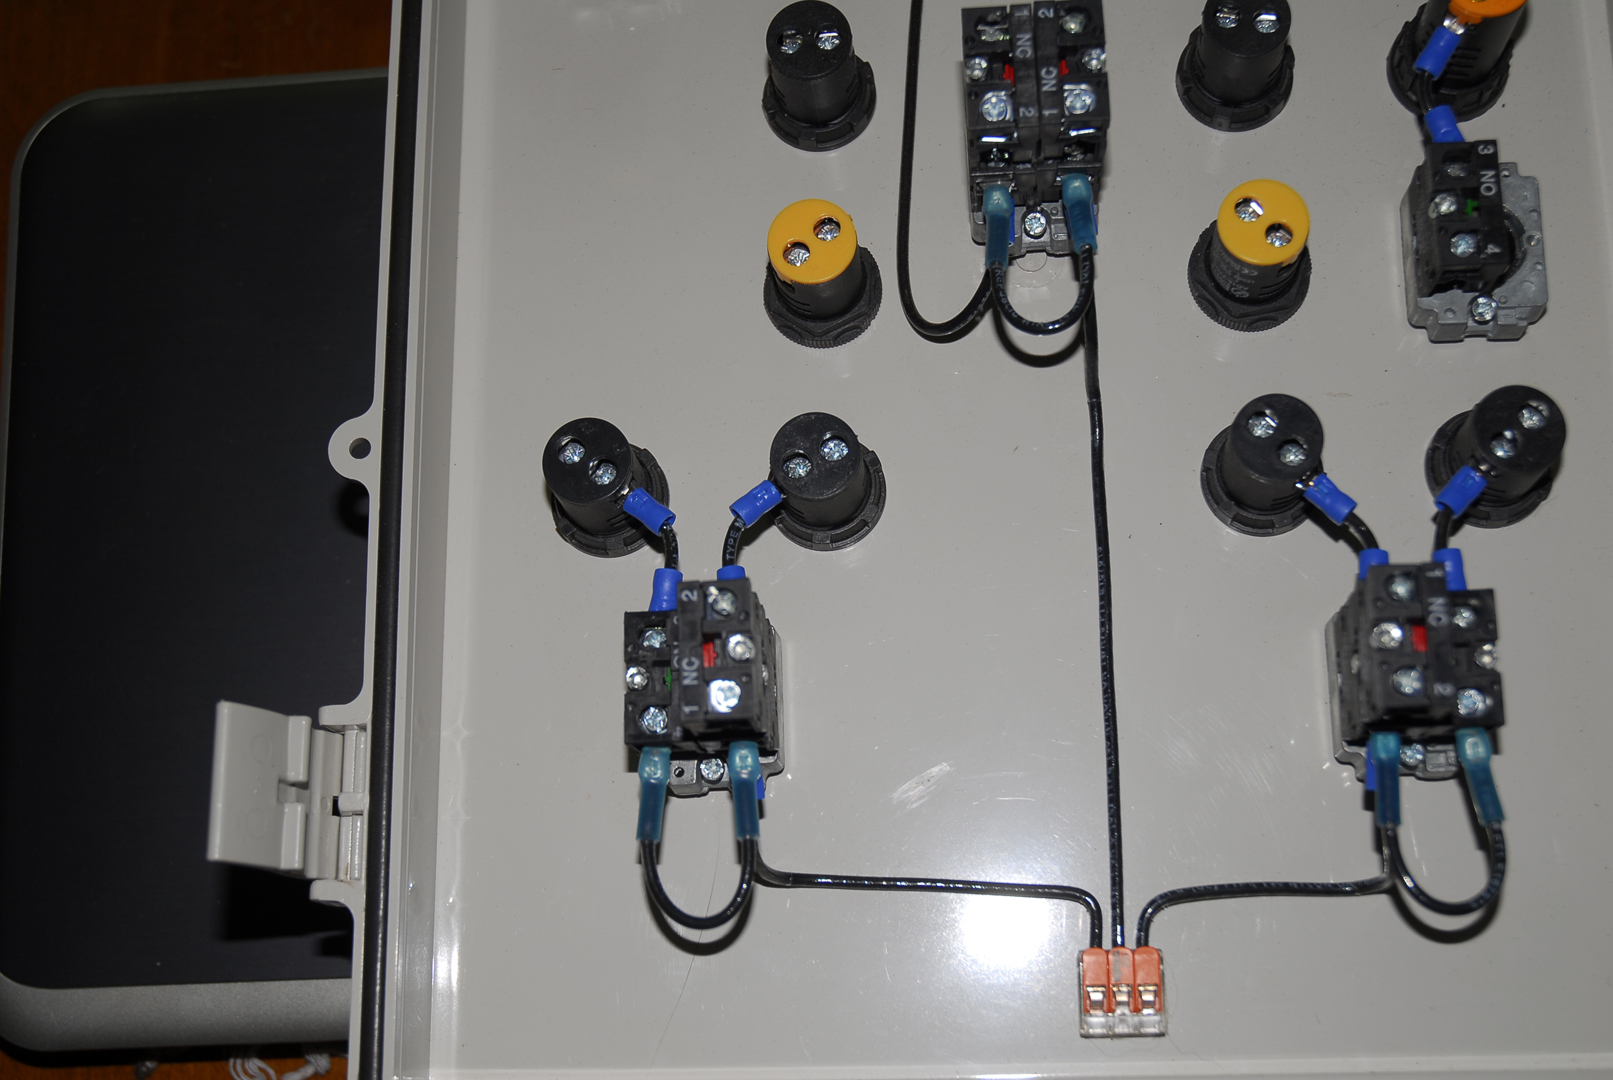
I started building my electric control panel in a plastic Nema enclosure which got set aside for about a month due to a washing machine tragedy and the death of my beloved riding mower. The mower was eventually resurrected but sadly the washer and the floors it flooded not so much. Anyway, I went back to working on my panel this week only to find that there were cracks in the panel radiating from several of the switches to the point I think I'll probably have to scrap the box. I've had quite a bit of experience working with plexiglass, Lexan, etc so I knew that you need to be careful about pressure points and corners in cutouts and was careful so I was really surprised to see cracks had developed after the box had been sitting undisturbed for almost a month. The culprit was clearly the set screws on the back of the switches so it was undoubtedly my fault. I just wanted to let folks know to be aware that those pointy little set screws found on most of the switches that seem to be in general use for panels can be a problem for plastic enclosures if you tighten them a little too much.
I started building my electric control panel in a plastic Nema enclosure which got set aside for about a month due to a washing machine tragedy and the death of my beloved riding mower. The mower was eventually resurrected but sadly the washer and the floors it flooded not so much. Anyway, I went back to working on my panel this week only to find that there were cracks in the panel radiating from several of the switches to the point I think I'll probably have to scrap the box. I've had quite a bit of experience working with plexiglass, Lexan, etc so I knew that you need to be careful about pressure points and corners in cutouts and was careful so I was really surprised to see cracks had developed after the box had been sitting undisturbed for almost a month. The culprit was clearly the set screws on the back of the switches so it was undoubtedly my fault. I just wanted to let folks know to be aware that those pointy little set screws found on most of the switches that seem to be in general use for panels can be a problem for plastic enclosures if you tighten them a little too much.
Last edited:


