(Pic Heavy) DIY Deck Build...when can I build my brewery?

Homebrew Talk - Beer, Wine, Mead, & Cider Brewing Discussion Forum

Help Support Homebrew Talk - Beer, Wine, Mead, & Cider Brewing Discussion Forum:

This site may earn a commission from merchant affiliate links, including eBay, Amazon, and others.

brettwasbtd

Awesomeness Award Winnner
HBT Supporter
Joined
Apr 20, 2010
Messages
1,793
Reaction score
165
Location
Damascus, MD
Ok, so I didn't want to put this in the DIY Forum mainly because it really isn't beer related. Though it is a big checkmark off of my to do list before I can get to the indoor brewery! I also posted this on my blog here if you are interested.


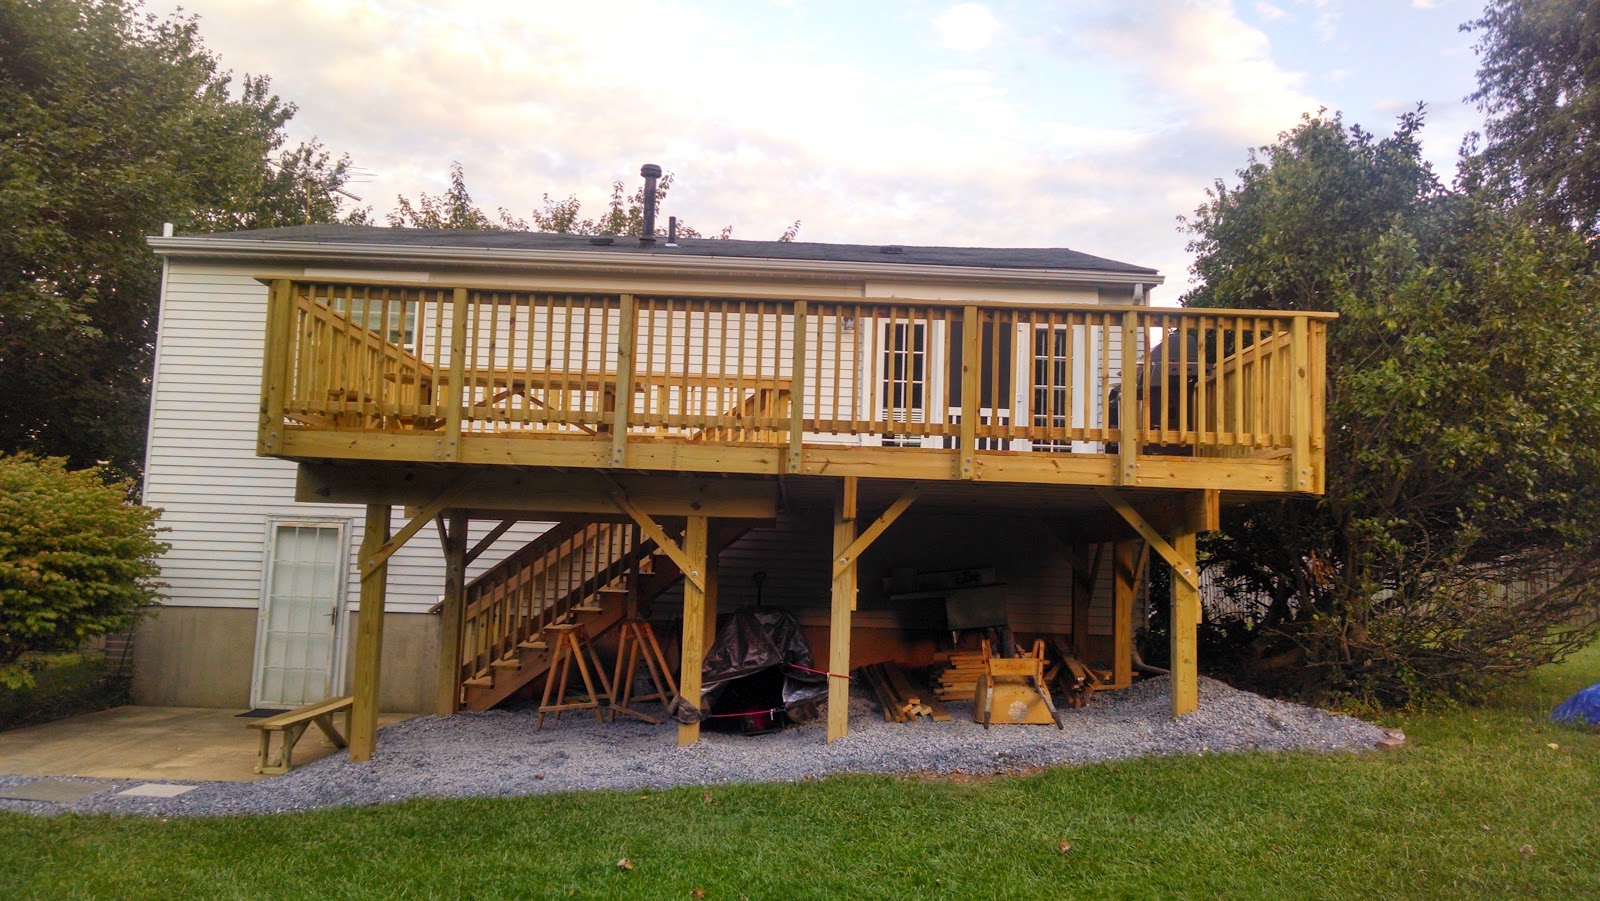
As I have alluded to in a few other blog posts, much of my all of my free time the past couple months has been devoted to taking down our old and unsafe deck, and constructing a brand new one! It has been a really fun project even thought it has taken 5 times longer than I expected and roughly 30% more than I budgeted...buy once, cry once. I normally keep my blog strictly related to beer brewing and consuming, but wanted to provide everyone with proof of why I have been so absent in the homebrewing and blogging world, and use it as an excuse to show off my skills.


Without further ado:

BEFORE

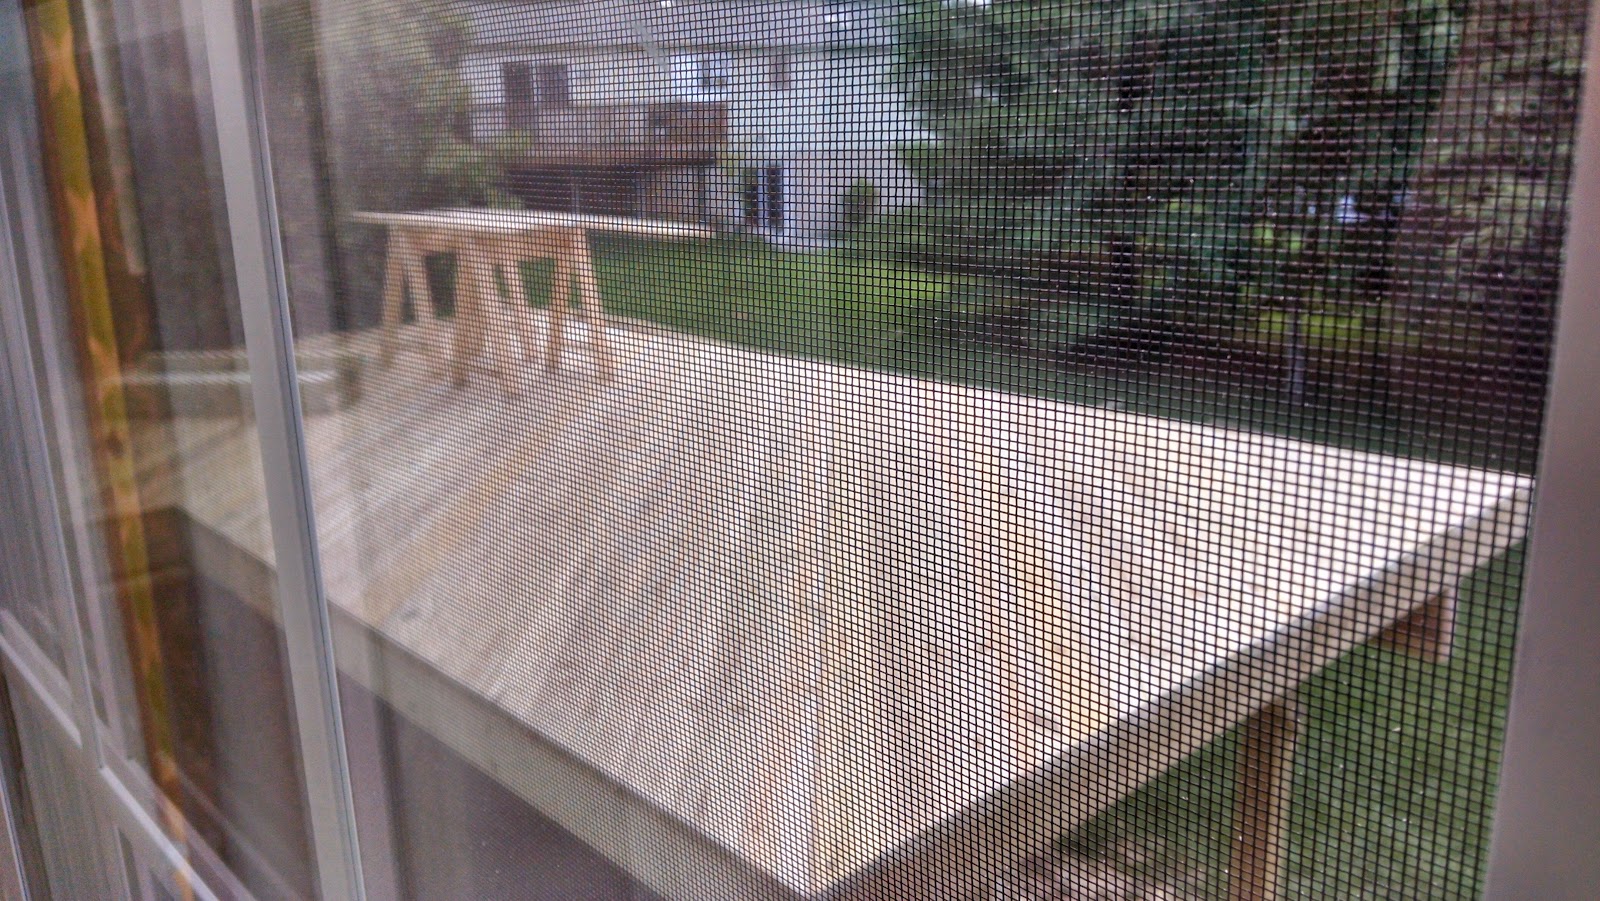
The old deck had a lot of problems. When we bought the house I had inspected it and new it was almost beyond saving. The fact that we didn't touch it at all over the harsh winter insured there was no saving it. The previous structure was two 12x12 decks at different levels. The stairs from the upper level to the lower level took up almost 25% of the lower deck. There were also two built-in benches on the lower deck, which ended up being the most secure part, ha!

deck_before2.jpg


deck_before1.jpg


deck_before3.jpg


deck_before4.jpg

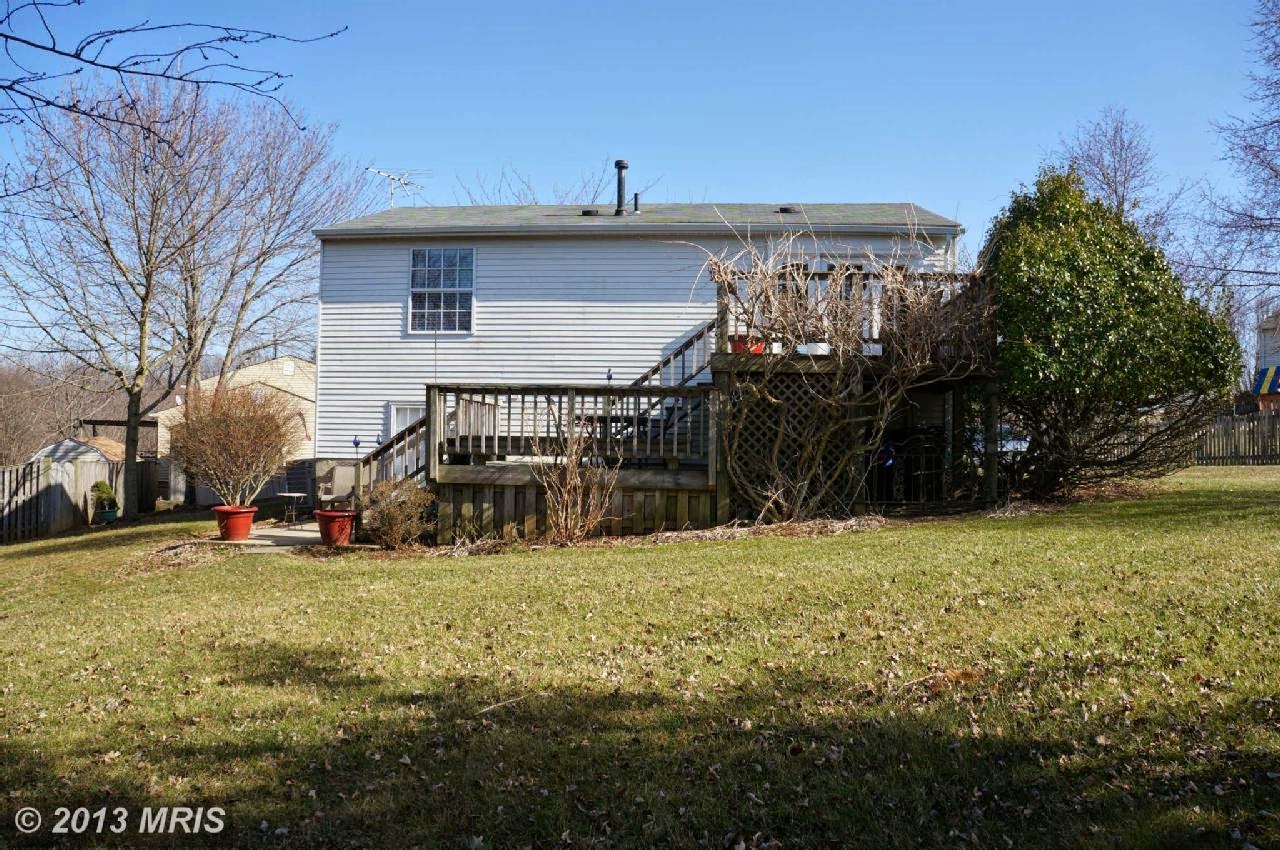
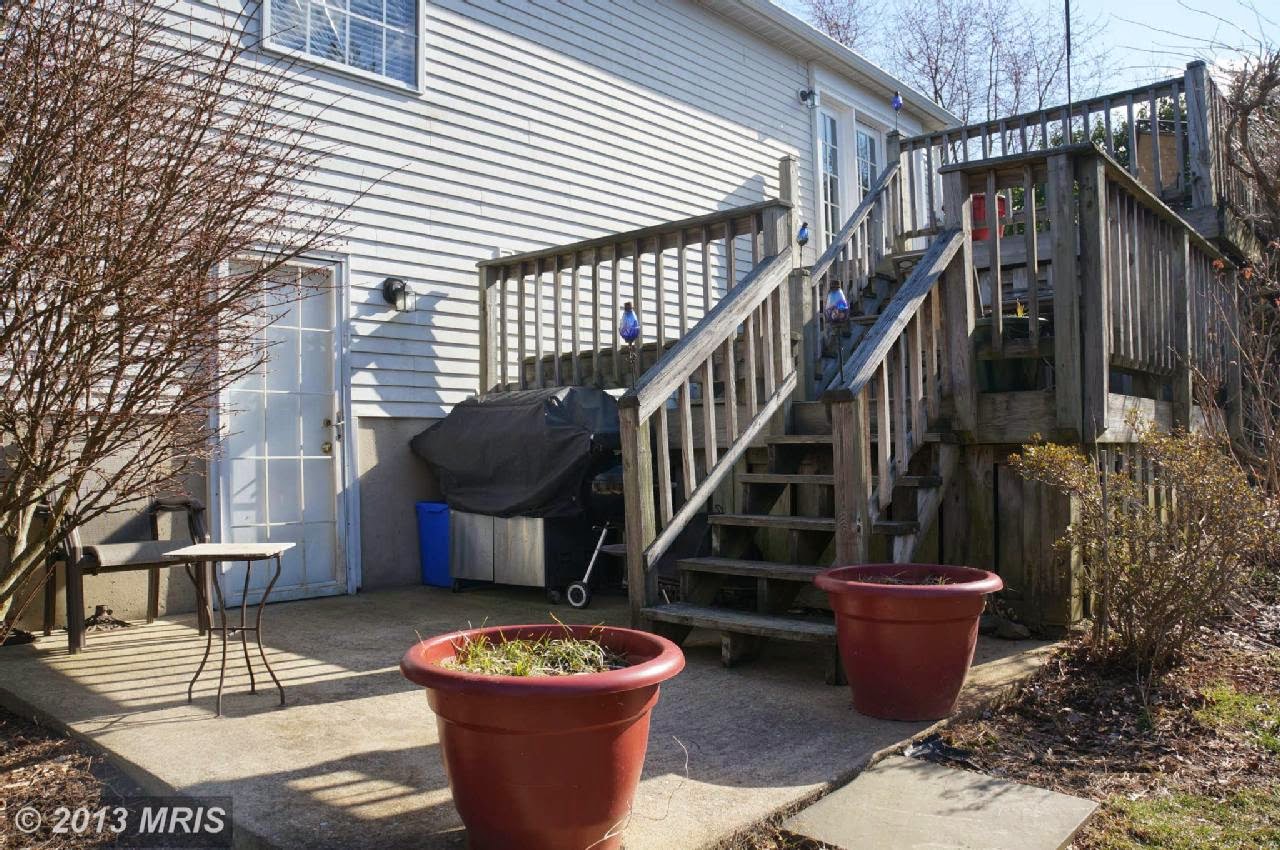
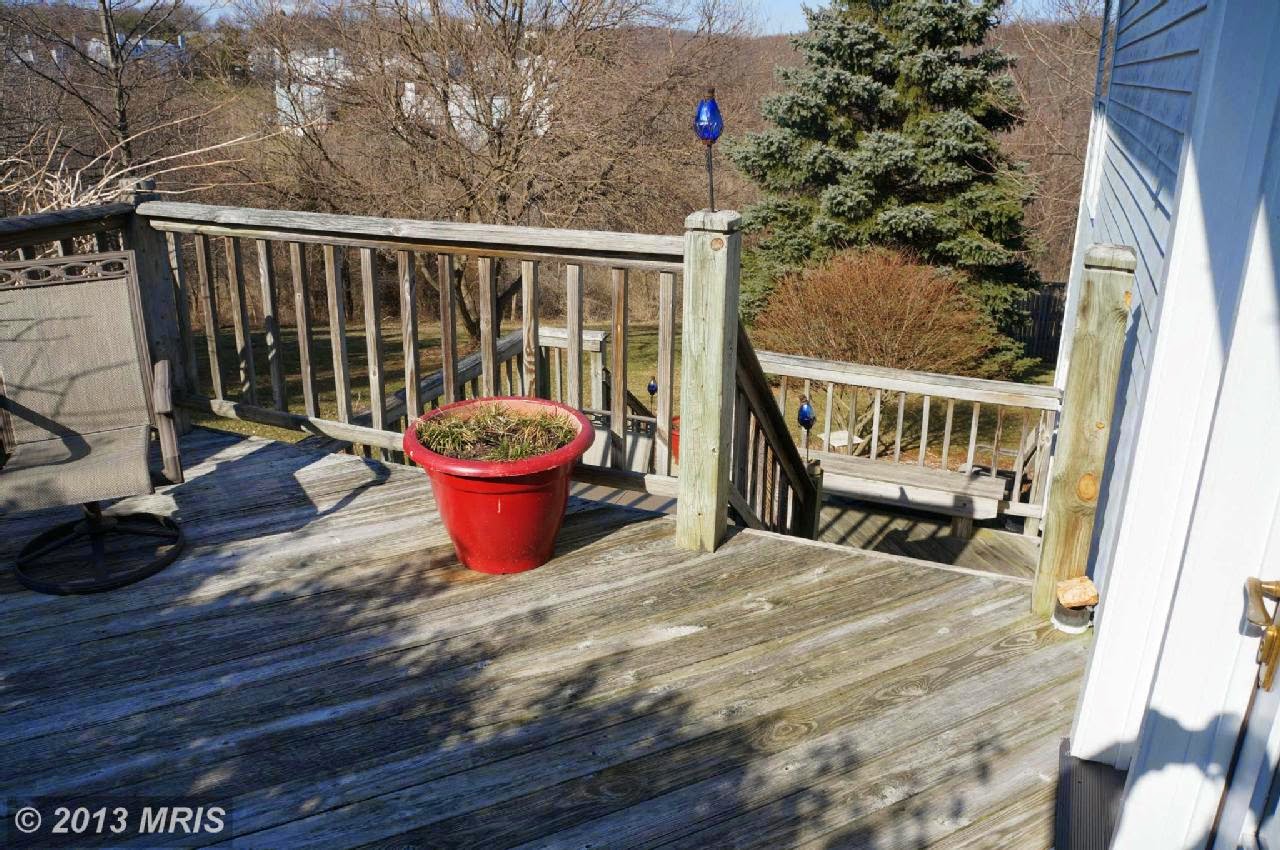
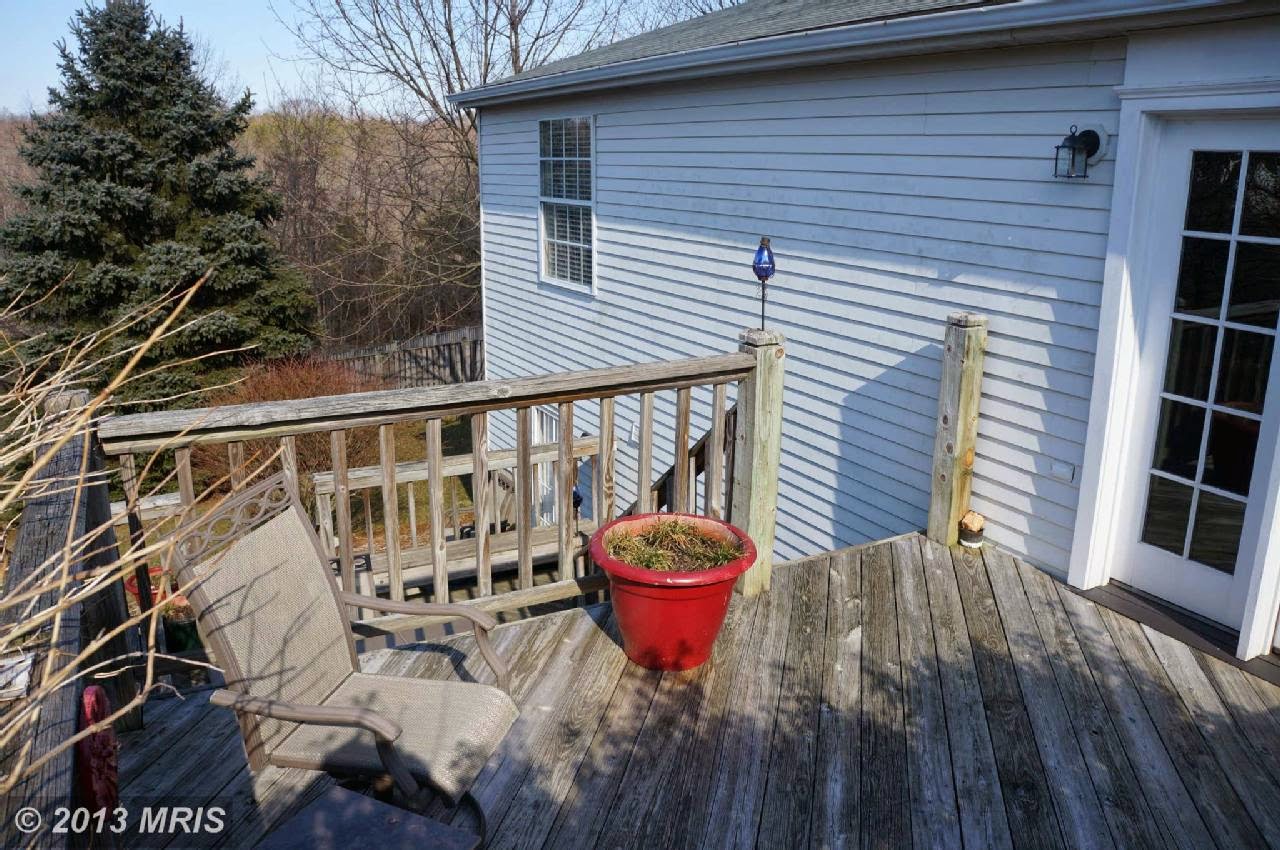
(These pics from the house listing make it look much better than it actual was, but you get the point)

Old Deck Issues

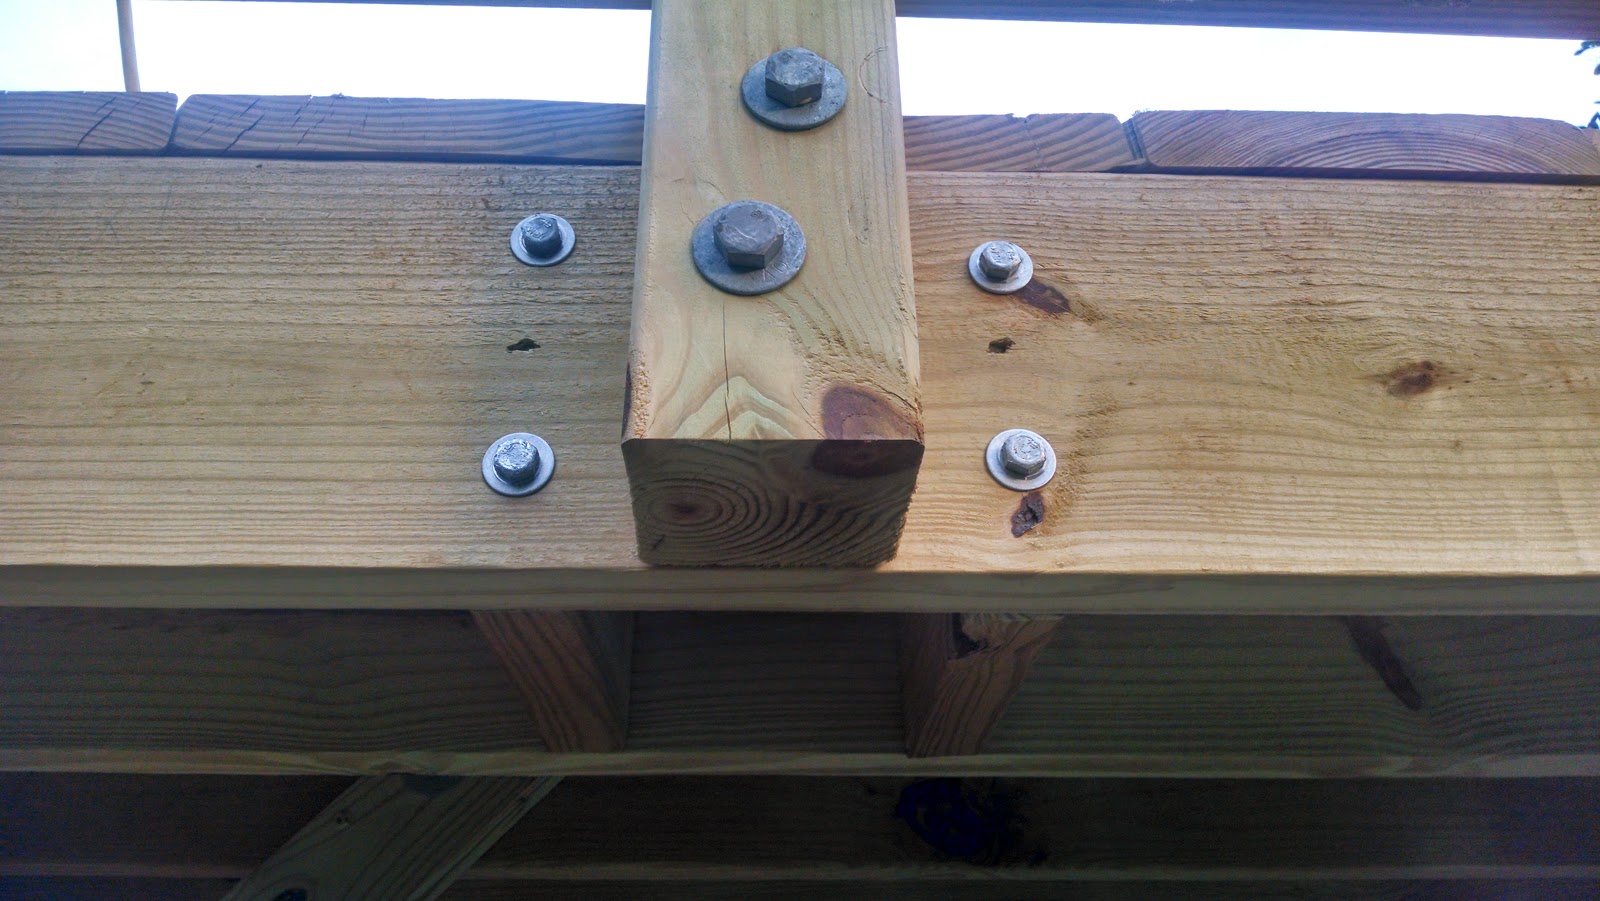
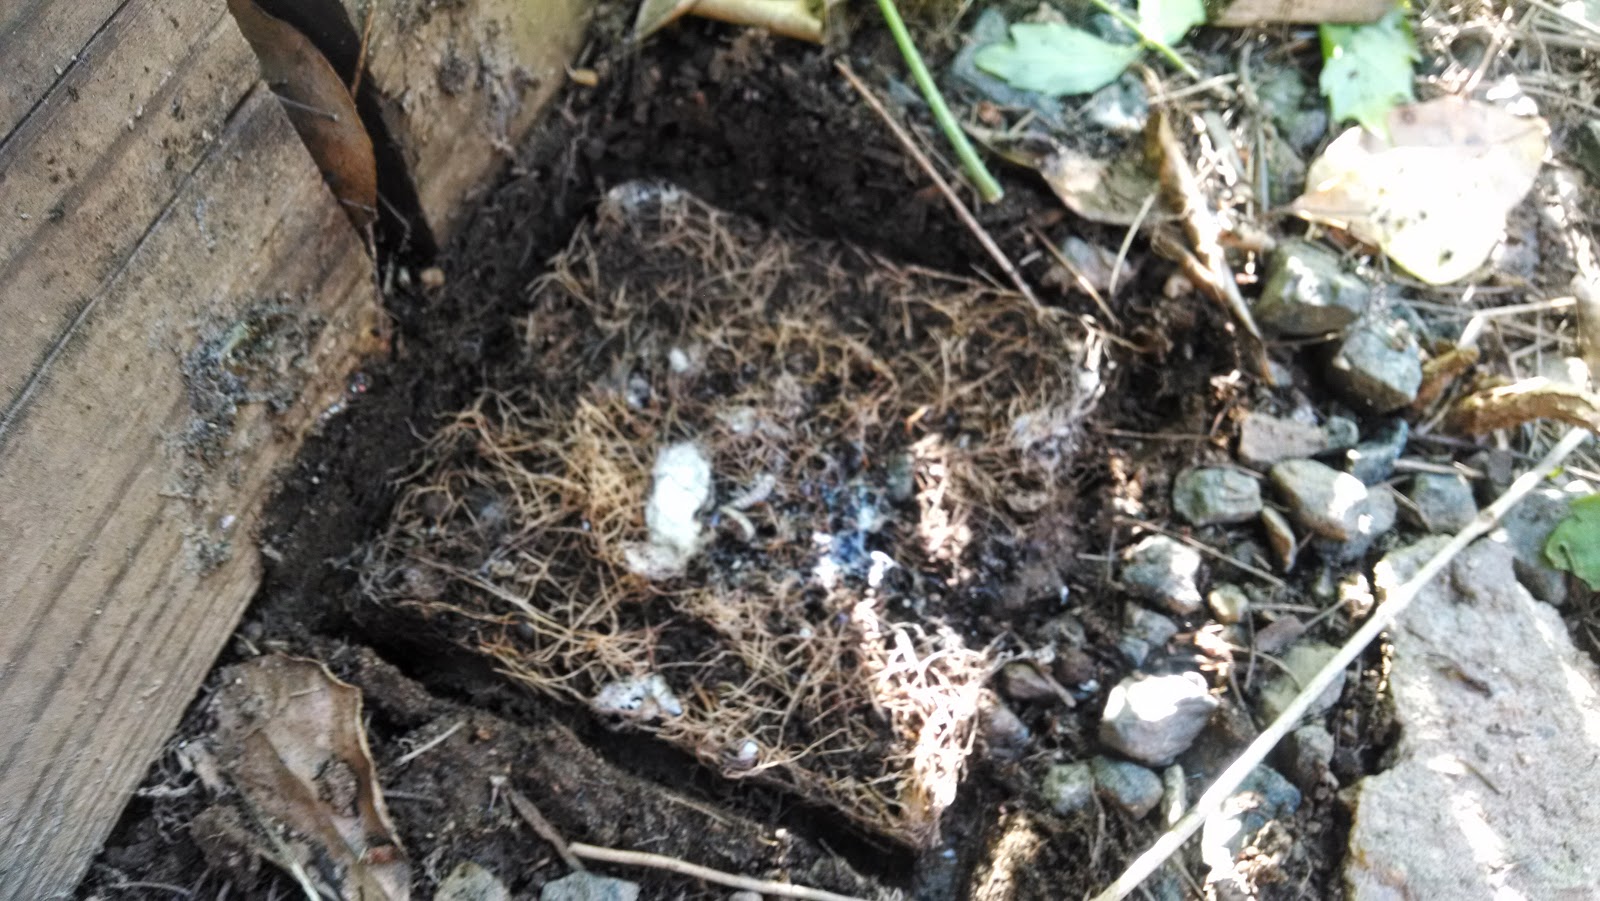
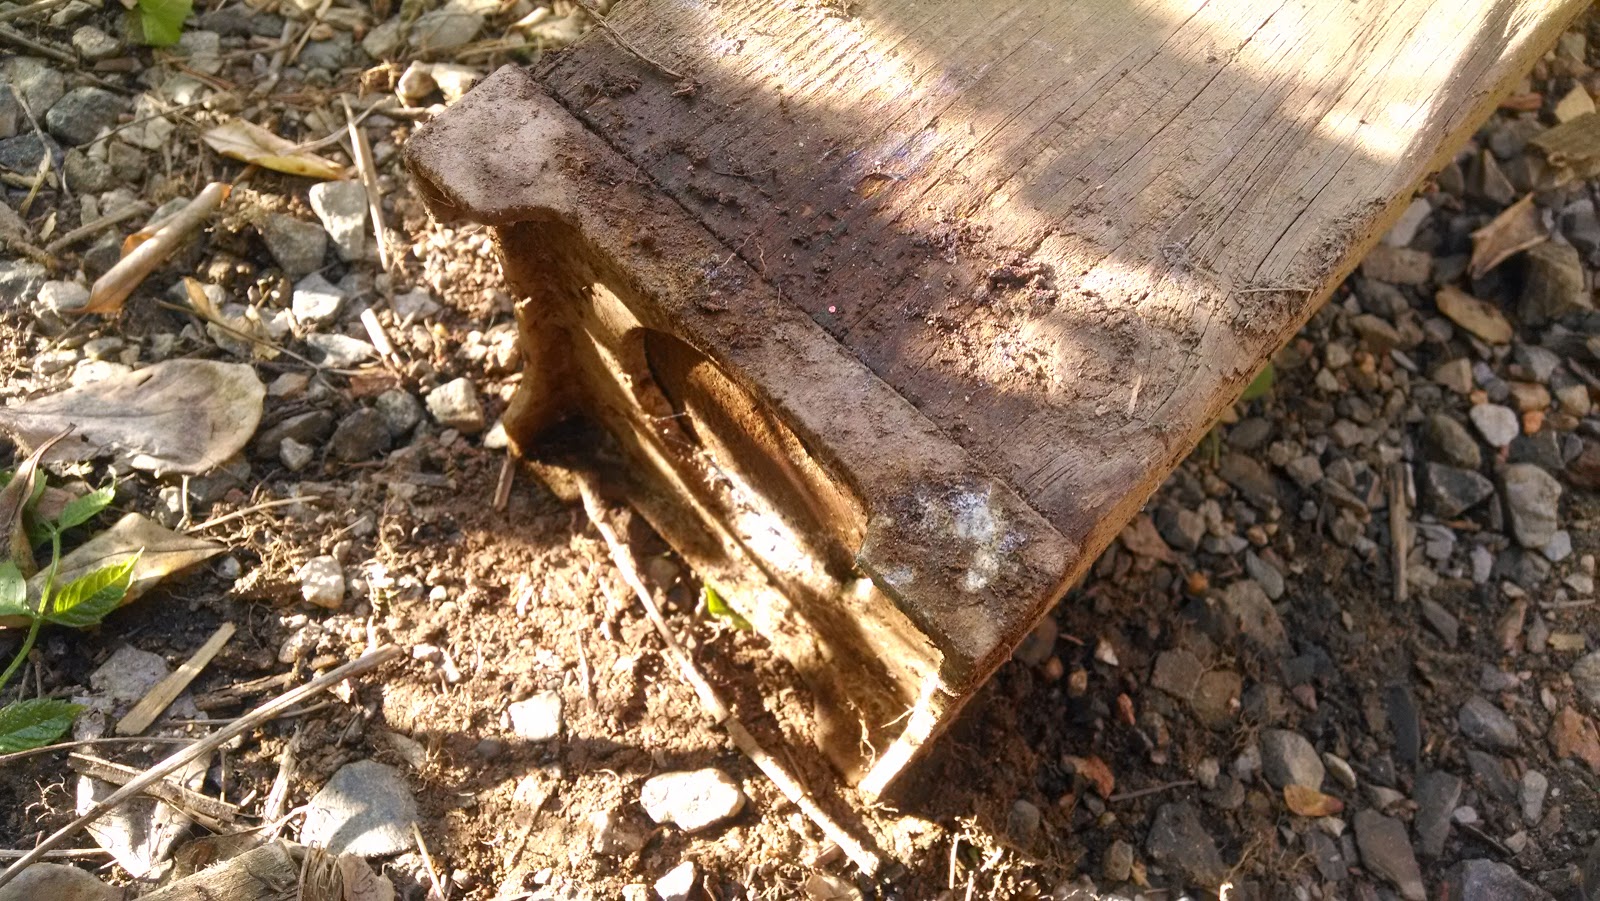
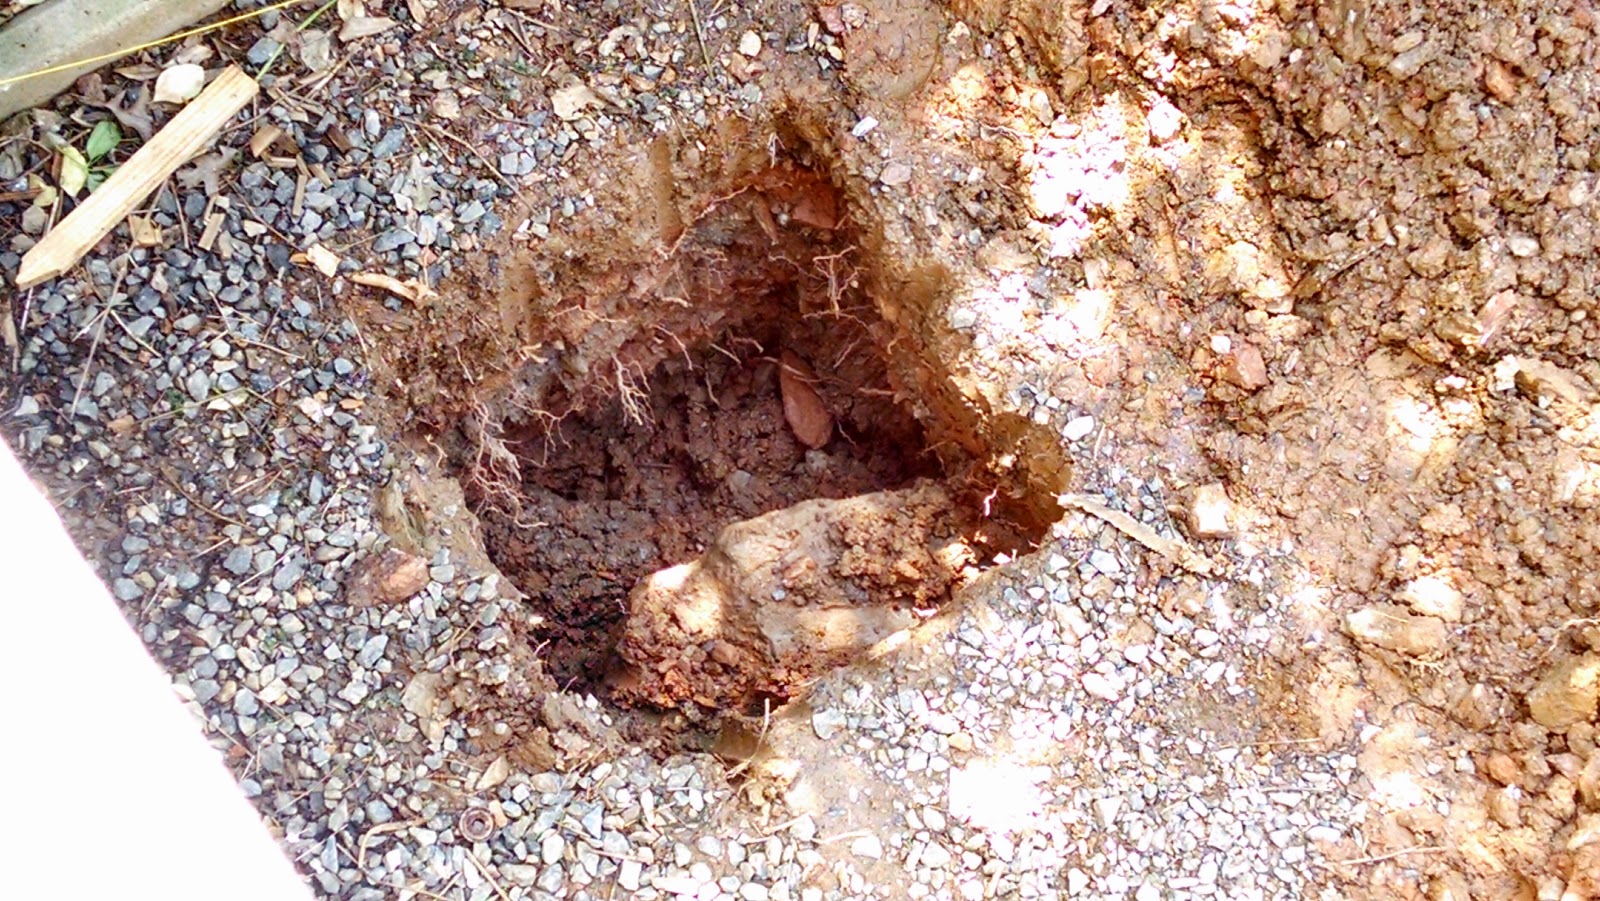
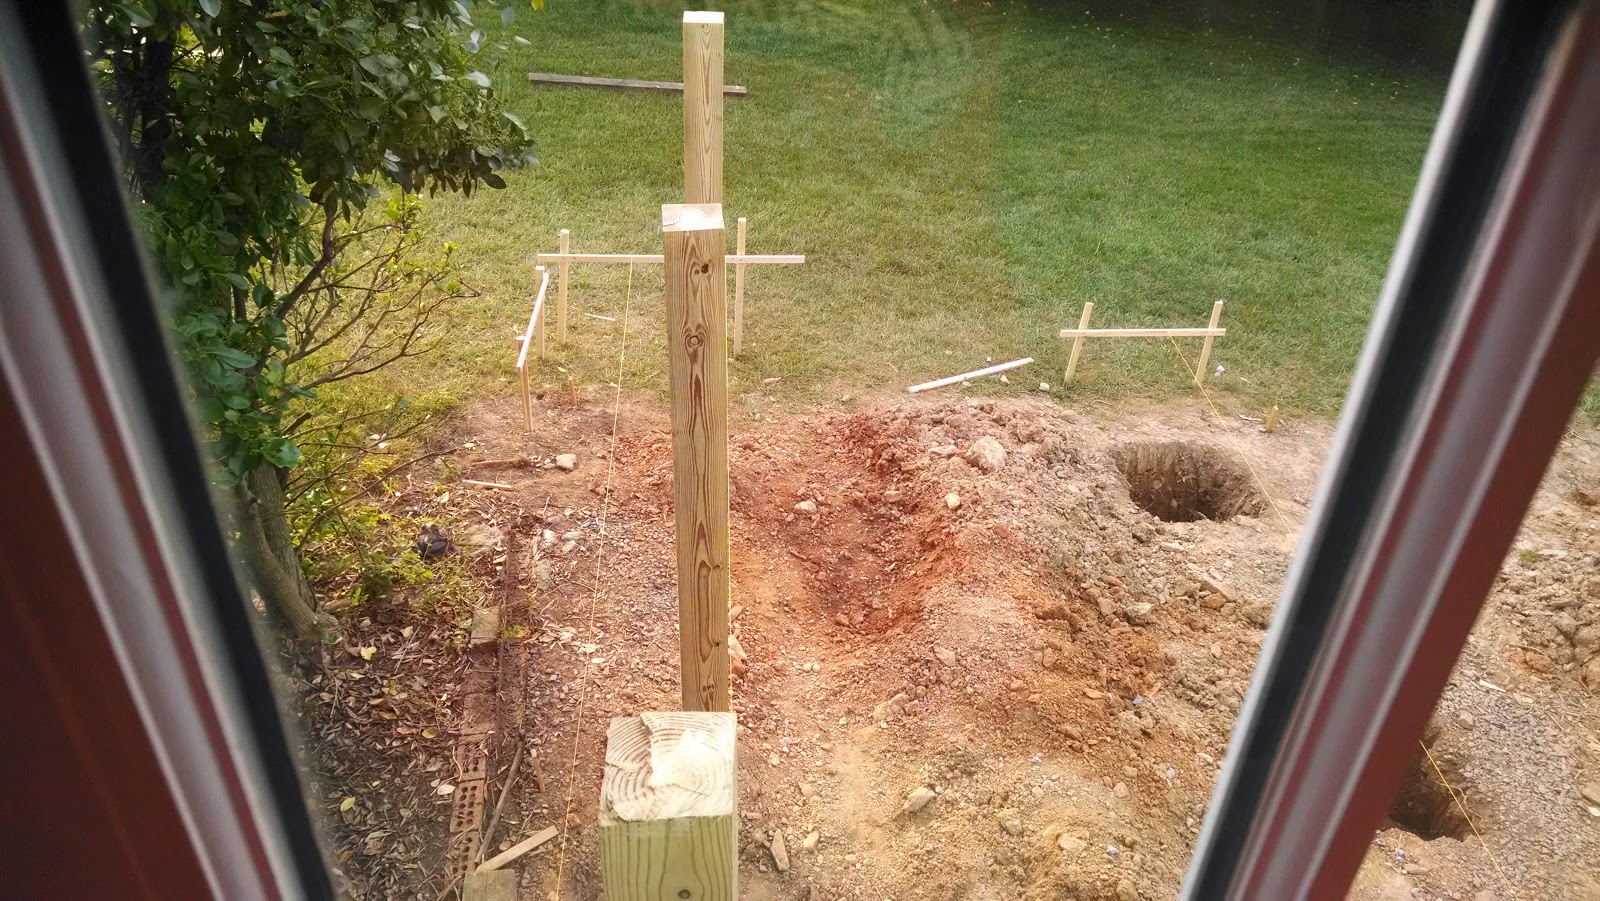
Anyone interested on the safety concerns form the old structure - The old deck attached to the house rim joist with a few lag screws installed into one 2x8 right through the siding. A lot of these screws had rusted. The deck frame consisted of 6x6 posts with 2x8 boards bolted to the sides. This means the entire weight of the structure was being supported by the rusty lag screws at the house ledger and the bolts on the posts. To code today, the beams must rest on top of the posts. I later find out during demolition that (see picture below) the posts weren't even connected to a cement footing, or burried into the ground! They were just sitting on the ground....wow. Once we cut off the beam, the posts fell right over.
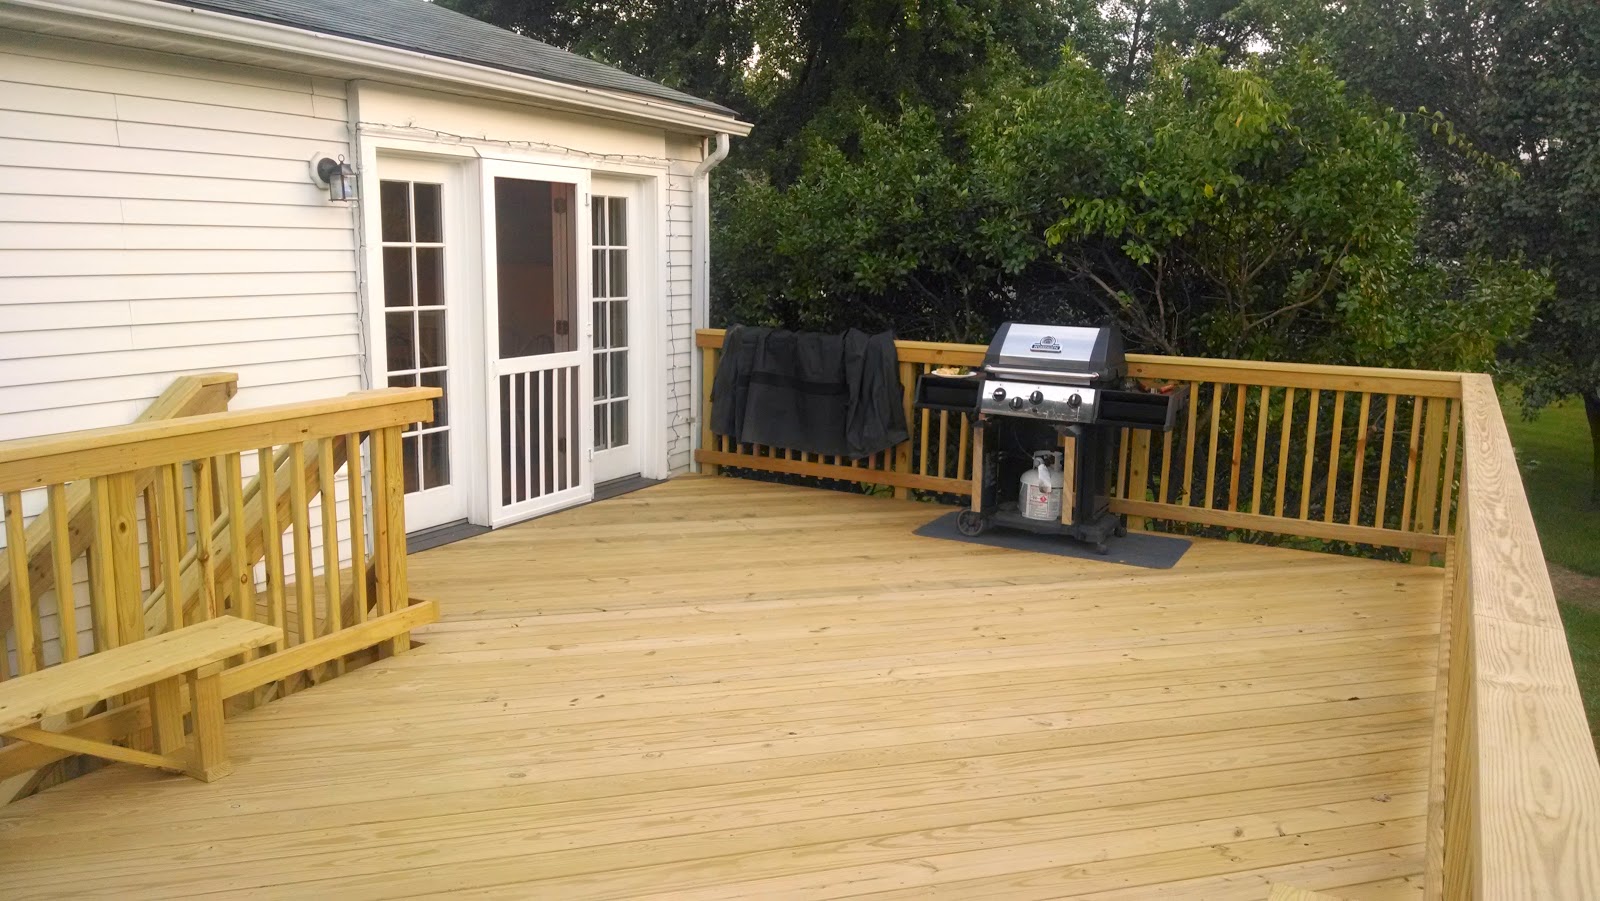
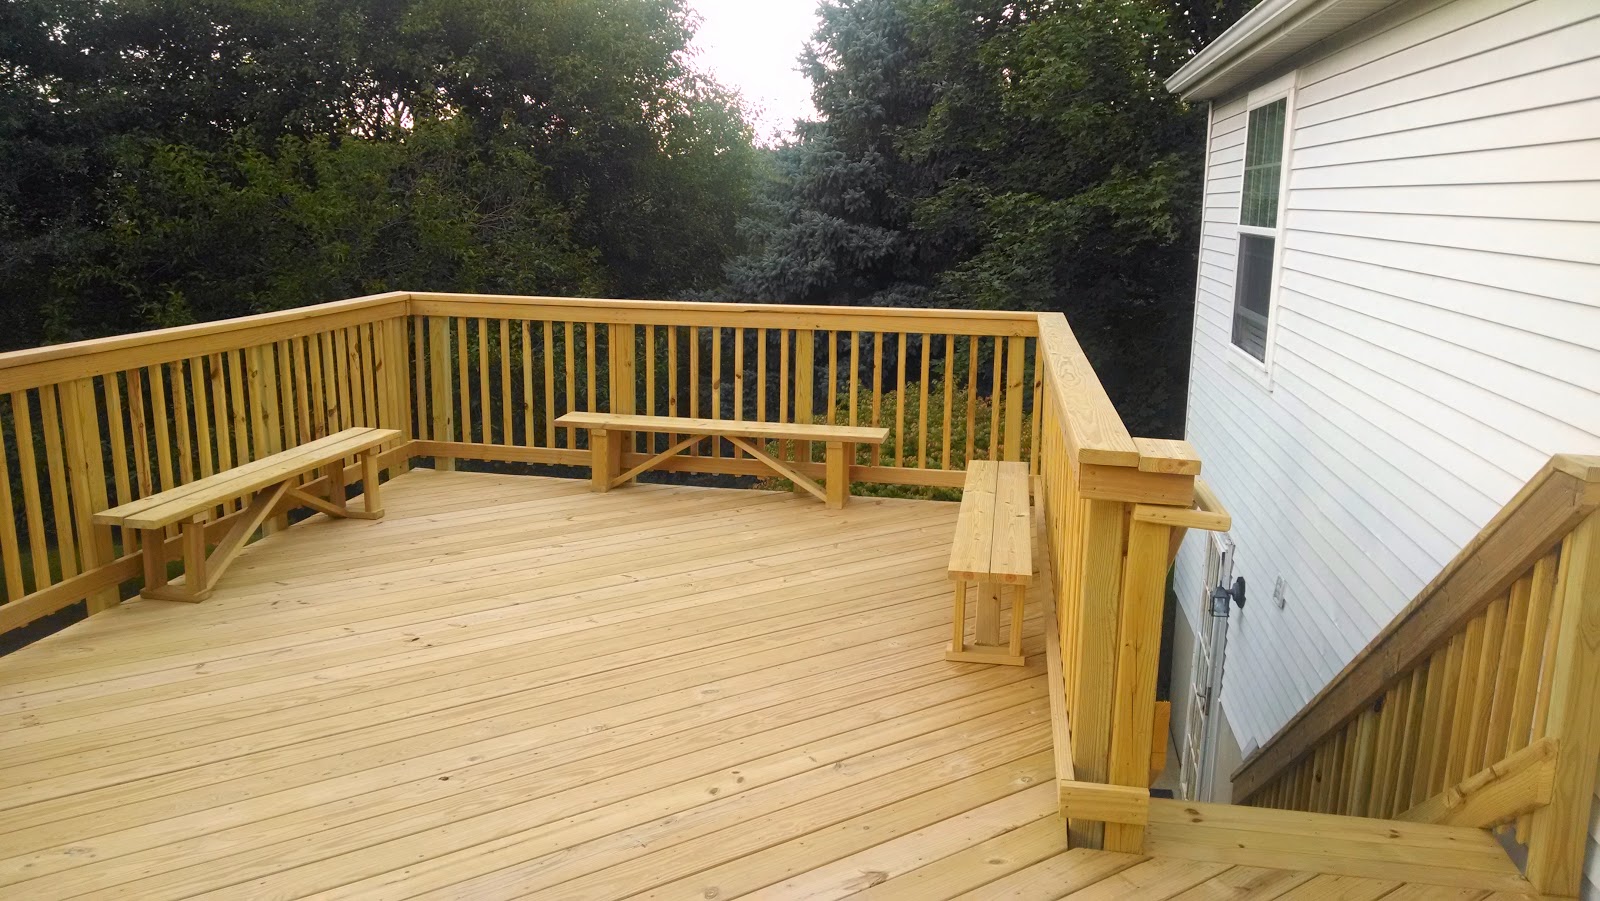
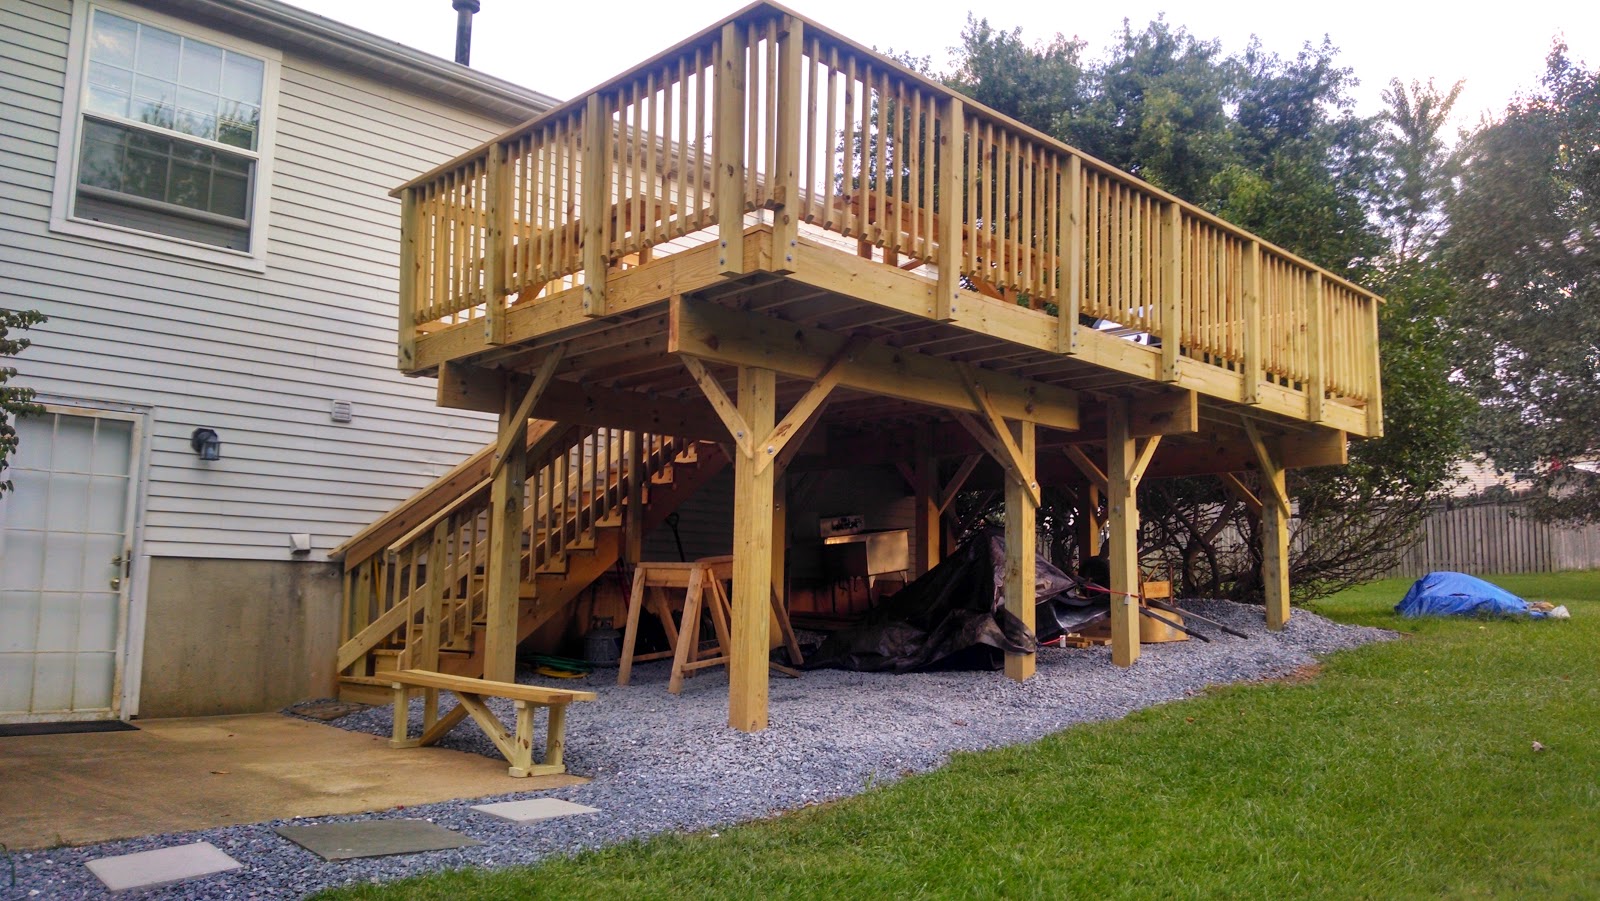
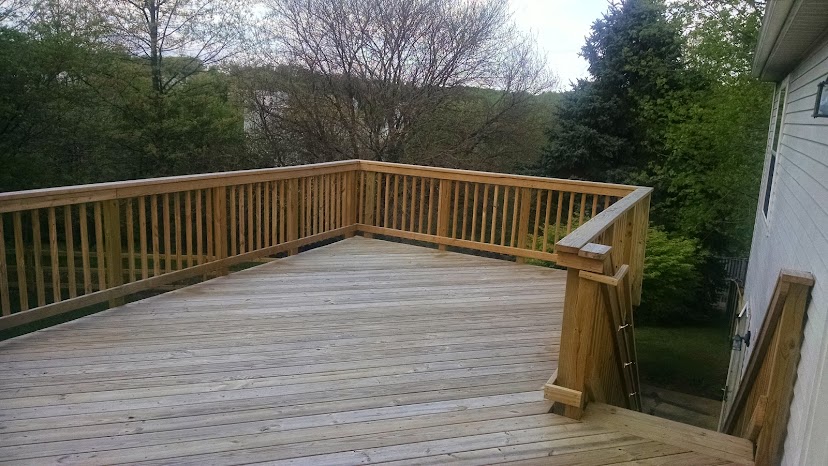
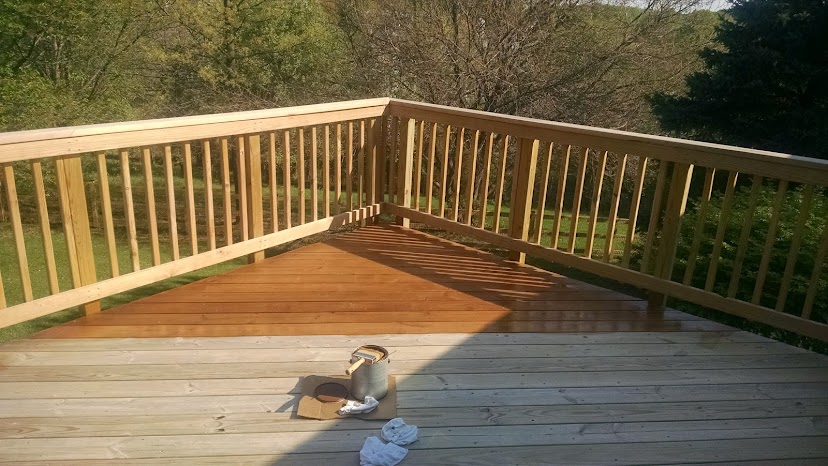
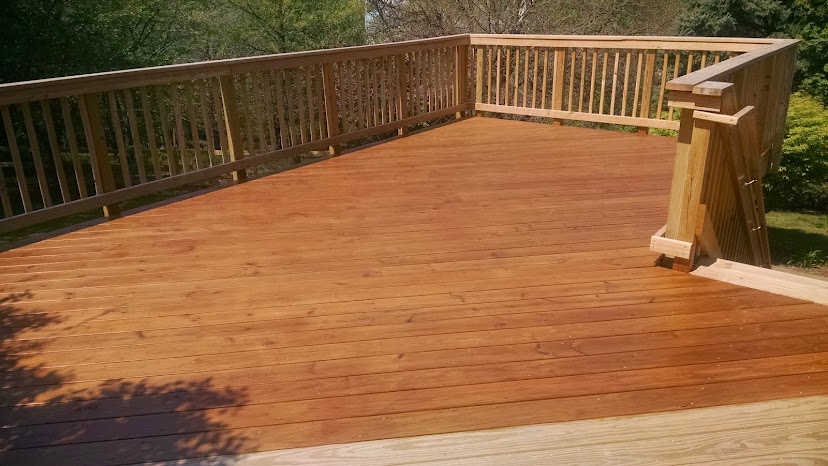
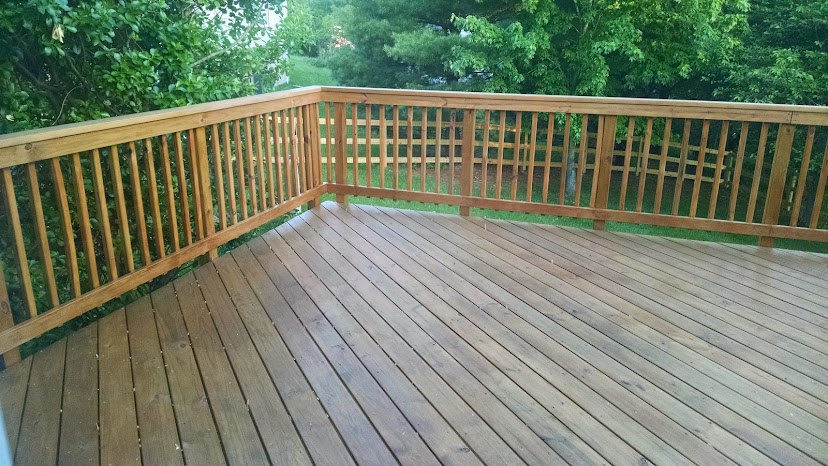
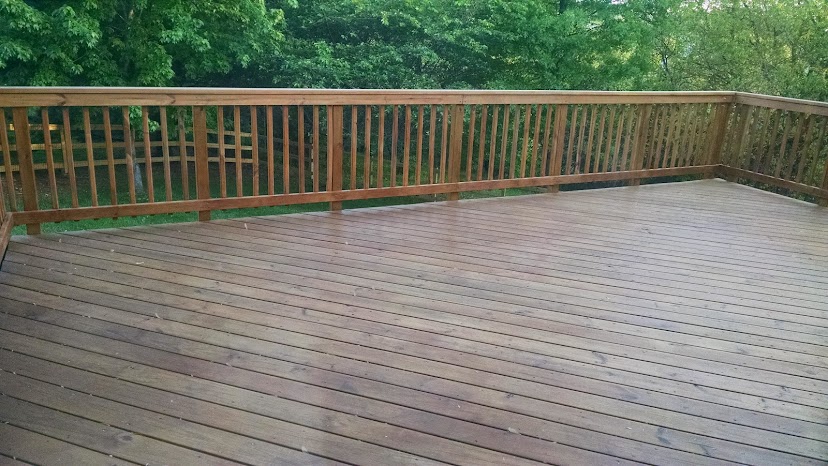
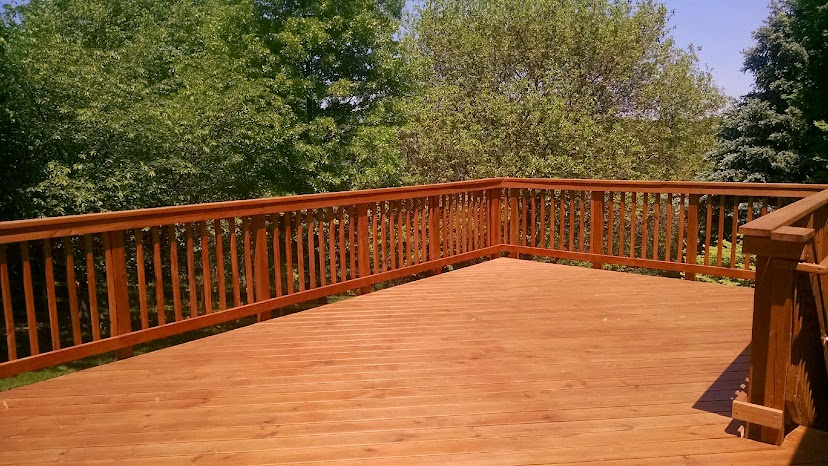
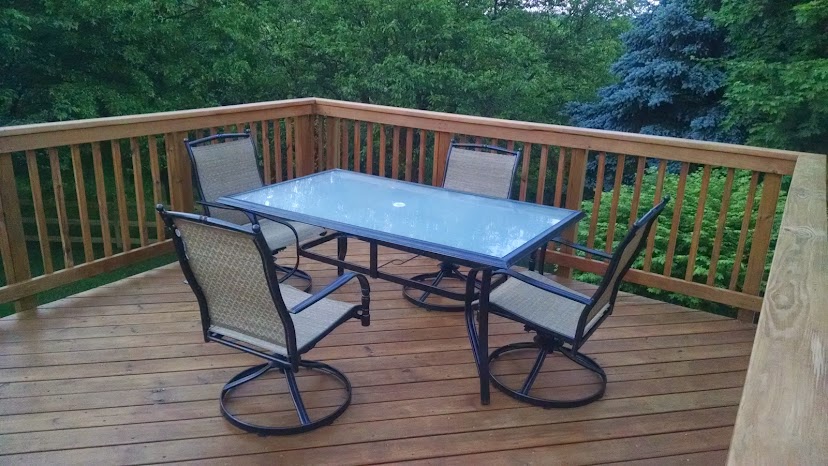
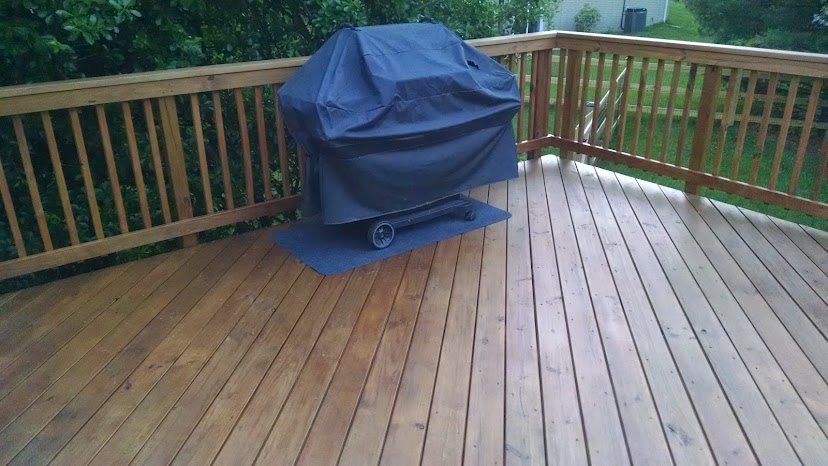
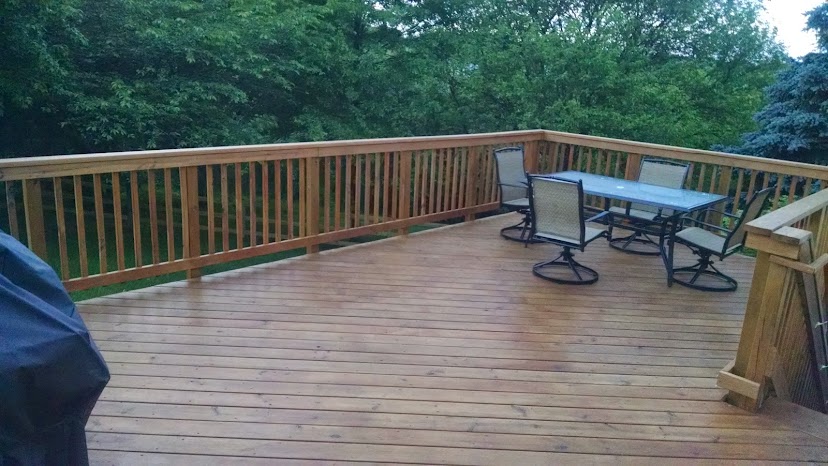
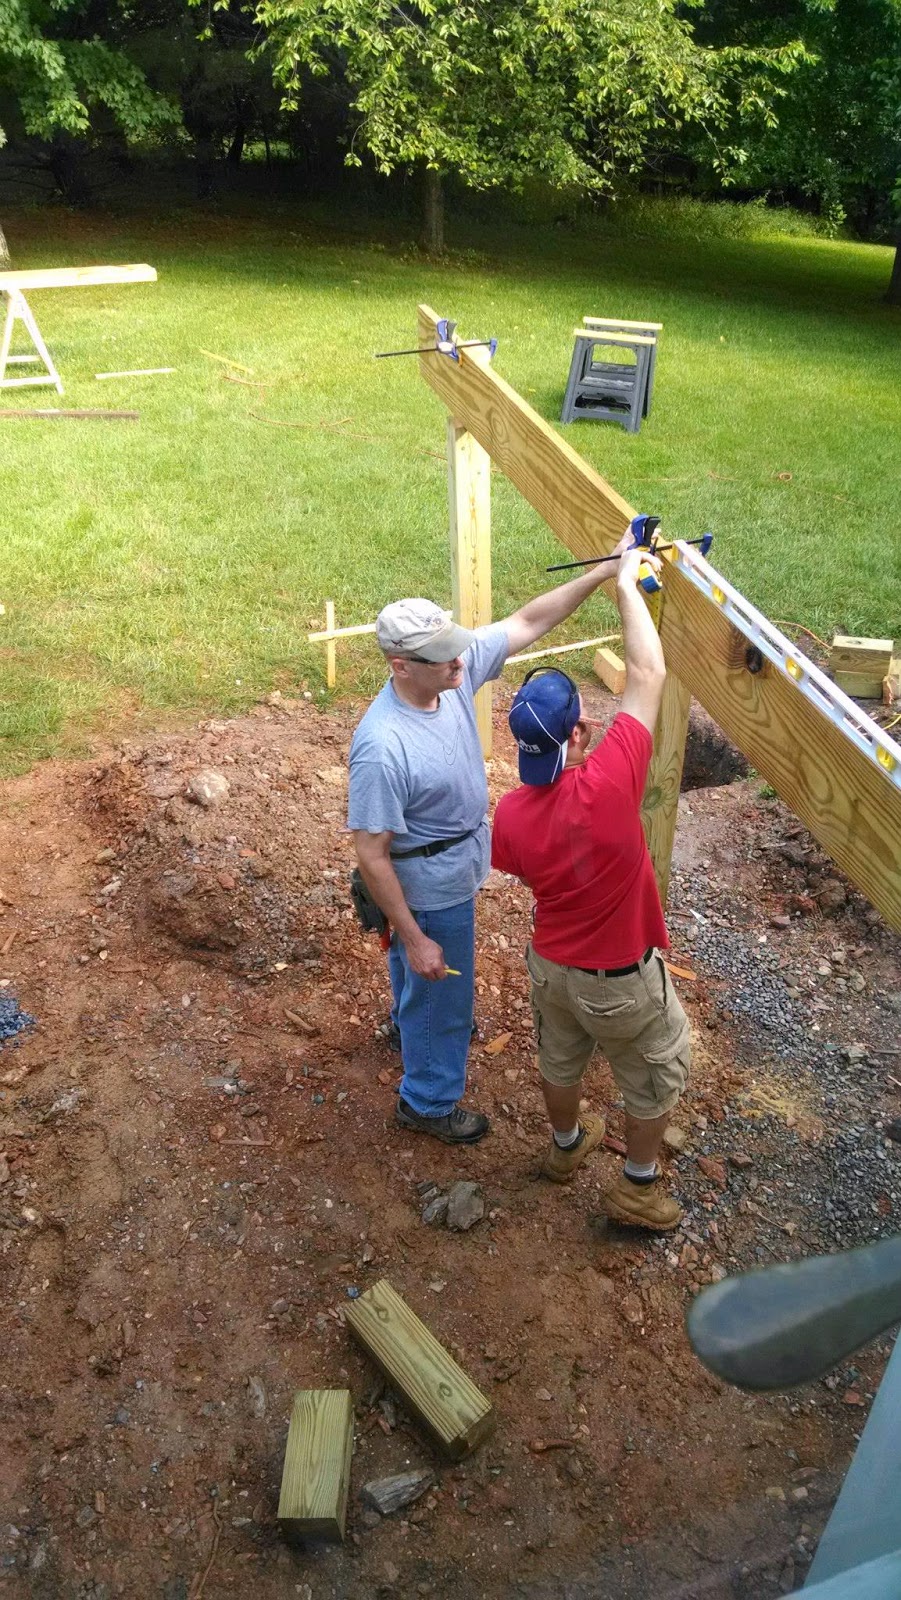
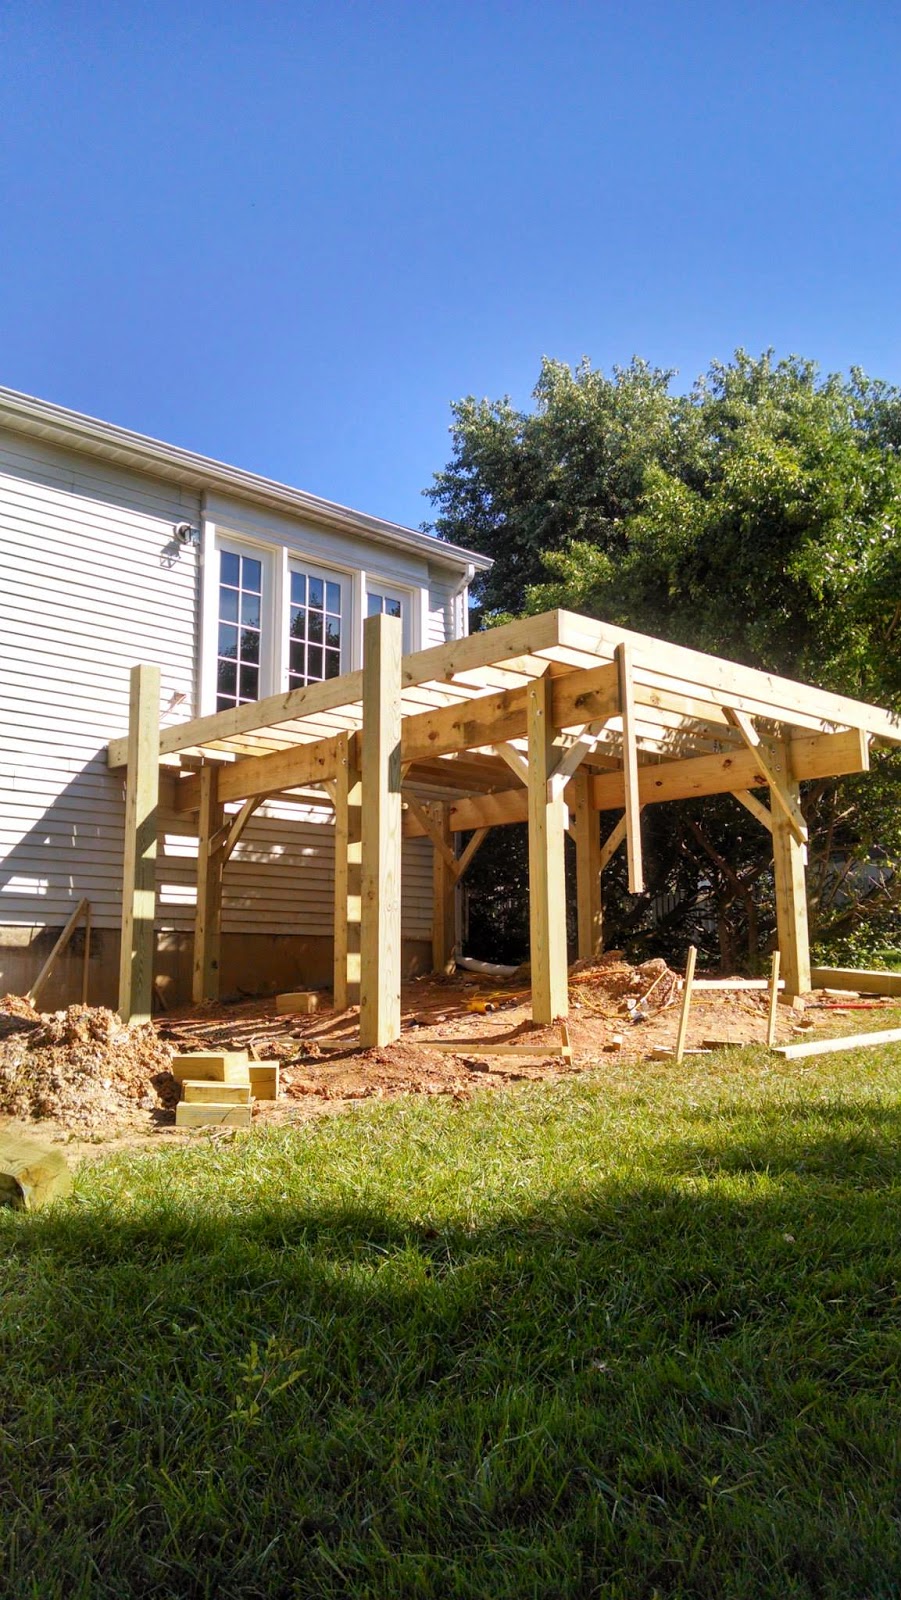
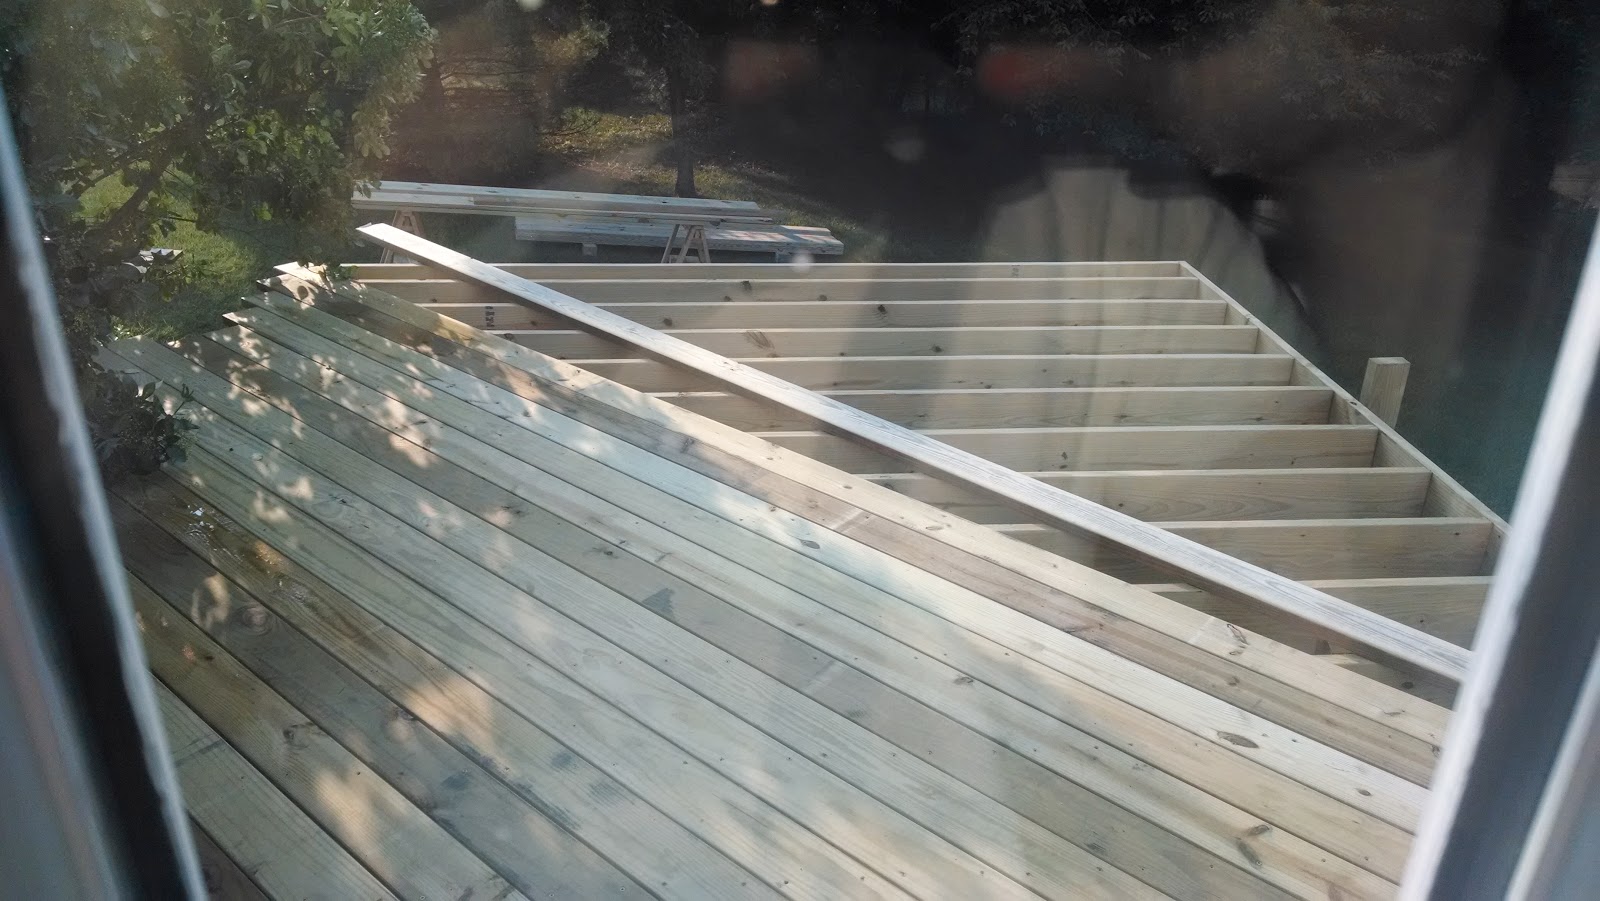
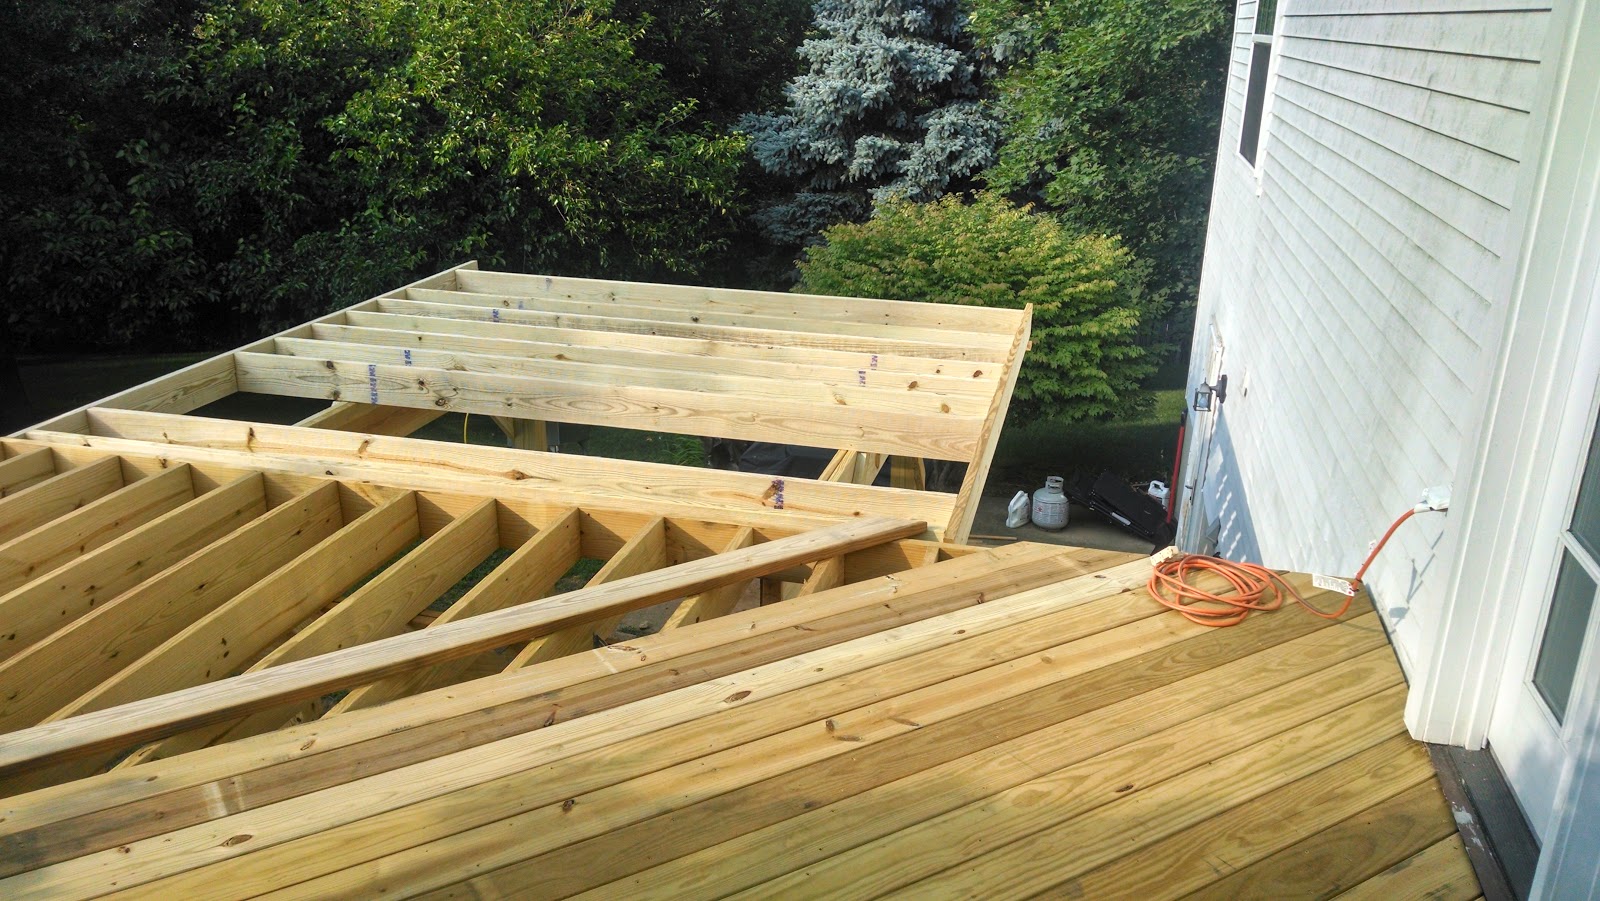
IMG_20140614_182233686.jpg


IMG_20140614_182239922.jpg


New Deck

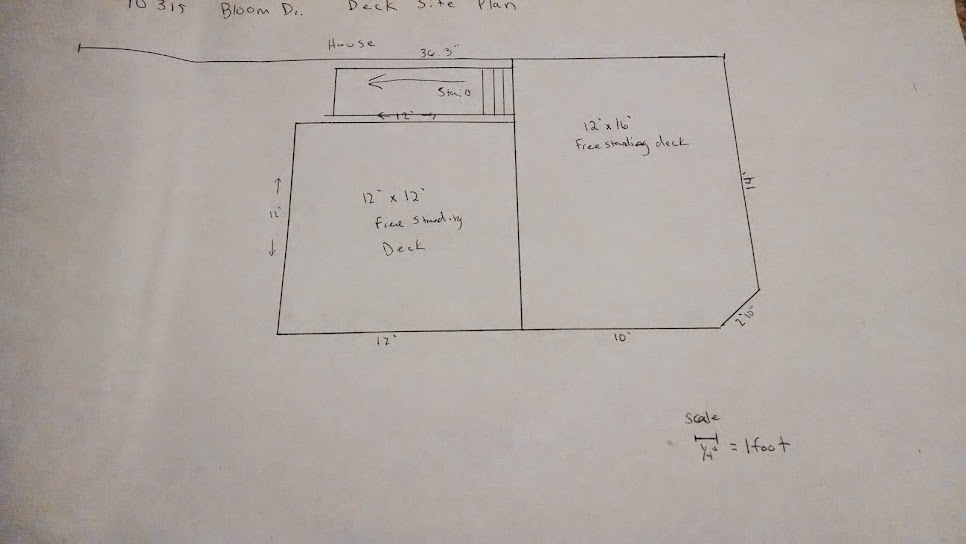
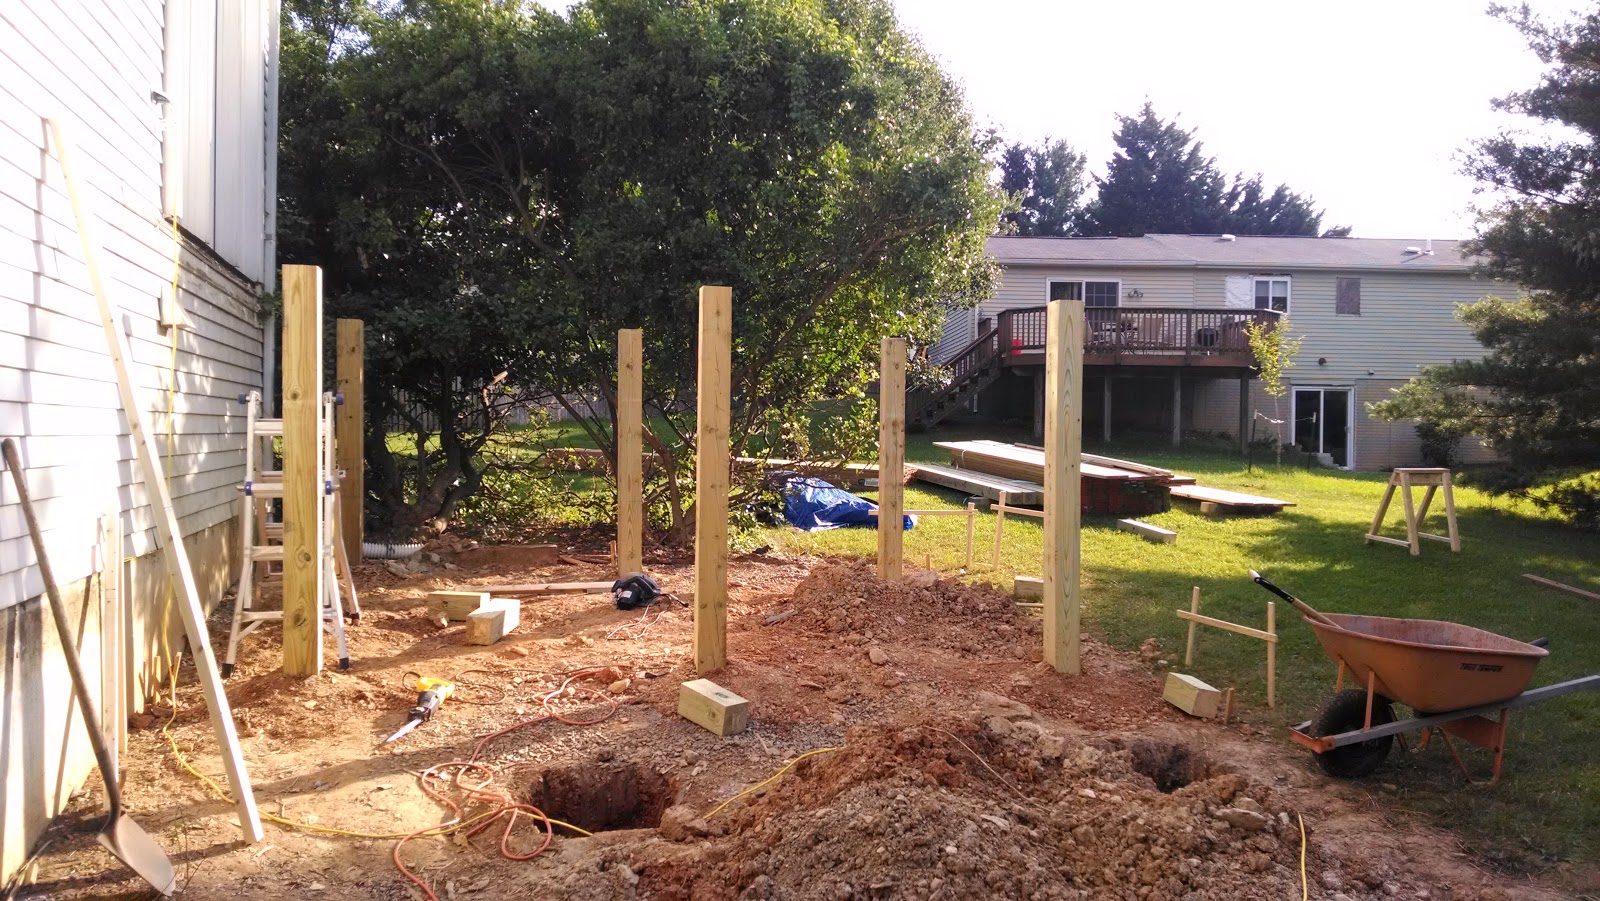
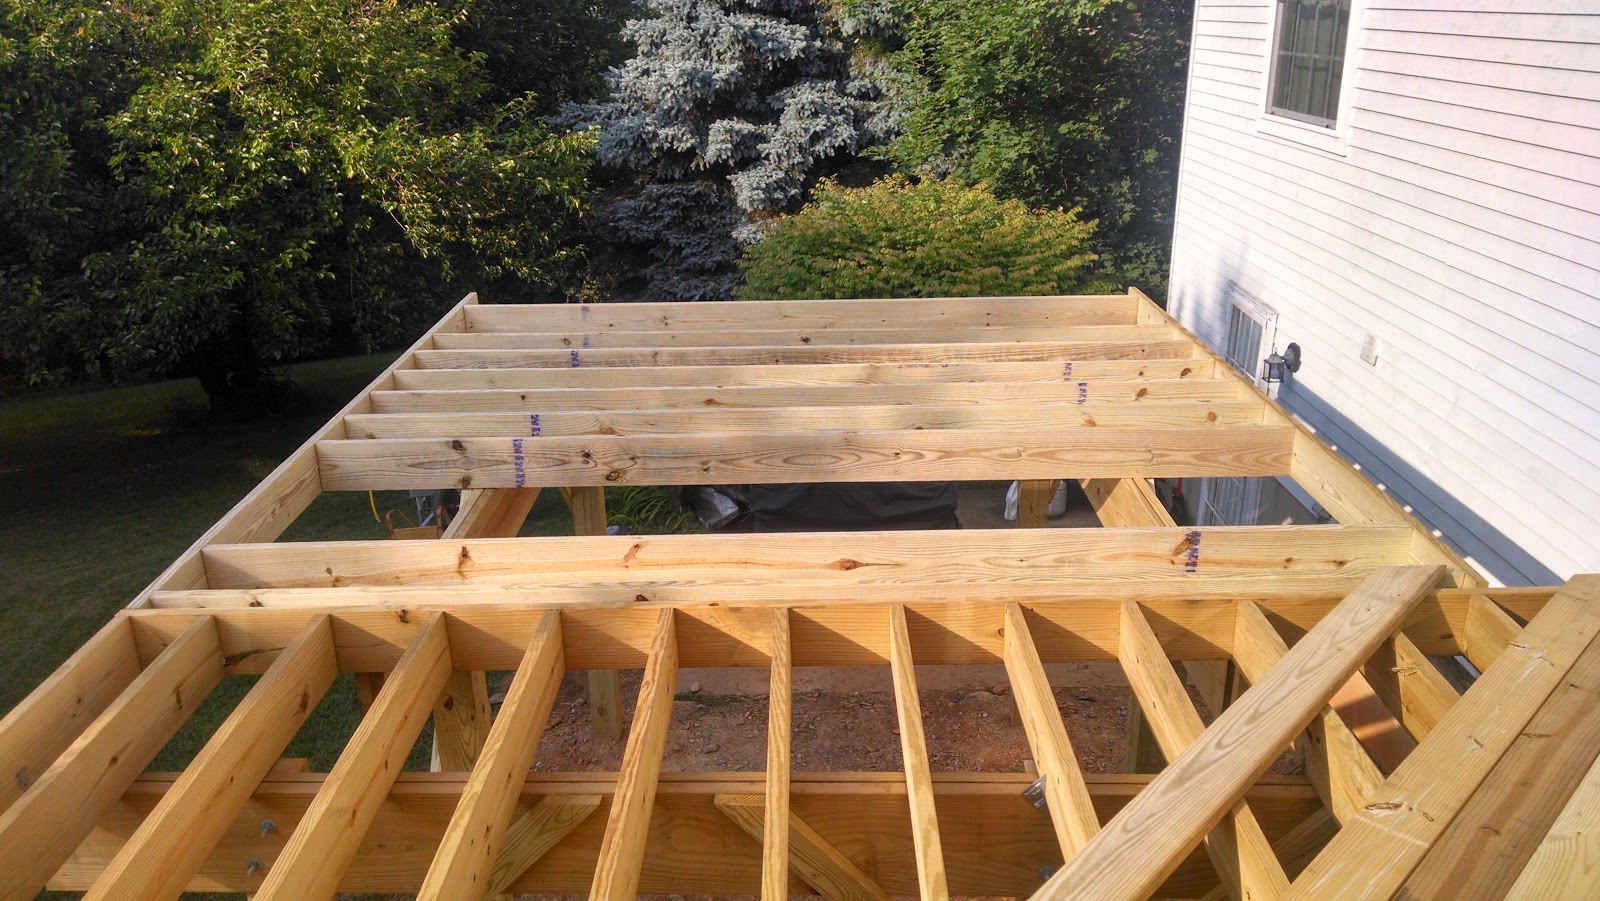
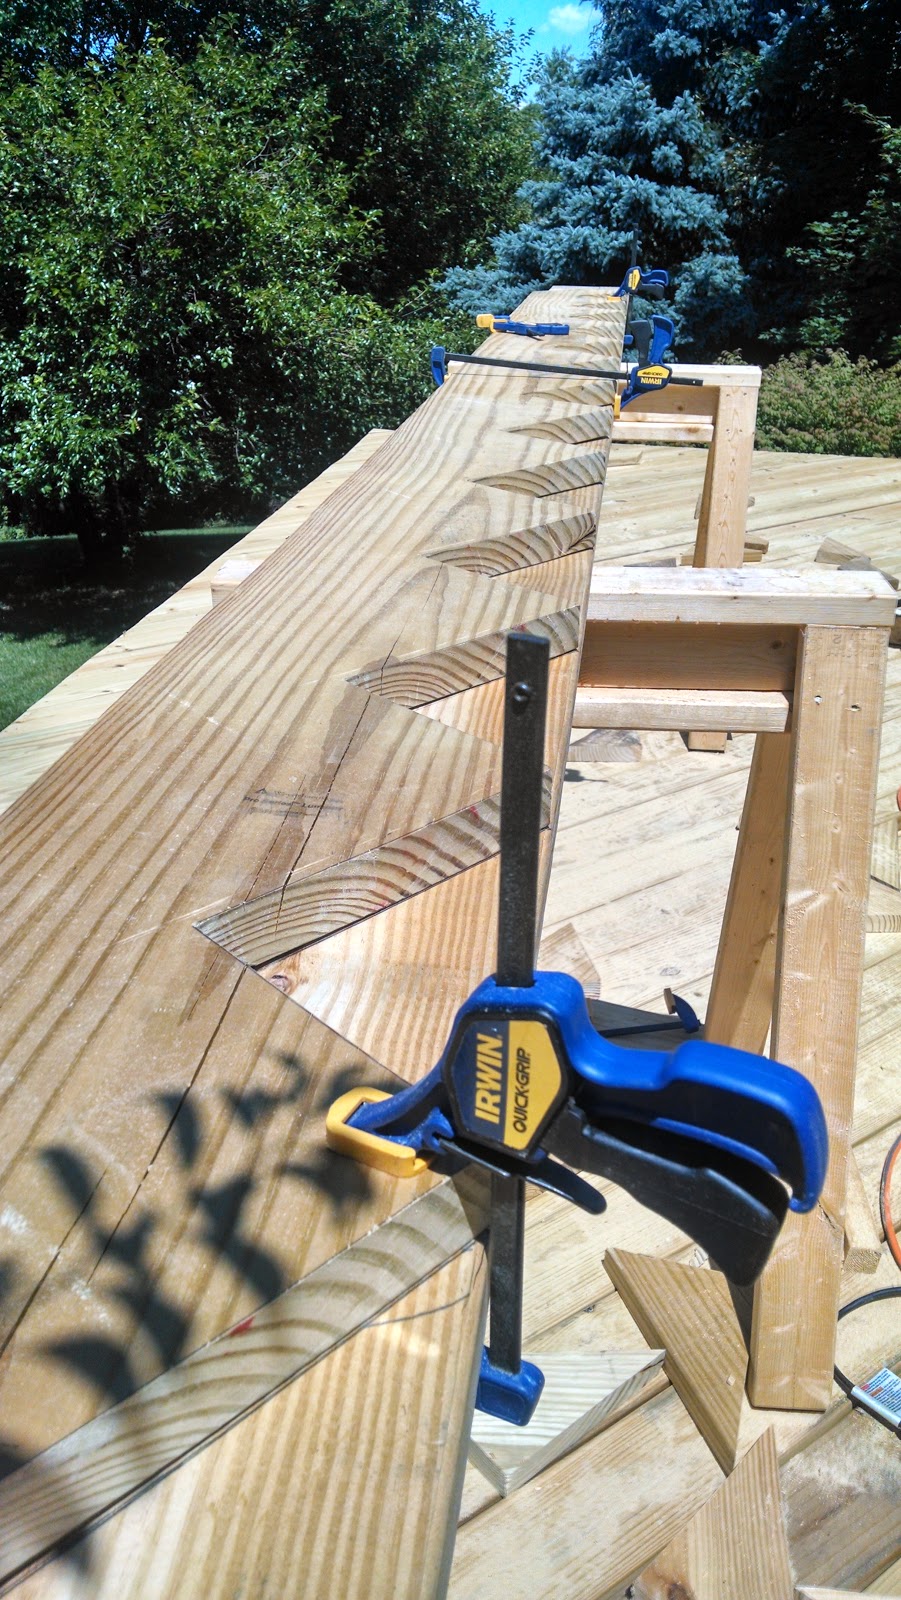
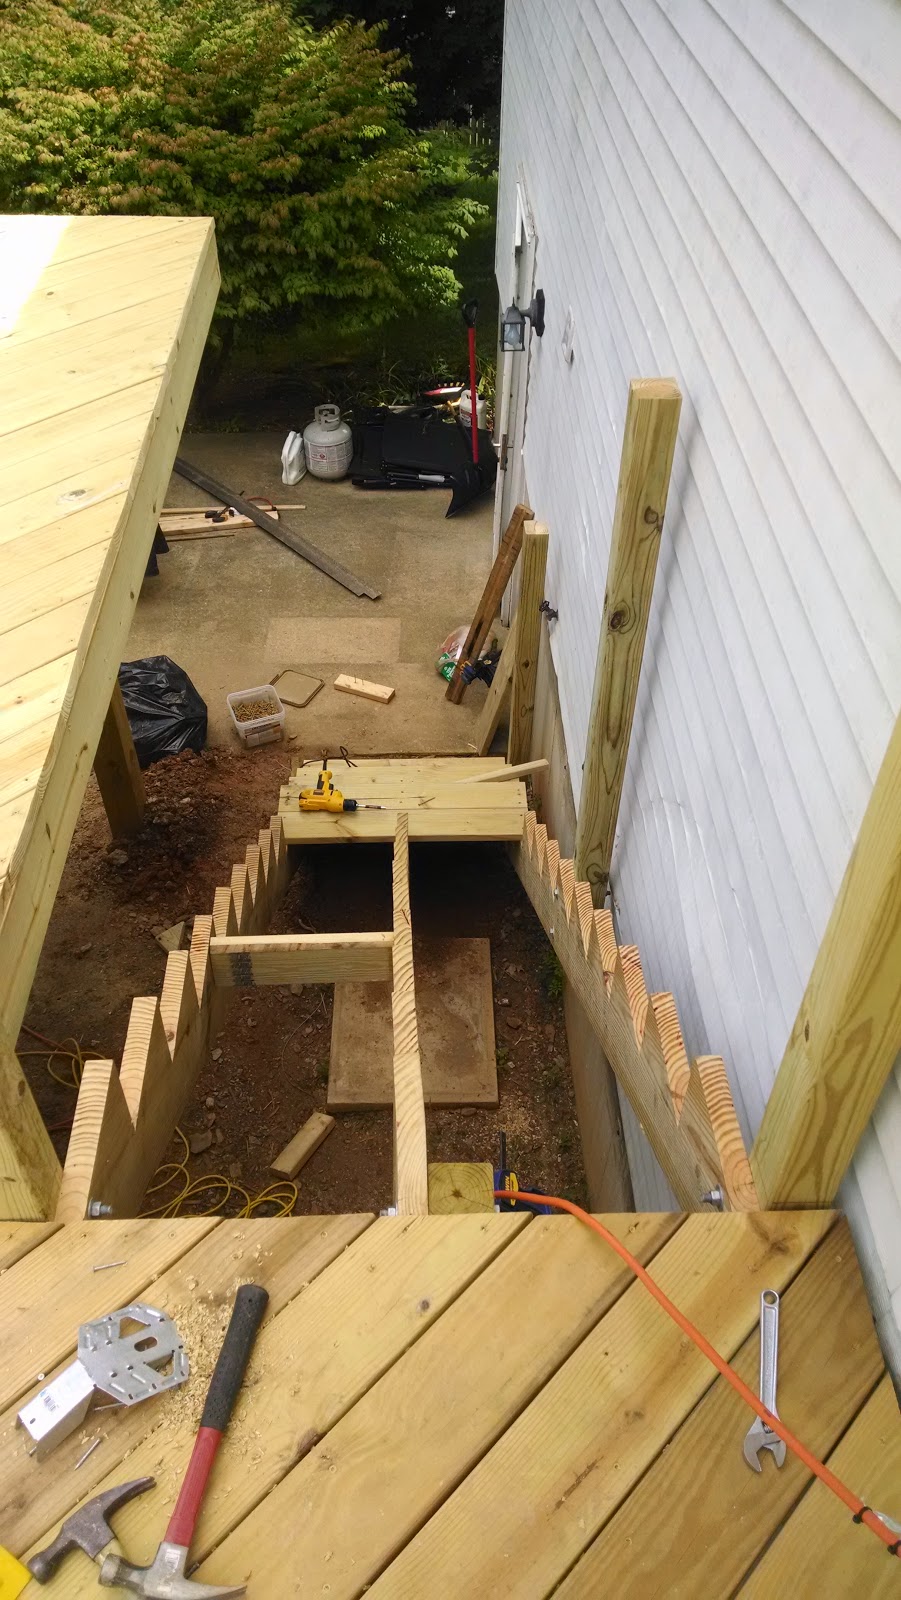
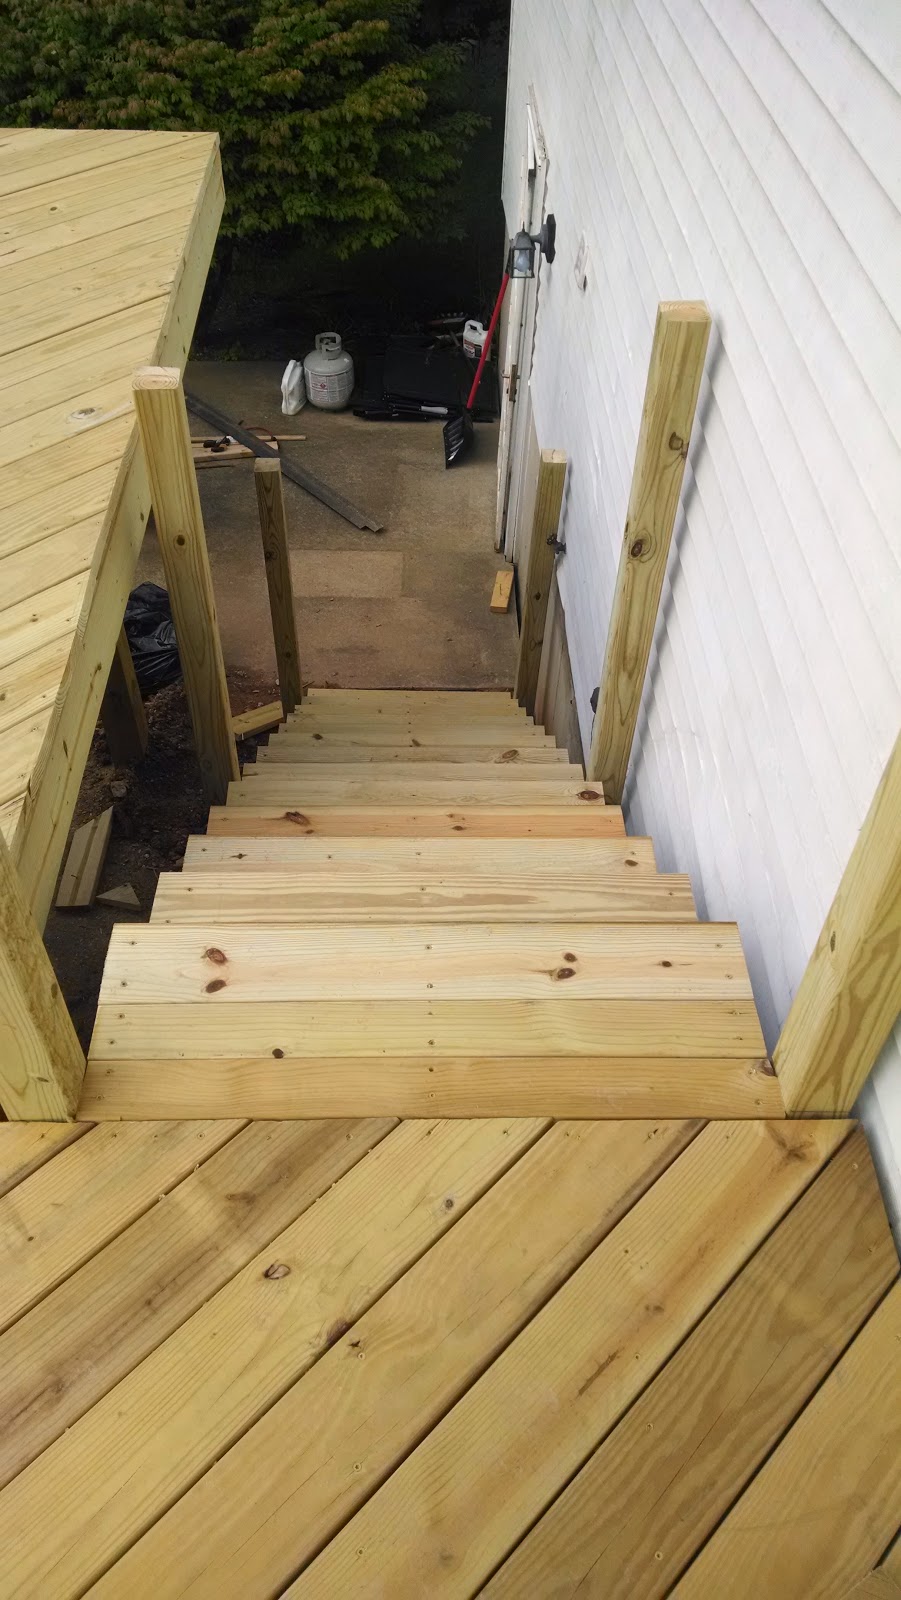
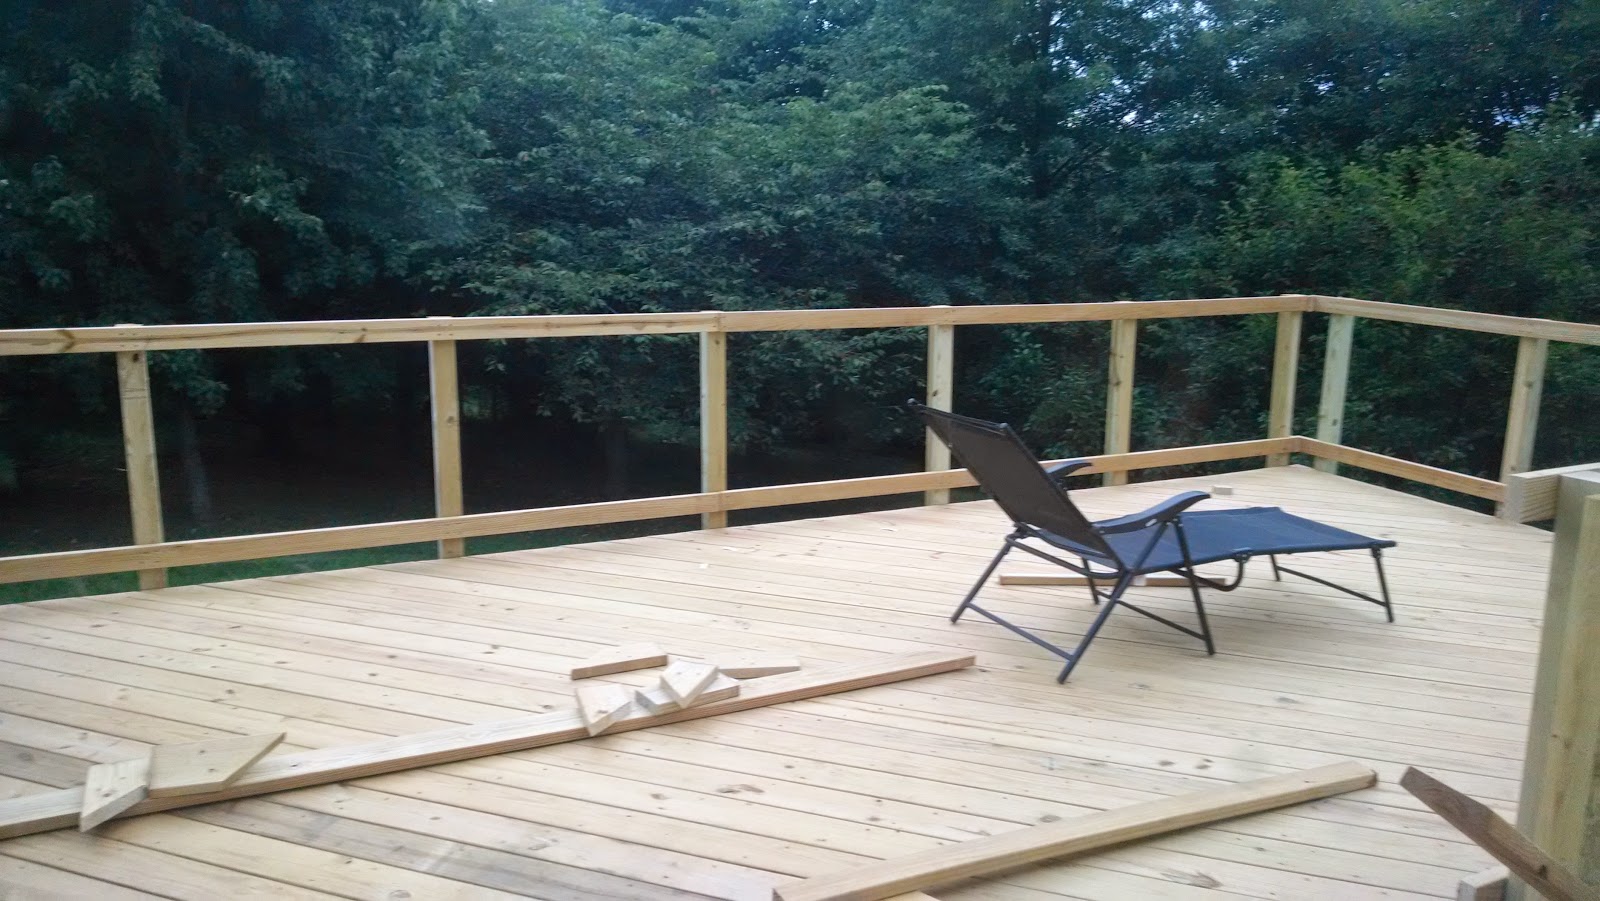
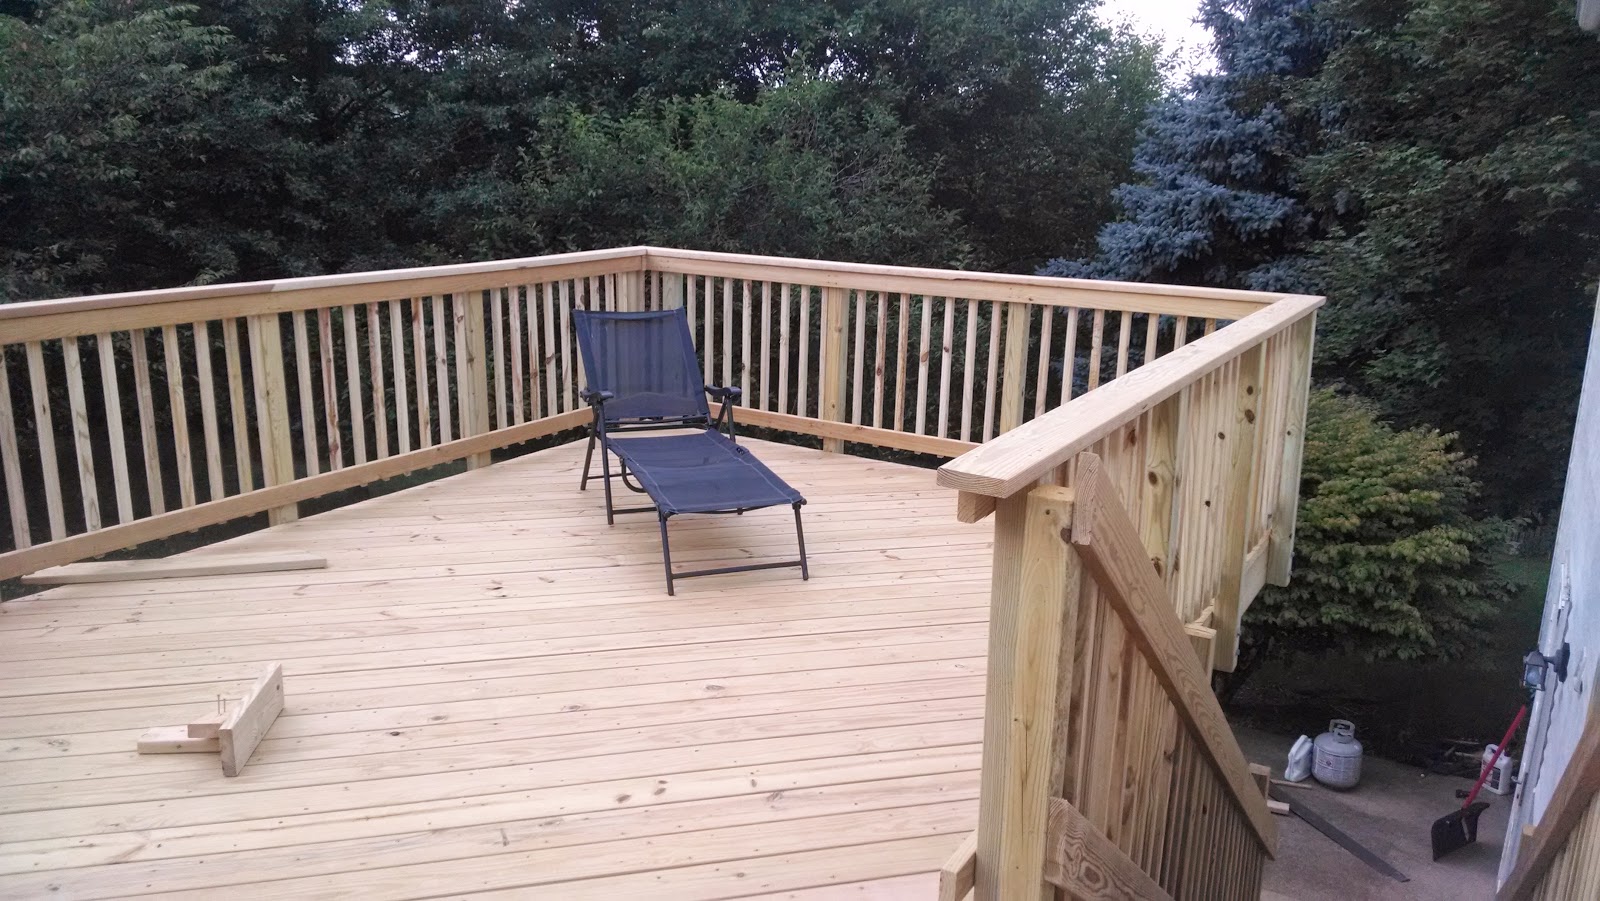
For the new deck I had to go to the county office and get a permit. I made I sure I was there right as they opened at 7:30am. This process would have been really quick and smooth had I not been right behind someone representing a fence and deck company. This lady was getting 9 permits...so it was as if 9 people were in front of me! So much for being there right when they opened! The way my county has things set up, if a homeowner is going to build a deck by themselves, they don't need to submit official constructions plans as long as they follow the county deck packet to a "T." Because of this, my end design would need to be framed a little differently than a normal deck with my proposed layout to meet the county requirements. I confirmed with the county that as long as my two frames each met the requirements, I could run the decking over both structures. I will end up having a 12x16 and a 12x12 framed deck at the same level for 336 total square feet!

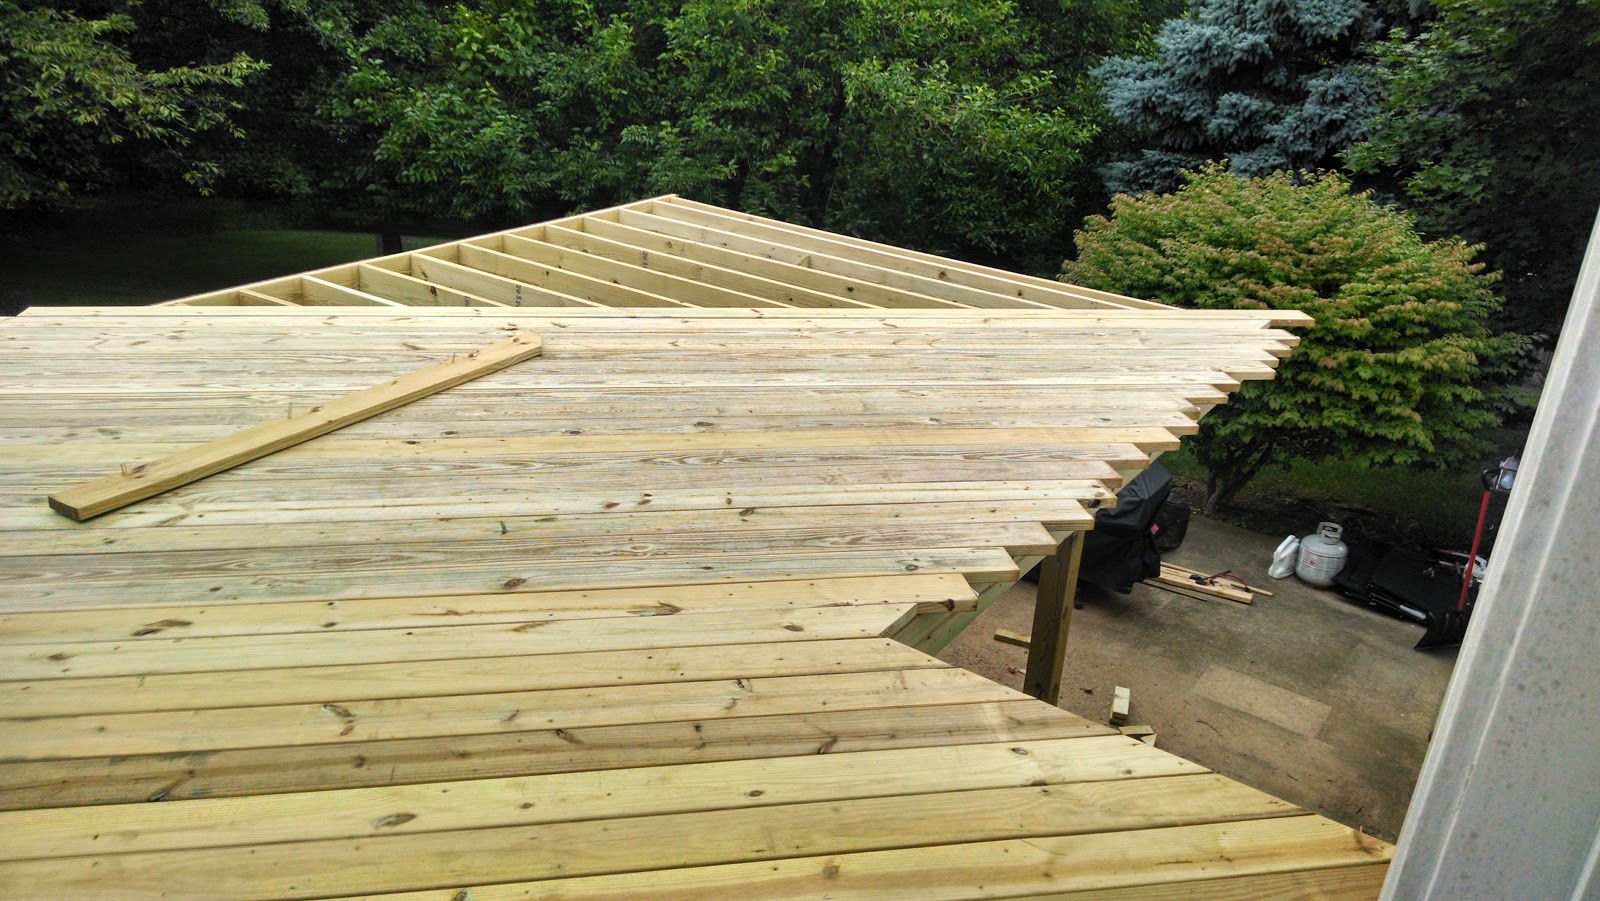
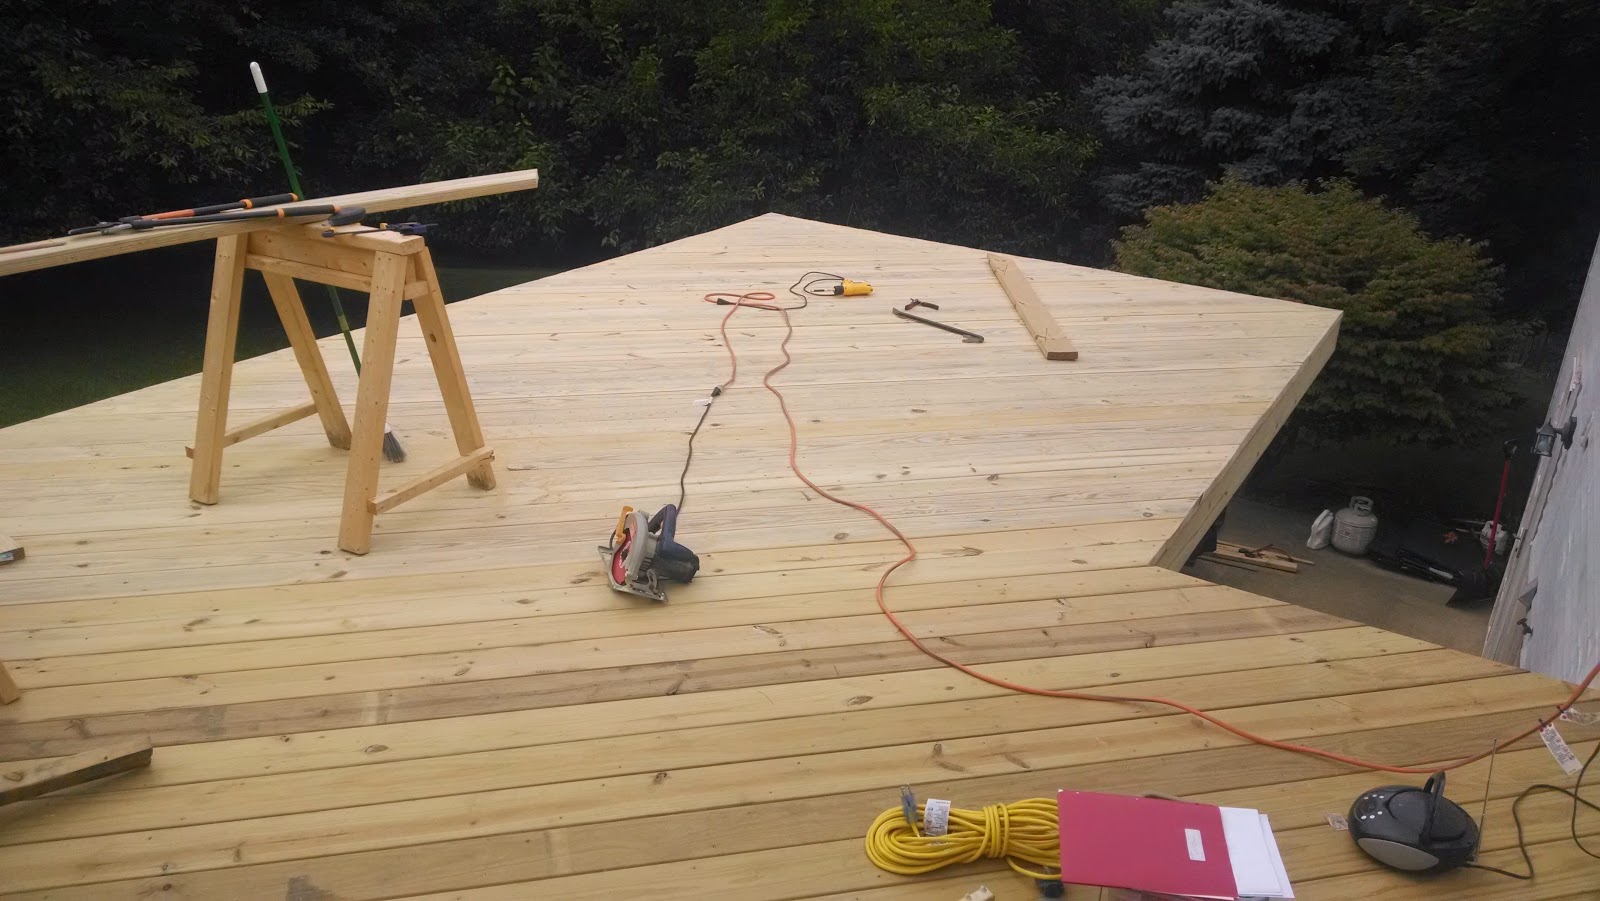
Deck Plan - The angle on the bottom right was not allowed as I was required to have a perfect rectangle
IMG_20140830_210343696.jpg
 
Construction

Demo took a full weekend and some additional hands - big thanks to Steve and Suzie Welker, and John Hamlett. We filled a 15 cubic yard dumpster up to the brim. I took a few days off work thinking I could get the bulk of this new deck construction under way. Started on a Monday morning with my posthole digger and digging bar. I was greeted with a HUGE rock on my first hole...hope this isn't how they all are! I dug out 4 holes and broke for lunch, my shoulders were sore and I had sweated so much you'd have thought I took a shower with my clothes on. After lunch I went back outside and got half of a hole dug...then I think heat exhaustion kicked in...I decided to stop for the day. Next day I brought in reinforcements, my friend Josh (pictured in the Flying Dog Tour pics), put in some hard work helping me dig the rest of the holes - 10 holes total. I then had to get the holes inspected, and they passed.

deck_dumpster.jpg


picture doesn't do it just, but this rock covers 40% of the hole and was at least a foot deep
IMG_20140617_145232685_HDR.jpg


IMG_20140617_151743542.jpg


I then had a little setback in the schedule as I had to wait for a special order of lumber. There is a LOT of varying opinions online regarding the best way to set posts. Should they sit on concrete piers which come all the way out of the ground? Should they be buried in the ground? If they are buried should you pour concrete all around them? After much deliberation and over-analyzing, I chose to bury the posts in the ground, sitting them on top of the concrete footing and then packing them with alternating layers of gravel and dirt. Additionally, since the posts would be buried I special ordered 6x6 posts which were treated to the UC4B level of pressure treatment, rated for in ground burial for use in "permanent foundations." These should be good for at least 20+ years. I received my materials on Friday, June 27th from the local lumber yard and took the day off to pour concrete. I roped Josh into helping again - what a guy! We rented a jackhammer to bust up the rock from that first hole and poured our 8" concrete footings into the bottom of the holes. We then proceeded to drink some well deserved homebrew.

Decking boards front left, all other lumber behind, pallet of concrete to the right
IMG_20140627_080546156_HDR.jpg


6 tons of gravel
IMG_20140627_093328225_HDR.jpg


I then spent most of the next day remeausring and laying out the exact locations of the posts (took much longer than expected). I then got Mrs. Shegogue Brew to help me keep the posts level and in alignment as I shoveled gravel and dirt in to secure them. Mrs. Shegogue Brew has an excellent natural eye for level and plumb. We finished putting the 6 posts for the 12x16 frame up on Sunday the 29th and I cut the notches in them to hold the 3x12 built-up-beam. We then called it quits as it was dark.

First row of posts
IMG_20140629_190151424.jpg


IMG_20140630_183059851.jpg
 
On the 4th of July I got my Uncle-in-law Tom to help with putting up the beams and framing. Uncle Tom is an experienced DIYer and was extremely helpful. We were able to frame up most of the section.

Placing the first Beam
deck_beamAndClamp.jpg


deck_framing_withUncleTom.jpg


deck_frame_andposts.jpg


IMG_20140704_181851528.jpg


IMG_20140712_185535373.jpg


Over the next couple of weekends I was able to lay the flooring and frame up the second 12x12 frame thanks to my friend Alton. I laid most of the floorboards on the weekends and finished screwing them in on the weeknights. I also hammered in my hurricane ties and added diagonal bracing during the weeknights after work.

IMG_20140713_180500647_HDR.jpg


IMG_20140713_180520903_HDR.jpg


IMG_20140713_180533107_HDR.jpg
 
Over the July 19th weekend I was able to bring this thing closer to its final appearance as I finished flooring the entire structure. I then cut off the excess and its looking real sharp!

IMG_20140719_191456357_HDR.jpg


IMG_20140720_144058645.jpg


IMG_20140720_200445001_HDR.jpg


The following weekend I tackled the Stairs. On paper putting a 3 foot wide stairway in a 4 foot area would be easy. In realty it wasn't, and there was lots of room for error! Luckily during the week I mentally thought about how to go about this task. It required me to bolt the 4x4 stairway posts to the stair stringers prior to attaching the stringers to the outer joist. This was my first time cutting stair stringers, and thanks to some handy online calculators, it was a pretty simple job. After installing the stringers and laying the treads, I realized I hadn't leveled the bottom, doh! The following weekend I had to dig underneath the bottom of the stairs and pack it in with gravel to level the structure.

IMG_20140726_135340959_HDR.jpg


IMG_20140727_114552043.jpg


IMG_20140727_191343713.jpg


We are now heading into the first weekend of August and I started to tackle the deck railings. I cut all of the 4x4 posts to length and then screwed in a 2 x 6 scrap piece to create a template so all the posts would sit at the same height on the deck. I bolted all of the posts into the outer/rim joist and then screwed in my 2x4 rails. The next day called for rain, so instead of starting to put the pickets up (didnt want to start and stop) I finished a bunch of little things - nailing in the remaining hurricane ties and leveling my stairs. By the way, it didnt rain at all, ha!

IMG_20140802_200934145.jpg
 
The following weekend (August 9th/10th) I set up a stop jig so I could rapidly cut down my 12' 2x2 pickets into 36" lengths. I then used a 2x4 (3.5" wide) block to help me evenly space the pickets all the way around the railings and meet code. I took a picture later in the week after it had rained and I think it makes the deck look really sharp.

IMG_20140809_101423654.jpg


IMG_20140809_101503602.jpg


IMG_20140810_200221658.jpg


IMG_20140812_132352977.jpg


August 16th, all deck progress was halted in the name of beer! Hey this is a brewing blog, right? I had to brew up a bunch of beer since I was running low and was planning some deck parties for September. I started 5 gallons of hard cider, brewed an IPA and a Witbier to fill all my available fermenters (two 6 gallon better bottles and two 3 gallon better bottles). Everything went pretty smoothly despite my kinda "wingy" the recipes. Still without my computer and brewing software so I used the blog to look at old recipes. I created the IPA to be very similar to Wrong Coast and the Wit was the Witty Welker, however, I correctly used flaked wheat this time around.

Sorry, no pictures of brewday...I know, I am a slacker :)

The following weekend I was able to add some lag screws and blocking to meet code. I then capped the stairwell with a 2x6 and installed a graspable handrail. I had to finish the handrail and sand the ends of the railings down the next Monday night. On Wednesday, August 27, 2014 a county inspector came while I was at work for the final inspection...

IMG_20140824_193417979_HDR.jpg


IMG_20140824_193346782_HDR.jpg


IMG_20140825_184632556.jpg


IMG_20140825_184644322.jpg
 
So I guess you are in suspense wondering if I passed or not? Well, I did! Very happy to start to get my weekends back to a somewhat less productive schedule :) Finished just in time to have family over for Labor Day cookout on the deck!

The following weekend I installed a screen door and I started to spread gravel beneath the deck. Due to work, Mrs. Shegogue Brew Finished the task all day Thursday September 4th - Quite impressive! I also quickly whipped up some benches for guests to sit on since we have not purchased any patio furniture yet.

IMG_20140908_190932321.jpg


IMG_20140908_190917554.jpg


IMG_20140908_190413936.jpg


IMG_20140908_190329725_HDR.jpg


IMG_20140908_190353437_HDR.jpg


Well, that about finishes it up! All I have left to do is stain it in another month or so once the wood has dried out a little more. I should have time to brew and update my blog more in the near future :)

Cheers!
 
The deck is awesome. You definitely have some woodworking skills.


Sent from my iPhone using Home Brew
 
Last edited by a moderator:
Its nice to see someone build a deck correctly.
Gives me hope for humanity that there are still some craftsmen around.
I've seen some decks that are far enough off the ground, & so poorly constructed that they are a death trap.

My wife and I were at a wedding reception not long ago, and literally watched a deck sway back and forth.
It was about 20ft from the ground, & held up by 6 4x4 posts. Looked like the lag screws went into a rotted sill plate.
The sad thing was that the lumber looked new, so someone had recently built it.

Thanks! I too have seen a lot of scary decks, didn't want to be part of that list.

My friends recently purchased a house with a deck that attaches to the house where the house cantilevers out. They asked the seller to bring the deck up to code. The sellers got a contractor to "fix the deck" and they ended up adding 2 additional posts to the existing beam (away from the house attachment) leaving the connection of the ledger with rusty lags and poor flashing to the house cantilever... Google "deck failures" and one of the number one issues is the ledger pulling away and falling from the house. In fact, code today doesn't allow attaching to the house at a cantilever - must be free standing there.

Anyways, just another example like yours of a recent build or fix that is very poor. 20 feet and 4x4s!? Wouldn't want to be on that deck!
 
This deck is the DIY project that keeps on giving! Finally got around to staining it the past 2 weekends. It is absolutely amazing how quickly the sun and weather can degrade stuff. The horizontal surfaces (floor boards) have been in place for about 8 months and were SO ready for stain. Soaked that stain RIGHT up!

We tried out a few different stains at the end of last year. We tried an online brand called Defy and although it repelled water great it would take days to dry out and leave a puddle on the boards. This definitely isnt natural and we didn't want a wet deck 24/7. We also weren't thrilled with the colors either. So this spring we went to a local paint store and based on multiple recommendations selected a sikkens stain. We went of the sikkends cetol srd 085 teak color. We tested it out on a bench and really like it so we proceeded.

Defy Stain samples (this was a full day and half after it had rained and these boards had sat in two days of direct sunight)
IMG_20140926_174943988.jpg


Deck as of Spring 2015 Before cleaning and stain
IMG_20150502_170611756.jpg

IMG_20150502_102344965_HDR.jpg


Starting to stain - it goes on such a different color than it ends up drying
IMG_20150503_092802912.jpg


This picture is at the end of the only gallon I bought. Made it a little under 300 sq feet (That wood was dry). Since I had cleaned the deck the day before (saturday) and the paint store was closed I had to stop for the week here
IMG_20150503_145239591.jpg


The following weekend (this past weekend) I was able to finish, though I did have to wipe everything down again from all the pollen during the week! I took this pictures in the shade this morning. Looks like a different color right? I will have to take a picture in the daytime sun this weekend for comparison
IMG_20150514_062635675.jpg

IMG_20150514_062621335.jpg


Daytime full sunlight:
IMG_20150514_130744871.jpg

I am a little concerned given the new VOC laws the stain formulas have all moved to water based and I have seen tons of reviews that they can start to peel. Hoping this won't be the case with this guy and I can get at LEAST 2 years out of before I need redo everything. It was a lot of manhours for this and would be a shame if it turns into a yearly project.
 
Last edited:
Back
Top