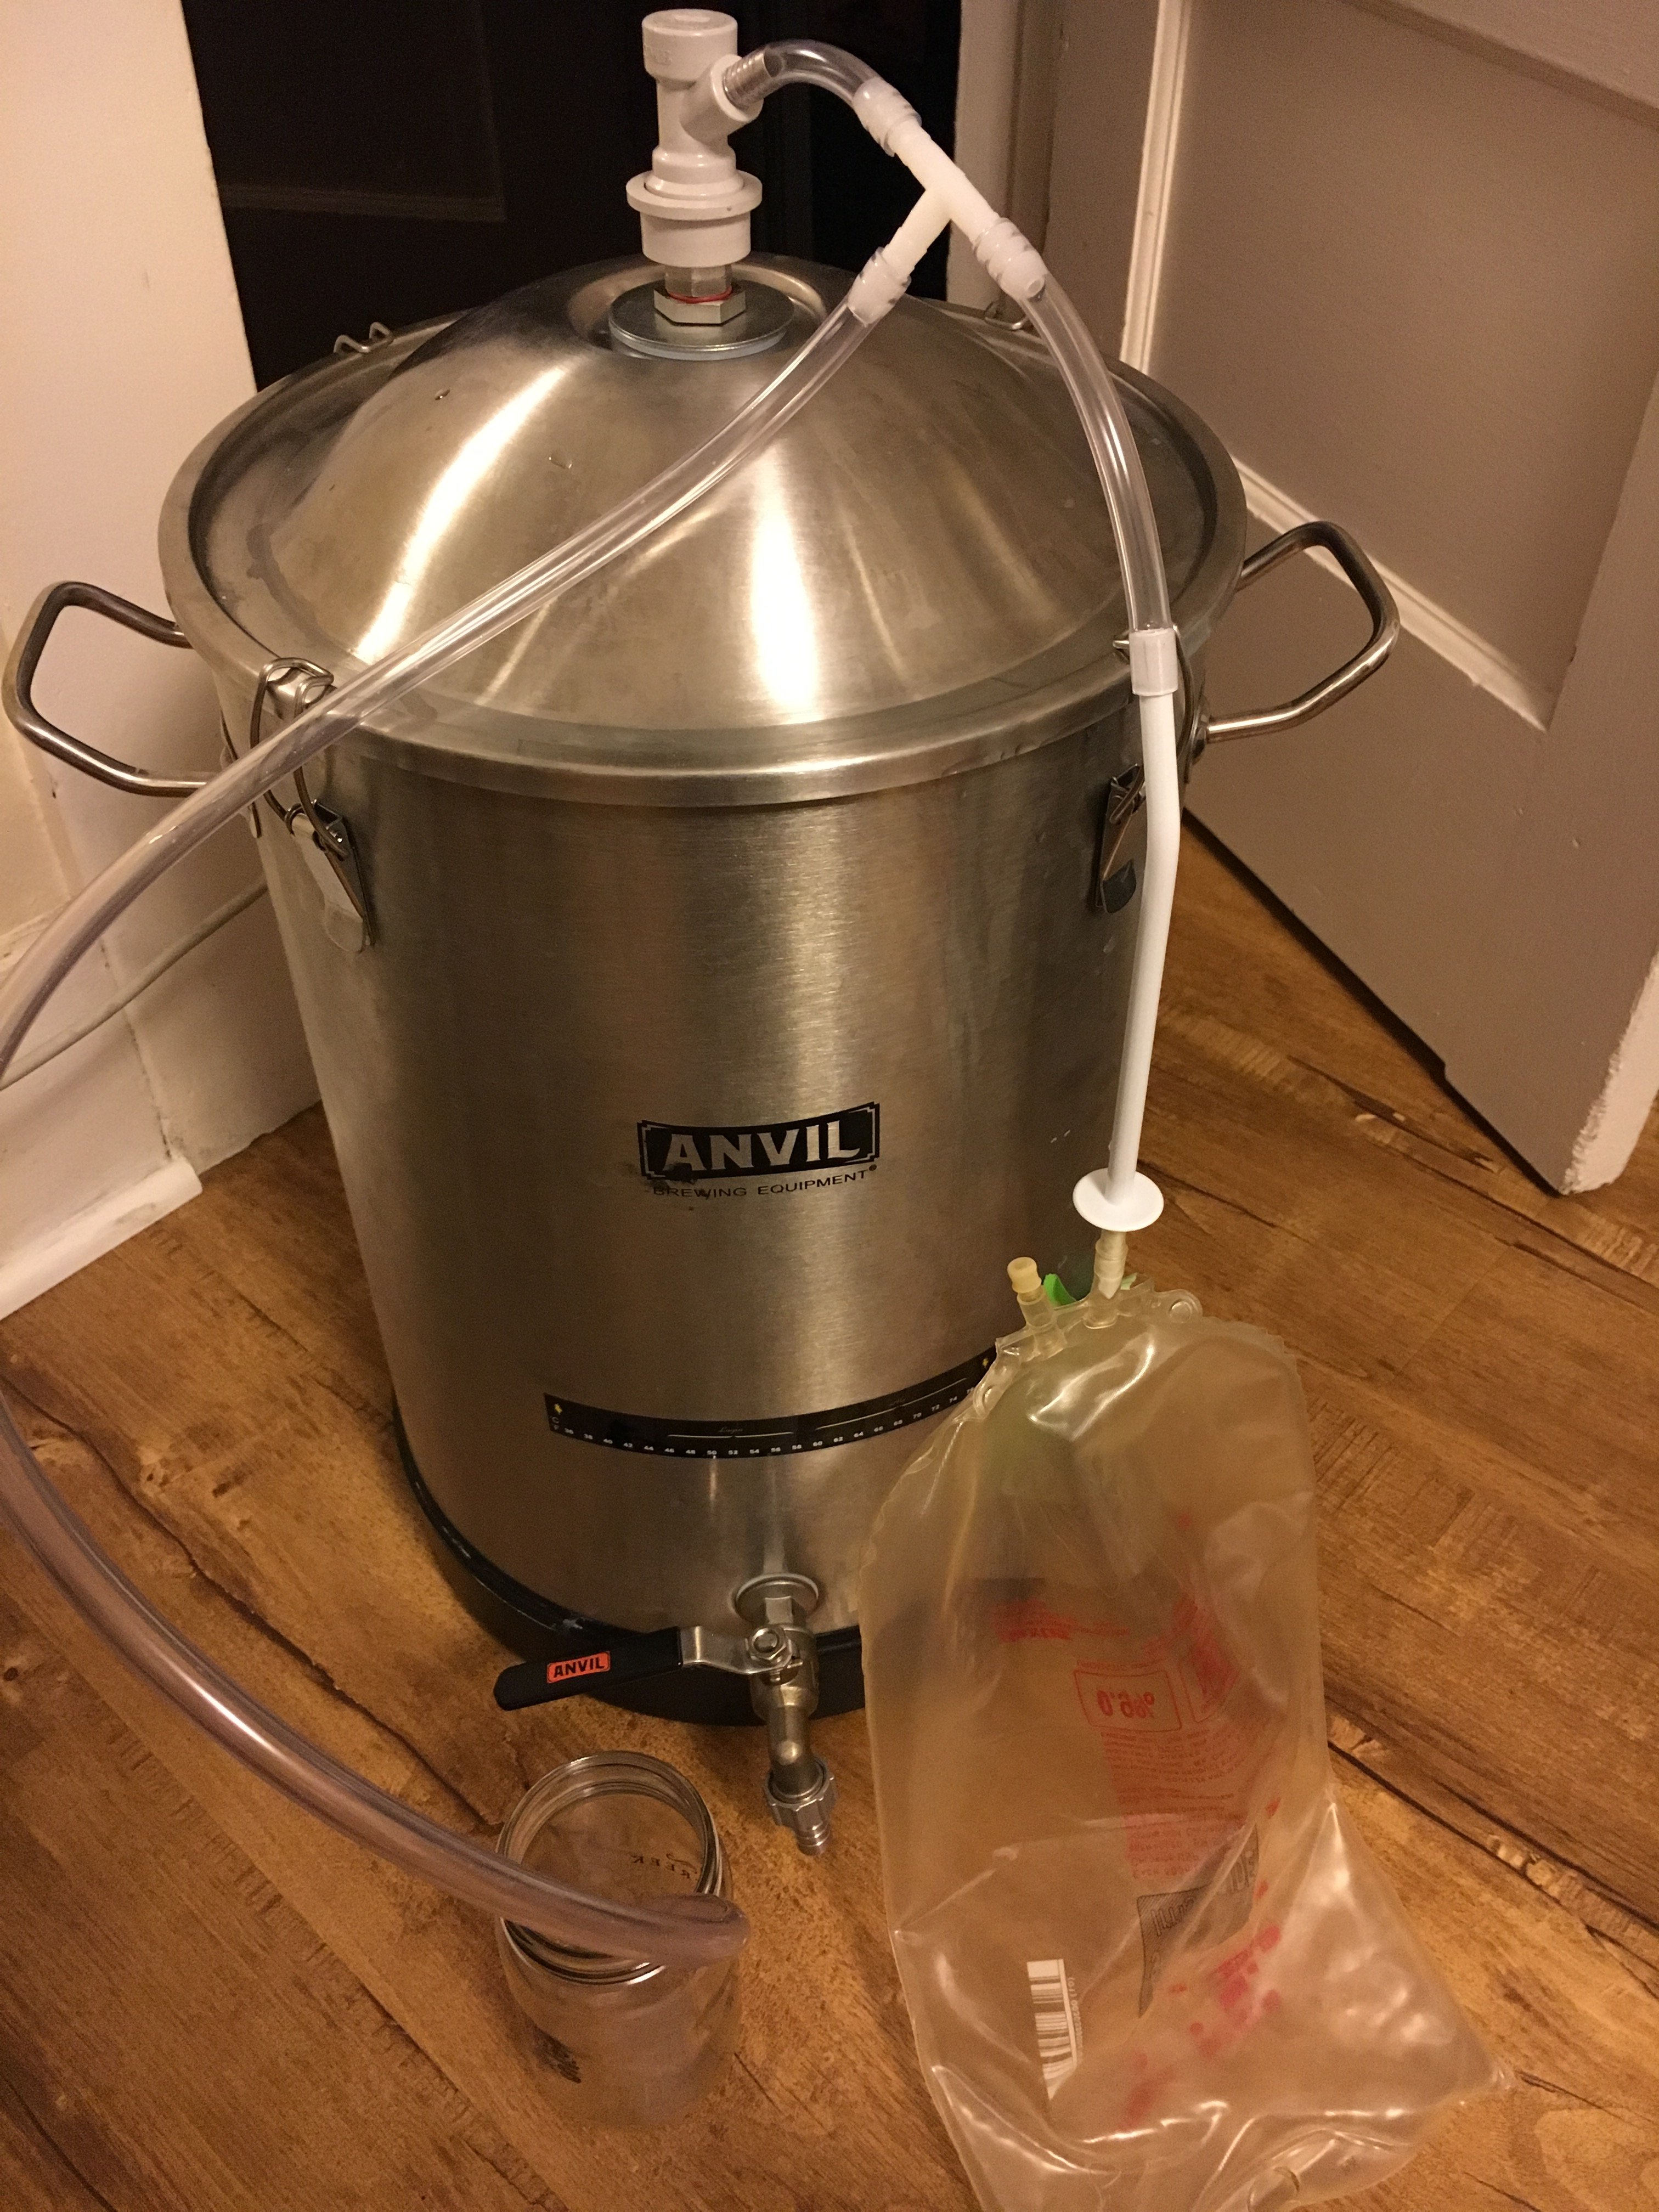
New Anvil Bucket Fermentors

Homebrew Talk - Beer, Wine, Mead, & Cider Brewing Discussion Forum

Help Support Homebrew Talk - Beer, Wine, Mead, & Cider Brewing Discussion Forum:

This site may earn a commission from merchant affiliate links, including eBay, Amazon, and others.
I posted in the other Anvil thread. Seems like same issues. Scratches/scuffs on the sides at the bottom as well as some vertical scratches. I've emailed Anvil. I'm wondering if SSBT has the same issues or more care is taken putting these together.
 
I posted in the other Anvil thread. Seems like same issues. Scratches/scuffs on the sides at the bottom as well as some vertical scratches. I've emailed Anvil. I'm wondering if SSBT has the same issues or more care is taken putting these together.
I have two SS Brew tech minis... Surface finish overall is significantly better. It's a different price range, but it's a different quality range as well. The big issue I have with SS brewtech is the racking cane design-the other rings are extremely easy to cut. Honestly, I think the surface finish on any kettle I've seen is better than the Anvil. The question is what do you really need-that's a question I don't have an answer to.

I have heard back from Anvil and they will exchange it.
I don't really want to go with the SSBT- I would prefer to stay with the Anvil. I think they need some internal QC before sending out any product. I'm hoping all the Anvils aren't like the one I have.
Hopefully I'll hear from them tomorrow.
 
I don't really want to go with the SSBT- I would prefer to stay with the Anvil. I think they need some internal QC before sending out any product. I'm hoping all the Anvils aren't like the one I have.
Hopefully I'll hear from them tomorrow.
They are pretty responsive to quality issues. I bought two of them, one had a bad ball valve. The seal was rotated 90 degrees out of position. Essentially blocking the opening. They overnighted me one with no questions asked. I had emailed them a picture of the valve, so it made the decision easy for them.

They told me to pitch the bad valve. I broke the valve apart and reseated the seal. This repaired valve is now on my sanitizing bucket. I use it to sanitize and flush out my racking cane. Surprisingly it doesn't leak either.
 
IMG_20180827_150655.jpg IMG_20180827_150638.jpg IMG_20180827_150623.jpg

Also just got one, and definitely some QC issues here. In my case, the stamped out port hole for the ball valve is noticeably warped. It holds a seal, but it isn't happy about it, and makes metal-on-metal contact when rotating the valve. Contacted Anvil, they said they are looking to see if others in stock have the problem (and testing them). We'll see what if anything they do.
 
So my first batch with the Anvil 4g is done...sort of. Finished up, whirlpooled, chilled, and trnsfered. And the freakin valve leaks. It's not a leak around the valve, it is leaking through the valve. Not gonna lie...I'm pretty pissed. Emails out voicing my displeasure, hoping I get a decent solution soon.

Just got a brand new one this week and had this exact same issue. To stop the drip, I turned the valve upside down and covered it with sterilized foil, which seems to be working (day 2).

What ended up happening, did they replace it?
 
I added a 1.5" TC ferrule to the lid of my Anvil Fermentor. Take a look:
9Rtfp4w.jpg

u5J94Js.jpg

OHH MAN I WANT THAT! Nicely done. But that looks expensive... I'm trying to figure out a way to have a gas post connect fill in that rubber stopper hole on the top of the lid (just like this) but I can't weld. Can you think of a way to attach to the lid ? Washers and rubber gasket?
 
OHH MAN I WANT THAT! Nicely done. But that looks expensive... I'm trying to figure out a way to have a gas post connect fill in that rubber stopper hole on the top of the lid (just like this) but I can't weld. Can you think of a way to attach to the lid ? Washers and rubber gasket?

I frankensteined exactly that. I was just putting it right in the stopper

New Anvil Bucket Fermentors

You could do it much more elegantly but I just used parts I found laying around. Since then I've drilled a hole and added a gas post with a bulkhead directly through he lid, which I ripped off from

New Anvil Bucket Fermentors
 
Or turn the pick-up down into this stainless scrubber.... You'd need to do this before adding your wort.

I use one on my keggle pick-up when I whole hop.

I also shove these into outboard prop exhaust to keep the mice out of the motor when I winterize the boat. Meeces don't like chewing on stainless steel.
[emoji4]
View attachment 578634
Would this also filter out your trub? Do you even have to rotate the dip tube when its sitting in something like this?
 
Would this also filter out your trub? Do you even have to rotate the dip tube when its sitting in something like this?
I have not used this on my fermenters. I have only used this on my keggle. Stops hop debris and whole hops from jamming the pickup.

This was an idea one could use to reduce the segment pickup. Namely stopping larger particles that would otherwise clog the pickup.. It would be good if it slid over the pick up. I think fine trub might still be an issue if you had a lot of it the bottom. If I did this, I'd still rotate it some.

Gotcha, I do the same in my kettle with steel wool.

I just purchased these to place over the dip tube. I'll crimp the one end a few inches from the dip tube and hopefully be able to filter out trub/dry hops that the dip tube would normally pick up

https://www.wirecare.com/category/b...nless-steel-expandable-sleeving-1-2-5-ft-cuts

SSL0.50SV.jpg
 
doe anybody make one of these that includes a thermowell???

I don't understand the question. Do you mean does anyone make an anvil-branded fermentor that includes a thermowell? The answer to that is no, because only anvil makes anvil branded fermentors and they don't have thermowells. If you meant to ask if anyone makes ANY fermentor that includes a thermowell, then yes, many manufacturers make fermentors that include thermowells, and a quick google will get you there.

It's also very easy to install a thermowell if you want one and have access to a drill and bits.
 
Inspired by Ryanj, Here’s how I’m using my ANVIL bucket to reduce oxygen exposure.

I secured a gas in keg post to the lid using an adapter from brewhardware, a couple of big washers and a silicone gasket. This gives me an air tight FV from yeast pitch till transfer. With the lid clamped onto the bucket it holds 3-5 PSI without a leak. Warning, anvil is clear the buckets are not rated to hold pressure at all, but it works.


During fermentation I use a gas QD that made with a T piece that connects to a to a jar of sanitizer and a reservoir bag. The bag is a empty 3L vinyl bag I got from my hospital. This functions as an expandable head space, so during fermentation the bag fills with co2 and then overflows throughly the blow off tube. When I cold crash the the head space constricts and the “suck back” is just the co2 that the fermentation made.


At transfer to keg time, I take off the qd for the bag and blow off and put on the gas qd in my co2 tank for pressurized transfer to a purged keg. The FV stays sealed the whole time.


I’m also going to use the keg to flush the beer transfer hosing with co2. And for the the gas blow off from the keg during the transfer I can hook up the same gas qd to jar of sanitizer I used for my blow off during fermentation.


So that’s it, basically putting a gas post on my fermenter let’s me do a lot more to reduce oxygen exposure.


Problems left unsolved:


1. Using a gas post for my blow off risks getting clogged, which could cause a big problem. But I have a least 2g of headspace and I’ve never had overflow in the past.


2. Oxygen free dry hopping is still a bit elusive. Mid or late fermentation dry hopping. Requires I open up the lid to add the hops. Keg hopping means I can’t truly purge the keg pre transfer by pushing out sanitizer


3. adding gelatin oxygen free is also elusive for the same reasons as dry hopping.
 

Attachments

  • D2DC07AD-67D1-4918-9C0E-F67AADC5573E.jpeg
    D2DC07AD-67D1-4918-9C0E-F67AADC5573E.jpeg
    1.7 MB · Views: 340
  • E652C2E0-F3D6-4F7E-A4E9-FE5FBA72CF85.jpeg
    E652C2E0-F3D6-4F7E-A4E9-FE5FBA72CF85.jpeg
    1.4 MB · Views: 329
Last edited:
That looks great, was thinking about doing almost the exact same thing. Where did you get a bulkhead that big?
 
During fermentation I use a gas QD that made with a T piece that connects to a to a jar of sanitizer and a reservoir bag. The bag is a empty 3L vinyl bag I got from my hospital. This functions as an expandable head space, so during fermentation the bag fills with co2 and then overflows throughly the blow off tube. When I cold crash the the head space constricts and the “suck back” is just the co2 that the fermentation made.
very cool design. have you used this setup yet? or is it brand new, and as of yet untested?

general question about the bag-and-suck-back setup: at the end of primary, the beer is mildly carbonated (residual CO2). upon cold-crashing, wouldn't the CO2 in solution be drawn out to fill in the lower pressure cause by the cooling (assuming that it is easier than drawing in air from outside the fermenter)?

in other words, couldn't one seal the FV completely before cold-crashing, and the pressure drop in the headspace will be filled in by the residual CO2 in the beer?

i haven't done either approach, so i'm just spit-balling here...
 
OHH MAN I WANT THAT! Nicely done. But that looks expensive... I'm trying to figure out a way to have a gas post connect fill in that rubber stopper hole on the top of the lid (just like this) but I can't weld. Can you think of a way to attach to the lid ? Washers and rubber gasket?

Have parts to do the same. Also made a neoprene jacket. plan is to use it with my gen 1 Zymatic to brew and ferment in. I may also try to add a little pressure during fermentation. Not sure how much it will hold.
 
The bulk head is from brewhardwareand desigend for the SS brew bucket,to make it fit the anvil I got some big washers and a silicone gasket from my hardware store.
very cool design. have you used this setup yet? or is it brand new, and as of yet untested?

general question about the bag-and-suck-back setup: at the end of primary, the beer is mildly carbonated (residual CO2). upon cold-crashing, wouldn't the CO2 in solution be drawn out to fill in the lower pressure cause by the cooling (assuming that it is easier than drawing in air from outside the fermenter)?
...

I have it fermenting now, day 3 and the bag is filled with CO2. I’m yet to complete a full trial run.

I think you might have the idea with pressure and temperature reversed. As I understand it, as you cold crash MORE co2 is dissolved into solution, creating lower partial pressure in the head space which cause that volume to contract.

My design was inspired by the brulosophy Mylar balloon thing, but I didn’t want to have to take a balloon on and off. Also brew hardware.com (I guess that’s Bobby?) has the same product essentially called a cold crash guardian.
 
Last edited:
OHH MAN I WANT THAT! Nicely done. But that looks expensive... I'm trying to figure out a way to have a gas post connect fill in that rubber stopper hole on the top of the lid (just like this) but I can't weld. Can you think of a way to attach to the lid ? Washers and rubber gasket?
It really wasn't that expensive. The hole is the exact size you need for a 1.5" TC ferrule.

https://www.brewhardware.com/product_p/ptbulkhead_tool15tc.htm $30 for the tool
https://www.brewhardware.com/ProductDetails.asp?ProductCode=silversolder $15 for the silver solder kit
https://www.brewhardware.com/ProductDetails.asp?ProductCode=TC15MWF 1.5" TC ferrule $4.50
https://www.homedepot.com/p/Bernzomatic-TS4000KC-Trigger-Start-Torch-Kit-TS4000KC/203368730 $39 MAPP Torch

But once you have the tool and the torch, adding more fittings is a piece of cake. For instance, I bought a spare ferrule and attached it to a pot lid so I can CIP my brew kettle after a batch. Works great.
 
Inspired by Ryanj, Here’s how I’m using my ANVIL bucket to reduce oxygen exposure.

I secured a gas in keg post to the lid using an adapter from brewhardware, a couple of big washers and a silicone gasket. This gives me an air tight FV from yeast pitch till transfer. With the lid clamped onto the bucket it holds 3-5 PSI without a leak. Warning, anvil is clear the buckets are not rated to hold pressure at all, but it works.

Wow! I love what you did! Honestly...looking back on it, if I could rewind and do this all over, I'd probably go the route you took. Buying that pull through tool was super pricey, and I think I got a little aggressive with the heat on the lid and I think I may have very slightly warped the lid. I'm talk 1-2mm from side to side.

Either way -- killer implementation.
 
First fermentation, cold crash and transfer worked out well.

One limitation: the deal around the kid seems hold almost no positive pressure. Even with my co2 at the minimum amount to flow I would have a leak around the lid seal. I tried to bolster the clasps around the lid with rubber shims, but it still leaked. It obviously holds SOME pressure, bc if I stop the co2 the leak stops an the flow of beer stops.

I thought the shims would do he trick but don’t, I’ve see if I could upgrade the silicone seal where the lid and body interface.
 

Attachments

  • A3C81F4D-3945-410A-BB25-FDEBCBB071FB.jpeg
    A3C81F4D-3945-410A-BB25-FDEBCBB071FB.jpeg
    1.6 MB · Views: 214
First fermentation, cold crash and transfer worked out well.

One limitation: the deal around the kid seems hold almost no positive pressure. Even with my co2 at the minimum amount to flow I would have a leak around the lid seal. I tried to bolster the clasps around the lid with rubber shims, but it still leaked. It obviously holds SOME pressure, bc if I stop the co2 the leak stops an the flow of beer stops.

I thought the shims would do he trick but don’t, I’ve see if I could upgrade the silicone seal where the lid and body interface.
I noticed the same thing when I CIP'd the vessel. Hot water and PBW tend to create a lot of pressure. Even with all 4 clamps clamped, I had cleaned spraying out the side of the lid seal. I think this is normal for the lid design... these vessels can't hold more than 1-2psi
 
with some Tetris-level creative arranging, i can just fit 2 buckets in my kegerator. one is on the "floor" of the fridge while the other is on the hump so they're vertically offset. i need to use some wood blocks to support the other side of the bucket riding the hump. my kegerator is a standard upright, freezer-on-top fridge. i'll post a pic next time i have this set up, likely in about 2 or 3 weeks (brewing this weekend, i use this setup to cold-crash two buckets at once).
attached: pix of my fridge with 2 buckets in it. for the upper bucket, i had to saw off an S-shaped airlock to get it short enough to sneak in there. even then, i have to temporarily lift the grate/rack above it when putting it in.

2bucketsInFridge3.jpg
2bucketsInFridge4.jpg
 
Last edited:
attached: pix of my fridge with 2 buckets in it. for the upper bucket, i had to saw off an S-shaped airlock to get it short enough to sneak in there. even then, i have to temporarily lift the grate/rack above it when putting it in.

View attachment 597937 View attachment 597938
What's the reason for the two levels, is it because of the lip that hangs over on the lid?

BTW - You can use a 1/4" or 3/8" barbed 90 with a blow off hose connected to a 16 oz plastic bottle. Forget the S-airlock.

Put the elbow in the bung, hose on the elbow, fill the bottle 1/2 full with leftover starsan, stick the hose in the bottle. Let her rip.

All for about the same price as the air lock.

1349276193-52341200.jpeg
2-38.jpeg
31tsCw9OpEL._SX342_.jpeg
 
I would have just bent or cut out one of the bars from the rack.
Why? For a stupid air lock?

You just need it to vent to a vat of liquid. Mainly so it doesn't take in O².

However you get it there is your choice.

I suggested it vent with a line to a bottle of sanitizer.

Have you two (@sweetcellever) done a blow off?
 
Why? For a stupid air lock?

You just need it to vent to a vat of liquid. Mainly so it doesn't take in O².

However you get it there is your choice.

I suggested it vent with a line to a bottle of sanitizer.

Have you two (@sweetcellever) done a blow off?

I meant if my alternative was cutting an airlock as to not acquire new parts I’d just bend something for free.

I blow off every time just as you described. It’s very low profile.
 
Just saw this, much better priced than SS Brewbuckets too!

View attachment 416878
They look nice and should get the job done! I've got similar size fermenters from SS Brewtech and really like them for their features and ease of use.

These are certainly at a much better price point than what I paid for my mini bucket, 3.5 gal, and my 7 gal brew bucket.

I have kettles from both vendors and basically you pay more for a higher quality build, fit and finish from Brewtech, at least in my kettles but don't know how the fermenters would compare.
 
The only thing that keeps me from ordering a couple of those is the handles. I'm not sure I'd be able to get two of them in my chest freezer. I can't imagine why they didn't put folding wire handles like some of the other brands. They'd have to be cheaper too. Don't get me wrong they look like higher quality and more comfortable than the wire ones but not practical when you have limited space like many of us have.
 
What's the reason for the two levels, is it because of the lip that hangs over on the lid?

BTW - You can use a 1/4" or 3/8" barbed 90 with a blow off hose connected to a 16 oz plastic bottle. Forget the S-airlock.

Put the elbow in the bung, hose on the elbow, fill the bottle 1/2 full with leftover starsan, stick the hose in the bottle. Let her rip.

All for about the same price as the air lock.

View attachment 598016View attachment 598017View attachment 598018
It's what I do as well. Both my Brewtech brew buckets have a short 1/2 inch barbed elbow on the lid and I run a hose into a jar of water or star San and let them happily bubble away.
 
What's the reason for the two levels, is it because of the lip that hangs over on the lid?
bingo. i can squeeze both buckets in without the lids, but the extra little bit of width added by the lids' edges is just enough to prevent them from fitting them in. hence the offset.

BTW - You can use a 1/4" or 3/8" barbed 90 with a blow off hose connected to a 16 oz plastic bottle. Forget the S-airlock.

Put the elbow in the bung, hose on the elbow, fill the bottle 1/2 full with leftover starsan, stick the hose in the bottle. Let her rip.

All for about the same price as the air lock.
very true, however i already had several air locks on hand (i essentially have a small LHBS in my basement), and i didn't have any plastic elbows. so it was either use what i have, or drive all the way to the hardware store. all for the same price... pretty sure i made the right decision :D

I would have just bent or cut out one of the bars from the rack.
interesting. i preferred cutting a $1 air lock, of which i had several, vs. permanently altering the fridge. the fridge is only occasionally used for cold crashing, the rest of the time it has (shorter) kegs and extra groceries in it. in fact there is a second shelf that is usually there, below the single shelf you see in the pix above.

Have you two (@sweetcellever) done a blow off?
yup, many times. usually when i have a blow-off problem, i.e. a belgian yeast going nutz and gurgling out the top.

I have to ask... You keep StarSan in your refrigerator?
yeah, it's a weird thing i've started doing. five star recommends that you use up the star san within a year once opened. i suspect it's marketing hype ("get them to throw out perfectly good product so they buy more!") but in case there is something to it, my thinking is that the cold of the fridge will slow down any degradation. yes, it's likely unfounded paranoia but this is my brew fridge/kegarator and i have the space, so why not.

Ok yeah, do what to can to make it work.
PREACH.
 
FYI ANVIL is having 20% off for Cyber Monday today I just picked up another fermenter and some replacement gaskets I felt it was a great deal so if your thinking about one now is the time
 
Going to sell my FastFerment and get one of these, only problem is they are sold out everywhere! I see they also have a chilling system out with a pump, might be something to look at while I'm at it.
 
Going to sell my FastFerment and get one of these, only problem is they are sold out everywhere! I see they also have a chilling system out with a pump, might be something to look at while I'm at it.
I really like the stainless bucket style fermenters. Easy to fit in a mini fridge, easy to clean, and upgradeable to heating and chilling.
I have a 3.5 & 7 gal made by SS brewtech, but similar style I think. I get much cleaner beer with them and the cone design for trub and rotating racking arm are nice.
You can order direct from Anvil, and they might be able to tell you when they expect their next shipment in. Hopefully that'll be soon!
I have heard nothing but good things from everyone. I dont believe these anvil ones fit in a mini fridge but the ss brewtech ones do. I could be wrong though. I'm looking forward to the stainless!!
 
They look nice and should get the job done! I've got similar size fermenters from SS Brewtech and really like them for their features and ease of use.

These are certainly at a much better price point than what I paid for my mini bucket, 3.5 gal, and my 7 gal brew bucket.

I have kettles from both vendors and basically you pay more for a higher quality build, fit and finish from Brewtech, at least in my kettles but don't know how the fermenters would compare.
I ordered an Anvil fermenter this summer, spent forever waiting for it to come back in stock. When I got it, it had deep scratches on the inside. Apart from the scratches, the fit and finish is distinctly worse than SS Brewtech. I ended up returning it, customer service was great but the replacement was also damaged.
 
Back
Top