Native ESP8266 BrewPi Firmware - WiFi BrewPi, no Arduino needed!

Homebrew Talk - Beer, Wine, Mead, & Cider Brewing Discussion Forum

Help Support Homebrew Talk - Beer, Wine, Mead, & Cider Brewing Discussion Forum:

This site may earn a commission from merchant affiliate links, including eBay, Amazon, and others.
Sooooo, I cut the ends off to below where I had knotted the cables, tinned the wires back together, hooked things up on my kitchen table, set the profile to beer constant. The relay has kicked on and we're sitting at 10 minutes with no drops. I'm going to let it run an hour and then come back and if it's good, move it to the garage and hook it up to my keezer. I'm documenting it here so that I can see what steps I've done differently.

While tinning up the cables, I found another flaw in my process. The little alligator clips on my third hand probably aren't the best thing for holding the tiny wires. That could be another place where I'm introducing failure.
 
Here's the data. I'm guessing my man-handling of the probes has compromised the conductors. I had the box running on the table without error for almost an hour. With the unit still plugged in, I wound the cables up in a loose coil and set the cables on top of the box so that I could transfer it out to the garage. I checked the log immediately after coiling up the cables and I had 6 drops in 30 seconds. Once they were coiled up, they have run without drop for five minutes. Somewhere in the cable must be a short. New sensors on the way. They will be handled with kid gloves.
 
Sooooo, I cut the ends off to below where I had knotted the cables, tinned the wires back together, hooked things up on my kitchen table, set the profile to beer constant. The relay has kicked on and we're sitting at 10 minutes with no drops. I'm going to let it run an hour and then come back and if it's good, move it to the garage and hook it up to my keezer. I'm documenting it here so that I can see what steps I've done differently.

While tinning up the cables, I found another flaw in my process. The little alligator clips on my third hand probably aren't the best thing for holding the tiny wires. That could be another place where I'm introducing failure.
I had the same problem with my Harbor Freight third-hand dohickey. I use a big hunk of Blu Tack to hold the wires now. I also love my Ebay silicone mat to solder on.
 
Here's the data. I'm guessing my man-handling of the probes has compromised the conductors. I had the box running on the table without error for almost an hour. With the unit still plugged in, I wound the cables up in a loose coil and set the cables on top of the box so that I could transfer it out to the garage. I checked the log immediately after coiling up the cables and I had 6 drops in 30 seconds. Once they were coiled up, they have run without drop for five minutes. Somewhere in the cable must be a short. New sensors on the way. They will be handled with kid gloves.
Is it possible to snip the wire near the base of the probe and splice in a new wire run? I use flat phone wire for my rj11 jacks.I wonder if the vendors are using cheaper wire.
 
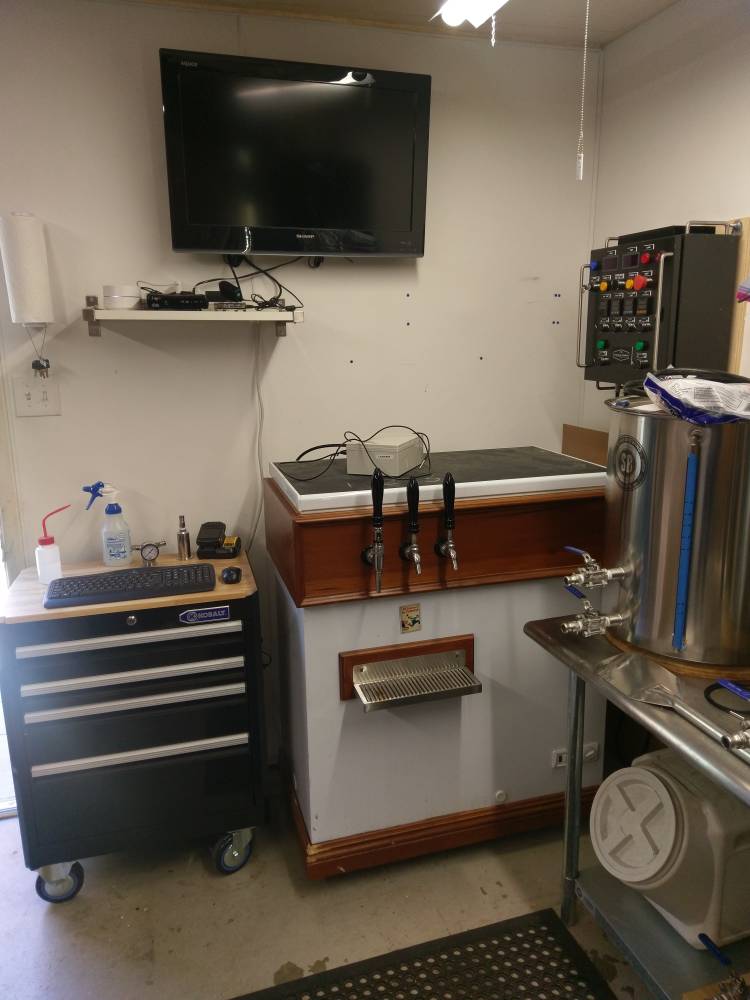
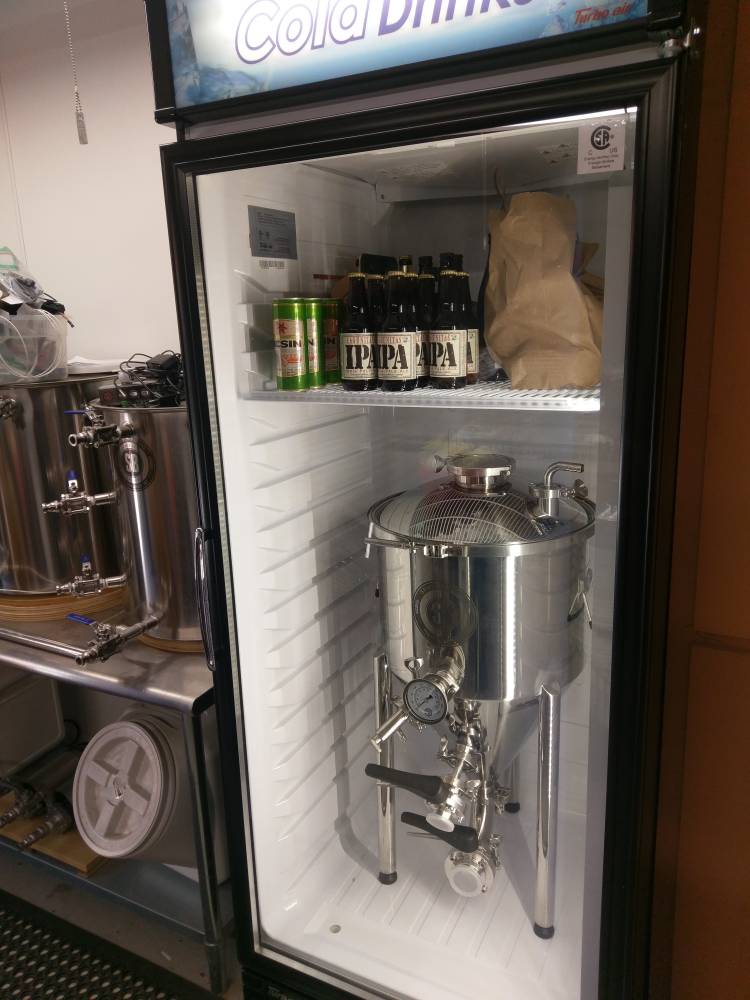
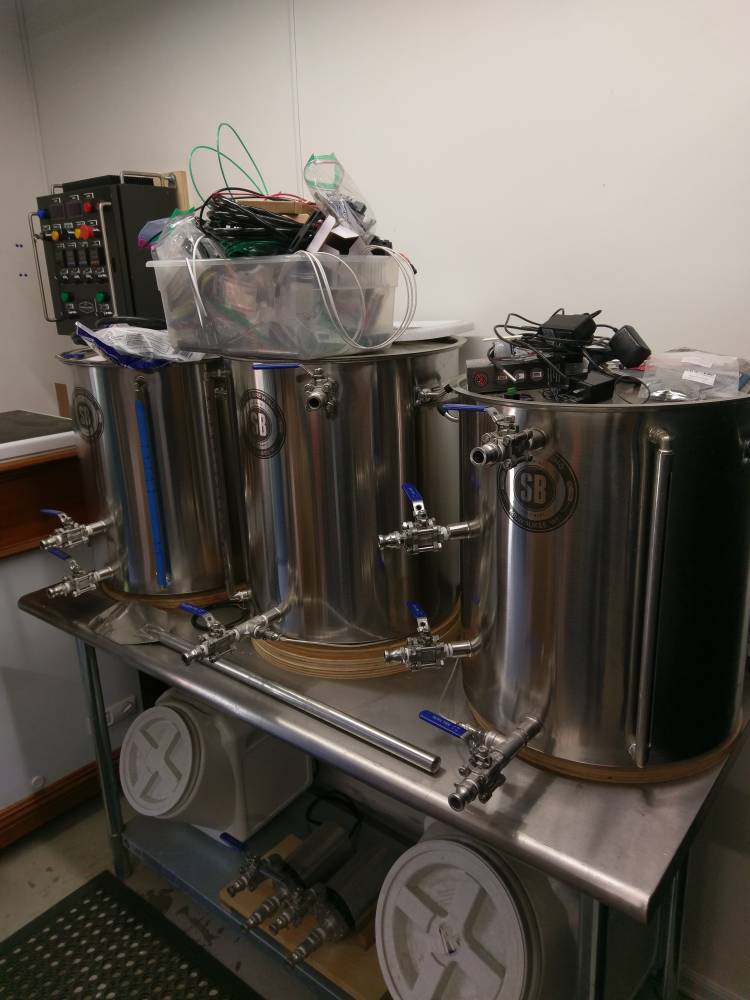
The worst part of all of this is that I'm redoing my controllers because of a slight remodel to my brew space and the purchase of a conical and glass door fridge. I haven't been able to brew because I can't get the controller to reliably work. So my new conical sits coldly in the fridge that now is being used as a beer cooler. Notice all of the electronics covering my equipment.
IMAG0227.jpg
IMAG0228.jpg
IMAG0229.jpg
 
Me again. It doesn't seem to be the probes after all. Taking @day_trippr's suggestion, I took the probes out of the box and hooked them up to an old arduino serial build that I have for backup. I can man-handle the probes and they show no drops whatsoever. I have them running my keezer with the relay working and they are solid so far. So it looks like it is back to something to do with the D1 Mini or my build, and it is consistent across both builds, so I don't think it is a bad solder joint or something like that.

Two things I can think of. On the @Thorrak board, there is a level shifter for the IC2 lcd screen. If somehow I used the wrong level shifter, would that cause errors like this in my build?

Other thought is that I wired up the relay differently in these builds than my old builds. Instead of running two hots to the relay, I took a suggestion deep in this thread and ran one hot to the relay, and then ran a jumper from that side's normally closed output and ran it to the hot input on the other relay. That cut down on the wiring in my box. Not sure how that would affect things, but I'm grasping at anything right now.

Any other thoughts folks?
 
Nice setup. What program are you using to control the brewery?
No brewery program here. Just a Kal Clone 30 AMP control panel. It works great now, but it is screaming for some automation in the future. That said, these issues are making me happy that there aren't any moving parts in the control panel...
 
Me again. It doesn't seem to be the probes after all. Taking @day_trippr's suggestion, I took the probes out of the box and hooked them up to an old arduino serial build that I have for backup. I can man-handle the probes and they show no drops whatsoever. I have them running my keezer with the relay working and they are solid so far. So it looks like it is back to something to do with the D1 Mini or my build, and it is consistent across both builds, so I don't think it is a bad solder joint or something like that.

Two things I can think of. On the @Thorrak board, there is a level shifter for the IC2 lcd screen. If somehow I used the wrong level shifter, would that cause errors like this in my build?

Other thought is that I wired up the relay differently in these builds than my old builds. Instead of running two hots to the relay, I took a suggestion deep in this thread and ran one hot to the relay, and then ran a jumper from that side's normally closed output and ran it to the hot input on the other relay. That cut down on the wiring in my box. Not sure how that would affect things, but I'm grasping at anything right now.

Any other thoughts folks?
At this point, I think I would build it out on a breadboard to eliminate the PCB and see if the D1 is working.
 
Do you have the HV of the level shifter facing the outside edge of the PCB towards the pins with HV4 facing the back of the PCB towards the mounting hole?
 
Do you have the HV of the level shifter facing the outside edge of the PCB towards the pins with HV4 facing the back of the PCB towards the mounting hole?
I do. But I'm looking at the soldering on the pins and it isn't great. I'm going to reflow the solder. I was just pulling up the schematics to see how the level shifter board interfaces with the D1 to see if that would cause the problem somehow.
 
Me again. It doesn't seem to be the probes after all. Taking @day_trippr's suggestion, I took the probes out of the box and hooked them up to an old arduino serial build that I have for backup. I can man-handle the probes and they show no drops whatsoever. I have them running my keezer with the relay working and they are solid so far. So it looks like it is back to something to do with the D1 Mini or my build, and it is consistent across both builds, so I don't think it is a bad solder joint or something like that.

Two things I can think of. On the @Thorrak board, there is a level shifter for the IC2 lcd screen. If somehow I used the wrong level shifter, would that cause errors like this in my build?

Other thought is that I wired up the relay differently in these builds than my old builds. Instead of running two hots to the relay, I took a suggestion deep in this thread and ran one hot to the relay, and then ran a jumper from that side's normally closed output and ran it to the hot input on the other relay. That cut down on the wiring in my box. Not sure how that would affect things, but I'm grasping at anything right now.

Any other thoughts folks?

I've got one of those PCBs sitting in front of me, and sure enough - it looks like you have it wired correctly. I'd be surprised if either the relay or the level shifter were contributing due to the way that they're wired.

That said - have you tried running it without the LCD? I'm wondering if it's a power problem where your power supply isn't providing quite enough (or sufficiently clean??) power. I've heard that some LCD displays have substantially higher power requirement depending on the backlight configuration - It's a bit of a stretch, but I wonder if that might be the case here.
 
Could this switching power supply be the problem? https://www.amazon.com/gp/product/B01D8ER6DS/?tag=skimlinks_replacement-20 I figured that a big switching power supply would be bullet proof.

I unhooked it and powered my D1 Mini from a regulary 5v wall wart and (he knocks on wood and on his head) things seem to be running as expected, even under load of the relay powering the refrigerator. The difference is the wall wart and now the power isn't coming from the same power cord that powers the relay and the outlet.
 
Last edited by a moderator:
Could this switching power supply be the problem? https://www.amazon.com/gp/product/B01D8ER6DS/?tag=skimlinks_replacement-20 I figured that a big switching power supply would be bullet proof.

I unhooked it and powered my D1 Mini from a regulary 5v wall wart and (he knocks on wood and on his head) things seem to be running as expected, even under load of the relay powering the refrigerator. The difference is the wall wart and now the power isn't coming from the same power cord that powers the relay and the outlet.
Did you ever try and feed the board with a sperate 5v source from the relays?
 
Last edited by a moderator:
No. Just unhooked the switching power supply and powered the mini, still attached to the PCB board, with a wall wart. Worked great so far. I guess I'm going to buy three different power supplies and try those.
 
Could this switching power supply be the problem? https://www.amazon.com/gp/product/B01D8ER6DS/?tag=skimlinks_replacement-20 I figured that a big switching power supply would be bullet proof.

I unhooked it and powered my D1 Mini from a regulary 5v wall wart and (he knocks on wood and on his head) things seem to be running as expected, even under load of the relay powering the refrigerator. The difference is the wall wart and now the power isn't coming from the same power cord that powers the relay and the outlet.

It's only one data point, but I ordered a power supply that looked very similar to that one (had the metal cage) and had issues where there wasn't enough power to get the relays to "click" when triggered. I'm not surprised that it could also manifest as an issue with the temperature sensors.
 
Last edited by a moderator:
I've put together my own PCB design. Similar to Thorrak's. It's currently untested. It has logic level converters for I2C, and also a couple NPN transistors to allow for 5v outputs. I omit the door switch, buzzer, etc. Let me know if you find any errors with it if you get to them before I do. :)

on PCBs.io here: https://pcbs.io/share/4QvpO

and github here: https://github.com/jangevaare/Homebrewing-PCBs

@day_trippr helped me fix up this board quite a bit! It now features correctly wired logic level converters :D, ground fill, and some optional decoupling capacitors. I've added a BOM with possible digikey part numbers to the github page too. I've ordered a set now to test, let me know if you end up getting some for yourself! Cheers.
 
Last data point for the night. Disconnected the power brick on my second build and used a wall wart to power the D1 mini, and everything fired up exactly as it should. The probes are solid even with the relay firing the fridge. So, it must be my power bricks. I'll figure that one out this week. Thanks everyone for your help.
 
Last edited:
Thanks!

I’ll try to take a look at that bug shortly. Should be an easy one to squash (though if you have a log available and wouldn’t mind PMing it to me, I would appreciate it!)

Bum Fudge and I actually swapped ESPs - I haven’t been able to find a fix (but I haven’t spent as much time looking as I would have liked). When I have some time I’ll try again and post back with the results.

Sorry been away from this awhile. I am going to have some time soon to look at this again but I went the easy way and used the older one.
 
I've been following this thread for quite a while and finally decided to get my feet wet. As the parts trickle in, I thought I would go ahead and install Fermentrack on the Pi Zero W. I started with the Stretch Lite package and eventually got it to recognize my network and was able to SSH into it. I started with Post 1 instructions and realized after cloning the repo that I should have started with the Fermentrack installation. Back to square one and figured I would just reinstall Stretch Lite and start over. For the life of me I couldn't get the network connected again and whatever mods I had made to the wpa_supplicant.conf file, etc. that finally worked were gone. Rather than waste any more time on that, I dropped back to Jessie and the install just worked without the additional hassle. Next I installed Fermentrack with the curl one liner. Went to hit the site and continue and got an error stating that there was no module enum. Did a pip install of enum then got 'module' object has no attribute 'unique'. I can keep going down the path of trying to figure out each problem as it comes up, but figured it would be easier to ask if I was missing some basic setup prior to installing Fermentrack.

<tldr> Are there prerequisites to installing Fermentrack beyond installing OS and running apt-get update/upgrade and running raspi-config?
 
I started with Post 1 instructions and realized after cloning the repo that I should have started with the Fermentrack installation. Back to square one and figured I would just reinstall Stretch Lite and start over. For the life of me I couldn't get the network connected again and whatever mods I had made to the wpa_supplicant.conf file, etc. that finally worked were gone.

If by “post 1” instructions you mean post 1 of this thread, please be sure to check the GitHub repo before wiring your controller. The wiring instructions changed (and I can’t edit the old post).

The wpa_supplicant format changed between Jessie and Stretch, unfortunately. I thought the instructions on the repo were updated - I’ll recheck when I get home.

That said, it also might be a different issue:

Went to hit the site and continue and got an error stating that there was no module enum. Did a pip install of enum then got 'module' object has no attribute 'unique'.


This is not normal. This is the behavior I would expect if there was an issue with the SD card. Do you have a different SD card you can try?

<tldr> Are there prerequisites to installing Fermentrack beyond installing OS and running apt-get update/upgrade and running raspi-config?

Nope. Install the OS, connect the Pi to the internet, run the sudo/curl command. Should work the same for both Jesse and Stretch in that regard.
 
The wpa_supplicant format changed between Jessie and Stretch, unfortunately. I thought the instructions on the repo were updated - I’ll recheck when I get home.

I don't doubt your site is correct. I was doing it from memory. (Never a smart thing to do for me). I went ahead and stopped being a lazy @$$ and did my Stretch Lite install again and got it talking on my network. Did the update/upgrade/config followed by the one liner install. Zero issues, can attach to the site and have started down the configuration route. Looking forward to doing the hardware build and the rest of the configuration. Beats the hell out of my day job... ;-)
 
I am getting ready to test the work that @kcolby is doing to get RaspberryPints working on Stretch, but I wanted to make sure that I could get Fermentrack working on Stretch before I spent time trying to get 'Pints working. Everything loaded up as expected until I get to adding devices. My Tilt added seamlessly. But both of my esp controllers that were previously found by the Jessie version were not automatically detected after the Stretch update. I can manually add them using the wifi name +.local (for instance esp4433435.local) and they both hook right up. Not an issue for me because I fixed it in like 5 minutes, but wanted to put this out for posterity's sake.

The only other issue I have is in both Jessie and Stretch. When I go to delete a controller, it won't delete unless I have the gravity sensor bound to that device. If I bind the gravity sensor, it deletes it right away. An easy workaround, for sure, but just pointing out a bug.
 
Hokeydokey. I've been futzing with two BrewPi minions via bluetooth for the better part of a year - I did get them working, but after sitting a while, they... stopped behaving. Spent the better part of today trying to get them back, starting from scratch - at which point Cadi suggested switching to Fermentrack.

On his suggestion, I was able to get them reporting via bluetooth again, simply by changing the ttyACM0/ttyACM1 to rfcomm0/rfcomm1 in each instance via the Django admin panel. Lookit, there they are, telling me what's going on!

The issue I'm having though, is that for both instances, I'm unable to actually use them - getting the error message as shown (unable to update the temperature control settings for...)

I did try and look through the documentation on fermentrack.com but got a 404 error on the "
Setting Up an Arduino-based Controller in Fermentrack" pages. Hopped into the "configure sensors/pins" page for both instances, and they seem okay - heating set to pin 5, cooling to pin 6. (Oddly, beer sensor is showing as pin 18 as opposed to "address"?)

Any suggestions on what I'm doing wrong here?
 

Attachments

  • Screen Shot 2018-02-26 at 5.53.40 PM.png
    Screen Shot 2018-02-26 at 5.53.40 PM.png
    93.2 KB · Views: 50
Did you have the same problem when they were connected via USB?
Haha, didn't even try it in USB - went straight for the holy grail! Planning on pulling it out and trying again with USB and see what's what. But to be honest, at this point I'm getting pretty close to calling it quits - I've been futzing with this for over a year, and it's never worked quite right.
 
Giving up is always an option. So is relaxing, having a homebrew, and letting the guys smarter than you and I rescue your build and get you working.

For what it is worth, with @Thorrak's Fermentrack and either a USB connection or using a D1 mini over wifi, it is pretty much bullet proof. There shouldn't be any futzing at all.

For your build, try a couple of things. First, try over USB and make sure all of the functionality works. While it is connected to USB, use the reset EEPROM function and hook up all of the sensors and relays again. Make sure things work. Then try bluetooth. You should be good to go.
 
Flashed the Arduino back to default, reset the EEPROM in Fermentrack, set it back up, and... same problem. Unable to update temperature control settings. Then magically, about 30 minutes later... it decided to work. Second one went up without issue. Then, after a few minutes, second one stopped working. Am going to have to tear into 'em tomorrow and check my soldering.
 
Last edited:
Does Fermentrack support the BrewPi logging functionality?
If it does, check the logs, they often give solid clues...

Cheers!
Heya Dave - shouldn't you be in bed!?!?!?

Only logs if a beer is running - which I haven't been able to implement. But lo and behold, on the fifth (!) round of "wipe the arduinos and set 'em up from scratch"... they both now seem to be working, via USB at least. I'm gonna let 'em sit overnight doing their thing, and check in the morning. It was simple as Pi (ahaha) to change the config for these from USB to Bluetooth, although was having trouble with binding on startup.
 
lol! I got caught up diagramming my RO system before I mod the heck out of it and lost track of the time.
Nursing a bedtime stout now so I won't be up much longer ;)

Cheers!
 
Back
Top