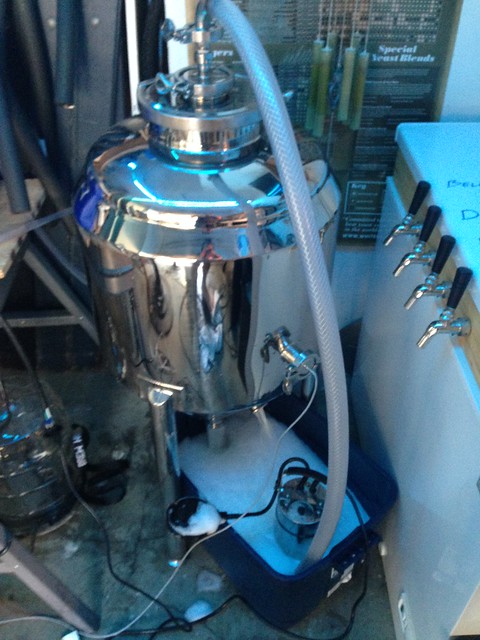
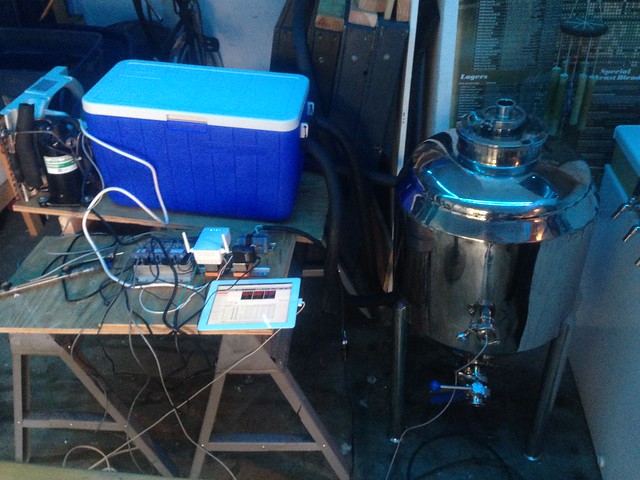
So lucky for me my bonus came through alarger than expected. Pair that with a loving SWMBO and all of the control panel panel parts are in transit. It also lets me get a conical earlier than expected. I have outlined my observations below in attempt to decide what to get.
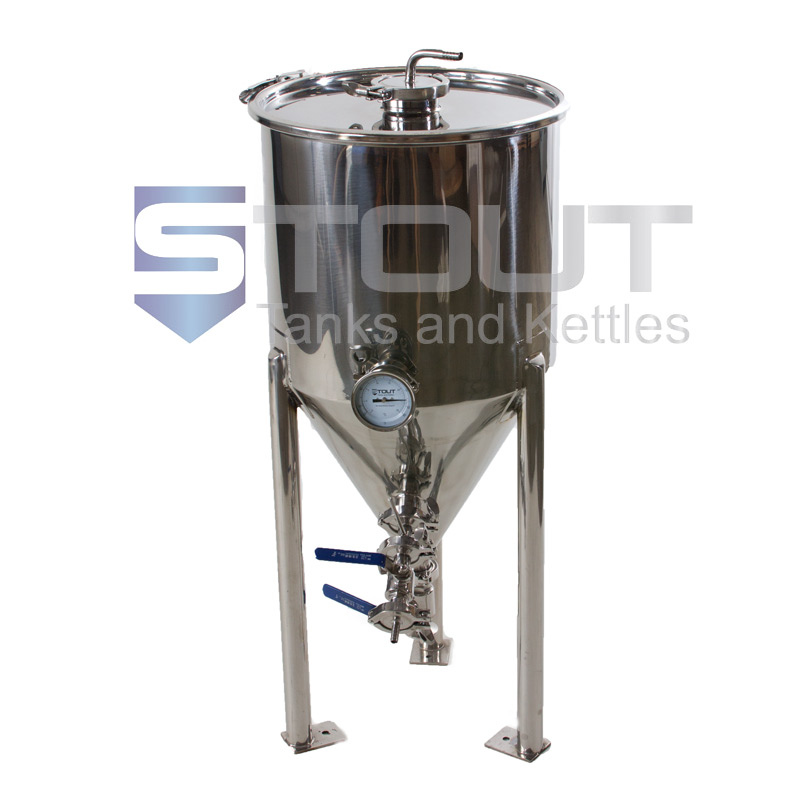
Stout 14 gallon - $589 + Shipping
Pros
-10 gallon batches will probably be the norm, for now
-Has a 3" port on top for cip/other options
-Whole lid comes off for easy cleaning
-comes with tri clamp fittings
Cons
-10 gallon limit
-would need to customize to use a glycol chiller
-Pressure rated to 5psi
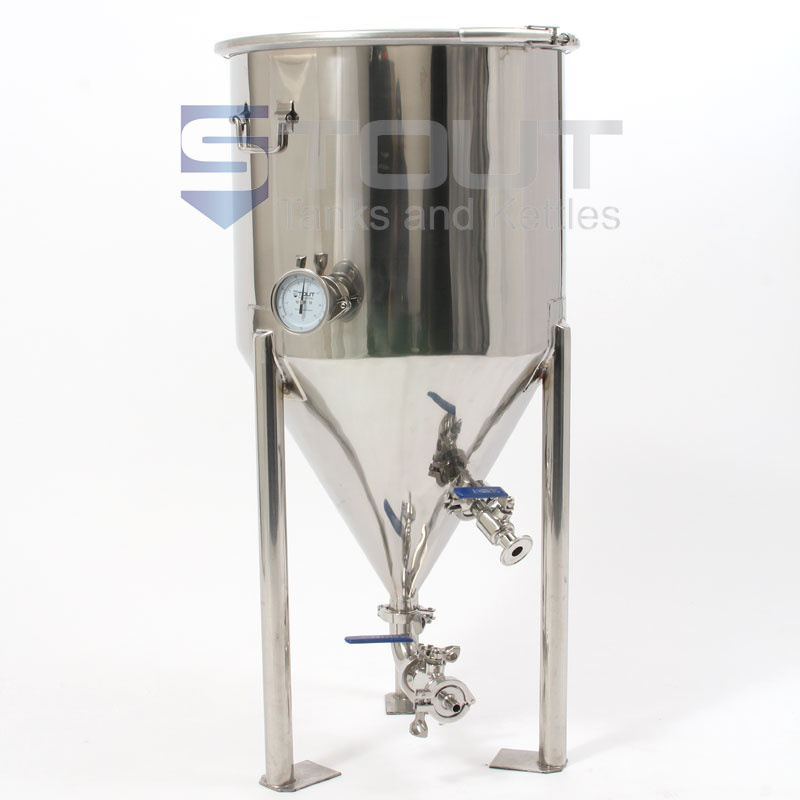
Stout 23 gallon - $769 + Shipping
Pros
-23 gallon capacity will work for 10 gallon batches, but allows from for expansion
-Whole lid comes off for easy cleaning
-comes with tri clamp fittings
cons
-would need to customize to use a glycol chiller
-no TC port in lid for cip
-pressure rated to 5psi
Brewhemoth -$640 Free shipping
Pros
-Large capacity
-can pressure ferment
-large TC port for cip
-can use integrated chiller for upgrade
cons
-weld quality has been called into question
-I don't really like the legs on them
-can it fit a 20 gallon batch?
-have to purchase tri clamp fittings separately
Other notes
-Pressure fermenting has no appeal to me for now. As long as I can pressure transure, i will be satisfied.
-I plan on using the conical for my house favorite IPA. Most other batches will be put in the carboys within the wine coolers.
-I feel as if i go the glycol route, it will be easier to add more conicals down the road as long as the chiller can handle it.
-If i want 20 gallons in the fermenter, i will do a double batch

")


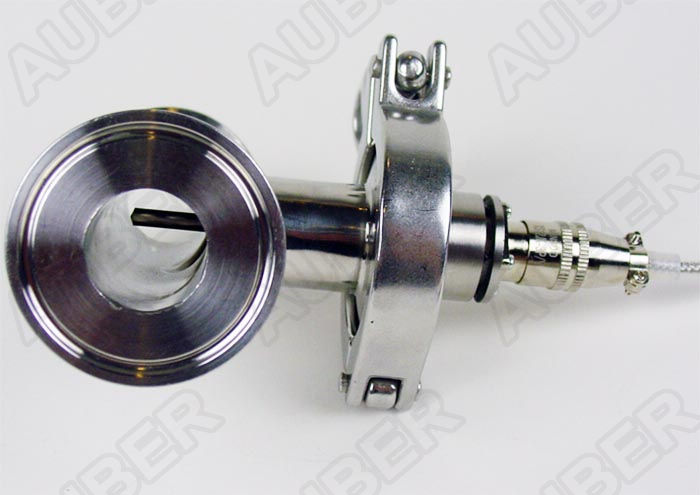

 I really think these tees are produced within a REALLY tight tolerance. My probe, as i mentioned, does not seem to be manufactured particularly carefully.