MFL Bulkhead fitting

Homebrew Talk - Beer, Wine, Mead, & Cider Brewing Discussion Forum

Help Support Homebrew Talk - Beer, Wine, Mead, & Cider Brewing Discussion Forum:

This site may earn a commission from merchant affiliate links, including eBay, Amazon, and others.

Peaty Jones

Member
Joined
Apr 17, 2024
Messages
22
Reaction score
10
Location
Finland
Im looking for a MFL bulkhead fitting for my keezer. The idea is to drill hole through the chest freezer lid and install a MFL bulkhead fitting. On both sides I would put duotight connectors for keg/beer carbonation. My Co2 tank is too large to store In the freezer. The problem is cant find any sellers inside Europe or who ship to Europe with reasonable sipping costs and time.. Any leads?
 
Does Würth have outlets in Finland?

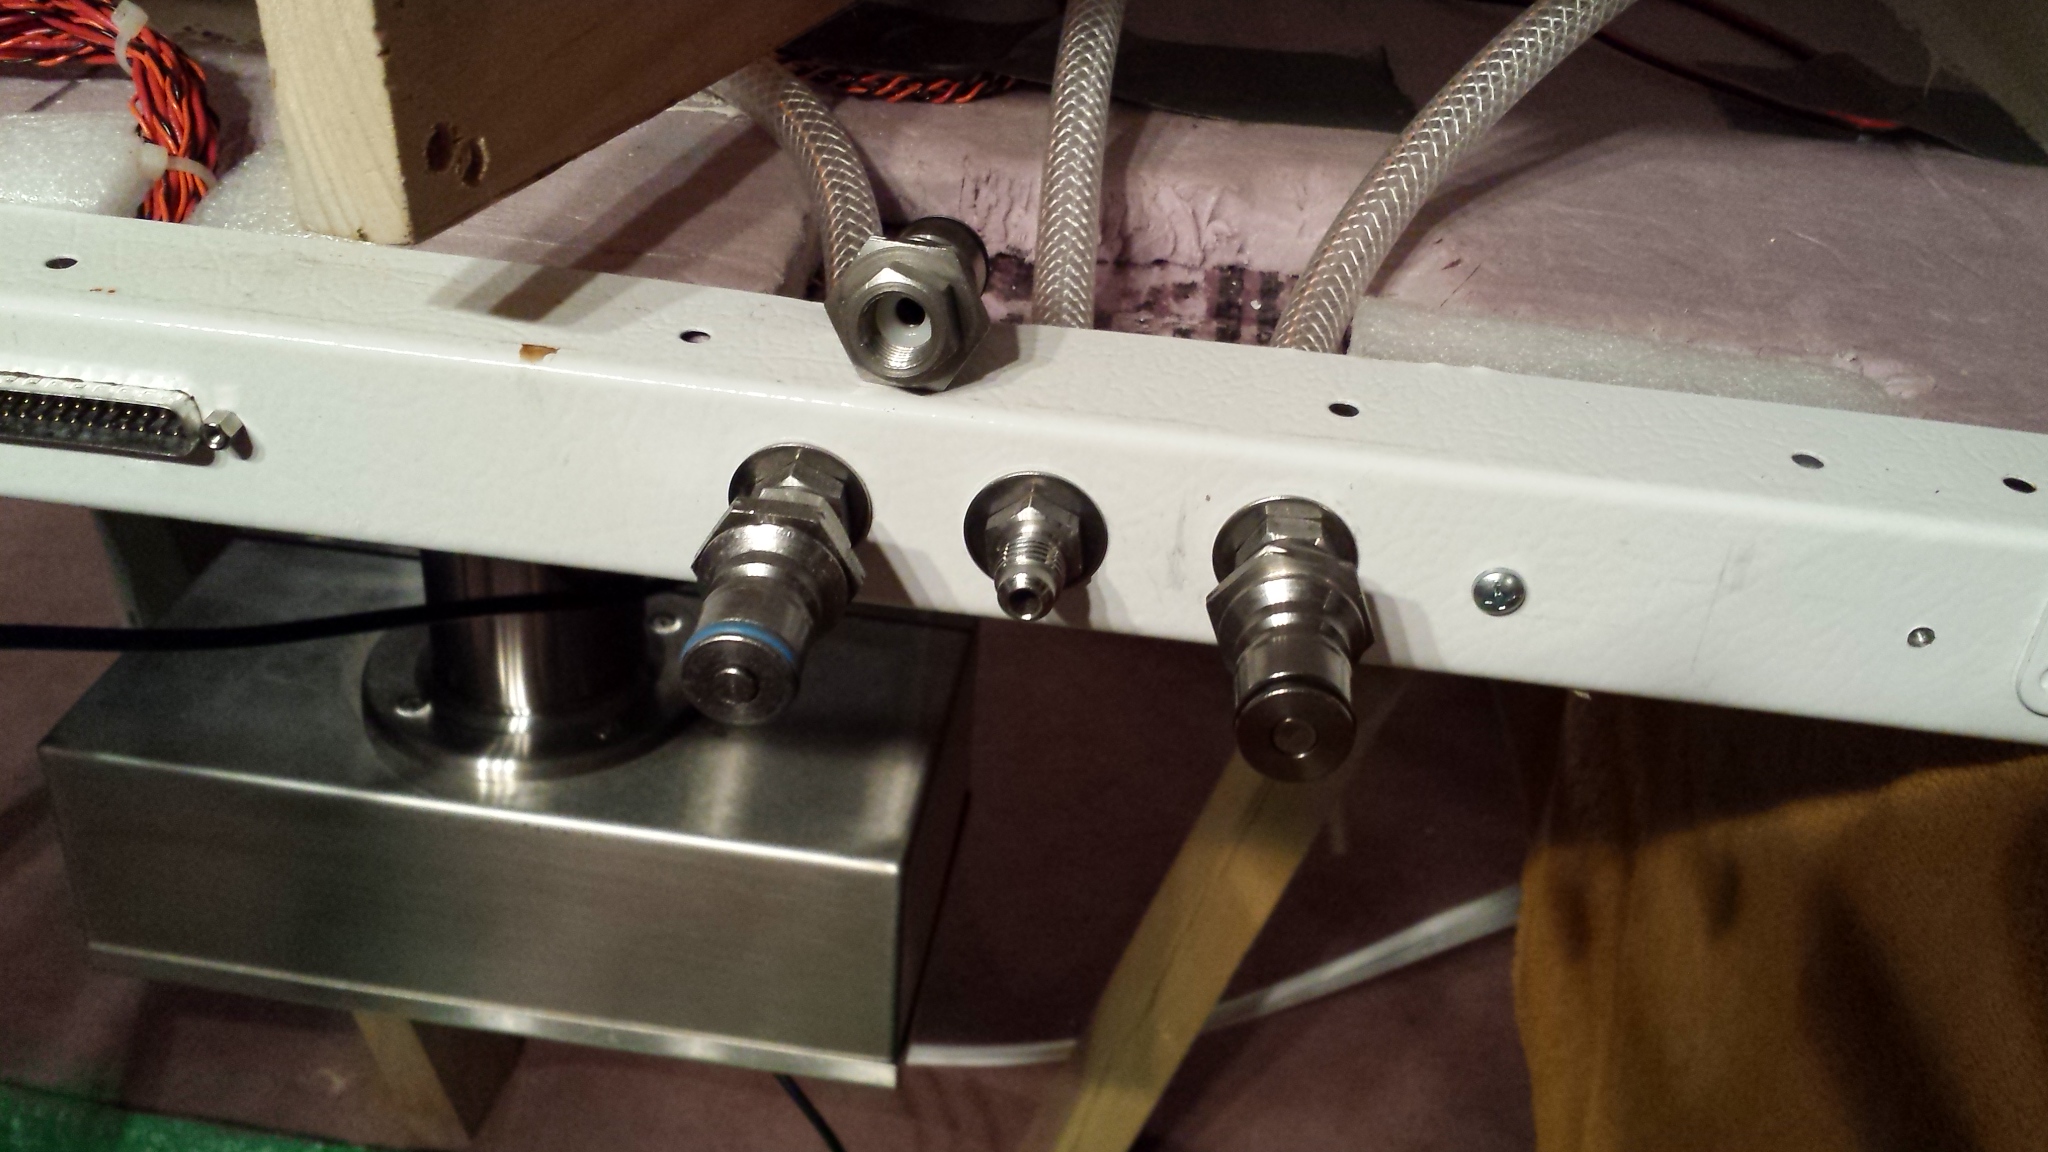
That big bulkhead will work great if you're going straight down though the lid. Otoh, if you are going through the back edge of your freezer lid, you might want to go with "panel mount" MFL bulkheads, like this:

1715025799787.png


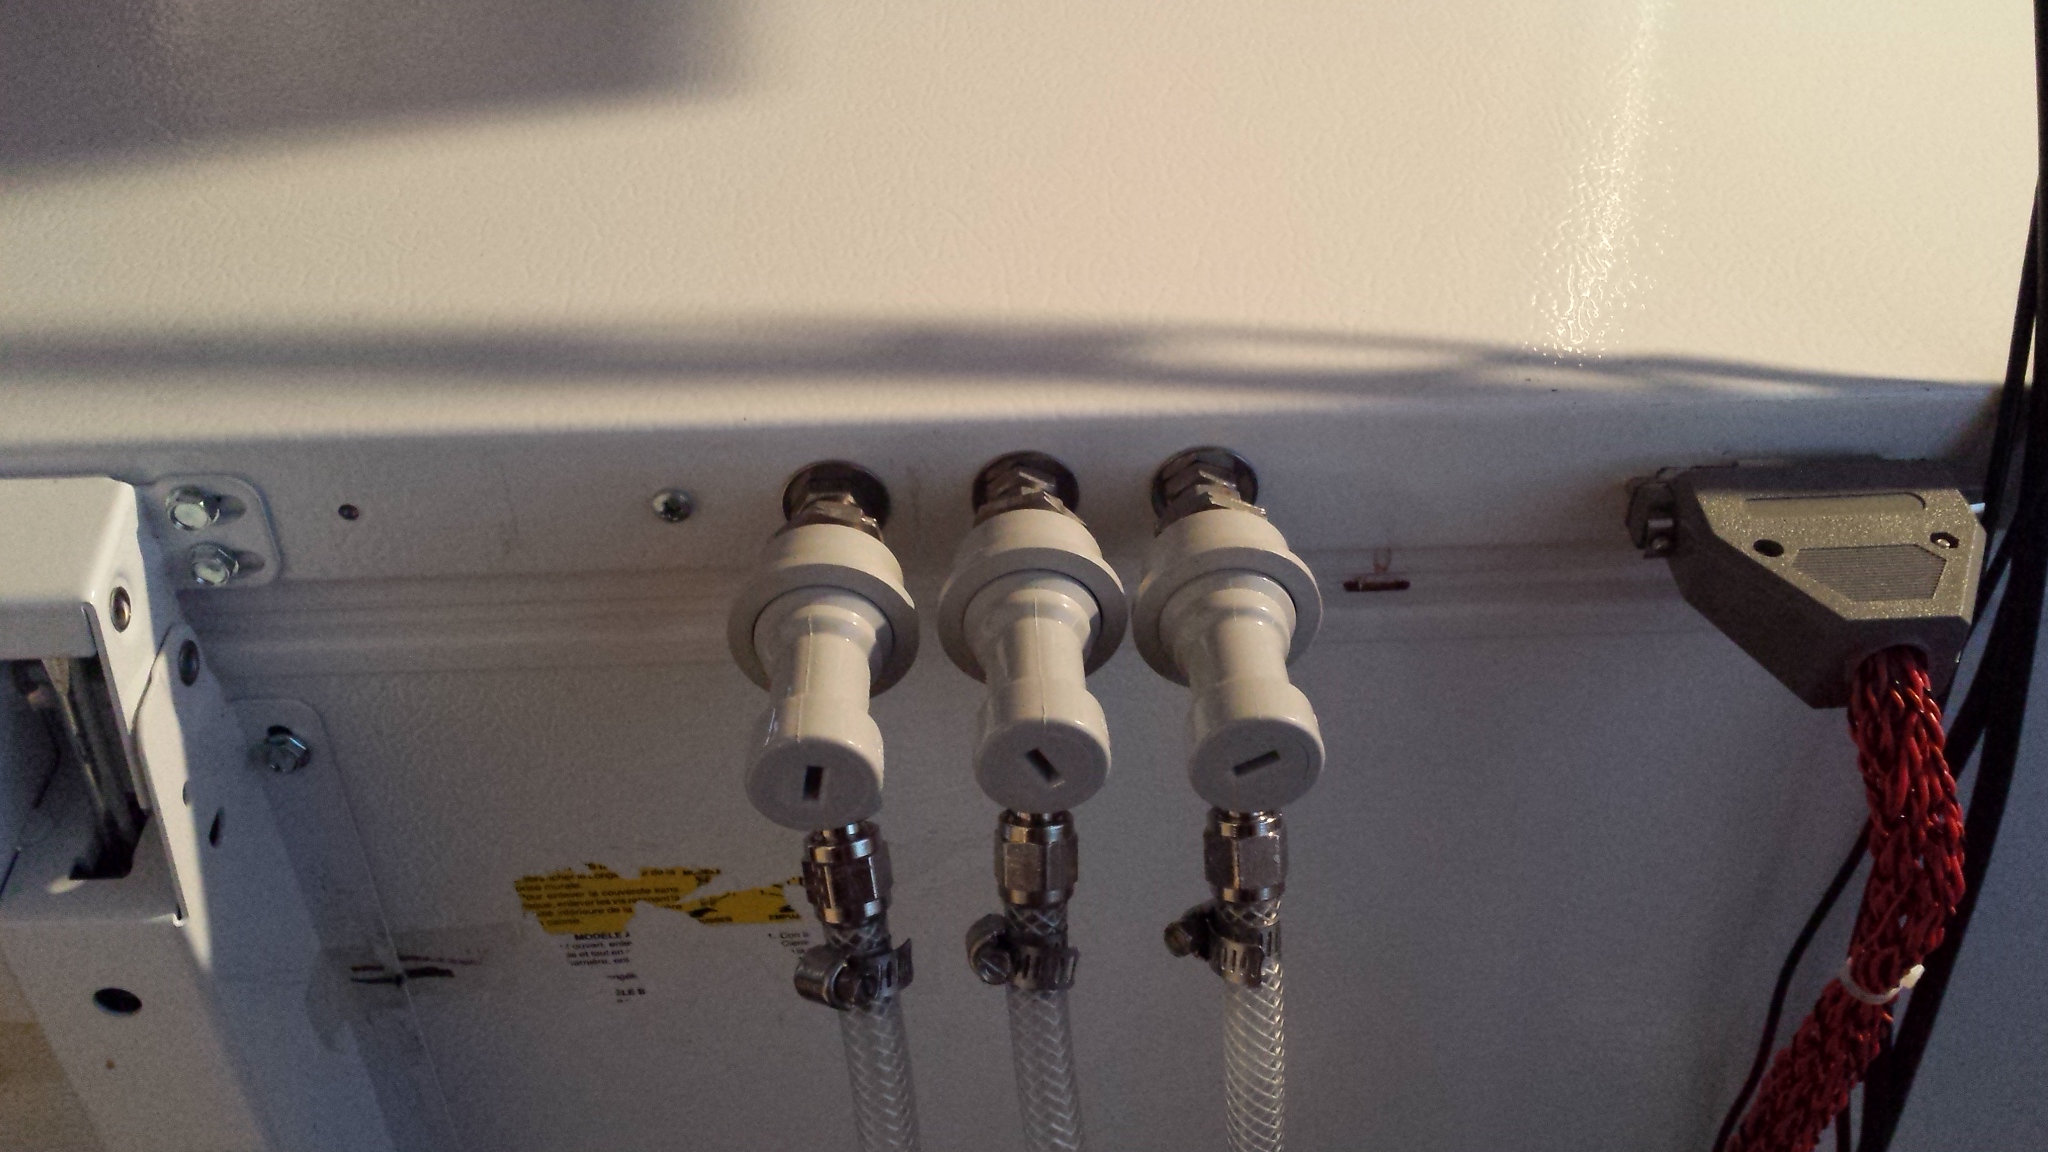
On my 1st and 2nd keezers I used a few of these to bring two pressures of CO2 and a beer gas line inside through the back edge of their lids.

1715026021046.jpeg
1715026073909.jpeg


btw, the oem lid on the freezer I used for my third and current keezer in 2018 came totally filled via "foam-in-place" (signified by huge yellow "Cyclopentane" sticker) which would have required Jobian patience at the minimum to deal with in any similar manner. So I built a custom lid and gave the oem lid back to the retailer. If you're lucky you won't run into that - although going straight through probably won't actually be much of a challenge :)


Cheers!
 
Last edited:
Does Würth have outlets in Finland?

That big bulkhead will work great if you're going straight down though the lid. Otoh, if you are going through the back edge of your freezer lid, you might want to go with "panel mount" MFL bulkheads, like this:

View attachment 848098

On my 1st and 2nd keezers I used a few of these to bring two pressures of CO2 and a beer gas line inside through the back edge of their lids.

View attachment 848100 View attachment 848101

btw, the oem lid on the freezer I used for my third and current keezer in 2018 came totally filled via "foam-in-place" (signified by huge yellow "Cyclopentane" sticker) which would have required Jobian patience at the minimum to deal with in any similar manner. So I built a custom lid and gave the oem lid back to the retailer. If you're lucky you won't run into that - although going straight through probably won't actually be much of a challenge :)


Cheers!
Thanks day tripper!

Yes there is Wurth Shop In Finland. Thanks for the tip! I ran into another problem made me throw all plans to trash bin.. I just realized my recently bought second hand 100l freezer is too low. I cant close the lid while corny inside it... So I ran into a hardware store and bought some supplies to build a collar. Otoh this also eliminates the problem which I had In the first place. I can fit the bulkhead through the collar so it doesnt need to be that long. Plan is to make a frame out of 33x33mm wood. Ill cover it with sheet metal (0,7mm steel) and place/glue) 30mm insulation (I dont know what it is In english but the product name is finnfoam) inside the frame. On the inside I cover it with aluminium sheet metal.
 
Does Würth have outlets in Finland?

That big bulkhead will work great if you're going straight down though the lid. Otoh, if you are going through the back edge of your freezer lid, you might want to go with "panel mount" MFL bulkheads, like this:

View attachment 848098

On my 1st and 2nd keezers I used a few of these to bring two pressures of CO2 and a beer gas line inside through the back edge of their lids.

View attachment 848100 View attachment 848101

btw, the oem lid on the freezer I used for my third and current keezer in 2018 came totally filled via "foam-in-place" (signified by huge yellow "Cyclopentane" sticker) which would have required Jobian patience at the minimum to deal with in any similar manner. So I built a custom lid and gave the oem lid back to the retailer. If you're lucky you won't run into that - although going straight through probably won't actually be much of a challenge :)


Cheers!
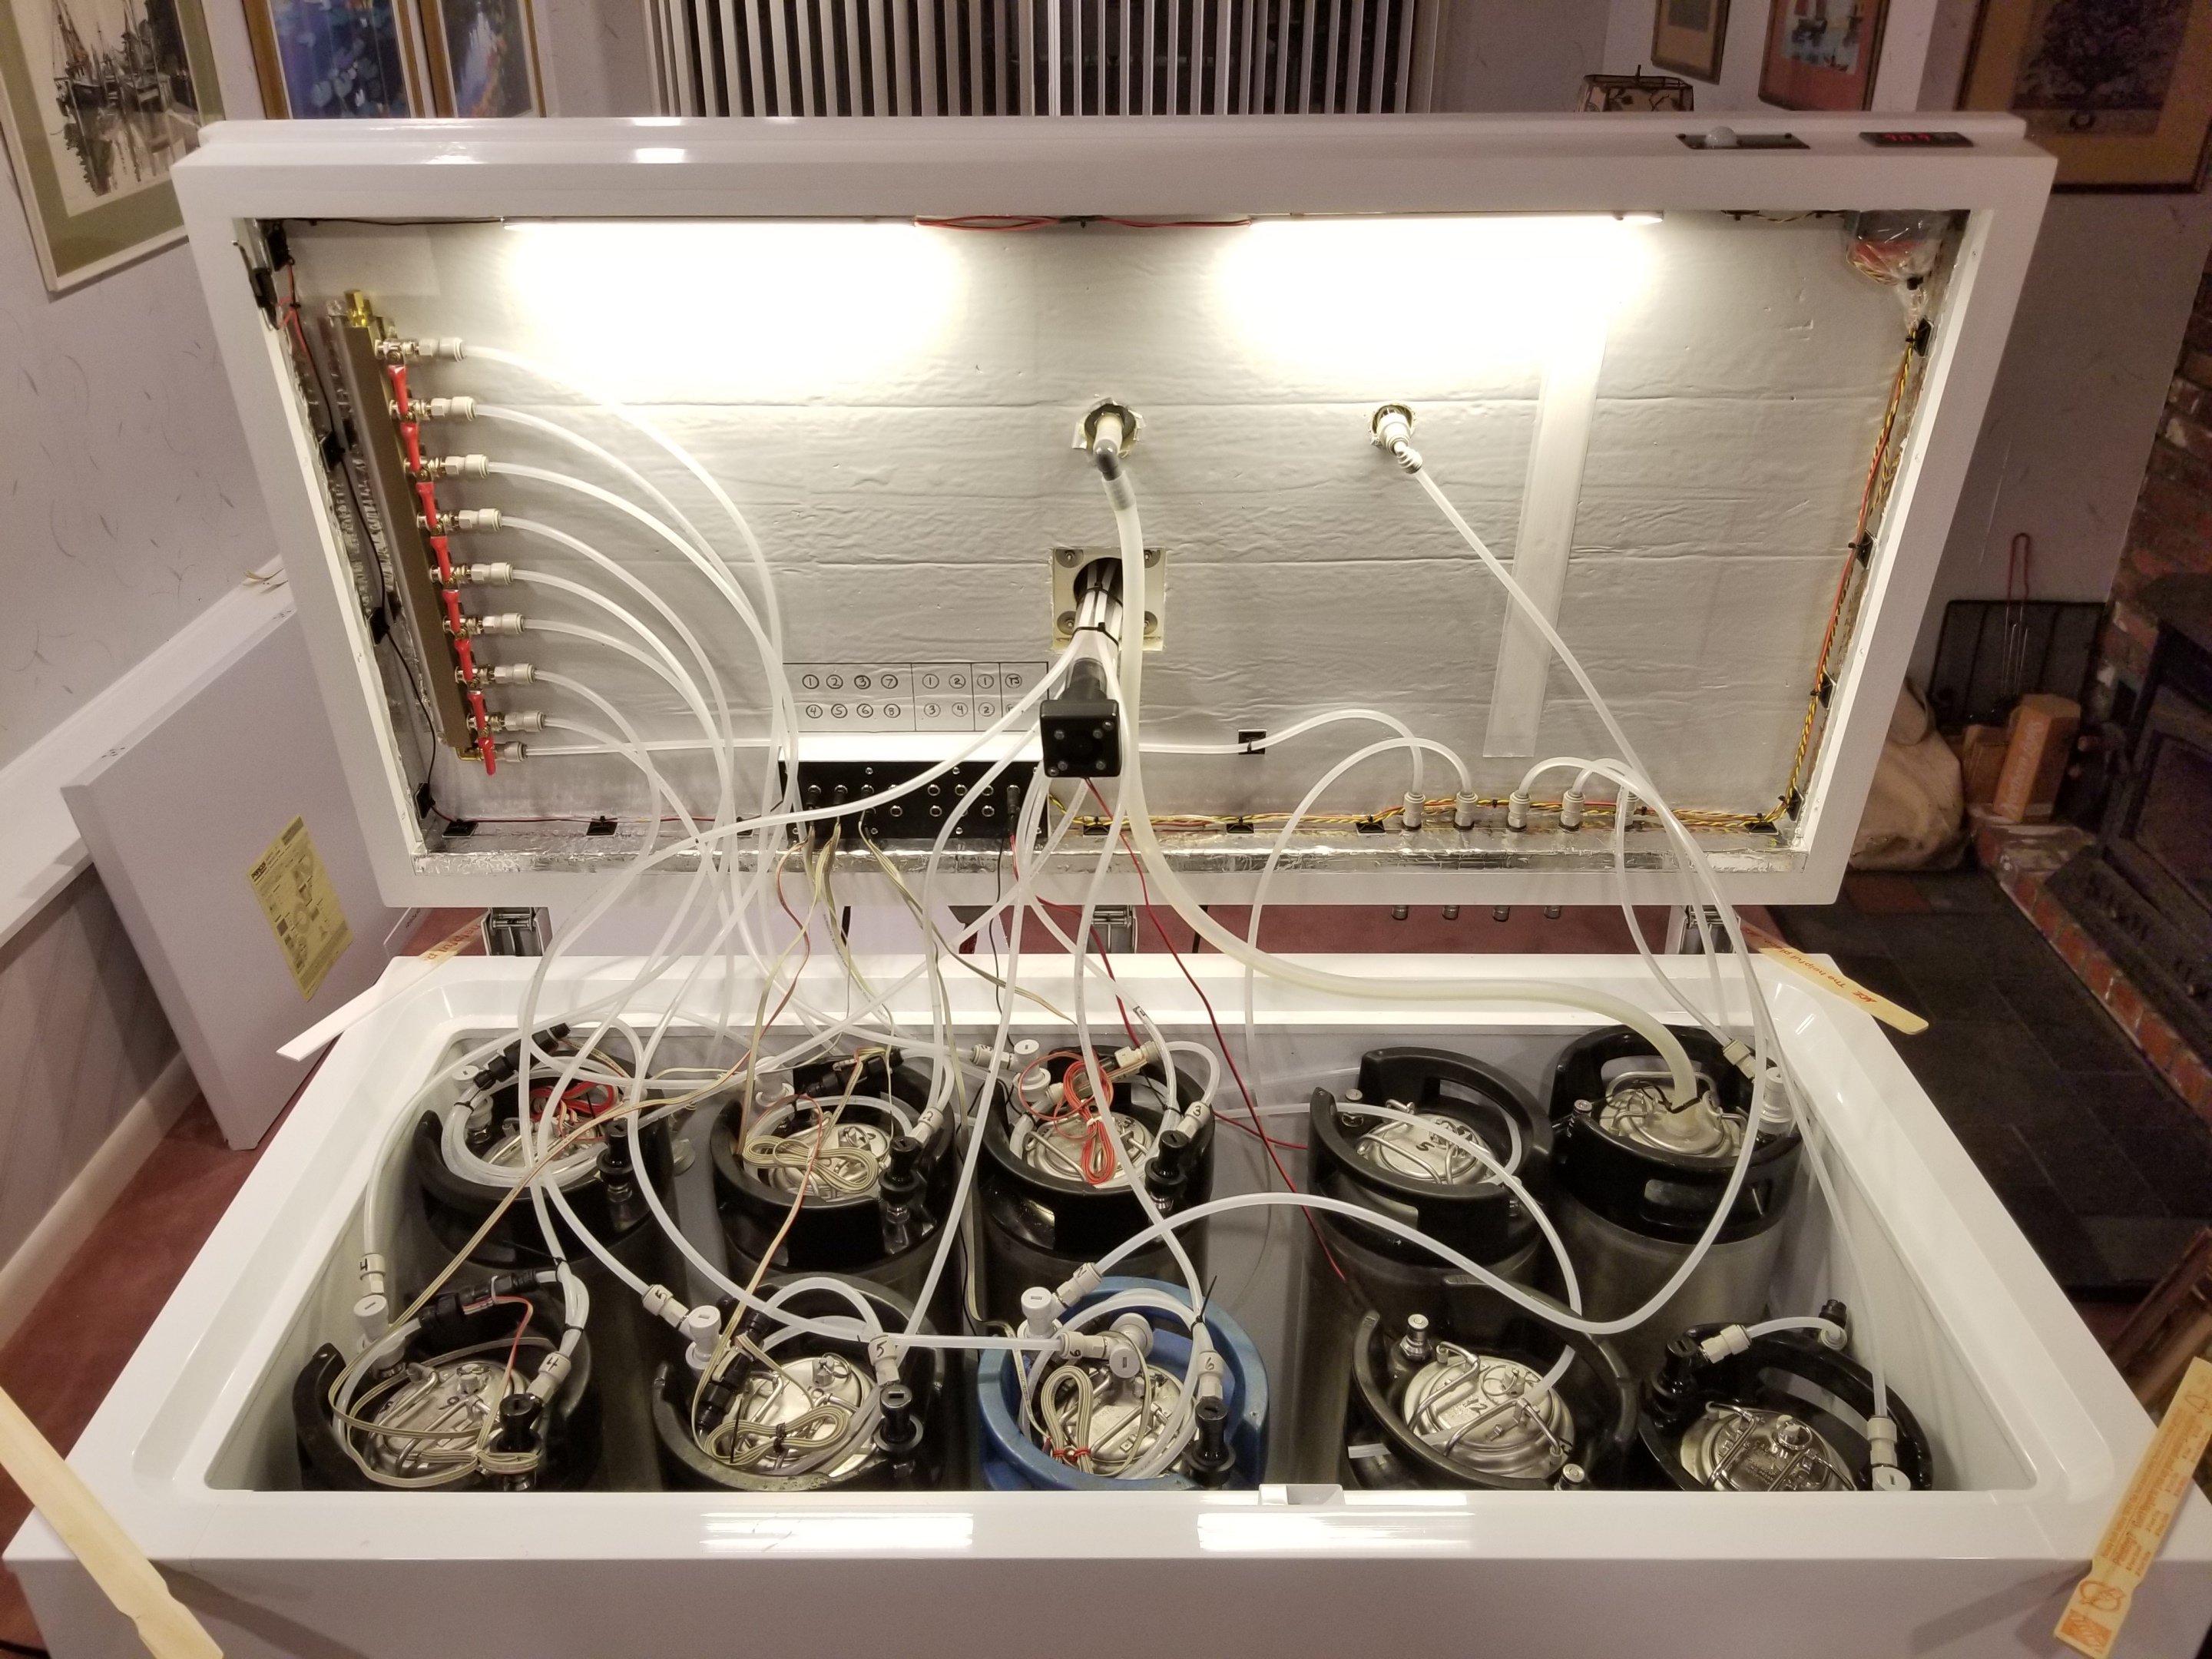
BTW! I'm interested to hear what do you have connected to that D25 connector what shows In the pictures?
 
I have flow meters on each of the tap lines along with multiple temperature sensors and power to the interior lighting and fans all traveling on that cable down to a slide-out Raspberry Pi based control system in the dolly.

1715173404673.jpeg


1715173445804.jpeg


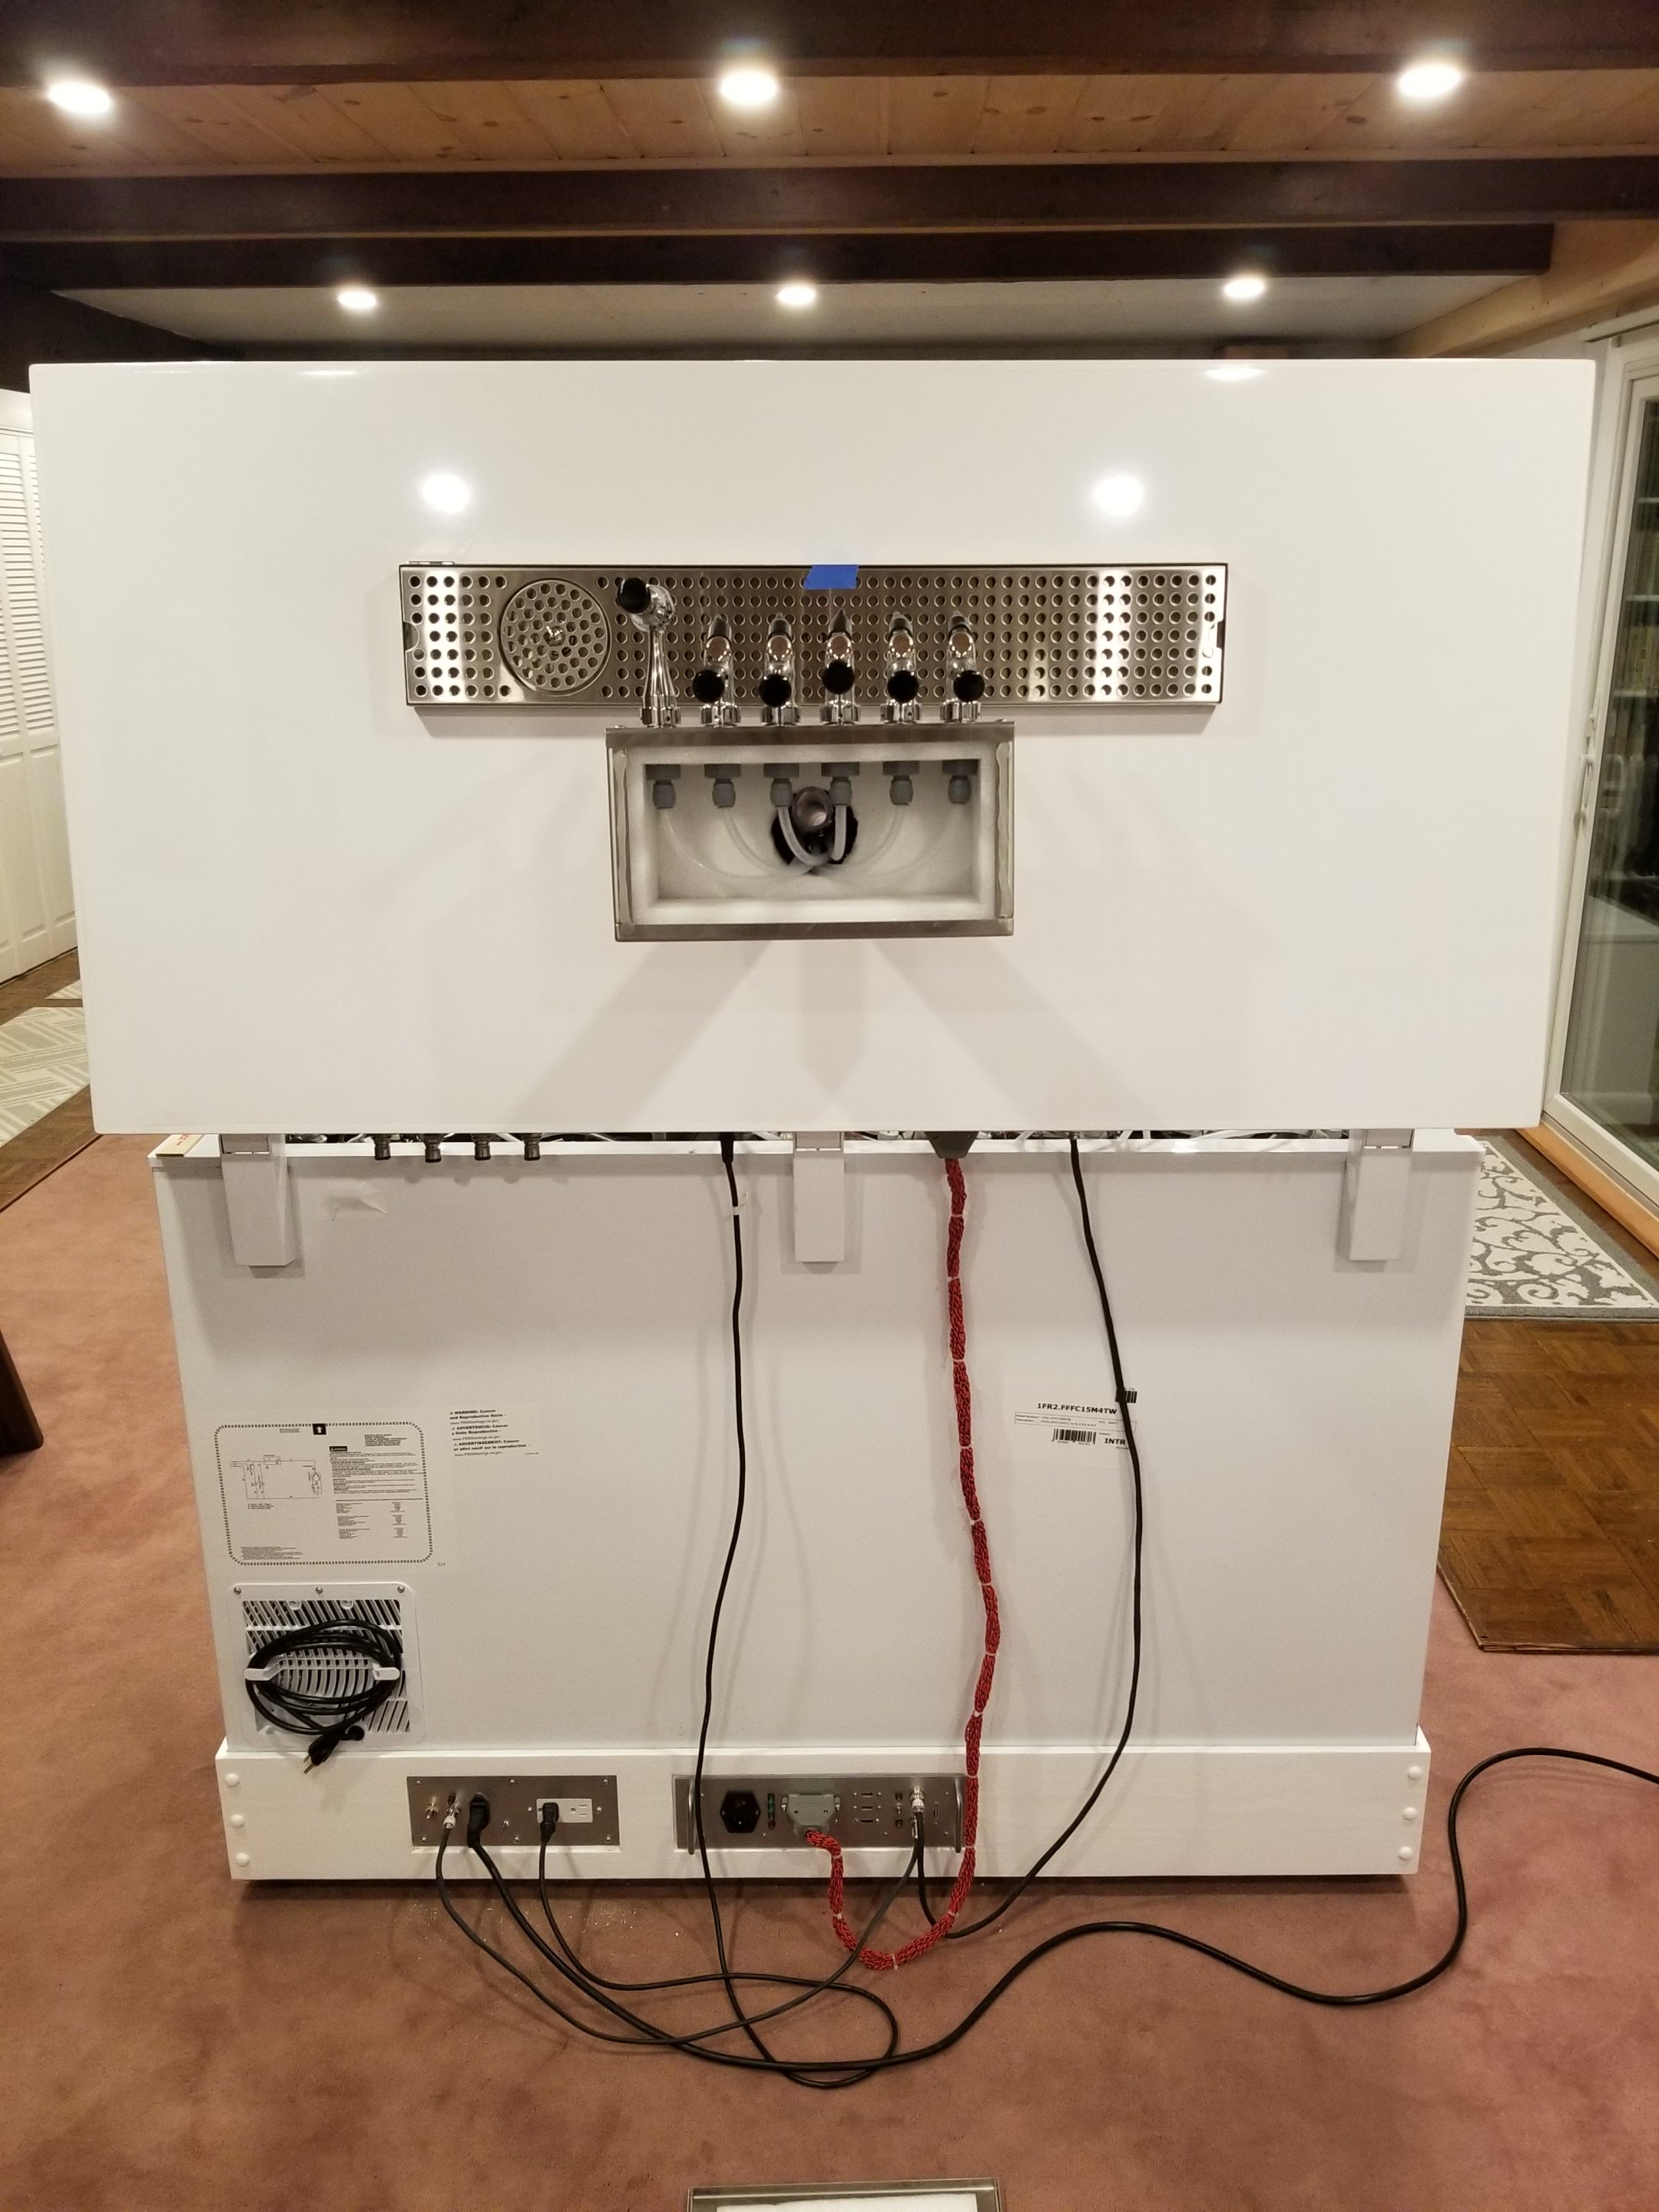
The Raspberry Pi runs a program called "RaspberryPints" that provides a metered tap list to the monitor perched atop the tower...

1715173687926.jpeg


Cheers!
 
Thanks day tripper!

Yes there is Wurth Shop In Finland. Thanks for the tip! I ran into another problem made me throw all plans to trash bin.. I just realized my recently bought second hand 100l freezer is too low. I cant close the lid while corny inside it... So I ran into a hardware store and bought some supplies to build a collar. Otoh this also eliminates the problem which I had In the first place. I can fit the bulkhead through the collar so it doesnt need to be that long. Plan is to make a frame out of 33x33mm wood. Ill cover it with sheet metal (0,7mm steel) and place/glue) 30mm insulation (I dont know what it is In english but the product name is finnfoam) inside the frame. On the inside I cover it with aluminium sheet metal.
Covering the (wooden) collar with sheet metal sounds like a lot of work. Most homebrewers just stain/varnish or paint it. And leave the inside foam exposed.

The sheet foam insulation we put on the inside we call "foam board." It's quite hard and the surfaces are smooth. Comes in various thicknesses, from 3/4" to 2".
 
I just realized my recently bought second hand 100l freezer is too low. I cant close the lid while corny inside it...
Also allow extra space for the disconnects and tubing, all connected.

For instance, most regular QDs have their tubing connection at a 45° angle pointing upwards. They requiring quite a bit of extra space above them for the tubing to curve.
 
Also allow extra space for the disconnects and tubing, all connected.

For instance, most regular QDs have their tubing connection at a 45° angle pointing upwards. They requiring quite a bit of extra space above them for the tubing to curve.
It really isn't that much work and its allready almost done :D. I'm much more comfortable working with metal than wood. I needed some "head space" on the freezer for what you just described so the collar needed to be 280mm high (thats around 11"). This gives me 180mm (about 7") "head space" for the hoses, connectors etc. I dont have thickness planer or anything else to make a good looking collar from wood so sheet metal it is.

I just screwed this wooden frame (kind of a cube shape frame) and folded the factory painted sheet metal over it. I didnt want to use any nails or screws so I glued the sheet metal to the frame with sikaflex221. Then I just cut the foam board inside the hollow frame and glued them firmly to the frame and sheet metal. The inside I covered with this nice looking aluminium sheet. It has the same pattern which is quite typical In freezers normally. I just needed to cut, fold and glue it. Lots of clamps and nerves. I just need to wait till its dry and finish the corners and clean all the sika stains.

I was thinking of glueing melamine tape on the surface In which the lid seal goes against to make a better contact.
 
I have flow meters on each of the tap lines along with multiple temperature sensors and power to the interior lighting and fans all traveling on that cable down to a slide-out Raspberry Pi based control system in the dolly.

View attachment 848213

View attachment 848214

The Raspberry Pi runs a program called "RaspberryPints" that provides a metered tap list to the monitor perched atop the tower...

View attachment 848215

Cheers!
Wow! Thats quite nice. I always like it when someone makes it a bit nerdy :D. Dont get me wrong, thats not an insult.

We used to program our old DIY boat with rasberry Pi. We had it hooked up to a computer so we could steer and throttle it remotely over the internet. Steering was via linearmotor and throttle was handled with servomotor on the carburator valve. There was also to joysticks (one In the cabinet and one In the end of the boat) for steering. I dont know why but tinkering with these kind of small projects are always fun and awesome.
 
Back
Top