BeardedBrews
Well-Known Member
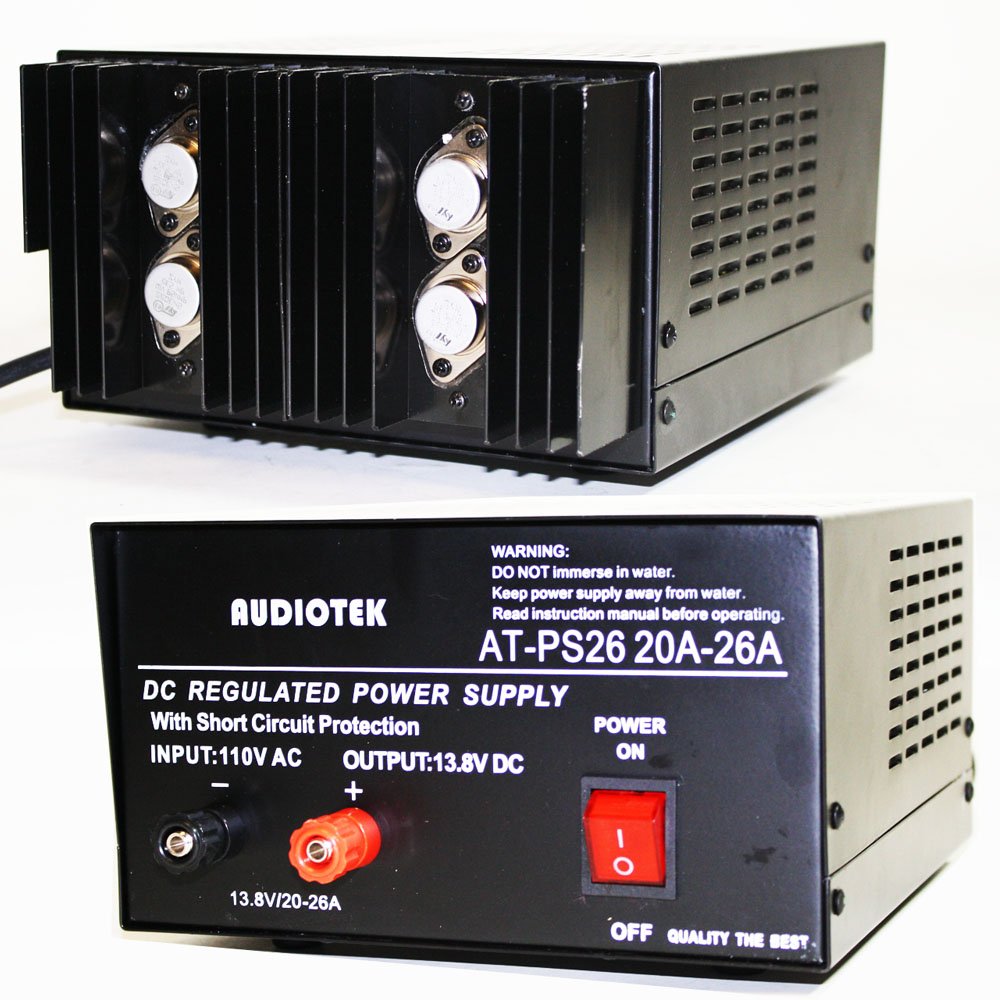
What are you using for your power supply?
Forgot part of your question.
I'm using an 850W ATX power supply (massive overkill at 70+ amps but since it was sitting in my basement, it was free). It is a "single rail" with two modular PCI connections. I took a single 12v wire and a single ground wire from one of the PCI pigtails to drive the motor, and I'm using the power supply switch to turn it on and off.
I suspect that the 16 gauge wire that's the PCI pigtail isn't going to love a constant 20 amp draw, but I'll have to crush more than a pound to know that for sure.
I tried to capture the turn rate on the shaft during the crush, I'd say it would be a very rigorous rate if you were turning the hand crank that fast, but slow for a drill. When I run my next batch I will try to count the RPMs.
 .
.