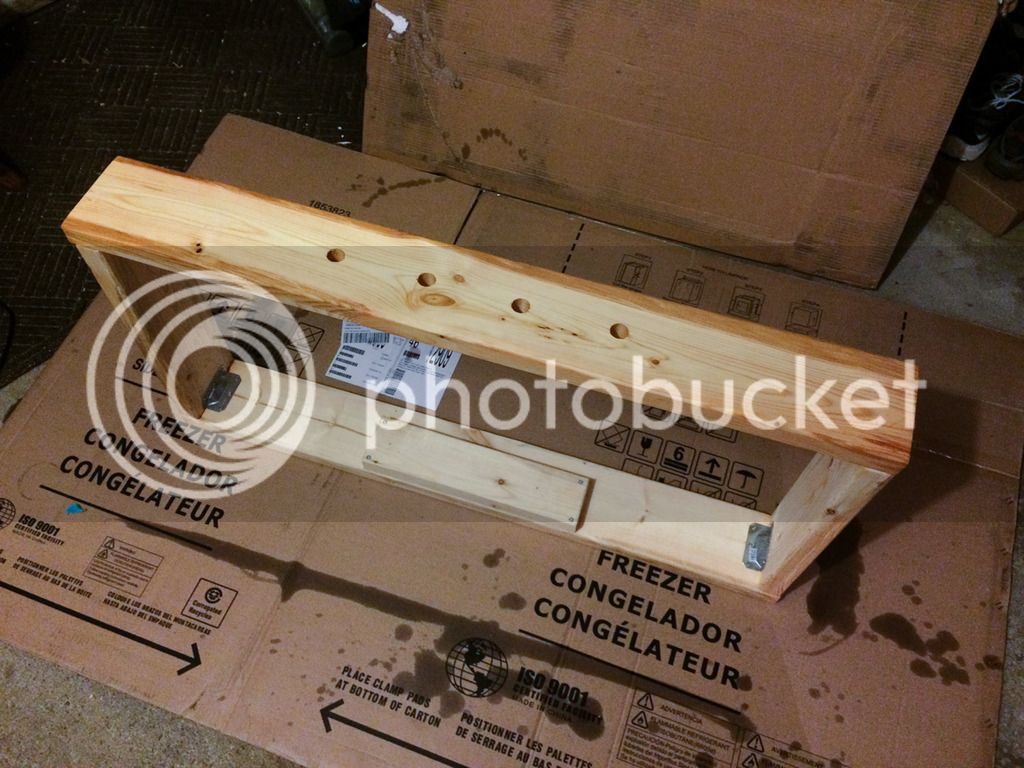
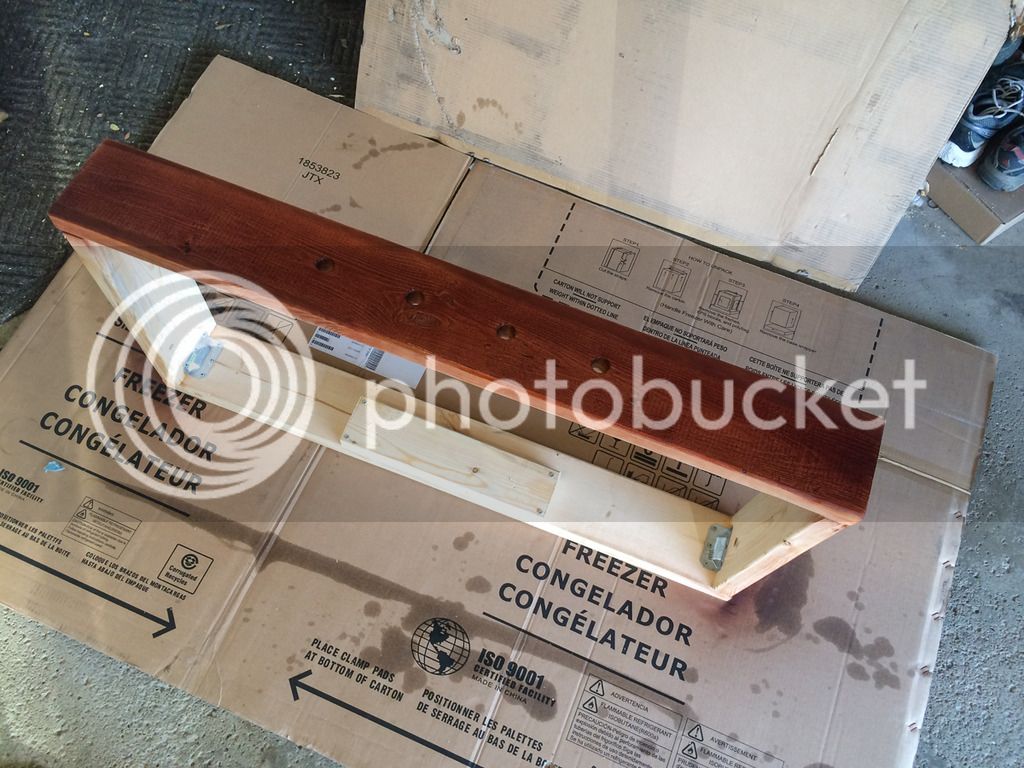
Should be good... I just measured and from the hump to the top of the lid you are looking at about 23". The collar height of mine is actually 5-1/2" (nominal was 2x6").
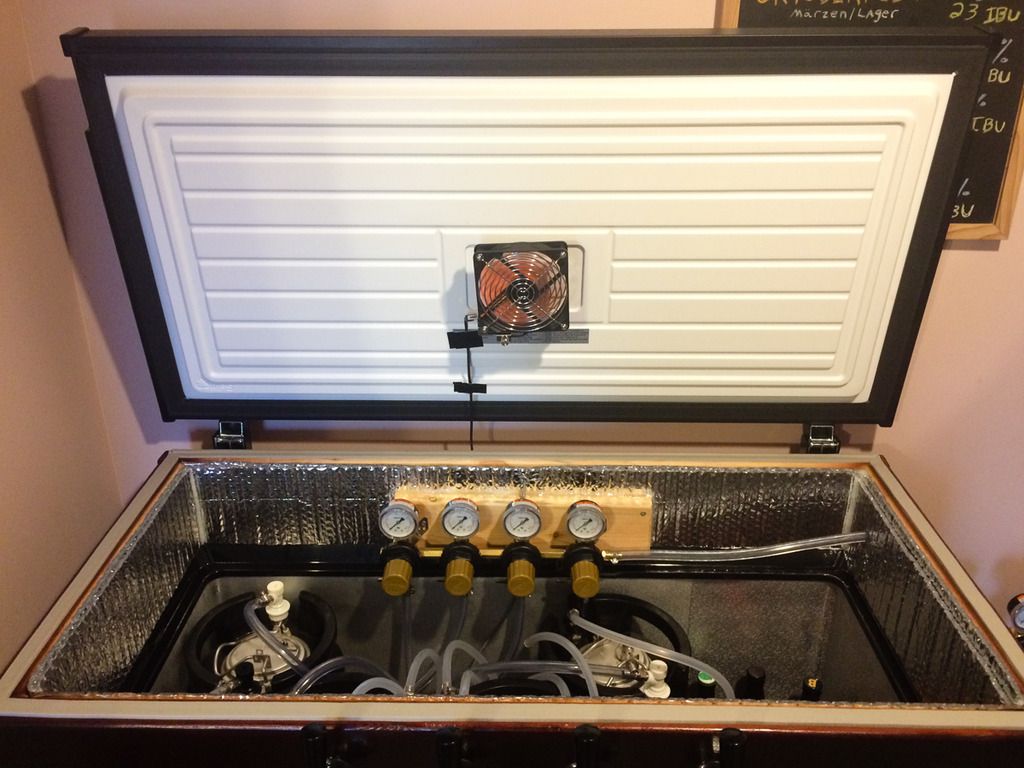
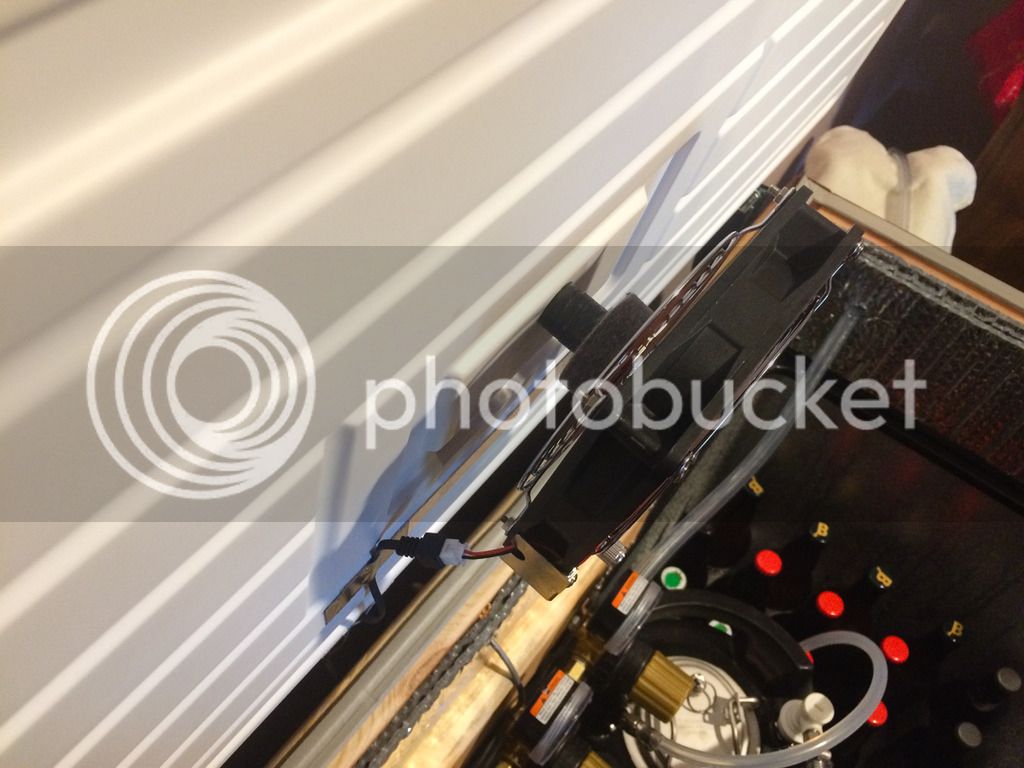
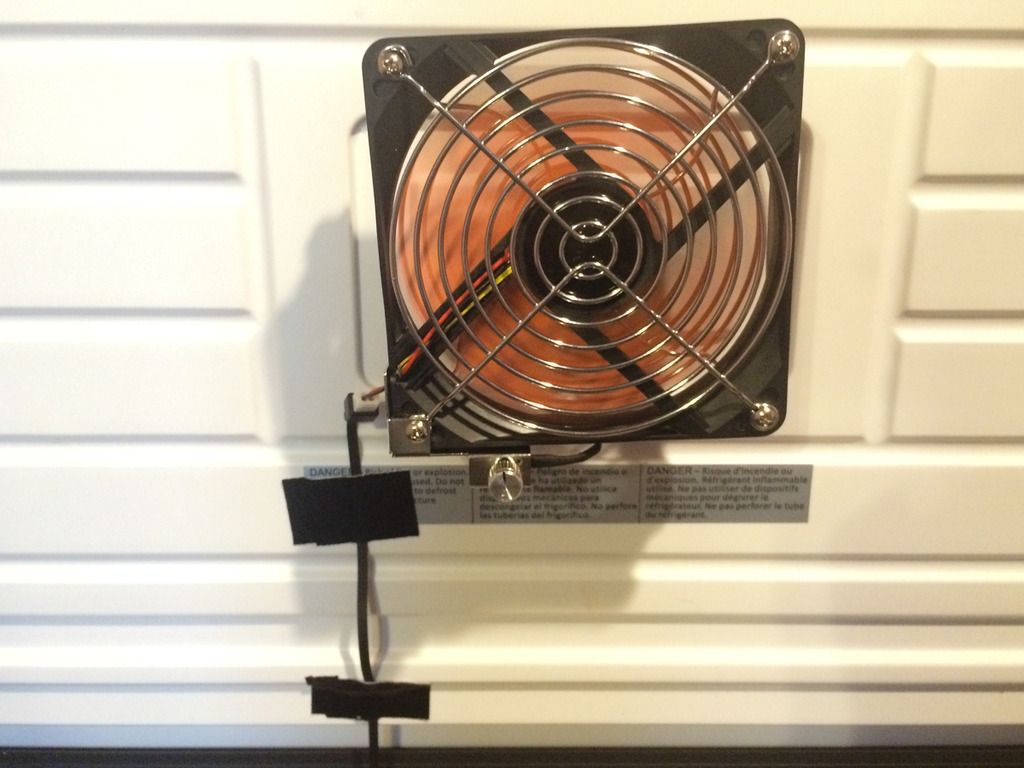
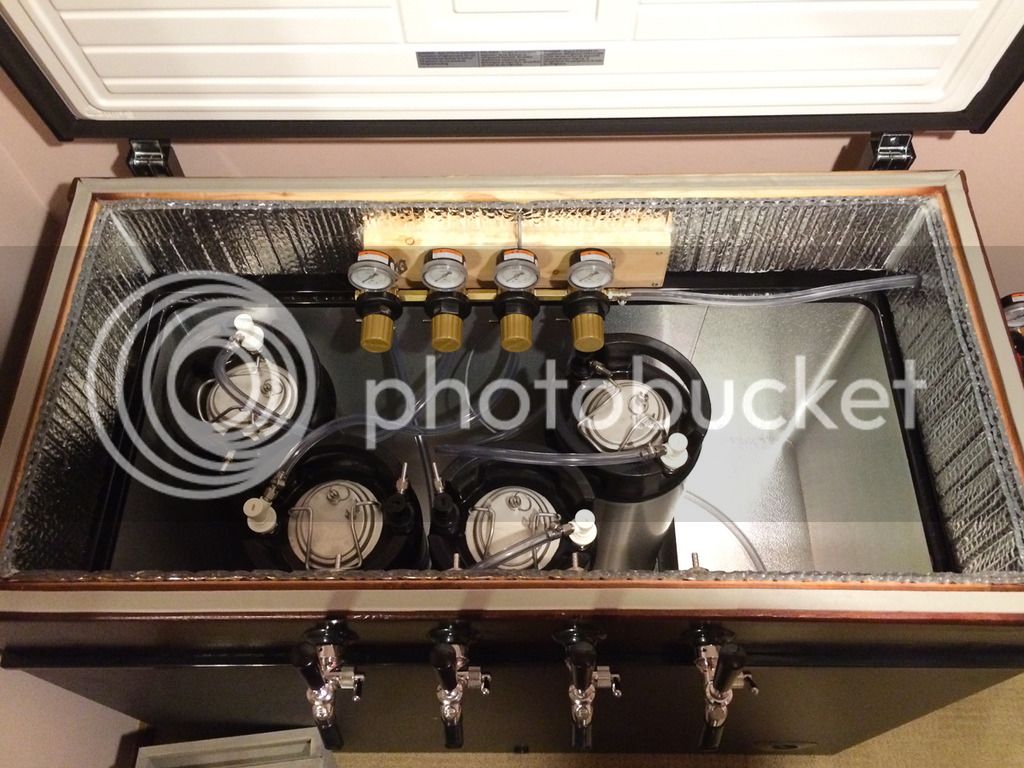
So today I finished the keezer! I was able to get the air circulation fan mounted to the roof of the keezer using superglue, magnets, felt and the fan itself. The felt was just a spare part from my drumkit for the cymbals, so that isolates any vibration/noise the fan may cause with the lid... The magnets are just stacked and glued together. The fan is a variable speed fan, the same one I used to make my spin plate which I really liked, good quality fan... Got it off Amazon (
http://www.amazon.com/dp/B00080G0BK/?tag=skimlinks_replacement-20).
Since the usb came is flat, I just laid it flat across the sealing foam, it shouldn't cause an issue. Airflow is downward and you can feel the draft if you crack the lid slightly and put your hand off to the side, so it's working well! I highly doubt it will budge, either... That super glue is tough stuff!
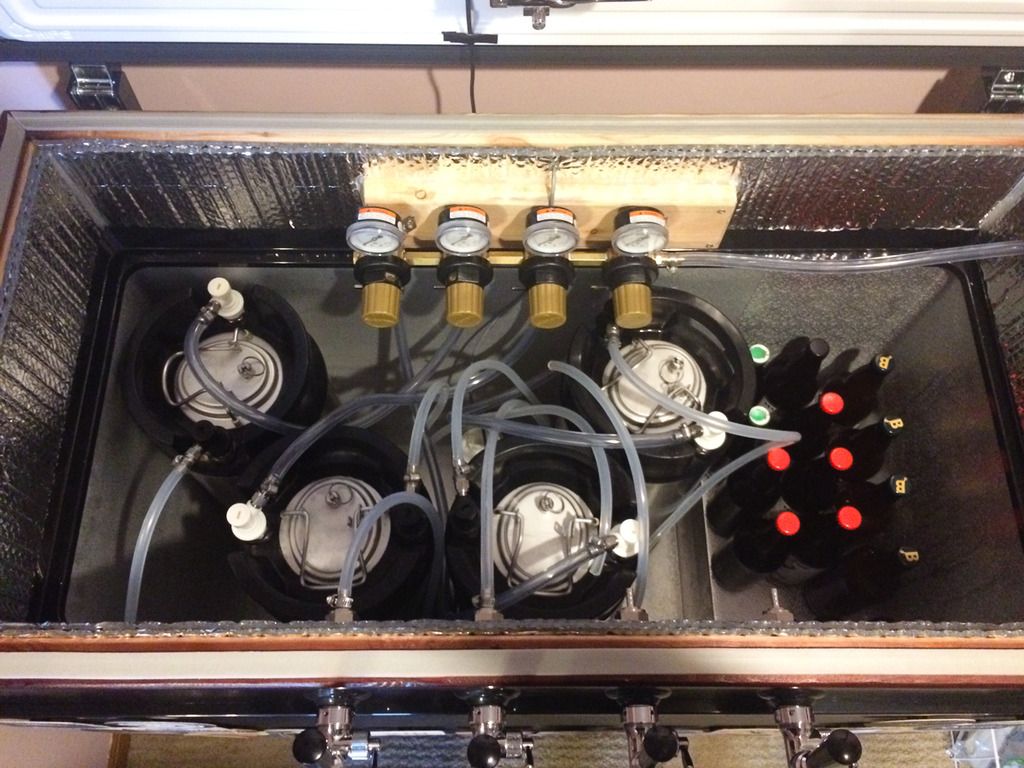
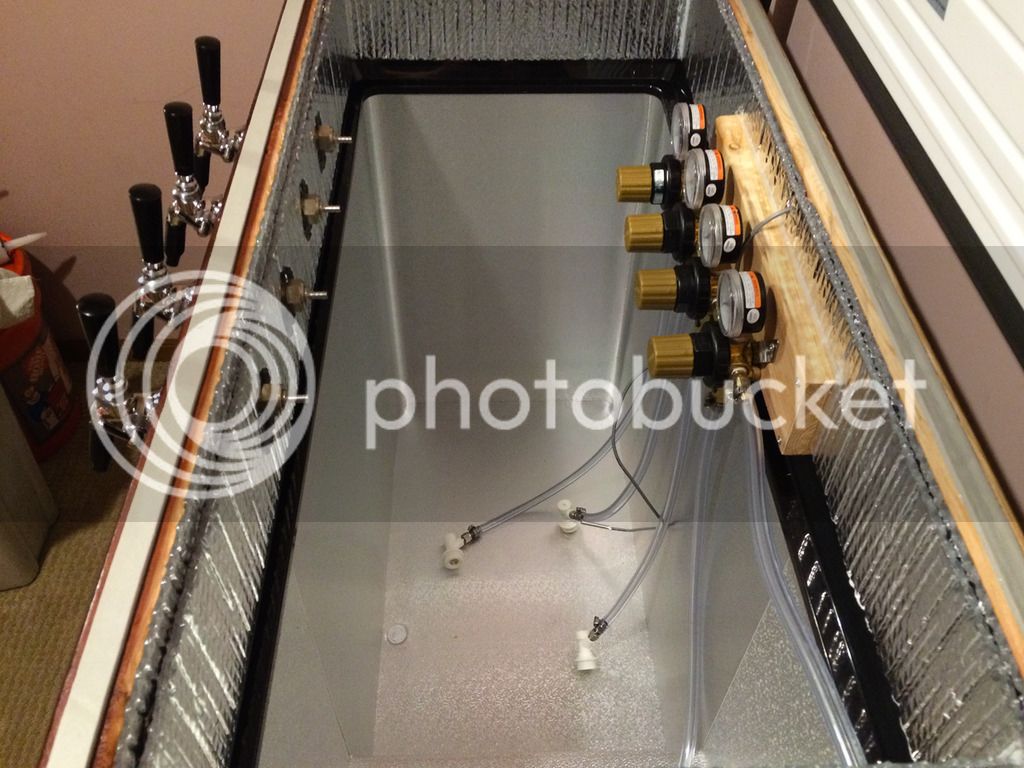
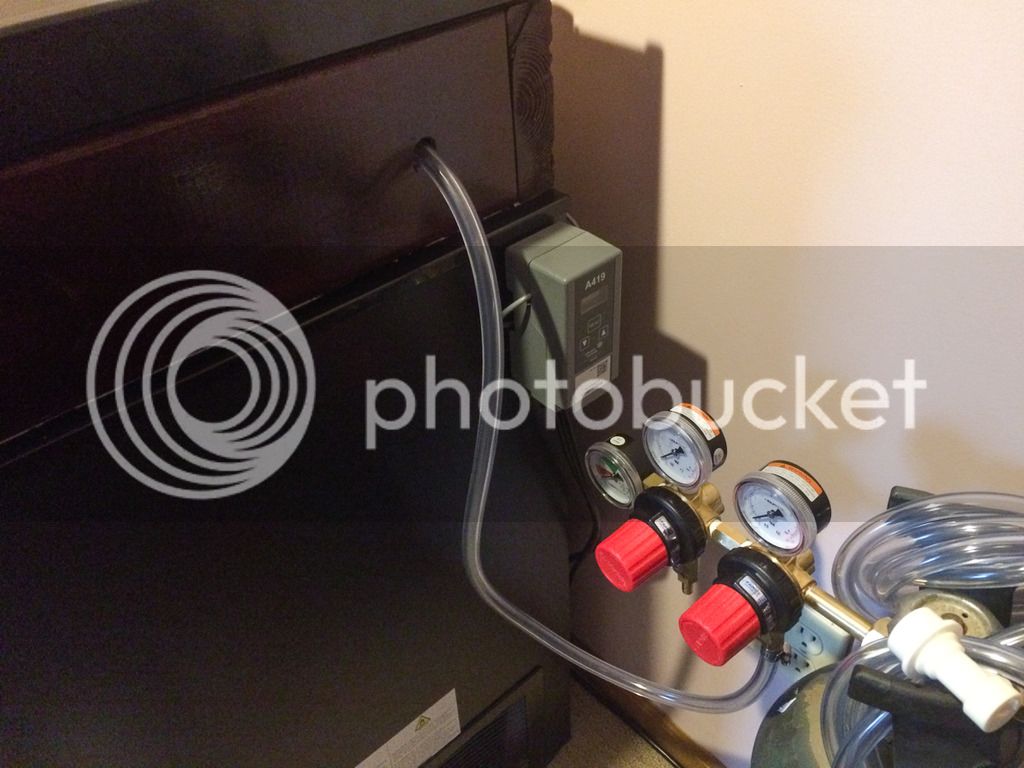
Cut all my beer line to 4.5ft (since I have the perlick 650's)... I am two hose clamps short to connect the last two taps, so I just need to stop at the hardware store up the street to be 100% done...
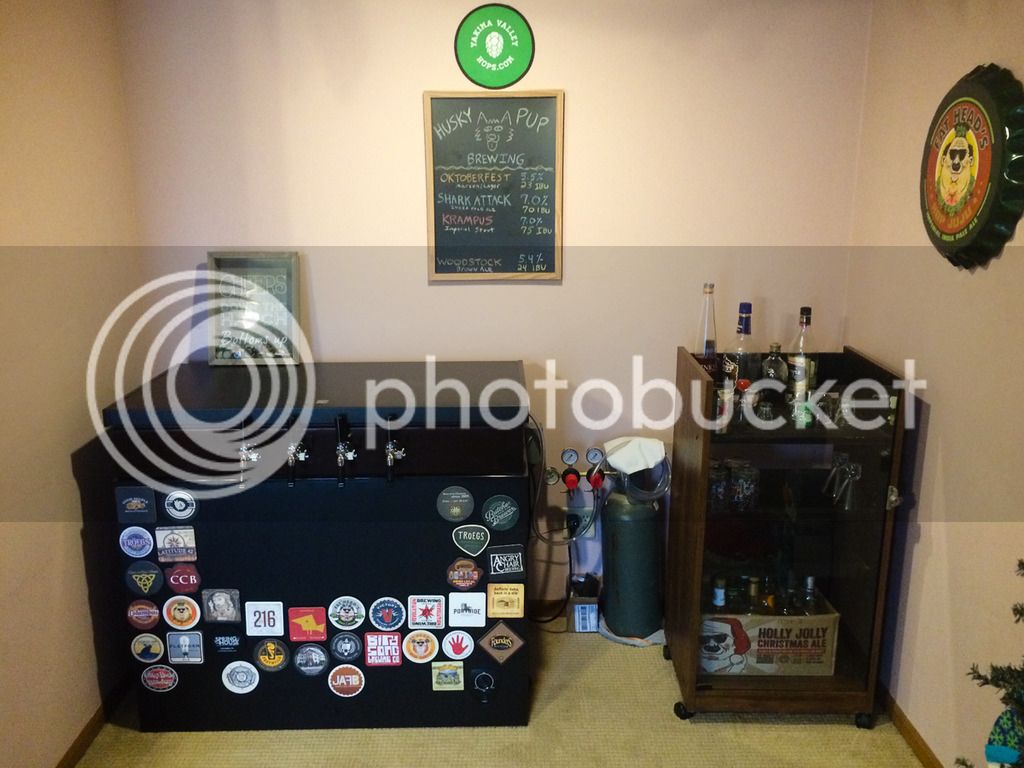
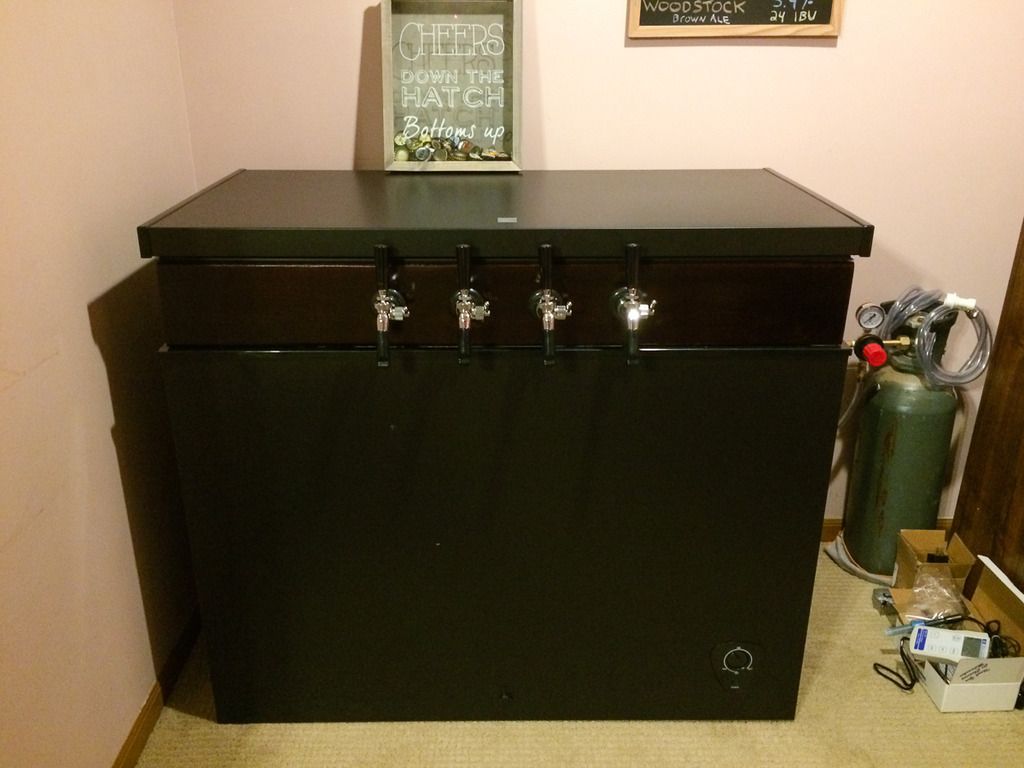
For two days of building I am really happy with how this space turned out! Before, it was a huge entertainment center in the nook that nobody used (the TV and couches and stuff are a floor up... This room just has the fireplace, computer, etc...)... Should be a killer space when friends come over... Really excited.
Tuesday I will be transferring my first beer into a keg (Cream Ale) and brewing the second one on Wednesday (Porter). The last will be brewed a week and a half later, single hop IPA (Azacca)... Hoping to tap all three near the end of January for a tapping party. Girlfriend is buying a Destihl Sour 1/6th to fill the 4th tap.

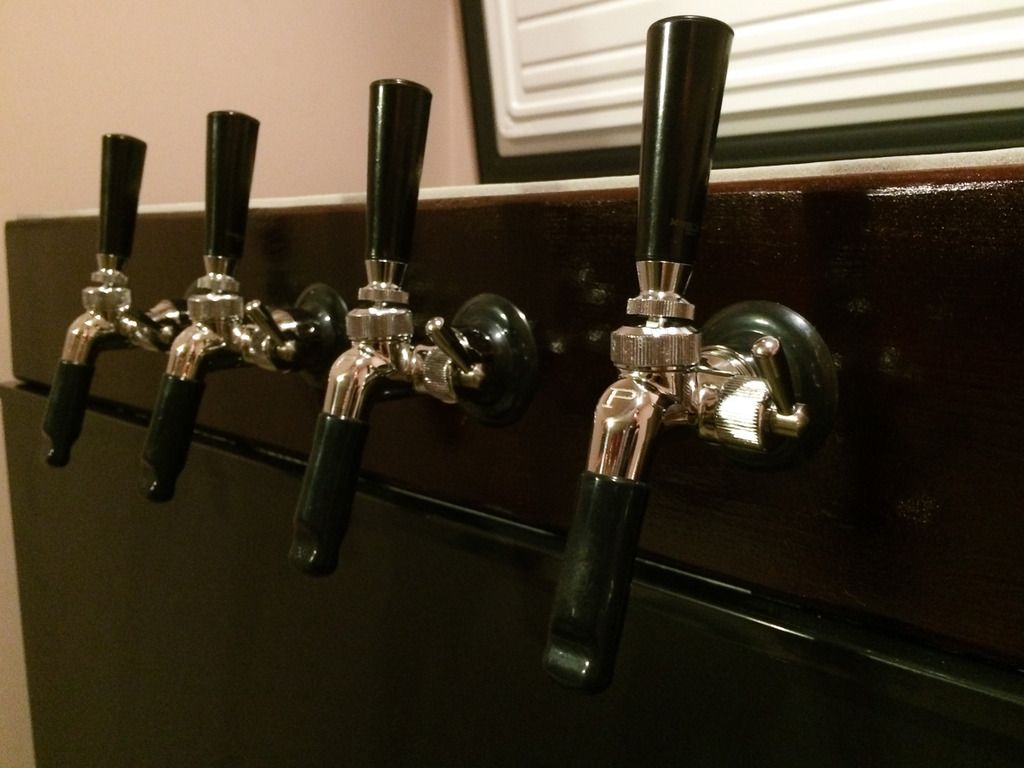
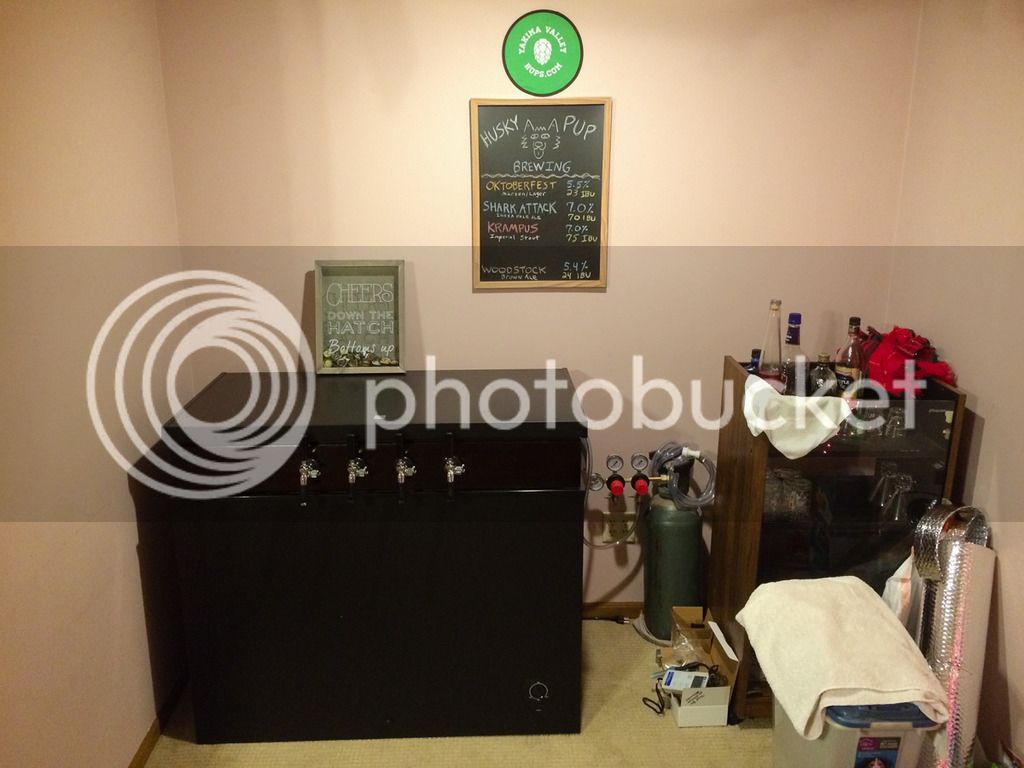
Finished picture of the "nook". The shelving off to the right will be filled with all my beer glasses after new years.
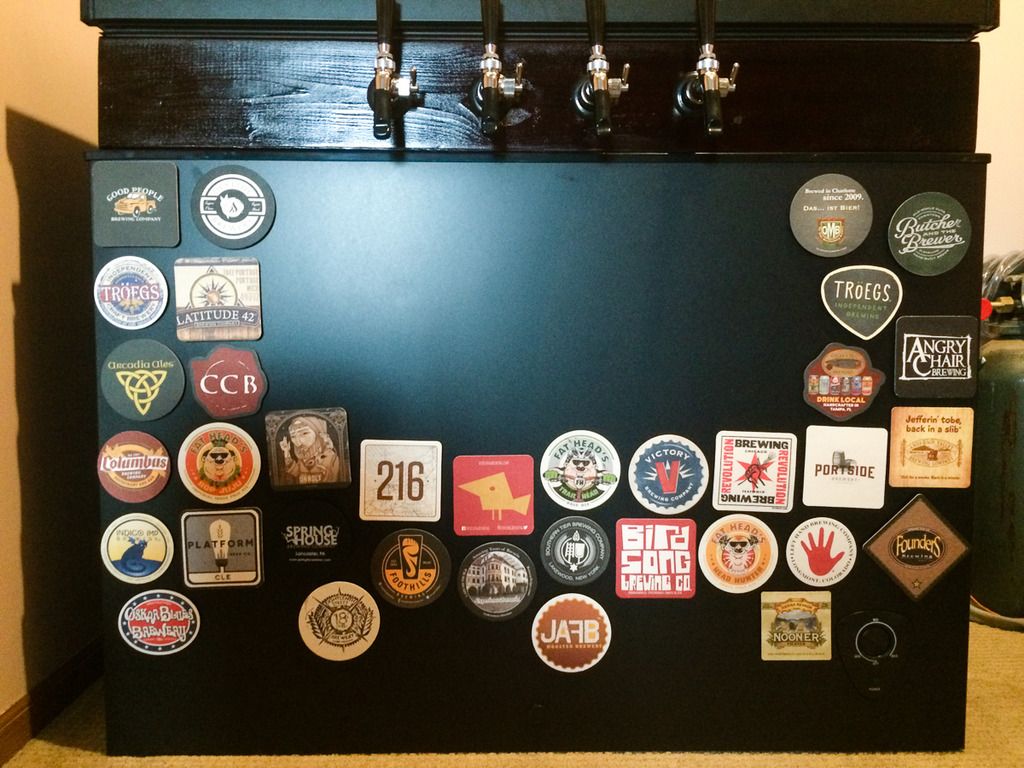
The magnets we made from the coasters we collected. The drip tray will be installed this week when it arrives (magnetic).
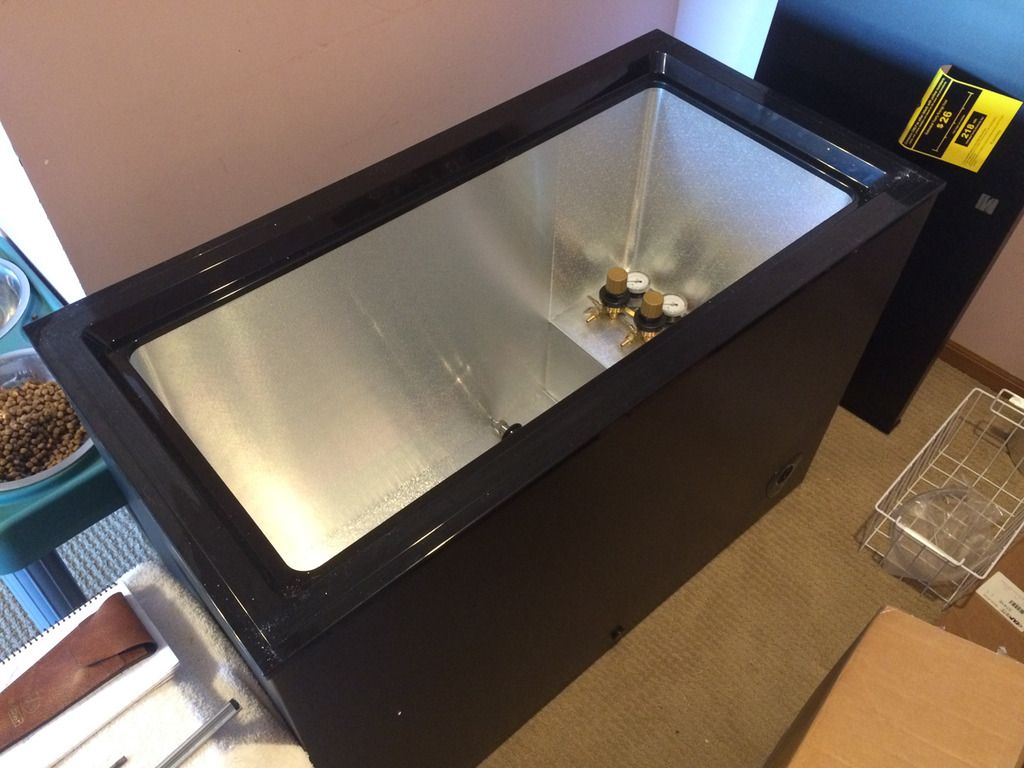
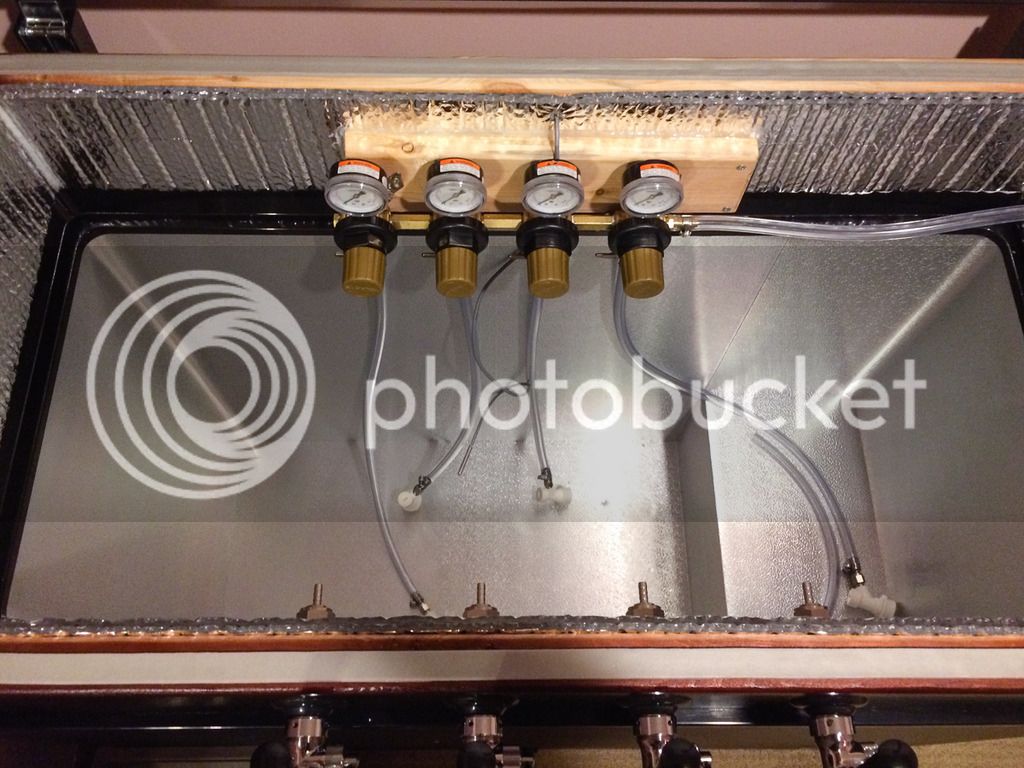
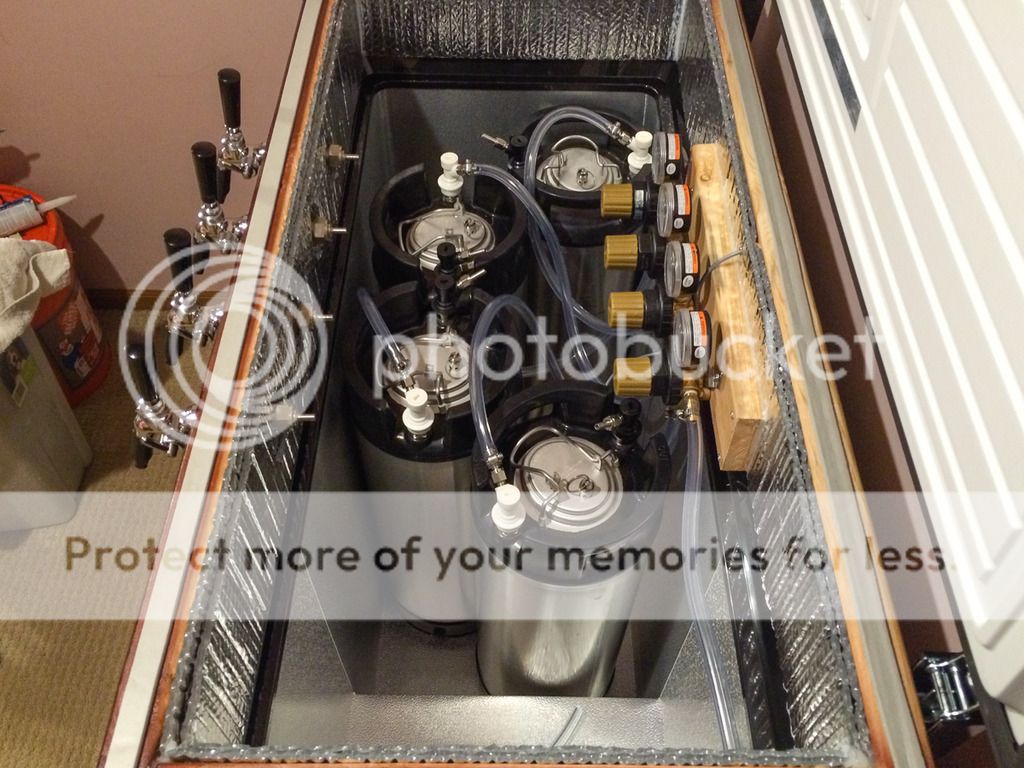
Finished interior with the beer lines in along with some of my bottled brew.
The air circulation fan
So I glued the first magnet with superglue to the lid of the freezer... It set very quickly as you would expect... I glued the felt to the fan "grill". The felt had a magnet I glued into it which I would then glue to the stack of 3 other magnets. Worked out very well! If the fan should ever fail, the felt will just rip apart... Won't be too bad.
You can see the speed control knob at the bottom. I have it at medium, currently.
Again, if any questions feel free to ask! :rockin:

")