FreeLordBrewing
Well-Known Member
so I posted earlier bummer!! https://www.homebrewtalk.com/f35/bummer-303732/ about how I would not be able to make my mini fridge work as a kegerator but another member "Day trippr" has brought to my attention the fact that converted ball lock kegs (originally pin lock "coca-cola") are about 3" shorter in body (but wider at 9"), and about 2" shorter at the connections than regular ball lock "Pepsi" kegs (thanks!)
I'm hoping that a converted pin lock will fit at 23"
http://www.cornykeg.com/catalog.asp?prodid=672560&showprevnext=1
so pretty much here goes nothing or everything lol here is my build up of a 2.7 cubic foot mini fridge/freezer combo from Magic Chef. model number MCBR270B, MCBR270S, MCBR270W.
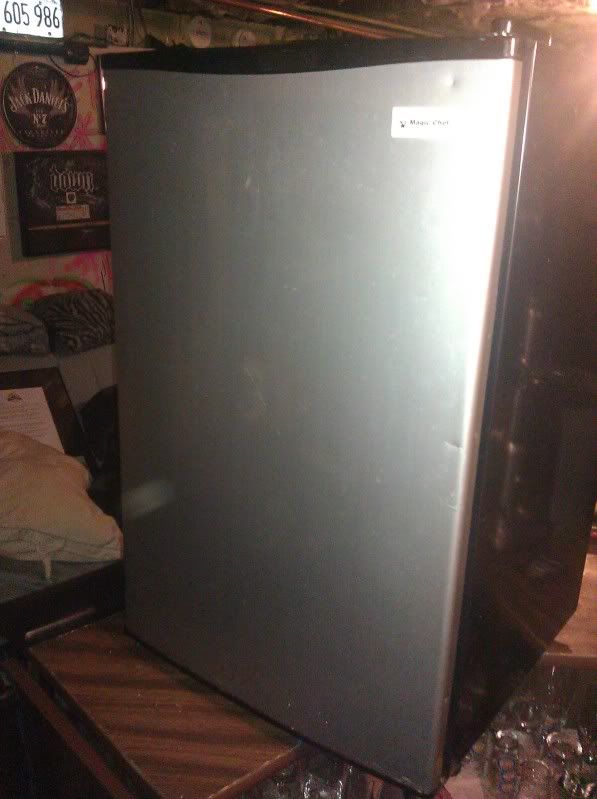

at 2.7 cubic feet I don't have much to work with at 25" tall on the interior I am really pushing this to the limits! but I figure I'll work with what I got and if I destroy or ruin it I am only out $50.00 but not even that because this thing has served as the beer fridge in the band practice spot for the past couple of years with no issues!! and if I mess this up well time for bigger and better things.
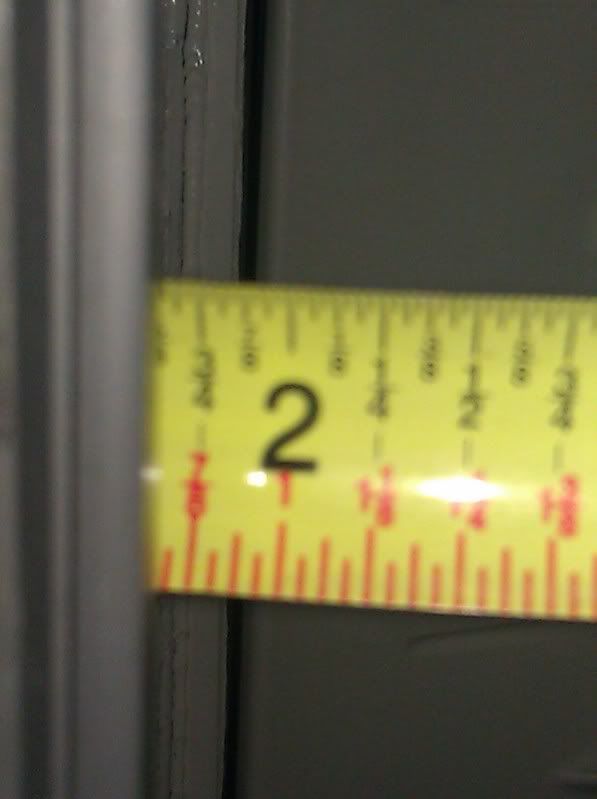
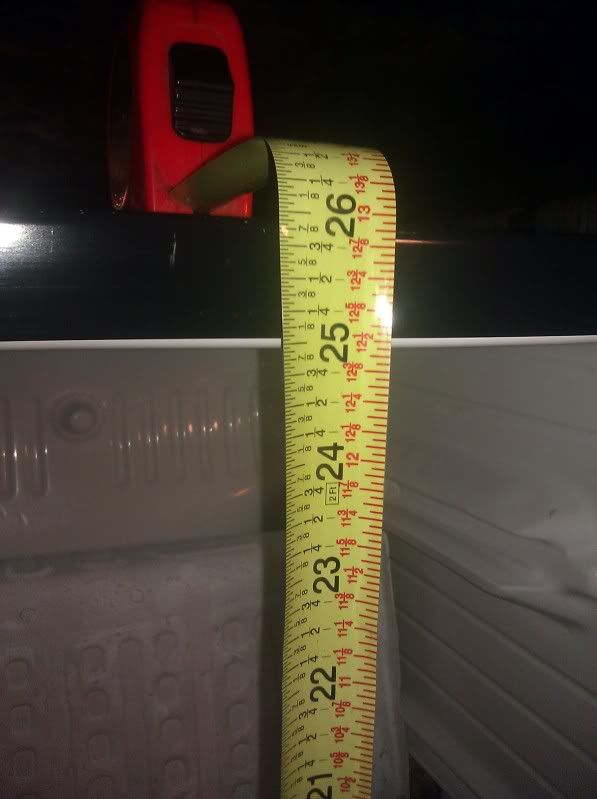
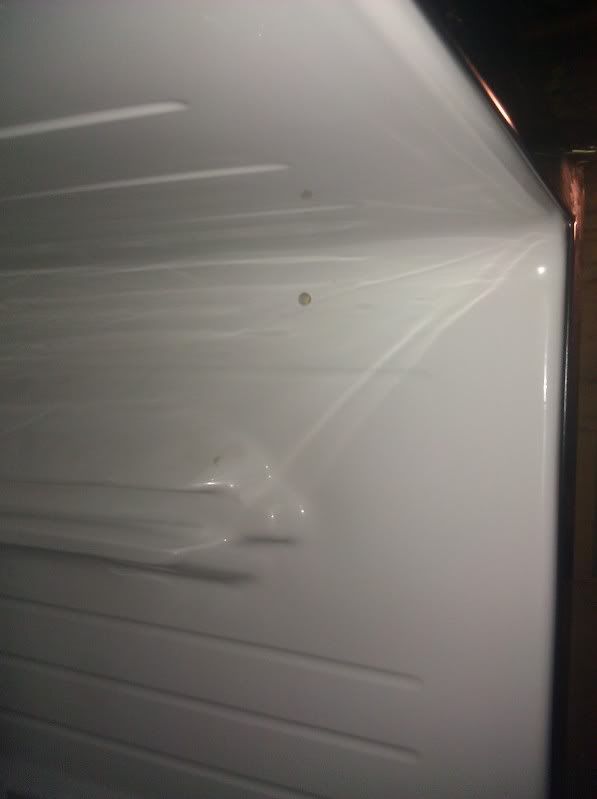
25" from top to bottom of interior of fridge.
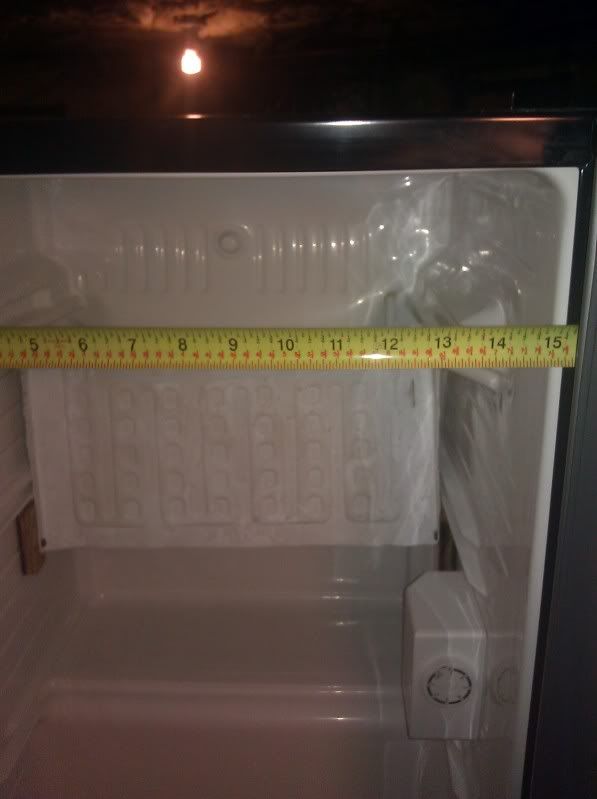
the other interior measurements are 15" wide, 14.5" from back to outter edge.
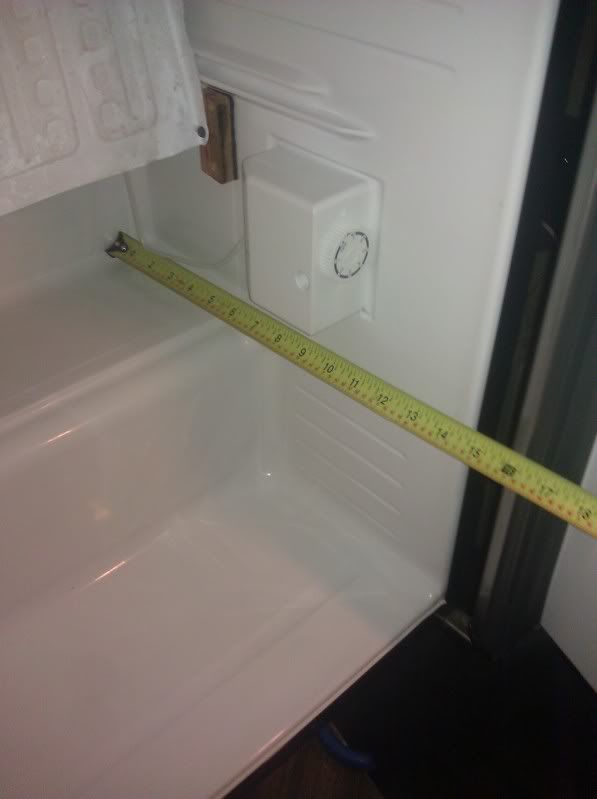
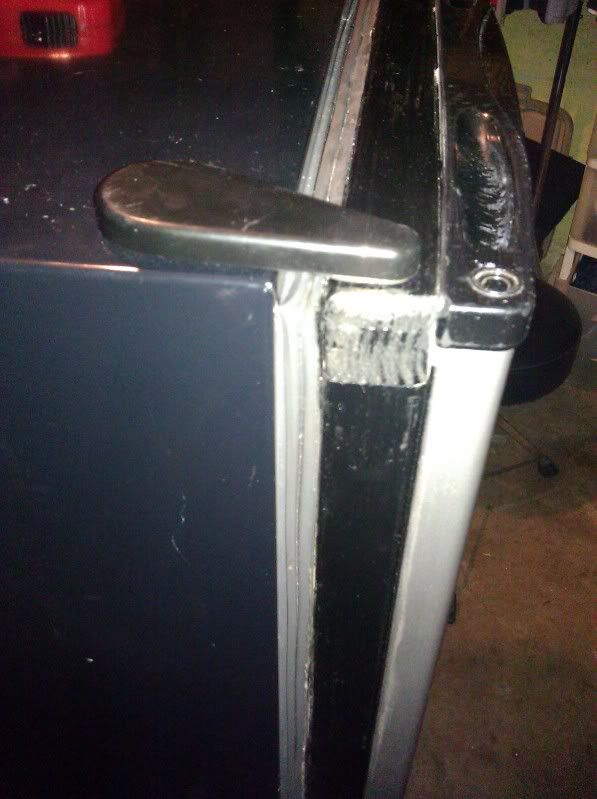
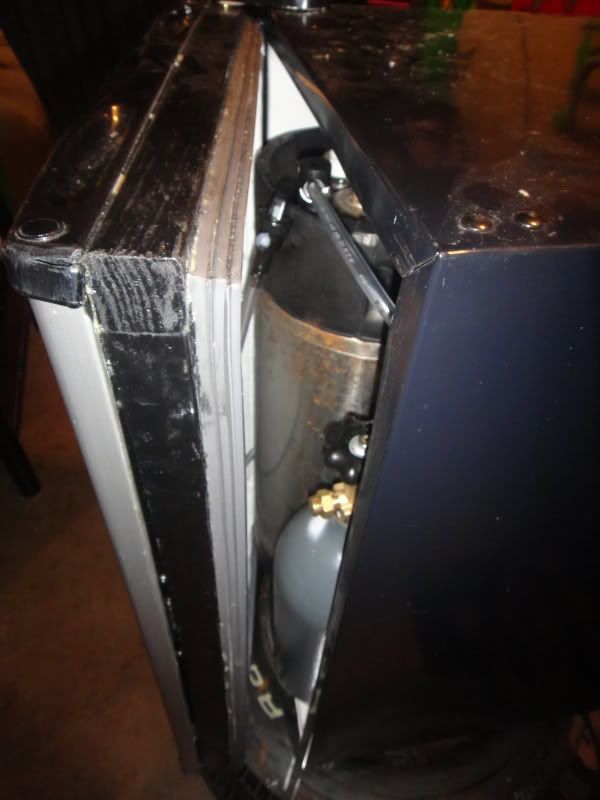
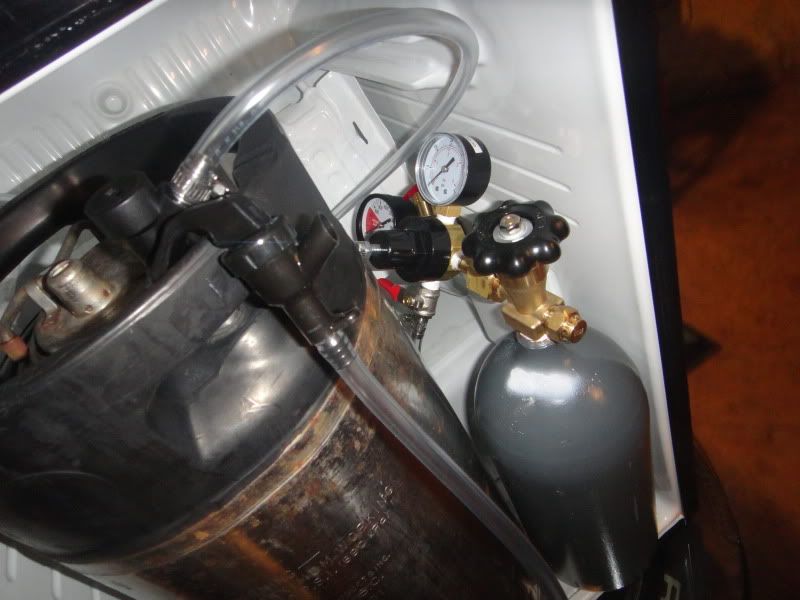
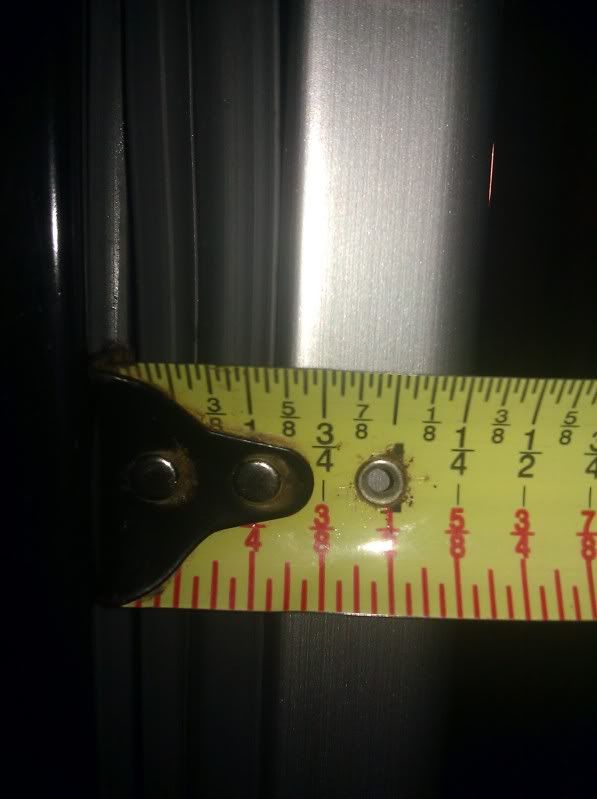
the other issue here is a pin lock keg is 9" in diameter, but the fridge is 8" from the compressor hump to the outter edge of the door so even after I remove the door tray package (which will gain me 5/8" verified) I will still need gain a minimal of 1" so I am going to build a collar around the door.
now I started working on the interior portion of the fridge.
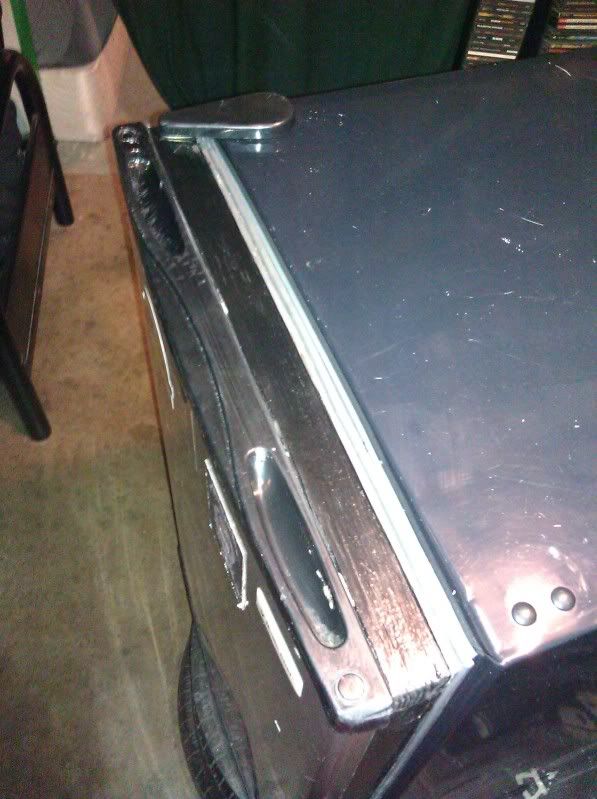
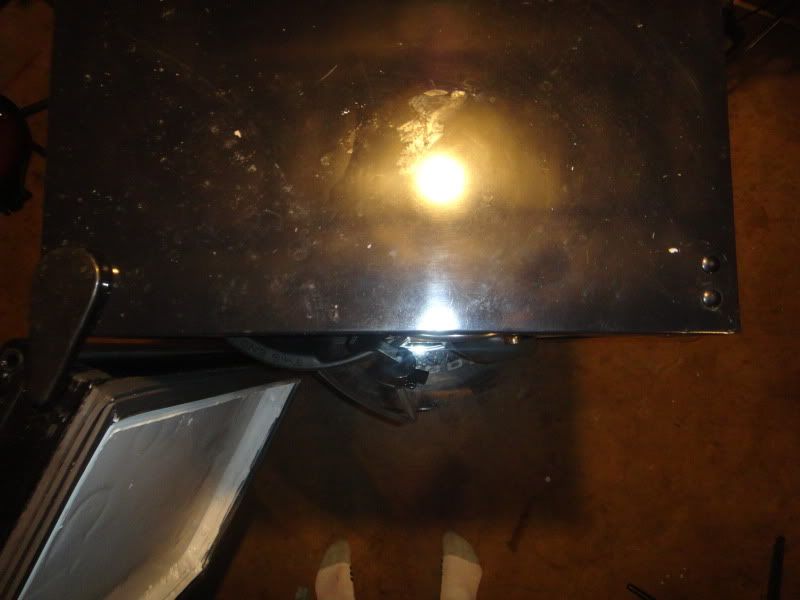
I first removed the freezer door by pulling/bending it slightly in the middle which allowed the pins to come out of the holes.
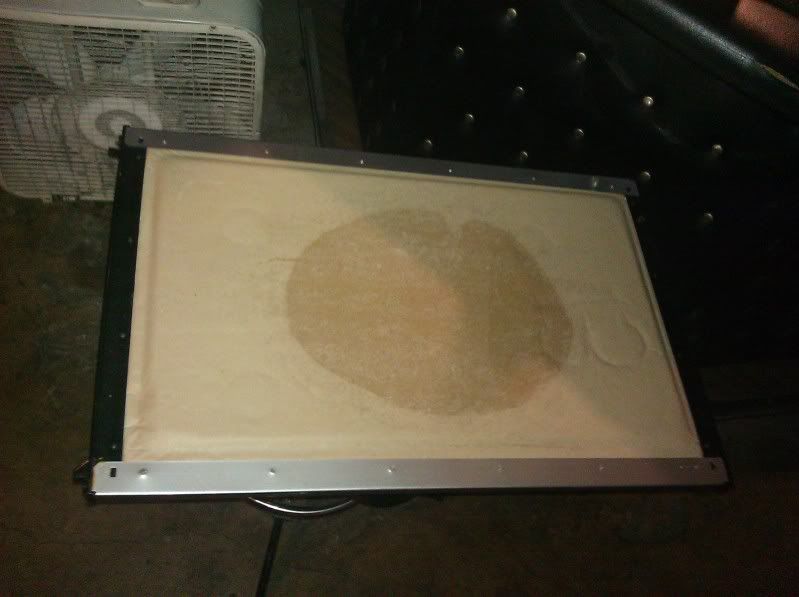
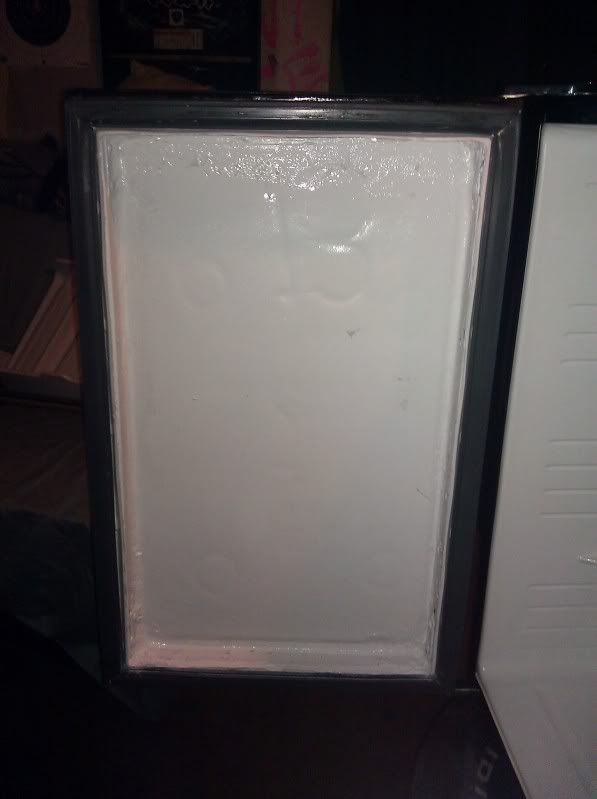
freezer door installed in unit.
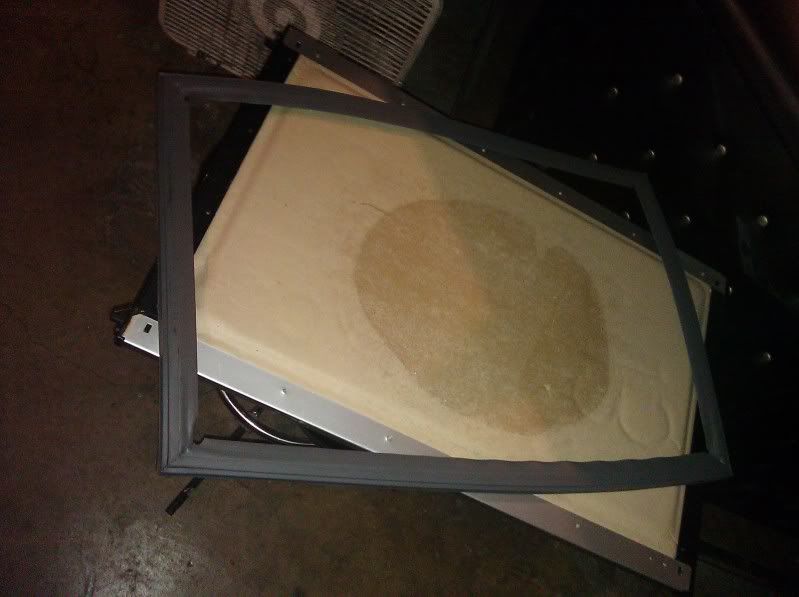
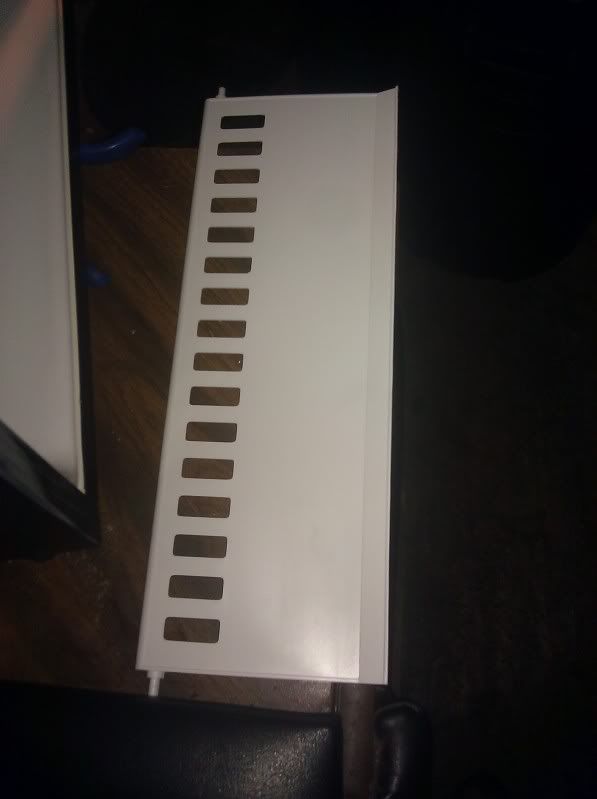
freezer door removed.
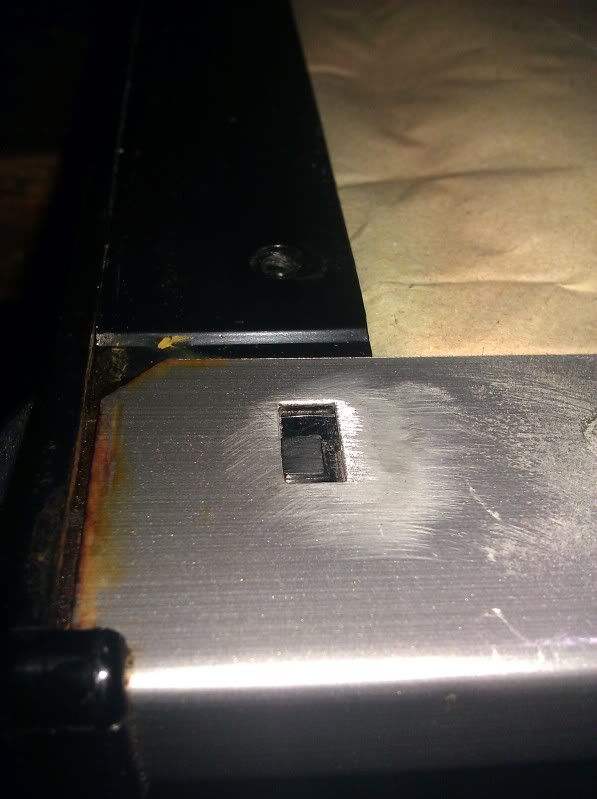
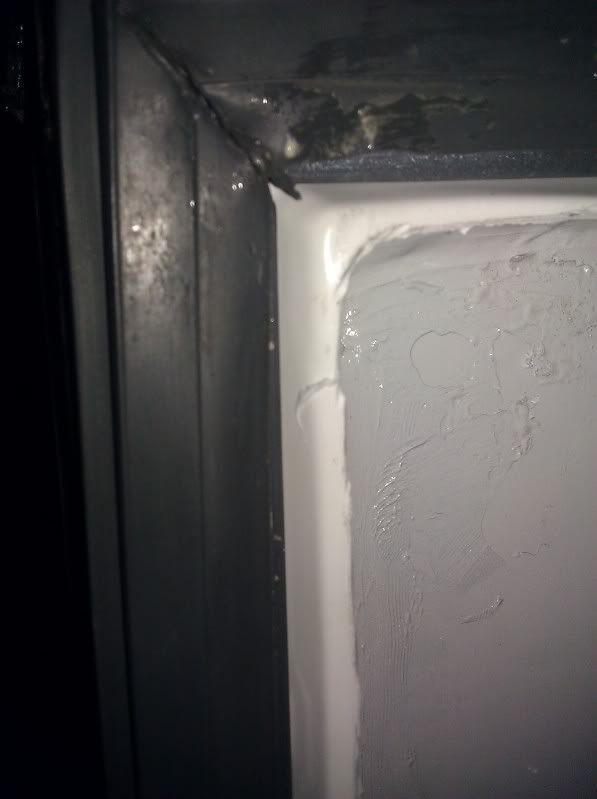
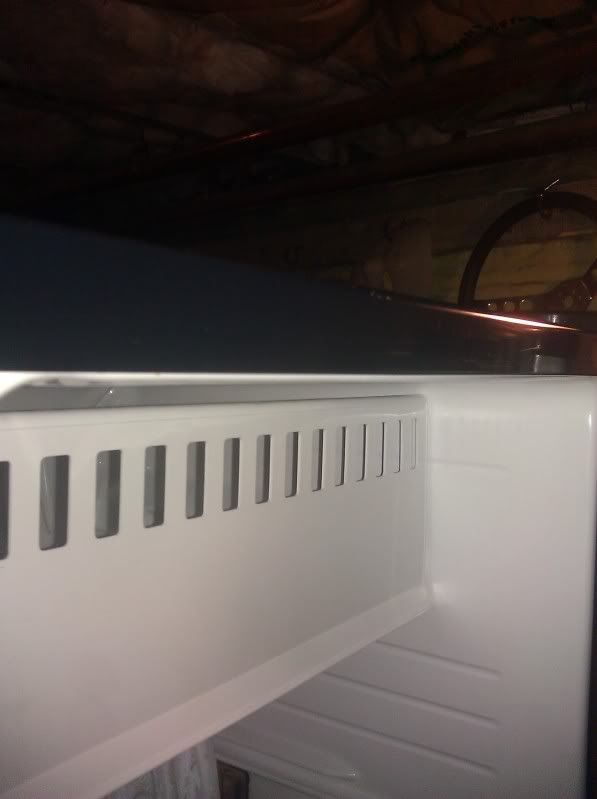
left mounting hole for freezer door.
right mounting hole for freezer door.
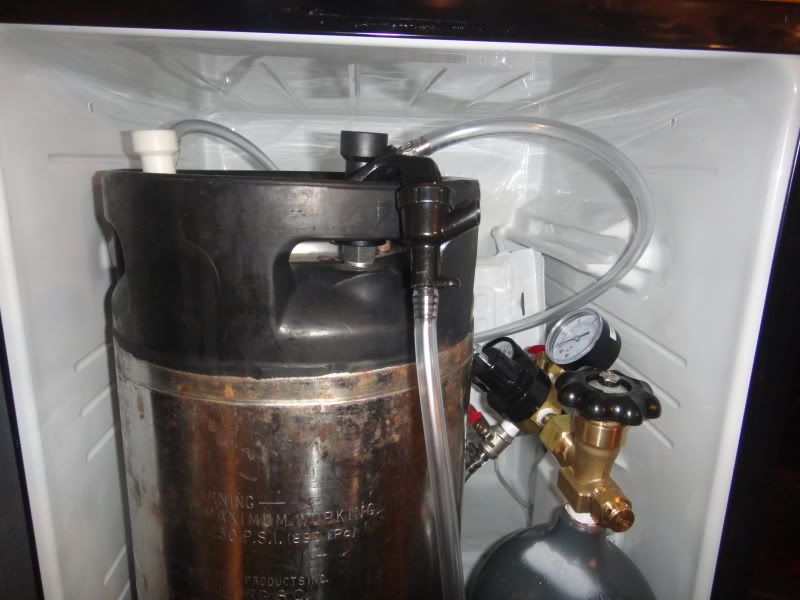
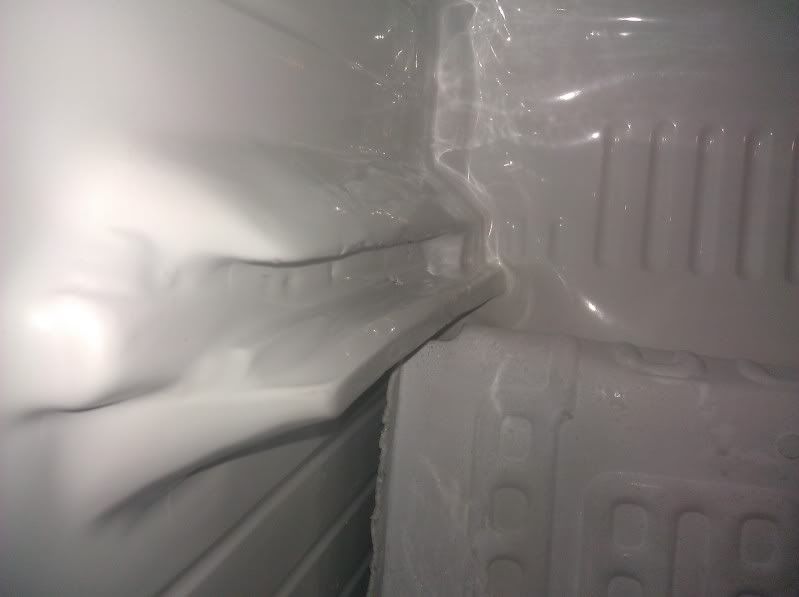
looking at it I found the complete fridge is cooled by the freezer plate, which originally formed a 90 degree angle (and should make running a tower a little bit easier). I carefully bent the plate "ears" away from the original freezer plate mounting locations, which I was able to manipulate the plate out of without distorting it too much. I then continued to fold it down and the refrigerant in/out line so now it makes an upside down "U" shape and placed it far back enough to clear the forward portion of the interior compressor hump.
this is where the freezer plate originally sat on the left side.
this is where the freezer plate originally sat on the right side.
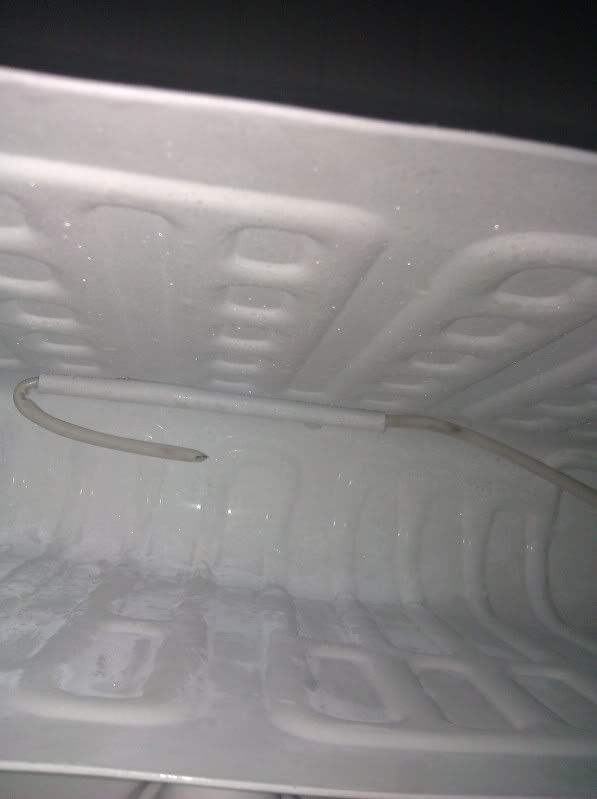
this is the line that houses the in/out refrigerant lines bent down slightly.
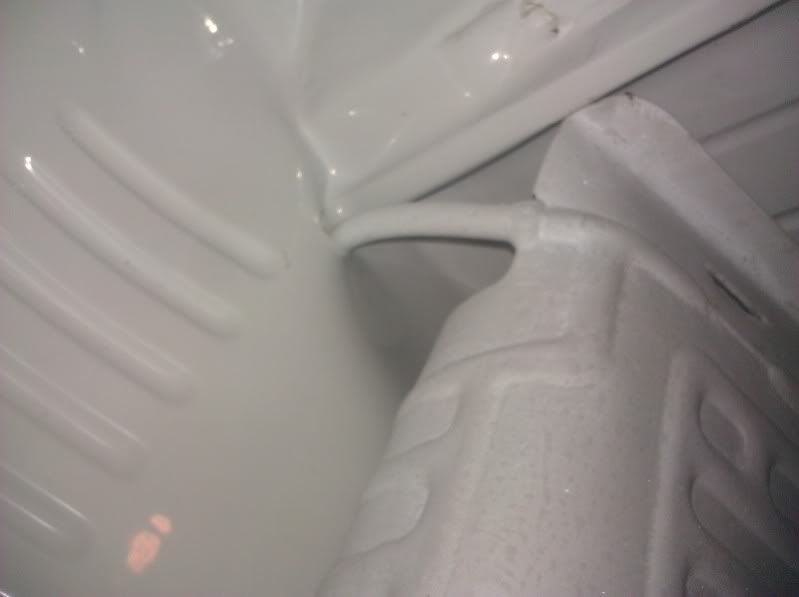
this is looking "up" from the bottom of the fridge to the freezer plate.
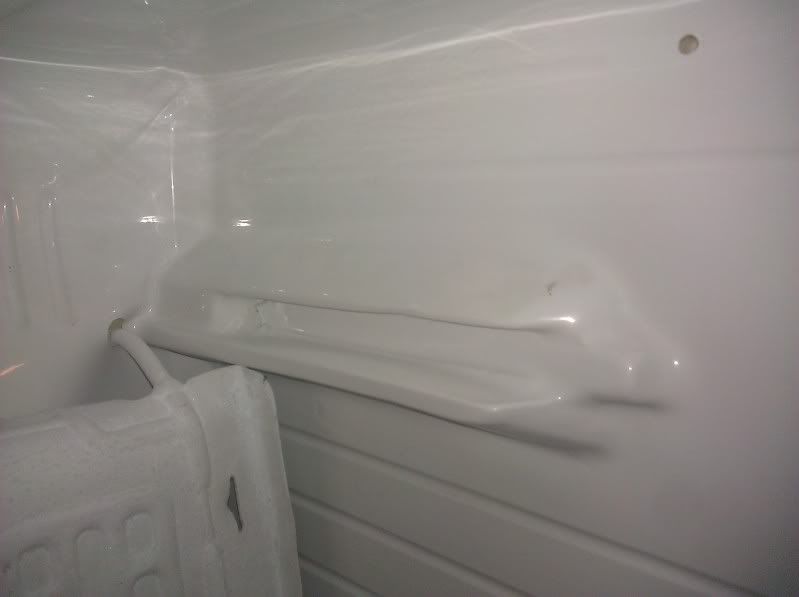
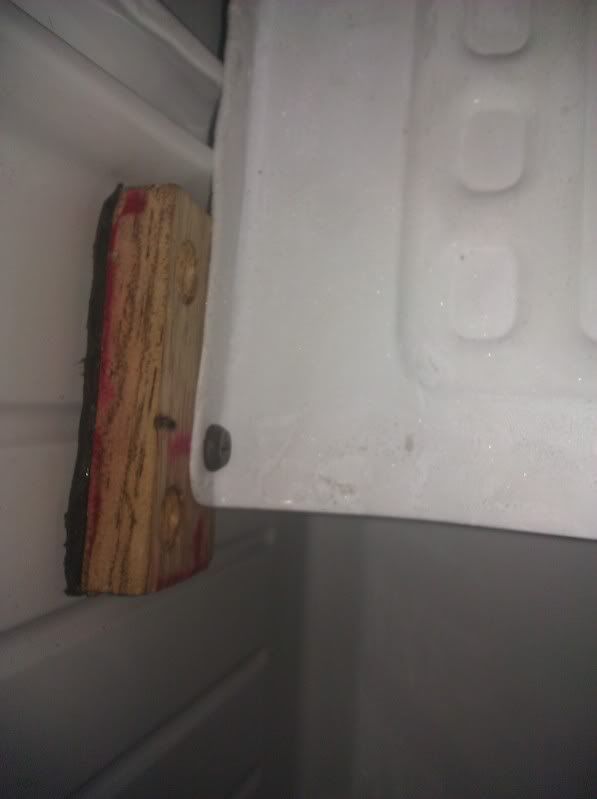
I then used two pieces of scrap wood I had laying around to take up the gap between the freezer plate and the sides. I placed some self adhesive foam strips to the back of the pieces of wood, I then screwed the freezer plate to the pieces of wood using pre-existing holes in the plate.
freezer plate mounted to piece of wood left side.
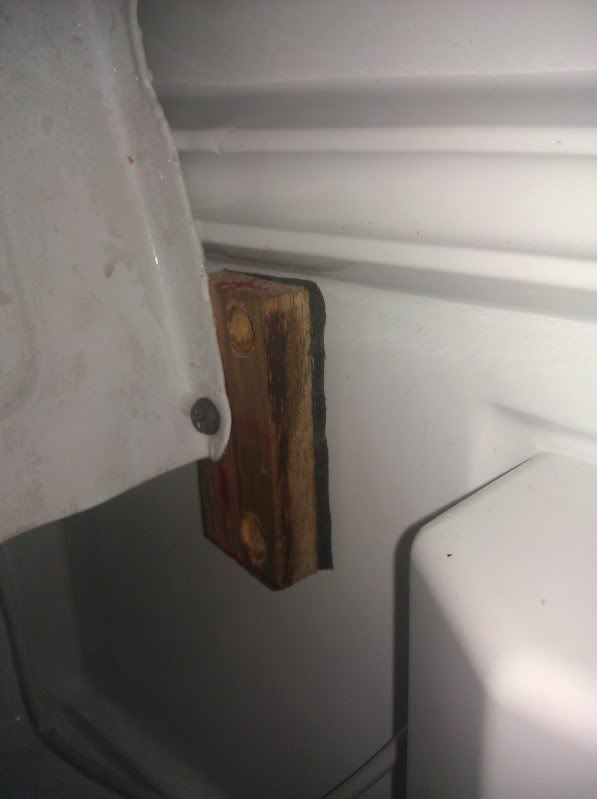
freezer plate mounted to piece of wood right side.
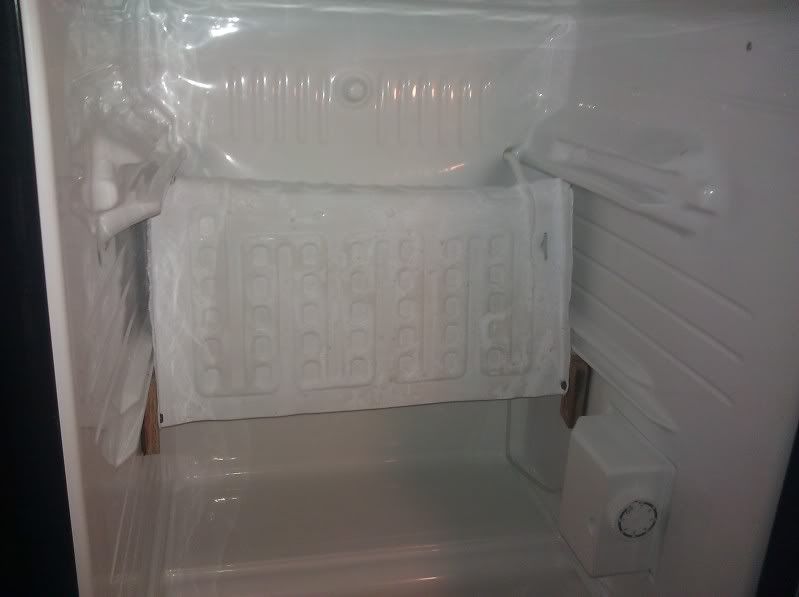
at this point I plugged in the unit in hopes I didn't pinch a line in the freezer plate/evaporator. I stepped away as I plugged it in hoping nothing would explode lol and the compressor has been cycling on and off so far for the past 3 hours with no issues, no noises that are out of the ordinary, and the freezer plate gets nice and frosty!!! just as it use to!!
this was a blessing in disguise because had I not checked the operation at this point I would of never realized the condenser coils are located on the left and right sides of the unit (warm to the touch) this is a good thing as I was about to screw the pieces of wood through the interior of the fridge to make a secure mounting location and I could of possibly ruined a refrigerant line running through the side whew!! dodged that bullet lol this also reminds me I will have to double check to make sure this fridge has no refrigerant line running through the top of the unit from left to right which I will check using the cheap vodka and cornstarch trick. http://community.livejournal.com/homebrewing/413981.html
so by bending the freezer plate ears outward I have created a friction mount that I might use some liquid nails or some form of adhesive on in the future, but at this time is holding secure and is quite rigid.
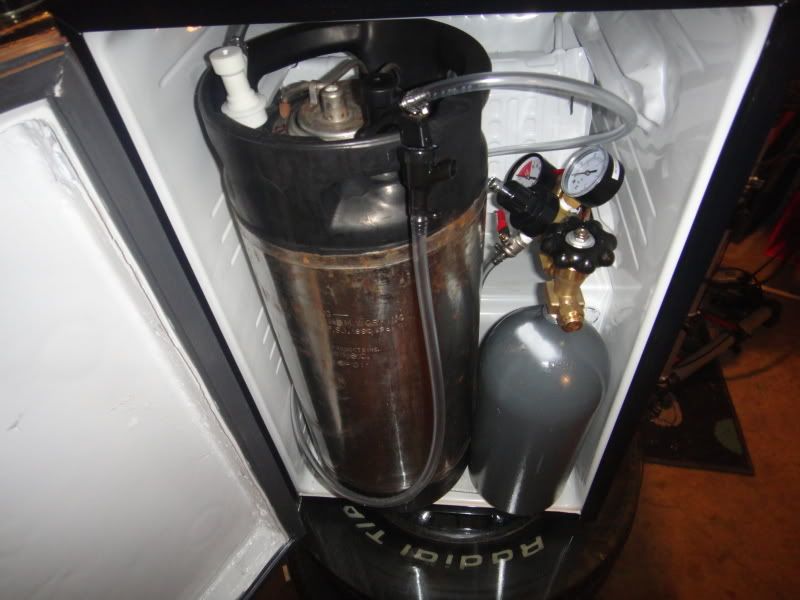
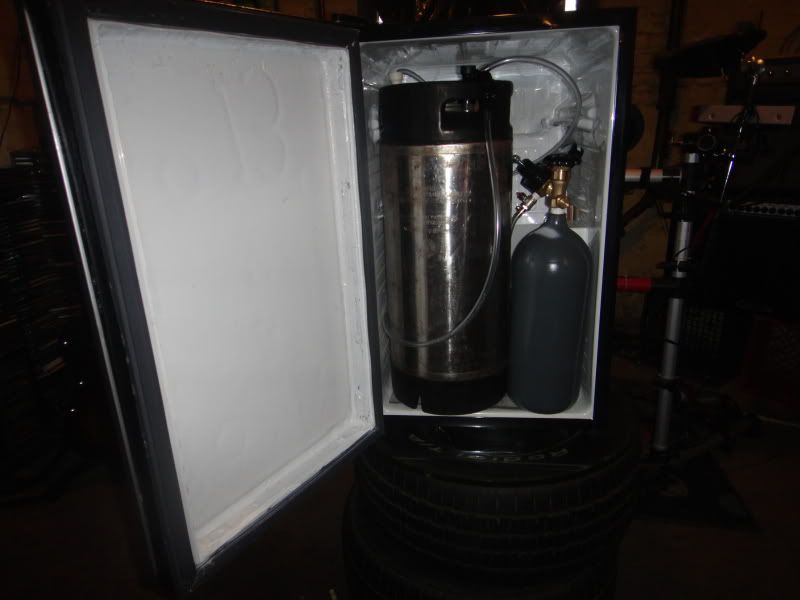
here is what I got so far now only if I can make the keg fit
I might install a fan with tube to cool the tubing and tower, and also install a plate with holes in it, in front of the freezer plate so that the cold temps are not concentrated in one area and evenly distributed using the fan.
and also due to the freezer plate only being able to be bent in the downward position I no longer have room to fit a co2 bottle, so I'll either run an external tank or have a siphon tube fitted into the tank and fit it in between the gap between the hump and bottom of freezer plate. that's it for today but I will update the thread as I make more progress cheers!! - Shawn
p.s. pictures were taken after modifications if you couldn't tell lol.
I'm hoping that a converted pin lock will fit at 23"
http://www.cornykeg.com/catalog.asp?prodid=672560&showprevnext=1
so pretty much here goes nothing or everything lol here is my build up of a 2.7 cubic foot mini fridge/freezer combo from Magic Chef. model number MCBR270B, MCBR270S, MCBR270W.
at 2.7 cubic feet I don't have much to work with at 25" tall on the interior I am really pushing this to the limits! but I figure I'll work with what I got and if I destroy or ruin it I am only out $50.00 but not even that because this thing has served as the beer fridge in the band practice spot for the past couple of years with no issues!! and if I mess this up well time for bigger and better things.
25" from top to bottom of interior of fridge.
the other interior measurements are 15" wide, 14.5" from back to outter edge.
the other issue here is a pin lock keg is 9" in diameter, but the fridge is 8" from the compressor hump to the outter edge of the door so even after I remove the door tray package (which will gain me 5/8" verified) I will still need gain a minimal of 1" so I am going to build a collar around the door.
now I started working on the interior portion of the fridge.
I first removed the freezer door by pulling/bending it slightly in the middle which allowed the pins to come out of the holes.
freezer door installed in unit.
freezer door removed.
left mounting hole for freezer door.
right mounting hole for freezer door.
looking at it I found the complete fridge is cooled by the freezer plate, which originally formed a 90 degree angle (and should make running a tower a little bit easier). I carefully bent the plate "ears" away from the original freezer plate mounting locations, which I was able to manipulate the plate out of without distorting it too much. I then continued to fold it down and the refrigerant in/out line so now it makes an upside down "U" shape and placed it far back enough to clear the forward portion of the interior compressor hump.
this is where the freezer plate originally sat on the left side.
this is where the freezer plate originally sat on the right side.
this is the line that houses the in/out refrigerant lines bent down slightly.
this is looking "up" from the bottom of the fridge to the freezer plate.
I then used two pieces of scrap wood I had laying around to take up the gap between the freezer plate and the sides. I placed some self adhesive foam strips to the back of the pieces of wood, I then screwed the freezer plate to the pieces of wood using pre-existing holes in the plate.
freezer plate mounted to piece of wood left side.
freezer plate mounted to piece of wood right side.
at this point I plugged in the unit in hopes I didn't pinch a line in the freezer plate/evaporator. I stepped away as I plugged it in hoping nothing would explode lol and the compressor has been cycling on and off so far for the past 3 hours with no issues, no noises that are out of the ordinary, and the freezer plate gets nice and frosty!!! just as it use to!!
this was a blessing in disguise because had I not checked the operation at this point I would of never realized the condenser coils are located on the left and right sides of the unit (warm to the touch) this is a good thing as I was about to screw the pieces of wood through the interior of the fridge to make a secure mounting location and I could of possibly ruined a refrigerant line running through the side whew!! dodged that bullet lol this also reminds me I will have to double check to make sure this fridge has no refrigerant line running through the top of the unit from left to right which I will check using the cheap vodka and cornstarch trick. http://community.livejournal.com/homebrewing/413981.html
so by bending the freezer plate ears outward I have created a friction mount that I might use some liquid nails or some form of adhesive on in the future, but at this time is holding secure and is quite rigid.
here is what I got so far now only if I can make the keg fit
I might install a fan with tube to cool the tubing and tower, and also install a plate with holes in it, in front of the freezer plate so that the cold temps are not concentrated in one area and evenly distributed using the fan.
and also due to the freezer plate only being able to be bent in the downward position I no longer have room to fit a co2 bottle, so I'll either run an external tank or have a siphon tube fitted into the tank and fit it in between the gap between the hump and bottom of freezer plate. that's it for today but I will update the thread as I make more progress cheers!! - Shawn
p.s. pictures were taken after modifications if you couldn't tell lol.