rtichota
Well-Known Member
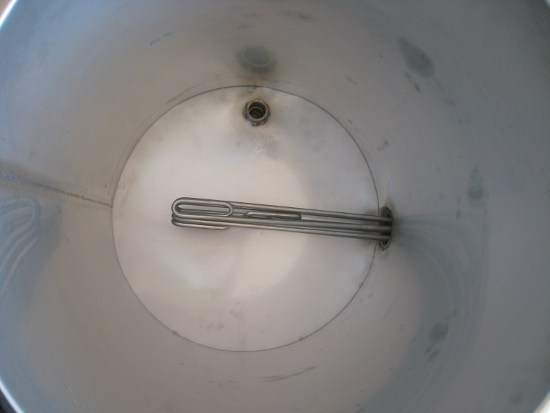
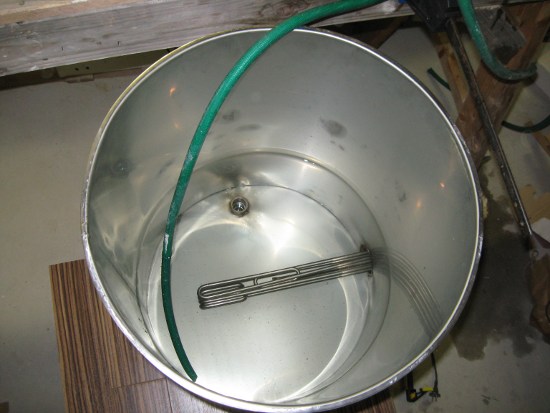
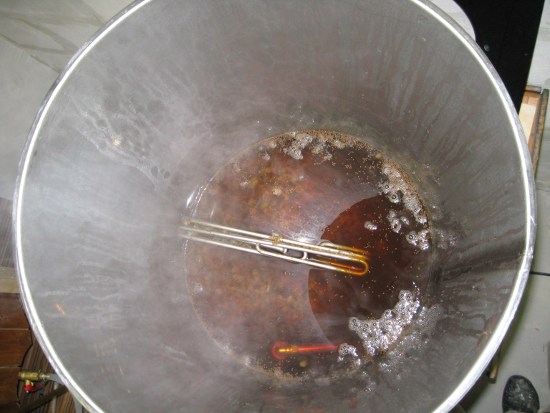
I think he should be fine. Additionally in one of the other threads, there have been reports of zero issues using high density elements and scorching, even on a very pale pilsner. That has been real world experience, not conjecture.
Cool because I'd rather run higher watts in a smaller package
 no seriously that would actually be convienent
")