stupac2
Well-Known Member
I've posted elsewhere that I built my own modular beer racks, and love them. I've been asked for the plans a few times, and posted them in random threads, but I've always meant to write up some instructions and give some helpful advice for people who aren't expert woodworkers (note: I am not even close to an expert).
First, a confession. I did not build these totally from scratch, I modified some racks I got off of craigslist. Similar ones are here. But, since I live in California I'm concerned about earthquakes, and in an earthquake those bottles are going to be on the floor. So I made some new front pieces that hold the bottle better.
Second, here's what they look like finished:
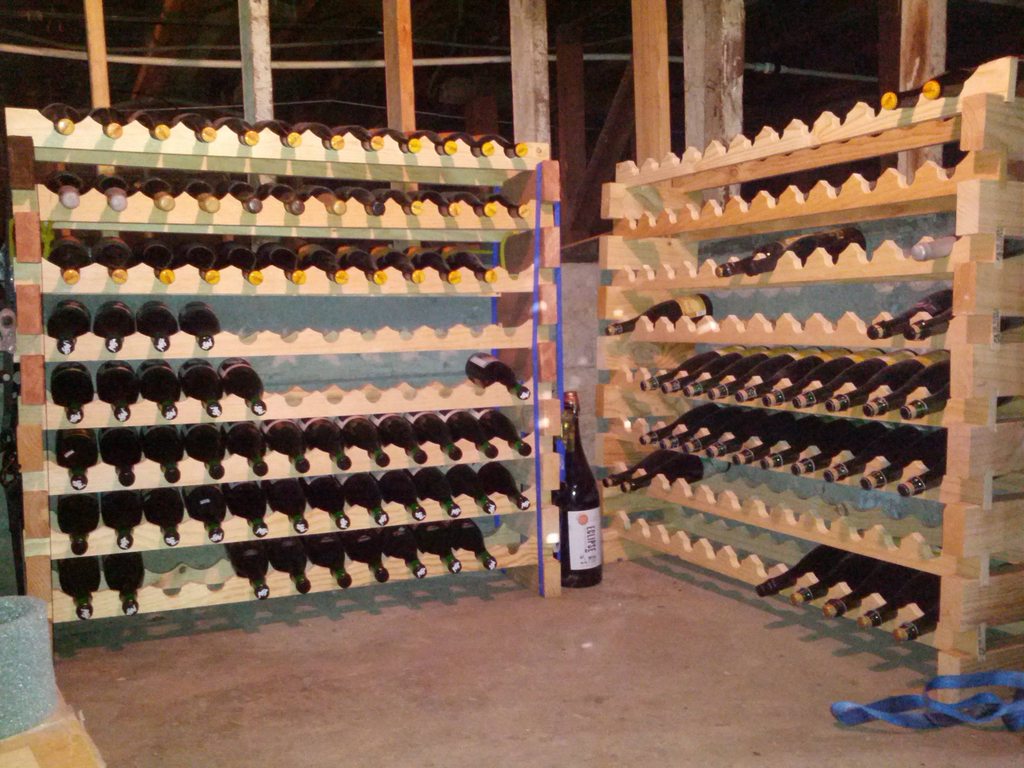
You can see the notches in the front, but the back is a little harder to see. Here's an image of my SolidWorks model cut halfway through the bottle (the bottle is based on a Cantillon bottle):
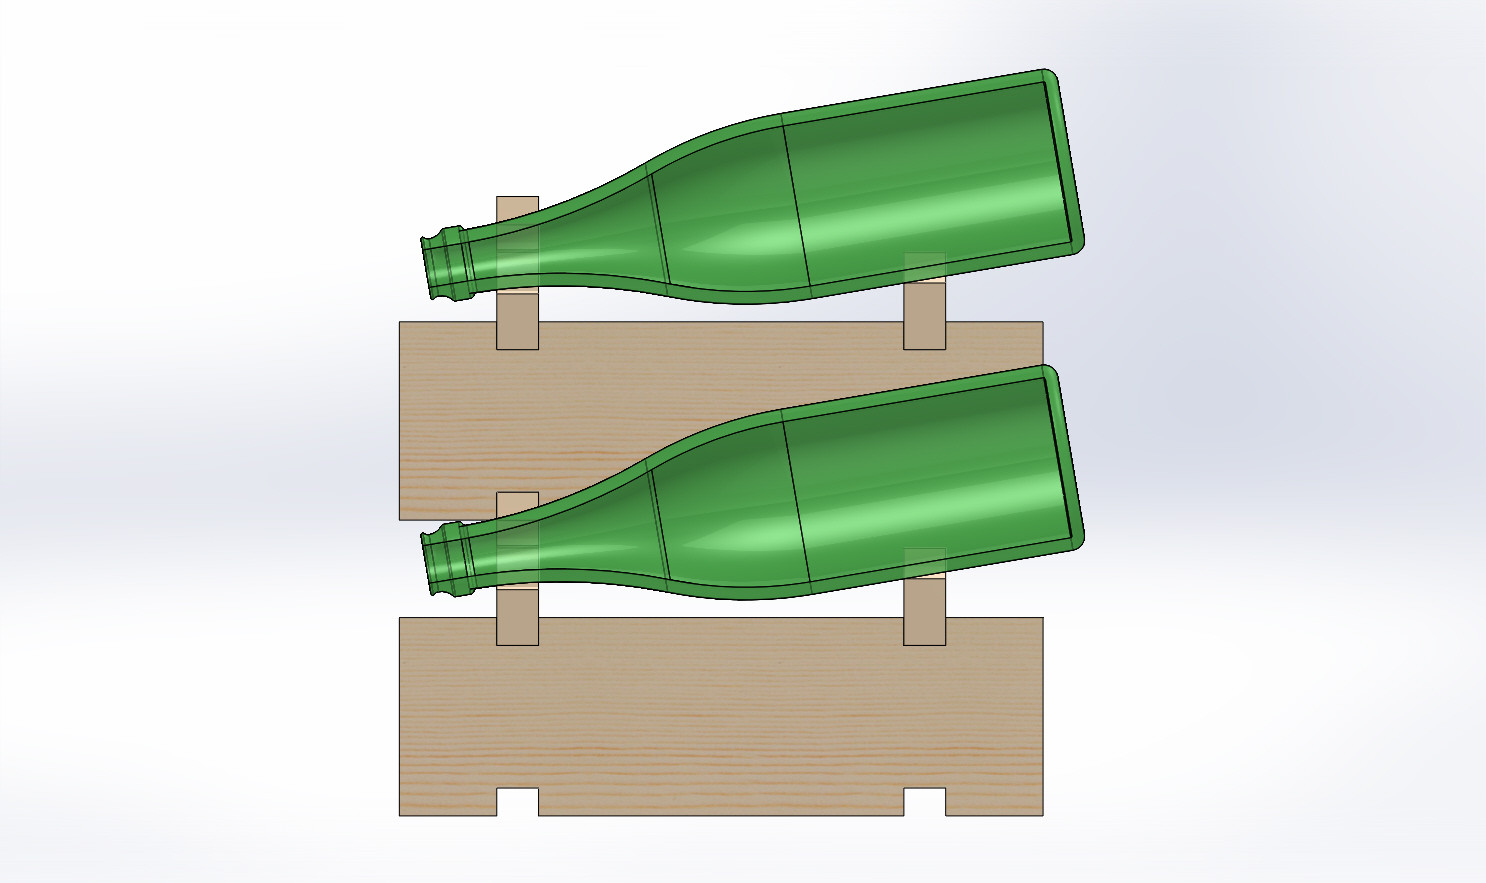
I've been asked before why they slope down, and it's entirely due to the geometry of the thing. If you used wider pieces of wood you could modify that, at the cost of having fewer bottles per vertical unit of distance. I'm just fine with them sloping down.
Finally, here's the PDFs of the plans:
Separator
Rear Holder
Front Holder
Okay, so that's the background, let's get started with the actual advice on building.
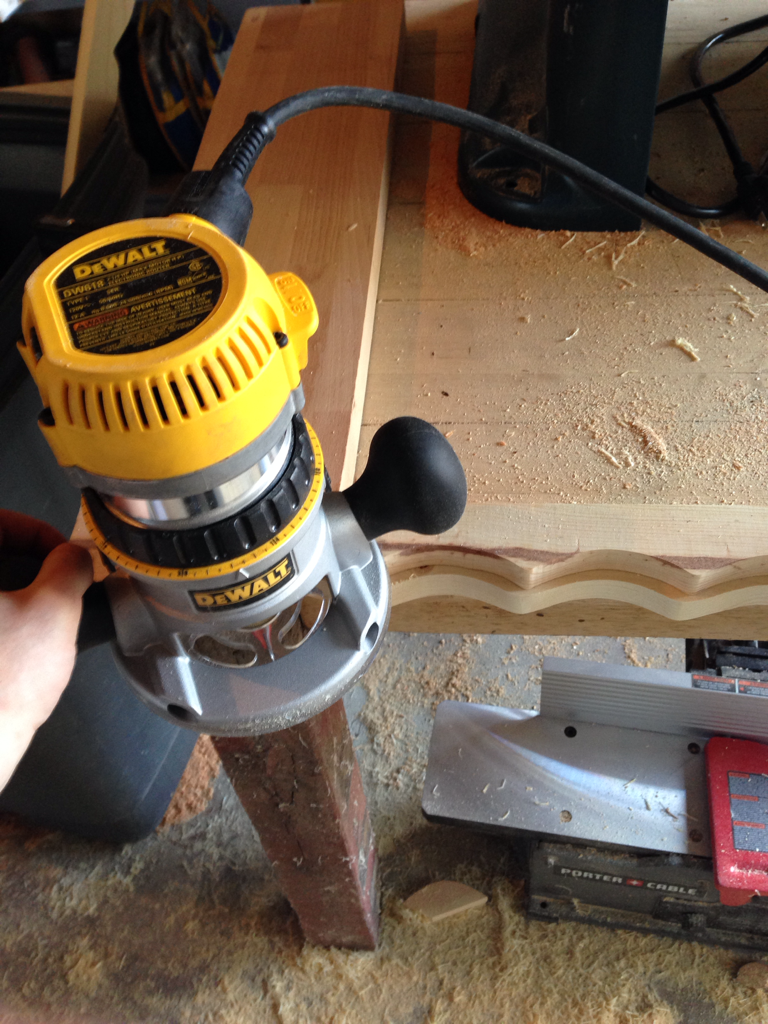
Step 0: Build a jig:
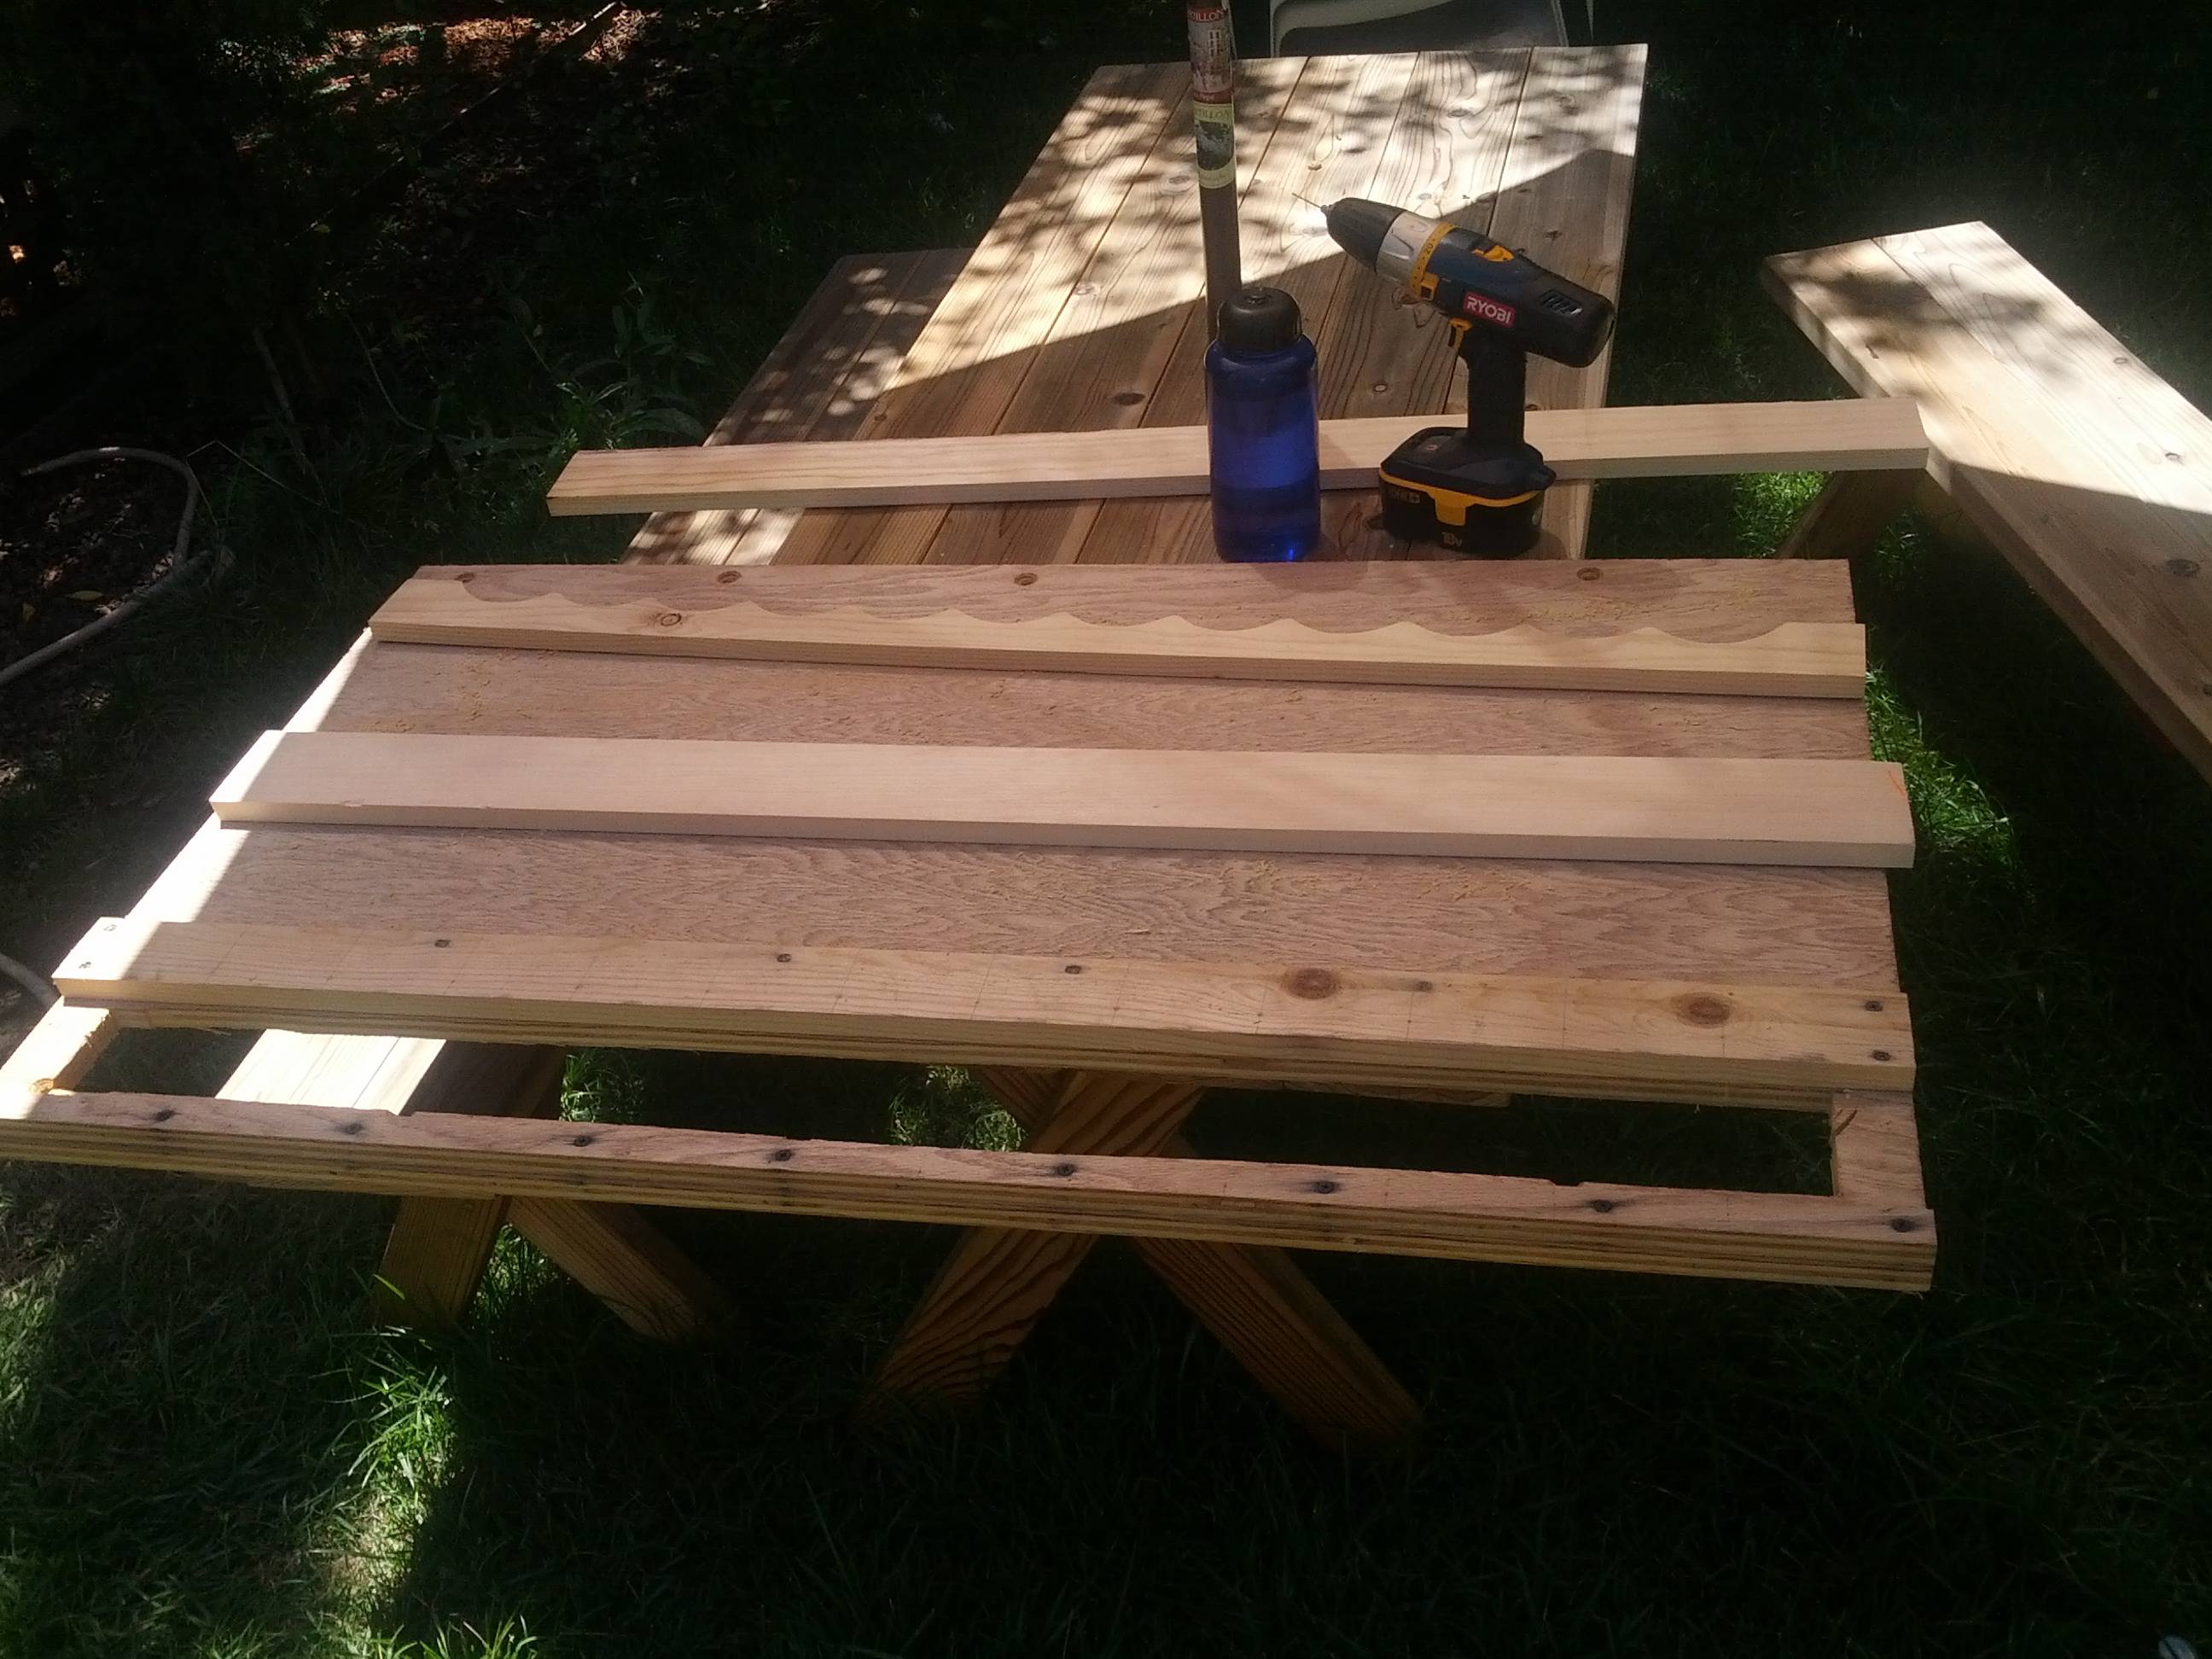
That's the jig I used. It's just a big, study piece of ply with a hole cut in it and a couple pieces of wood the same thickness screwed such that they can be used for various things. The one on the bottom serves to locate the piece you're cutting, the one on top is for keeping tools level (initially I had another plan for it but it didn't work, that piece isn't really necessary). If you're going to build up any kind of real capacity you'll need some kind of jig, because you'll be making a lot of these pieces. (I ended up making over 20, and using 16, some of the early ones were bad so they're not being used.)
Step 0.5: Acquire wood. The dimensions are in the PDFs, but for your sanity I'll note that I used 1"x4"x8' boards from Home Depot. Those end up coming out to 0.75" thick, which is the really important dimension since you can't modify it easily, and 3.5" wide, which is pretty much what you want. The length lets you get two 4' sections, just what you want (strictly speaking it's a tiny bit over but that's better anyway).
For the separators I did one of two things:
1) Bought some redwood from a lumberyard that fit the dimensions in the PDF somewhat well. The thickness isn't super important, though you don't want something as thin as a 2x4, but the height is somewhat important.
2) Bought extra from the craigslist woman I bought the other parts from. The first time I made them it went really poorly. If anyone has advice on how to make a square cut in wood without a drill press, let me know.
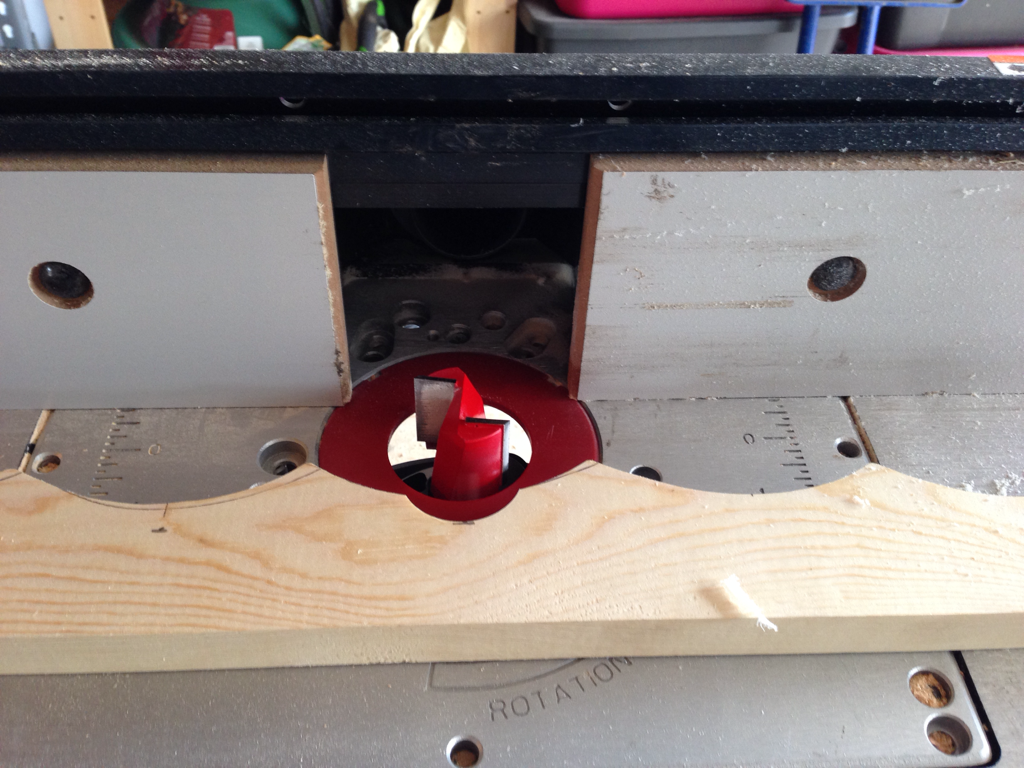
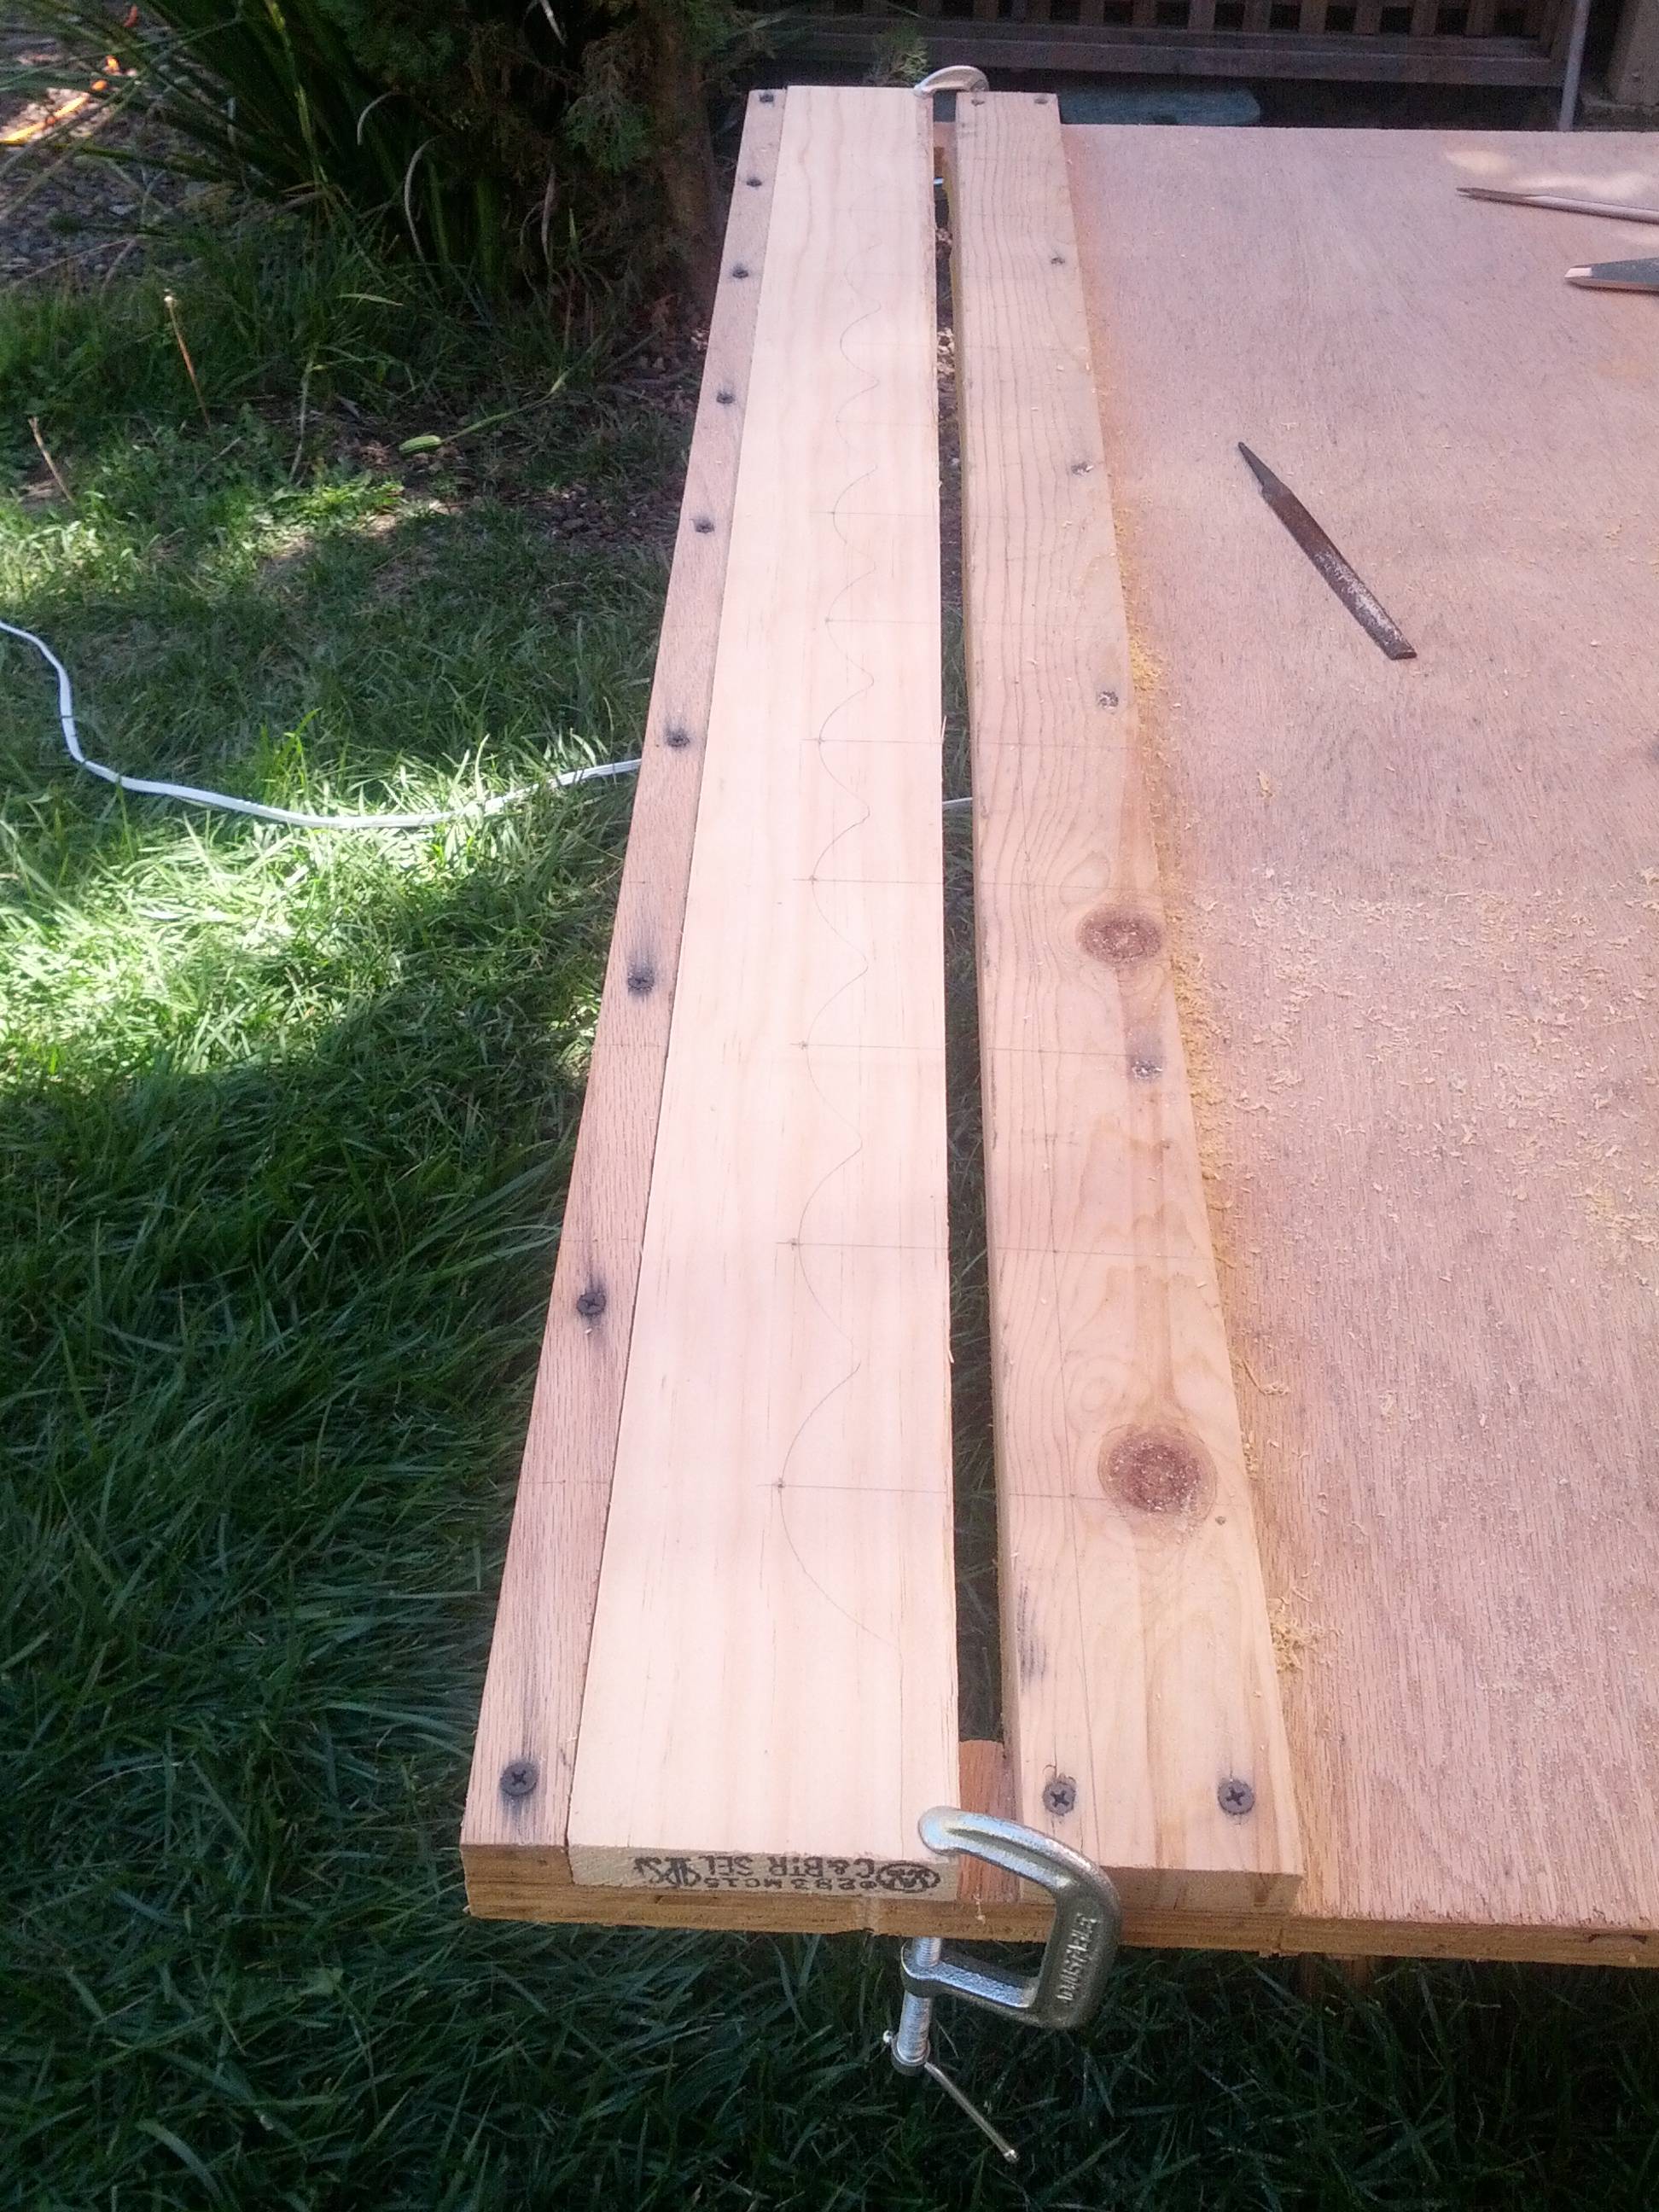
Step 1: Align the board and mark it up.
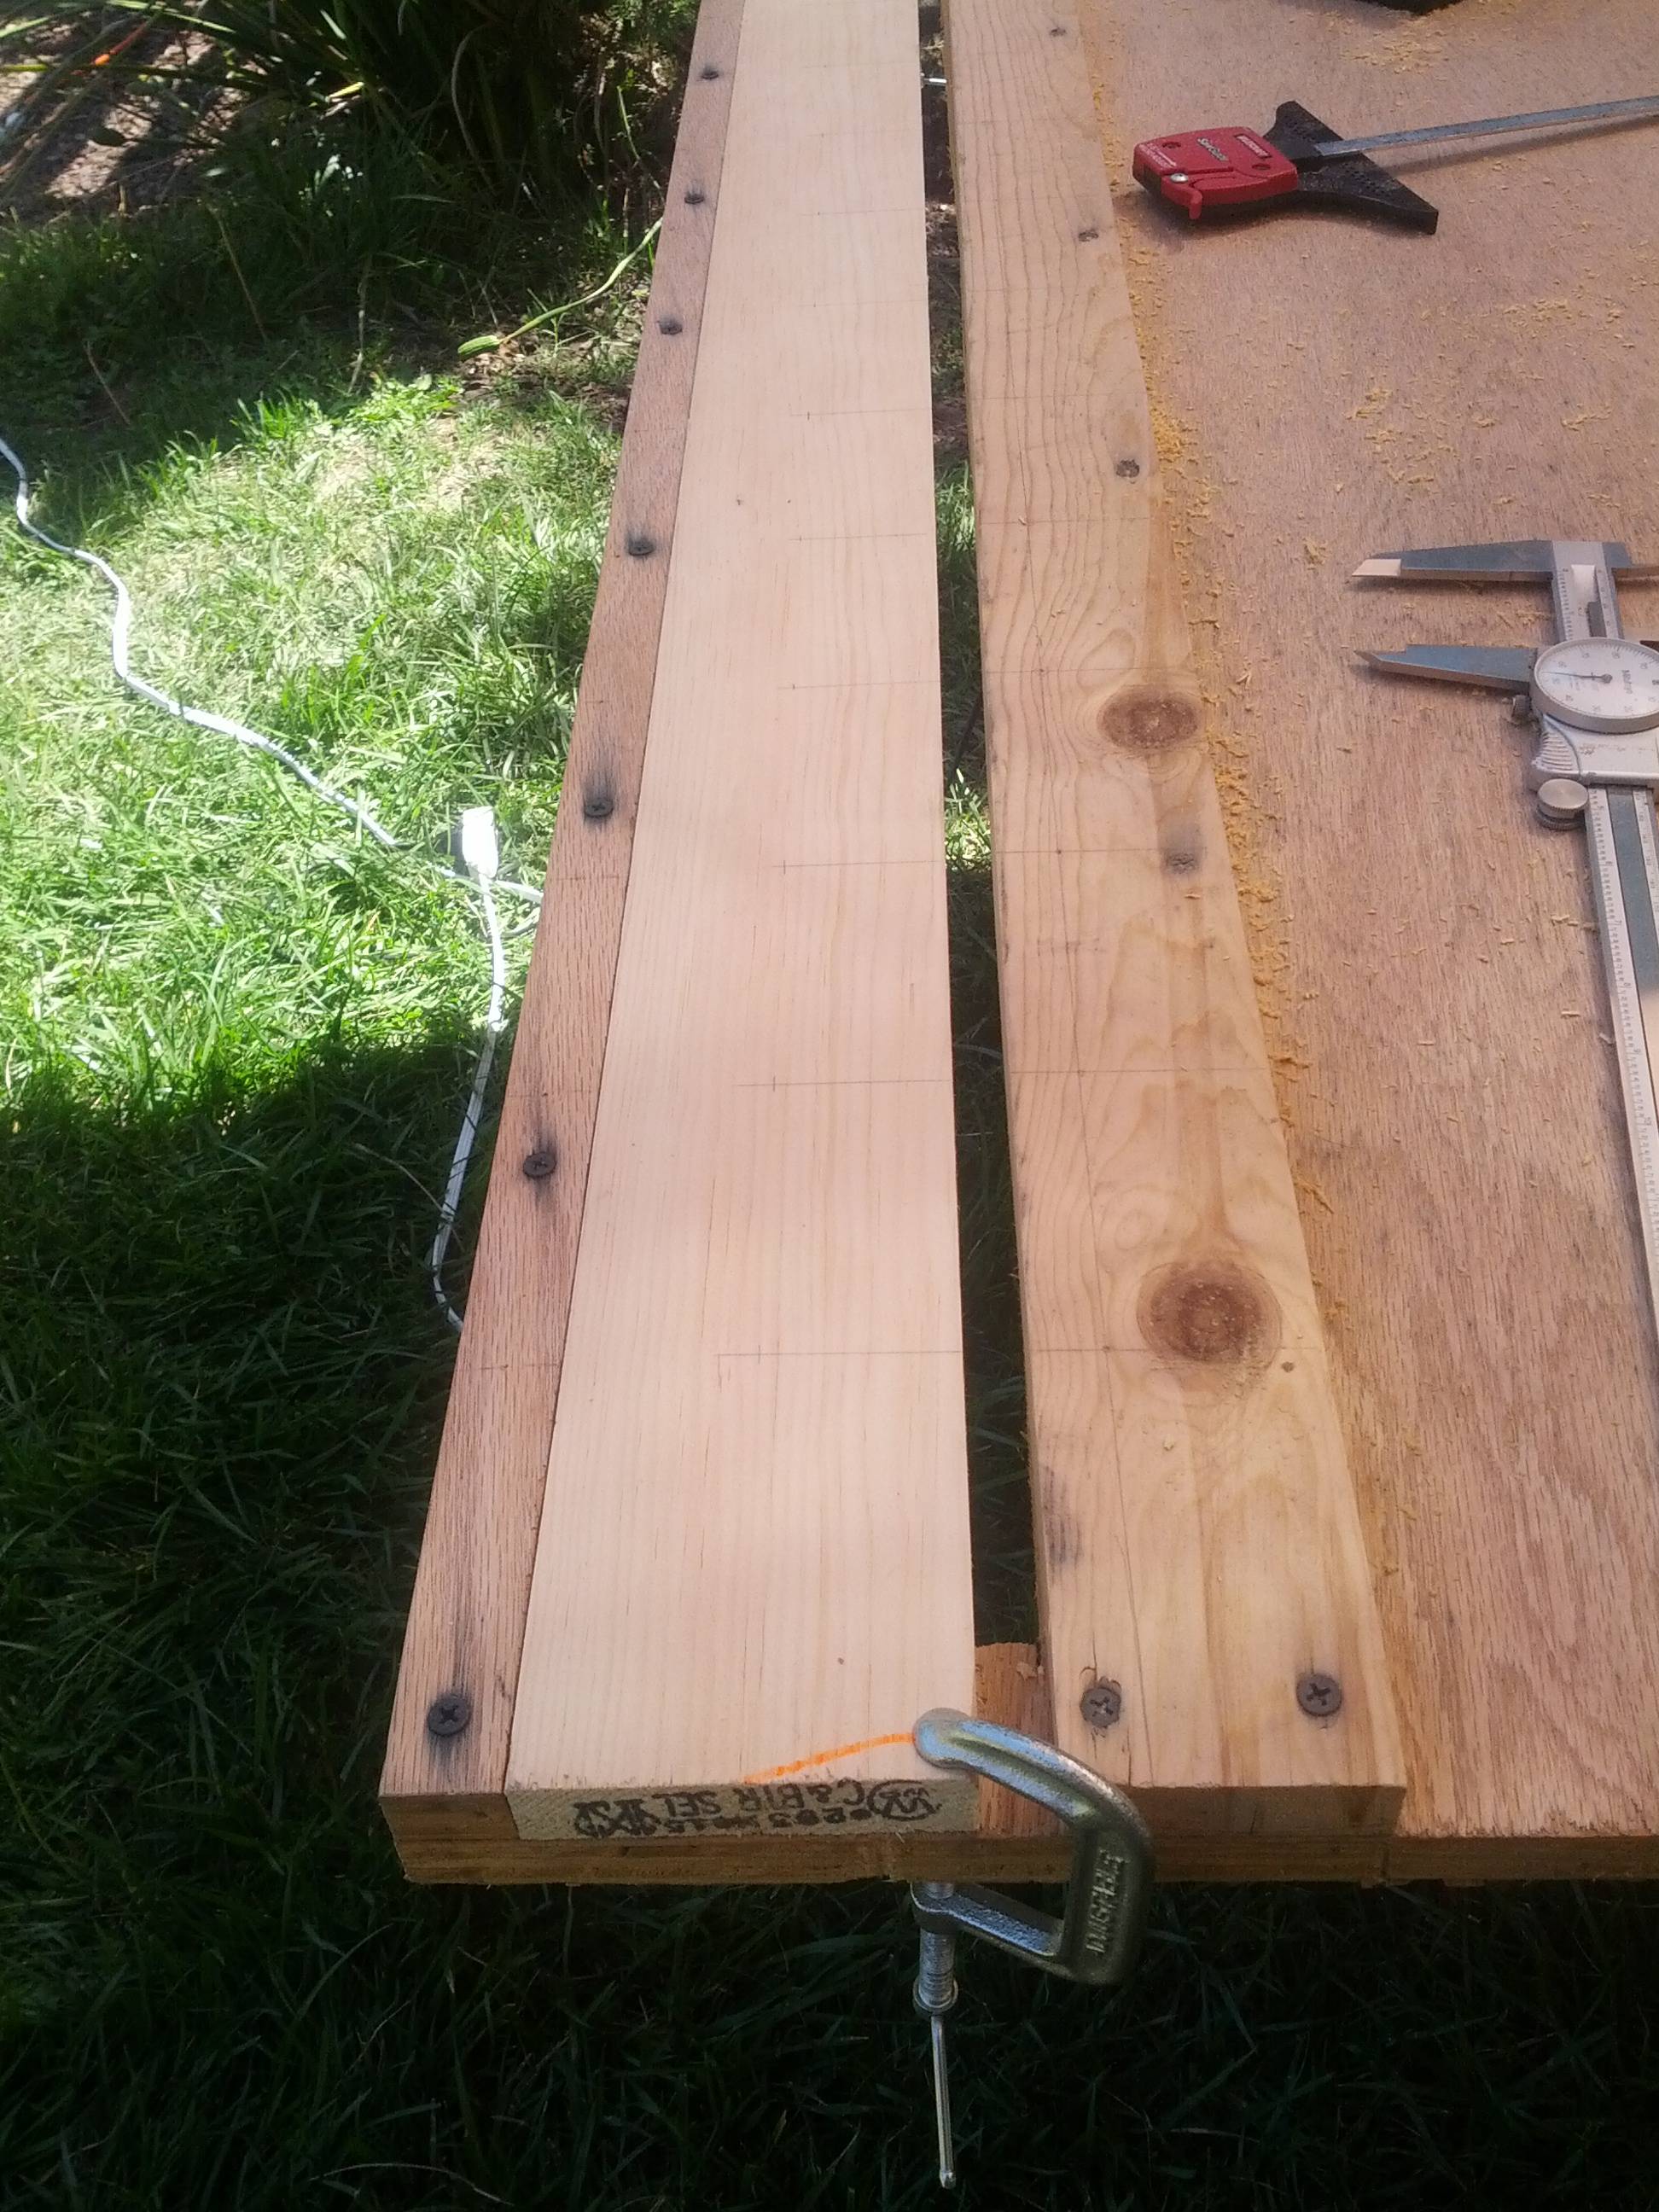
The markings on there are the spacing for where the holes will go. For the vertical lines I just used a t-square aligned to marks on the jig, so I didn't have to measure this out 800 times. The horizontal lines are just 0.75" up.
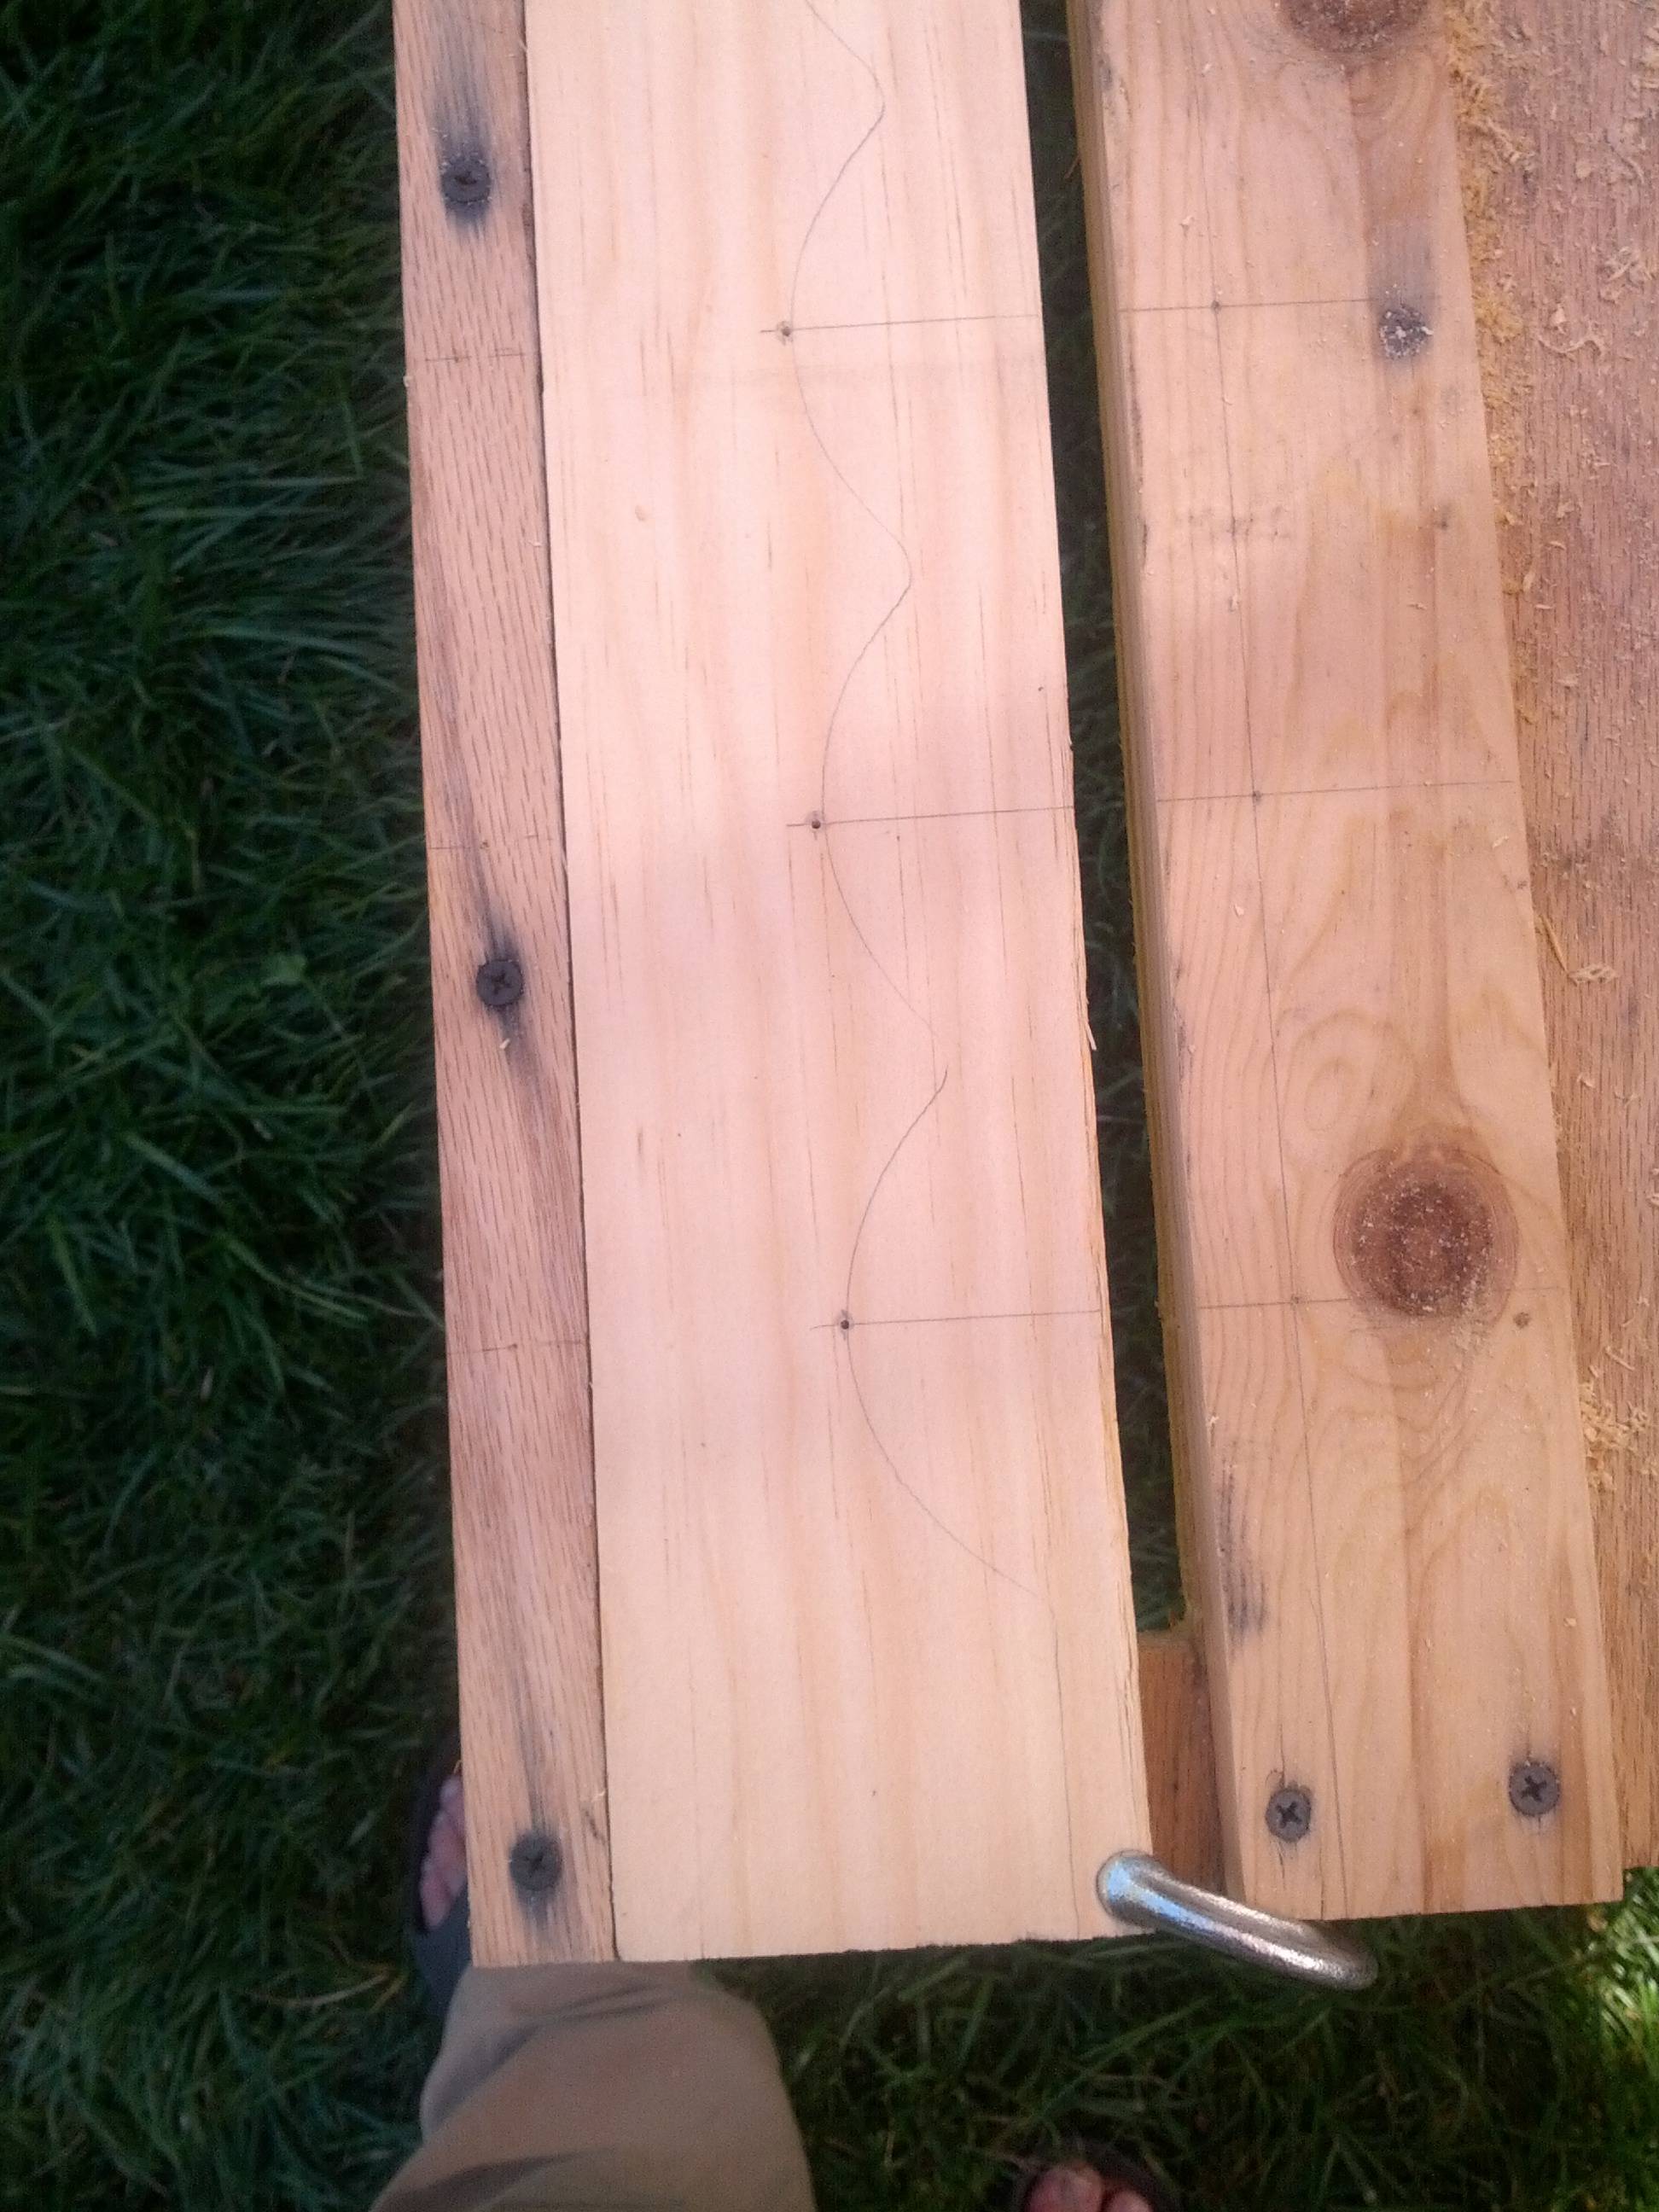
What I did here was take a rear holder (which, remember, I just bought, I didn't make any of them) and line it up so the bottom of its grooves touched the intersections of the lines from the first part of this step. Then I traced it. The first time you do this you could just mark out 6" circles, or whatever you want to do in order to get it right. But after the first one, I'd recommend tracing. Worked great. Here's an overview picture of the board all marked up:
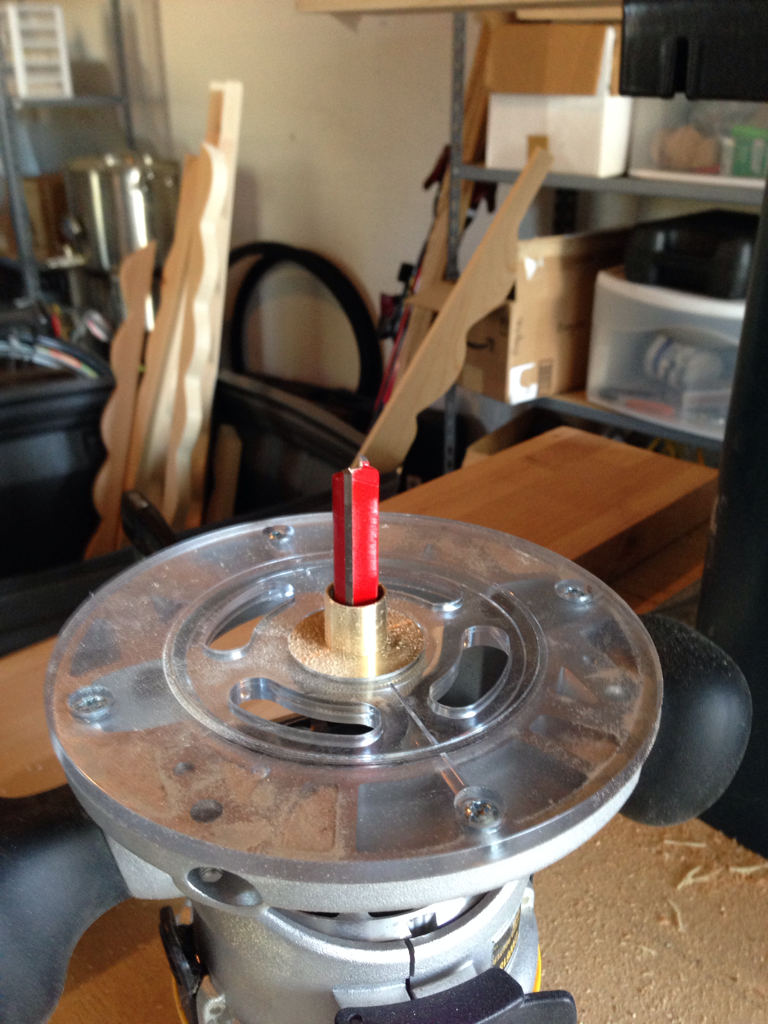
Step 2: Drill a bunch of holes.
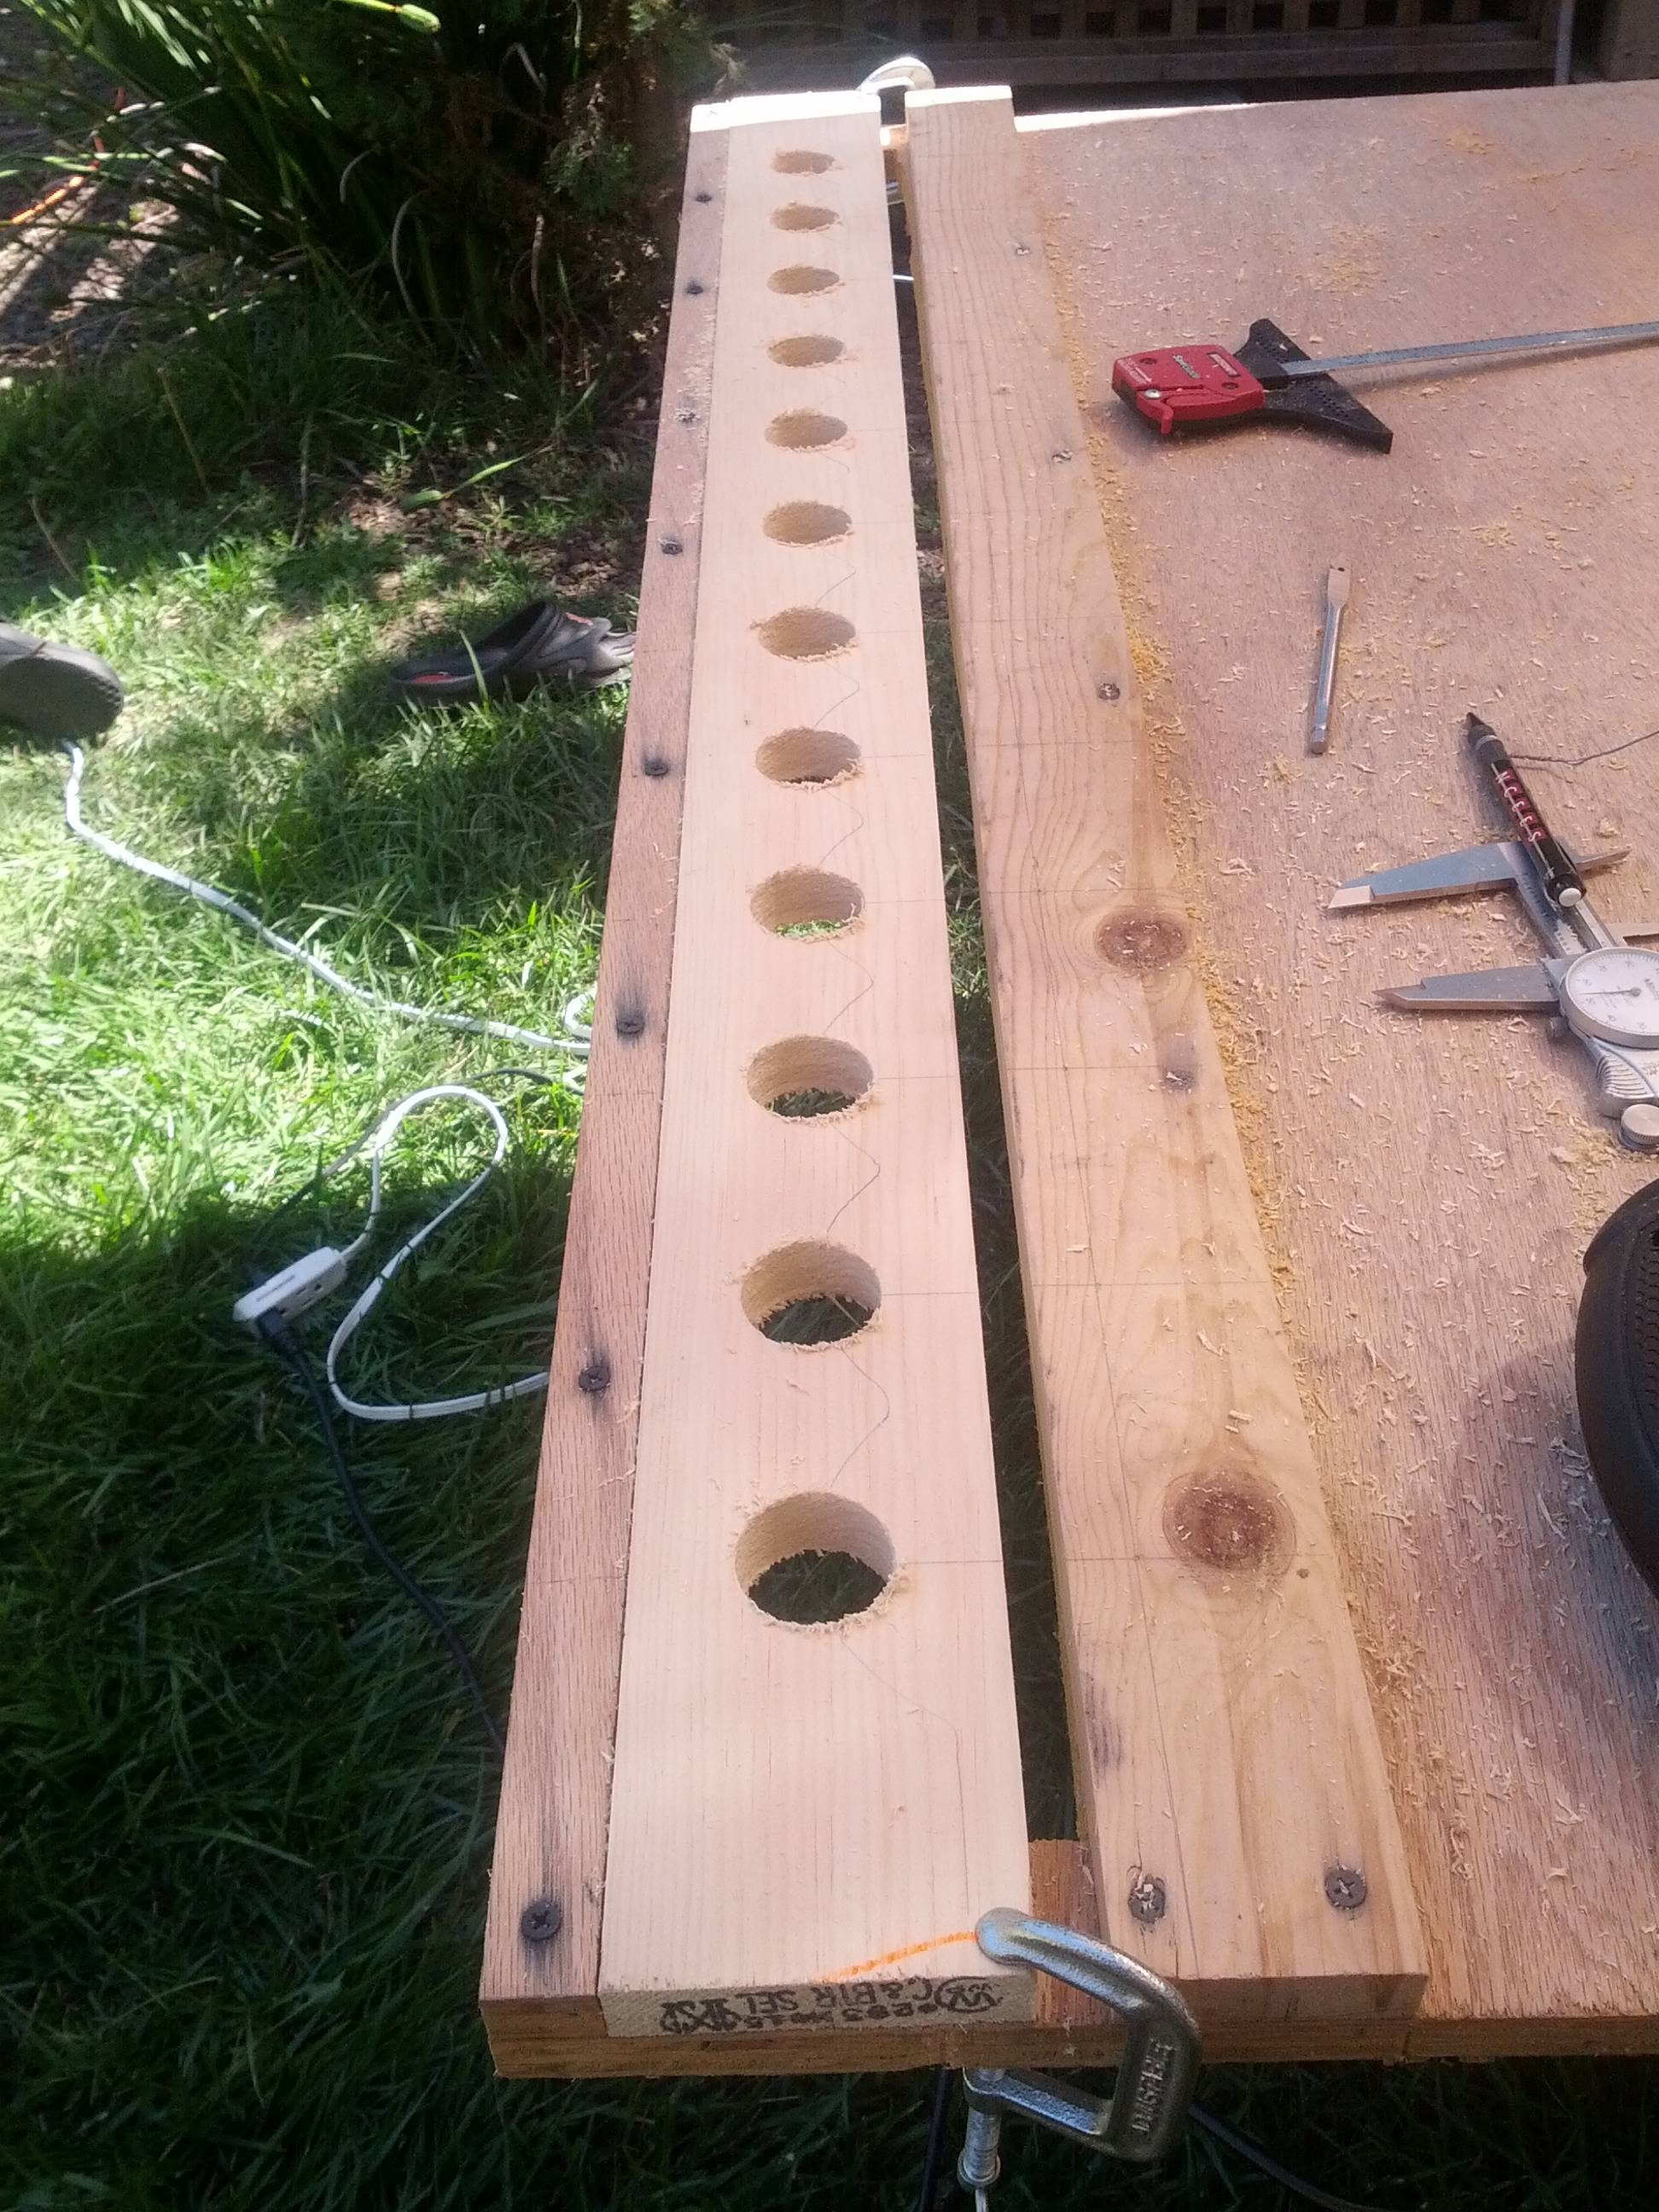
One 1.5" diameter hole at each of the marks, 12 total. Takes a while. Use a corded drill, unless you have 40 charged batteries on your cordless. Seriously, my batteries were lasting 6-8 holes. Pieces of ****, man.
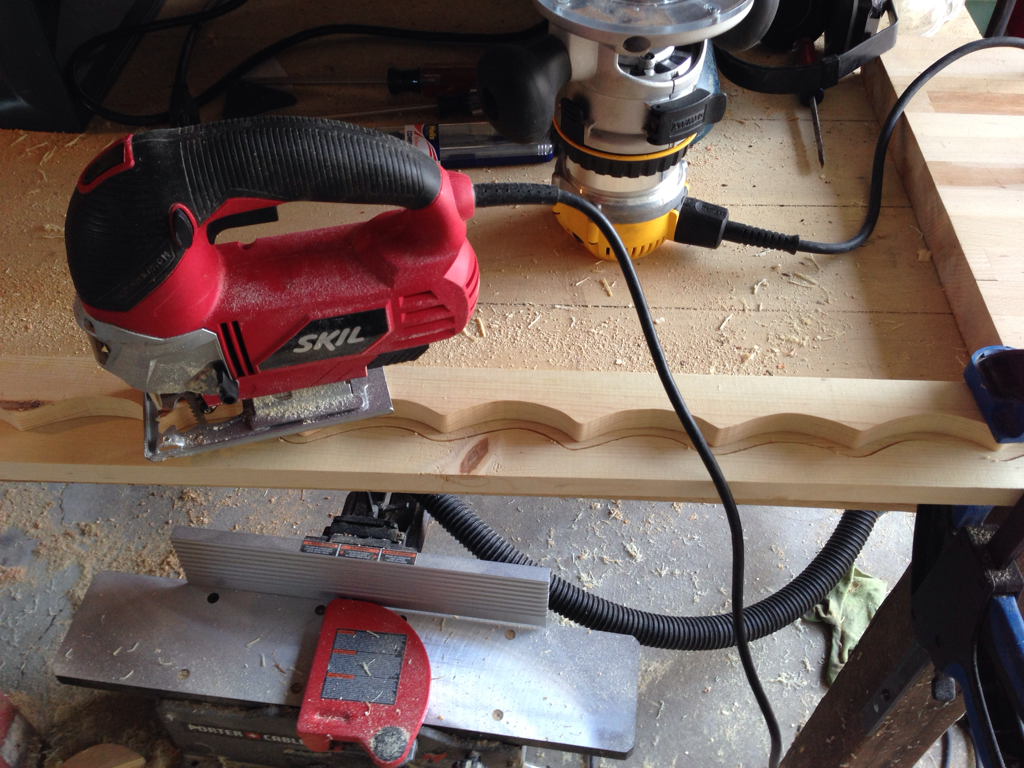
Step 3: Jigsaw time.
Now use a jigsaw to cut along the lines you drew above. I don't have any pictures of this because I'm dumb, but what I did was started at one side and cut all the lines going in one direction, then reversed course and cut the other ones. At the end it fell off and you're almost done!
Step 4: Cut off the edges.
You should have to modify the edges a bit, since the wood is wider and longer than you want. That part is really easy and shouldn't need any explanation.
Step 5: Sand/file the thing.
My least favorite part, but it's necessary. If you have children I highly encourage having them do this, preferably while you drink beer.
The instructions for the rear holder will be similar, except without the holes and with the curves being drawn a bit farther down. Otherwise it's just a big fun jigsaw time.
Finally, I already mentioned that I sucked ass at making the separators. I did the thing where you saw it repeatedly with a circular saw, but that sucked and didn't work well, probably because my saw guide was ass for that job. If anyone has a better method let me know.
First, a confession. I did not build these totally from scratch, I modified some racks I got off of craigslist. Similar ones are here. But, since I live in California I'm concerned about earthquakes, and in an earthquake those bottles are going to be on the floor. So I made some new front pieces that hold the bottle better.
Second, here's what they look like finished:
You can see the notches in the front, but the back is a little harder to see. Here's an image of my SolidWorks model cut halfway through the bottle (the bottle is based on a Cantillon bottle):
I've been asked before why they slope down, and it's entirely due to the geometry of the thing. If you used wider pieces of wood you could modify that, at the cost of having fewer bottles per vertical unit of distance. I'm just fine with them sloping down.
Finally, here's the PDFs of the plans:
Separator
Rear Holder
Front Holder
Okay, so that's the background, let's get started with the actual advice on building.
Step 0: Build a jig:
That's the jig I used. It's just a big, study piece of ply with a hole cut in it and a couple pieces of wood the same thickness screwed such that they can be used for various things. The one on the bottom serves to locate the piece you're cutting, the one on top is for keeping tools level (initially I had another plan for it but it didn't work, that piece isn't really necessary). If you're going to build up any kind of real capacity you'll need some kind of jig, because you'll be making a lot of these pieces. (I ended up making over 20, and using 16, some of the early ones were bad so they're not being used.)
Step 0.5: Acquire wood. The dimensions are in the PDFs, but for your sanity I'll note that I used 1"x4"x8' boards from Home Depot. Those end up coming out to 0.75" thick, which is the really important dimension since you can't modify it easily, and 3.5" wide, which is pretty much what you want. The length lets you get two 4' sections, just what you want (strictly speaking it's a tiny bit over but that's better anyway).
For the separators I did one of two things:
1) Bought some redwood from a lumberyard that fit the dimensions in the PDF somewhat well. The thickness isn't super important, though you don't want something as thin as a 2x4, but the height is somewhat important.
2) Bought extra from the craigslist woman I bought the other parts from. The first time I made them it went really poorly. If anyone has advice on how to make a square cut in wood without a drill press, let me know.
Step 1: Align the board and mark it up.
The markings on there are the spacing for where the holes will go. For the vertical lines I just used a t-square aligned to marks on the jig, so I didn't have to measure this out 800 times. The horizontal lines are just 0.75" up.
What I did here was take a rear holder (which, remember, I just bought, I didn't make any of them) and line it up so the bottom of its grooves touched the intersections of the lines from the first part of this step. Then I traced it. The first time you do this you could just mark out 6" circles, or whatever you want to do in order to get it right. But after the first one, I'd recommend tracing. Worked great. Here's an overview picture of the board all marked up:
Step 2: Drill a bunch of holes.
One 1.5" diameter hole at each of the marks, 12 total. Takes a while. Use a corded drill, unless you have 40 charged batteries on your cordless. Seriously, my batteries were lasting 6-8 holes. Pieces of ****, man.
Step 3: Jigsaw time.
Now use a jigsaw to cut along the lines you drew above. I don't have any pictures of this because I'm dumb, but what I did was started at one side and cut all the lines going in one direction, then reversed course and cut the other ones. At the end it fell off and you're almost done!
Step 4: Cut off the edges.
You should have to modify the edges a bit, since the wood is wider and longer than you want. That part is really easy and shouldn't need any explanation.
Step 5: Sand/file the thing.
My least favorite part, but it's necessary. If you have children I highly encourage having them do this, preferably while you drink beer.
The instructions for the rear holder will be similar, except without the holes and with the curves being drawn a bit farther down. Otherwise it's just a big fun jigsaw time.
Finally, I already mentioned that I sucked ass at making the separators. I did the thing where you saw it repeatedly with a circular saw, but that sucked and didn't work well, probably because my saw guide was ass for that job. If anyone has a better method let me know.