You are using an out of date browser. It may not display this or other websites correctly.
You should upgrade or use an alternative browser.
You should upgrade or use an alternative browser.
Hop spider woes solved! In stainless!
- Thread starter jeffdietzler
- Start date

Help Support Homebrew Talk - Beer, Wine, Mead, & Cider Brewing Discussion Forum:
This site may earn a commission from merchant affiliate
links, including eBay, Amazon, and others.
bendavanza
Well-Known Member
Dave69 , I like the use of the hooks rather than just all thread. Would you care to share the source for those?
PVC is such nasty stuff there is no way I'd want it heated up over my beer.
PVC is such nasty stuff there is no way I'd want it heated up over my beer.
Dave69 , I like the use of the hooks rather than just all thread. Would you care to share the source for those?
PVC is such nasty stuff there is no way I'd want it heated up over my beer.
Yeah no problem! I used these http://www.homedepot.com/p/Lehigh-3...ye-Bolt-with-Nut-7136S/100212972#.UVGSKDeyFxc
I you might be able to get away with the 6" version but I was not sure when I was at the store and the 8" version was only $0.20 more per bolt and with fuel costs I figured I would just be safe and cut off the extra which was not much at all..
What I did was just chop off part the the "Eyelet" with an angle grinder. You can see what I did a little better in this pic.
I hope this helps!

Toecutter
Well-Known Member
Ran into a pile of these flanges at a local clearance place that buys truckloads of Sears/Home Depot/Kmart clearance and return stuff. $2.00 each new. I have a stick of 1/4 stainless rod stock in the garage, so I'm going to weld the 3 rods to it.
kcmobrewer
Well-Known Member
Built mine and used it a couple weeks ago. Thanks for the idea it worked great and I LOVE that it's stainless. I did change one thing though, I slipped some of that thick silicone tubing over the ends of mine to keep it more stable and keep it from moving at all, works great.
Built mine and used it a couple weeks ago. Thanks for the idea it worked great and I LOVE that it's stainless. I did change one thing though, I slipped some of that thick silicone tubing over the ends of mine to keep it more stable and keep it from moving at all, works great.
Good idea if using threaded rods, with the hooks like I used it would just be one more thing to have to clean as they don't move at all.
barnaclebob
Well-Known Member
Just built one of these guys using the stainless canning funnel, some stainless acorn nuts and regular hex nuts and some of these rods that I havent seen anyone else post yet. I bent the bottom of the canning funnel with some pliers to make a flange for the hose clamp to hold the paint strainer bag.
http://www.amazon.com/gp/product/B0077RA6HG/?tag=skimlinks_replacement-20
http://www.amazon.com/gp/product/B0077RA6HG/?tag=skimlinks_replacement-20
Last edited by a moderator:
grrickar
Well-Known Member
Thanks for the idea! I had to scour no less than 3 home improvement stores to get the goods, but I made my very own hop spider. I found the SS 8" carriage bolts and the SS flange at Menards, the SS 3/8" nuts at Lowes, and the 3/8" SS acorn nuts at Home Depot. I got the paint strainers at Home Depot as well.
The snap ring is what is holding the strainer bag on - very handy. It is part of the 'two piece' disposal kit - Insinkerator Quick Lock Sink Mount model QLM-00
Since my Bayou Classic 11 gallon brewpot has a 'lip' inside the vessel, I made the hop spider to rest on that so I can still put the lid on to minimize volume loss. Using the regular SS nuts on the outside of the flange, and the acorn nuts on the inside allowed me to fine tune the spider for a tight fit in my kettle.
I could have done with much shorter bolts, but the prices were about the same and I knew I would have to cut them down. I used my air cutoff tool to pare them down to the correct size. A hacksaw would have worked, but would have been a LOT of effort.
Stealthcruiser
Well-Known Member
Nice!
You're not doing your full boil, with the lid in place, are ya'?
You mentioned"minimize volume loss"..........
You're not doing your full boil, with the lid in place, are ya'?
You mentioned"minimize volume loss"..........
grrickar
Well-Known Member
It varies. I don't make it a habit to leave the lid on the entire boil, but once I have things adjusted to a sustained 'gentle' boil I put the lid on more often than not. I did not have my kettle marked the first brew I did with this equipment, and I lost a lot of volume. For longer boils I guess you keep the lid on more or start with/add more water. Once I have the kettle etched, I can better tell how much water has boiled off.
Stealthcruiser
Well-Known Member
Hmmm......The general consensus is, ( or so I was taught), you can leave the lid on, until you start to boil, but it should remain off for the remainder of the boil.
This, to help boil off some of the undesirable compounds and what not.
I added the "what not", because I don't remember the exact reason for it, but it is supposedly proven to make a better beer.
Maybe someone will chime in.
In the meantime,you should mark of the volumes on your mash paddle, or a metal yardstick or something, and stick it in the Wort to see how much is remaining.
Huaco
Well-Known Member
I'd leave the lid off the whole time! The compound that is trapped that REALLLLLLLLLY needs to boil off is called Dimethyl Sulphide. (DMS) If you trap the steam in the kettle, the compound can't be carried away with the steam. It'll cause your beer to have the flavor of canned, cooked corn. A MAJOR flaw in beer. You can put the lid on once you chill to about 140°F. You can leave it on after that to keep critters out of the chilled wort.
http://en.wikipedia.org/wiki/Dimethyl_sulfide
Just my 2 cents...
http://en.wikipedia.org/wiki/Dimethyl_sulfide
Just my 2 cents...
rhythmdaddy
New Member
- Joined
- Nov 12, 2013
- Messages
- 1
- Reaction score
- 0
Hey all, I am going to build this stainless hop spider. I want a long hop bag for when I do 6 gal. batches in my keggle. I see putting a stainless ball bearing in the bag to weigh it down is a good idea. I've seen in a few photos that some of you have long, narrow hop bags. Can someone link to one of these for me? Thank you!
grrickar
Well-Known Member
Buy one from Wilser - he is a member here. This is his site: http://biabbags.webs.com/
If you plan to do BIAB, but the Grand Slam kit.
I use his bags and it keeps so much crap out of the fermenter.
If you plan to do BIAB, but the Grand Slam kit.
I use his bags and it keeps so much crap out of the fermenter.


My PVC Hop spider deformed/melted, too, but just from use, not because I put the lid on the pot. While I like the idea of using a hop spider to keep hops out of my fermented, it is a pain to use with my immersion chiller. I have to lift up the spider and hold it over the pot while I put the chiller in and then lower it into the center of the chiller. Then when I want to use the chiller, I have the choice of not stirring to chill faster because the spider is in the way or removing the spider which eliminates the idea of whirlpooling with hops or hop bursting. I finally just gave up on the spider just dump the hops in the boil kettle. When its done chilling, I whirlpool and strain the worth through a colander and biab bag as it goes into the fermenter.
Just built my spider from this concept...perfect! Question, are you using 5 gal paint bags? If so, are using the retaining ring or a hose clamp? I'm having trouble finding an easy way to tame the extra material around the flange and clamp down the bag.
Just built my spider from this concept...perfect! Question, are you using 5 gal paint bags? If so, are using the retaining ring or a hose clamp? I'm having trouble finding an easy way to tame the extra material around the flange and clamp down the bag.
I use a ss hose clamp around the ring, just below where the bolts attach. I pull up the excess bag above the clamp, so that the bottom of the bag is an inch or two off the bottom of the kettle. This spider (shown below) is used with my 5 gallon kettle, and I use a fine-mesh 9" x 12" hops bag. I throw a few 1/2" ss nuts in the bag to keep it from floating around.
I have another spider for my 20 gallon kettle (not pictured). I use a long hops bag from Wilserbrewer, and fasten it to the ring in the same way.

i don't have a picture but what i did was drill 3 small holes towards the bottom edge of the rim of the spider and then put 3 1/2" SS nuts and bolts through so there is something for the ring clamp to catch on and not fall in.
I just ran with the OP's idea and built this hop spider. I didn't take the time to read all the posts and I was looking for drilling advice since stainless is a pain without the right tools, but I managed. I thought I would throw in some directions to any new homebrewer like me who is looking for ways to do this with cheap tools at home. Apologies to anyone who did this previously. It's nice seeing recent posts about it. All my materials and tools were purchased at Menards. I did this in 30 minutes.
Materials:
1. SS Sink disposal cover
2. Qty 3 ~ 3/8" X 8" (16 Coarse Thread) SS Lag Bolts
3. Qty 6 ~ 3/8" 16 coarse thread SS hex nuts
4. Fine meshed paint strainer bag
5. 1"-4" worm drive SS hose clamp
Tools:
1. Variable speed hand drill, preferably a corded one. Mine declares to reach 2700 rpm. 5.5 amp motor.
2. Hole punch set
3. Your preferred hammering device. Avoid using your annoying neighbors head.
4. 3/8" TITANIUM drill bit
5. Spare wood blocks
6. Trigger clamps
7. Seamstress measuring tape
8. Masking tape
9. Pen
10. WD-40
Instructions:
1. Tape around the web of the drain where you'll be drilling the holes.
2. Secure end of measuring tape at an arbitrary point. This is your zero.
3. Measure circumference of the drain cover web. Divide that by three, make a mark at every one of those thirds. Obviously the "zero" gets a mark.
4. Eyeball a pen mark in the orthogonal direction at the marks across the circumference. You now have crosshairs for your punch and drill.
5. Clamp the drain with spare wood, making sure nothing moves. Reference my pictures.
6. Punch at those marks. Start slow to get established then beat the hell out of it. You should see a small dimple.
7. I skipped pilot holes because "beat the hell out of it."
8. With titanium bit in your drill and the piece "lubed" with wd-40, start slowly on each dimple and then ramp up until you break through the piece. It will take the full speed of your drill. Repeat.
9. Clean up the piece.
10. Thread a nut on each lag bolt, and insert each bolt through a hole. Nut the other side and tighten.
11. Work mesh bag through your clamp and drain cover and tighten on the web of the drain cover.
12. Grab a homebrew because you're done doofus.
Cheers!
View attachment ImageUploadedByHome Brew1457838333.628007.jpgView attachment ImageUploadedByHome Brew1457838361.159346.jpgView attachment ImageUploadedByHome Brew1457838387.609236.jpgView attachment ImageUploadedByHome Brew1457838424.275881.jpg
PDevlin75
Well-Known Member
- Joined
- Mar 20, 2014
- Messages
- 106
- Reaction score
- 39
Just finished putting mine together tonight! Thanks for posting this! It's a great idea!
I've been scaling down to doing 1 gal BIAB recipes lately, and running into problems with incorrect pre/post boil volumes. Between this, and the kettle etching technique found in another thread here, I should be able to eliminate a few variables in my process!
Looking forward to using it this weekend!
-Pete
...
Materials:
5. 1"-4" worm drive SS hose clamp
Tools:
2. Hole punch set
...
4. 3/8" TITANIUM drill bit
Instructions:
It will take the full speed of your drill.
I just built a bunch of these for a DIY project, and a little feedback on the above is needed. Great details though.
Materials:
5. Hose clamp: A 3.25" ID x 3/16 Oring will hold the bag tight using the groove in the SS sleeve. Super quick and easy!
Tools:
2. Hole Punch: I assume he means center punch, but shows a drift punch (nail set). 1 tap of the hammer is all that's needed with a center punch.
4. Titanium drill: Overkill!! I drilled 5 sets of holes with 1 std steel drill bit, and it's already well used.
Instructions:
..full speed... - No, bad idea when drilling metal. Too much heat is generated and that will dull the cutting edge on the drill bit. Medium/low speed is better. With a 3/8 bit, a smaller pilot is highly recommended.
These are great for the 5 gallon crowd, but too small for bigger batches. I used one for Big Brew Day and it worked great, and the Oring held up perfectly. I was concerned it would soften at boil temp, but it was fine. They are rated way above 212F.
stever1000
Well-Known Member
- Joined
- Oct 15, 2014
- Messages
- 822
- Reaction score
- 49
Great idea! I want to make one soon!
stever1000
Well-Known Member
- Joined
- Oct 15, 2014
- Messages
- 822
- Reaction score
- 49
I went to home depot, rona and lowes and couldn't find the SS flange.
I can get it on amazon for $20 - is this the best solution, or could I use something else that is cheaper? Like a canning funnel or something
Thanks
I can get it on amazon for $20 - is this the best solution, or could I use something else that is cheaper? Like a canning funnel or something
Thanks
I got mine at zoro.com, current price 10.79, https://www.zoro.com/in-sink-erator-sink-flange-polished-stainless
stever1000
Well-Known Member
- Joined
- Oct 15, 2014
- Messages
- 822
- Reaction score
- 49
I got mine at zoro.com, current price 10.79, https://www.zoro.com/in-sink-erator-sink-flange-polished-stainless
That link didn't work for me...it says 404 error on their webpage
Try this link:
https://www.zoro.com/in-sink-erator-sink-flange-polished-stainless-steel-flg-ss/i/G2042817/
Cheers!
https://www.zoro.com/in-sink-erator-sink-flange-polished-stainless-steel-flg-ss/i/G2042817/
Cheers!
stever1000
Well-Known Member
- Joined
- Oct 15, 2014
- Messages
- 822
- Reaction score
- 49
Thanks! For some reason its not available in Canada on their site. Dang

stever1000
Well-Known Member
- Joined
- Oct 15, 2014
- Messages
- 822
- Reaction score
- 49
Try searching similar Canadian suppliers for insinkerator stainless flange.
I tried, and it seems to be approx. $20 from amazon...2x what it is shows up in the USA.
I may go with the stainless canning fuel instead to save $10
I tried, and it seems to be approx. $20 from amazon...2x what it is shows up in the USA.
I may go with the stainless canning fuel instead to save $10
Do you know any plumbers? Maybe someone has an old ss sink from a replacement job that you could get a flange from. Clean it up and you're in business.
stever1000
Well-Known Member
- Joined
- Oct 15, 2014
- Messages
- 822
- Reaction score
- 49
To my surprise, I searched on amazon one last time before going the canning fuel route. On amazon I found a "used" flange for $9+tax and prime shipping... very surprised! It showed up last Friday and it appears brand new. Awesome 
Now to get the rest of the stainless parts
Now to get the rest of the stainless parts
stever1000
Well-Known Member
- Joined
- Oct 15, 2014
- Messages
- 822
- Reaction score
- 49
Is there any reason to avoid ZINC coated bolts for making the spider? I can't find stainless bolts longer than 5" in length and I need at least 6" for my kettle
A lot cheaper too
A lot cheaper too
HausBrauerei_Harvey
Well-Known Member
ok thats boss. Well done sir I need to change out my PVC spider for this one.
Is there any reason to avoid ZINC coated bolts for making the spider? I can't find stainless bolts longer than 5" in length and I need at least 6" for my kettle
A lot cheaper too
Two reasons: the acidic beer will dissolve the zinc into your wort (bad juju) and then will rust (doubly bad juju).
Lots of folks have found long stainless bolts and took the one-time hit without expiring...
Cheers!
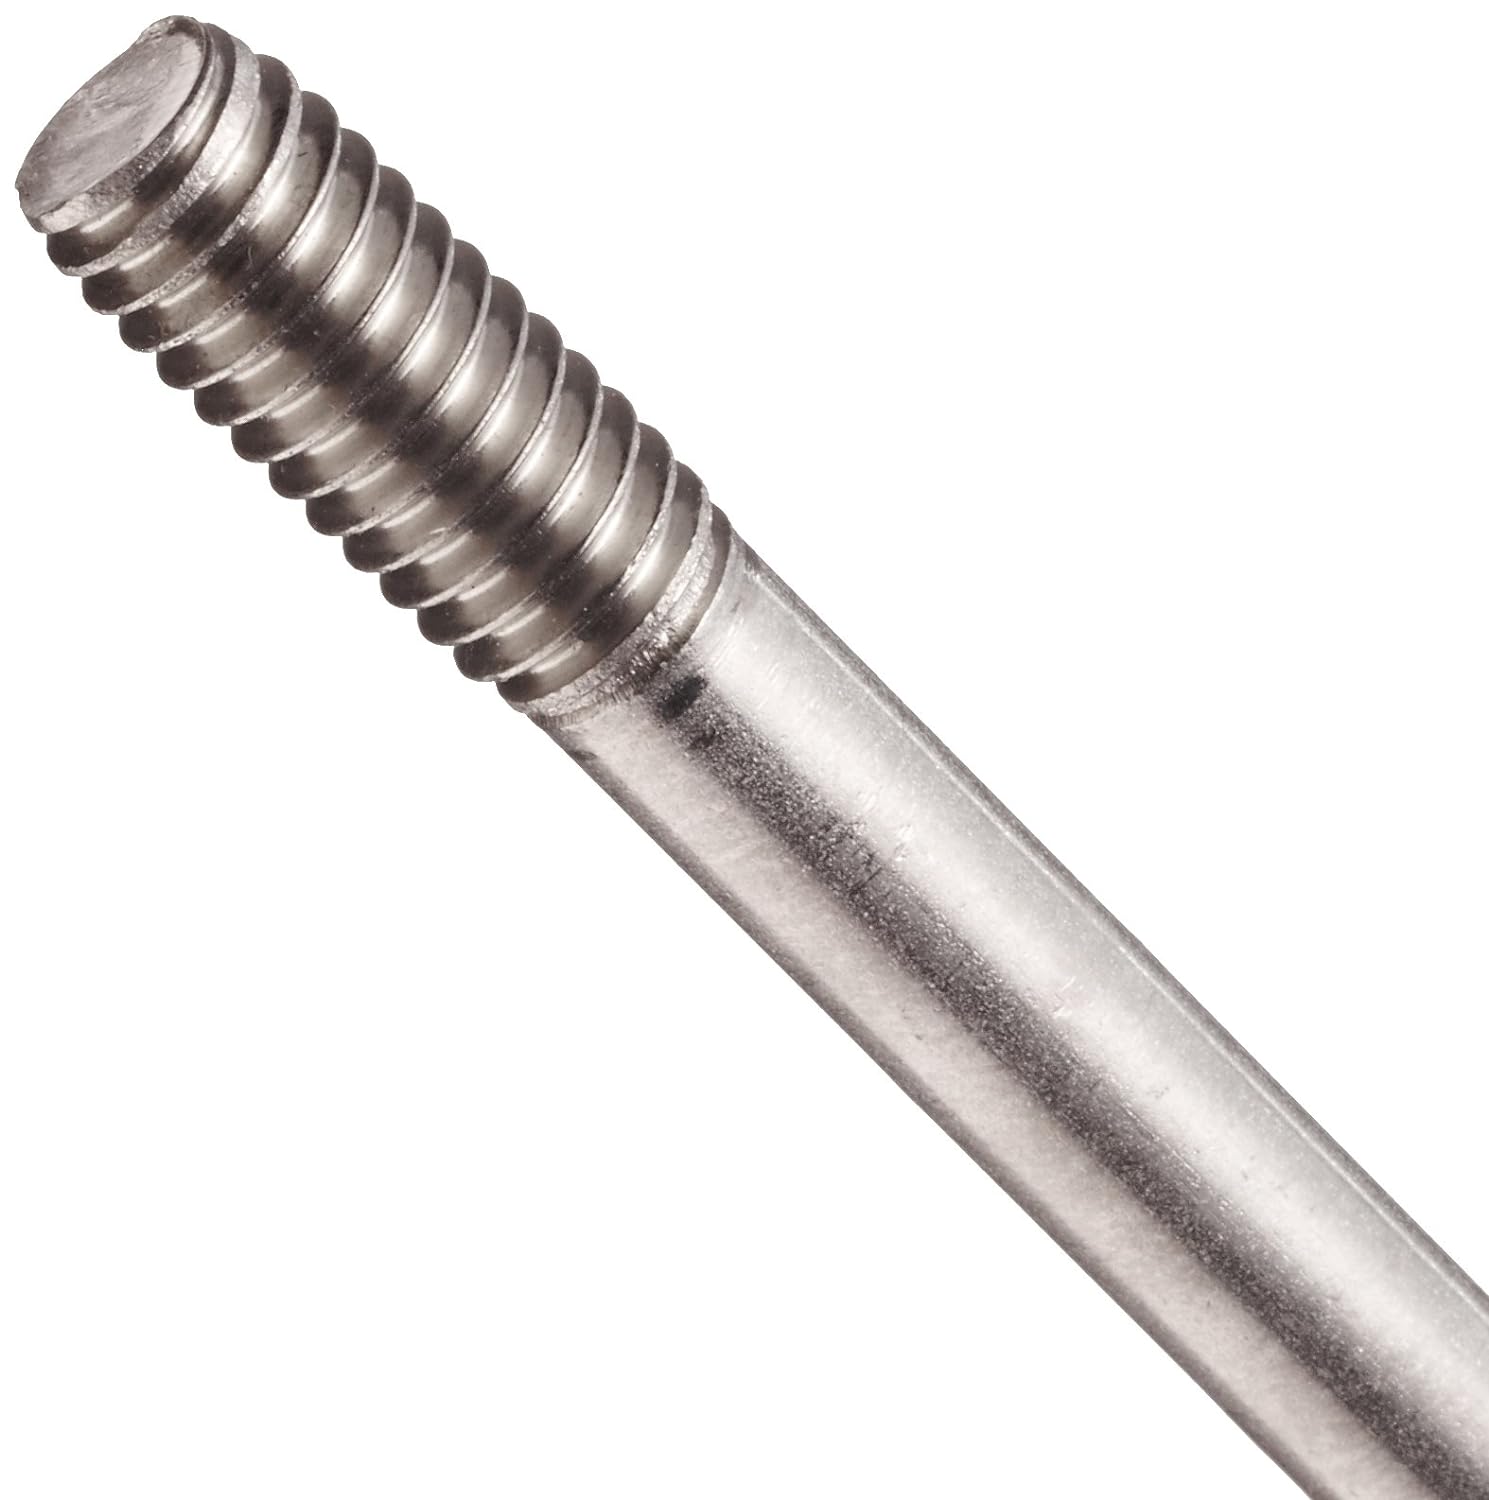
[edit] If you can't find long enough bolts, buy some stainless steel all-thread rods...
stever1000
Well-Known Member
- Joined
- Oct 15, 2014
- Messages
- 822
- Reaction score
- 49
Two reasons: the acidic beer will dissolve the zinc into your wort (bad juju) and then will rust (doubly bad juju).
Lots of folks have found long stainless bolts and took the one-time hit without expiring...
Cheers!
[edit] If you can't find long enough bolts, buy some stainless steel all-thread rods...
But the spider isn't in contact with the wort?
I'll look for the SS all-thread
Have you ever removed anything from a boil kettle that wasn't wet? 
Btaz
Well-Known Member
- Joined
- May 26, 2012
- Messages
- 317
- Reaction score
- 35
Is there any reason to avoid ZINC coated bolts for making the spider? I can't find stainless bolts longer than 5" in length and I need at least 6" for my kettle
A lot cheaper too
I found Home Depot and Lowes to carry SS rods. From there I took a hack saw to cut them down to the right size
Similar threads
- Replies
- 12
- Views
- 1K
- Replies
- 1
- Views
- 2K
- Replies
- 1
- Views
- 1K
- Replies
- 2
- Views
- 2K