CGVT
Senior Member
I put a switch inline on both of mine. I just used a standard on/off light switch in a box. It was pretty simple and keeps me from having to fight with a plug if I need to turn them off quickly.

I put a switch inline on both of mine. I just used a standard on/off light switch in a box. It was pretty simple and keeps me from having to fight with a plug if I need to turn them off quickly.
 ?
?Bill33525, how do you plug right into your breaker panel? What type part do you use to do that?
It sounds like there are more and more people posting that their thinned JB Weld heatsticks are tripping the GFI shortly after being tested. I believe I read a few posts which mentioned that they thinned the JB Weld with acetone/thinner and took apart their ruined heatstick to find that the JB Weld had not set and was still liquid in the middle.
I know that's what JB Weld recommended people to use, so maybe people are thinning the JB Weld too much and it's not setting somehow? Or it's too deep and the middle's not exposed to enough air?
FWIW, I used the potting method like others in this thread, where I wrapped tape (instead of pvc or cardboard) around the base of the element and poured a regular mixture of JB Weld in and let that set... Then, used silicone (actually used blue RTV per the Cedar Creek instructions) and put that around the threads of the 1 1/2 to 1 1/4 slip reducer to help seal that when I finally screwed everything together. I haven't had any problem with mine in two years..
The JB Weld sets hard, the tape is easy to peel off, and even if the RTV or silicone or whatever you use doesn't seal the reducer to the end of the pipe, I'm confident that the wires to the element are secure and sealed.
I'm sure many people have used the thinning method with success, so just offering my own thoughts. No offense to anyone who's done differently.
Dry the unit thoroughly and apply JB Weld to the threaded area.
Use a hair dryer to thin the epoxy so it seeps into the joint.
BTW, epoxy thins way down under a little heat.
It sounds like there are more and more people posting that their thinned JB Weld heatsticks are tripping the GFI shortly after being tested. I believe I read a few posts which mentioned that they thinned the JB Weld with acetone/thinner and took apart their ruined heatstick to find that the JB Weld had not set and was still liquid in the middle.
I know that's what JB Weld recommended people to use, so maybe people are thinning the JB Weld too much and it's not setting somehow? Or it's too deep and the middle's not exposed to enough air?
but I wonder if the acetone used to thin JB needs air to dry. I have no clue, but my experience says thinning it is not needed.
D-Hutt said:This is a noob question, but how do I figure out what ampage my circuits are? I know very little about electrical engineering. There's an outlet near my stove I use for small appliances and I would plug a heatstick there to supplement my gas stove. How do I figure out the max wattage I can get from that outlet for the heatstick?
D-Hutt said:So I should get a higher rated GFCI then, yes? That way I can use a 1500w, 120v heating element.
Or does the 15A GFCI just mean that it'll trip if it gets above 15A?
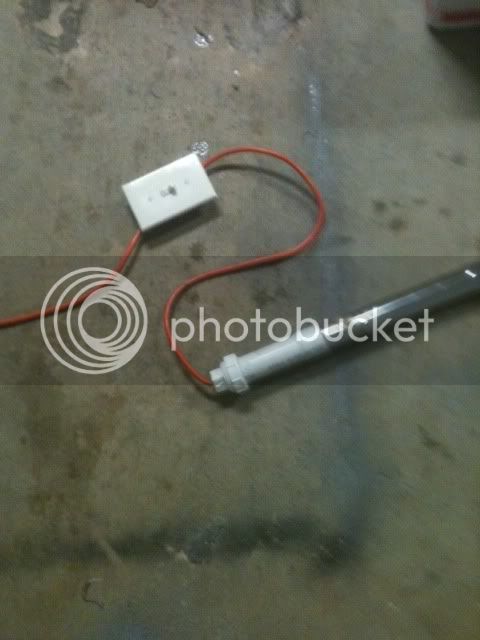
I have one of these left over from an old aquarium - it should work, right?

You applied silicon after the JB weld? If so the silicon may be drying first, and not allowing the JB weld to cure properly? Just a thought
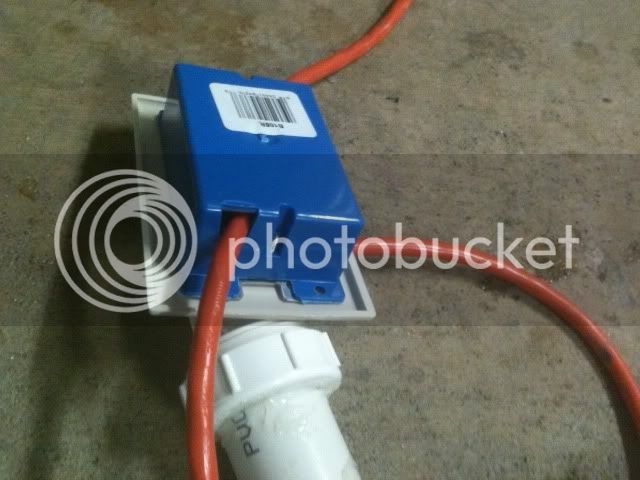
Look at you using you using your "old aquarium stuff"!!!
Just plugged mine in to test - we have heat! 3 seconds plugged in and out of water is apparently enough to almost burn you, lol. Didn't expect it to hear up so fast.
Just plugged mine in to test - we have heat! 3 seconds plugged in and out of water is apparently enough to almost burn you, lol. Didn't expect it to hear up so fast.
Yeah but it didn't do that because I unplugged it after a couple seconds.
I'm a brewing noob but I'm not a moron.
Enter your email address to join:


