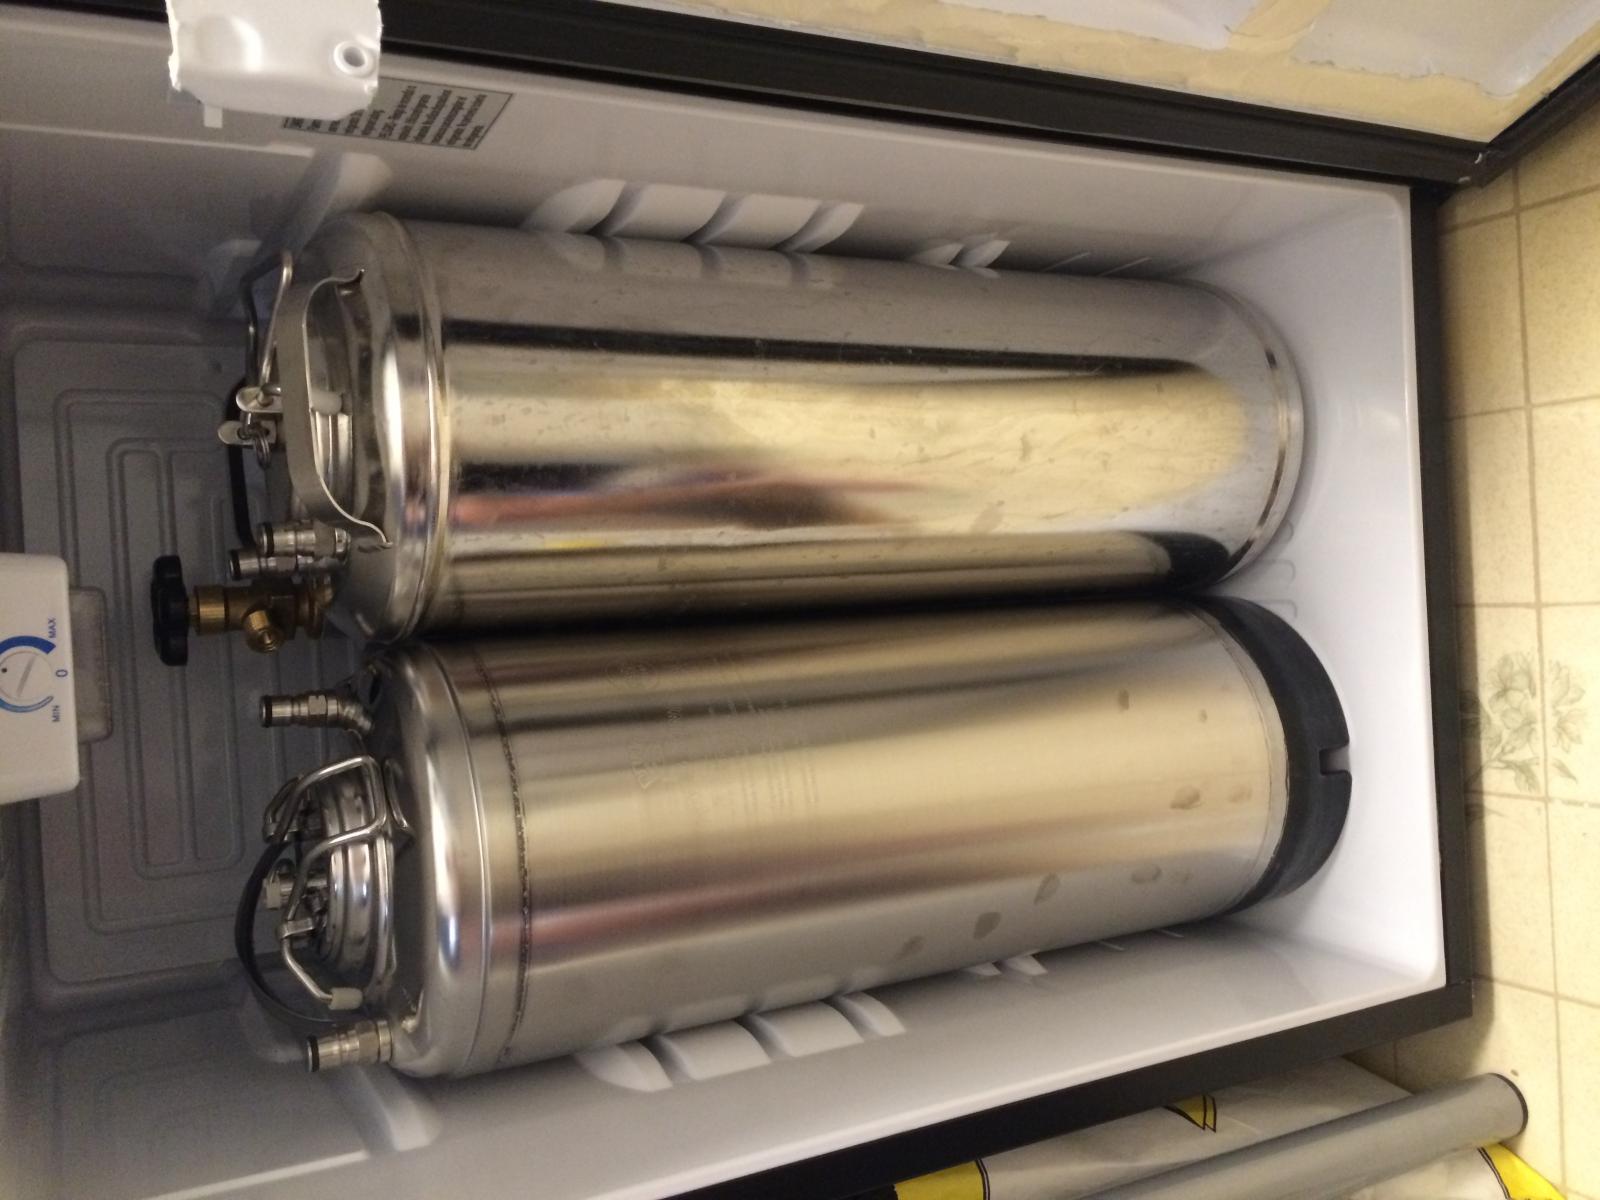
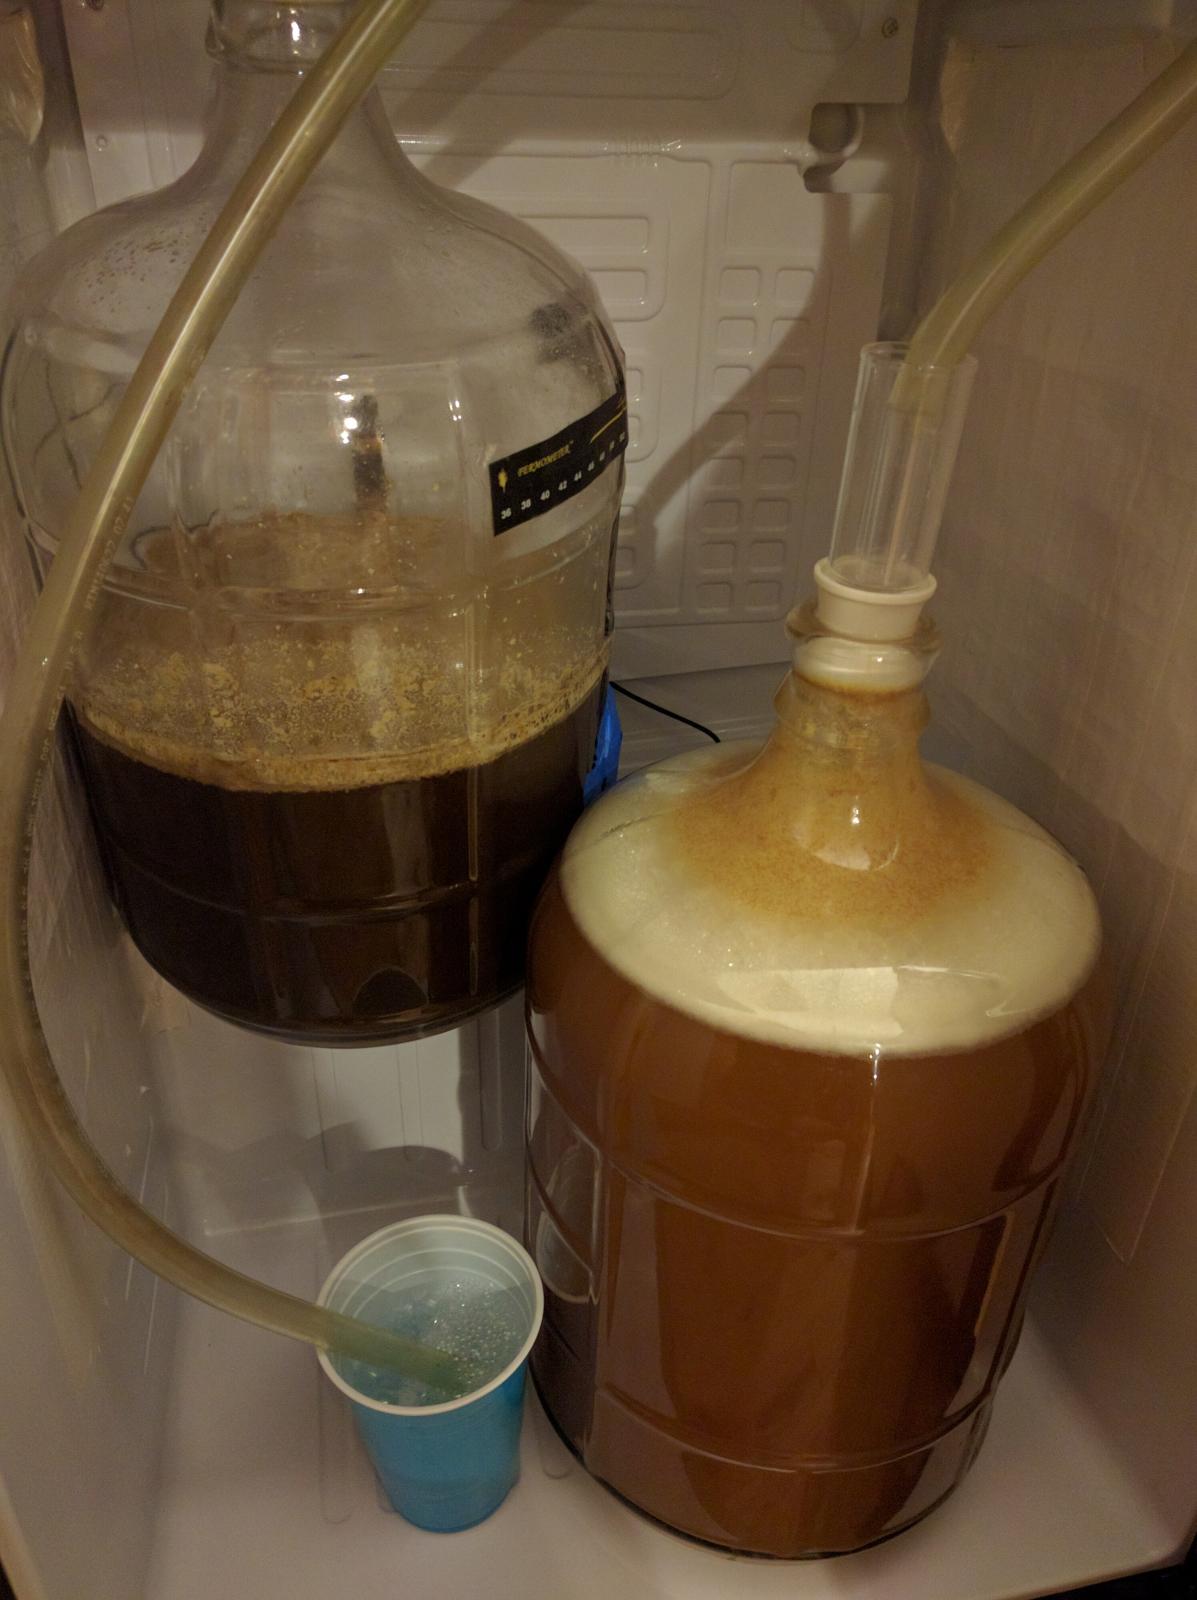
This is my first post, but since Ive gathered so much valuable info here I wanted to post my kegerator build here in case it might help someone planning a similar build. My build had a few variables that I couldnt really find here or anywhere else so hopefully this helps if youre in the same boat.
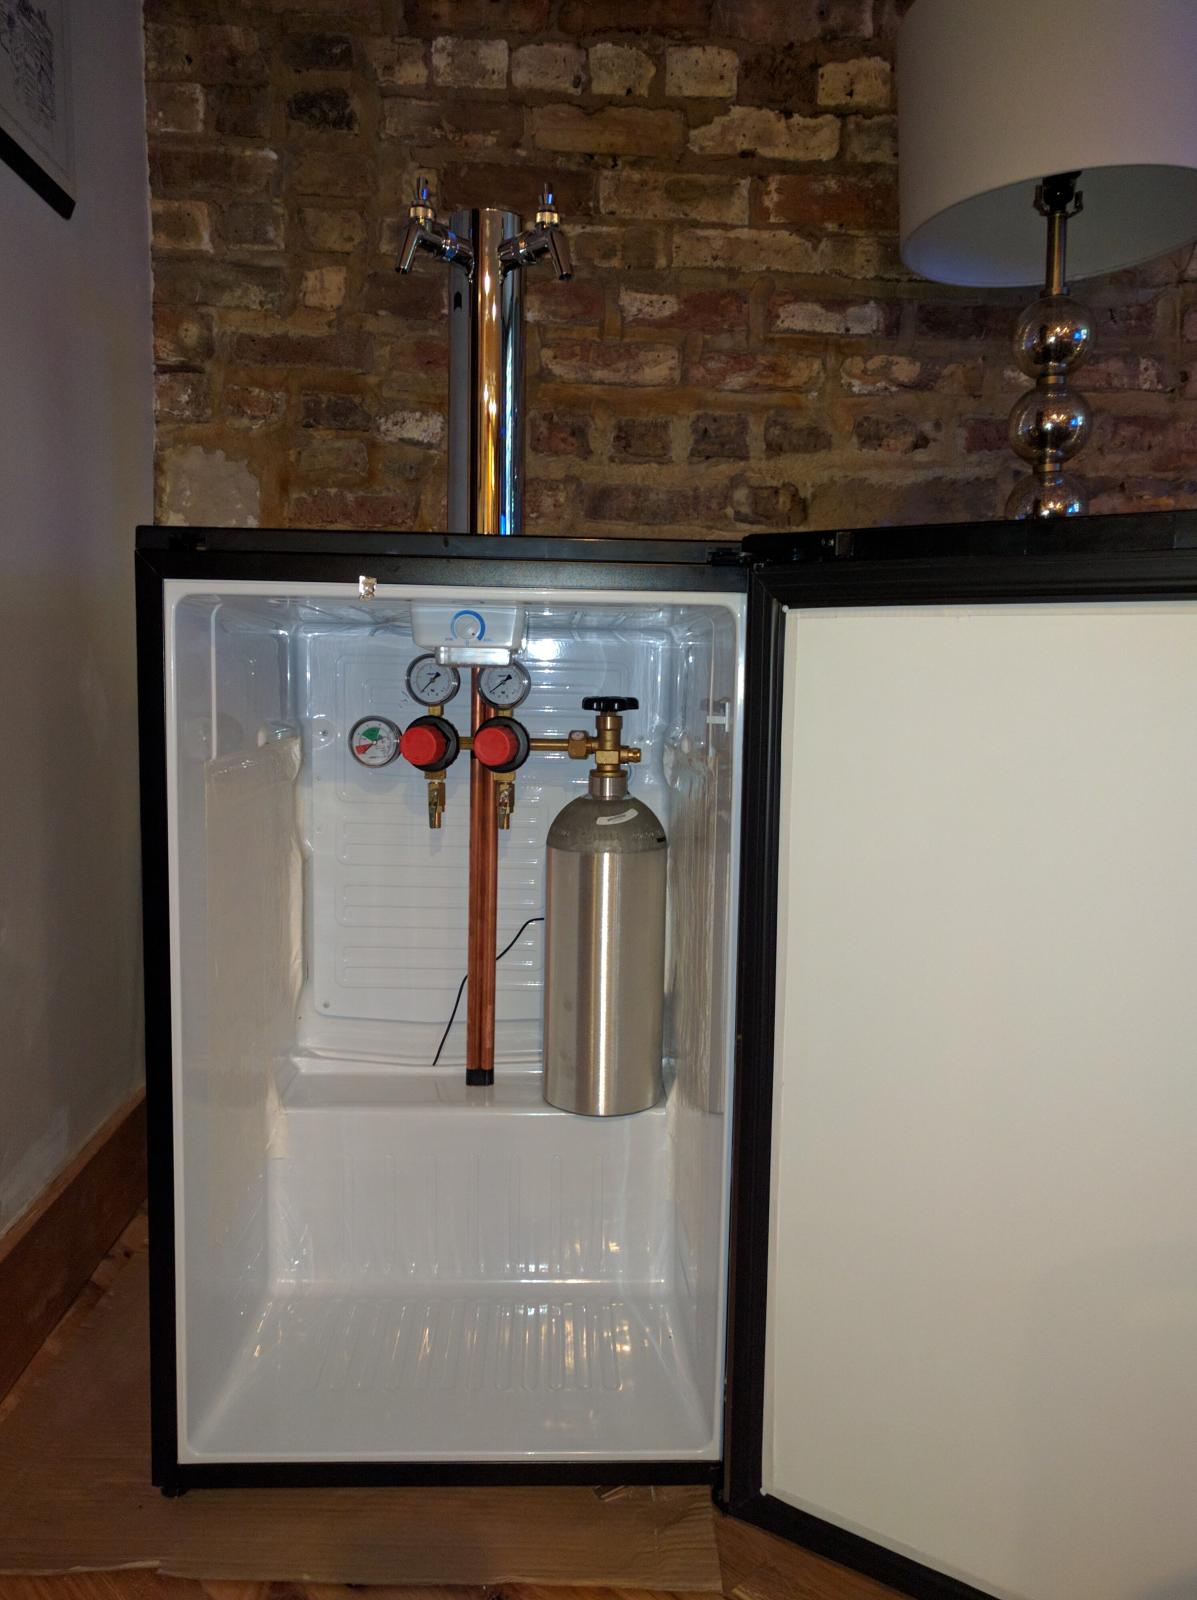
The kegerator was going in my laundry room under a prep table and next to a stacked washer/dryer so due to the space limitations my goals of the build were: (1) smallest footprint kegerator that can hold 1 five gallon corny keg and 1 five gallon (1/6 barrel) sanke commercial keg (2) Taps on the door of the refrigerator (3) CO2 tank inside the refrigerator
Through all my research it looked like the Danby 4.4 cu ft. all refrigerator (no freezer) was a good affordable solution. My local Costco had the DAR044A6BSLDB for $149 which was a newer model than the one in most of the forums, but was ~$70 cheaper. So I gave it a try, and even though I was able to make it work, I found out that this model had a couple challenges that the previous models did not.
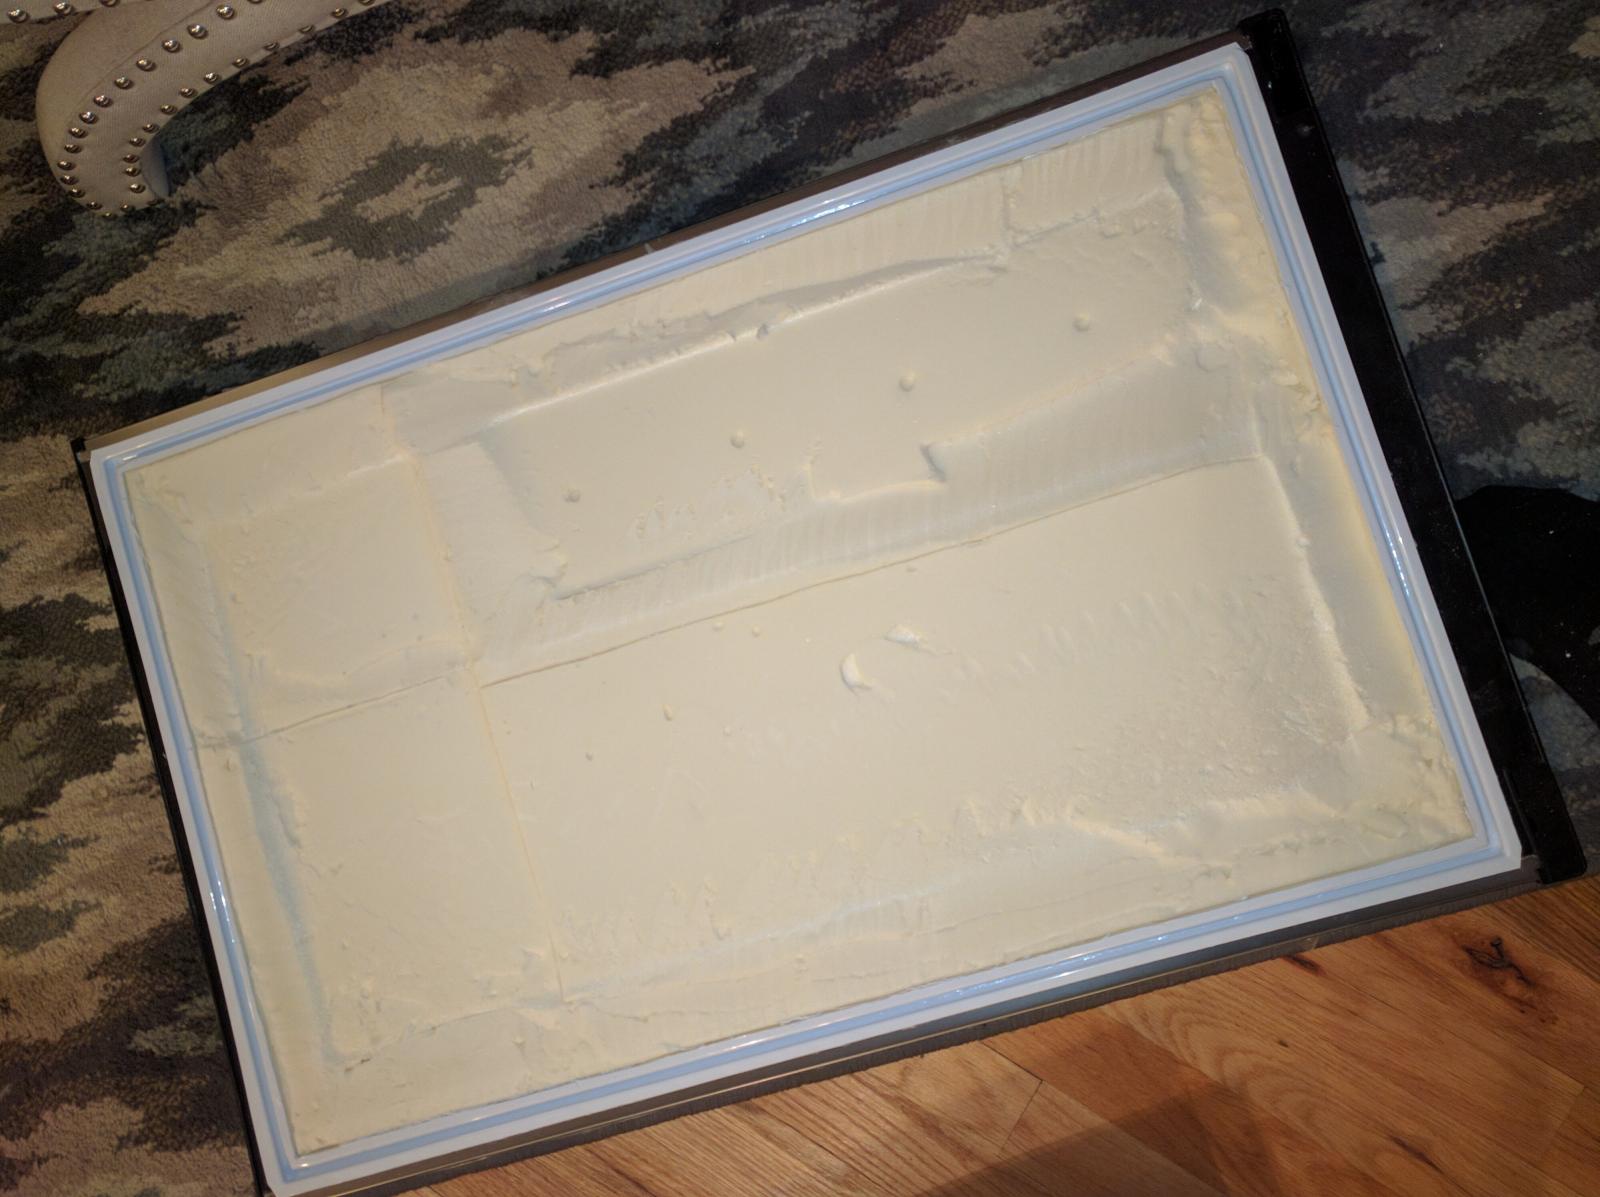
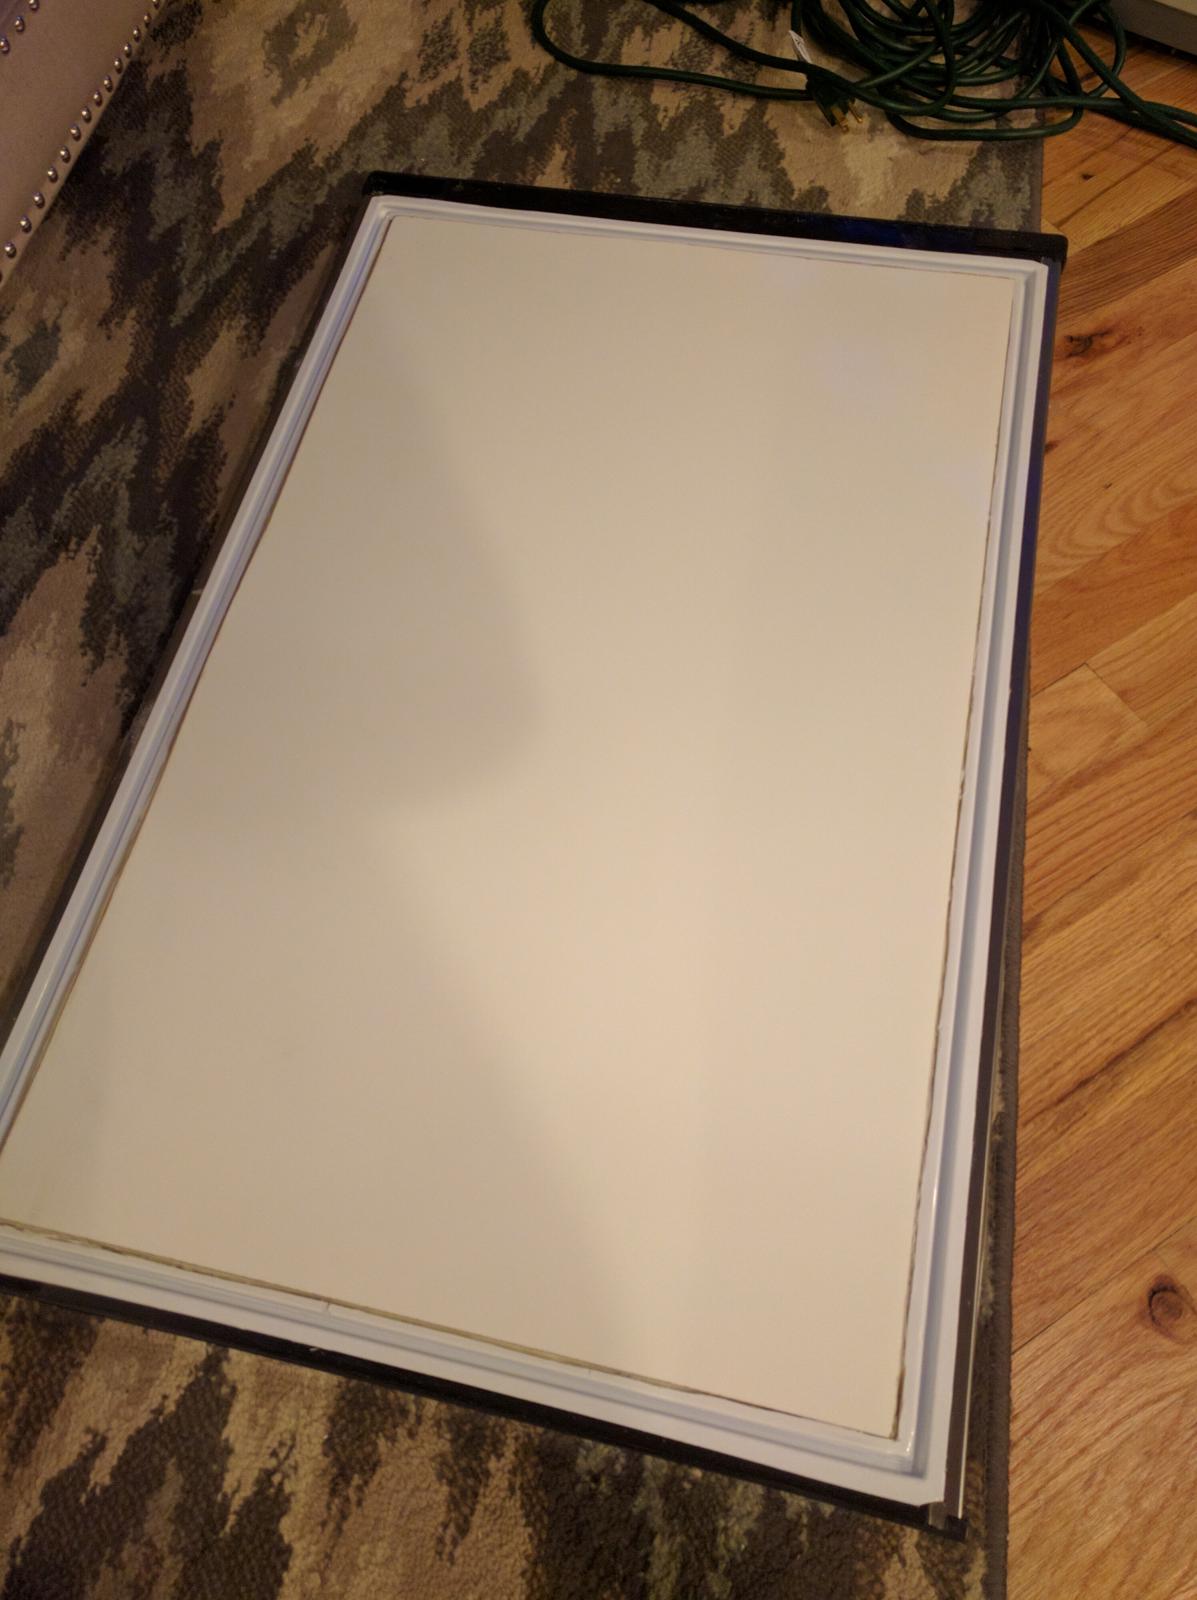
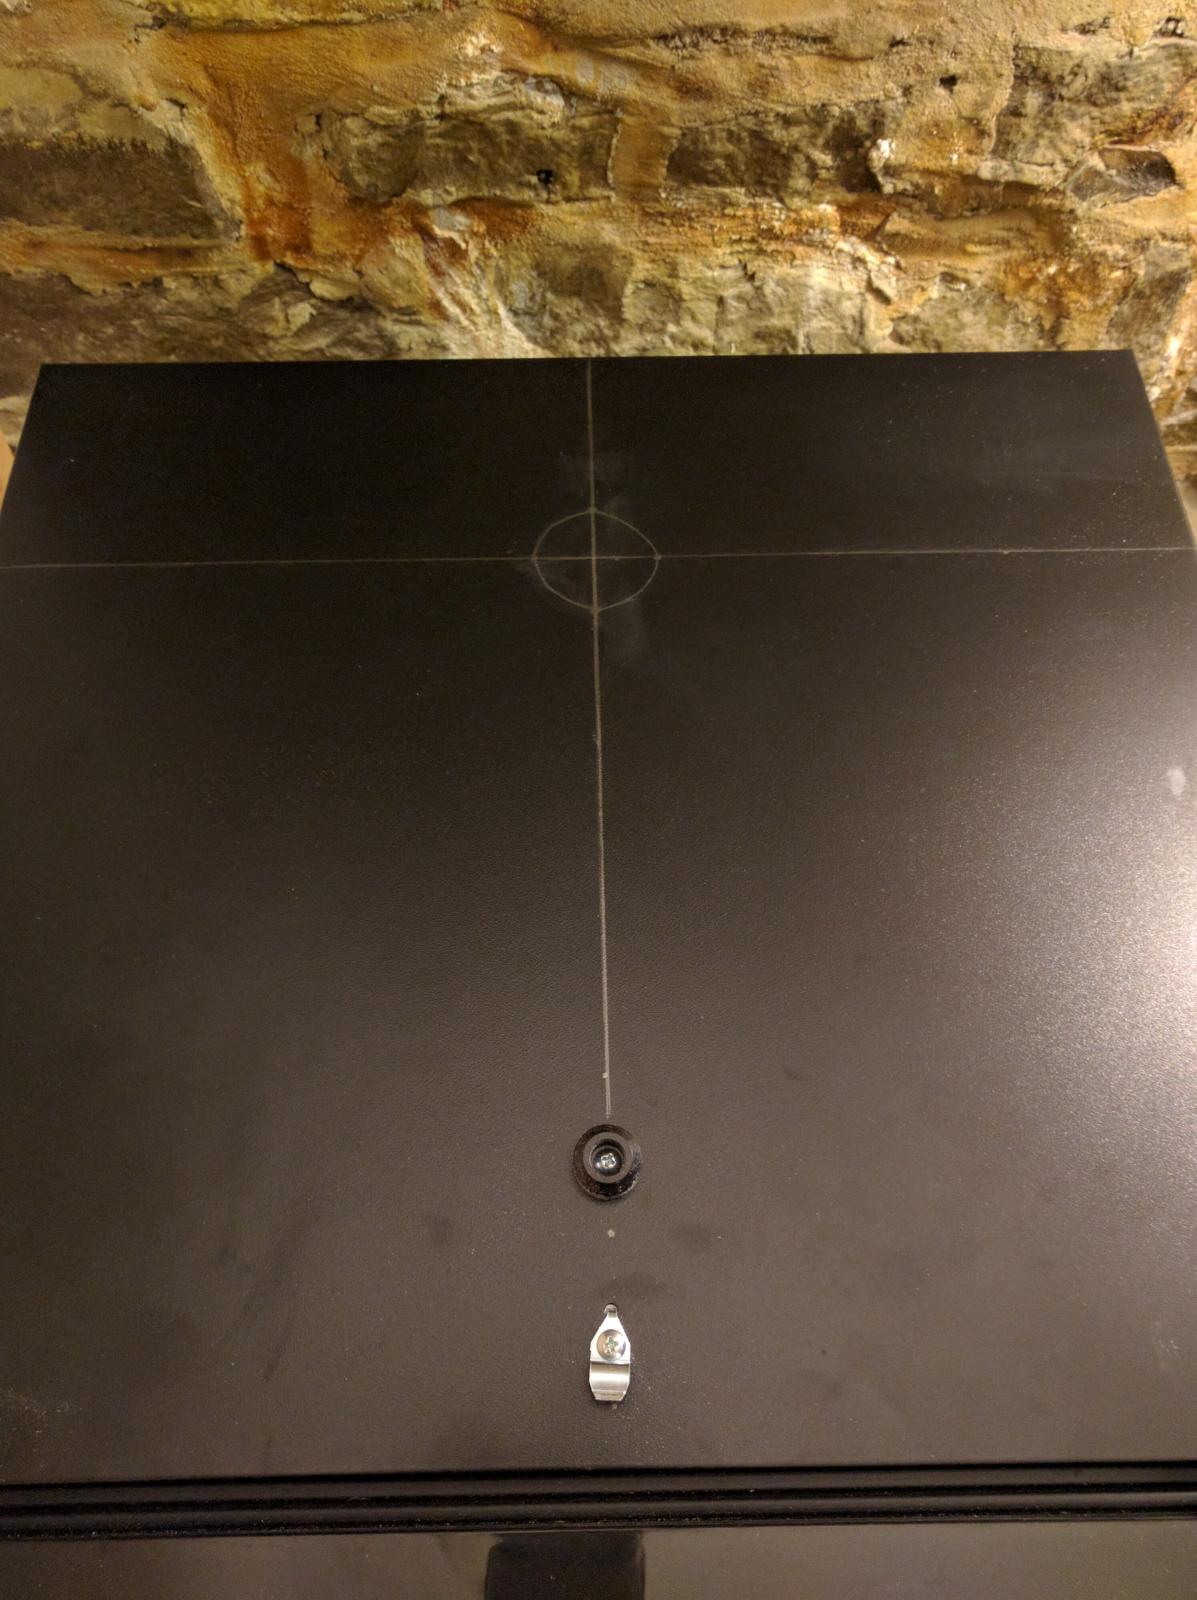
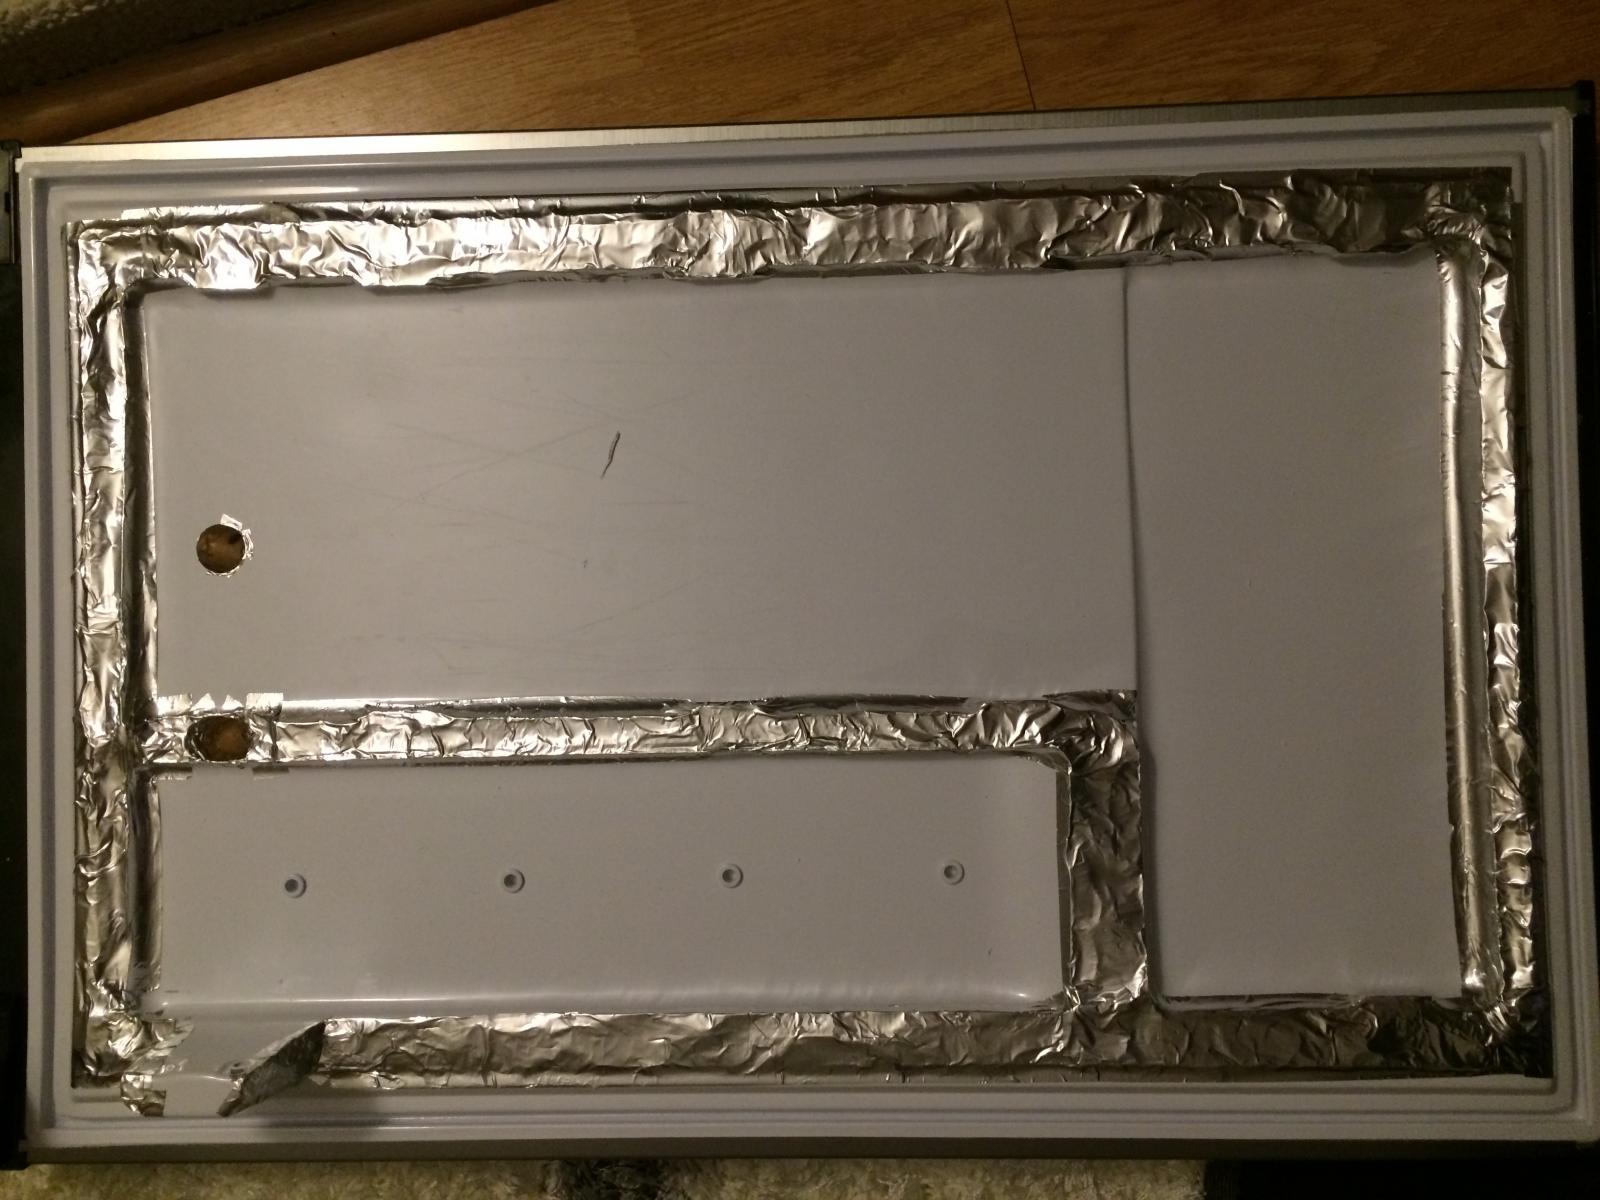
First off, the top of the door has a recessed section that is used as the door handle/pull. This is only an issue if you were planning on putting the taps through the door (as I was). My concern was that if couldnt put the shanks high enough, they would hit the kegs when the door shut. So I installed them just beneath the recessed portion (as high as possible) and decided to order the shortest shanks possible, which turned out to be 3 inch shanks.
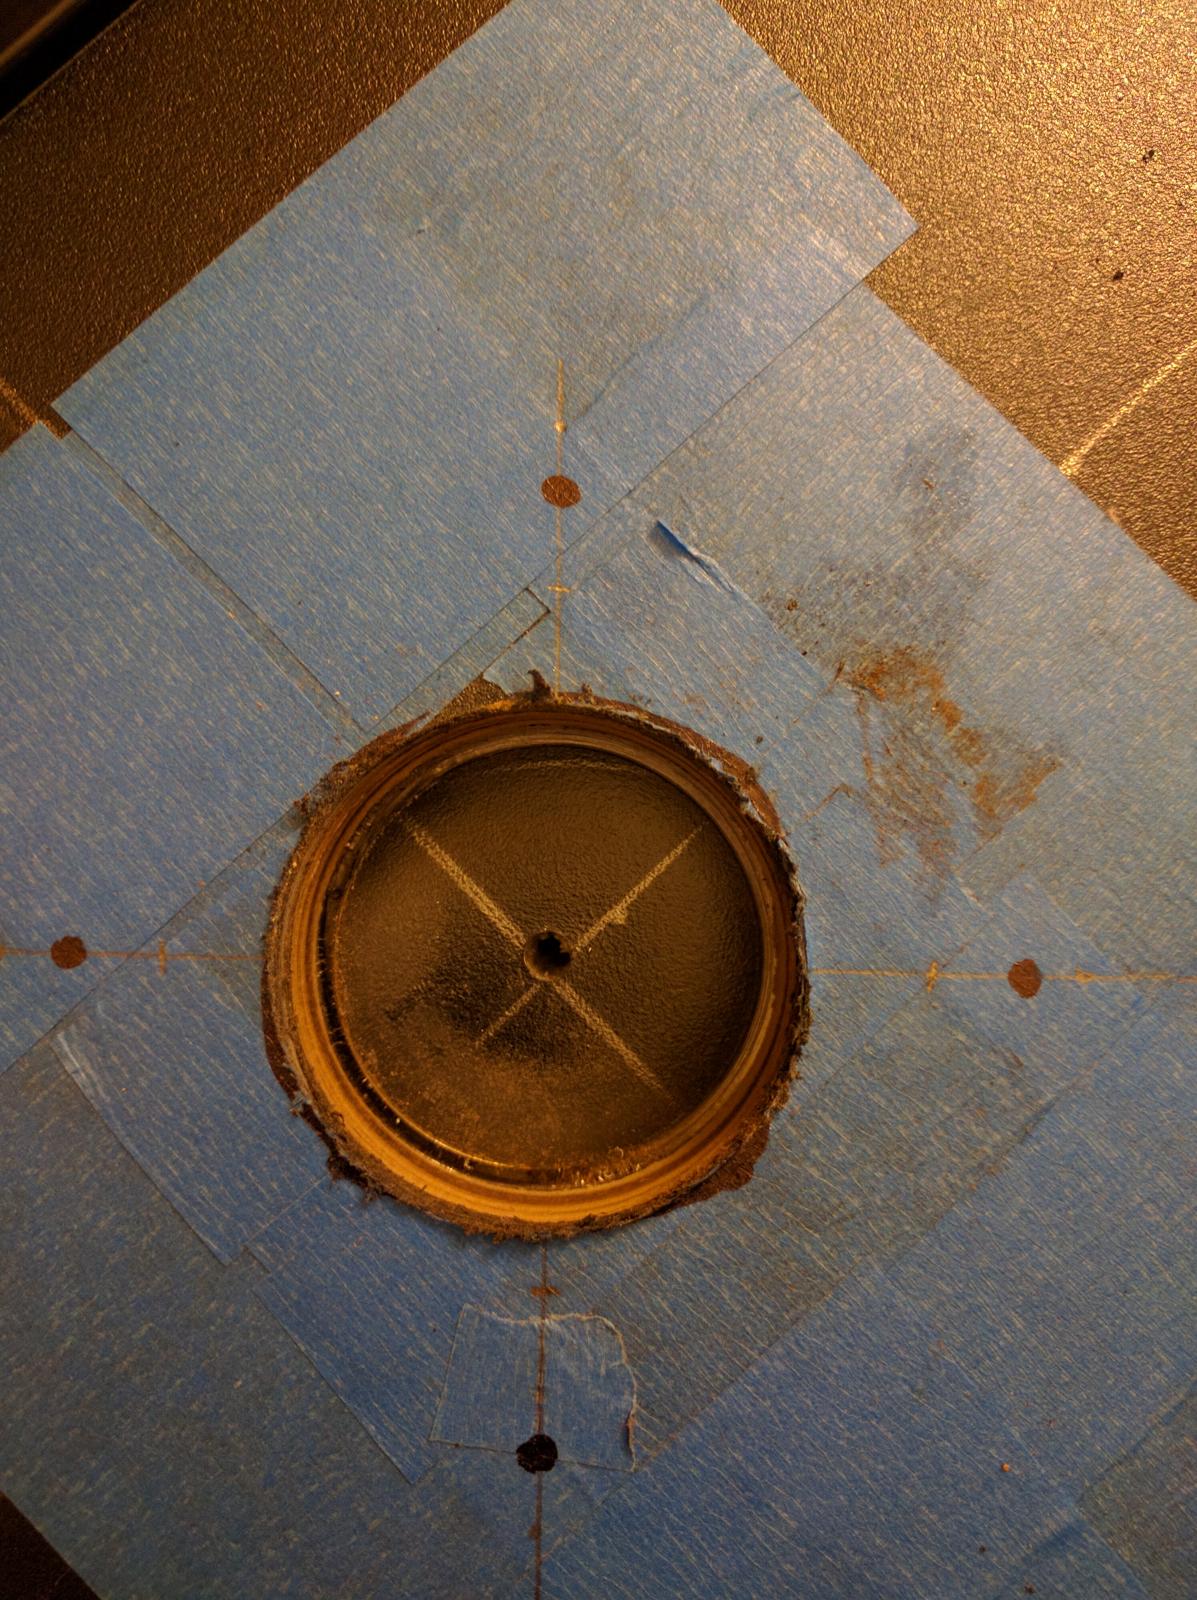
I trimmed the door all the way down with a dremel as mentioned in various other threads, then drilled two 1 holes in the door 4 apart from each other for each shank. Turns out, the 3 shank is too short to install it with the faucet and the collar/flange. The 4 inch shank would have had enough clearance to shut the door, but I decided to keep the 3 inch shanks and install them without the collar instead of returning them.
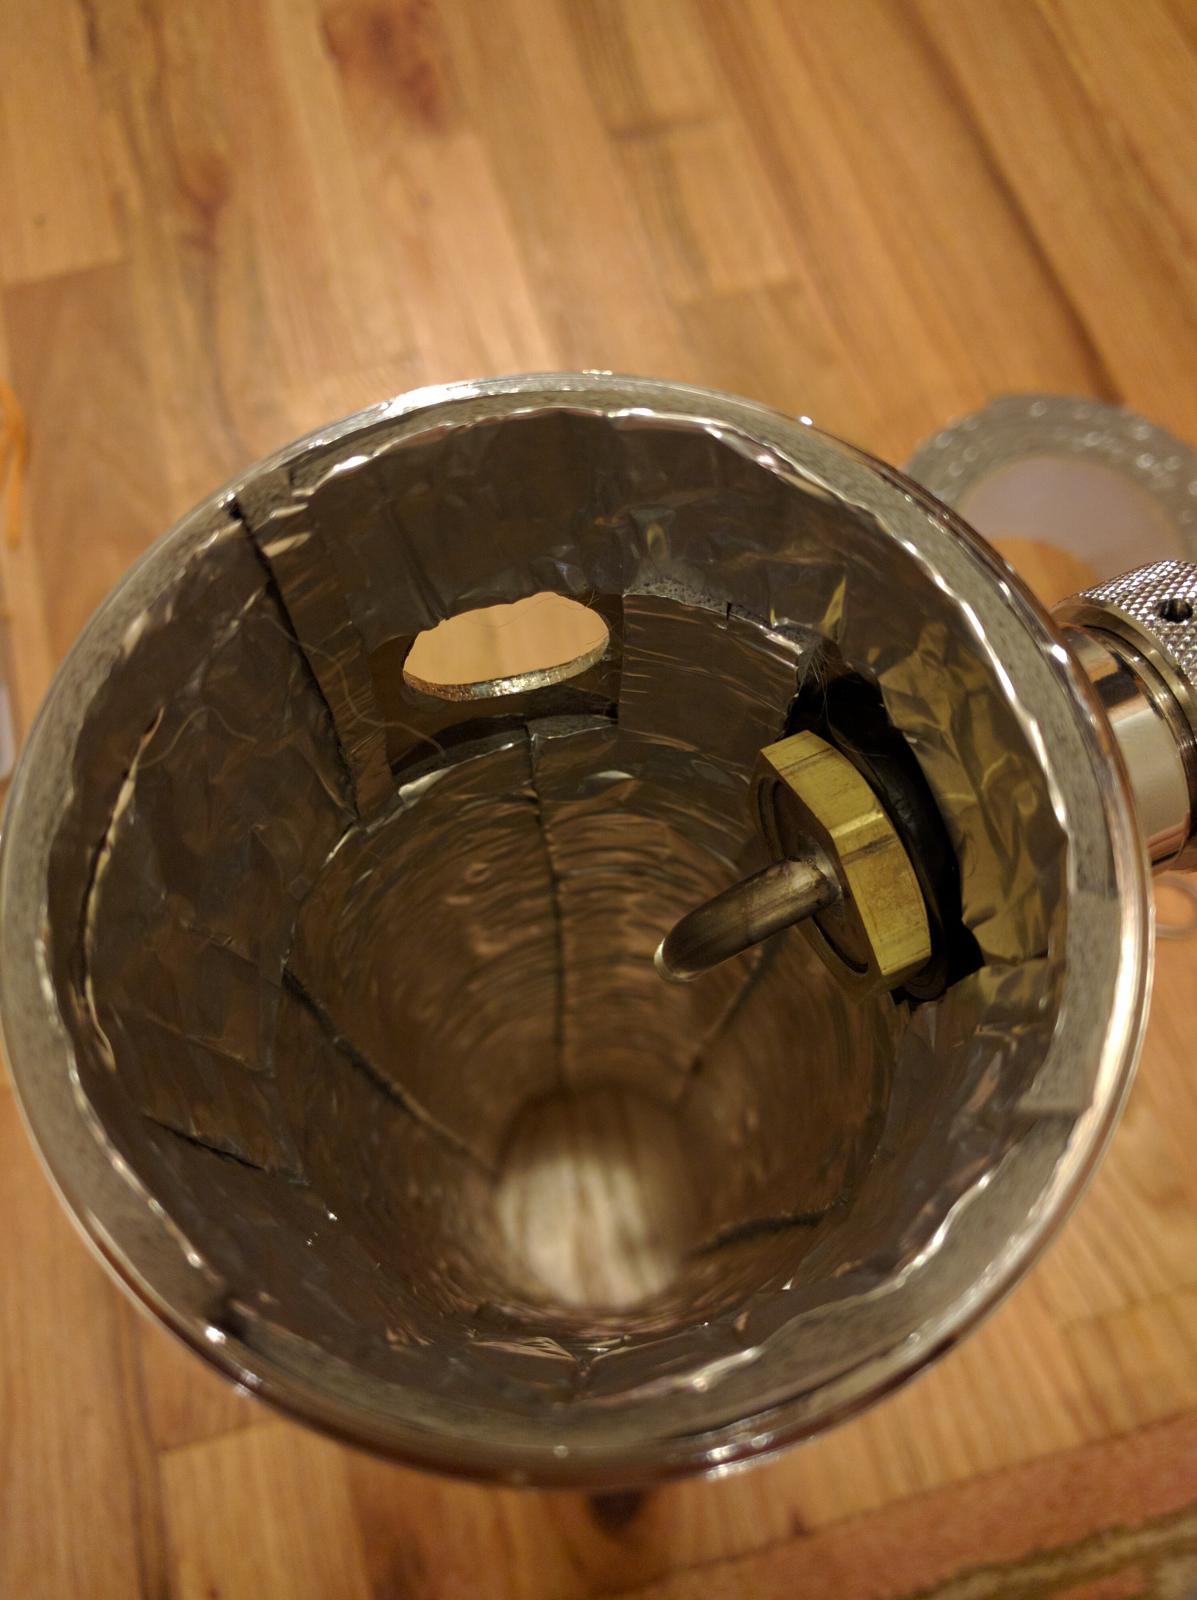
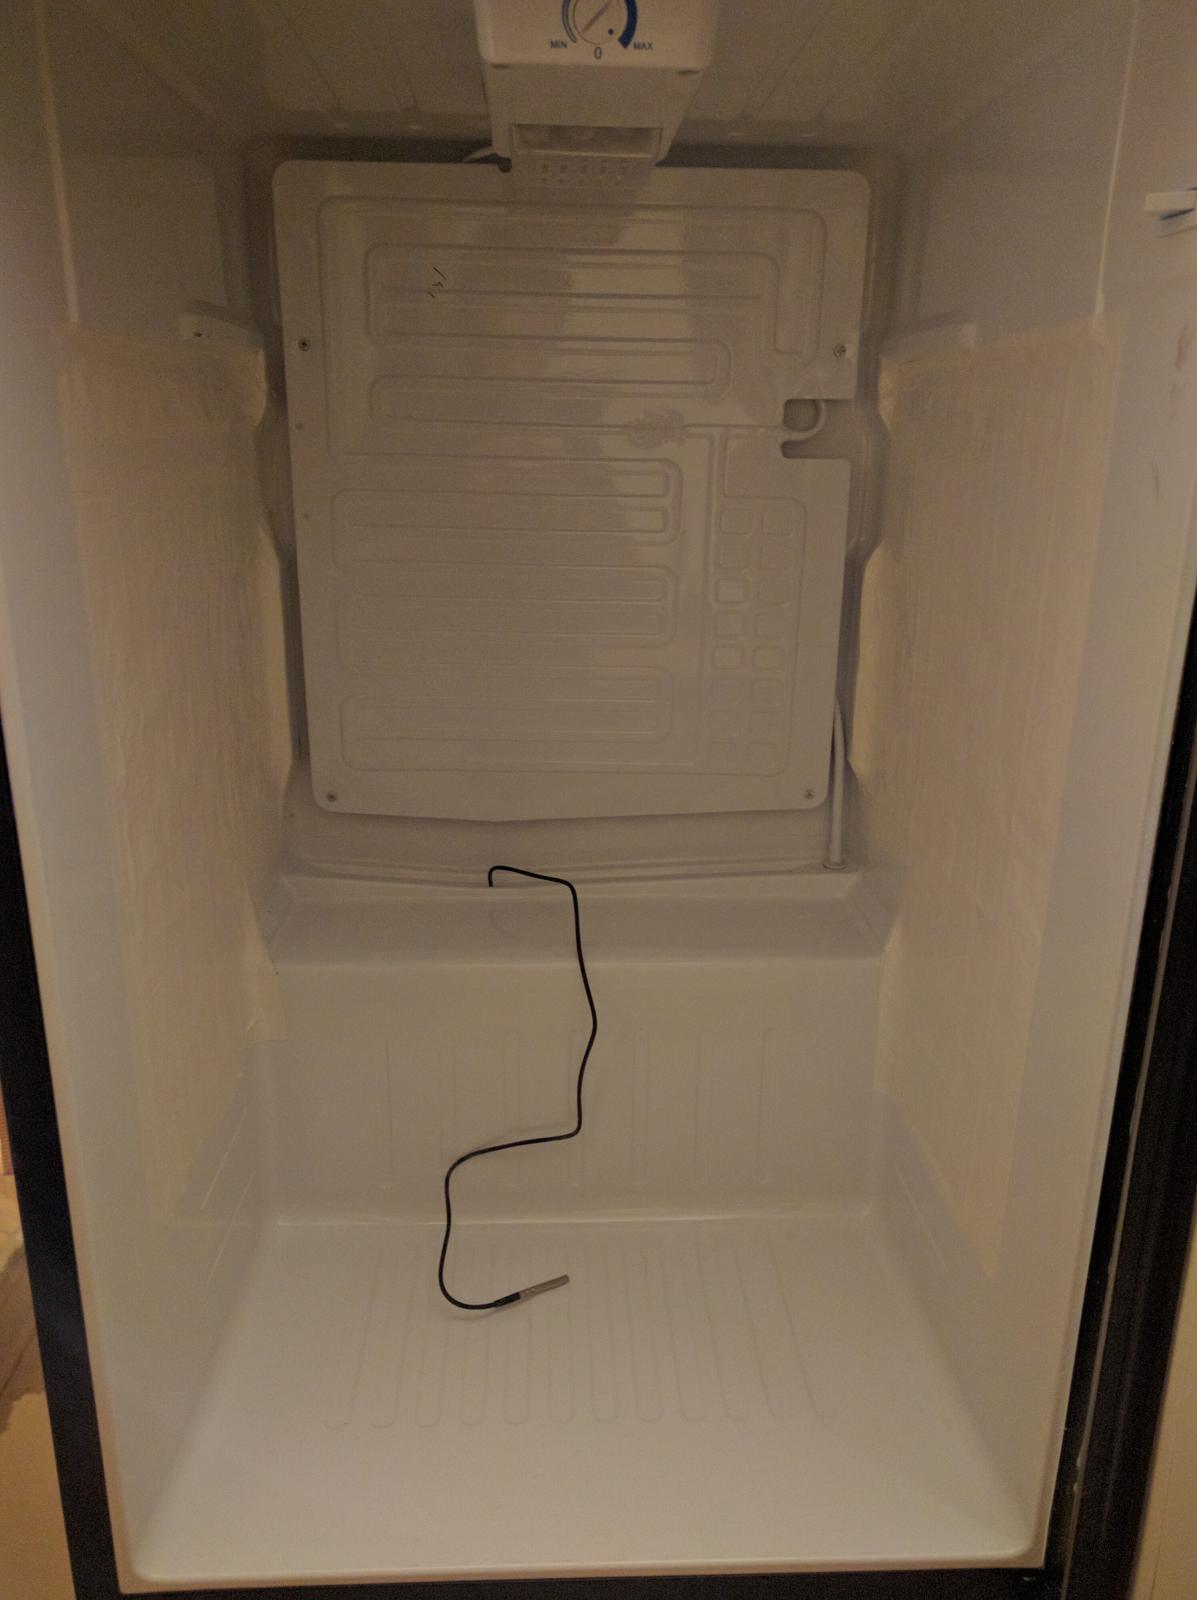
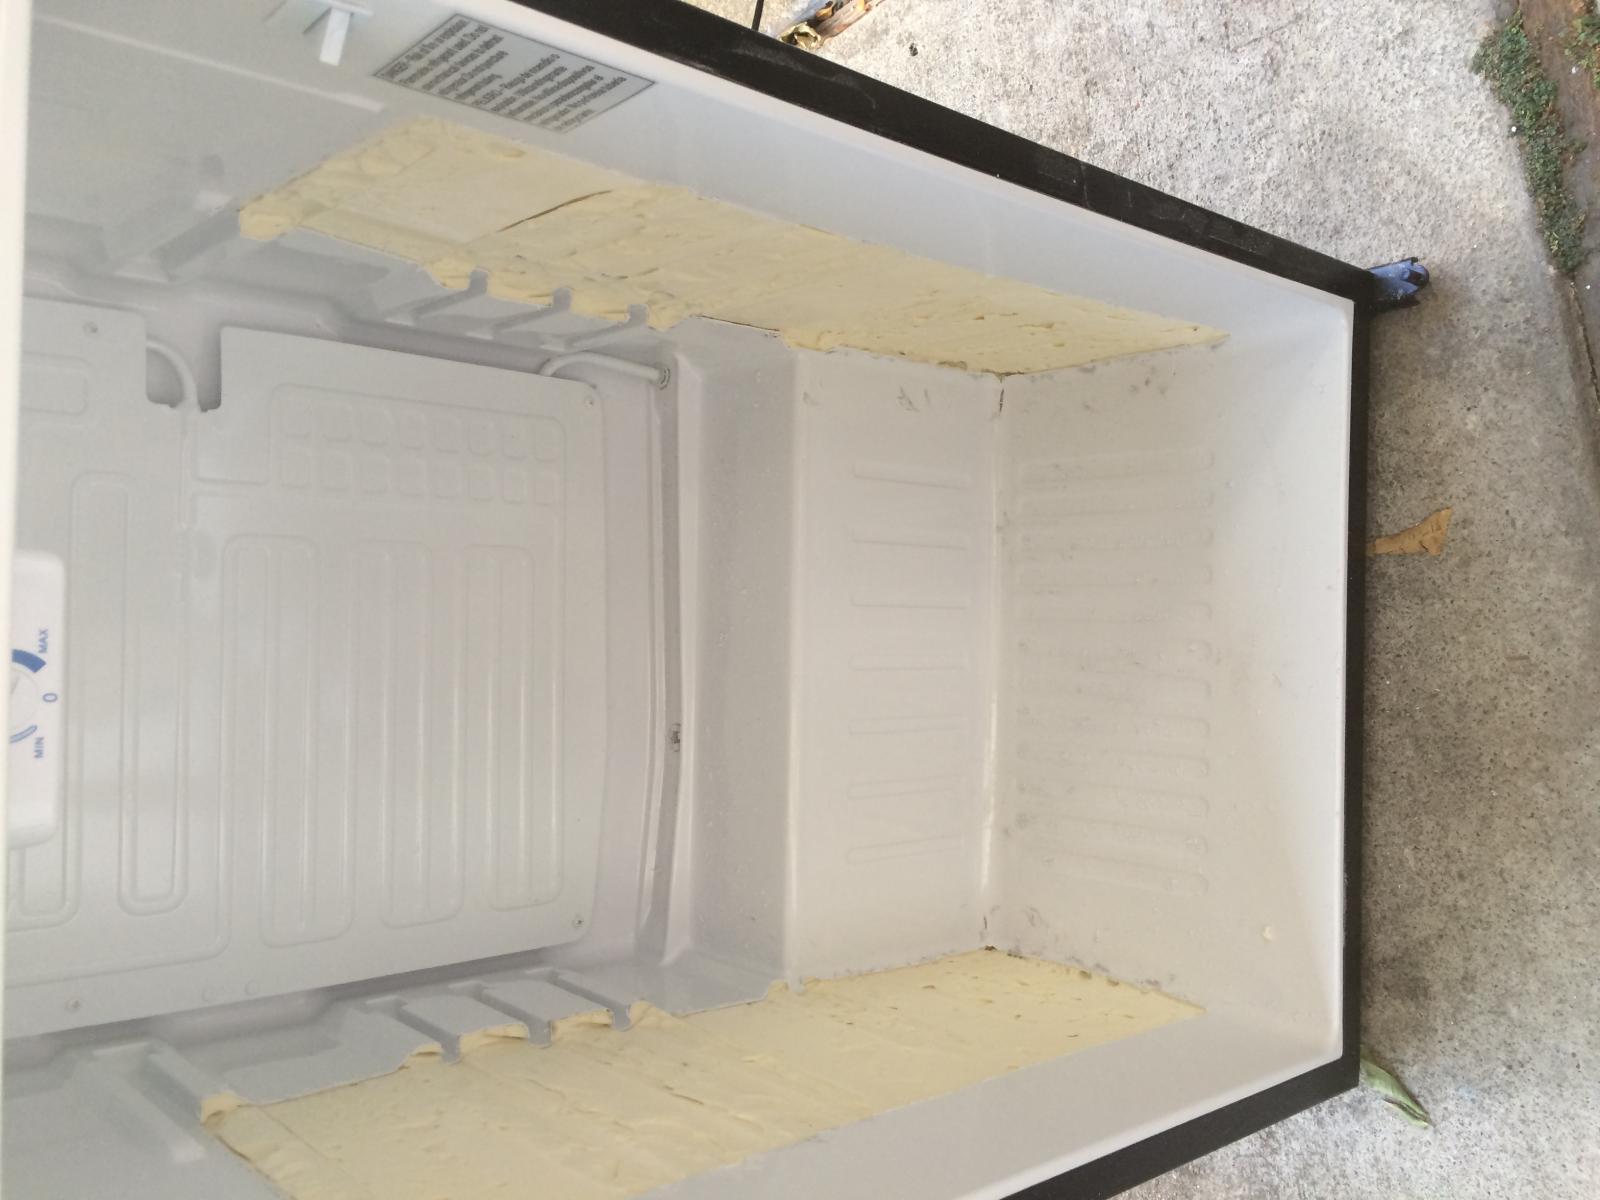
The second issue was the width. Turns out this model is too narrow to accommodate one 5 gallon ball lock corny and one 5 gallon sanke keg (2x5 gallon ball lock cornys fit fine though). It was already too late to return it so I figured Id see what I could do. I decided to shave the shelf supports off with the dremel to see if that would make it work, but it was still too narrow. So I ended up taking the entire plastic sidewall off on both sides for the entire width and height of the kegs. Note: there are wires running up the right side in the insulation. Do not cut too deep or you could cut the wires. I assume theyre either for the door switch or the light itself but I dont know for sure. Then I sealed it all up with aluminum tape. This did the trick, and Im now able to fit one ball lock corny, one 5 gallon sanke, and my 5 pound CO2 tank inside the fridge.
Ive had it running for about 3 months now and have gone through 3 kegs. All in all Im happy with how it turned out, but it was much more involved than I thought it was going to be. Here are some pics of the build. If you have questions about specifics, part numbers, etc. Id be happy to share. Without the info that Ive found here I would never have tackled a project like this, so thanks to everyone who takes time to share their knowledge and experience.


