radwizard
Well-Known Member
- Joined
- Oct 7, 2015
- Messages
- 725
- Reaction score
- 325
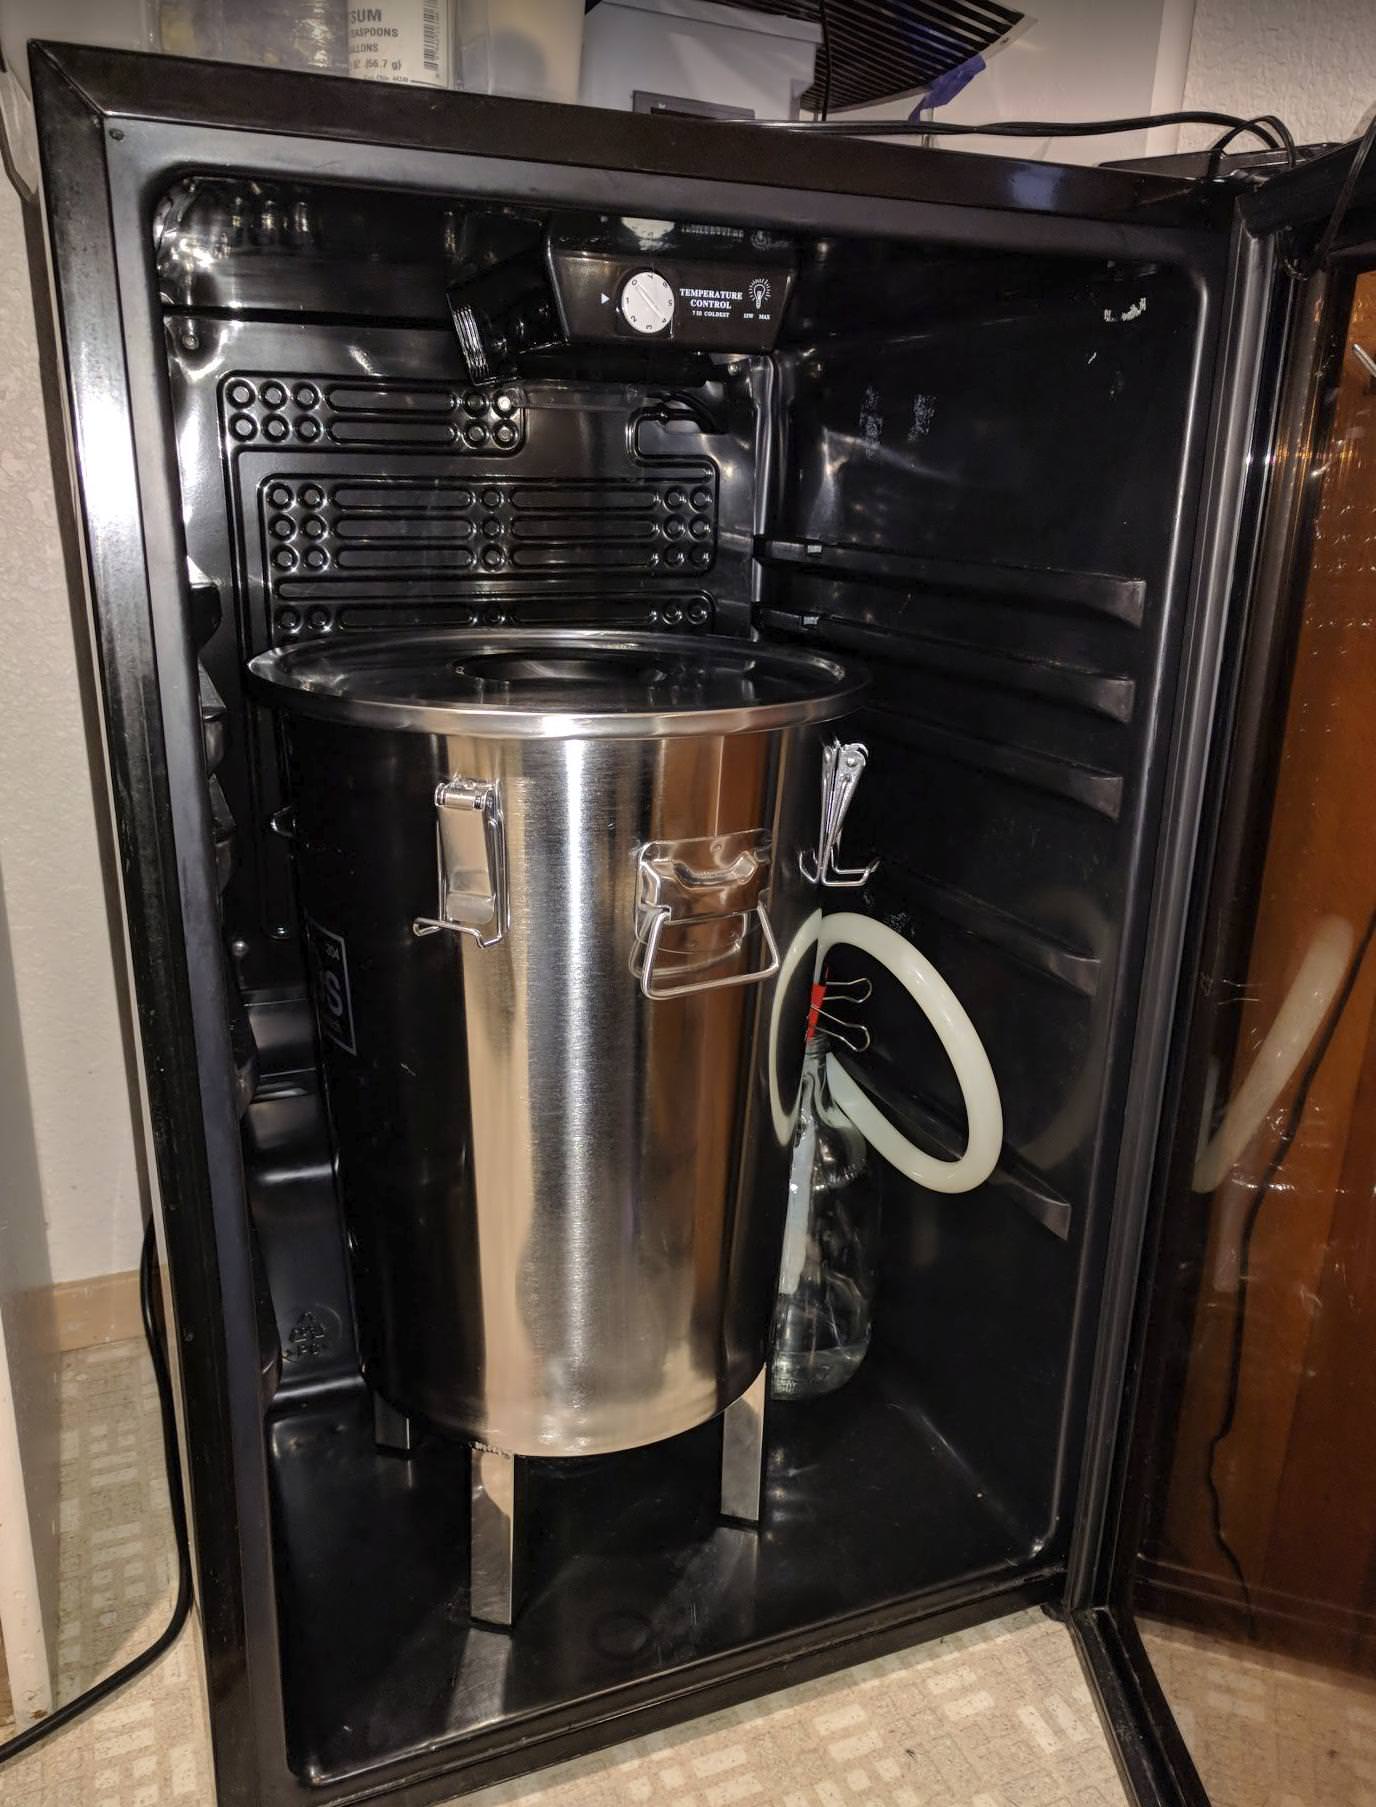
Thank you for the replies. I transfered another beer today and think I solved my co2 woes...
I think my biggest problem was following the gauge of the regulator, which is not very accurate at these low levels. I also adjusted my clamps a little tighter.
My co2 gauge starts at 4 psi and then goes up every 2 psi. I always put the needle half way between 0 and 4. Today I just turned it up until I heard gas, and saw the beer flowing. I then checked the needle, which was actually resting on zero. The transfer went well. I am not gonna rely on the gauge anymore and be more conservative with the gas.