Bottom Drain Keggle RIMS

Homebrew Talk - Beer, Wine, Mead, & Cider Brewing Discussion Forum

Help Support Homebrew Talk - Beer, Wine, Mead, & Cider Brewing Discussion Forum:

This site may earn a commission from merchant affiliate links, including eBay, Amazon, and others.

Hamaki

Well-Known Member
Joined
Jul 25, 2013
Messages
772
Reaction score
340
Location
Sierra Nevada foothills
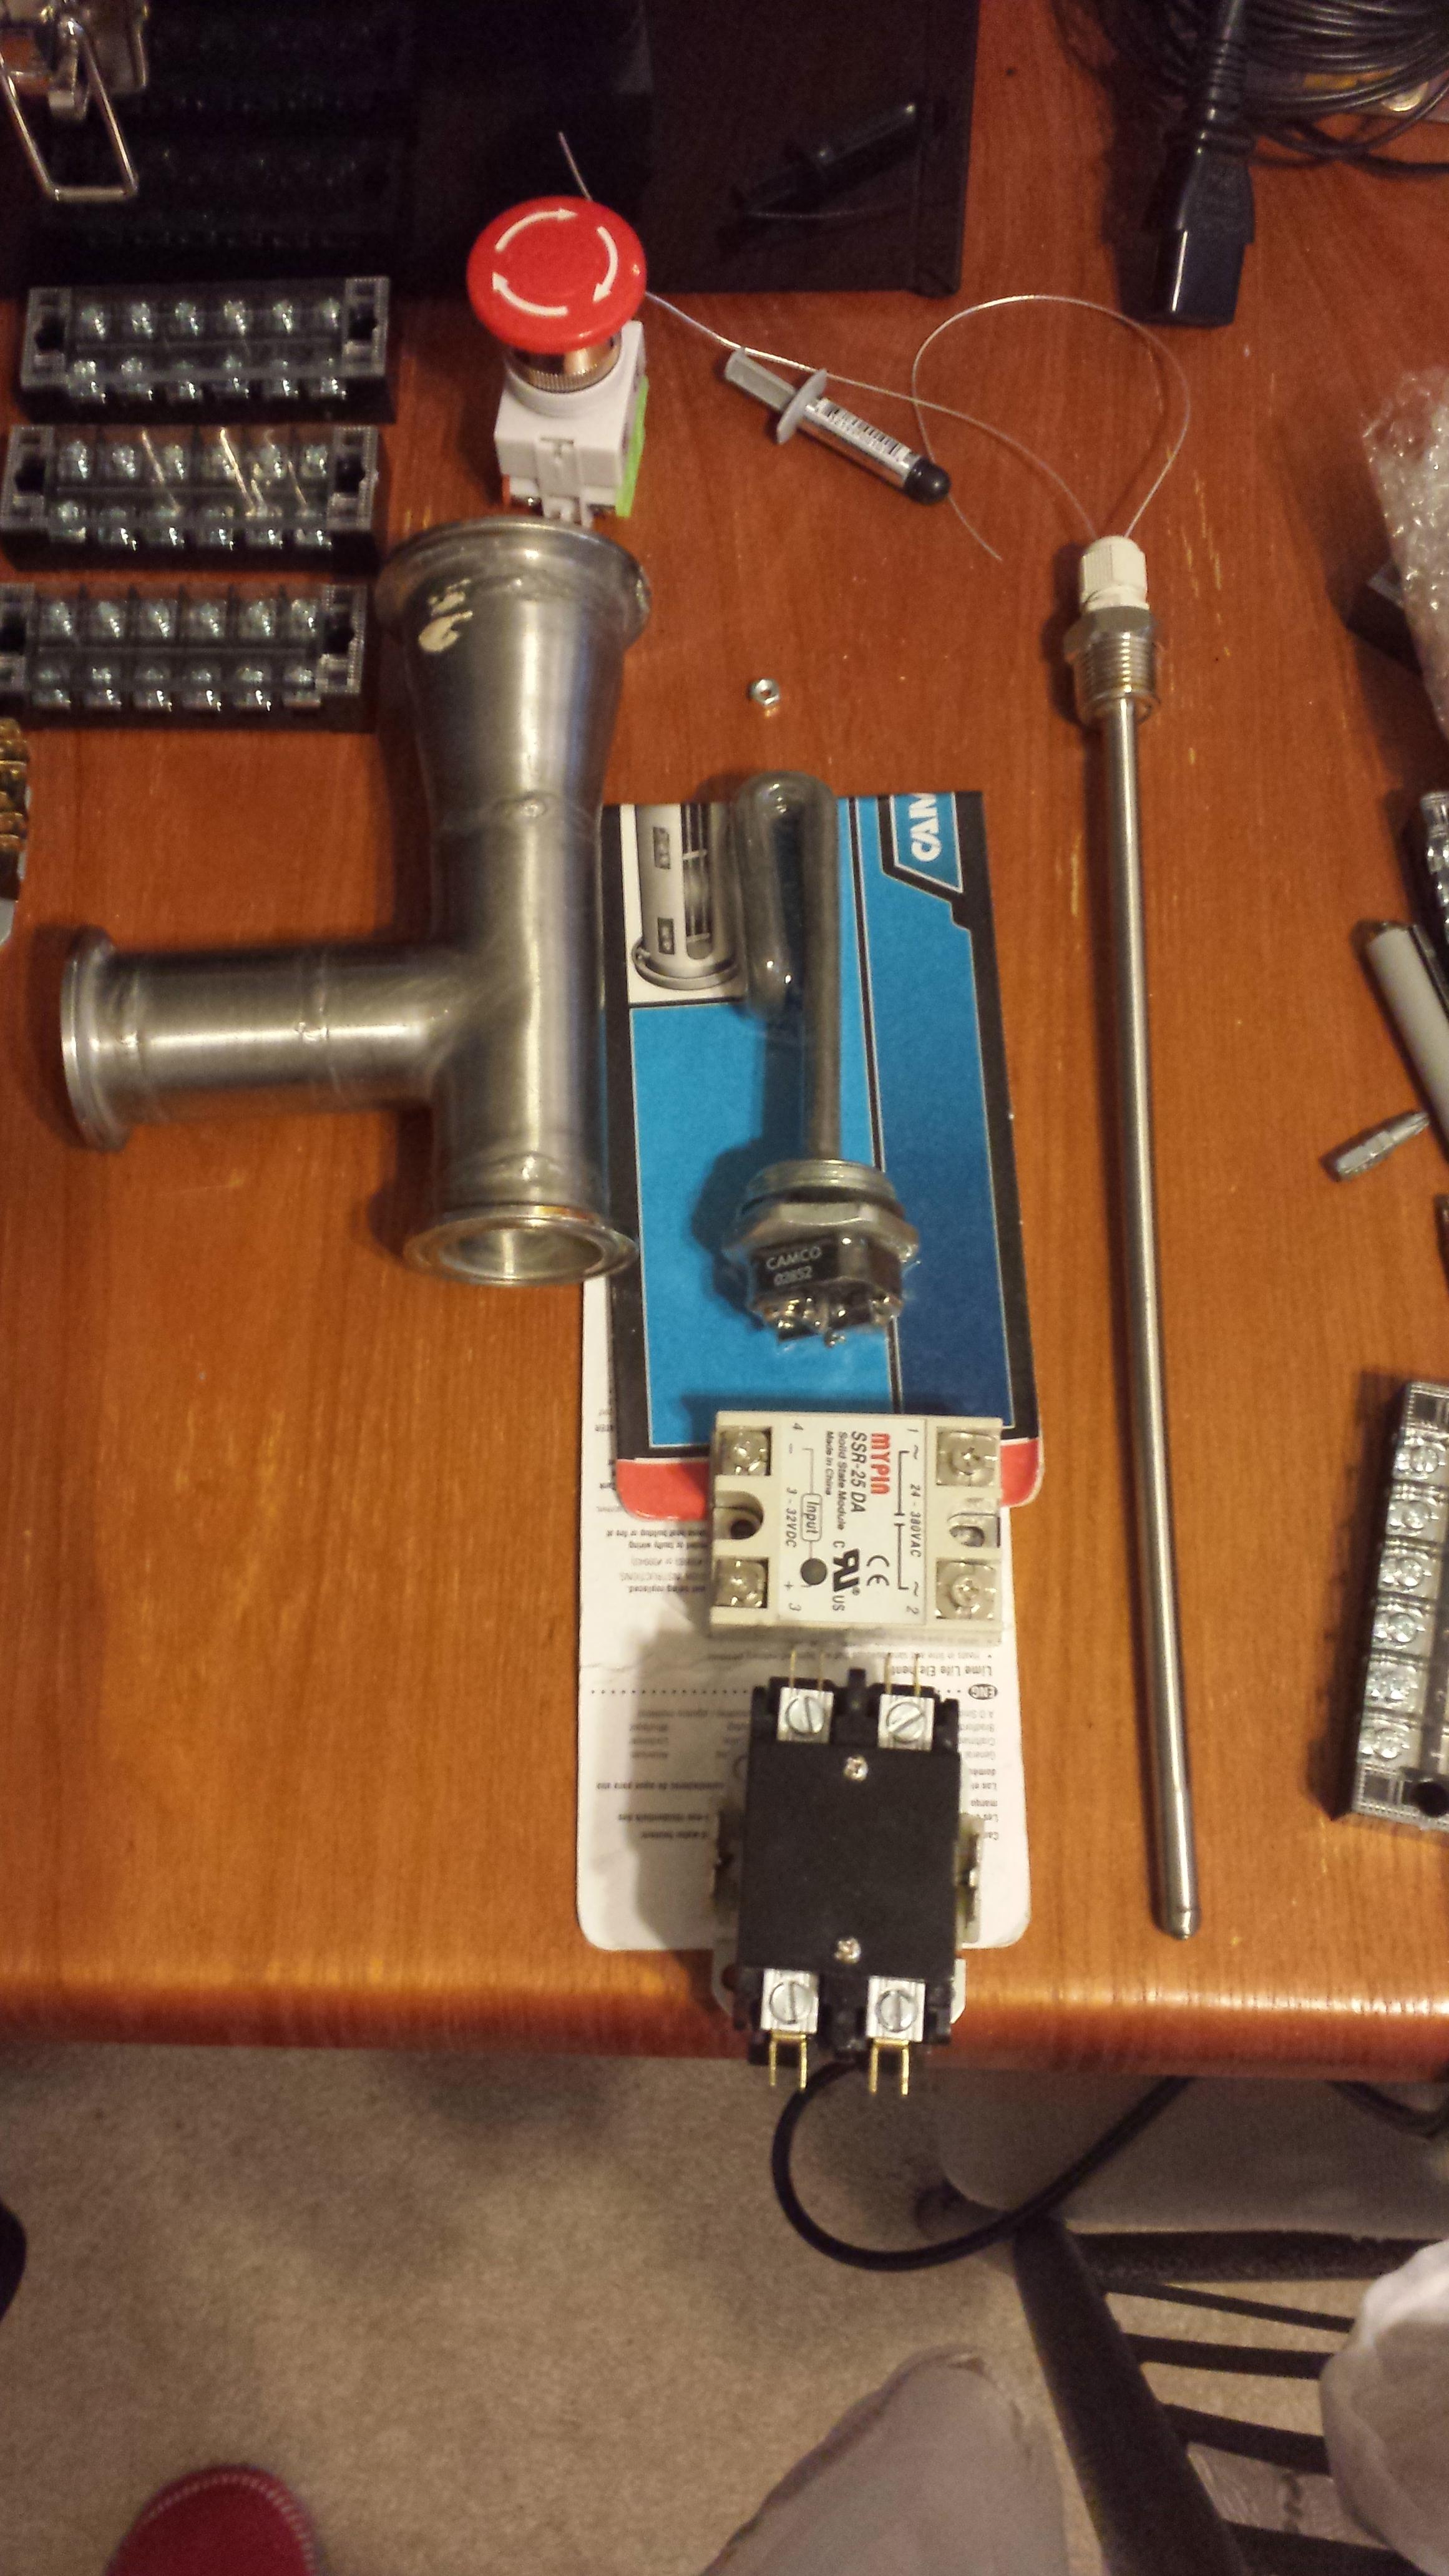
I've looked around a bit but have not found a RIMS tube attached via a 2" TC fitting directly to the outlet of a bottom draining keggle MLT. I think less tubing would mean less heat loss. A light weight 12V pump could connect directly to the RIMS outlet with a relatively short run of discharge tubing back the MLT. Anyone tried this or seen anything similar?
 
Im planning to do just this; I have some of the parts already including a sanitary tee I grabbed cheap off of ebay. The only down side I could see is flower/crushed grain coming durectly down onto the element. This could be avoided by recirculating for a bit before turning the rims element on.
I have also thought about this allowing me to reverse recirculate, however I would need a way to hold down my false bottom and a screen at the top.

But I say join me on this quest since I too have not seen this done in my few years of lurking on HBT

Sounds like you're farther along than I am. Update with any progress, would you?

My "Barney" Brewstand uses an insulated bottom-drain mash tun taht connects via a chugger pump to my Brewer's Hardware 1.5" Tri-clover RIMS.

It's not a direct connection, but it works well, and heat loss seems to be minimal.

I read your threads with interest, part of where the idea came from. Thanks for documenting!
 
Somewhere I read an article that showed that there is far more heat loss through the top of an uncovered brew pot than through the sides and bottom. It might have been on homebrewtalk or it might have been a link from here to another forum, I don't remember.

The article showed with numbers that you lose a lot more heat heat from escaping heat and steam from an open brew pot than through the sides. I tried bringing my wort to boil with the lid on and the lid off and sure enough there was quite a difference in time and from then on I keep the lid on everything as much as possible. I dropped my propane usage by at least 20%. Now I'm switching to electric and I can't wait!

With heat loss everywhere else I suspect the connection to your RIMS tube doesn't matter much. I plan to continue mashing in a cooler and maybe sometimes after Christmas I can order a RIMS tube and plugging it into my cooler mash tun.
 
jimmayhugh's write up illustrates a well insulated keggle MLT lid; an idea I'm planning to copy. No lid for me on the BK, thanks.

The Glacier Tanks RIMS tube looks similar to the Brewer's Hardware unit, which also comes in a 2" size. The 1 1/2" RIMS would need a 2" - 1 1/2" concentric reducer to connect directly to the keg.
 
Somewhere I read an article that showed that there is far more heat loss through the top of an uncovered brew pot than through the sides and bottom. It might have been on homebrewtalk or it might have been a link from here to another forum, I don't remember.

The article showed with numbers that you lose a lot more heat heat from escaping heat and steam from an open brew pot than through the sides. I tried bringing my wort to boil with the lid on and the lid off and sure enough there was quite a difference in time and from then on I keep the lid on everything as much as possible. I dropped my propane usage by at least 20%. Now I'm switching to electric and I can't wait!

With heat loss everywhere else I suspect the connection to your RIMS tube doesn't matter much. I plan to continue mashing in a cooler and maybe sometimes after Christmas I can order a RIMS tube and plugging it into my cooler mash tun.

A lid on the brew kettle is not recommended, based on what I've read. Leaving the brew kettle open to the sky allows DMS to boil off, reducing the chances of a "creamed-corn" flavor in your finished product.
 
A lid on the brew kettle is not recommended, based on what I've read. Leaving the brew kettle open to the sky allows DMS to boil off, reducing the chances of a "creamed-corn" flavor in your finished product.

I don't leave the lid on once boil starts, I leave the lid on until I reach boil.
 
I don't leave the lid on once boil starts, I leave the lid on until I reach boil.

And you save 20% on propane doing this? That's fantastic. When I was doing propane I was always at the mercy of the wind. I think I easily burned 20 or 25% more propane on windy days than calm.
 
And you save 20% on propane doing this? That's fantastic. When I was doing propane I was always at the mercy of the wind. I think I easily burned 20 or 25% more propane on windy days than calm.

I learned real quick that wind will pull away heat fast, so will light rain and brewing when it's really cold outside. I have enough free time that I I'm not stuck brewing only on Saturday or Sunday and I have a lot of flexibility. I never have to brew in the wind!

I used to not bother covering my pot when heating strike water, sparge water or during boil. I have a thermometer with a probe on the end of a long wire that I drop into my strike & sparge water tank then I use the same probe in my boil kettle. I leave the lid on the strike and sparge water until it's the right temperature. I leave the lid on my brew kettle until I reach 200F.

My thermometer is a Taylor model 9920 and I bought mine a long time ago. They are still available on Amazon.
http://www.amazon.com/dp/B001VXZVNG/?tag= taylorusacom-20
 
One word of caution.... You prob haven't seen a direct connection because pumping into the RIMS is a much less risky proposition than "sucking" liquid through the mash, then RIMS, to the pump. Having the pump after the RIMS you risk compacting your grain bed, stuck sparge, burning up your RIMS Element, scorching the wort... Those are just the biggest things.

Will these things definitely happen? No. Can they be avoided? Yes. But all it takes is a little oversight to cause trouble. Efficient system design tries to negate variables such as these, because the reality is that even with constant vigilance, we brewers are doing multiple things while brewing a not just watching the pot for 60-99 minutes.

Just something to consider.

:mug:
 
The sucking aspect is one of the main reasons I asked if it has been tried. Not worried about dry firing - I should be able to see that water has made it through the RIMS & primed the pump. If the mash sticks I can see scorching happening really easy. Was wondering if this layout would be any more prone to stuck mash than sucking from the MLT (or a grant) & to the RIMS. I could connect the pump directly to the bottom drain with the RIMS after but somehow that doesn't appeal to me as much.
 
One word of caution.... You prob haven't seen a direct connection because pumping into the RIMS is a much less risky proposition than "sucking" liquid through the mash, then RIMS, to the pump. Having the pump after the RIMS you risk compacting your grain bed, stuck sparge, burning up your RIMS Element, scorching the wort... Those are just the biggest things.

Will these things definitely happen? No. Can they be avoided? Yes. But all it takes is a little oversight to cause trouble. Efficient system design tries to negate variables such as these, because the reality is that even with constant vigilance, we brewers are doing multiple things while brewing a not just watching the pot for 60-99 minutes.

Just something to consider.

:mug:

I agree there is a lot of potential for things to go wrong, but I feel as long as the flow characteristics of the false bottom are good then the risk of compaction, stuck sparges, and scorching wort is pretty much the same as any other RIMS. I don't think I am ever going to be running my pump at full blast which I would think would be a bigger factor.
What spurred my messing with this design was grabbing this reducer tee for 16$
F6Oj8l8.jpg

(this photo was from trying to explain to a friend the basic circuit and how the element was incorporated in the my design)
I'm only running a 1500w element but I will probably switch it out at some point to an even lower wattage to further avoid potential scorching.
But like I said before the biggest thing I'm worried about is grain and what not accumulating around the base of the element and that scorching.
But if it dosent work out I can use the tee for a sankey fermentor or to make a proper rims tube.
but hey you wont know unless you try.

while not exactly related I've been following these two builds with a lot of interest since they are compact two vessel systems
55-gal-16500-watt-rims-braumeister-ish-brewery-build
and
purpose-built-no-sparge-brewery
the second link has an interesting story about how the opposite of a stuck mash turned out really bad for an over powered rims set up
 
Nebulous, you planning on having the element installed vertically below the MLT, pretty much as shown? I'd be worried about stuff settling there, too. If/when I do mine the element will be in a horizontal position with (hopefully) good flow all around.
 
Back
Top