
JLeuck64
Well-Known Member
After I ordered my kit I watched the Extract Brew Day with Victor of NorCal Brewing Solutions - Part1 and then I watched all of the rest of the videos.
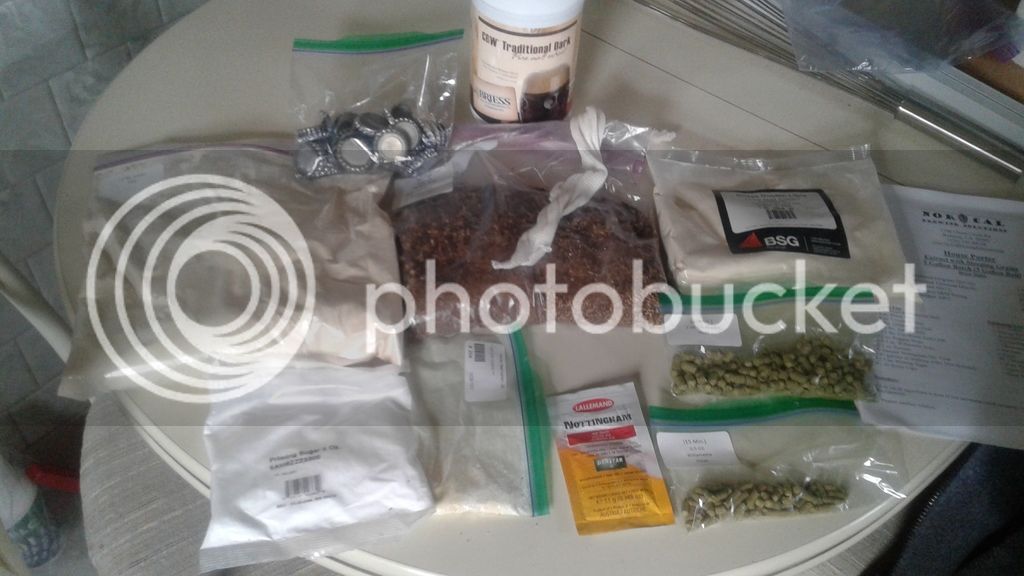
My Deschutes Black Butte Porter Clone recipe kit showed up this morning. As luck would have it the kids had a snow day so school was canceled. Might as well take advantage and schedule an impromptu brew day ( ;
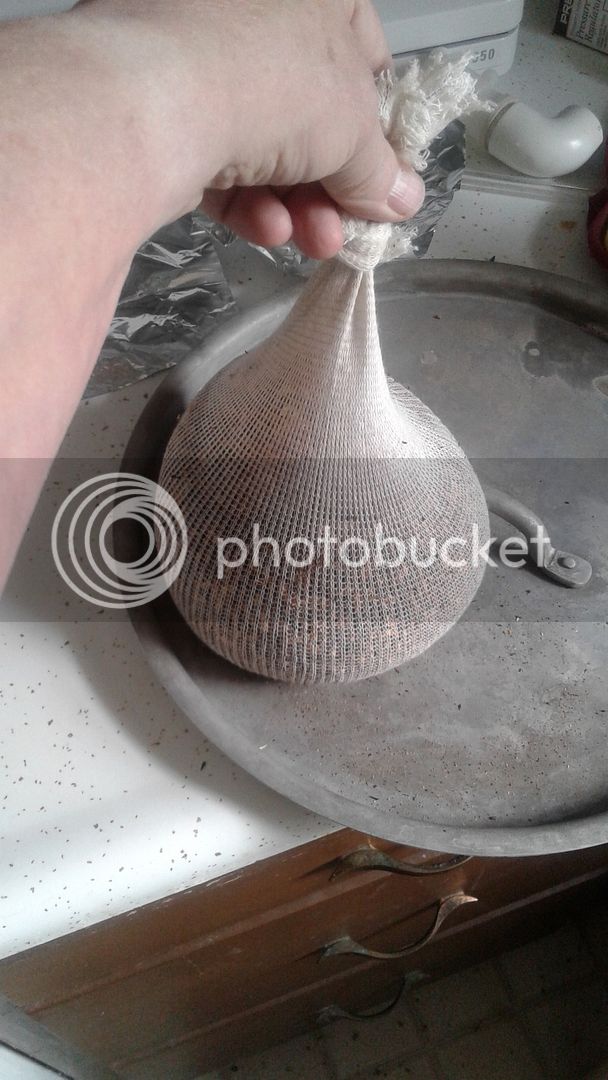
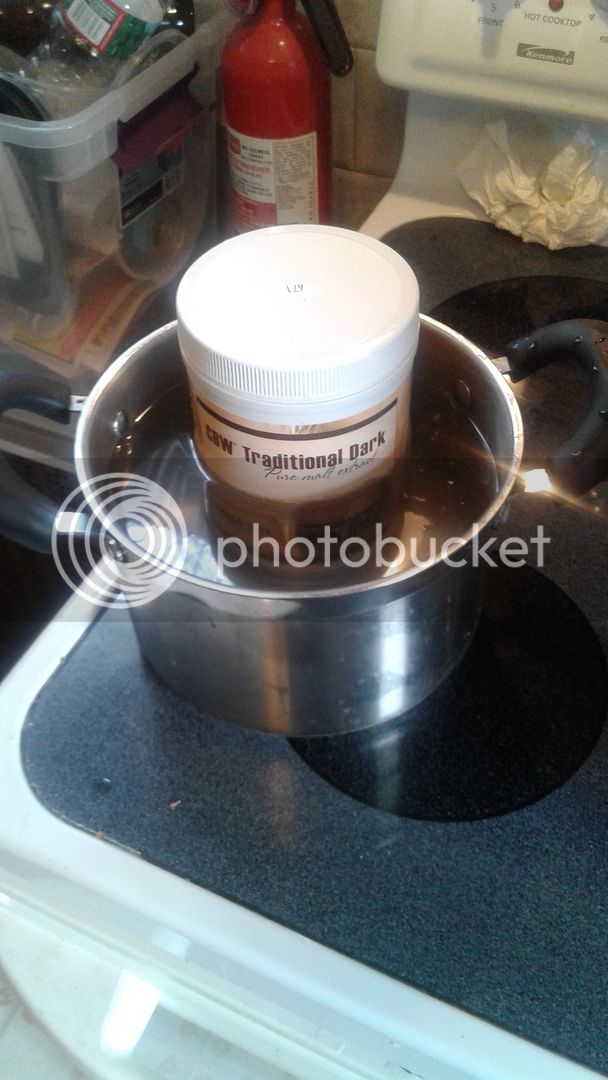
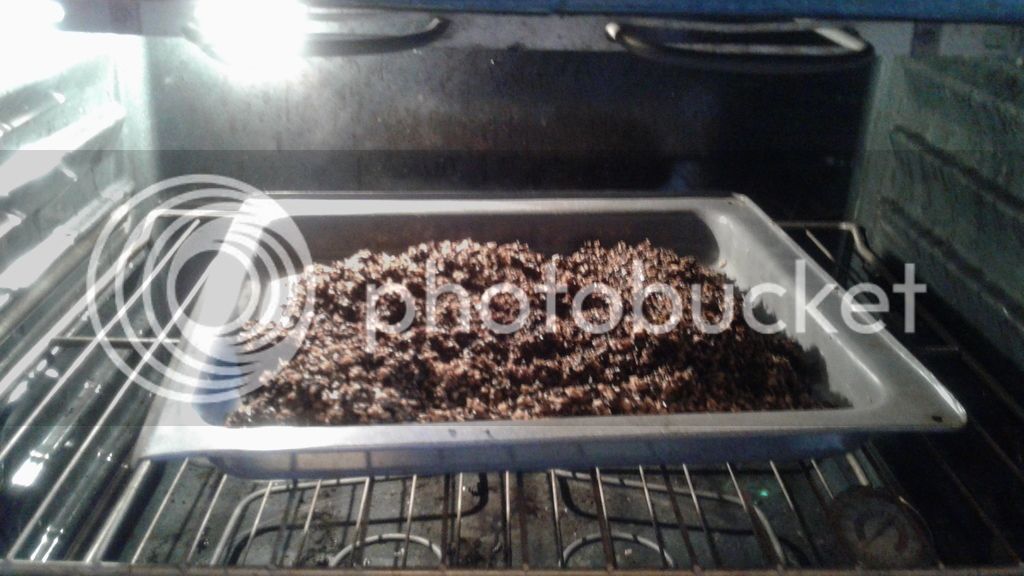
After unpacking and checking all the ingredients I was getting a little excited! It's been almost 1 1/2 years since I last brewed an extract, time to dig out some of that old equipment. Before I switched to AG I was using a small cooler to do mini-mashes in. As I set up my equipment I was thinking about how to incorporate my current brew day process with the way I used to do things... It made sense to use some of the water I would heat up, to sterilize my CFC, in the mini-mash. Before the water reached boiling temps I scooped some out of my BK and used it to mash the specialty grains. Then I continued to clean my CFC as normal.
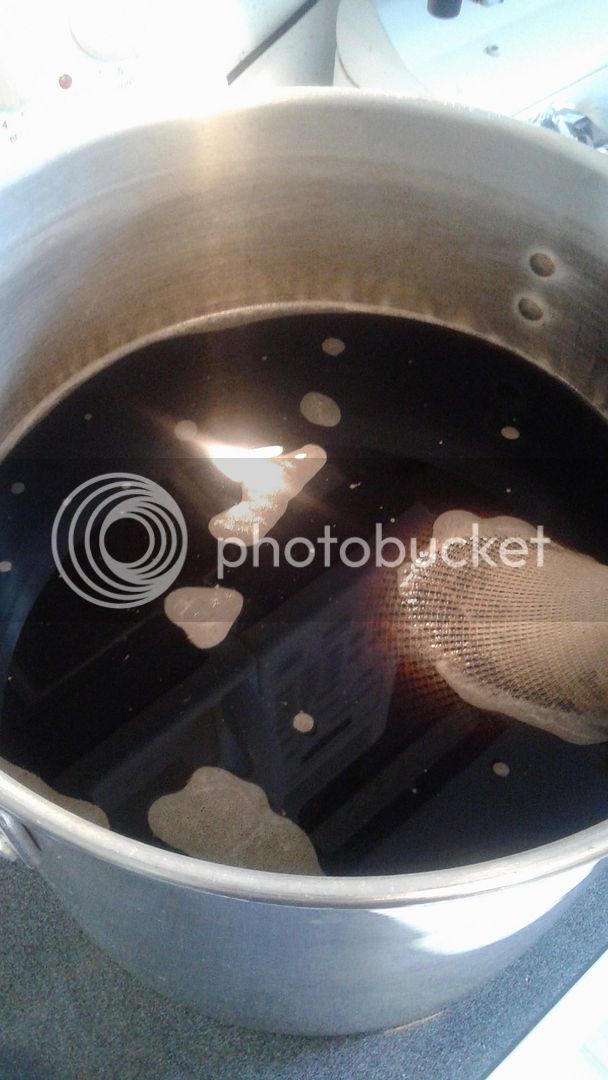
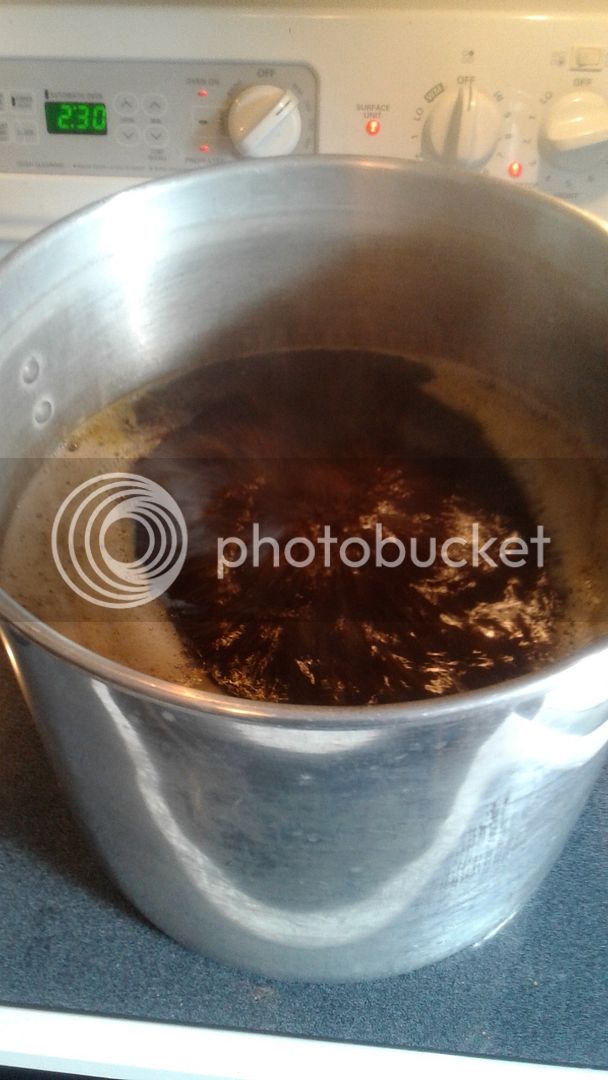
Towards the end of my extract brewing hobby I was doing full volume boils and I wanted to do that on this day also. Once my BK was empty I went ahead and filled it again to my target pre-boil volume (minus the mash volume I expected to drain), and set to heating it up. As it was approaching boil temps I started pulling off the 1st runnings from my mini-mash cooler and set it aside. Then I started adding the hot water from my BK slowly until the grain bed temp rose to 165F. I let that rest for 5-10 minutes while I added the 1st runnings to the BK and cranked up the heat in the BK again. My process is a little different from your typical steeping for specialty grains but I was intentionally looking for some way to overlap the mash with heating of water. What I came up with seemed to work out pretty well. By the time the grains had sat in the cooler for an hour the CFC was clean and I had hot water ready to batch sparge with.
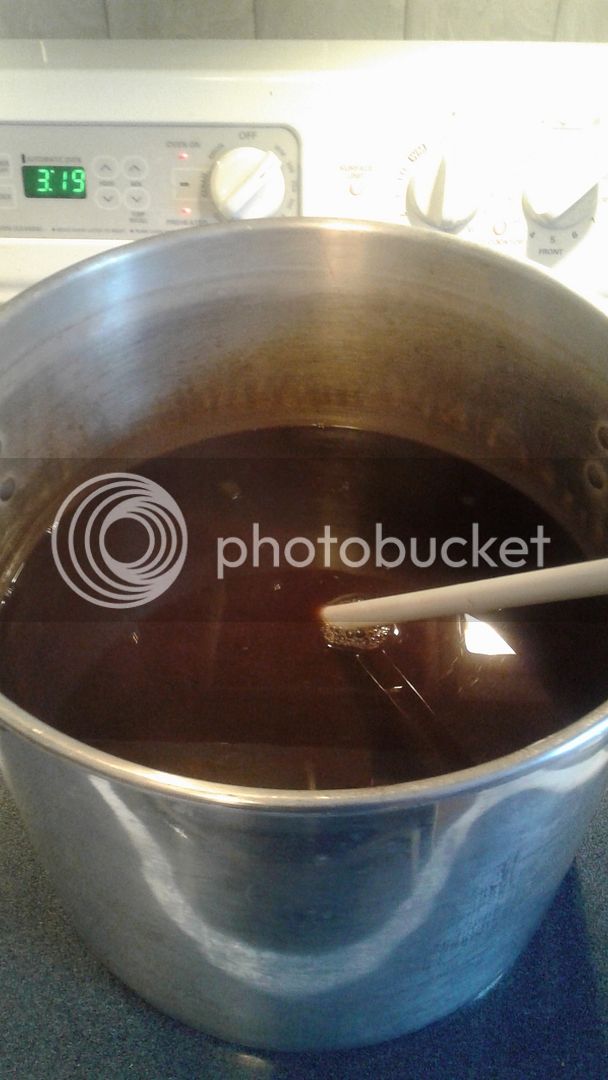
The boil process was like a trip down memory lane ( ; Get the boil going... stop to add the DME... LOL ya'll know the drill. Speaking of the drill, I got a chance to try out my FREE whirlpool paddle that @Jaybird sent me recently. That thing works awesome!
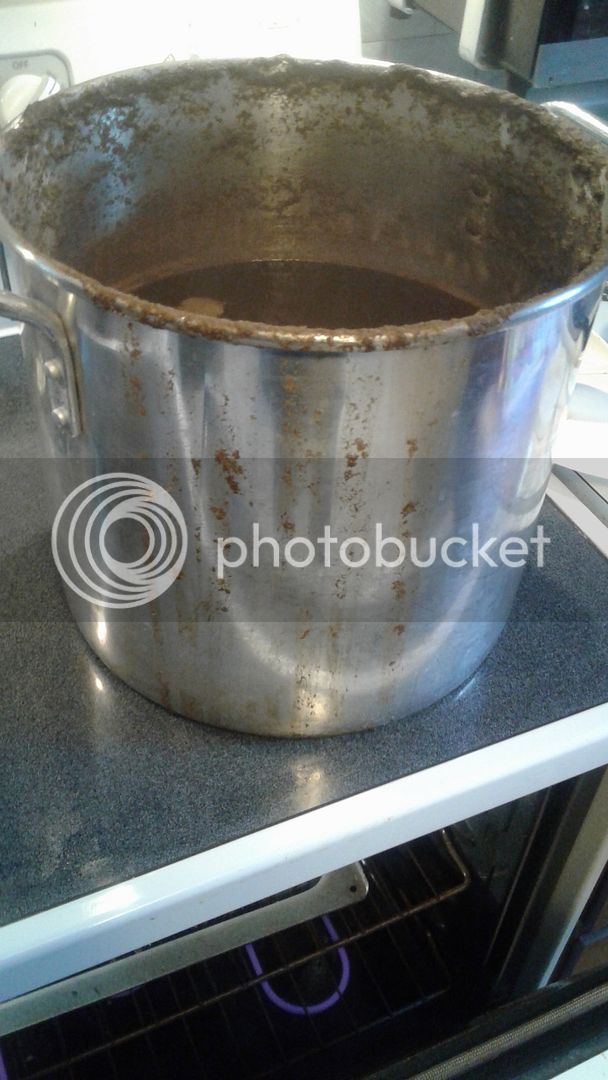
One of the things that really caught my attention while watching the video of Victor was the way he transferred the wort between two buckets. It really aerates the wort great! I actually sanitized two buckets today because I wanted to give it a try. But when I was standing there looking at wort drain out of my CFC I just couldn't bring myself to lift up anything heavy! One of the nice benefits of this CFC is it really does a good job of aerating the wort just by draining. Liquid yeast, dry yeast... it doesn't matter, they all take off within 24hrs or less.
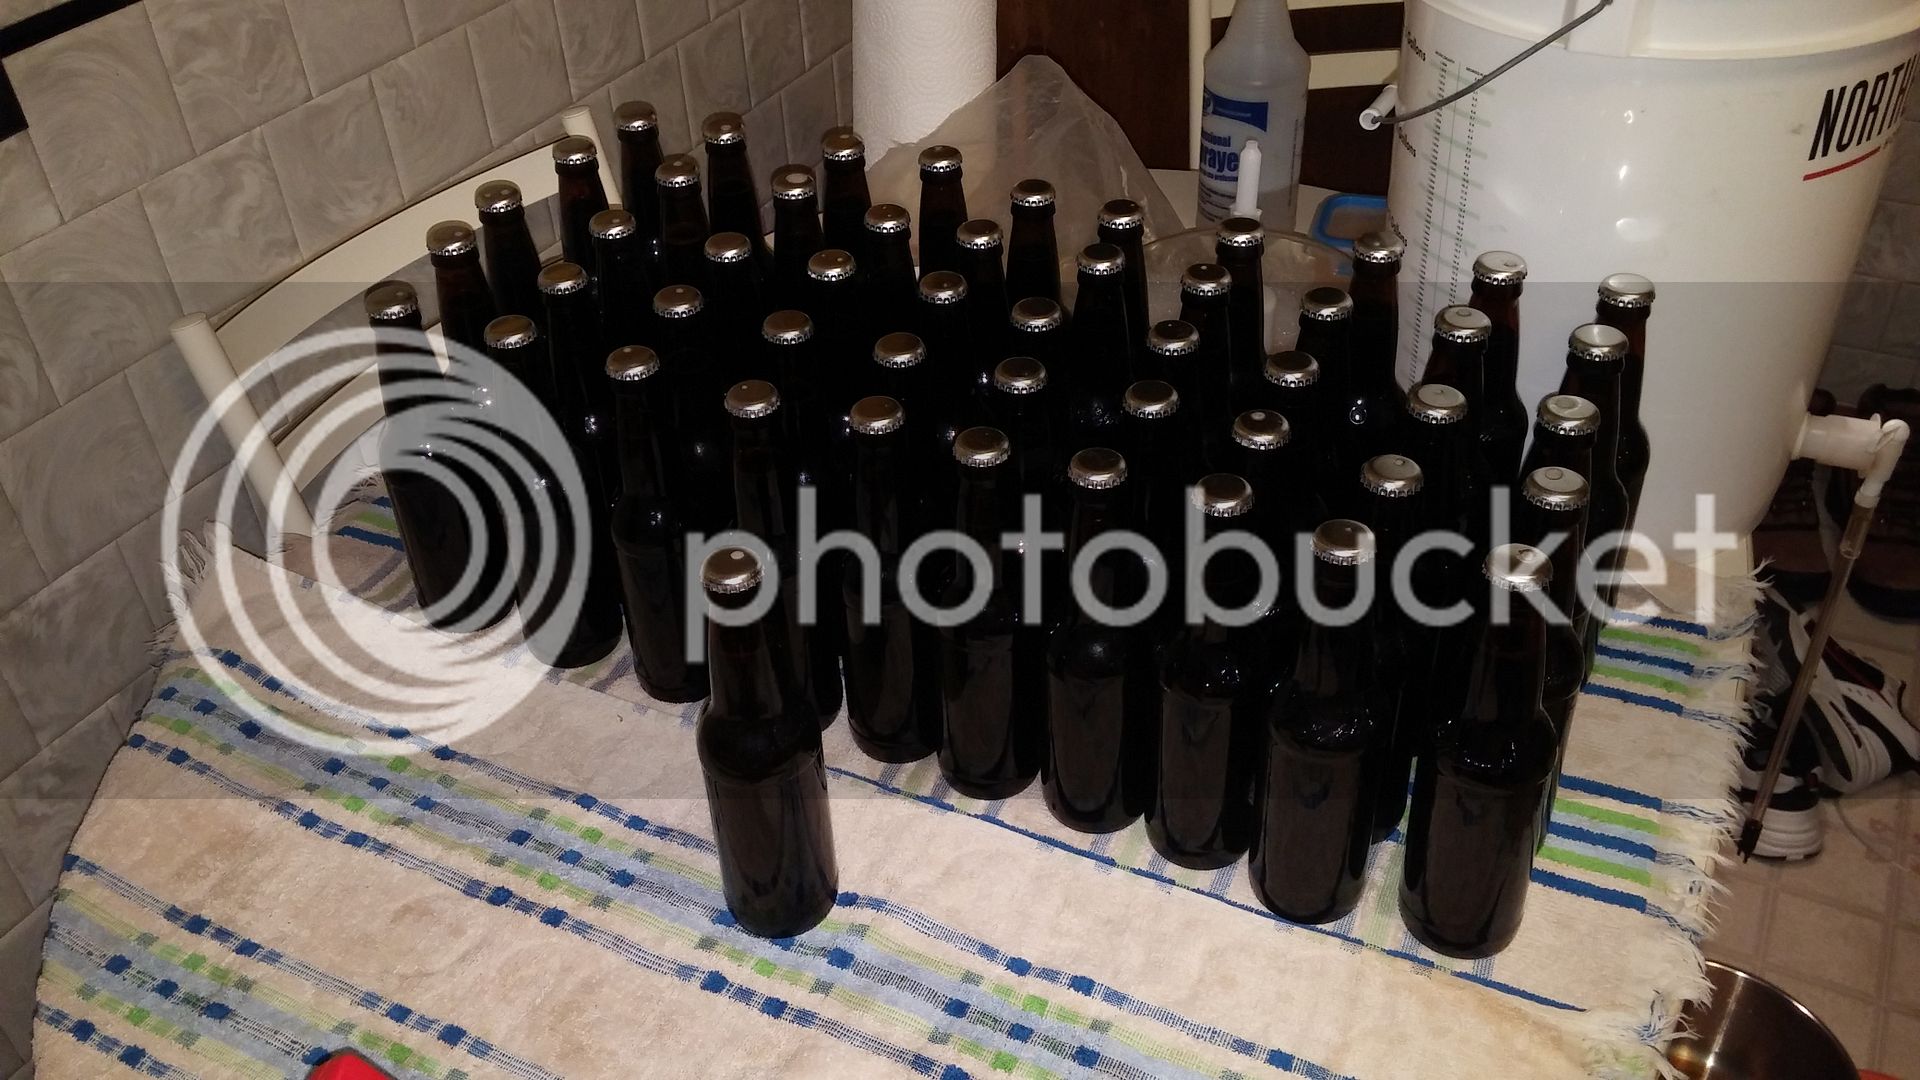
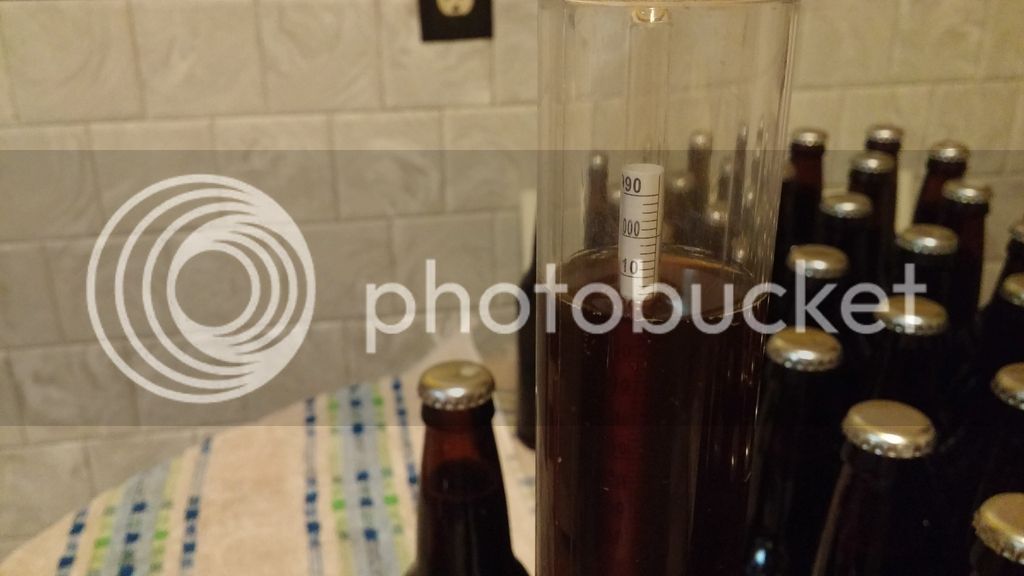
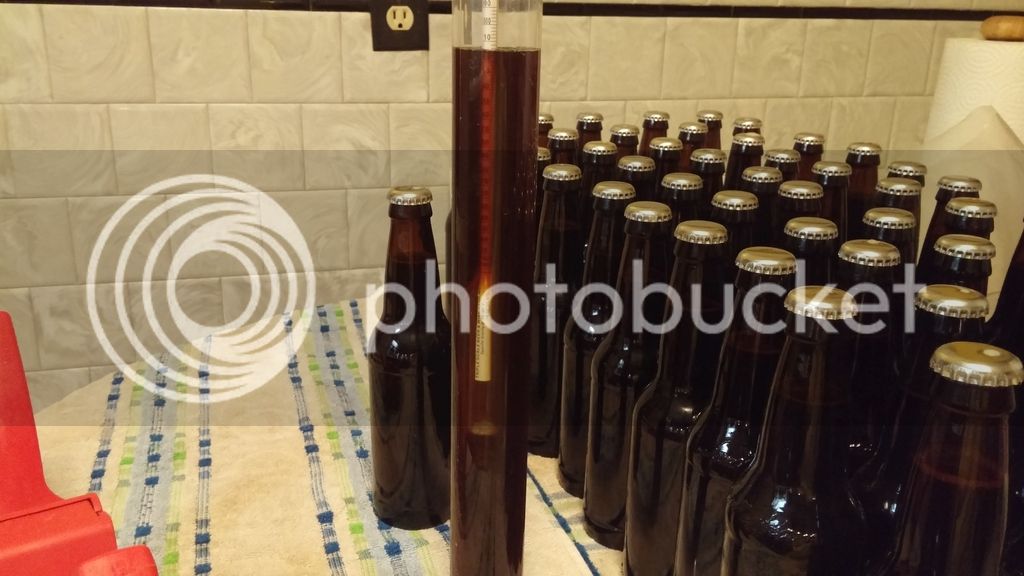
So... I ended up with 5 1/4 gal of 1.065 wort today
It was fun too! Less equipment to set up, and CLEAN up! Thanks @Jaybird for the the discount ( ;


My Deschutes Black Butte Porter Clone recipe kit showed up this morning. As luck would have it the kids had a snow day so school was canceled. Might as well take advantage and schedule an impromptu brew day ( ;
After unpacking and checking all the ingredients I was getting a little excited! It's been almost 1 1/2 years since I last brewed an extract, time to dig out some of that old equipment. Before I switched to AG I was using a small cooler to do mini-mashes in. As I set up my equipment I was thinking about how to incorporate my current brew day process with the way I used to do things... It made sense to use some of the water I would heat up, to sterilize my CFC, in the mini-mash. Before the water reached boiling temps I scooped some out of my BK and used it to mash the specialty grains. Then I continued to clean my CFC as normal.
Towards the end of my extract brewing hobby I was doing full volume boils and I wanted to do that on this day also. Once my BK was empty I went ahead and filled it again to my target pre-boil volume (minus the mash volume I expected to drain), and set to heating it up. As it was approaching boil temps I started pulling off the 1st runnings from my mini-mash cooler and set it aside. Then I started adding the hot water from my BK slowly until the grain bed temp rose to 165F. I let that rest for 5-10 minutes while I added the 1st runnings to the BK and cranked up the heat in the BK again. My process is a little different from your typical steeping for specialty grains but I was intentionally looking for some way to overlap the mash with heating of water. What I came up with seemed to work out pretty well. By the time the grains had sat in the cooler for an hour the CFC was clean and I had hot water ready to batch sparge with.
The boil process was like a trip down memory lane ( ; Get the boil going... stop to add the DME... LOL ya'll know the drill. Speaking of the drill, I got a chance to try out my FREE whirlpool paddle that @Jaybird sent me recently. That thing works awesome!
One of the things that really caught my attention while watching the video of Victor was the way he transferred the wort between two buckets. It really aerates the wort great! I actually sanitized two buckets today because I wanted to give it a try. But when I was standing there looking at wort drain out of my CFC I just couldn't bring myself to lift up anything heavy! One of the nice benefits of this CFC is it really does a good job of aerating the wort just by draining. Liquid yeast, dry yeast... it doesn't matter, they all take off within 24hrs or less.
So... I ended up with 5 1/4 gal of 1.065 wort today
It was fun too! Less equipment to set up, and CLEAN up! Thanks @Jaybird for the the discount ( ;


")


 (banana)