Basement Bar and Brewery

Homebrew Talk - Beer, Wine, Mead, & Cider Brewing Discussion Forum

Help Support Homebrew Talk - Beer, Wine, Mead, & Cider Brewing Discussion Forum:

This site may earn a commission from merchant affiliate links, including eBay, Amazon, and others.

murphyslaw

Supporting Member
HBT Supporter
Joined
Jun 1, 2009
Messages
1,016
Reaction score
592
Location
Washington, DC
We've been in our new house for about 4 months. I've got a basement that I'm turning into a man cave with a bar and and little old kitchen that I'll convert to my brewery.

Here's the bar build so far. It's my first real woodworking project.

20191201_191205.jpeg
20191208_090832.jpeg
20191229_202121.jpeg
20191229_202138.jpeg
20200109_120143.jpeg
 
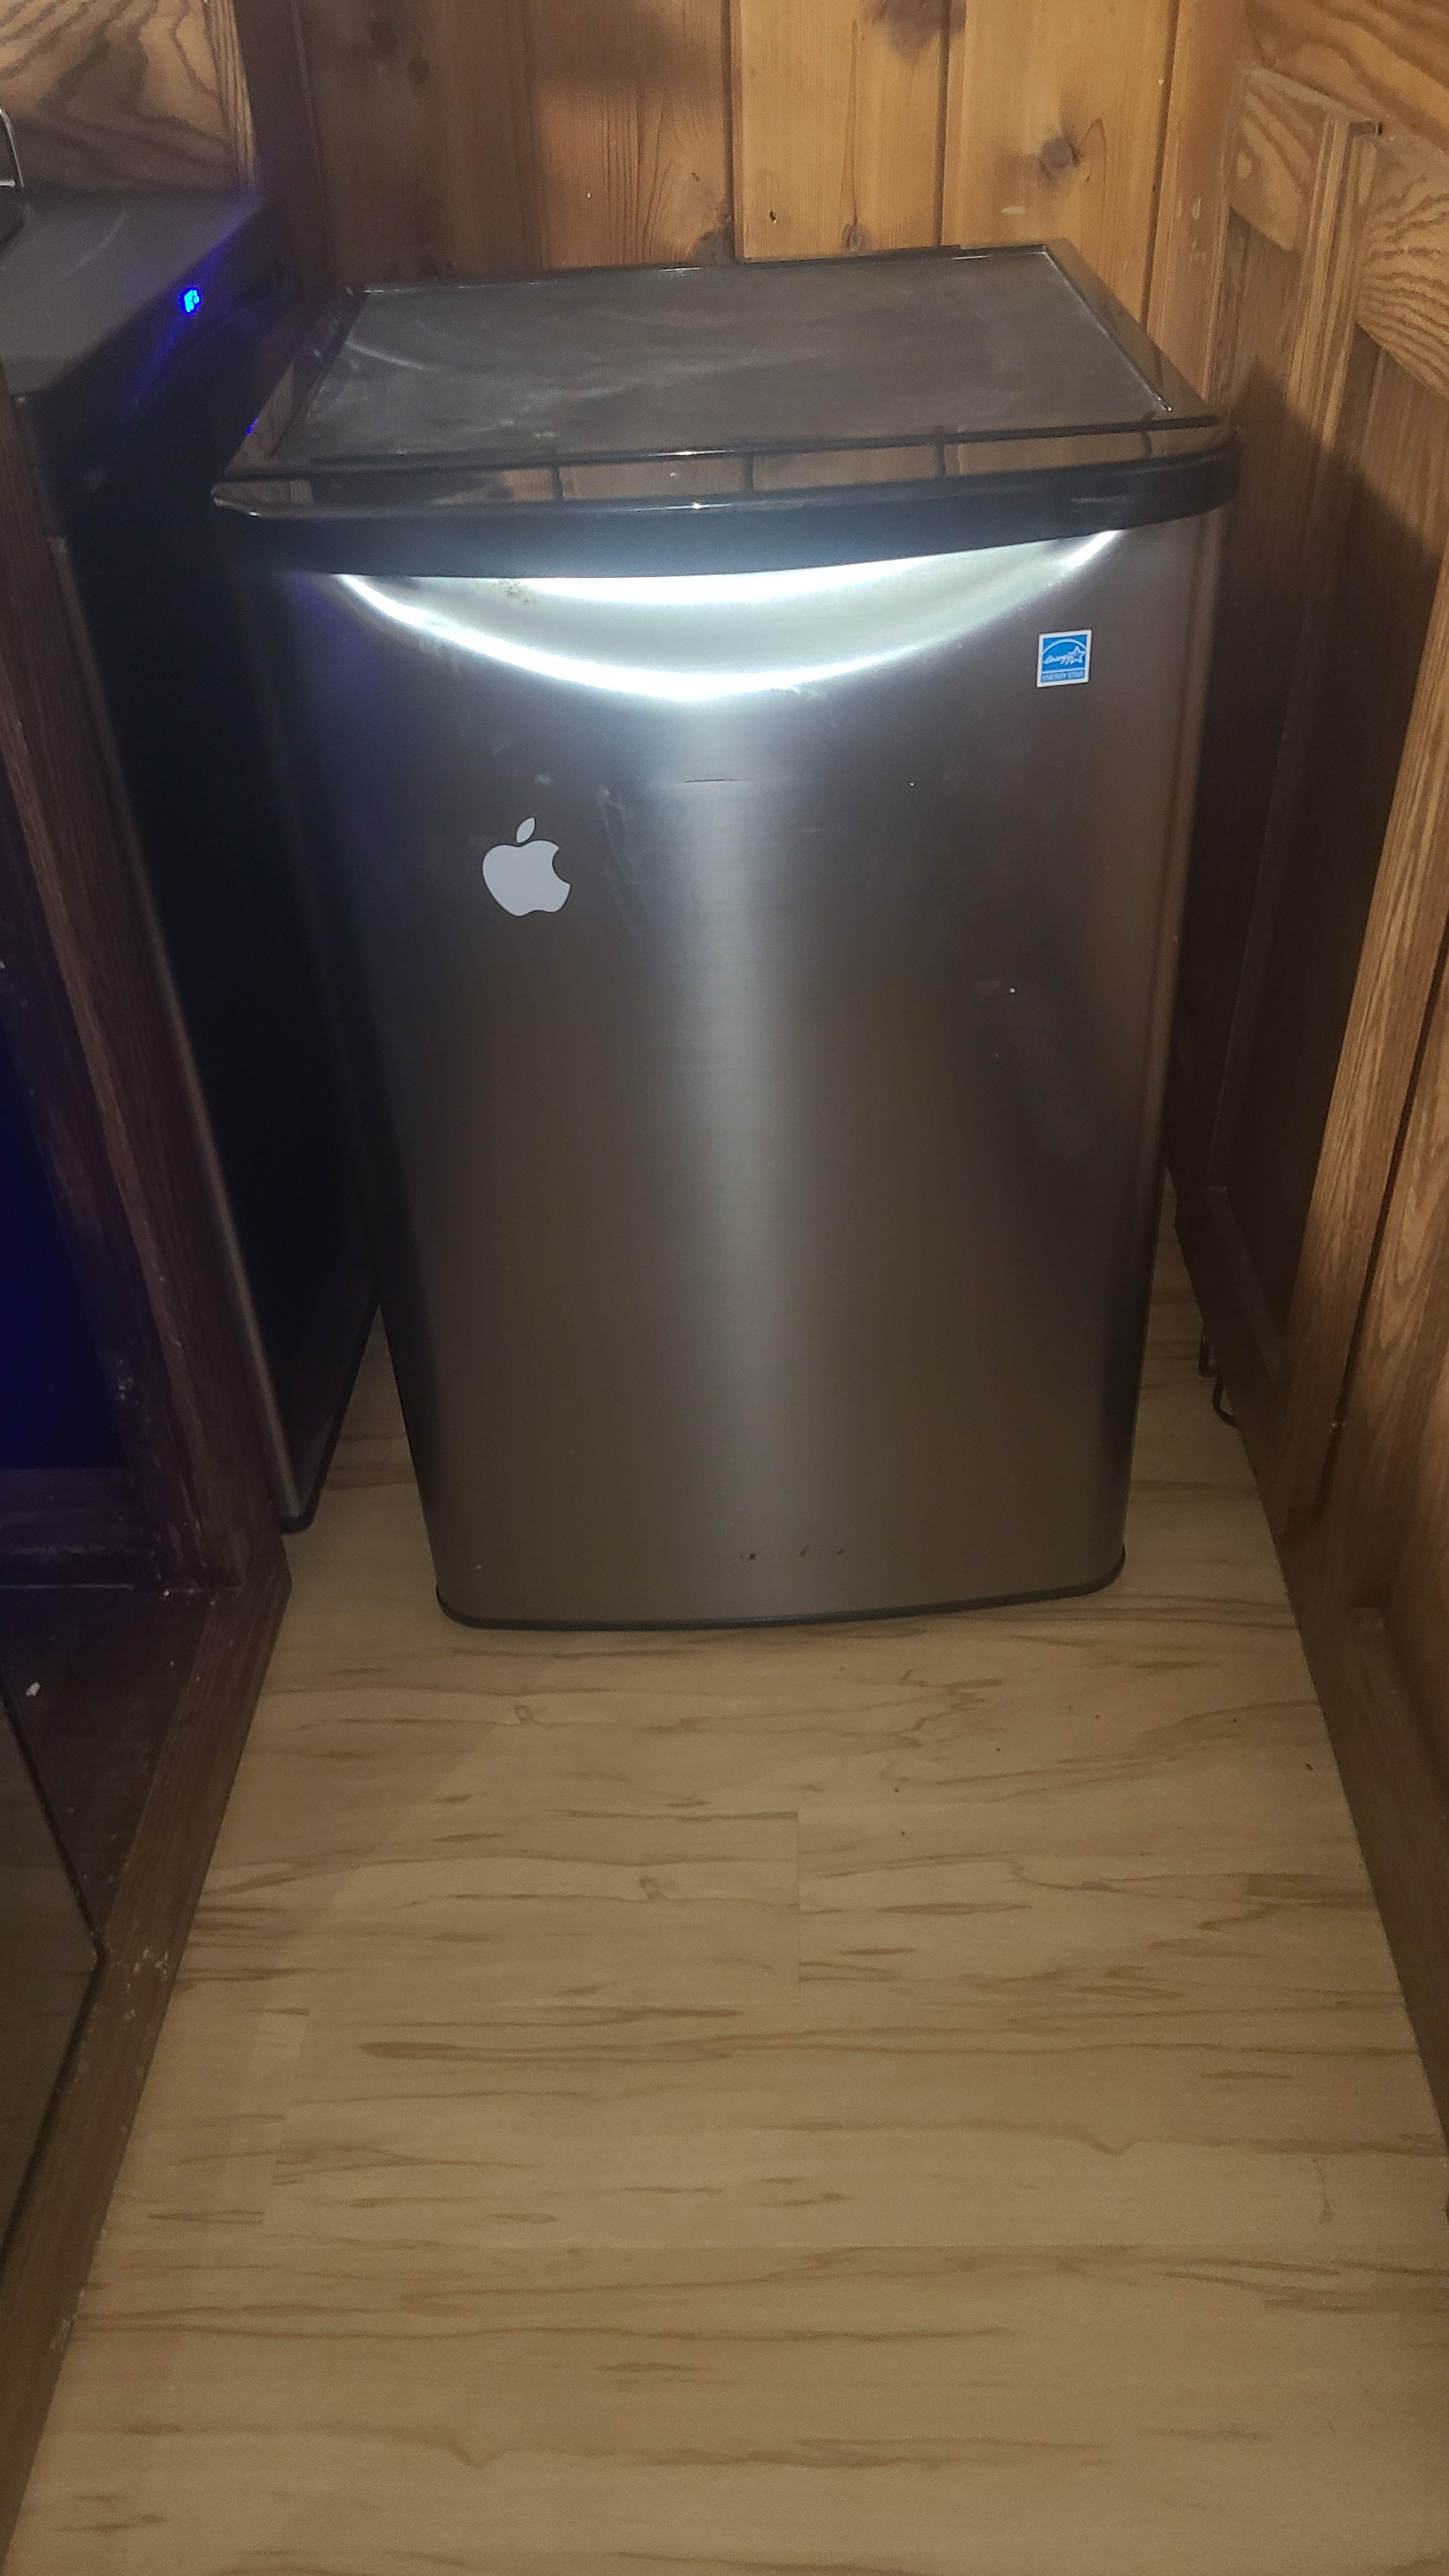
I've reached the point where I have to figure out how to run the beer lines to my tap.

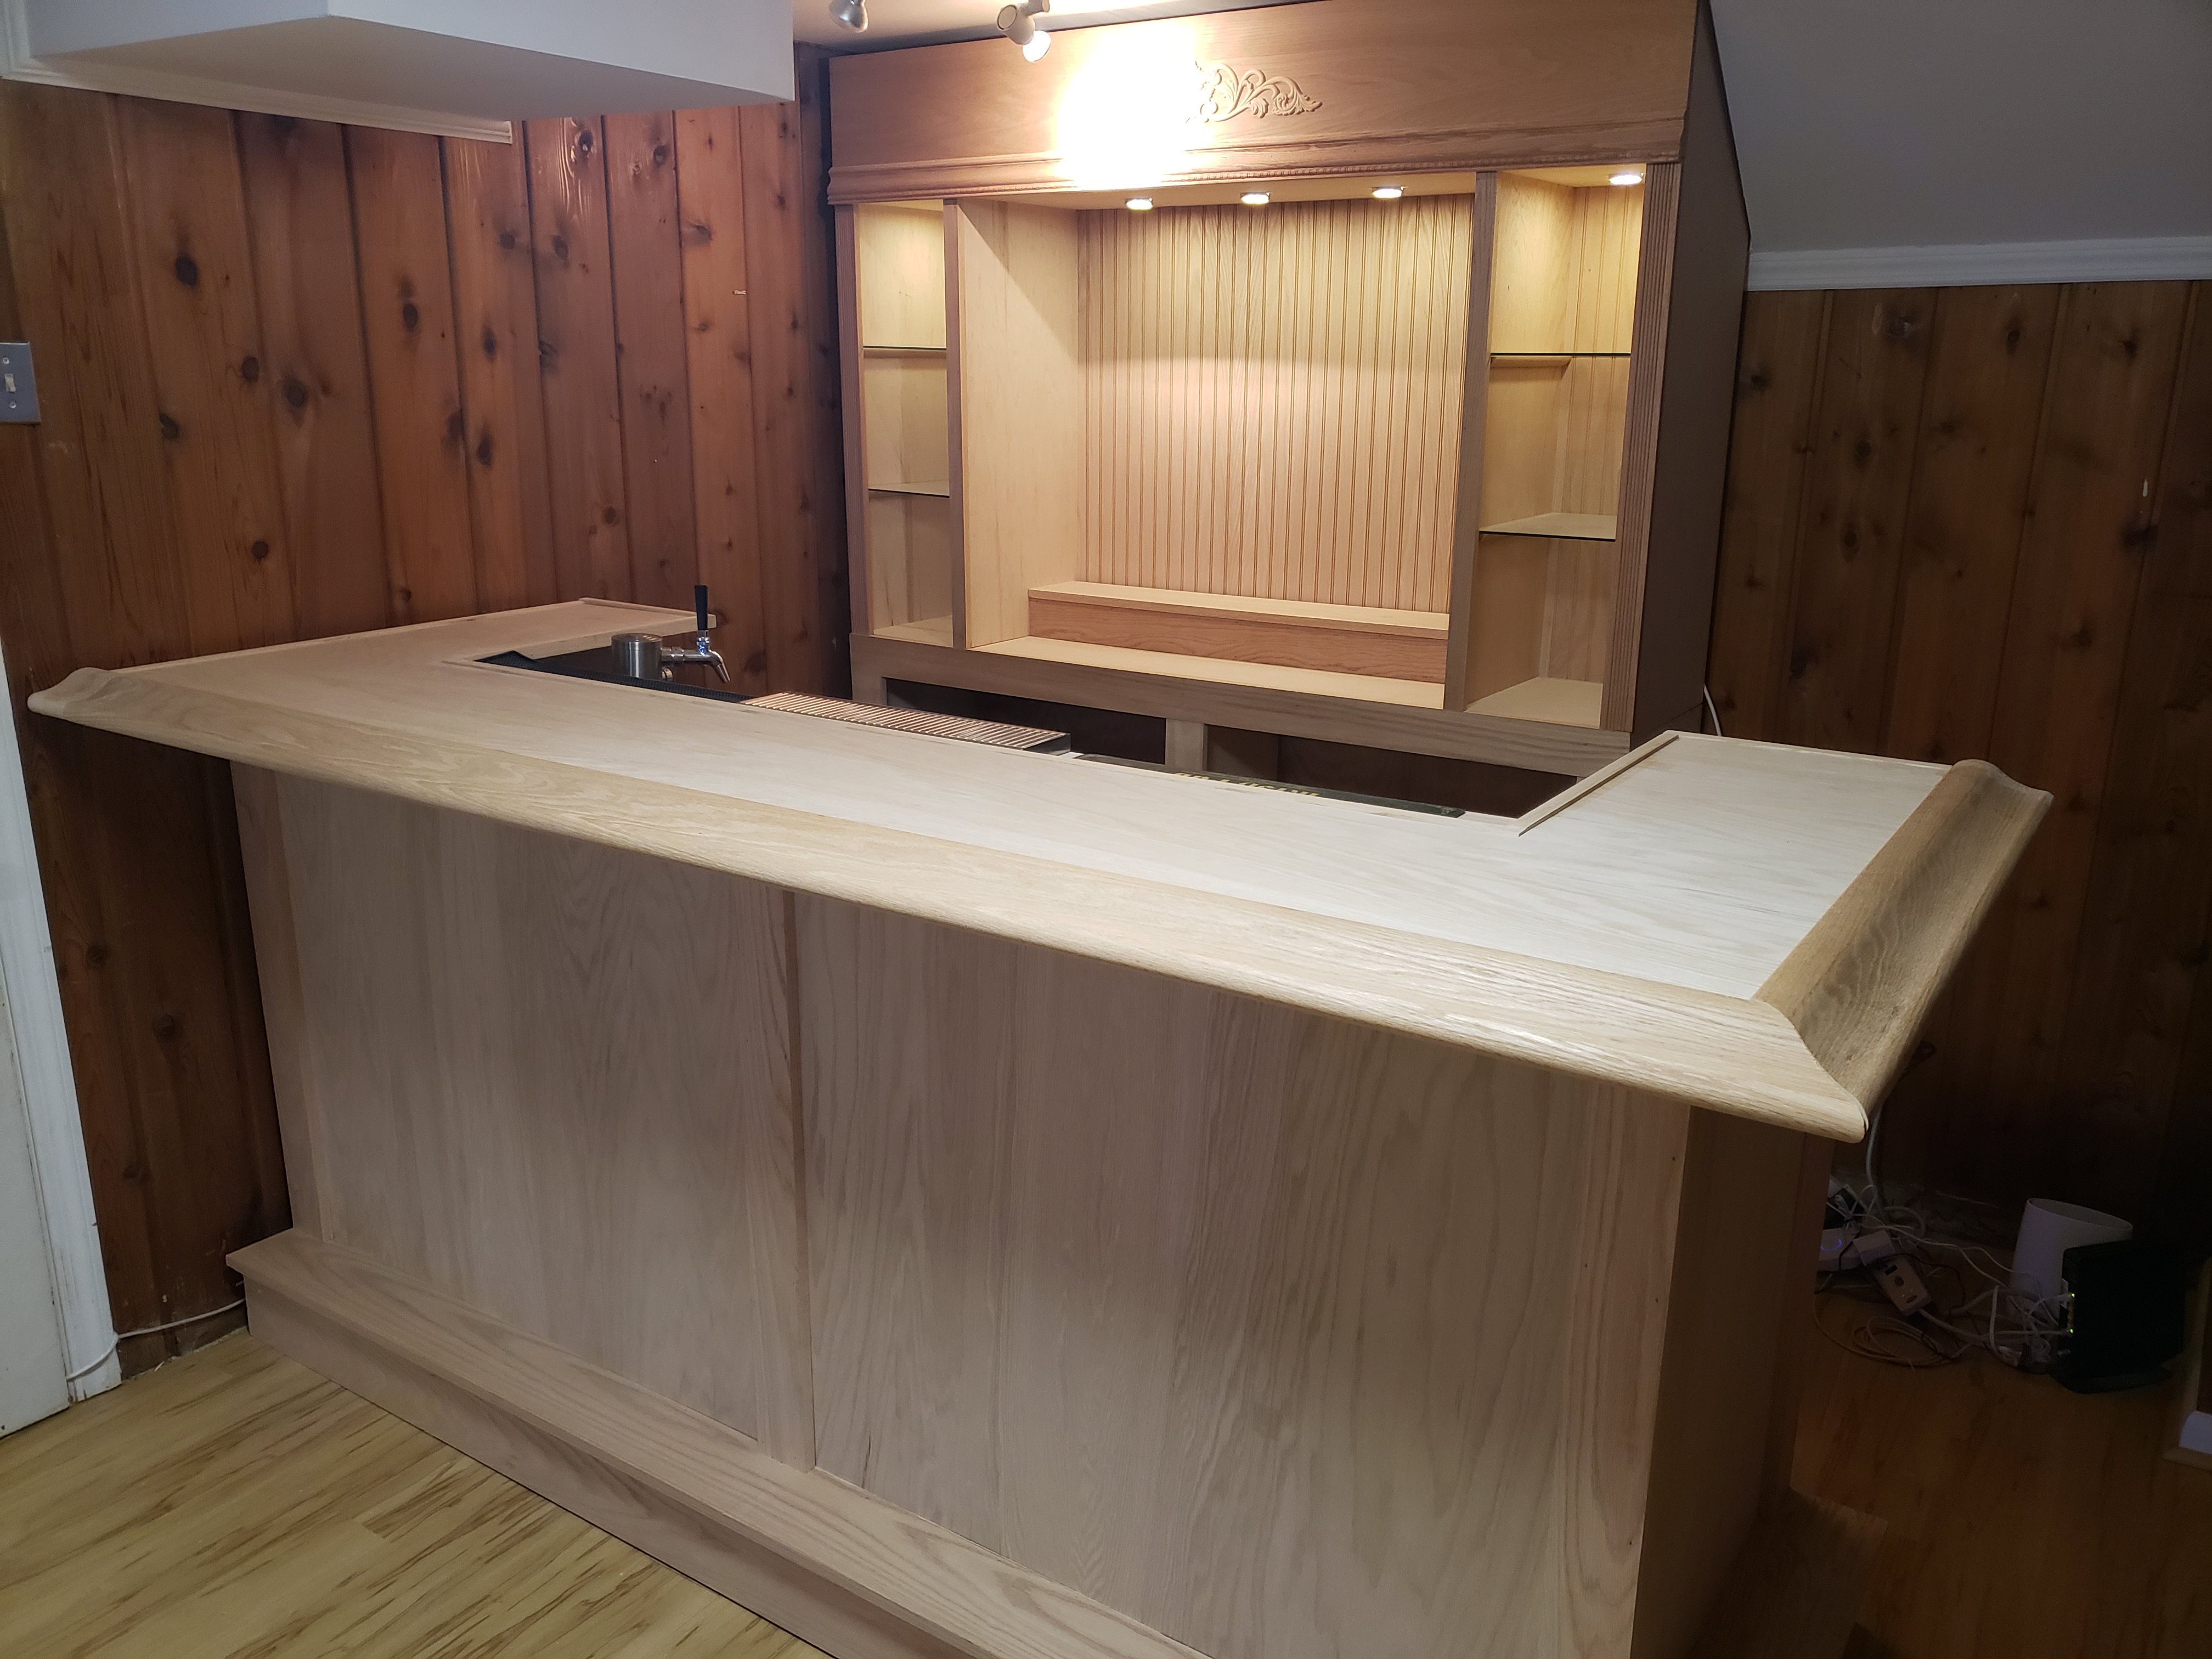
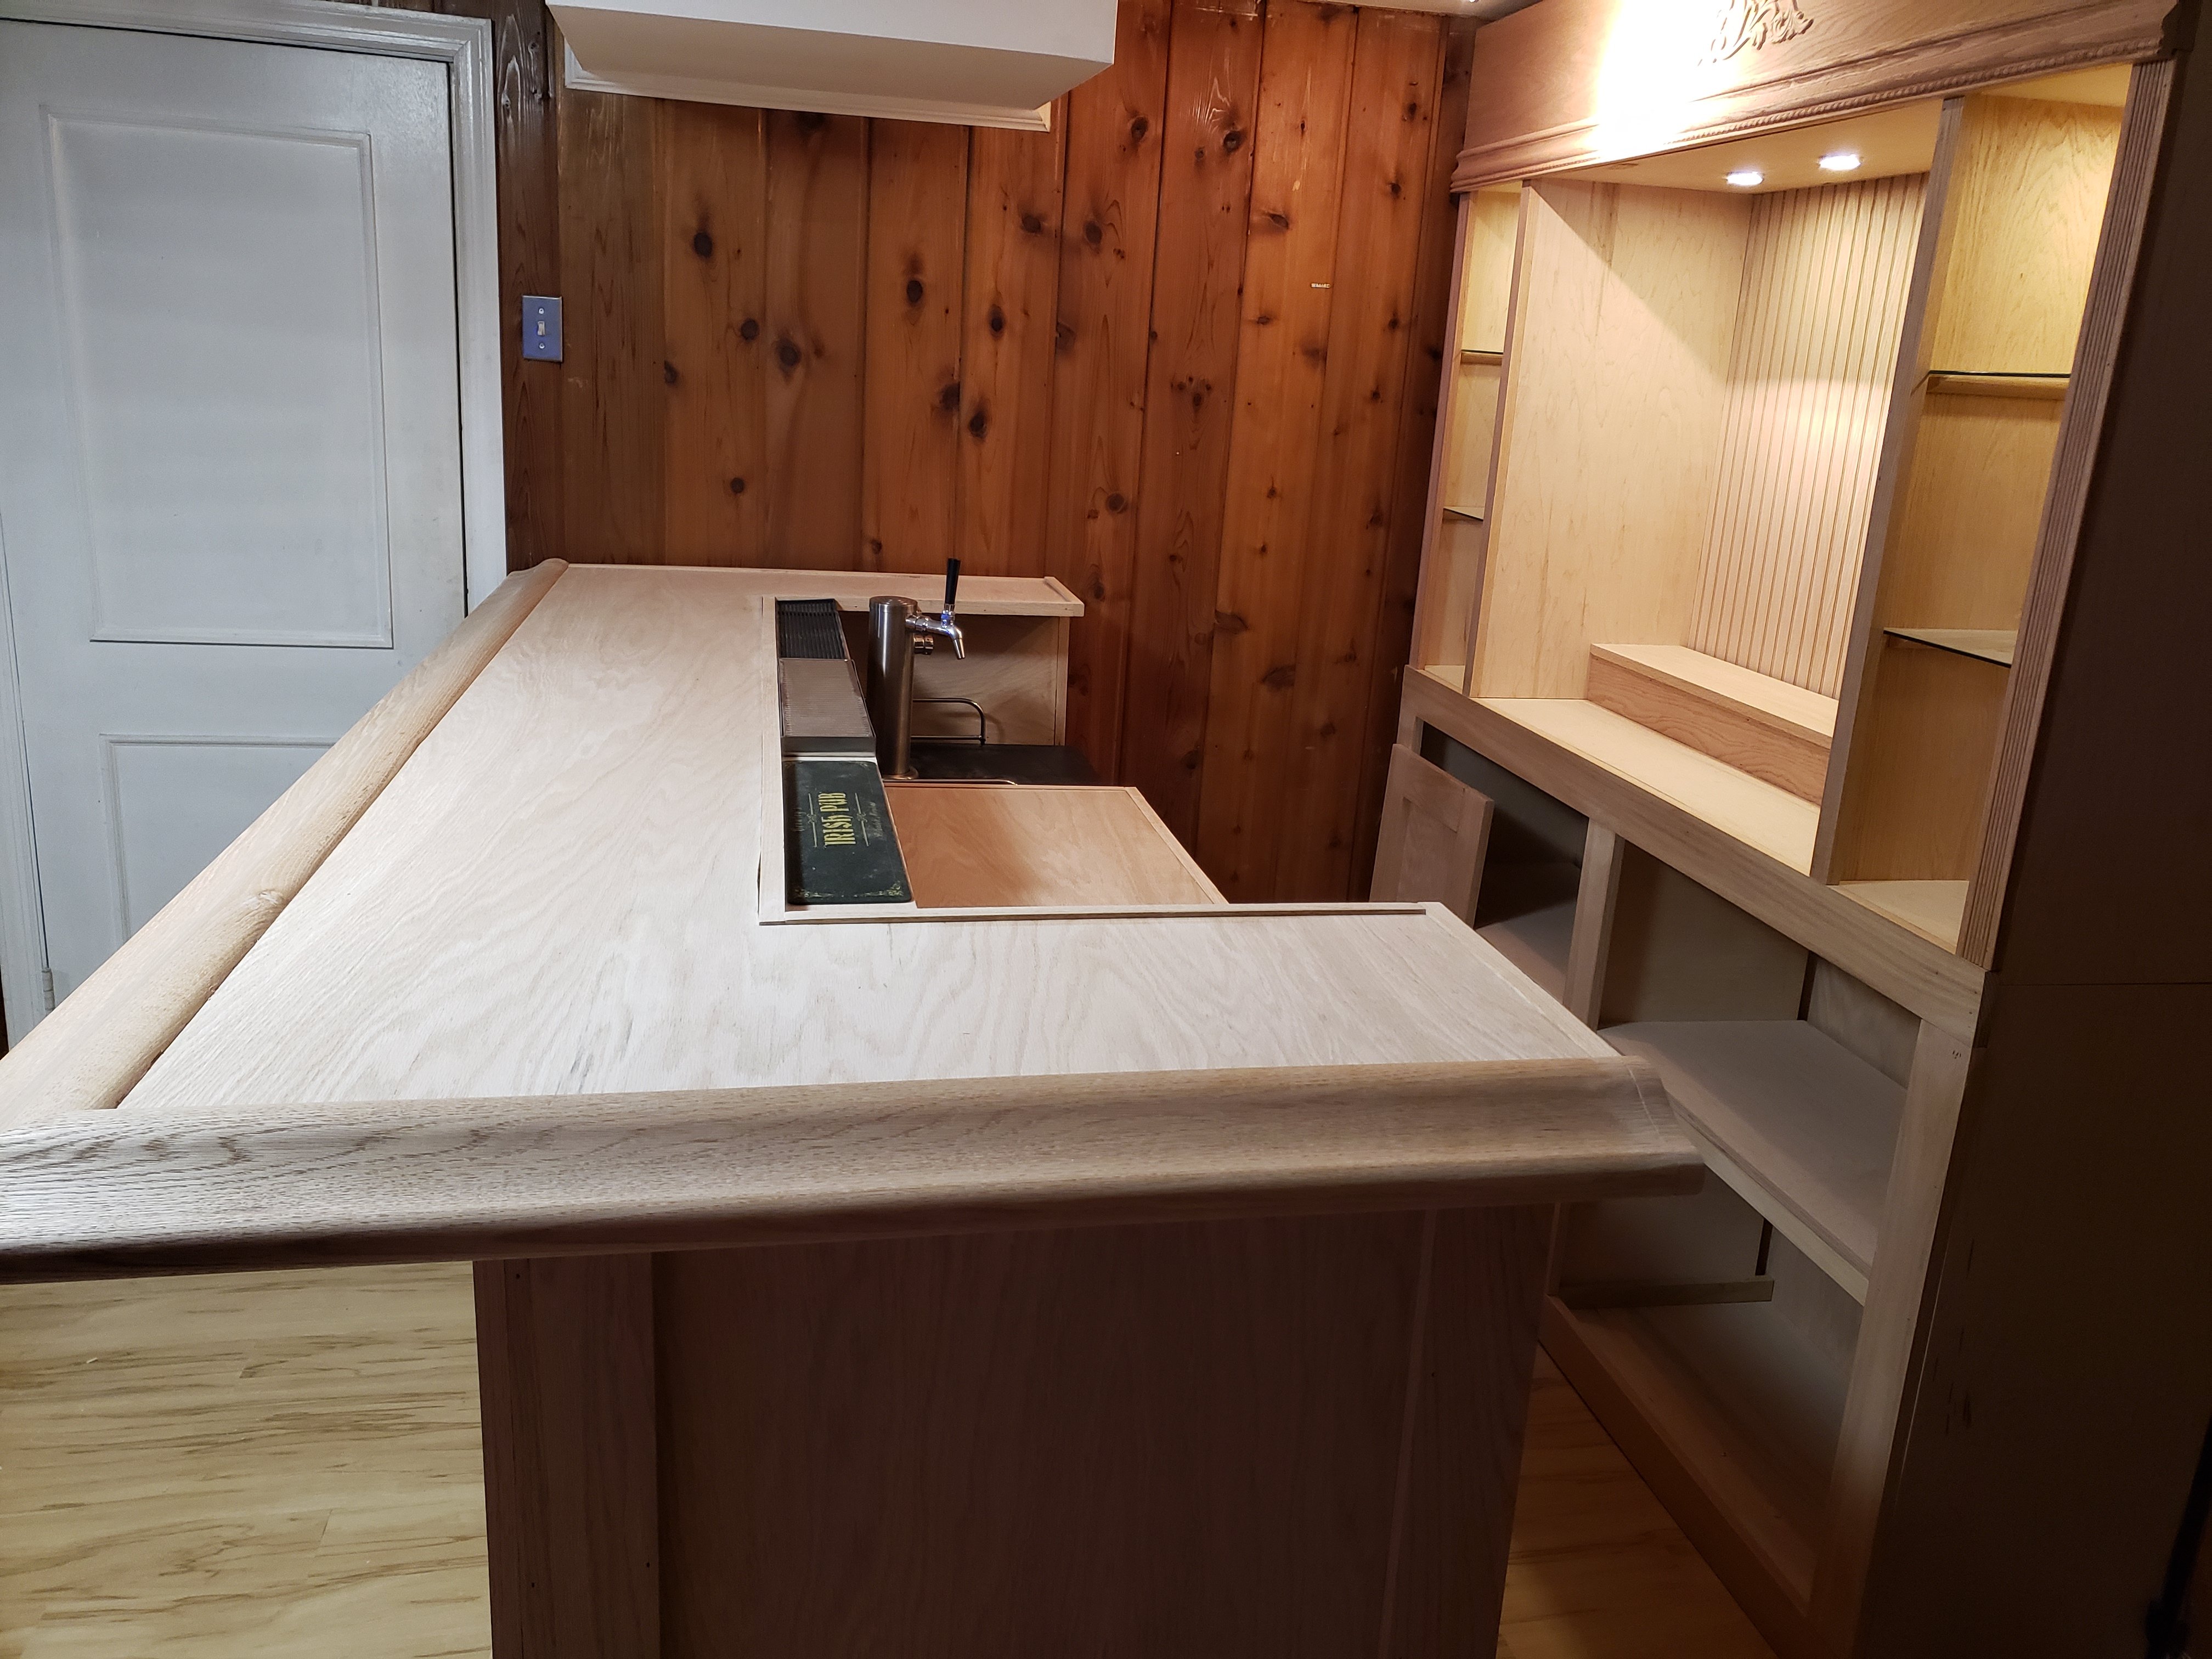
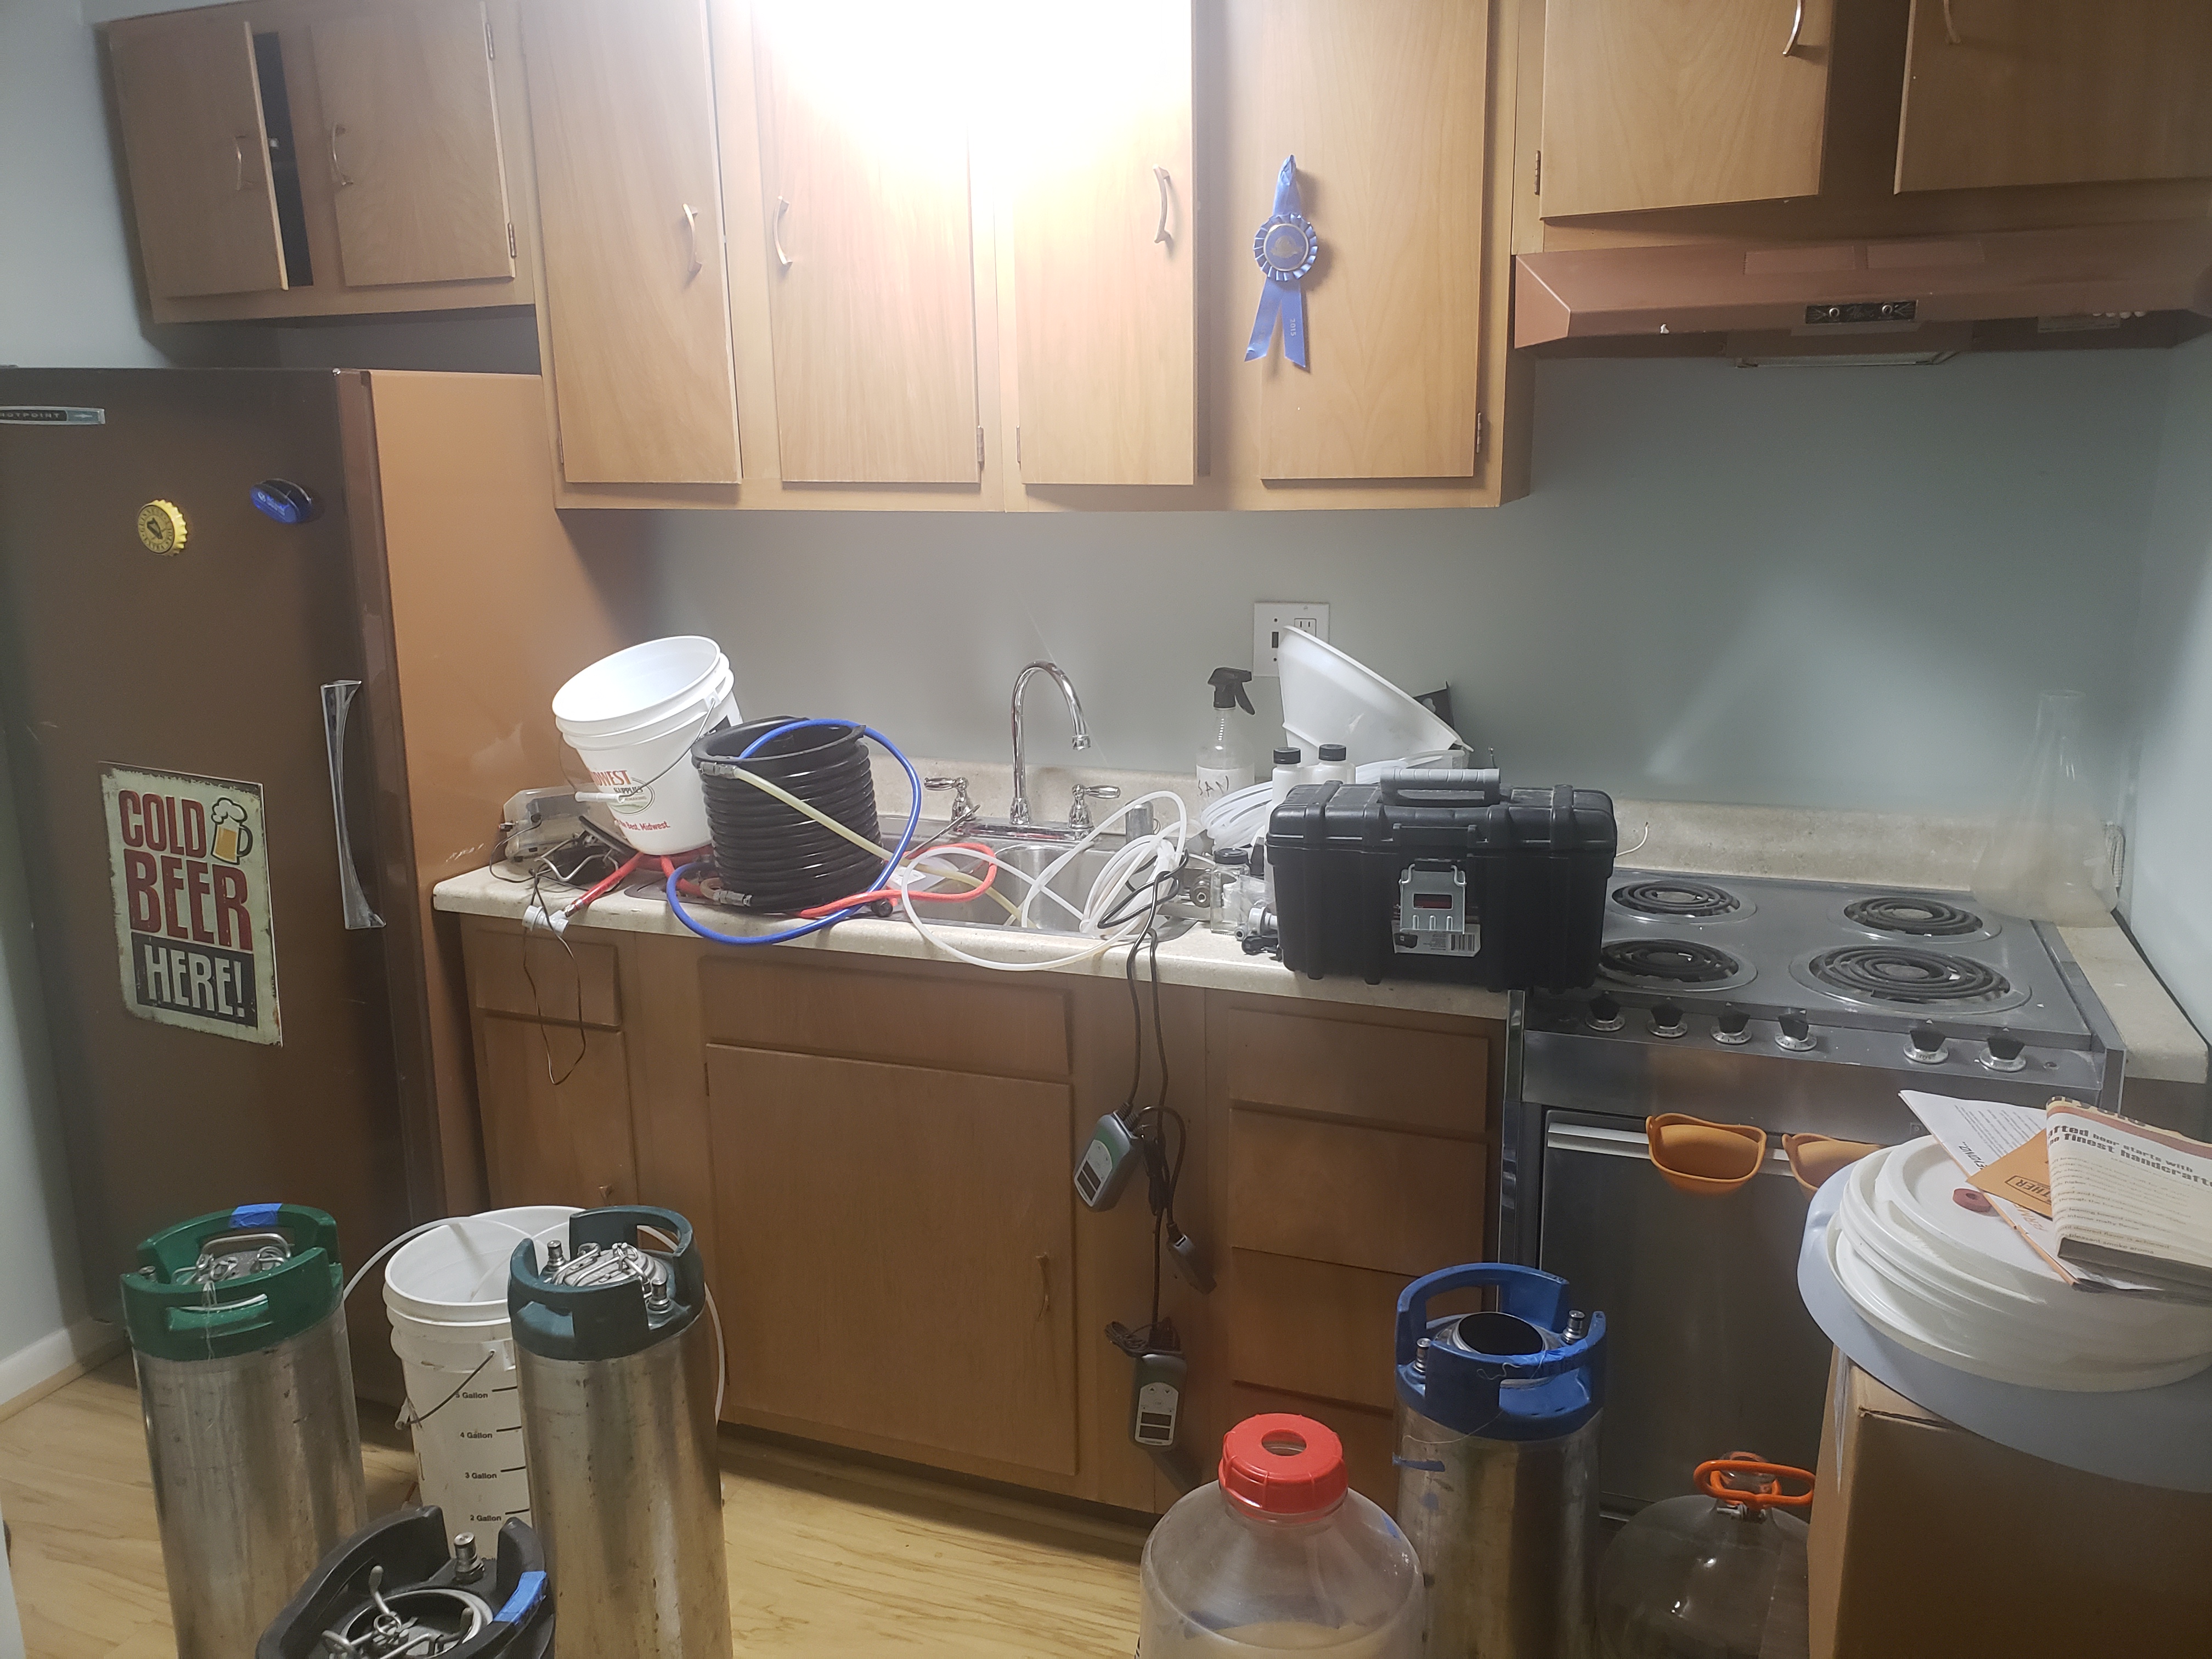
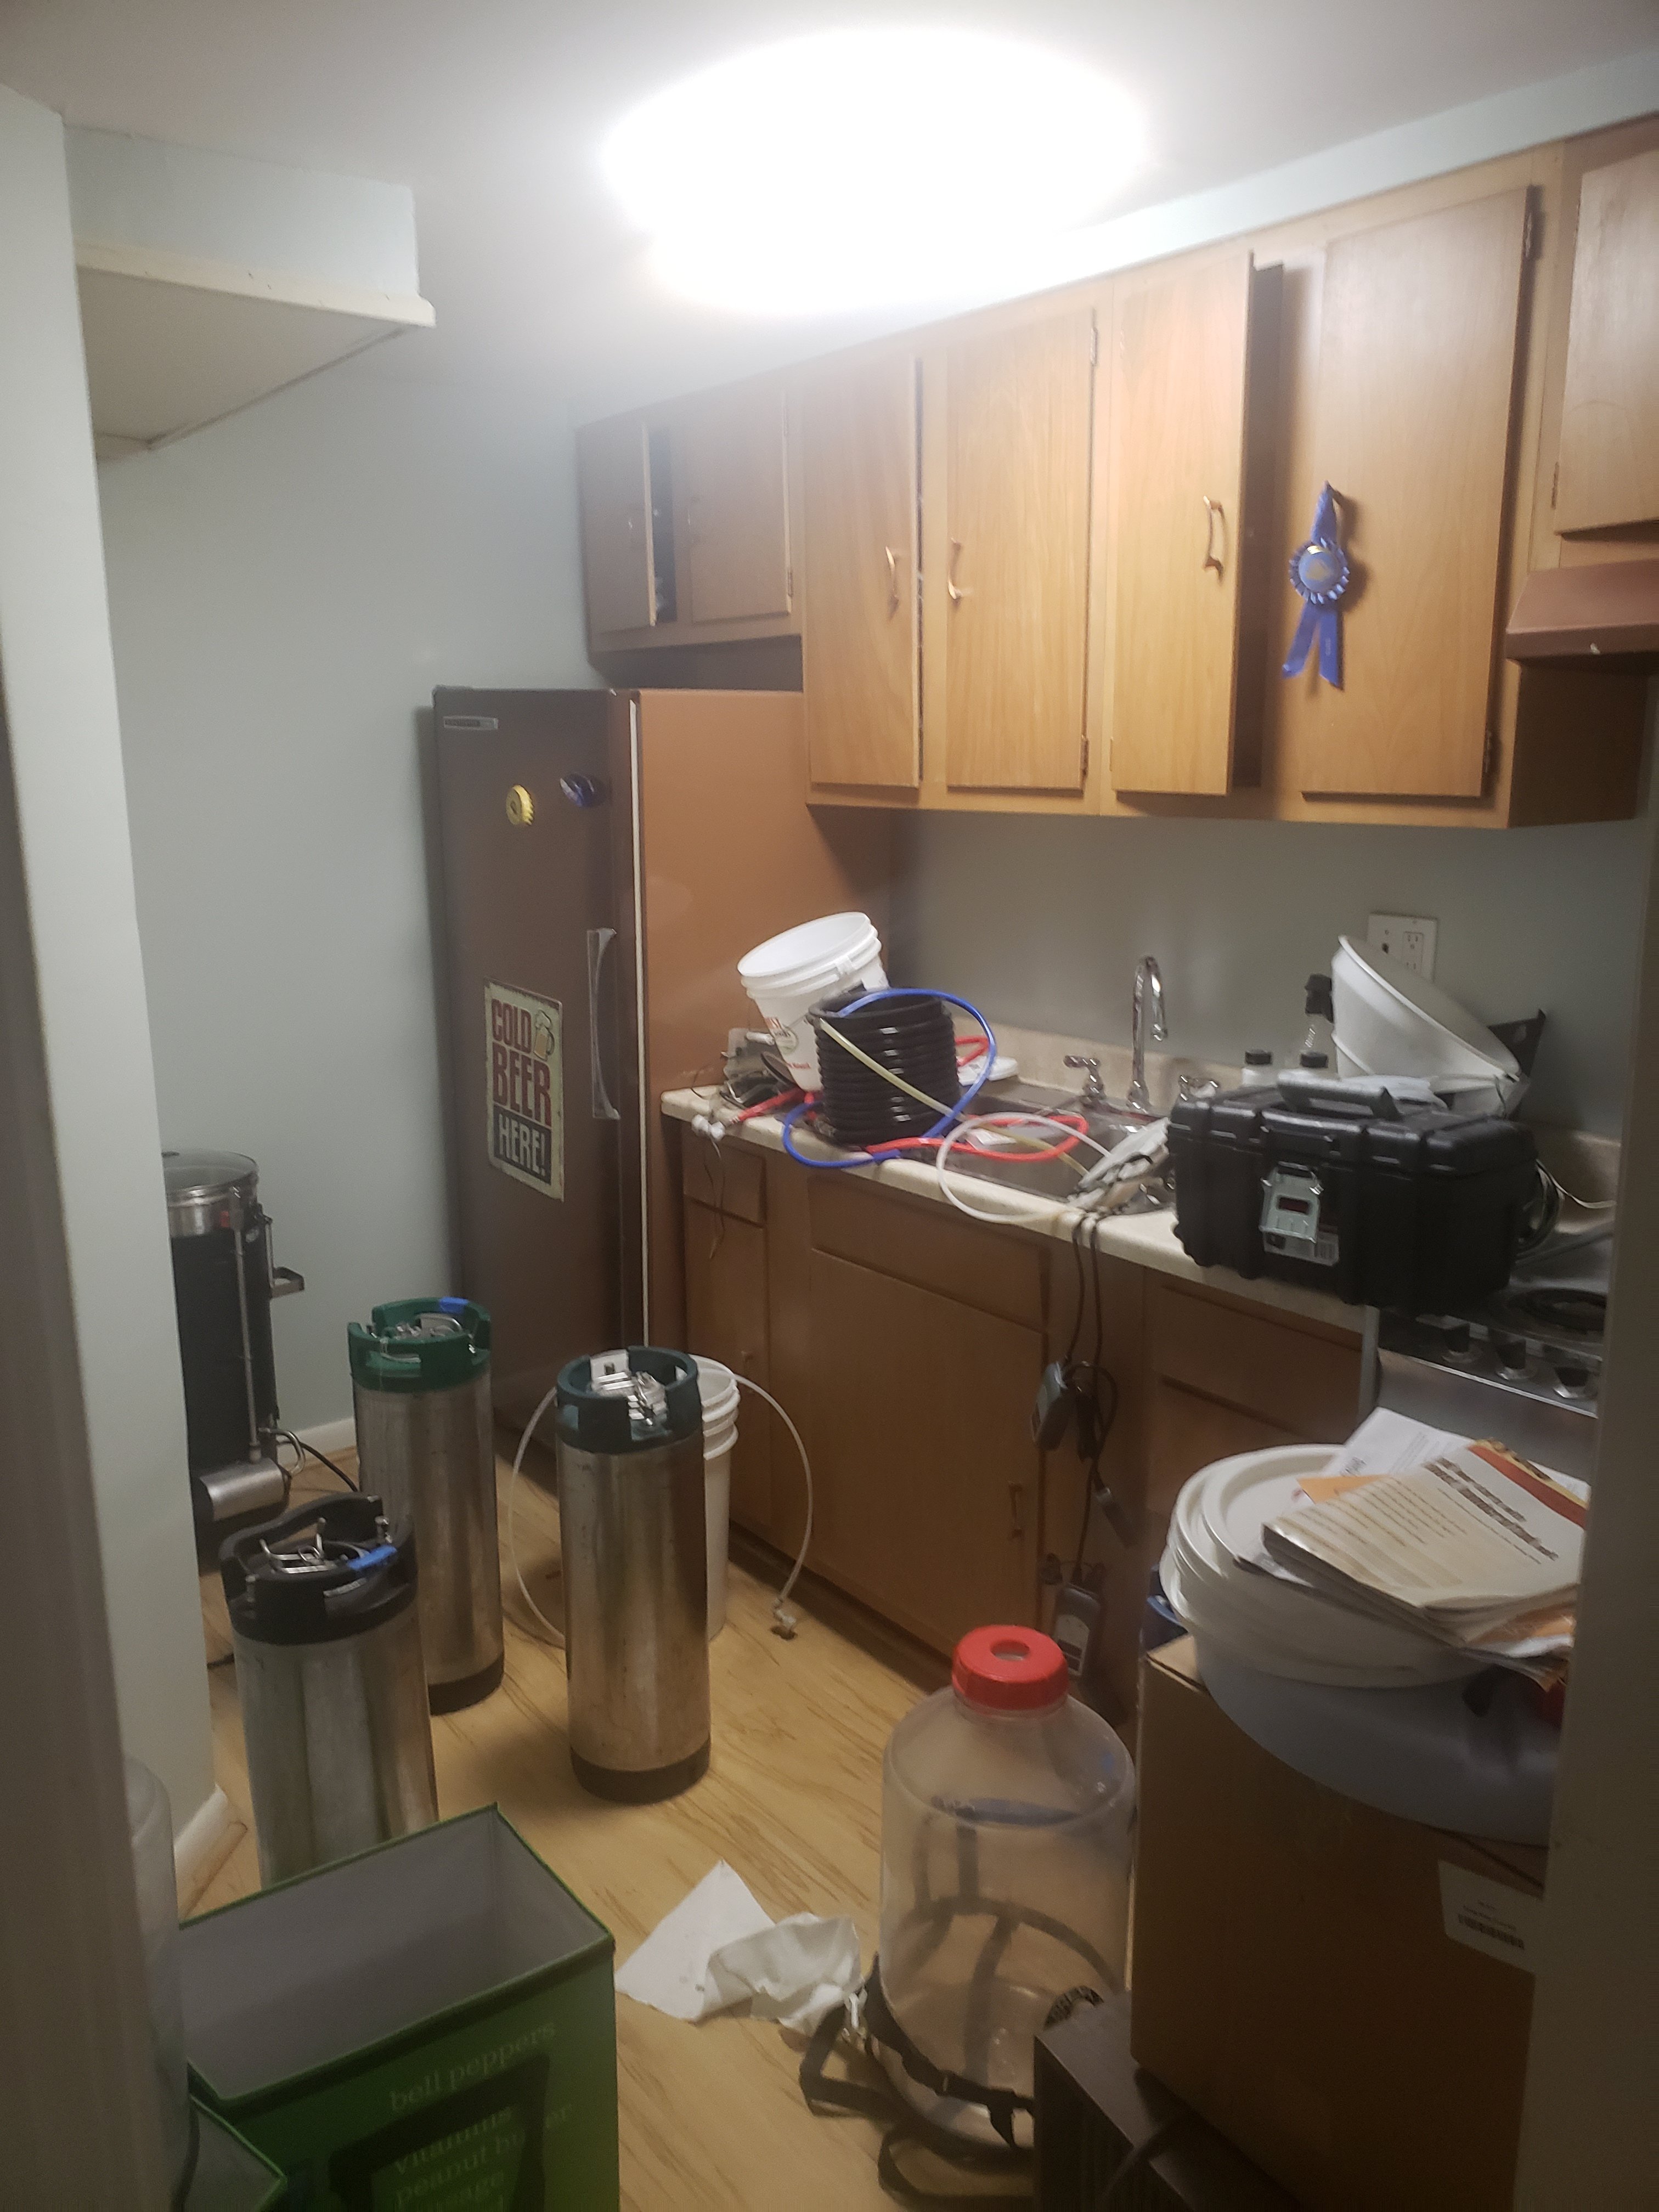
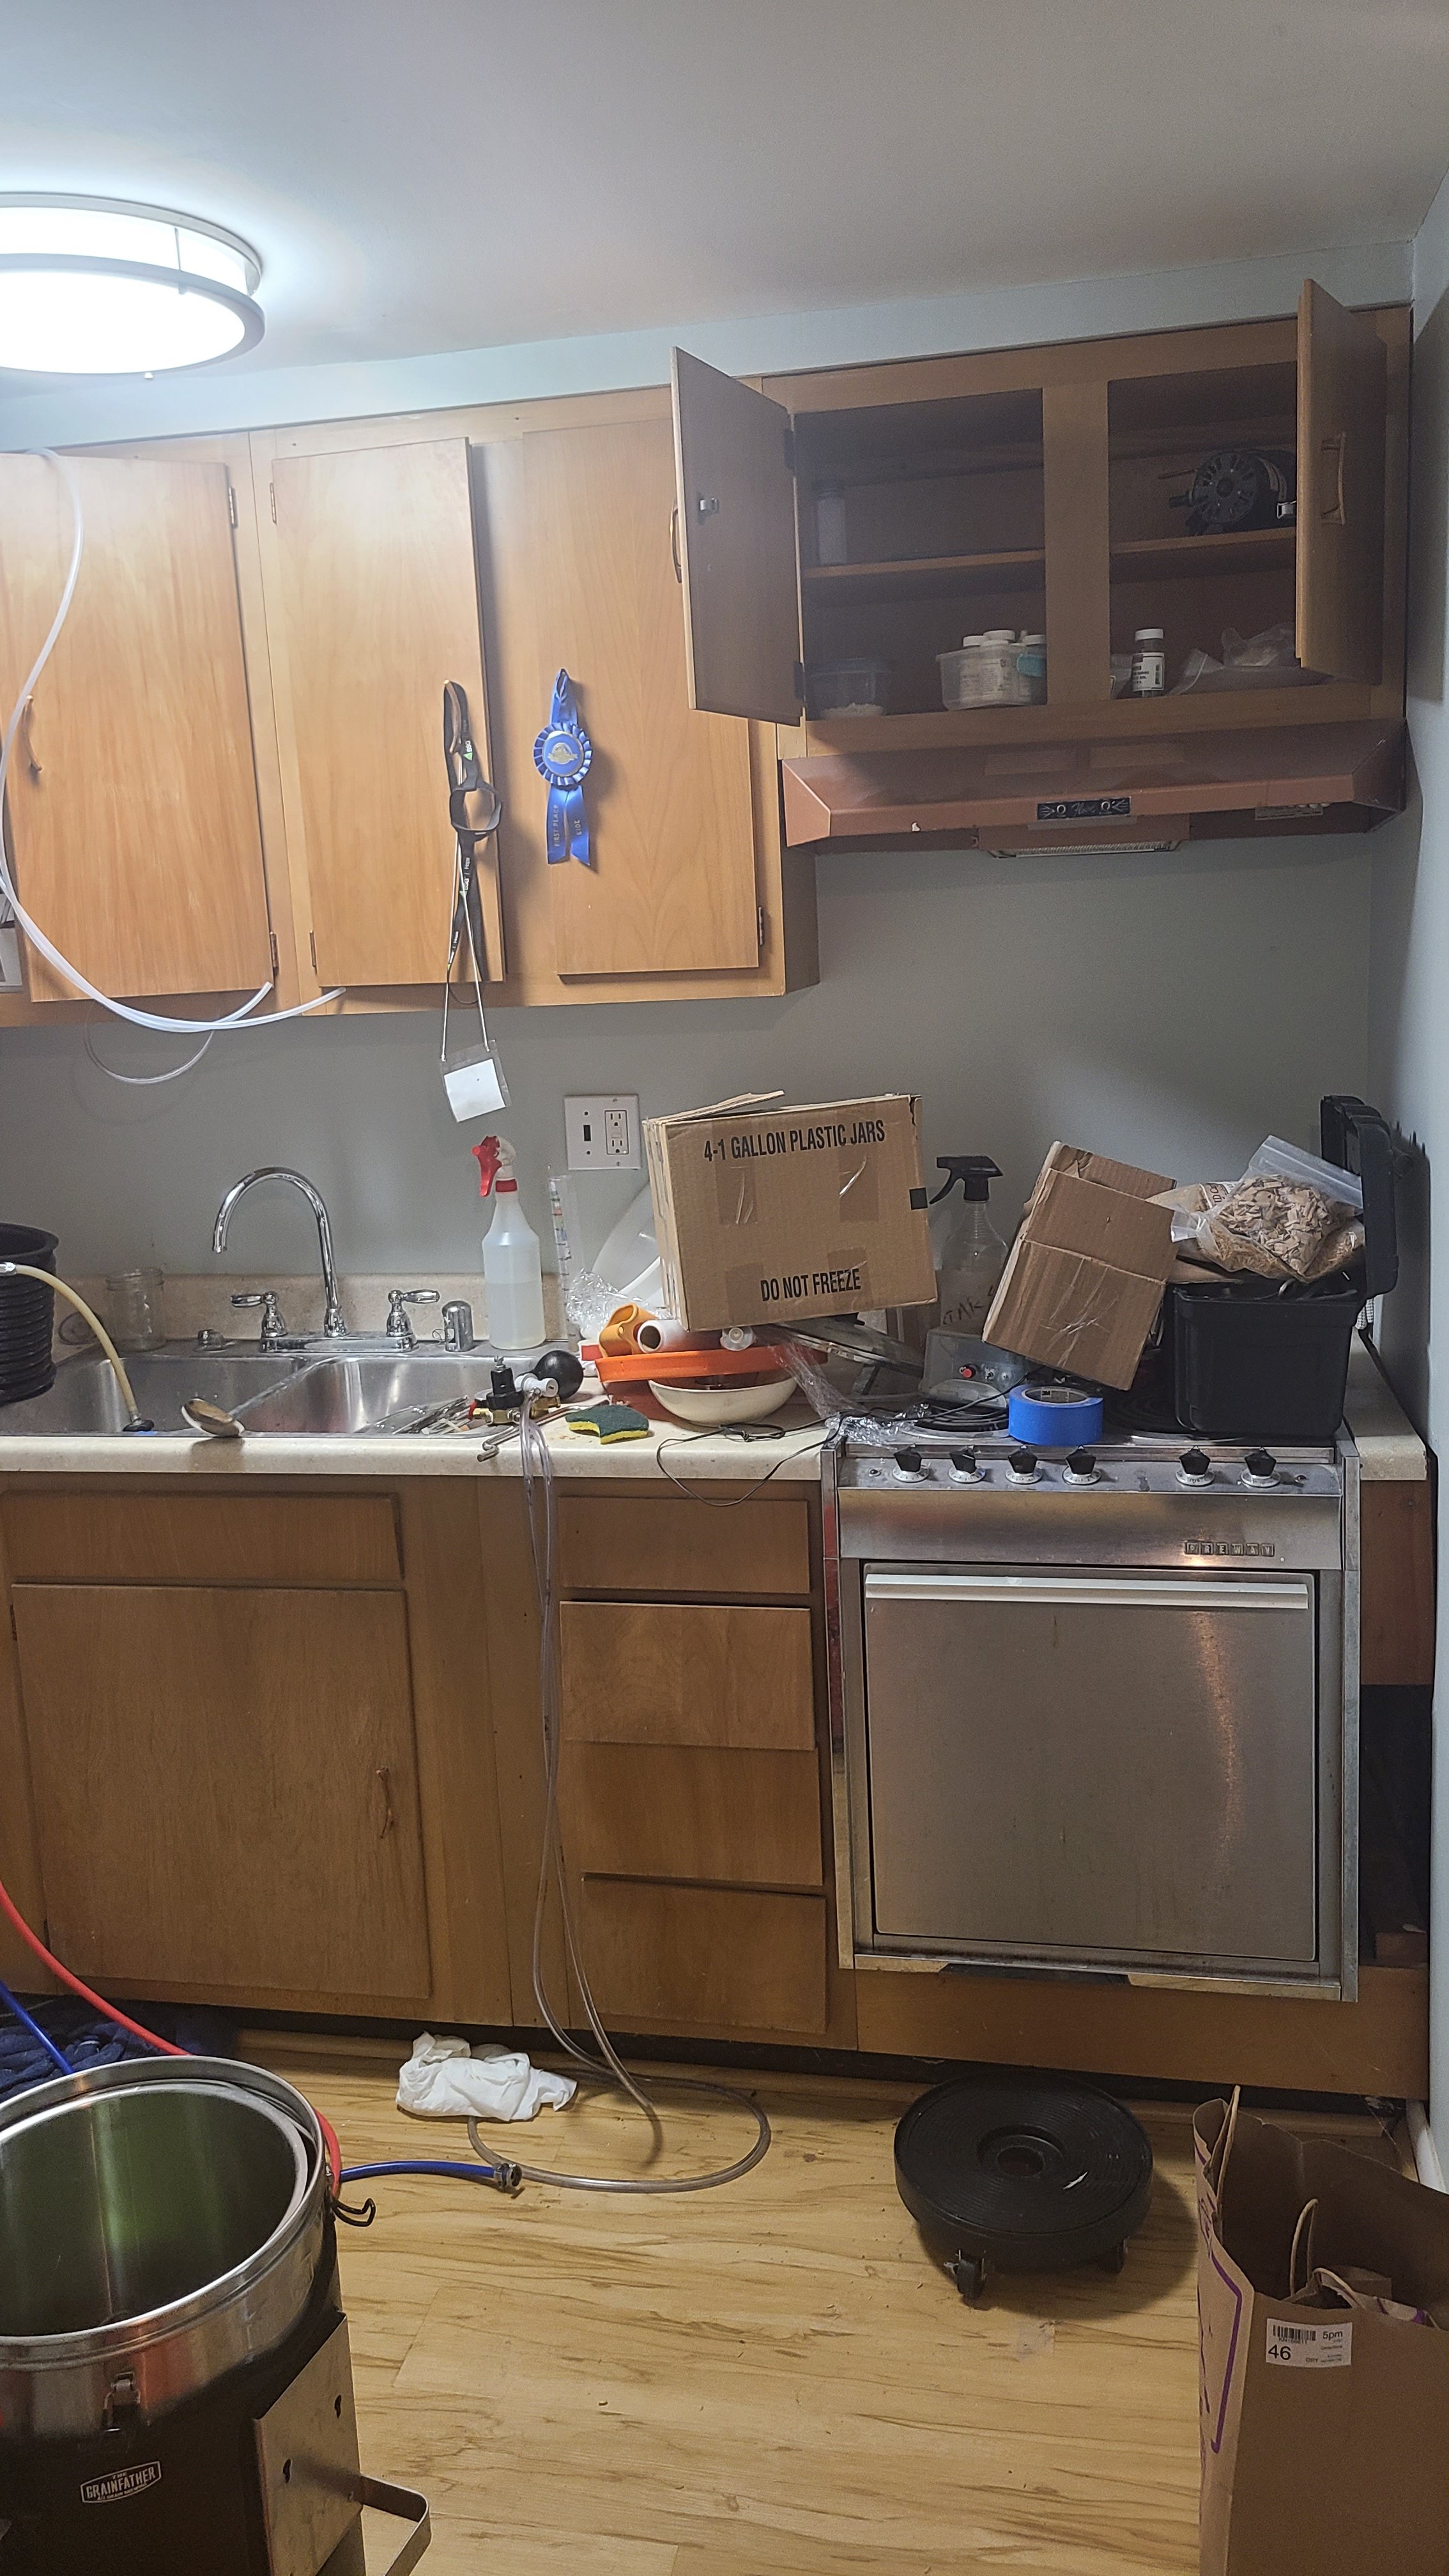
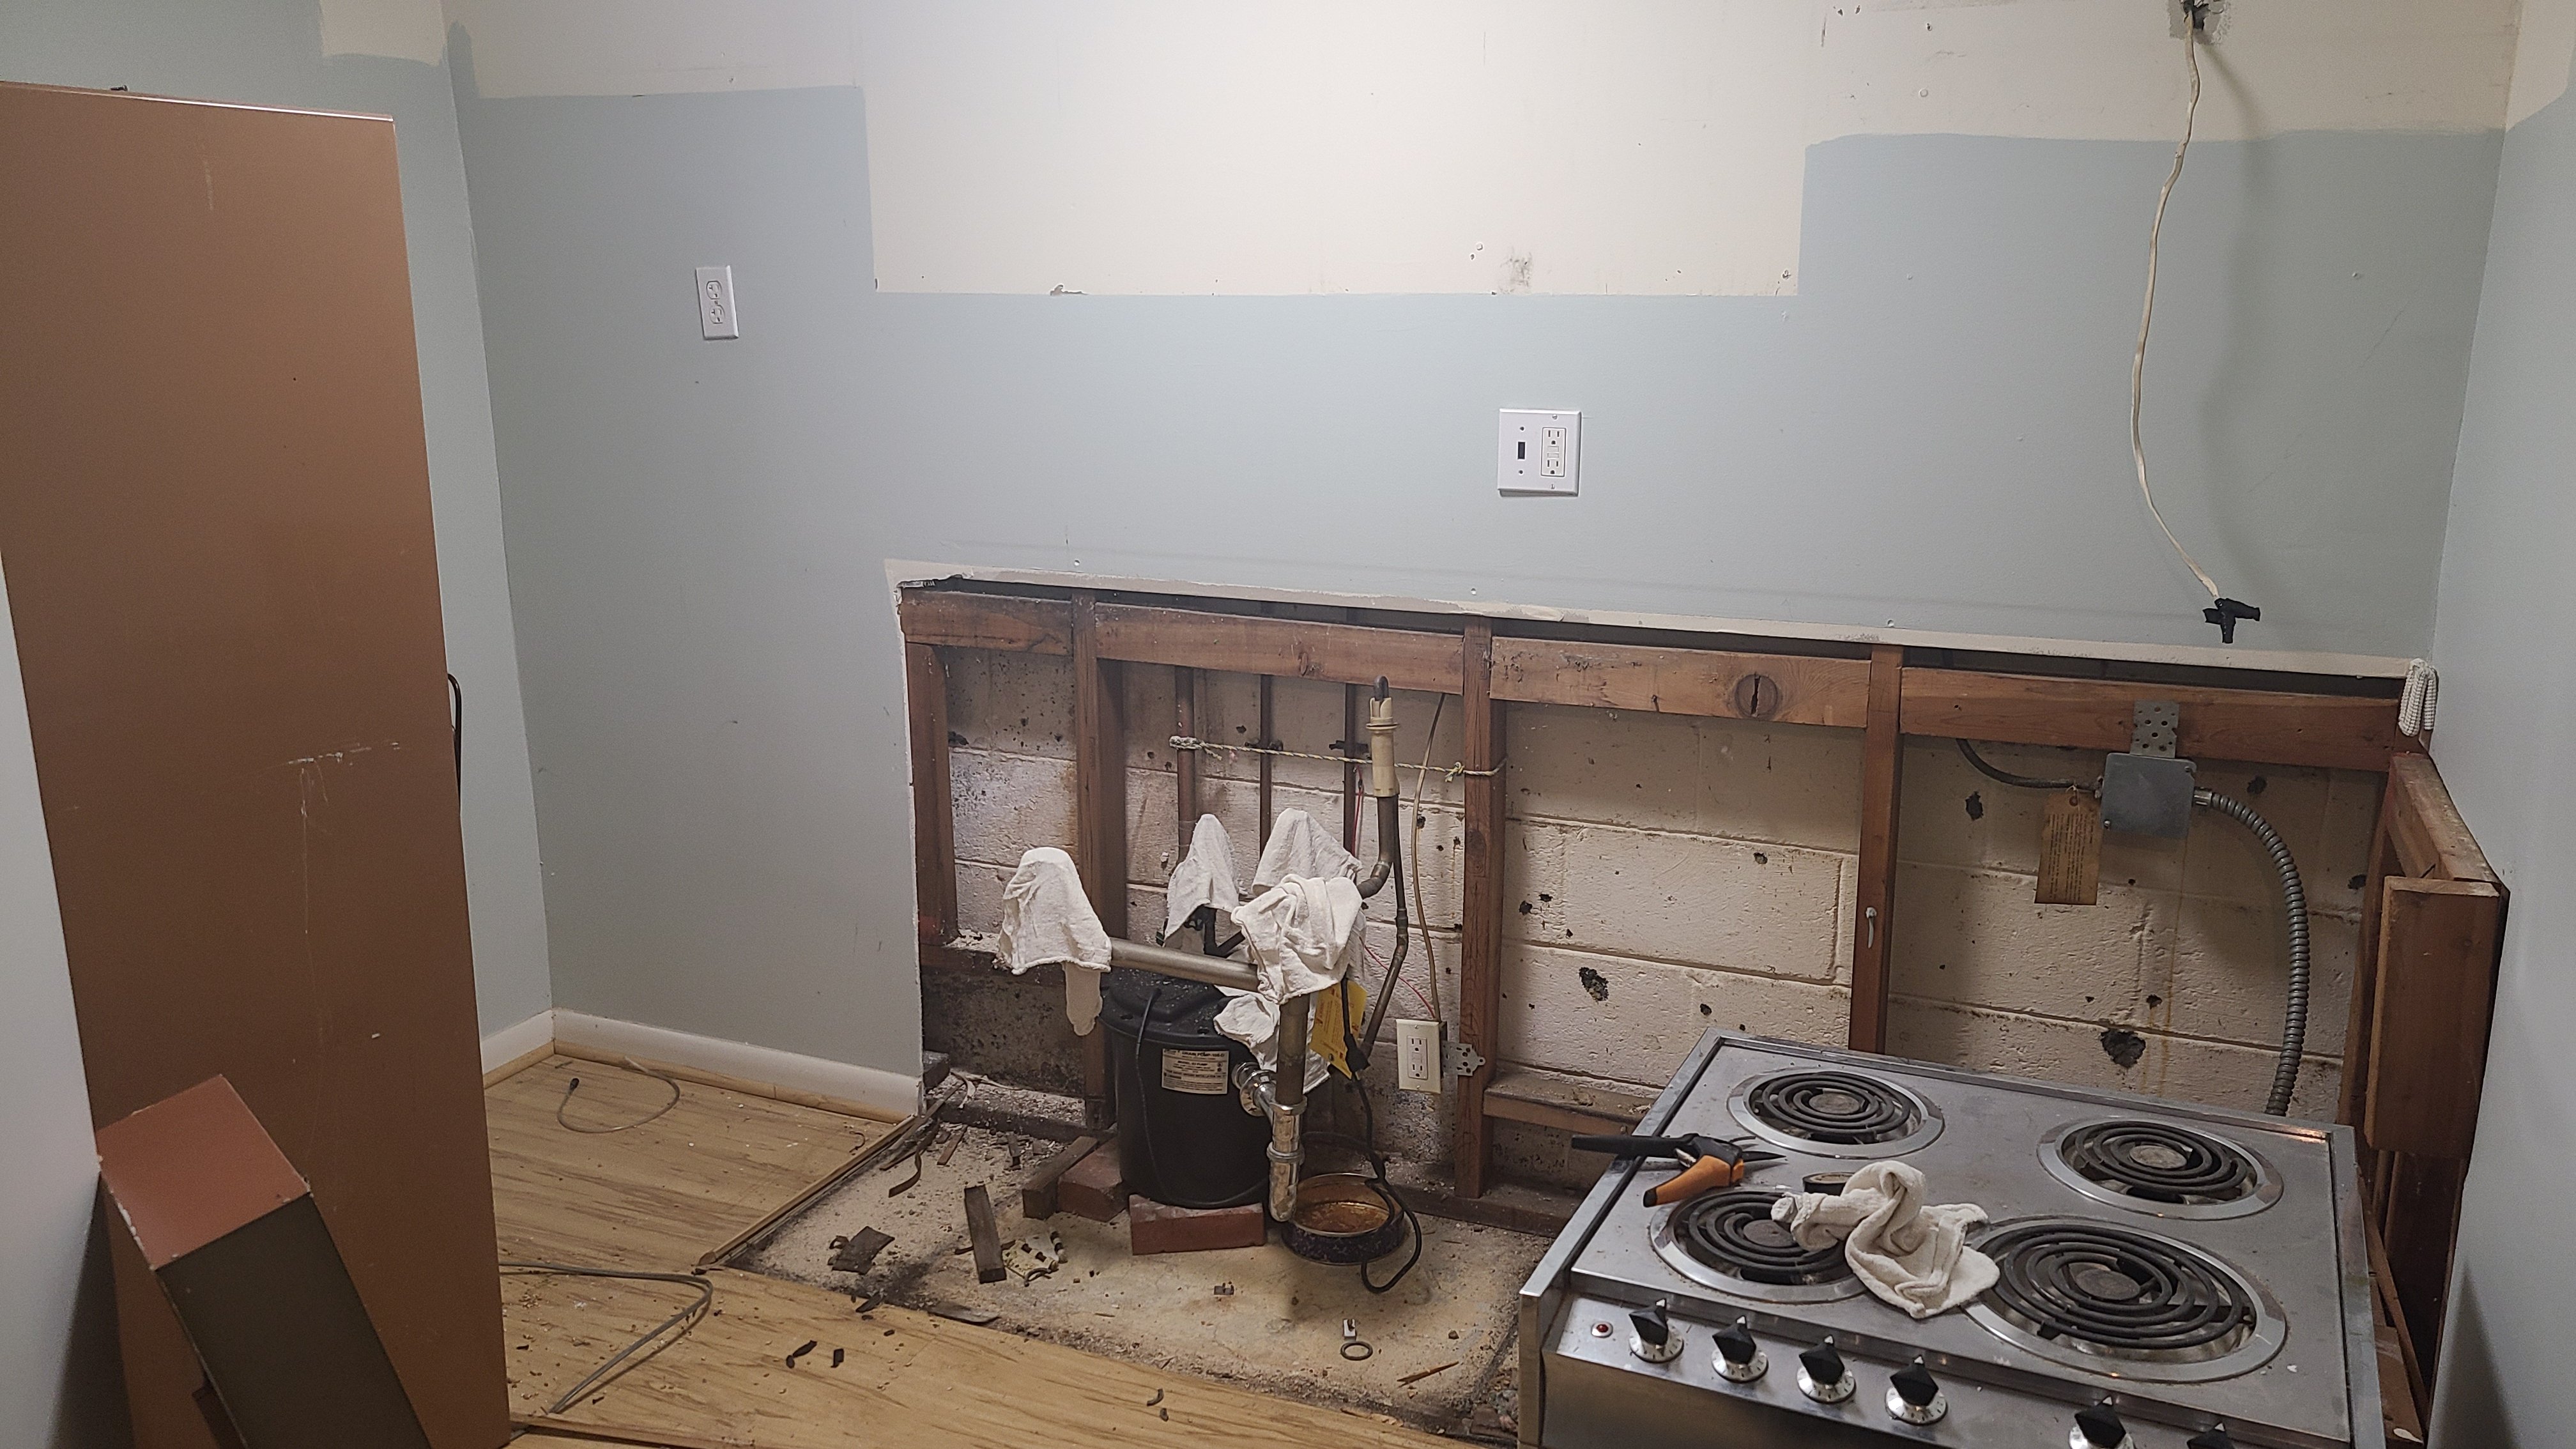
The plan is to have a lower counter below the bar top. The first picture below is my current progress. The second has a peice of cardboard to approximate the bar top.

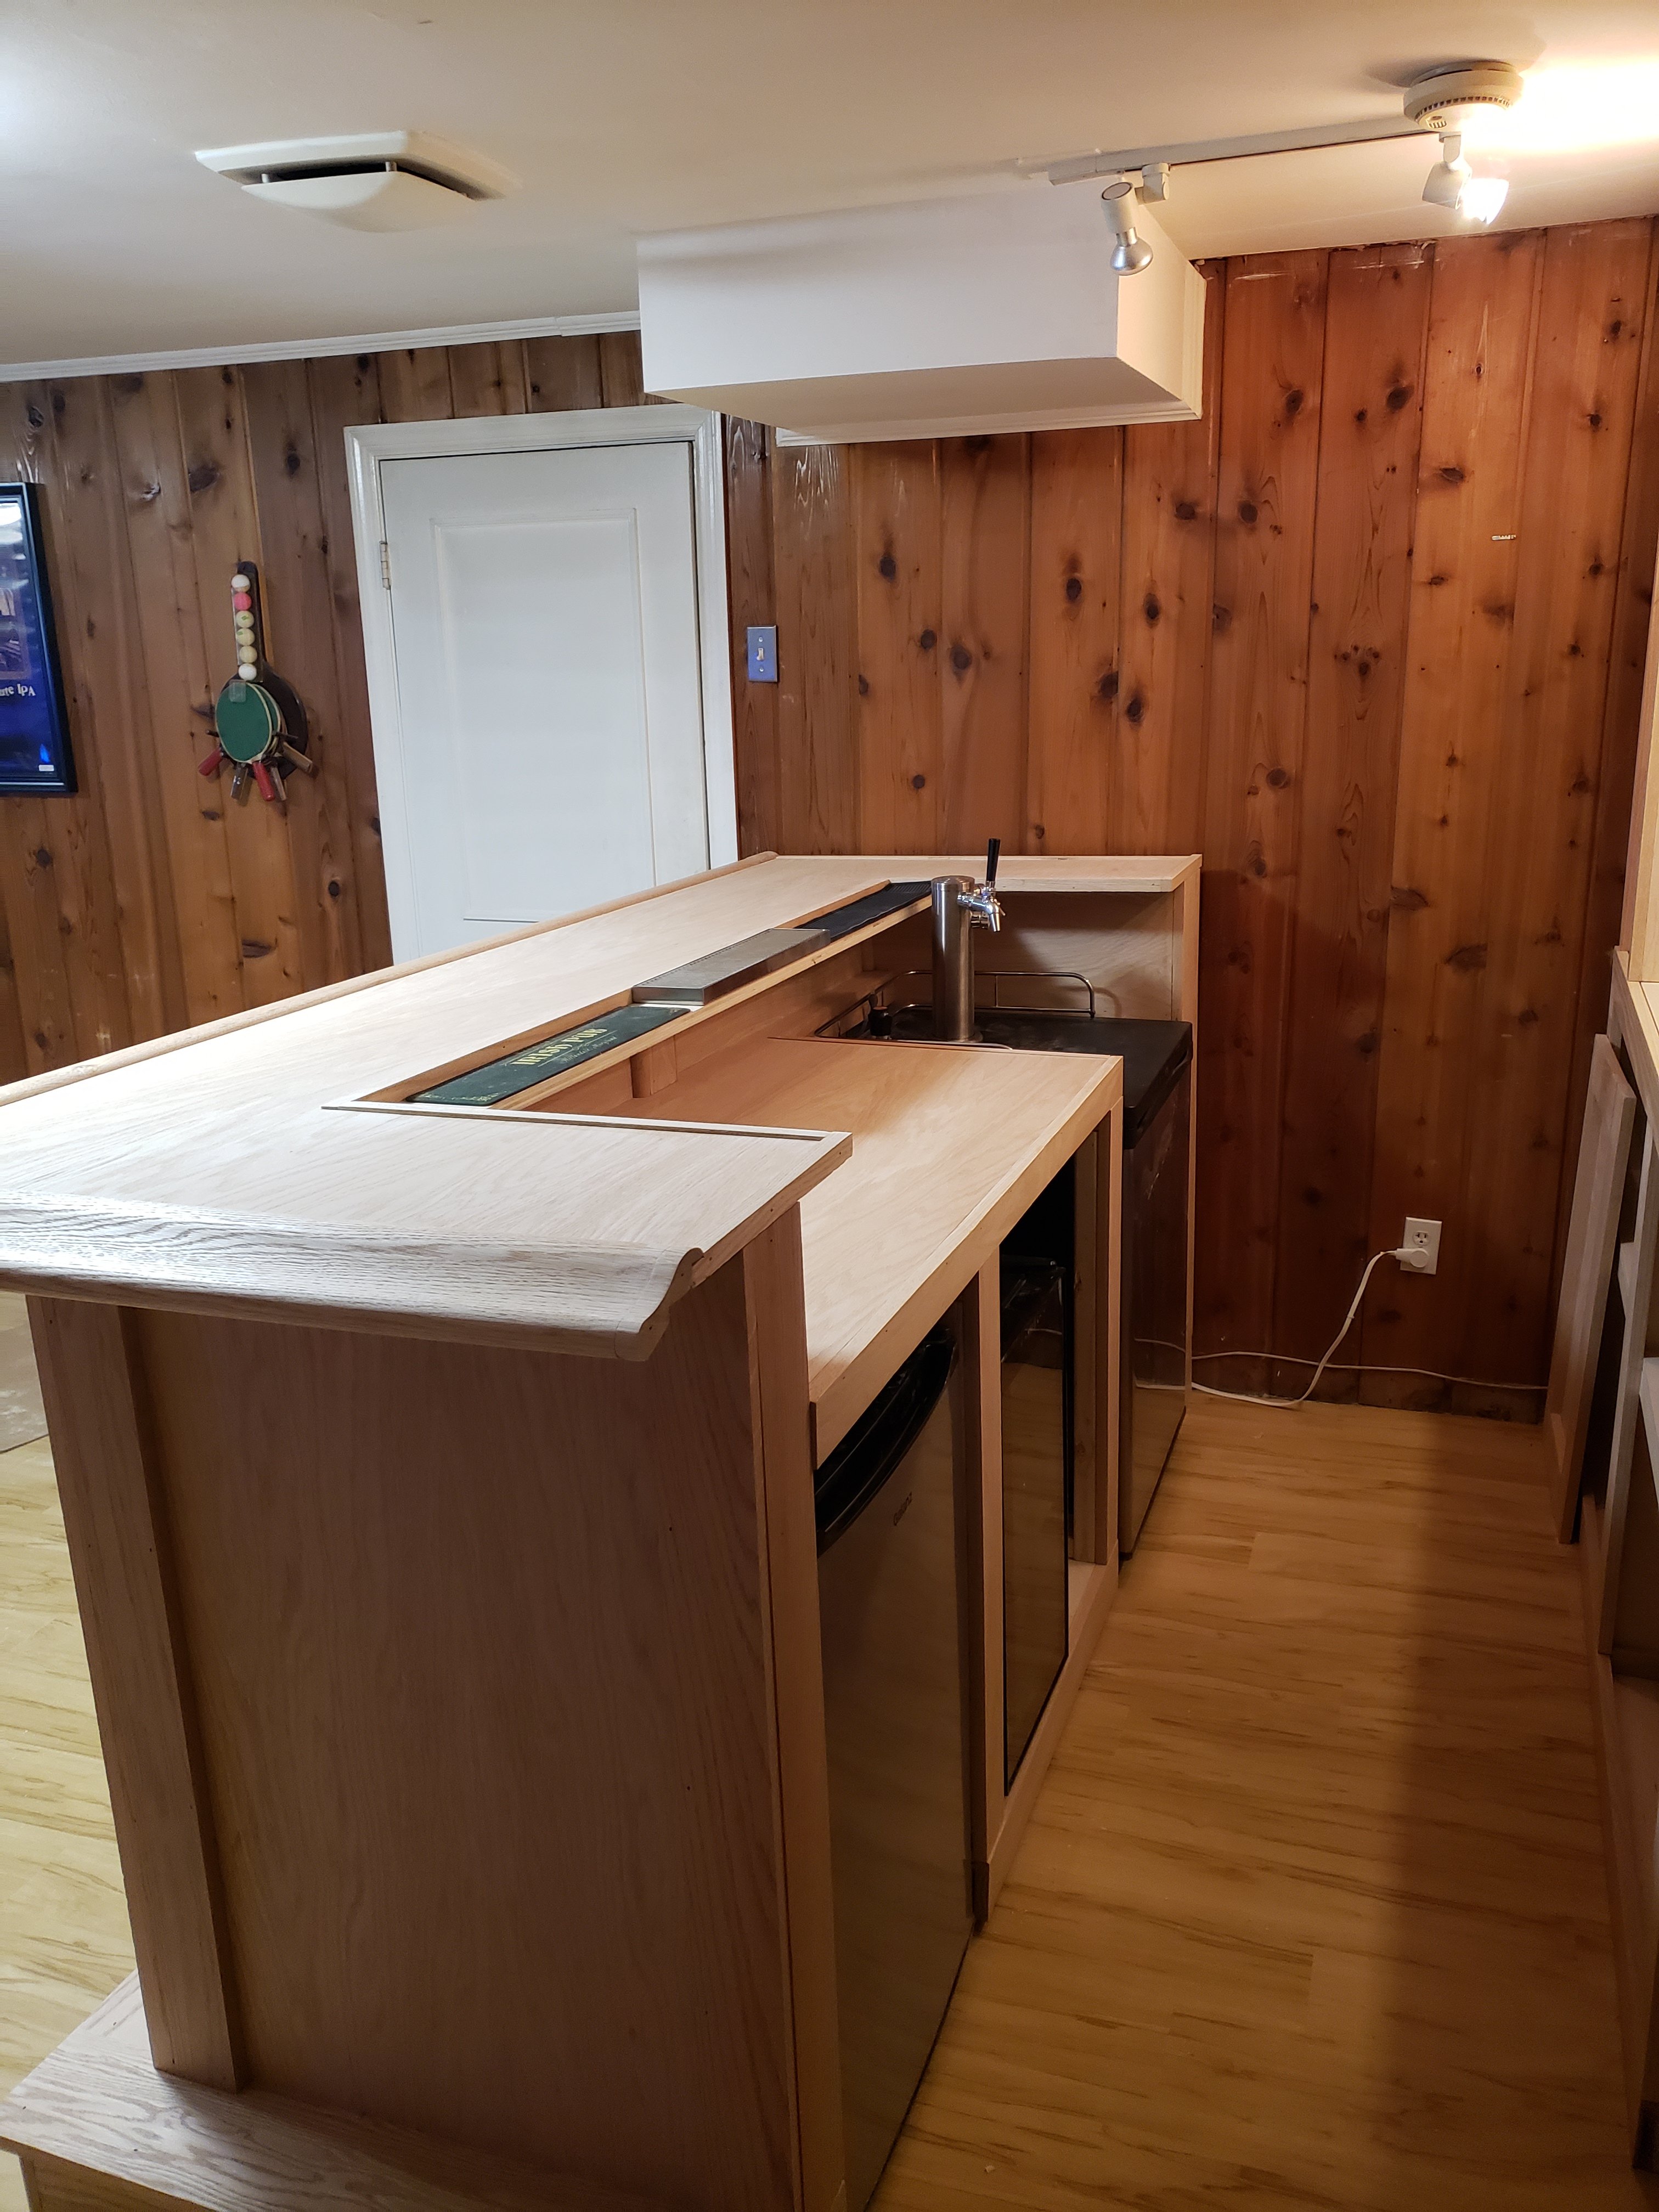
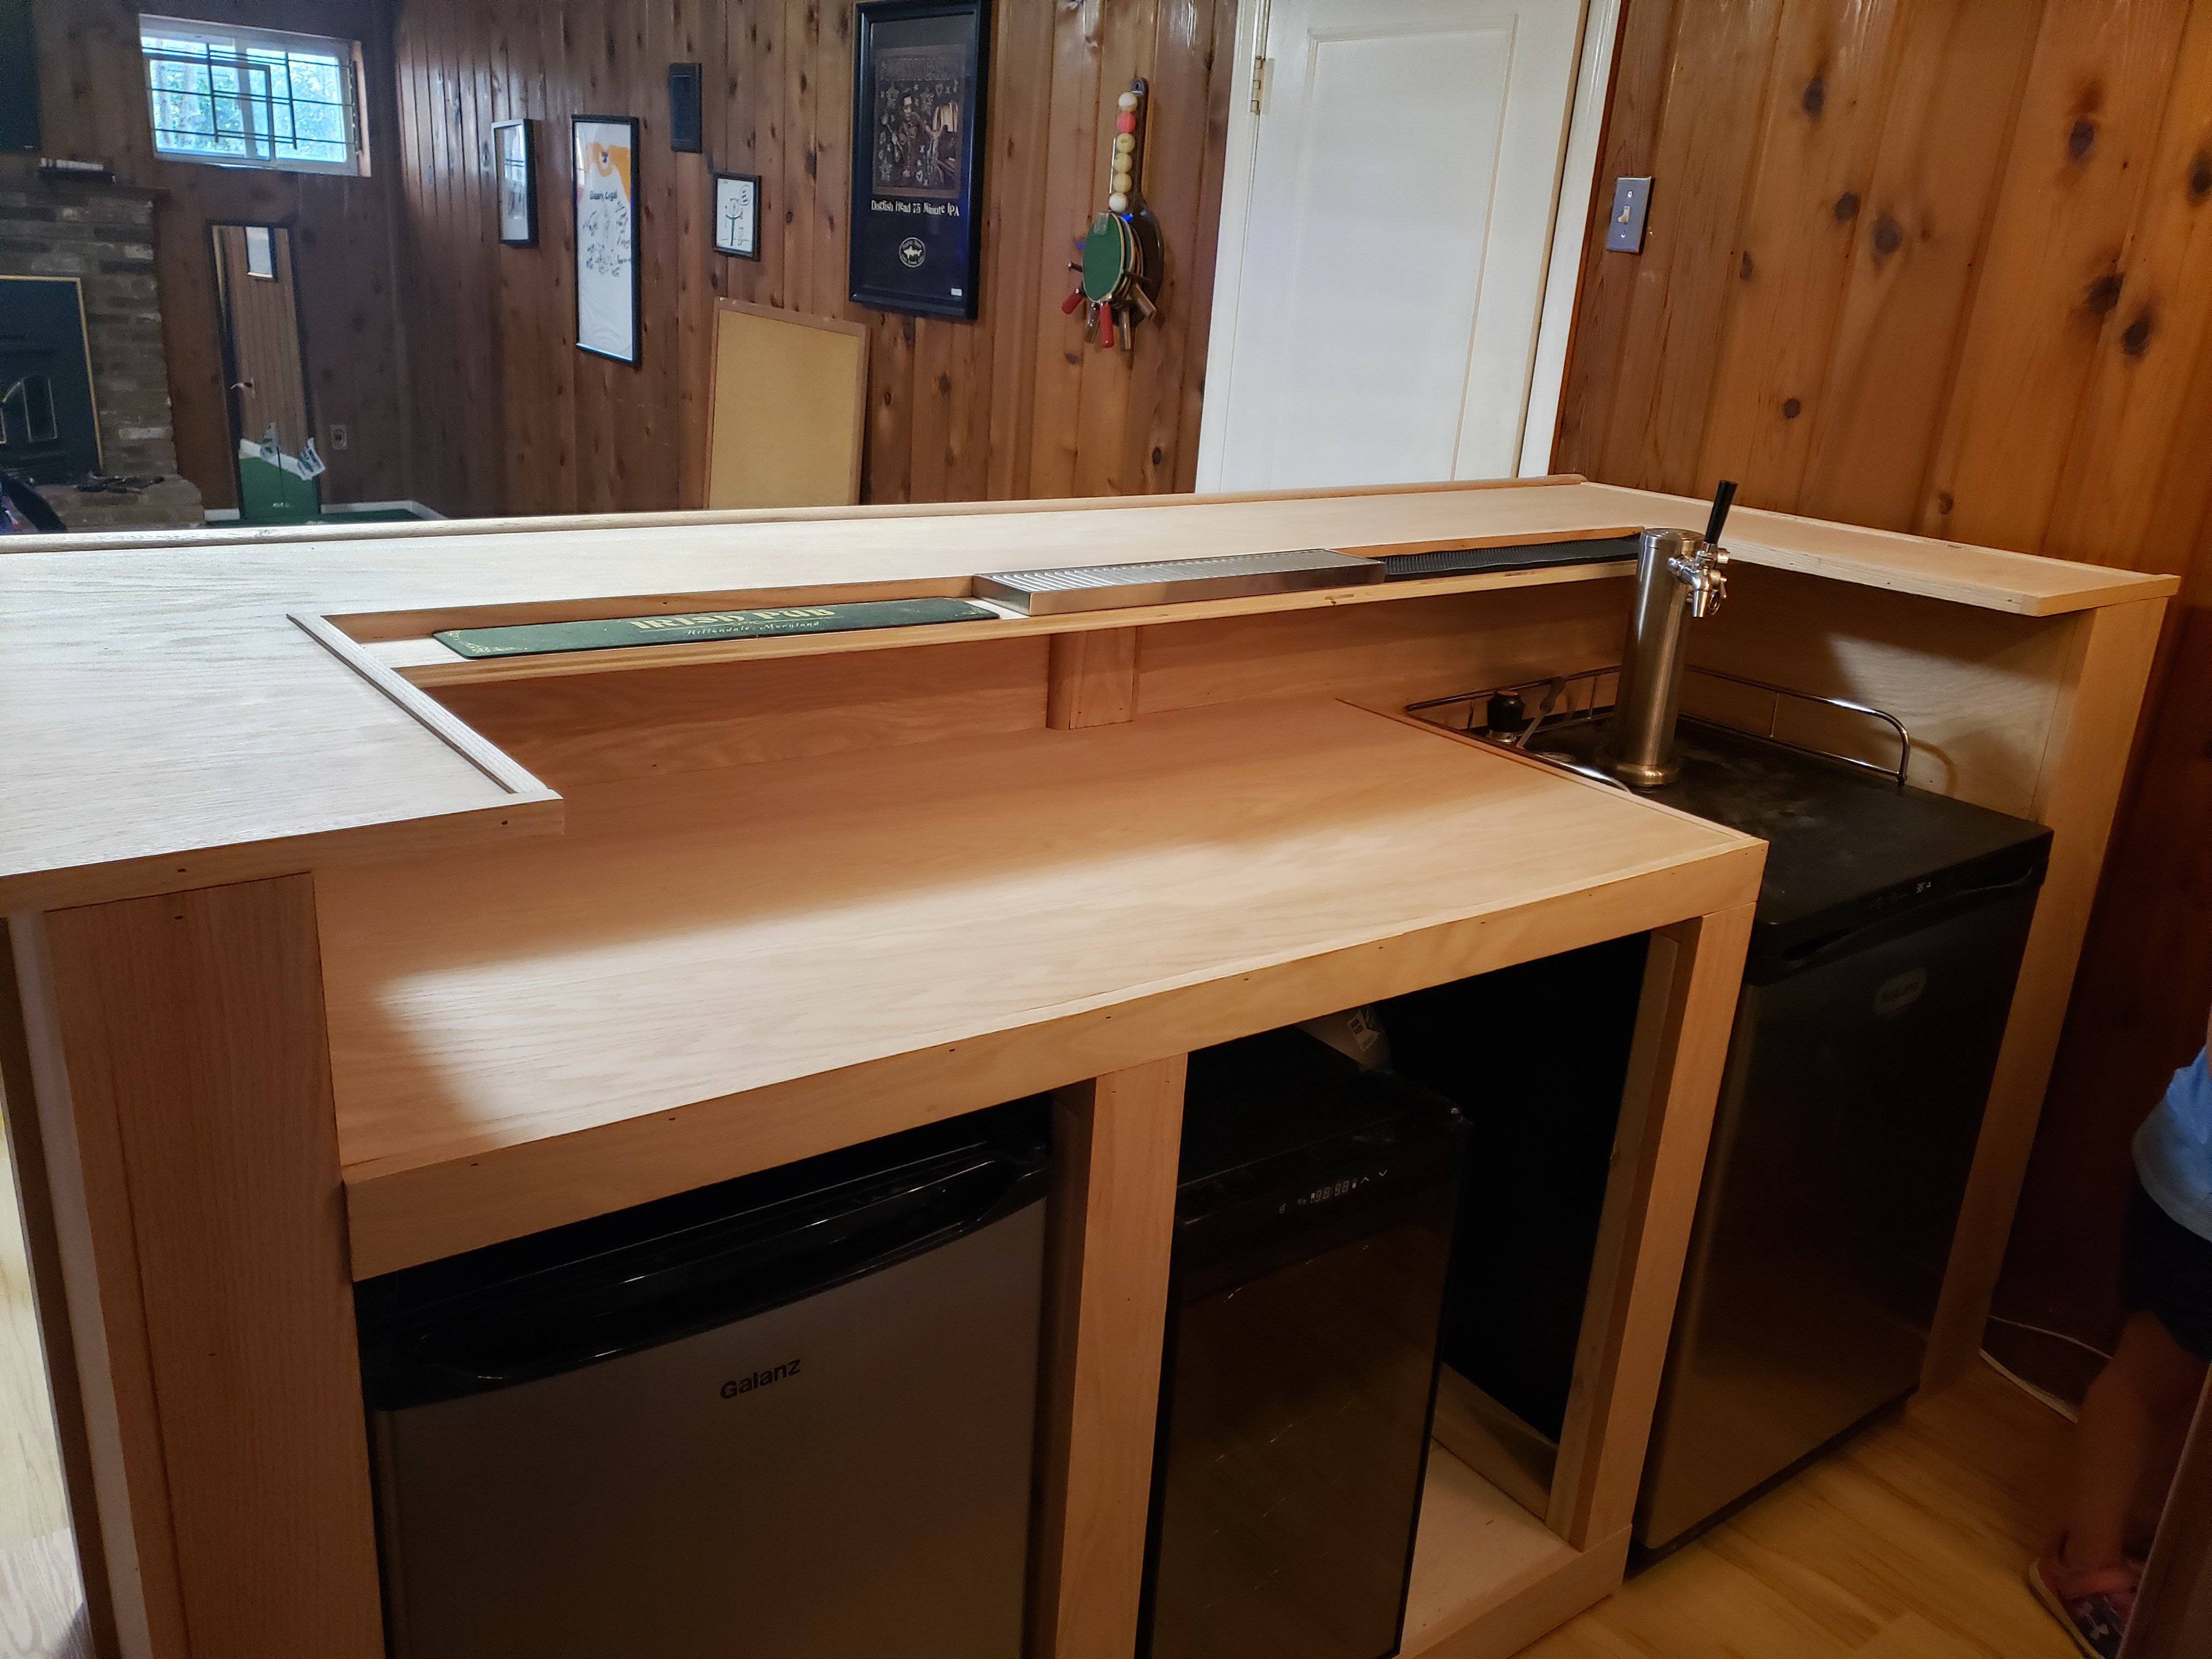
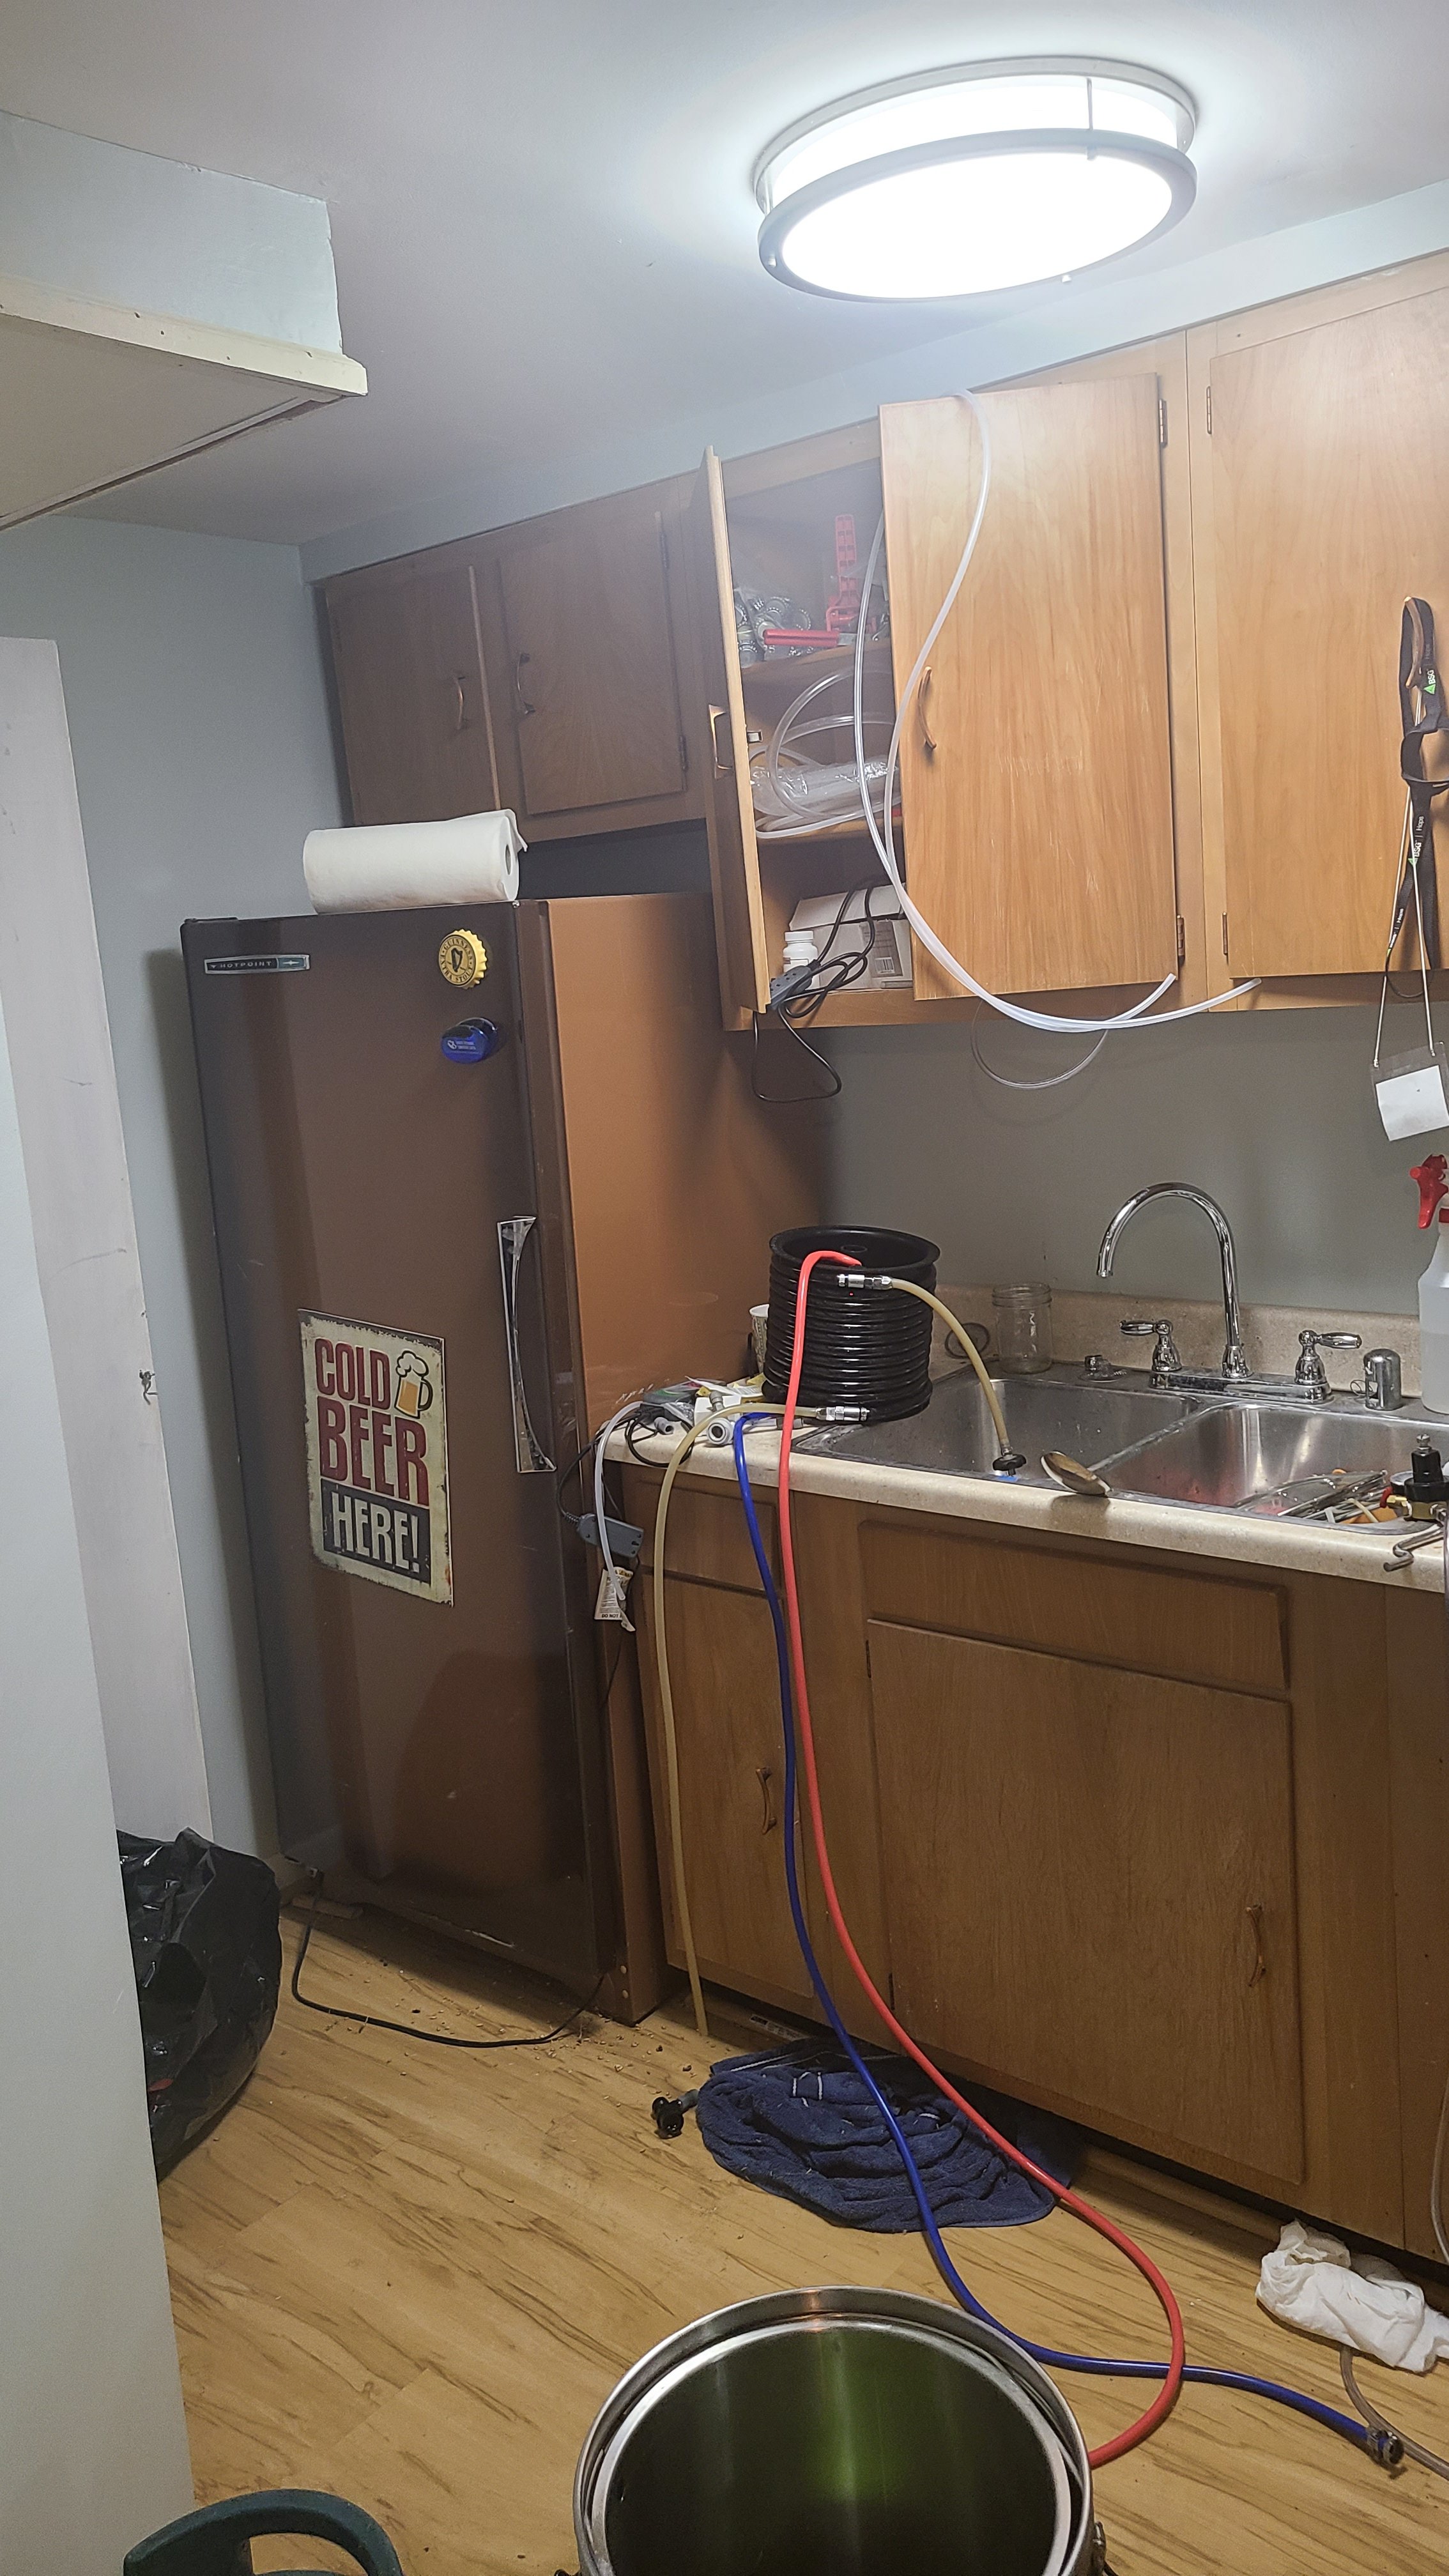
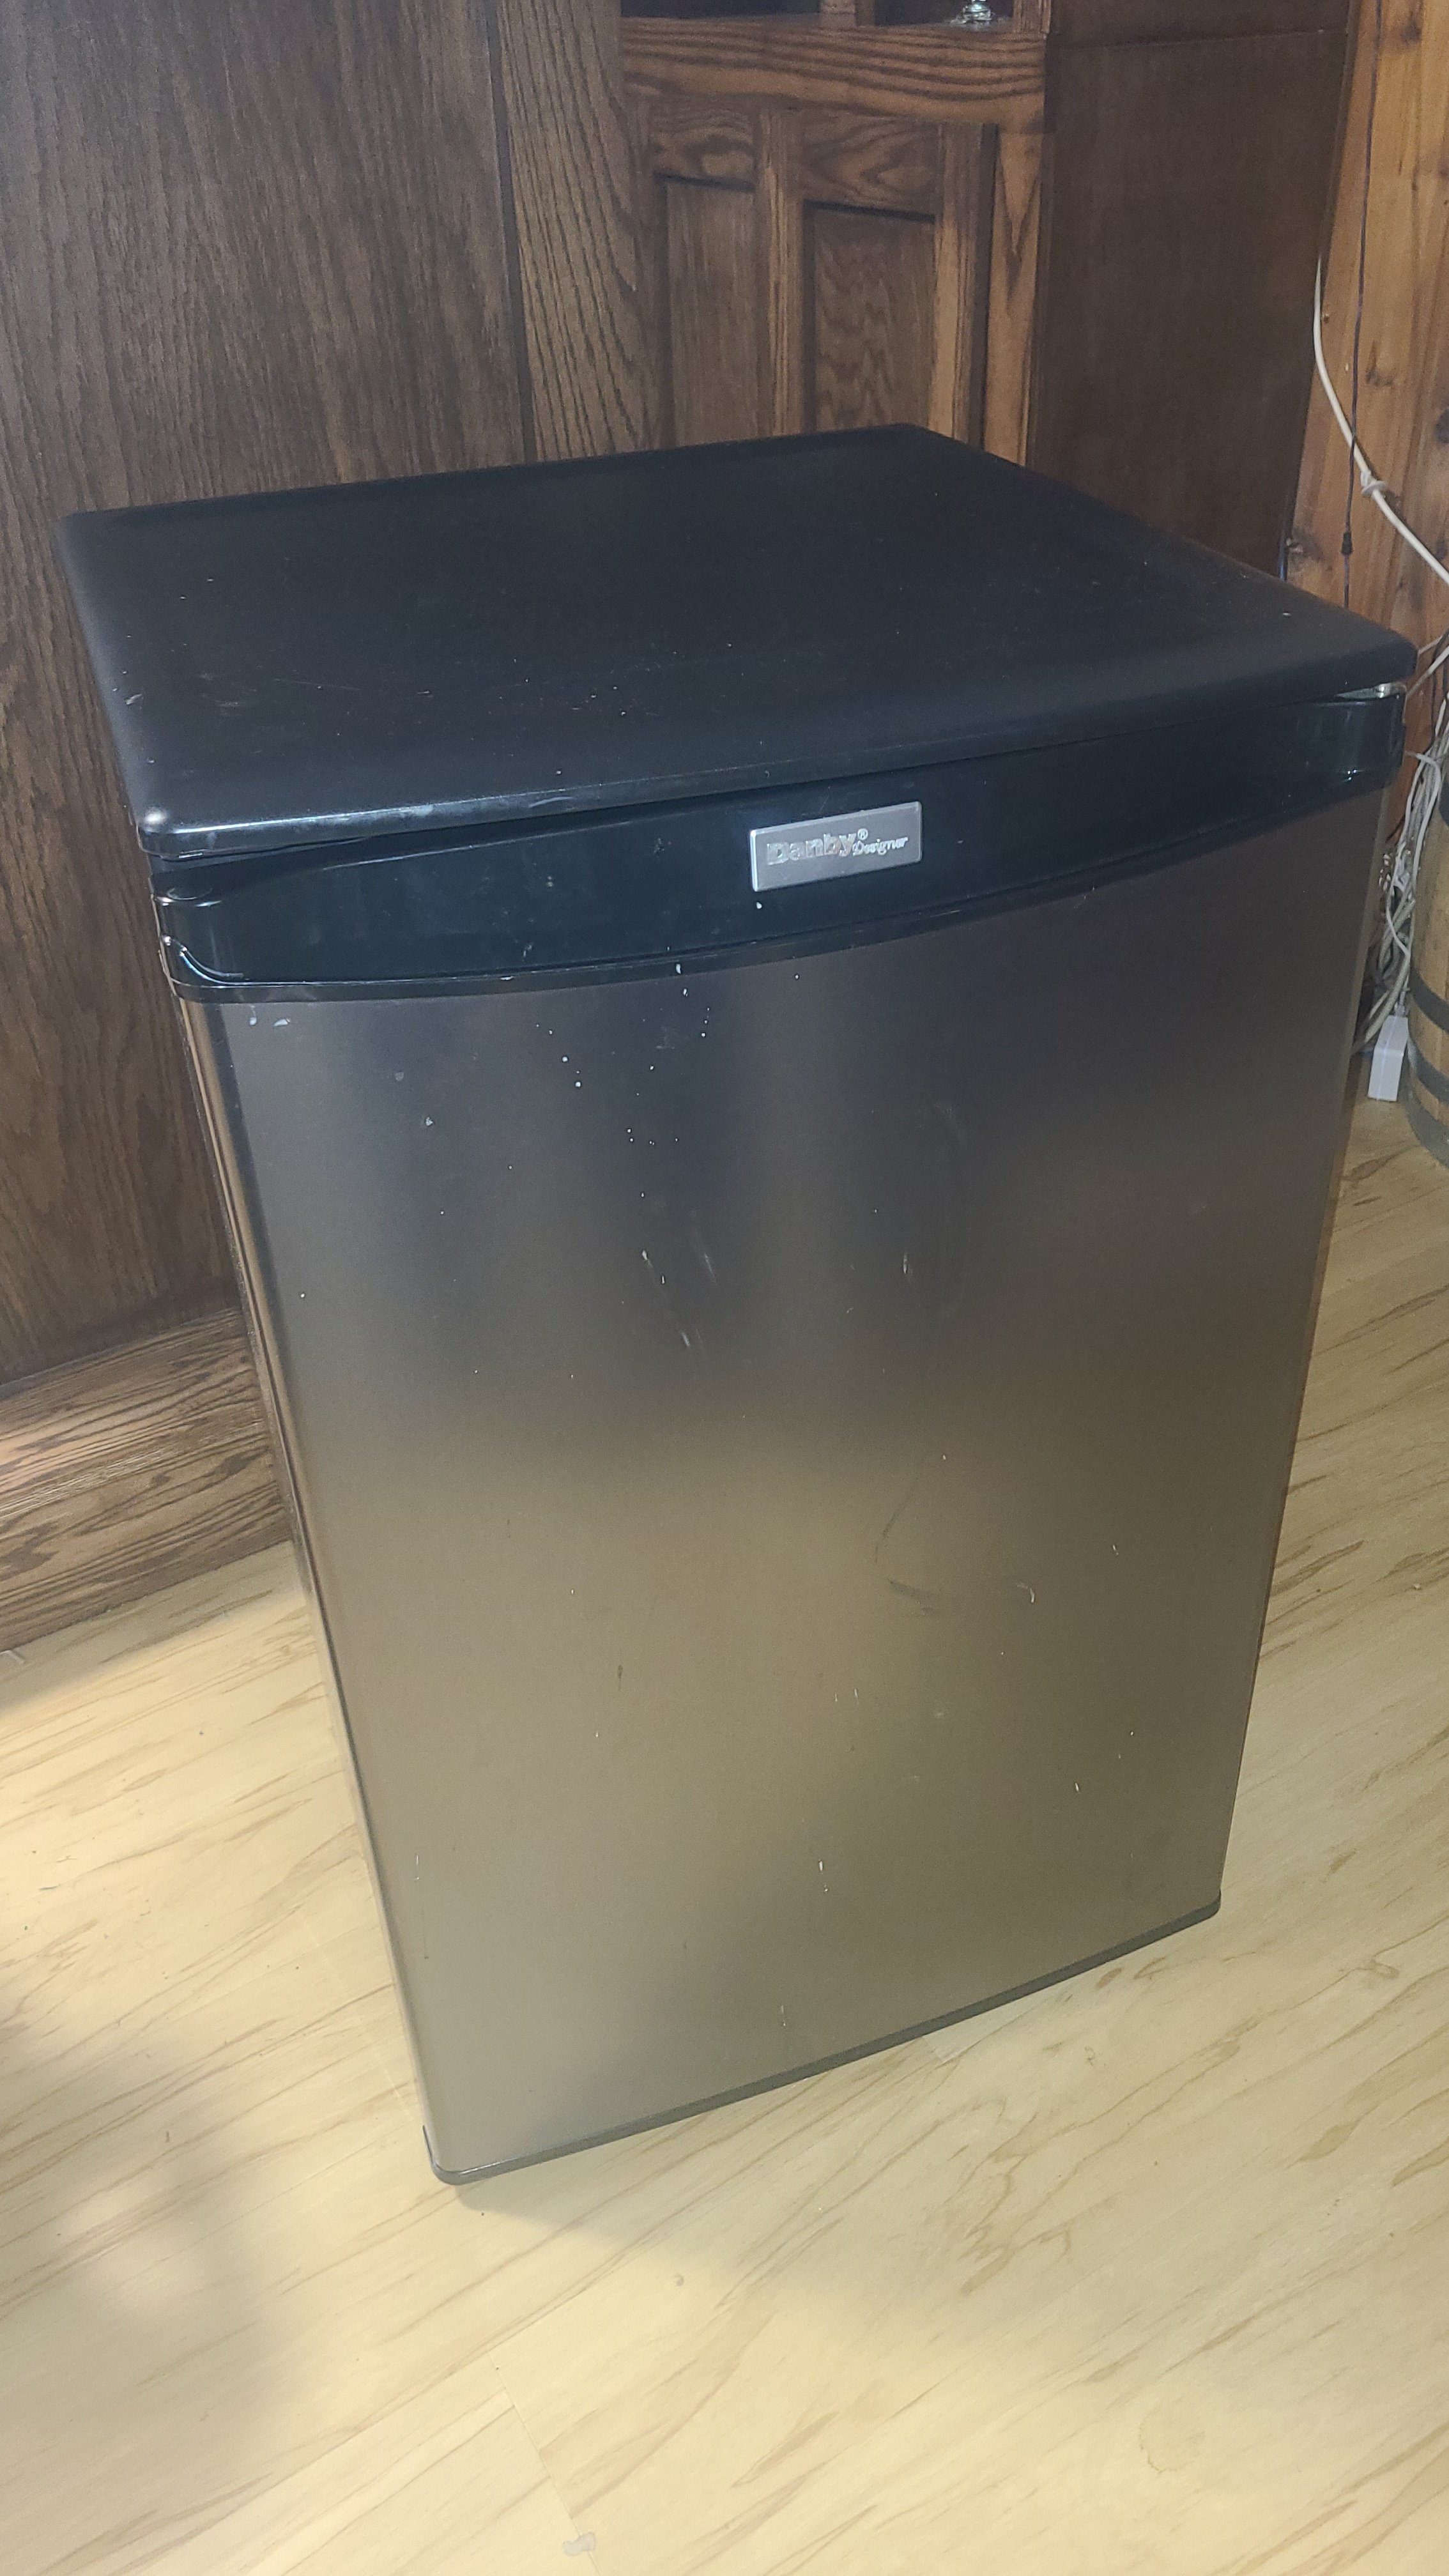
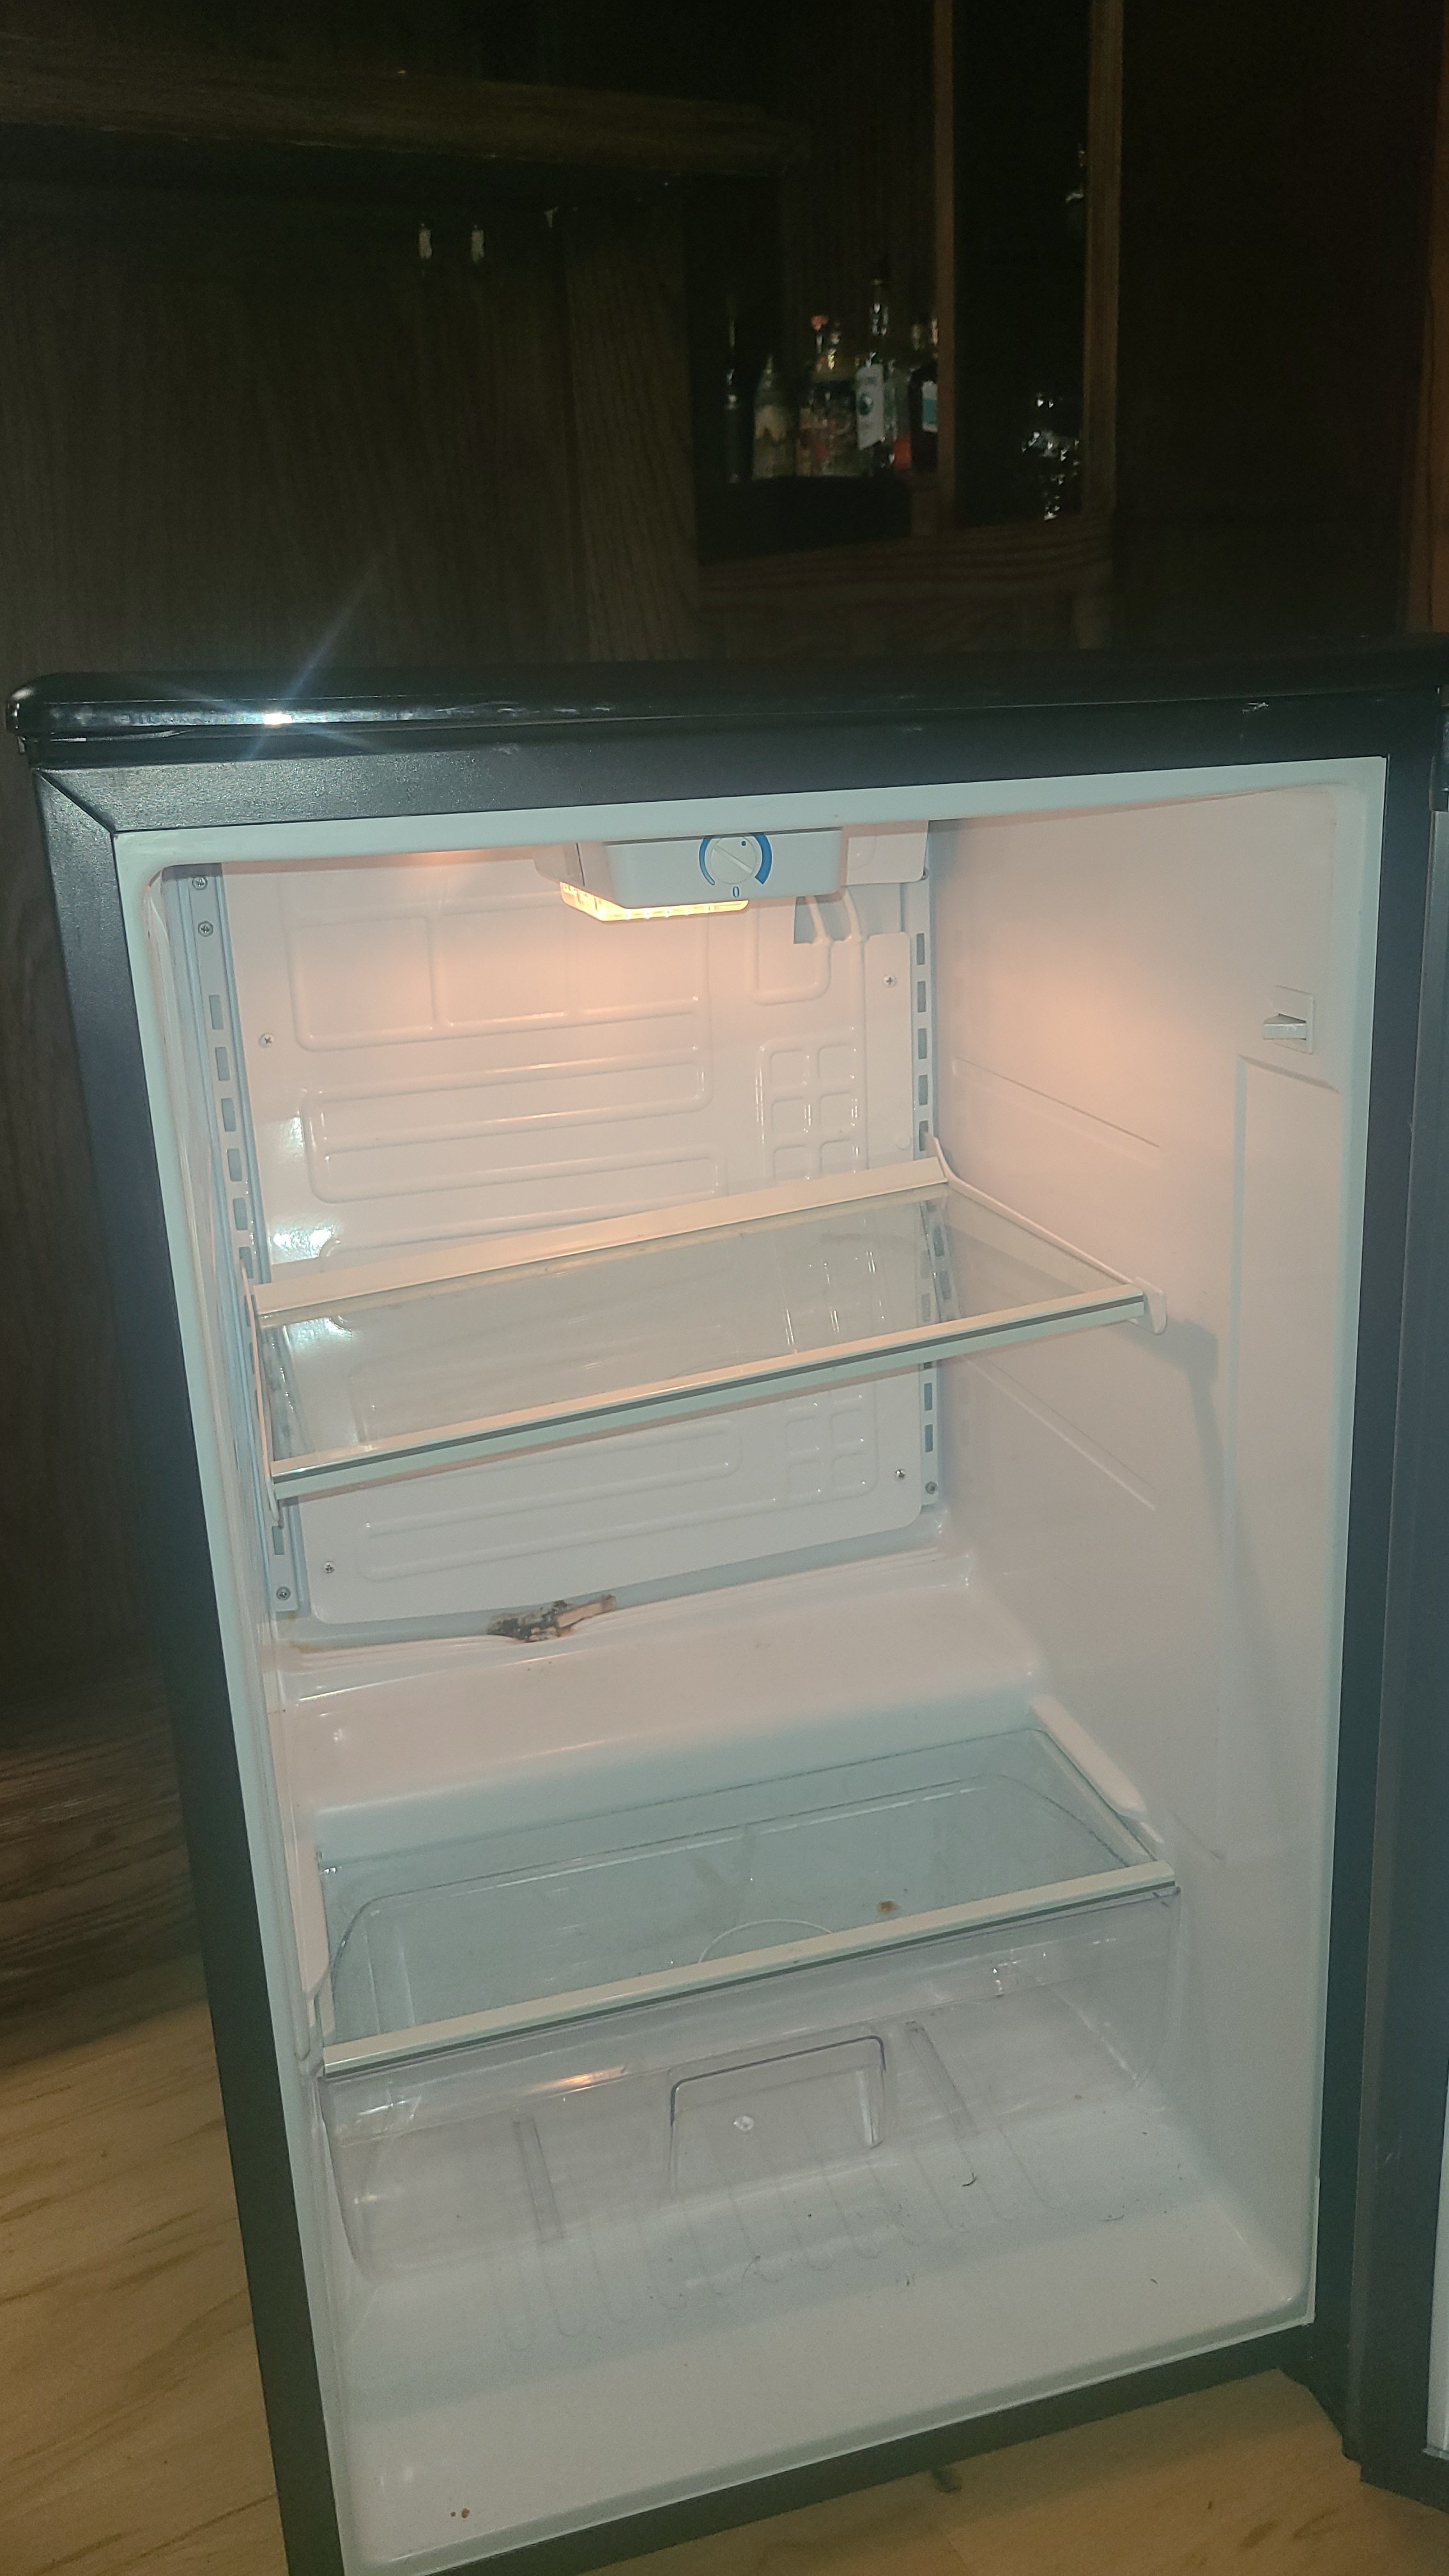
The keg is under the counter and the lower counter is not yet attached. So the third pic shows underneath the counter, with the pencil pointing to the hole where the tower normally goes on the kegerator.


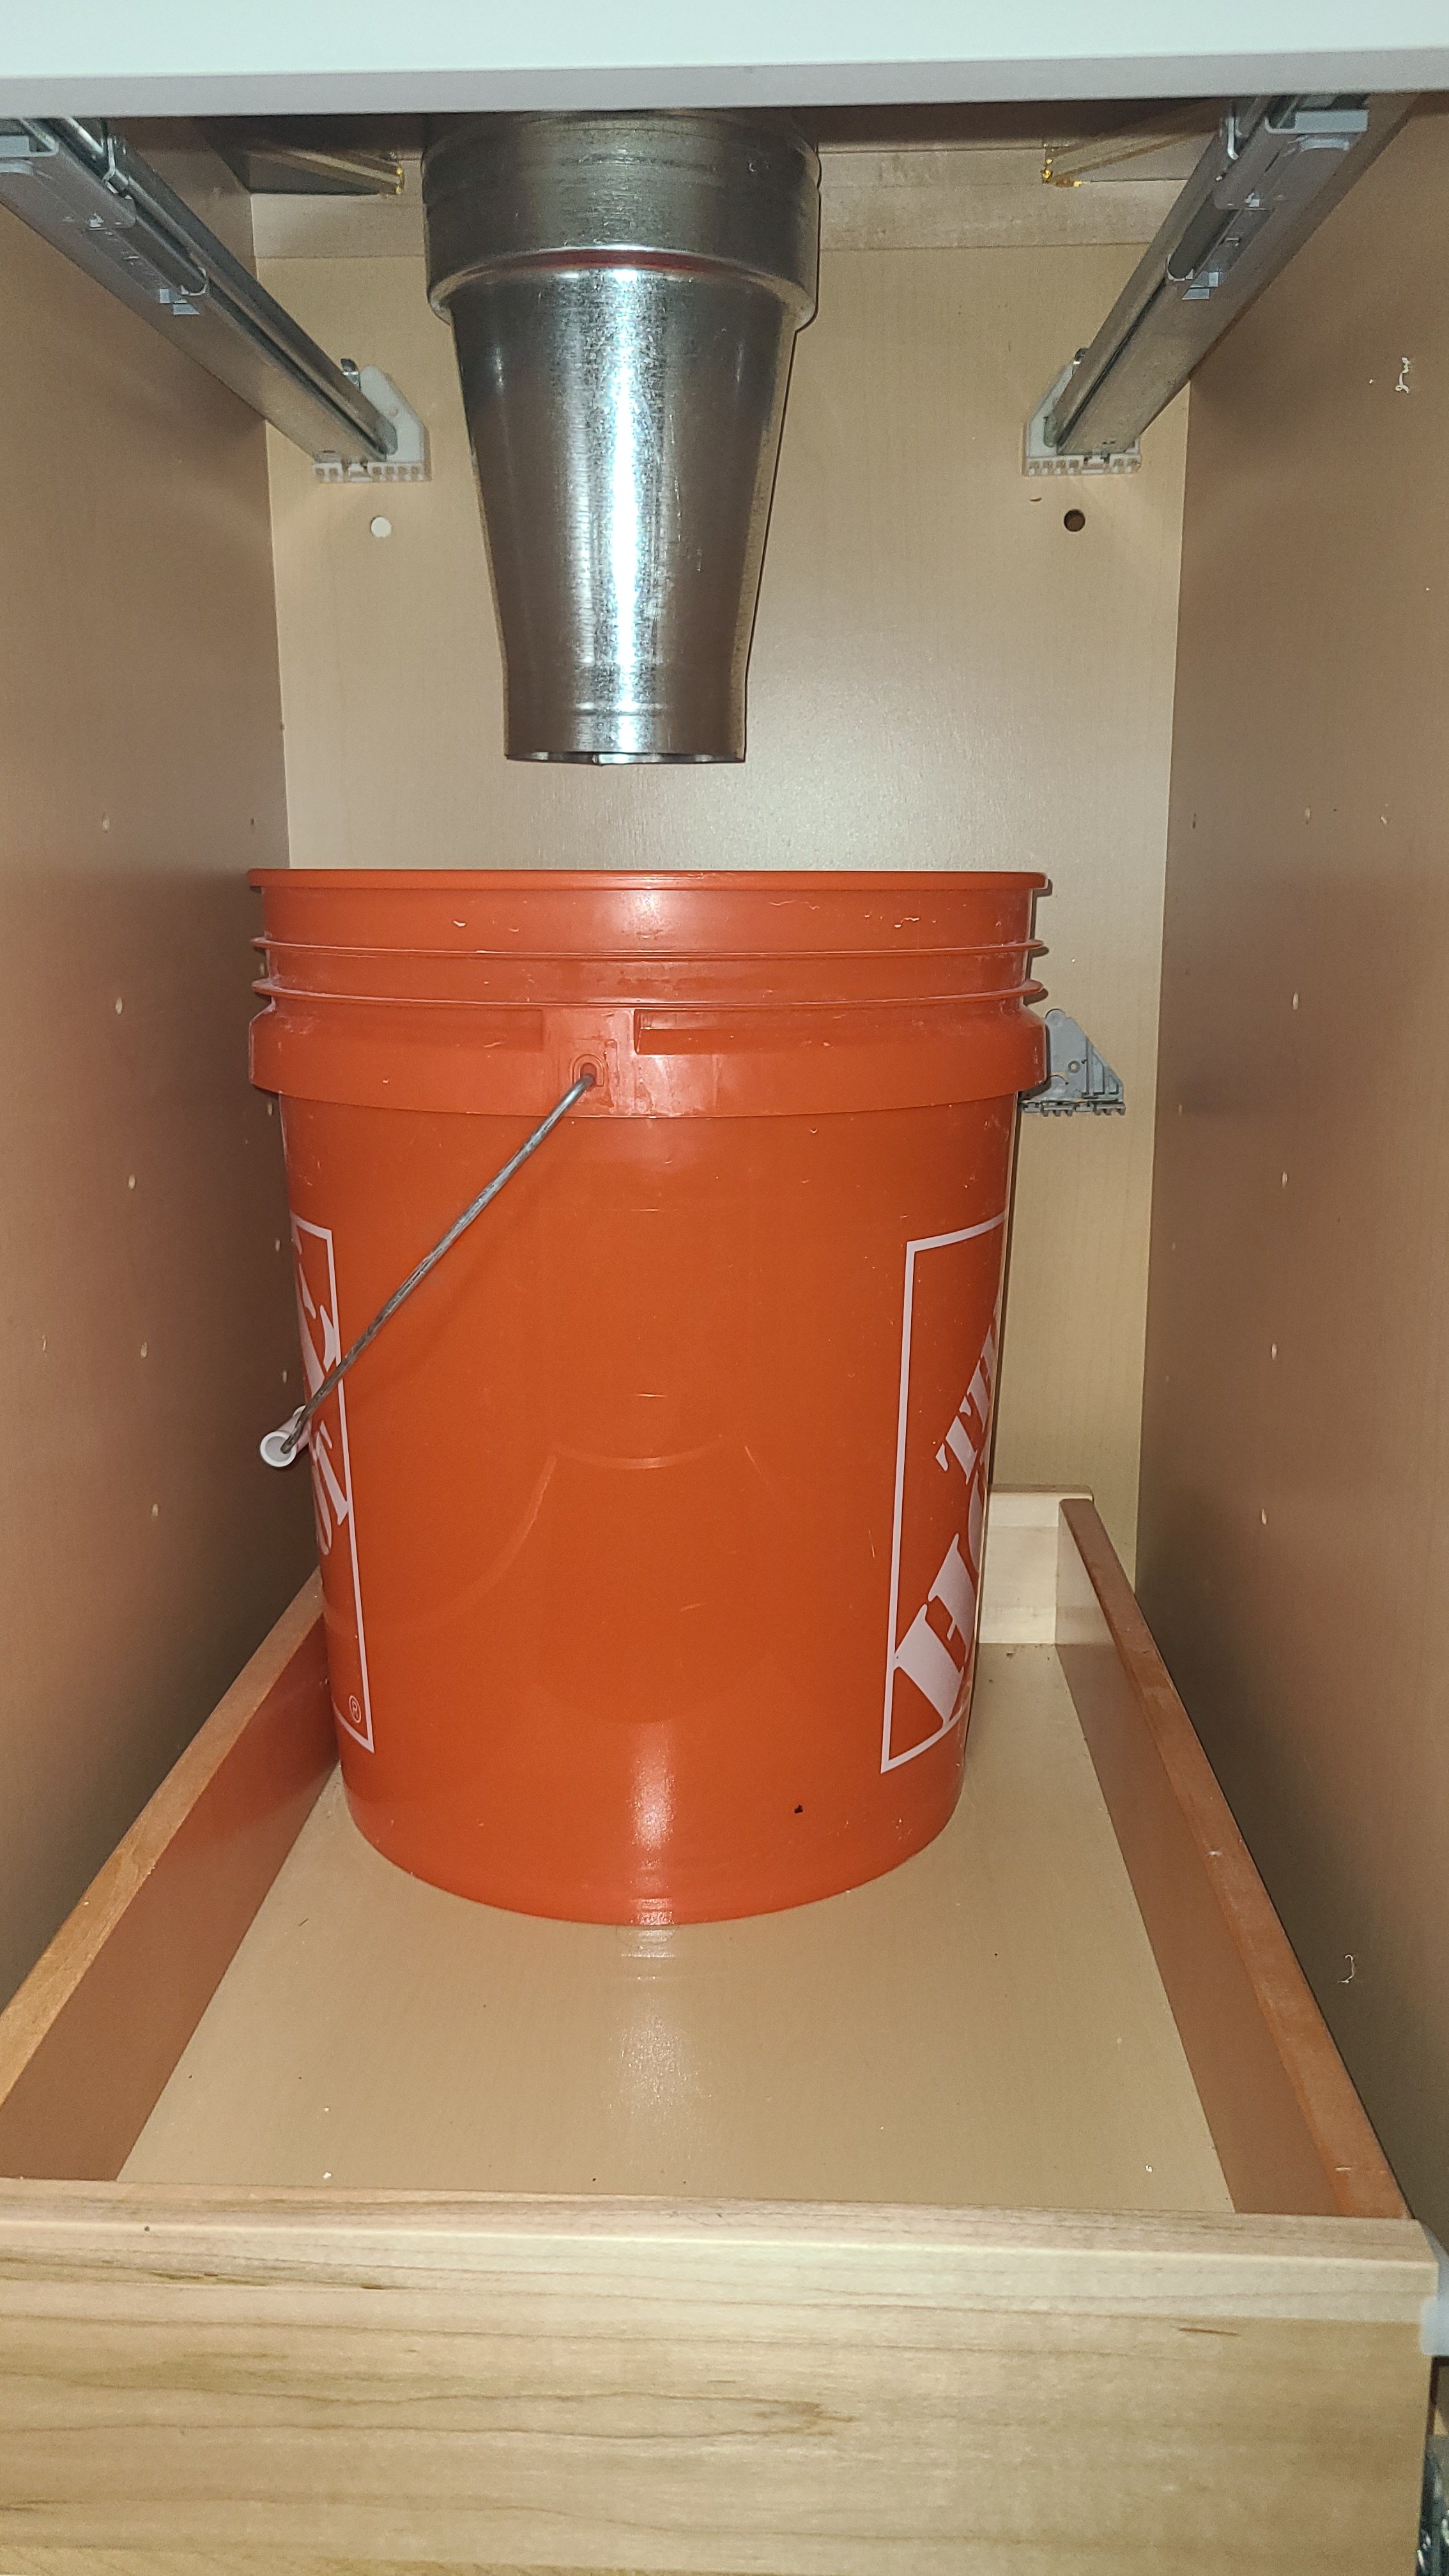
I'm using modified plans from barplan.com. The plans included building a cold box and using pvc as a conduit to run the lines to a tower on the bar top. Ive modified the plans to fit the appliances and one result is that the dimensions are such that I cant go straight up from the kegerator. So my plan was to use a couple elbows to get there, which are shown in the subsequent photos.

The flange goes on top of the fridge--under and then through the countertop--and the elbows get it into the right position on the bar top. It doesnt look like it fits, but with the flange below that counter the height is just right. Its actually 2" pvc elbows inside 3" PVC elbows, and the plan is to run the beer lines through the smaller pvc and fill the gap between them with spray foam insulation.

There are two related problems. First, I want to be able to move the kegerator out (it's on wheels) if necessary. I thought if I just left the flange unsecured to the kegerator, and left the beer lines long enough, I could manage that.

But that made me realize that I have a second problem: no seal between the top of the kegerator and the start of my pvc conduit. As a half measure, I could put a sheet of hard pink insulation under the countertop, to sort of just stuff that space, but without a seal I'm not only going to lose energy efficiency but I'll likely introduce humidity into the kegerator.


Any ideas as to how I get a better seal without losing the ability to slide out the kegerator?

My plan B is to just put the kegerator next to the bar, but I'd really prefer to make this setup work.
20200208_195628.jpeg
20200208_200108.jpeg
20200208_195315.jpeg
20200208_195822.jpeg
20200208_200034.jpeg
 
Best bet is probably to install an access panel on the back to undo the "seal" so that you can slide it out.
If you really don't want to do that, you can use a "rubber" type seal with a large ability to compress, like an omega shape. You'll need to incline the mating and seating flange pointing away from you as you face the kegerator.
This is to give the seal compression as you slide the fridge in. Probably 30 degrees is plenty if your seal has a liner.
That's for reading through all that and for the suggestion. Unfortunately the 2x4 frame holding the countertop blocks the gap between the top of the kegerator and the countertop, so I'd really have no way to get my fingers in there.

Right now I'm leaning towards cutting the last 1/3 of the countertop off completely and just sliding in the kegerator. Similar to what @Thirstin4aburstin did here: https://www.homebrewtalk.com/forum/threads/my-8-foot-bar-build.328388/#post-4121186

justin-001-jpg.62737


JRorJ6tpf27_MtO27gV2yj9akafjb64l2b_CLyERHy19Diso5xSWkOYiPEICeWf6wgdky8JSFXnodIsJEoFQQ_hGobSH0CUdJ3gEg8E3TFfWq4jyVH8ZPPh9qZslUWzqU7KU7ZpU
 
Nice... is that oak plywood that you used?
Yeah. I was looking at some nice slabs but with the chicago arm rails covering the edges, and requiring 3/4 inch top, it didnt make a lot of sense. I also considered edge gluing a couple oak boards but that wasnt something I wanted to do myself. The lumber place said they'd do the long peice for me but not the sides.

I ended up going through the 3/4" oak ply I bought from HD and just picked the best piece. Most of their wood is crap but I was able to cut around the bad spots on this one.
 
Last edited:
I should put in a plug for barplan.com. I paid $25 for access to all their plans, including both of these units. I did modify them, but I never could not have done this without those plans. I've never built anything before. This was my first real woodworking project.
 
The brewery is next. I haven't brewed since we moved in last fall. Just threw all my stuff in here.

The plan is to tear out all the cabinets and replace with a stainless table, utility sink, and two mini fridges stacked for fermentation. I'm thinking of using ikea kitchen wall hangers to store everything I need within reach.

Im not crazy about doing it, but we'll probably have to do something with the floor once we pull out those cabinets. Something simple that can take a little standing water. The problem is that the floor in continuous throughout the entire basement, so I'd need to cut it at the doorway and make a transition. Last time I laid flooring I totally failed at the transition.
 

Attachments

  • 15880961422047616139183106584758.jpg
    15880961422047616139183106584758.jpg
    3.3 MB · Views: 128
  • 15880961615726226723148008512182.jpg
    15880961615726226723148008512182.jpg
    1.2 MB · Views: 123
Looking back at this, my bar opened just as the world shut down and indoor gatherings became scare. So I haven't had many opportunities to use it and as a result my brewing went on a bit of a hiatus.

Since then, outdoor projects took priority and now my wife argues that our next priority should be the home office we use quite frequently these days. I disagree. So I tore out the old basement kitchen to get rolling on the brewery!

Here's the before with all my brewing junk.
 

Attachments

  • 20220129_164855.jpg
    20220129_164855.jpg
    1.2 MB · Views: 68
  • 20220129_164907.jpg
    20220129_164907.jpg
    1.3 MB · Views: 72
  • 20220129_164911.jpg
    20220129_164911.jpg
    1.2 MB · Views: 70
And the current state.

I'm still in negotiations to prioritize the full build out, but we had some unrelated pumbing>electrical>drywall>painting coming up, and wanted to at least tear this out so we can include the electrical, drywall, etc for the brewery when those contractors come.
 

Attachments

  • 20220131_082549.jpg
    20220131_082549.jpg
    1.3 MB · Views: 65
The plan is to have a 4ft stainless prep table on the right, a large stainless utility sink in the middle/left, and 2 stacked mini-fridges that will serve as fermentation chambers. Shelves & wall organizers, etc.

I'll have to finish the floor where the cabinets were. I thought about tearing out all the flooring and going with painted concrete but that flooring is contigious with the entire basement. So instead I picked up the closest laminate match I could and I'm just going to lay that. It won't look perfect, but it'll be under the table & sink.

I'll have the electrician disconnect the 60s Era stove, get rid of the hot wire hanging out of the wall (I capped it off), and add gfci outlets. I don't need it now, but I'll likely future proof with a 240v outlet also.

Once the flooring, electrical, drywall, and paint are done, it's really just a matter of buying stuff.
 
I'll have to finish the floor where the cabinets were. I thought about tearing out all the flooring and going with painted concrete but that flooring is contigious with the entire basement. So instead I picked up the closest laminate match I could and I'm just going to lay that. It won't look perfect, but it'll be under the table & sink.

I'll have the electrician disconnect the 60s Era stove, get rid of the hot wire hanging out of the wall (I capped it off), and add gfci outlets. I don't need it now, but I'll likely future proof with a 240v outlet also.

Great build!!

I was going to suggest vinyl plank flooring, and a transition to the wood. The flooring I got from Lowes and installed at my lake condo went in easy, and the way it seals its waterproof. They make transition pieces that would make it look pretty seamless at the door.

I assume you have an electric brewery? I assume that stove circuit is a 240V, 30A circuit? Perfect for a 5500W element!

K
 
Great build!!

I was going to suggest vinyl plank flooring, and a transition to the wood. The flooring I got from Lowes and installed at my lake condo went in easy, and the way it seals its waterproof. They make transition pieces that would make it look pretty seamless at the door.

Yeah, that is probably the better way to do it. I'm just reluctant to do more than I really have to. The gap extends 18" from the wall and my table & sink are 24" deep, so I don't think it'll be noticeable if I just fill in the gap and use a T strip to cover the joint.

I assume you have an electric brewery? I assume that stove circuit is a 240V, 30A circuit? Perfect for a 5500W element!

K

I brew on the grainfather, which I absolutely love. That is a 240v circuit but it wasn't powered and I'm not sure why. It hasn't worked since I moved in 2-3 yrs ago. The electrician thinks we might need to run a new circuit, but the panel is nearby so its not a big deal. Anyway, we will be putting in a 240v, 30A circuit just to keep my future options open!
 
The electrician thinks we might need to run a new circuit, but the panel is nearby so its not a big deal. Anyway, we will be putting in a 240v, 30A circuit just to keep my future options open!

My $0.02-- if you are going to have to pay to have a circuit wired in anyway, and since you say the panel is nearby too, I would highly suggest putting in a 50a 240v circuit.

The labor will be the same, and the materials cost won't be much in the long run.

Having more power available is always good-- no one ever says, "man, I wish I didn't have so much power".

Seriously, that truly makes things more future proof. Adding another vessel, running keg cleaning at the same time, etc. etc.

Thanks. I'll ask him about that.

What would that get me compared to a 30A circuit in terms of brewing? Its extremely rare that I brew 10g--I've probably done it 2 or 3 times in 15 years. I thought 30A would be appropriate for a 10g system. But I get that if the cost is neglible, why not
 
What would that get me compared to a 30A circuit in terms of brewing? Its extremely rare that I brew 10g--I've probably done it 2 or 3 times in 15 years. I thought 30A would be appropriate for a 10g system. But I get that if the cost is neglible, why not

Big benefit is faster ramp times, regardless of batch size.

One other big benefit is if you go to multiple vessels, you can heat them concurrently. Or if you build a heated keg washer you and want to wash kegs while your waiting for your mash and/or your boil, while your brew vessel(s) are also being heated.

Or... that's the thing. You can max out a 30a circuit pretty quickly actually. 50a is more of a growth proof circuit size (although I hazard to guess there are many here, myself included, where having multiple 240v circuits is appropriate because 50a isn't even enough).
 
Looks nice, I am myself in the process of tearing out our "new"(120 yr old) house basement's laundry room that had a shower corner, and a drying room/sauna that was clad in Wood paneling. Will then move on to the pellet boiler room to prepare it for a ground heat unit to be installed coming summer, and to double as a brew room. Bye bye stove top brewdays.
A word of caution though, make sure you have proper drainage and take care to know what sort of soil the foundation is built on, wood on cement can become a really sad affair if moisture creeps up.
T. Construction carpenter/woodworker.
 
Motorized my grain mill today. Bought the Malt Muncher Motor to go with my Cereal Killer mill. Had a cabinet left over from a kitchen remodeling and finally put it to good use.

Unfortunately I threw out all my grain when I demo'd the kitchen so I can't test it yet.
 

Attachments

  • 20220209_182350.jpg
    20220209_182350.jpg
    1.1 MB · Views: 50
  • 20220209_182452.jpg
    20220209_182452.jpg
    1.4 MB · Views: 50
  • 20220209_182014.jpg
    20220209_182014.jpg
    1.2 MB · Views: 49
Picked up a couple of Danby mini fridges on CL/FB. Slightly different models, but they're both freezerless and I shouldn't have to do more than cutting the shelves off the doors to get 2 kegs in each. These will be my fermentation chambers.

I currently have 8 refrigerators in my house. My wife thinks that's too many.
 

Attachments

  • 20220218_112418.jpg
    20220218_112418.jpg
    1.1 MB · Views: 13
  • 20220218_112439.jpg
    20220218_112439.jpg
    898.5 KB · Views: 12
  • 20220218_112453.jpg
    20220218_112453.jpg
    1 MB · Views: 12
  • 20220218_112505.jpg
    20220218_112505.jpg
    939.2 KB · Views: 12
Picked up a couple of Danby mini fridges on CL/FB. Slightly different models, but they're both freezerless and I shouldn't have to do more than cutting the shelves off the doors to get 2 kegs in each. These will be my fermentation chambers.

I currently have 8 refrigerators in my house. My wife thinks that's too many.

No, not at all. 8 is not too many!
We have a total of 13. Kegerators, plus chest freezers for fermenting and aging, etc.
Plus the standard household kitchen fridge!
 
Back
Top