Antique Mason's beer engine rebuild

Homebrew Talk - Beer, Wine, Mead, & Cider Brewing Discussion Forum

Help Support Homebrew Talk - Beer, Wine, Mead, & Cider Brewing Discussion Forum:

This site may earn a commission from merchant affiliate links, including eBay, Amazon, and others.

dlovin

Well-Known Member
Joined
Nov 9, 2013
Messages
54
Reaction score
27
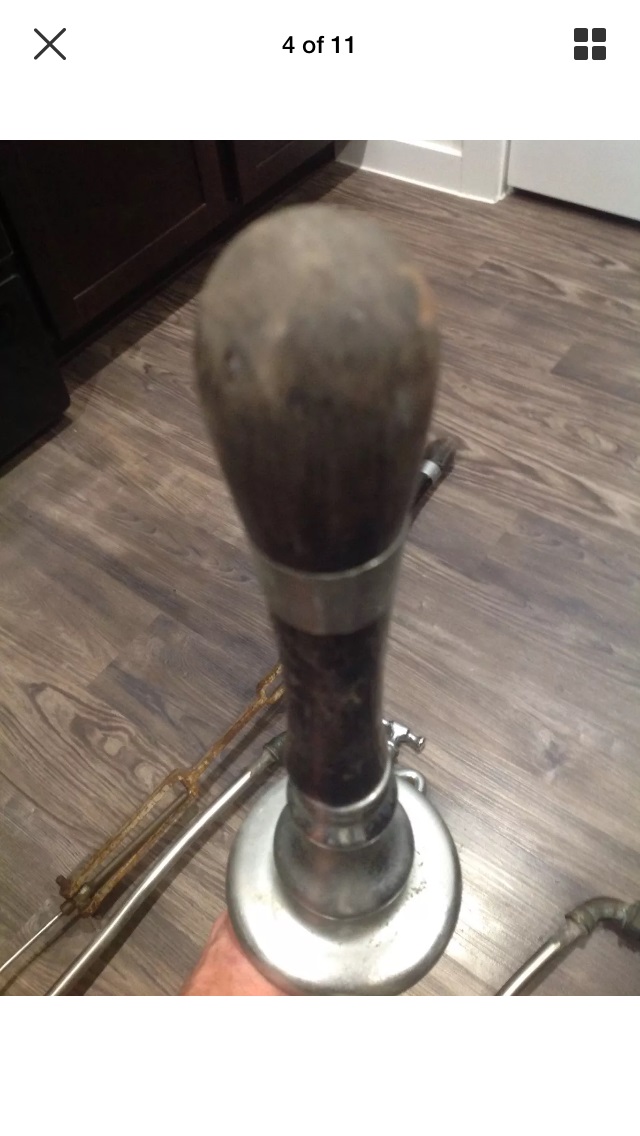
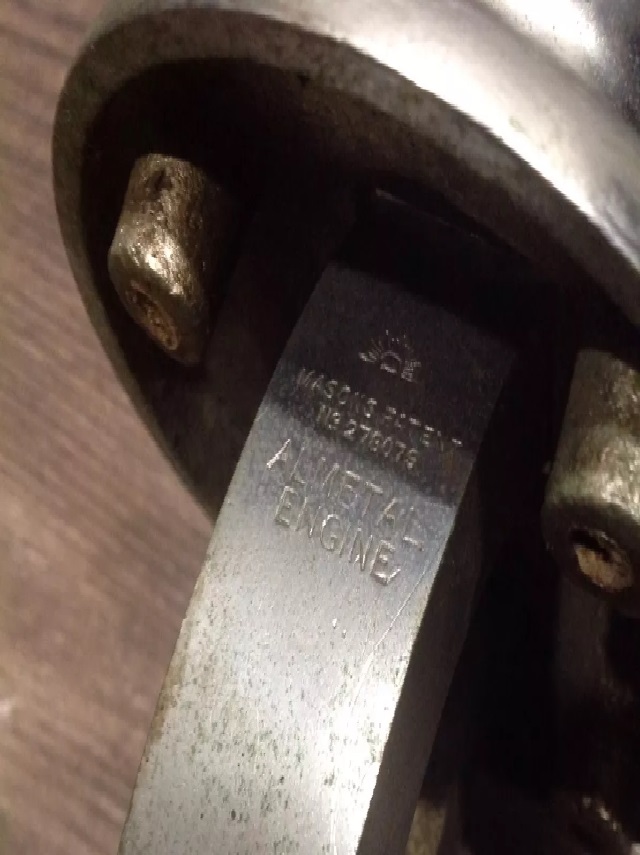
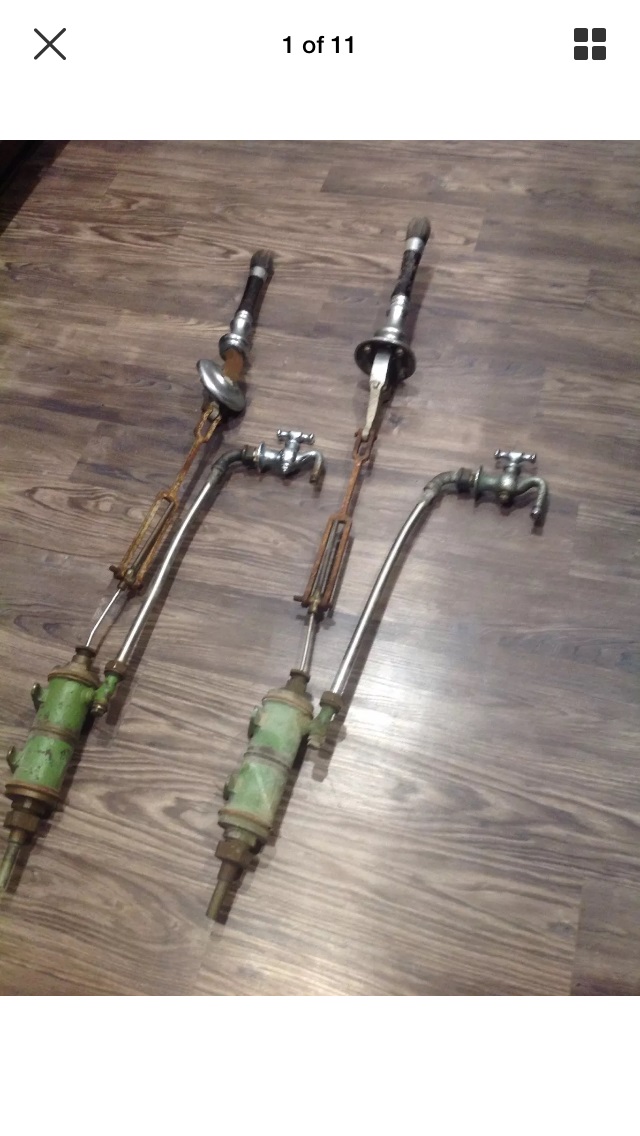
I recently bought a pair of 1930's Mason's beer engines from eBay. It was an impulse (impaired?) bid late one night, the next day I was hoping to god I was outbid. Anyways , they arrived a few weeks later and I thought I'd tuck them in the basement and forget about them for a while. Once I got my hands on them I couldn't resist. I started tearing one down out of curiosity. Here's a few before pictures

From what I was told about these one is from 1936 and the other 1938 and they came from the estate of a General Motors executive in Lockhart Texas.
IMG_0861.jpg


IMG_0858.jpg


IMG_0857.jpg


IMG_0855.jpg


IMG_0862.jpg
 
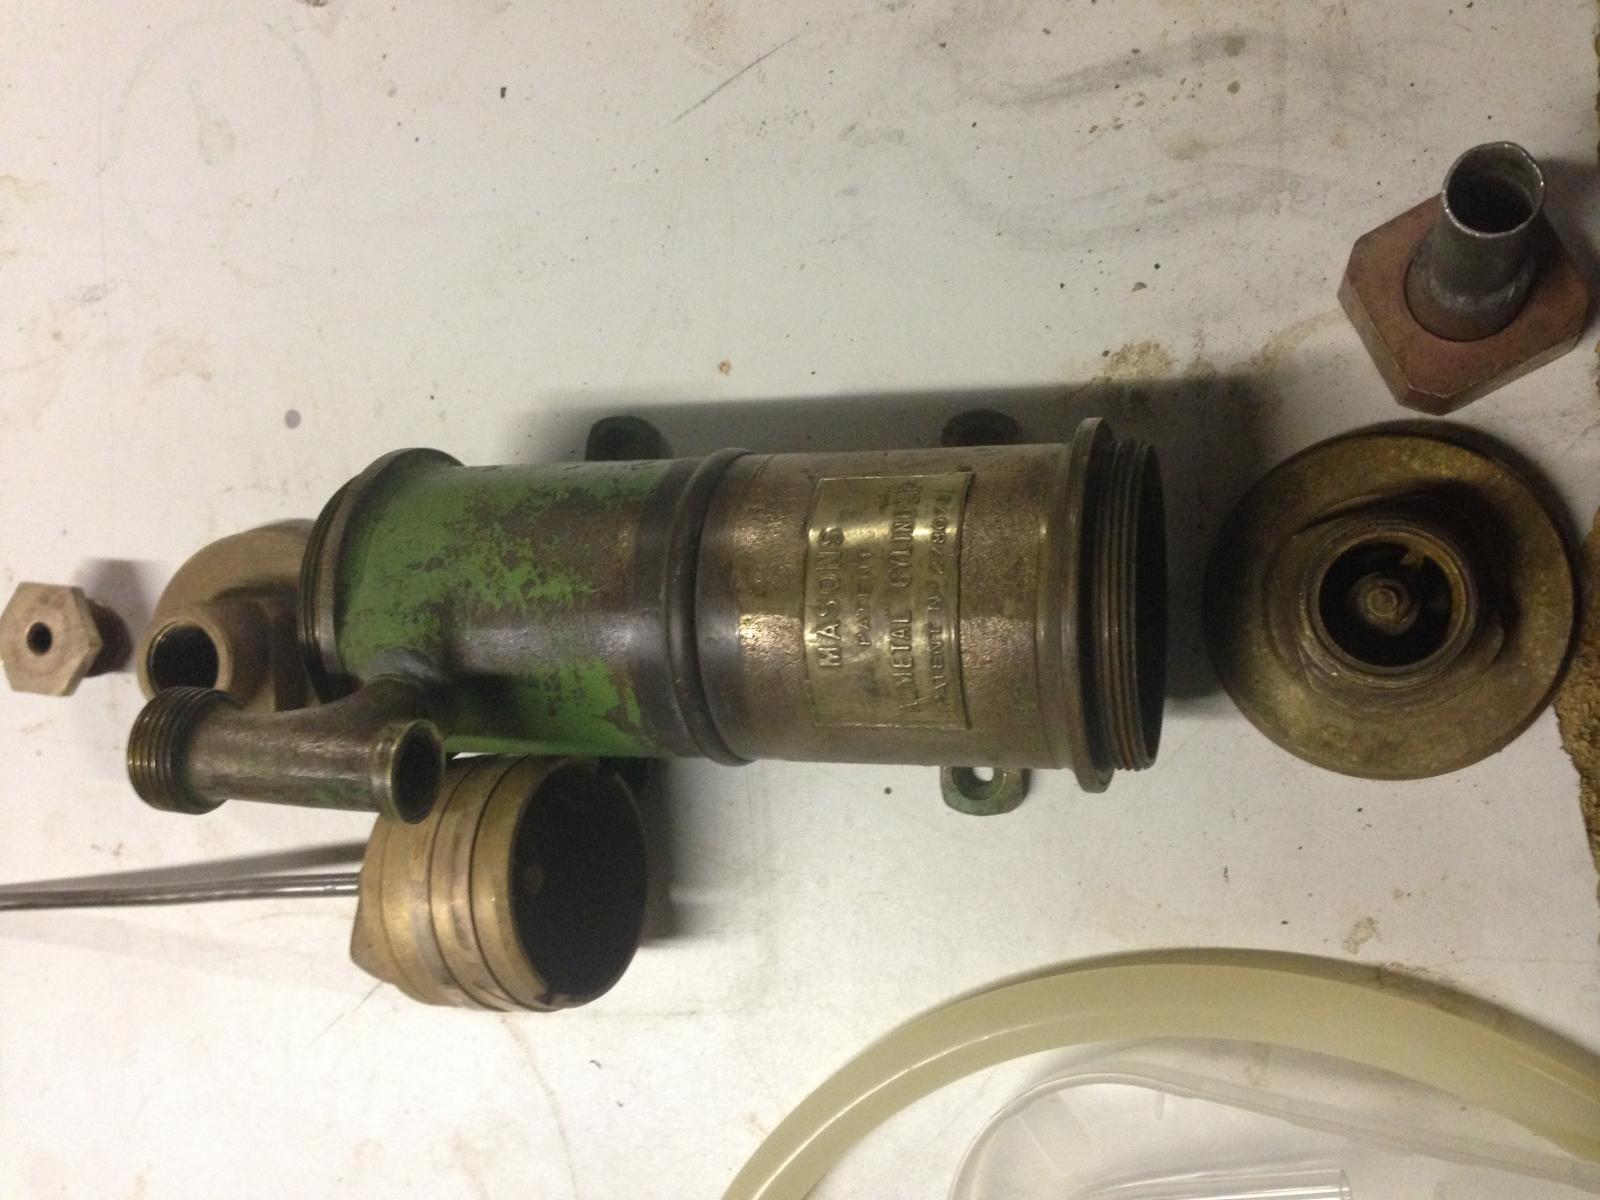
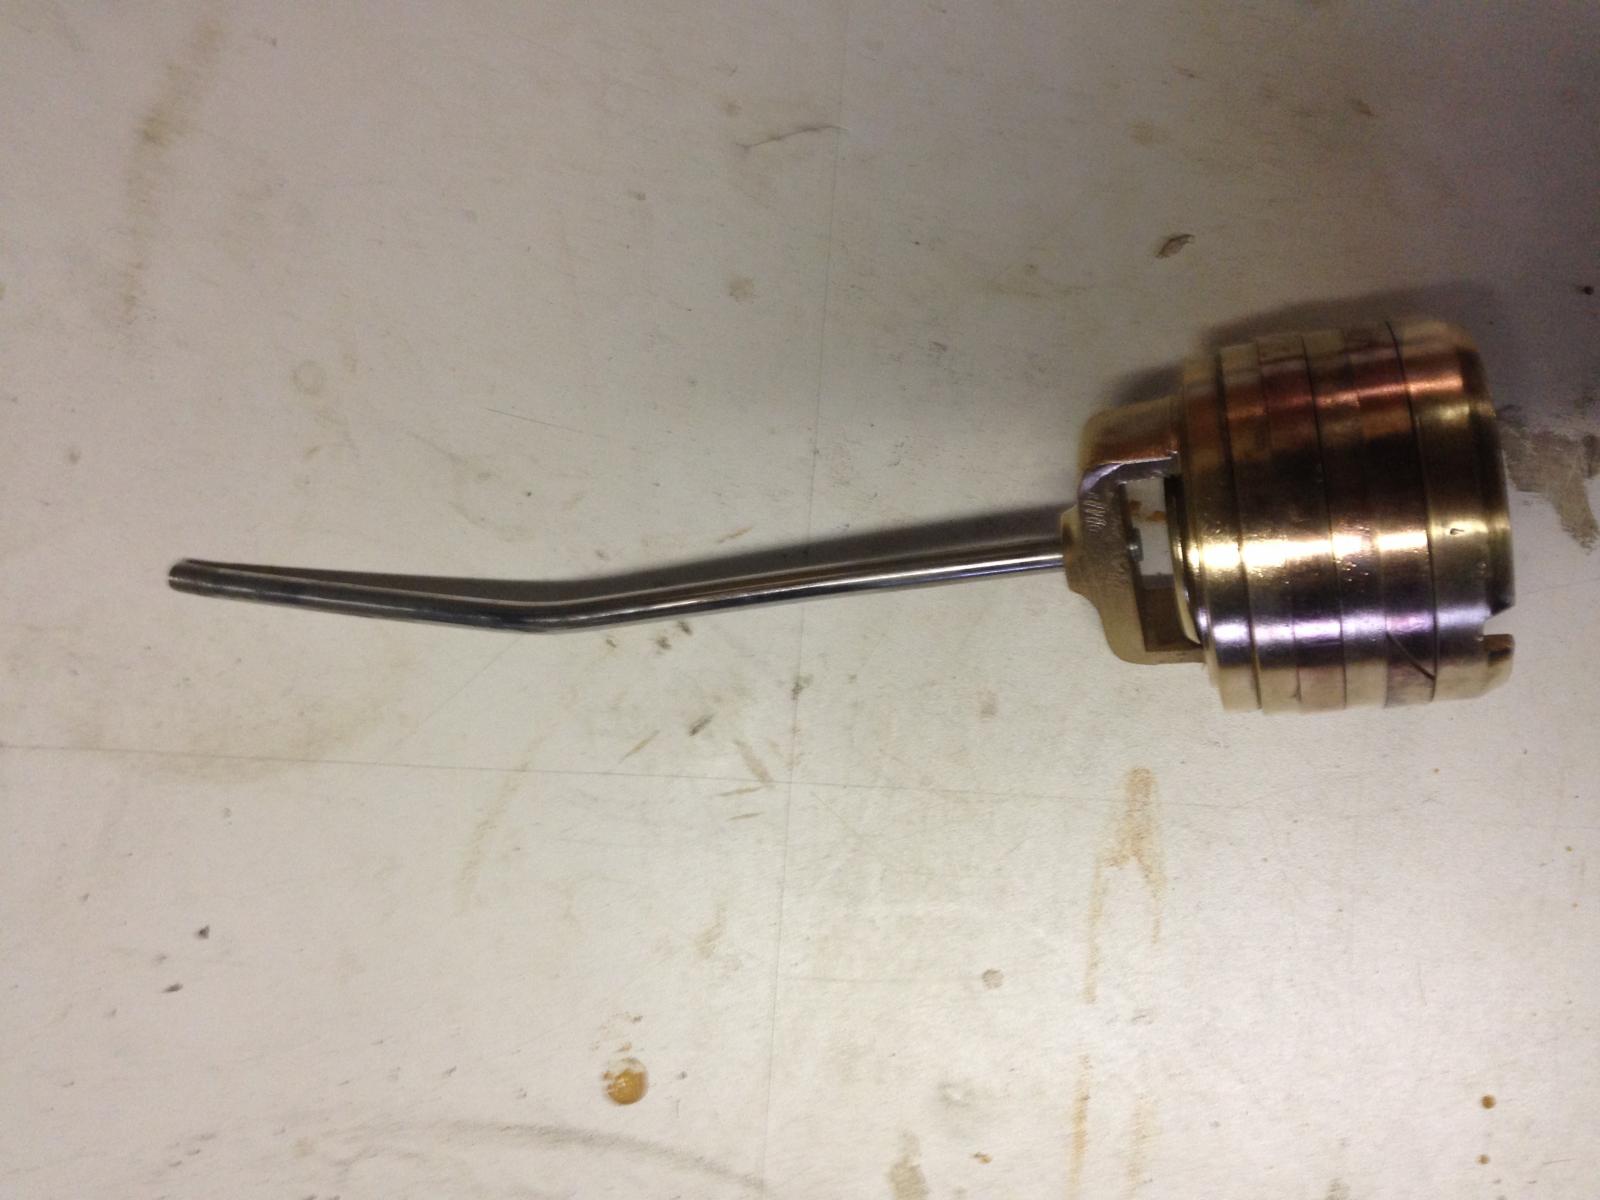
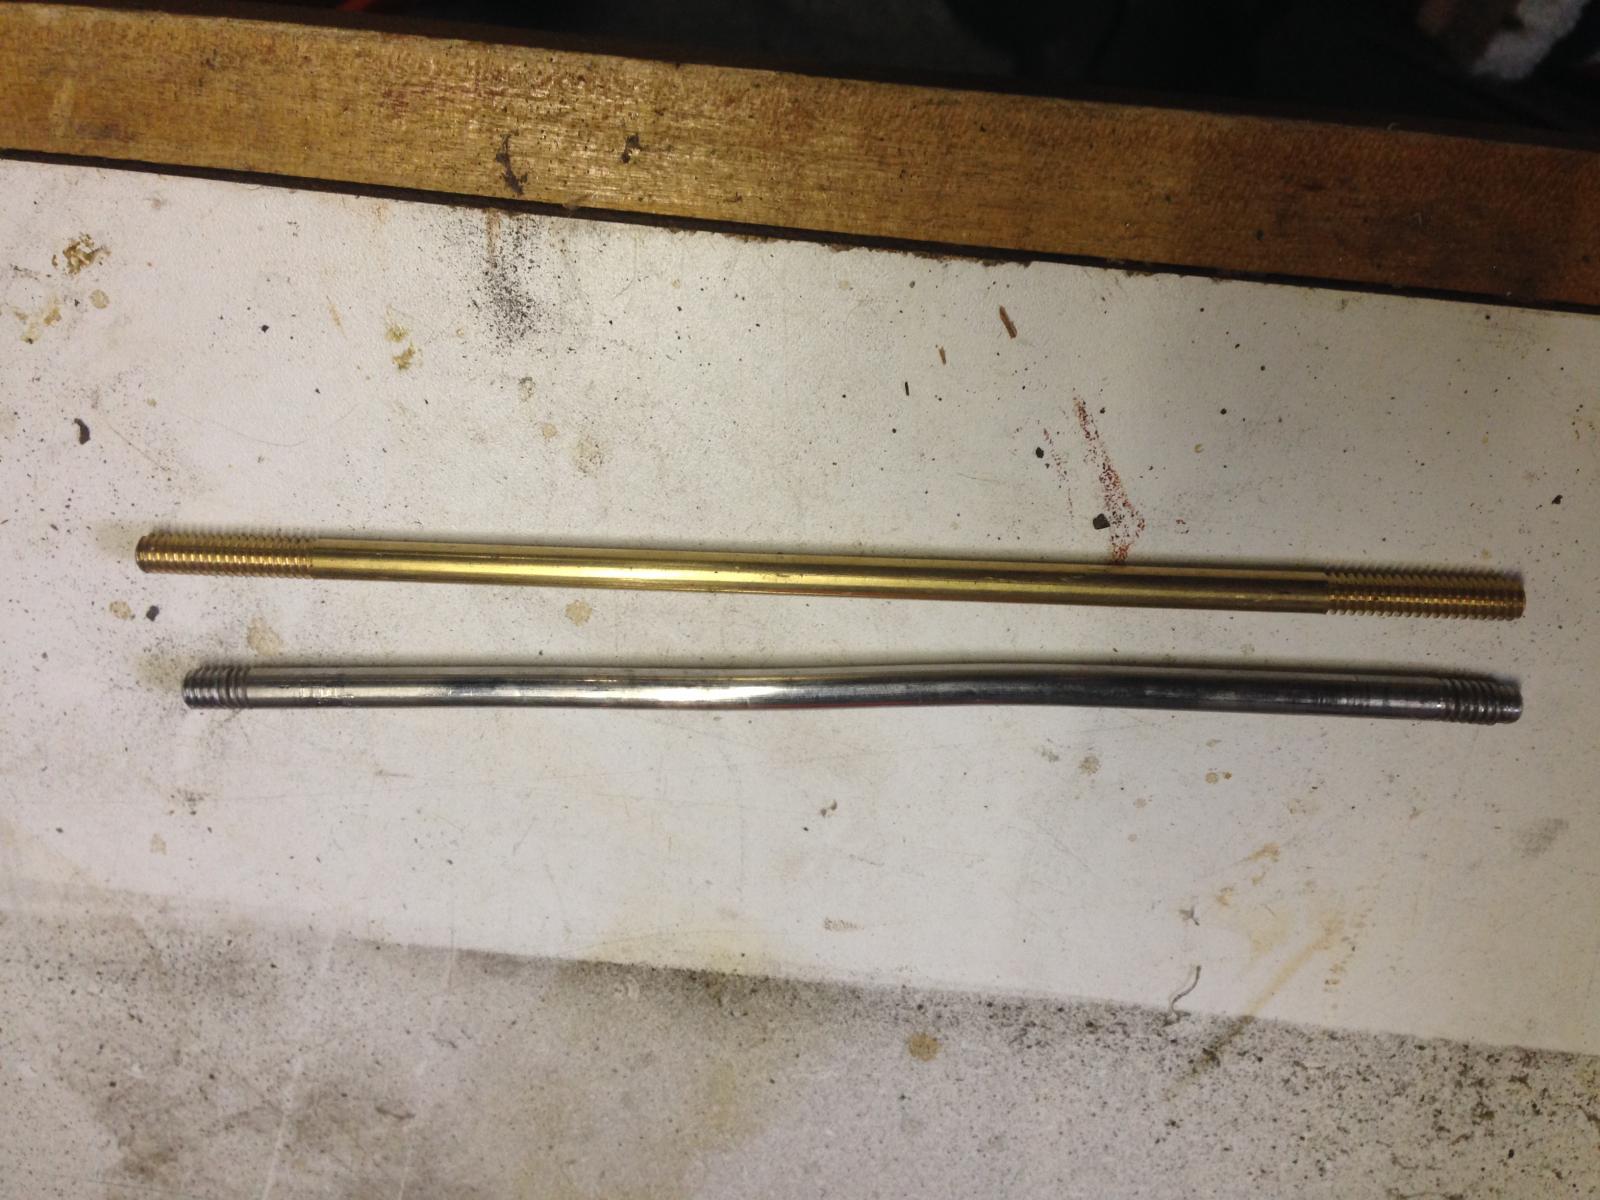
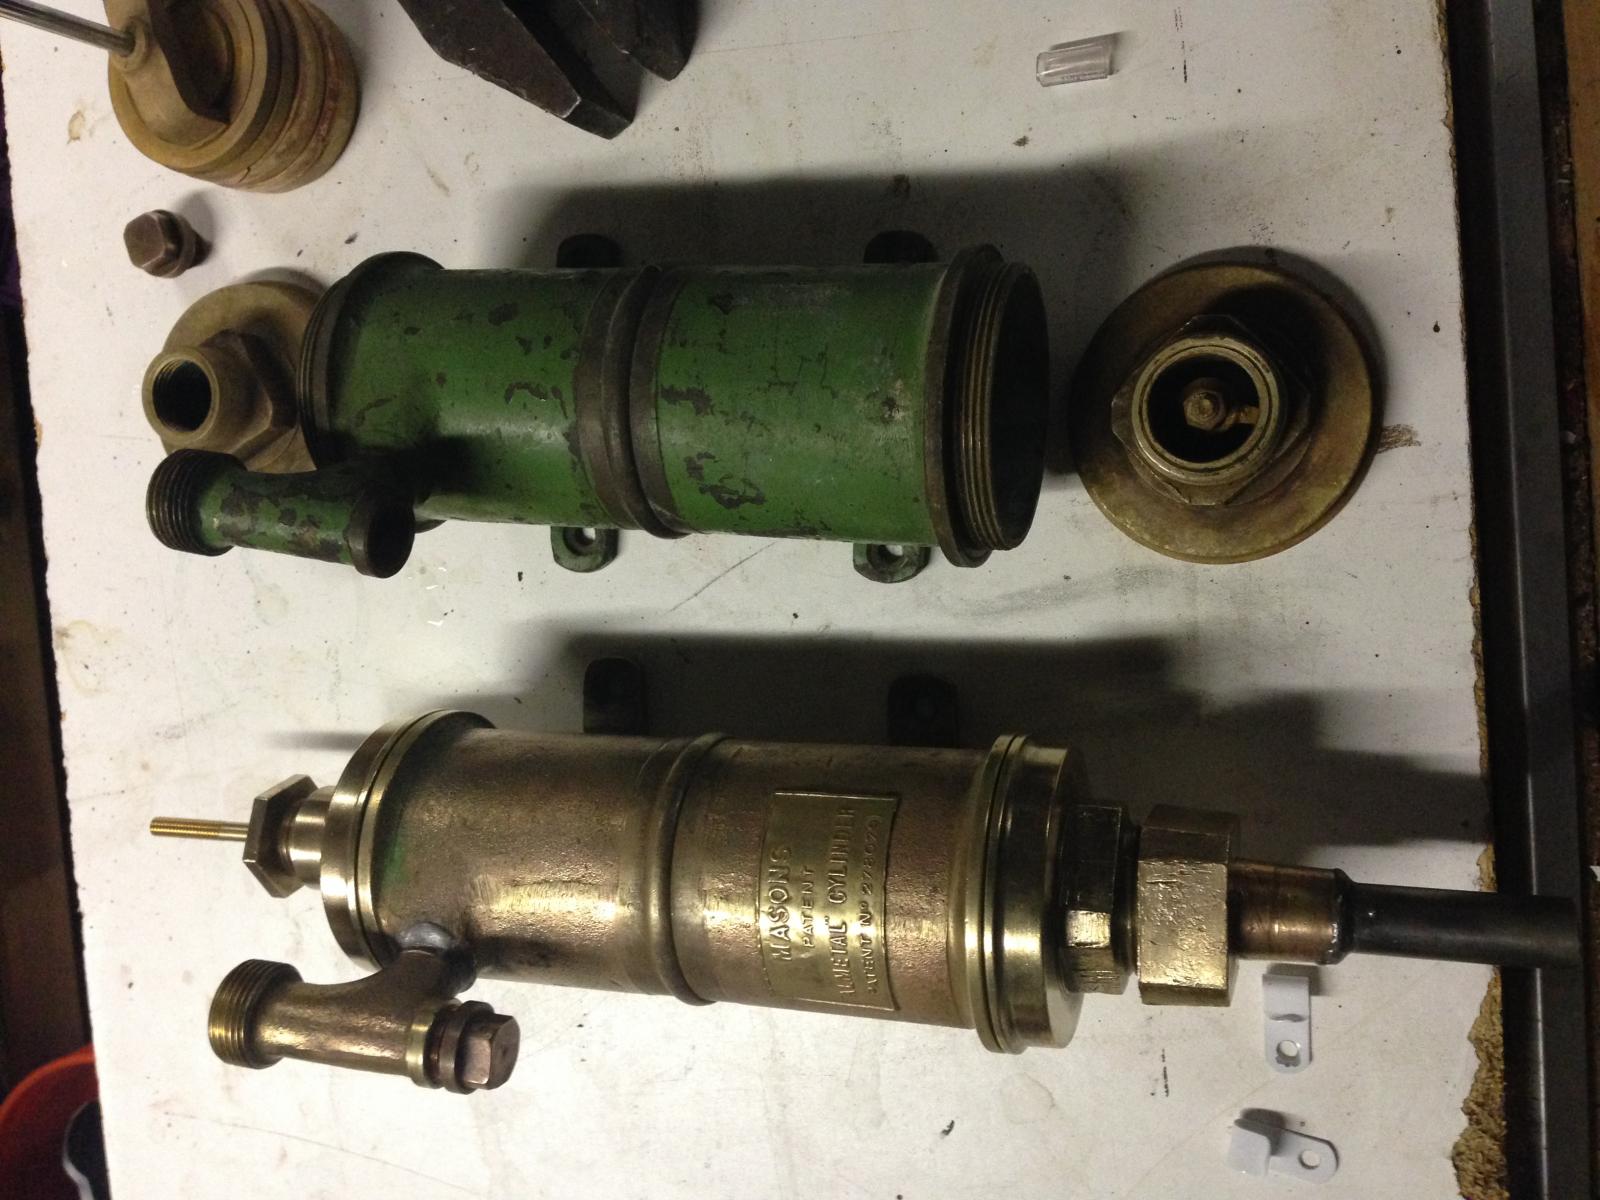
So I disassembled the better of the two pumps . Because the gaskets were all dry rotted and crumbling it was easier than expected to get them apart . These must have spent some time outside because they both had mud wasp nests I them. The parts were cleaned with soap and water then soaked in straight vinegar for a few hours, any paint was removed and the parts were polished with a wire wheel and then brasso on the outer parts that won't be touching liquid. The connector rod that attaches the piston to the handle arm on both pumps were bent I found a brass Toilet rod at Home Depot that will work for now until I can get new ones made from stainless

IMG_0885.jpg


IMG_0914.jpg


IMG_0900.jpg


IMG_0894.jpg
 
i was able to find some of the gaskets at my local box store to replace the dry rotted leather ones. It just so happens a kohler 3" toilet valve seal is the right diameter but about half the thickness of the original(sorry for the blurry picture). it should be fine and seal well without having to double them up , a little keg lube should make them not bunch up when tightening up the caps. The rest of the gaskets are easily substituted with standard plumbing washers and o-rings i already had .

IMG_0913.jpg
 
I took the handles apart working from the top . The top of the wooden handle is a cap and unscrews. Once it's off the chrome ring comes off and Underneath is a nut and retainer that secures the rest of the wooden handle to the metal post . The rest of the bright work unscrews from the center post . View attachment ImageUploadedByHome Brew1487119935.446315.jpgView attachment ImageUploadedByHome Brew1487119960.114541.jpg

After it was all taken apart I used penetrating oil on all the moving parts to free them. Paint and rust was removed with a wire wheel. I polished the chrome with brasso and 0000 steel wool View attachment ImageUploadedByHome Brew1487120005.129713.jpg
the parts will eventually have to be rechromed but, for now they shined up and look 1000% better than they did.
All of the old black lacquer was sanded off and then the wood sealed with shellac . Im going to apply about 10 or so coats of gloss lacquer to all the wood.
 
Do you work on boats by any chance?

Great work so far, by the way.

I don't work on boats professionally but I grew up around boats.
Its funny because at the top of the beer engine cylinder there is a stuffing box that the connecting rod has to pass through to seal it off. Just like the propeller stuffing box on a boat. One had a rubber washer\ cotton rope stuffing flax \ rubber washer configuration and the other had a leather washer \horsehair stuffing \ leather washer configuration . so lately I've been doing a lot of research on repacking stuffing boxes. I'll try to post more pictures today
 
Do you work on boats by any chance?

Great work so far, by the way.

Thank you
I don't work on boats professionally but I grew up around boats.
Its funny because at the top of the beer engine cylinder there is a stuffing box that the connecting rod has to pass through to seal it off. Just like the propeller stuffing box on a boat. One had a rubber washer\ cotton rope stuffing flax \ rubber washer configuration and the other had a leather washer \horsehair stuffing \ leather washer configuration . so lately I've been doing a lot of research on repacking stuffing boxes. I'll try to post more pictures today
 
sweet, I'm curious to see how these work, will you hook it up to a cornie keg somehow? Not sure how these would be implemented. Nice work cleaning it up though.
 
sweet, I'm curious to see how these work, will you hook it up to a cornie keg somehow? Not sure how these would be implemented. Nice work cleaning it up though.


Thanks,
I'm not sure how I'm going to hook them up yet. I think a corny might not work well because the inlet on the engine is 1/2 inch pipe . I think the 1/4 inch output on the corny will limit the flow too much. Maybe a firkin or some sort of collapsible water carrier. I even thought of soldering a screw fitting onto one gallon minikegs so I can screw in a 1/2" stainless ball valve with a barb fitting and then some 1/2 silicone tubing to the engine . That's a work in progress at the moment . I have a friend that has a firkin that I may be able to borrow off of him for the testing. I have also seen a few old casks on Craigslist for fairly cheap
 
I should add that the beer was left out at room temp but passed through a cold plate in my kegerator on its way from pin to beer engine. That cooled it down just enough.
 
What I had done with my engine in the past is 5 gallon polypin:

Polypin
http://www.usplastic.com/catalog/item.aspx?itemid=31624

with this cap
http://www.usplastic.com/catalog/item.aspx?itemid=84679

and a puncture connector
http://www.usplastic.com/catalog/item.aspx?itemid=84675&catid=926

and a 1/4 to 1/2 coupler
http://www.usplastic.com/catalog/item.aspx?itemid=35464&catid=551

and 1/2 tube to beer engine

I don't remember if these were the exact same parts, but close enough


Thanks Mack
I will look into these , I also have a two pass cold plate it may basement that I may rig up as well. Thanks for the tip. View attachment ImageUploadedByHome Brew1487294107.621269.jpg
I also went ahead and painted them both black
 
So I have an OCD nightmare on my hands ... Guess they changed design of the handle parts in the two years between manufacturing, and just like my twins, these pump handles are slightly different and pose unique challenges. When I mocked them up last night the difference in length of the tail piece reared its ugly head . Something I hadn't noticed until now , not a huge deal, but that also means all the geometry will be off and each will have to be treated individually for the handles to be symmetrical on the cabinet View attachment ImageUploadedByHome Brew1487346815.976558.jpg.


Sent from my iPad using Home Brew
 
So for now I will turn my attention to the faucets . It took a little muscle , heat, and gentle persuasion to get them apart. The chrome on these are so far gone there is no other option at the moment but to try to remove it back to the brass and polish them from there . Cue muriatic acid . Stay tuned to see if it works View attachment ImageUploadedByHome Brew1487347497.496998.jpg


Sent from my iPad using Home Brew
 
A little view of the old way of doing things , this is the horsehair flax and leather washer that came out of the stuffing box at the top of the cylinder. The second cap washer disintegrated when I tried to take it out. I think some 1/4" opening shank tailpiece washers and some felt stuffing from Home Depot will be a good substitute for this . And the same sort of horse hair was wrapped around the thread of the faucet to seal it into the seat .View attachment ImageUploadedByHome Brew1487349884.894617.jpgView attachment ImageUploadedByHome Brew1487349911.409643.jpg


Sent from my iPad using Home Brew
 
i wonder how pbr would taste off an engine :D


I am totally going to find out . I do honestly love me some PBR. My thought was to use it to test out the engine before I brewed up a batch of mild or bitter . May be cheaper than using water . A while back I built a diy Randall out of a stainless water bottle, a couple of 1/4" barbs silver soldered in and a faucet aerator . And I ran some PBR through some simcoe to test it out . It worked well . It's really my go to beer for testing out new serving equipment . Hell, I was even thinking of putting some on nitro


Sent from my iPad using Home Brew
 
Thanks for posting, really cool project. I was thinking that a corny keg could be used with the beer engine pump, and I came across a you tube video showing how to set it up and what modifications were required. The keg is positioned on its side and one end is elevated. Even if the flow was restricted somewhat, I don't see why that would make much of a difference. Here's the video:

[ame]https://www.youtube.com/watch?v=ea3ZeUoQGEo[/ame]
 
So I soaked the faucets for a few days in hydrochloric acid until the chrome started flaking off . A few times of sanding, scraping and wire wheeling and they have come out just ok . At this point I still need to sand and even out some of the high spots and little pieces of chrome left over . Repolish the body and paint the handle black because the layer of chrome on the handle part was
definitely thicker than on the body and didn't strip as well . Over all I'm basically satisfied with the results View attachment ImageUploadedByHome Brew1488465158.125921.jpg . And a special thanks goes out to mack25 for the min pins I will take a shot of those tonight as well as the cabinet my wife unknowingly donated to house the pumps
 
I have some stuff called Muggy Weld that they show in their videos being applied over pitted brass and whatnot, prior to plating. You can fill pits with it, then sand and polish to get a smoother base for plating. Might work here, but seems like it would be a fair amount of work, nonetheless. I bought it for using on some car restoration needs.
 
Sorry I've been a bit busy lately and haven't had a chance to work on the beer engines lately . We pulled a Beverly hillbillies move and decided to pack up the family and move to a different state . As soon as I'm settled I will definitely post pics of the final build I have been trying to pick out a nice spot in the new house for them . And what better place to brew in than a former speakeasy View attachment ImageUploadedByHome Brew1497923843.872075.jpg
 
Back
Top