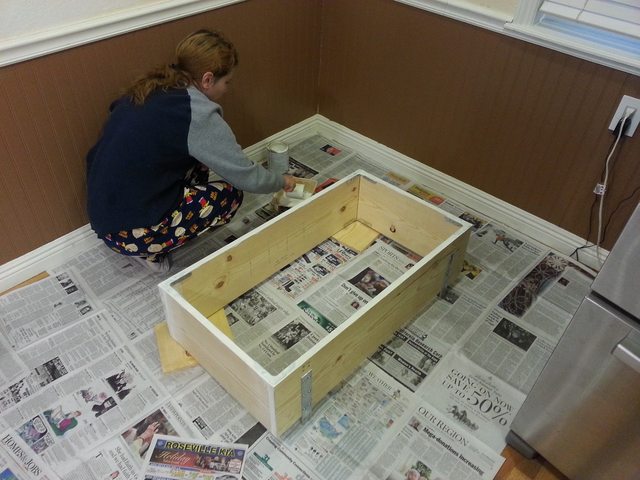
Day 1
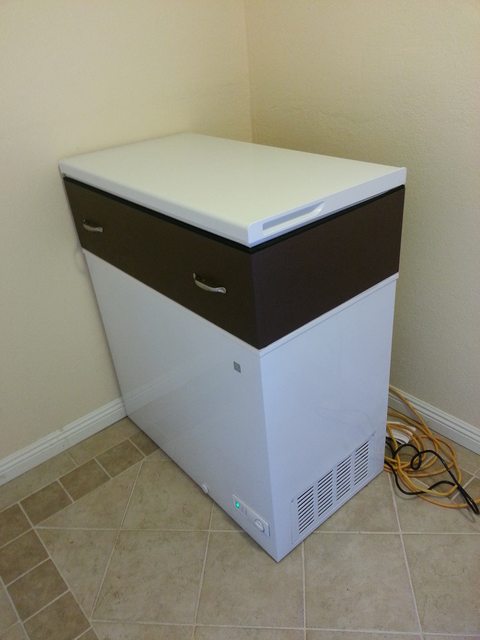
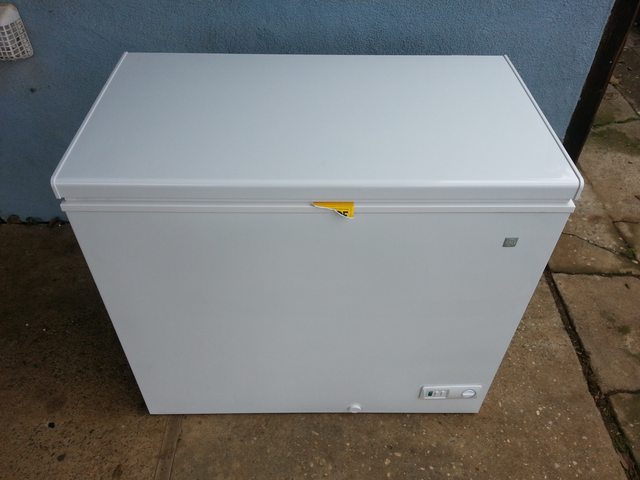
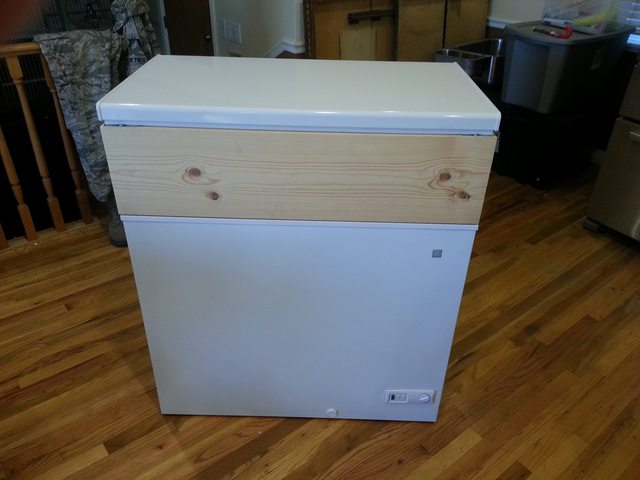
Bought a pair of GE 7.0 CF FCM7SUWW freezers, one for serving and one for fermenting. Not doing a very fancy build here, but willing to answer any questions that may arise. This was planned to be a 1-day build (sans kegging equipment), but turned into a 3-day build due to other projects running simultaneously. A major intent here that makes this build different that other builds is that I want to make zero modifications to the freezer itself to preserve the warranty. In case it dies, I want to be able to unbolt the collar, put the lid back on, and get it serviced or replaced.
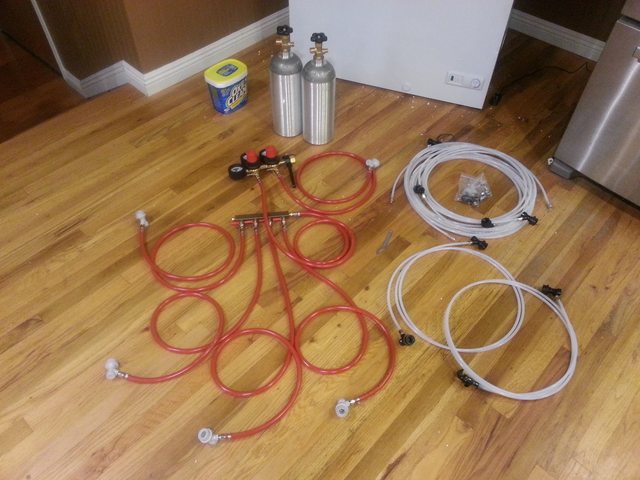
Shopping List (per keezer):
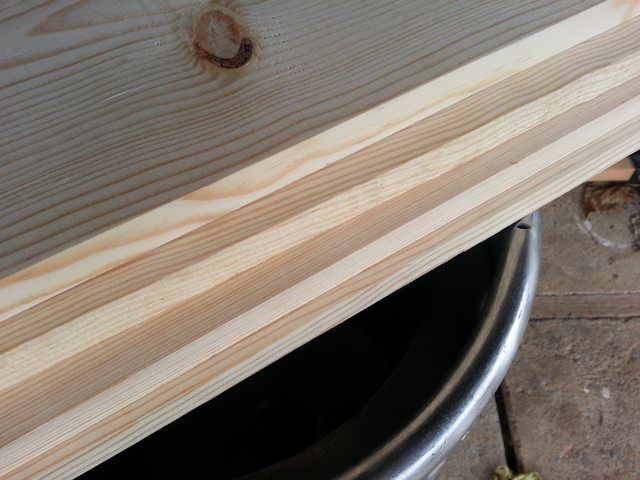
2x 1"x10"x6' Common Pine for painted collar (with smallist knots possible)
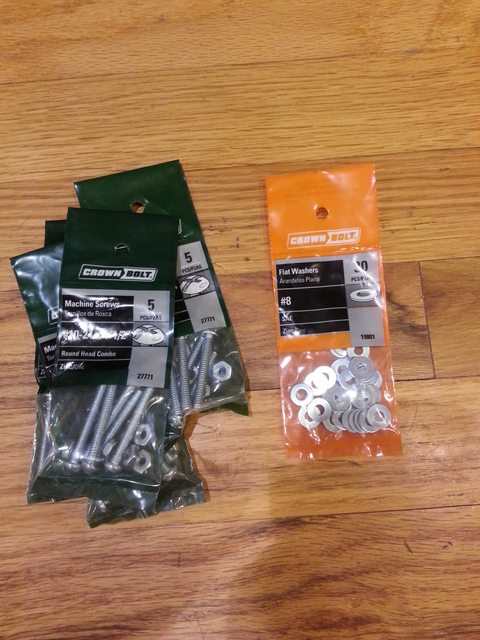
4x 5-packs of #10-24 x 1-1/2" machine screws with plus nuts
2x 30-packs of #8 flat washers
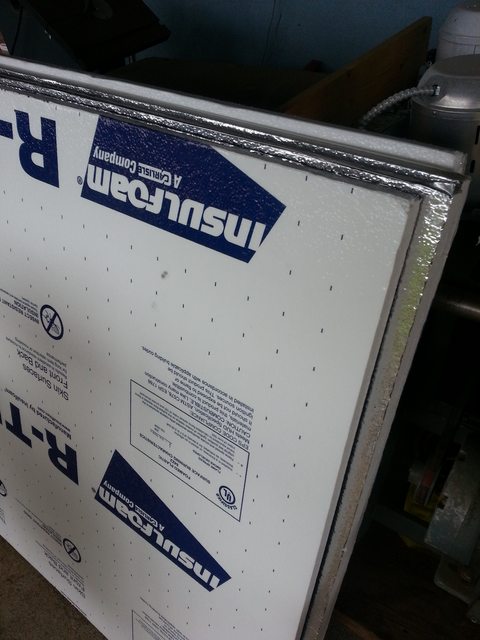
1x 4'x8' sheet of 1" thick foam insulation, cut in half for transport
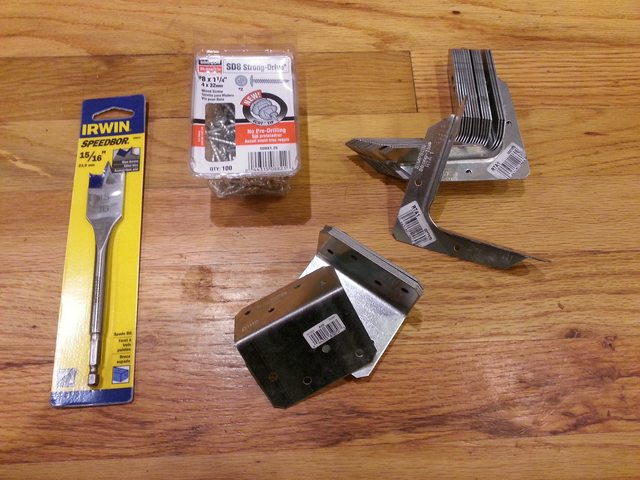
8x Simpson Strong-Tie RTA1 hurricane straps
1x box Simpson SD8 Strong-Drive #8 x 1-1/4" screws
1x 7/8" or 15/16" drill bit
1x 1-1/2" x 36" x 1/8" piece of extruded aluminum
1x pack of Foam Weatherstripping, 1-1/2" W x 1/4" TH x 9'+ L, color to match your freezer body
1x pack of Foam Weatherstripping, 5/8 or 3/4" W x 1/4" TH x 9'+ L, color to match collar
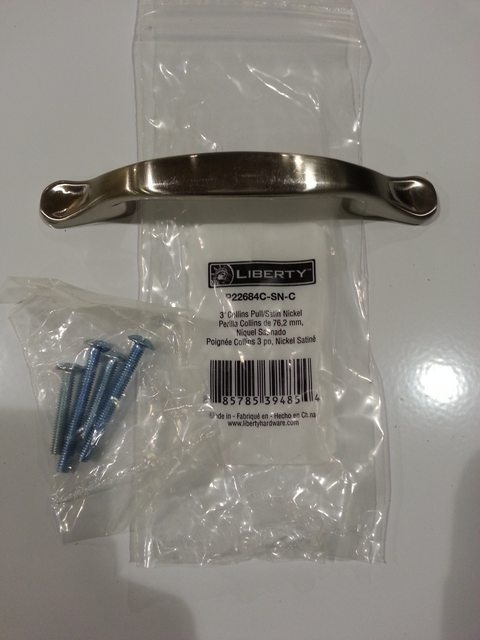
2x handles with 1" screws, recommend style that is easy to lift upwards on (optional)
And of course the freezer.
For this freezer, the long and short sides were to be 36-15/16" and 19-1/8", respectively. Note that I am butting, not mitering, dadoing, rabbeting, dovetailing, etc. Just didn't want to spin the table saw up for this project.
Short sides were later milled down to 18-15/16" after they were found to be 3/16" too long, causing a 1/4" lip in the front when assembled.

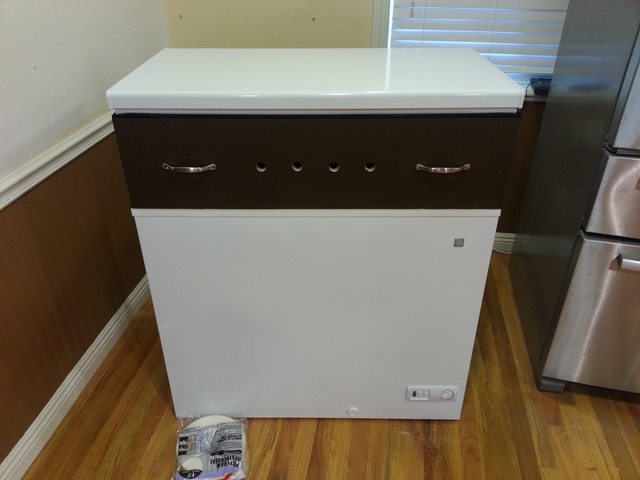
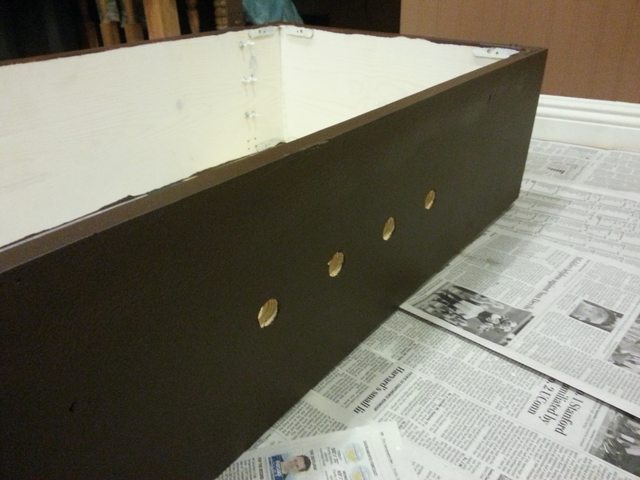
Laid out the tap handles at the ever popular 3-1/2" O.C. Used a 15/16" bit because the store was out of 7/8" spades, and my pile of other 7/8" bits were all either rusty or dull.
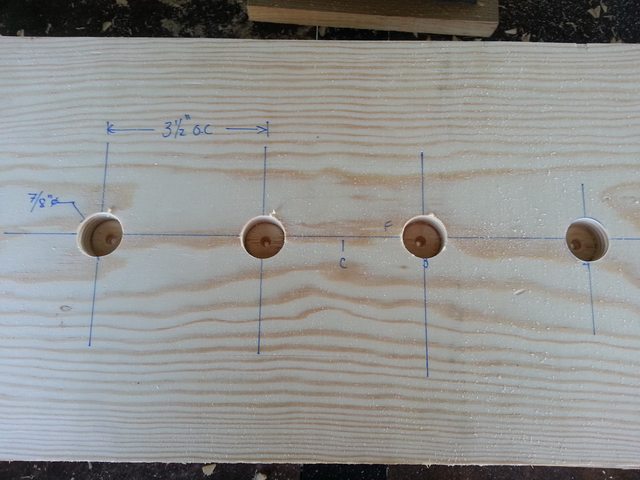
One tip when using a spade bit and drilling from the back side to prevent tearout on the front: stop just after the guide point makes it through the piece, then flip the piece over and finish the hole from the front. Any tear-out will be in the middle of the board, not the nice face. Another solution is to just use a better bit than a spade and take it slow.
Assemble using a helper to steady the corners. These ties work best on 2x material, but will be ok for 1x material if you round hte edge they ride on slightly. Otherwise, you have to fight them to keep a good hold. Don't worry if it's not square - you can rack it to match the freezer once it's mounted.
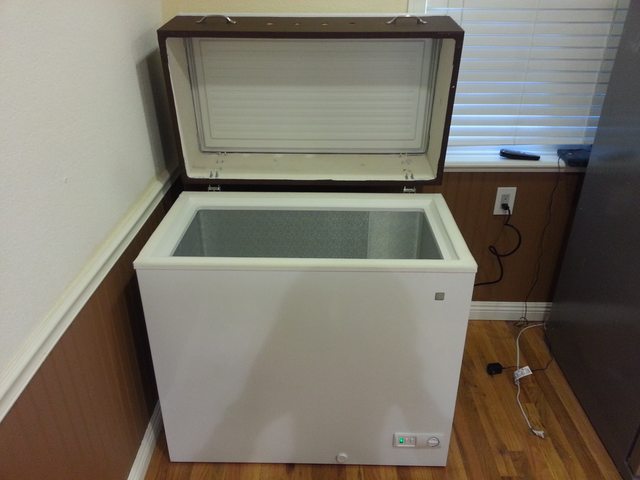
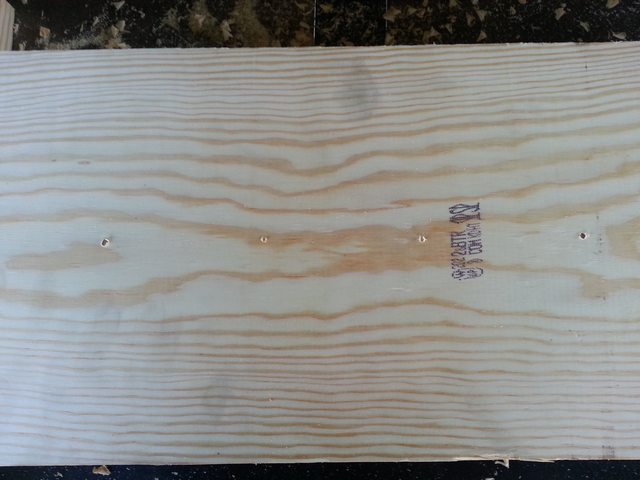
Set the collar on top and drill with a 3/16" bit through the pre-set hinge holes. Or, mark the holes with the pen as shown, and then remove the collar for slightly easier drilling.
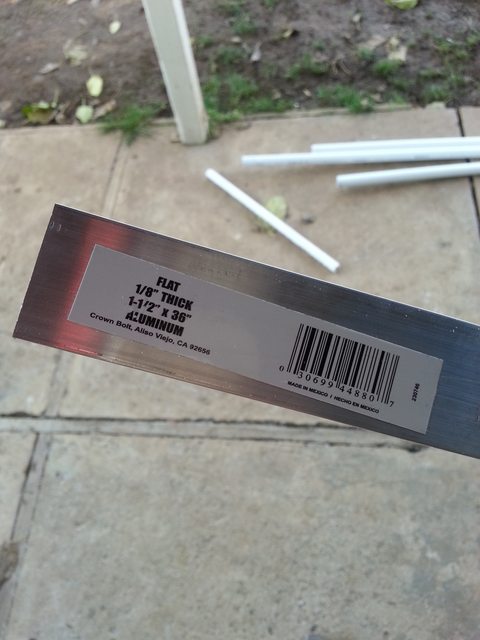
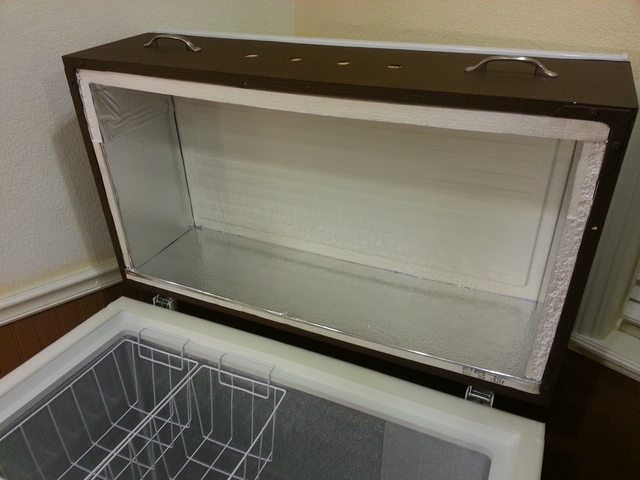
Grab that aluminum bar you bought and cut it into 8-9" strips using a hacksaw.
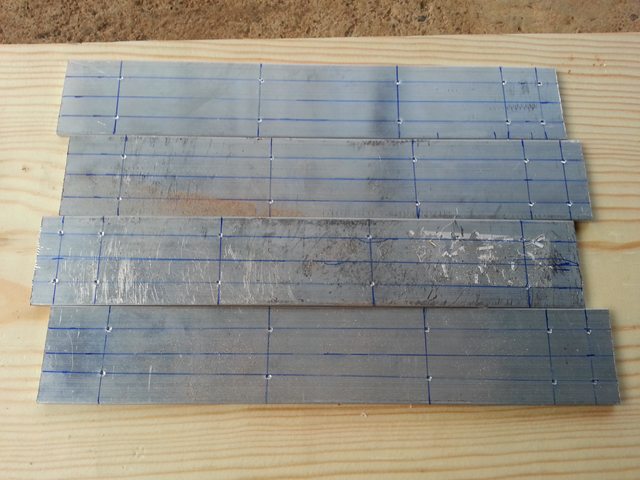
Lay out the bolt pattern from the backside of the lid onto each strip. Also lay out a few holes for mounting to the collar. Punch each one with a metal punch, nail set, or old screwdriver to keep the bit from wandering.
Take it slow, drilling out each 3/16" hole. A cheap drill press from Harbor Freight will make this much easier. Note that it's okay if your holes are not aligned perfectly. The steel fasteners are hard enough to "walk" slightly in the aluminum, cutting their own channel for a perfect fit.
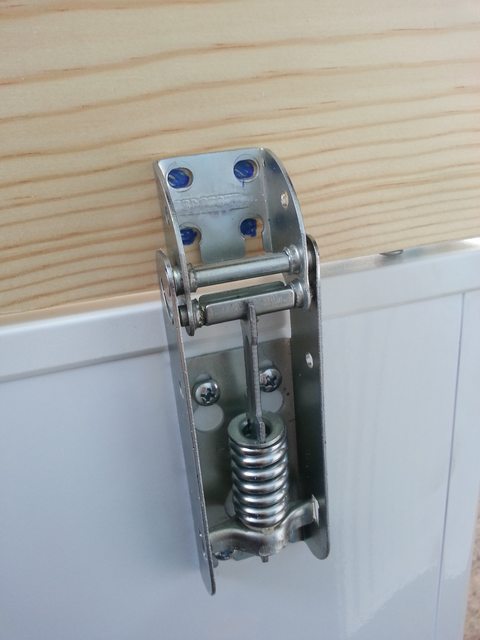
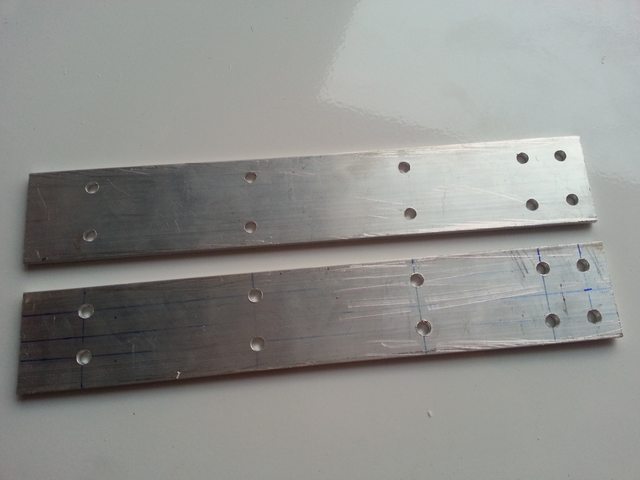
Test the fit to the lid. This one is pretty good. While it's on, hold the strip against the collar and drill out the collar using the same bit.
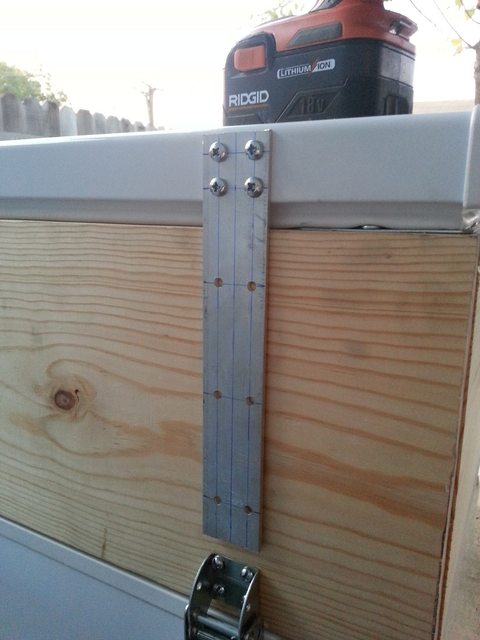
I tested the fit by bolting the collar on all the way before taking it back off for the night. I wanted to see how it would feel on the hinges. Works great.
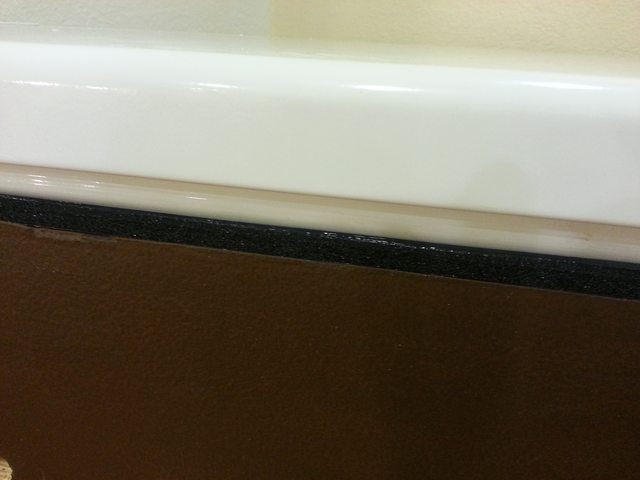
Note that the collar opening with the lid gives the benefit of keeping the shanks out of the way when changing out kegs, but has the downside of requiring as much space behind the freezer as the collar is tall when opened to 90 degrees. Wheels will help quite a bit.
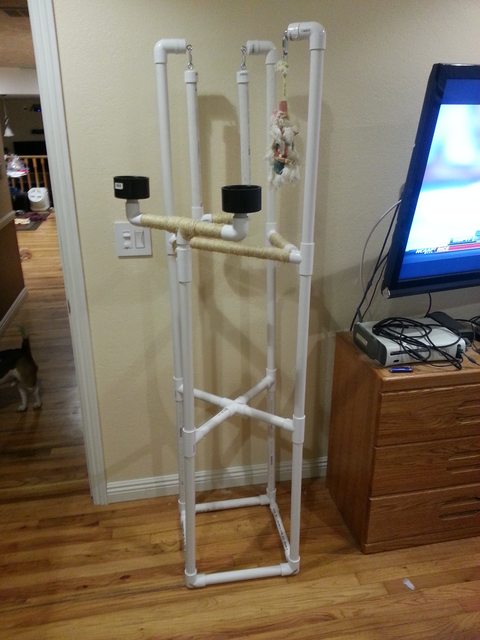
Had to break here for the night. The wife had wanted to go with me on the shopping trip, but then didn't get up until 10am. We didn't get back until almost 2pm, and then the sun went down and it was howling cold by 5:00pm. However, she used up enough of my time to complete her project... a playstand for our parrot.
Bought a pair of GE 7.0 CF FCM7SUWW freezers, one for serving and one for fermenting. Not doing a very fancy build here, but willing to answer any questions that may arise. This was planned to be a 1-day build (sans kegging equipment), but turned into a 3-day build due to other projects running simultaneously. A major intent here that makes this build different that other builds is that I want to make zero modifications to the freezer itself to preserve the warranty. In case it dies, I want to be able to unbolt the collar, put the lid back on, and get it serviced or replaced.
Shopping List (per keezer):
2x 1"x10"x6' Common Pine for painted collar (with smallist knots possible)
4x 5-packs of #10-24 x 1-1/2" machine screws with plus nuts
2x 30-packs of #8 flat washers
1x 4'x8' sheet of 1" thick foam insulation, cut in half for transport
8x Simpson Strong-Tie RTA1 hurricane straps
1x box Simpson SD8 Strong-Drive #8 x 1-1/4" screws
1x 7/8" or 15/16" drill bit
1x 1-1/2" x 36" x 1/8" piece of extruded aluminum
1x pack of Foam Weatherstripping, 1-1/2" W x 1/4" TH x 9'+ L, color to match your freezer body
1x pack of Foam Weatherstripping, 5/8 or 3/4" W x 1/4" TH x 9'+ L, color to match collar
2x handles with 1" screws, recommend style that is easy to lift upwards on (optional)
And of course the freezer.
For this freezer, the long and short sides were to be 36-15/16" and 19-1/8", respectively. Note that I am butting, not mitering, dadoing, rabbeting, dovetailing, etc. Just didn't want to spin the table saw up for this project.
Short sides were later milled down to 18-15/16" after they were found to be 3/16" too long, causing a 1/4" lip in the front when assembled.
Laid out the tap handles at the ever popular 3-1/2" O.C. Used a 15/16" bit because the store was out of 7/8" spades, and my pile of other 7/8" bits were all either rusty or dull.
One tip when using a spade bit and drilling from the back side to prevent tearout on the front: stop just after the guide point makes it through the piece, then flip the piece over and finish the hole from the front. Any tear-out will be in the middle of the board, not the nice face. Another solution is to just use a better bit than a spade and take it slow.
Assemble using a helper to steady the corners. These ties work best on 2x material, but will be ok for 1x material if you round hte edge they ride on slightly. Otherwise, you have to fight them to keep a good hold. Don't worry if it's not square - you can rack it to match the freezer once it's mounted.
Set the collar on top and drill with a 3/16" bit through the pre-set hinge holes. Or, mark the holes with the pen as shown, and then remove the collar for slightly easier drilling.
Grab that aluminum bar you bought and cut it into 8-9" strips using a hacksaw.
Lay out the bolt pattern from the backside of the lid onto each strip. Also lay out a few holes for mounting to the collar. Punch each one with a metal punch, nail set, or old screwdriver to keep the bit from wandering.
Take it slow, drilling out each 3/16" hole. A cheap drill press from Harbor Freight will make this much easier. Note that it's okay if your holes are not aligned perfectly. The steel fasteners are hard enough to "walk" slightly in the aluminum, cutting their own channel for a perfect fit.
Test the fit to the lid. This one is pretty good. While it's on, hold the strip against the collar and drill out the collar using the same bit.
I tested the fit by bolting the collar on all the way before taking it back off for the night. I wanted to see how it would feel on the hinges. Works great.
Note that the collar opening with the lid gives the benefit of keeping the shanks out of the way when changing out kegs, but has the downside of requiring as much space behind the freezer as the collar is tall when opened to 90 degrees. Wheels will help quite a bit.
Had to break here for the night. The wife had wanted to go with me on the shopping trip, but then didn't get up until 10am. We didn't get back until almost 2pm, and then the sun went down and it was howling cold by 5:00pm. However, she used up enough of my time to complete her project... a playstand for our parrot.


 Oh well. Keep moving forward.