I have been in the pool/spa business for 20 years. I am no stranger to water / electricity and heating elements, most decent sized spas have a 5.5kw heater in the spa pack (or brewers would know it as the spa panel). With that being said, here is my sorta budget eherms build.
Here are the budget items:
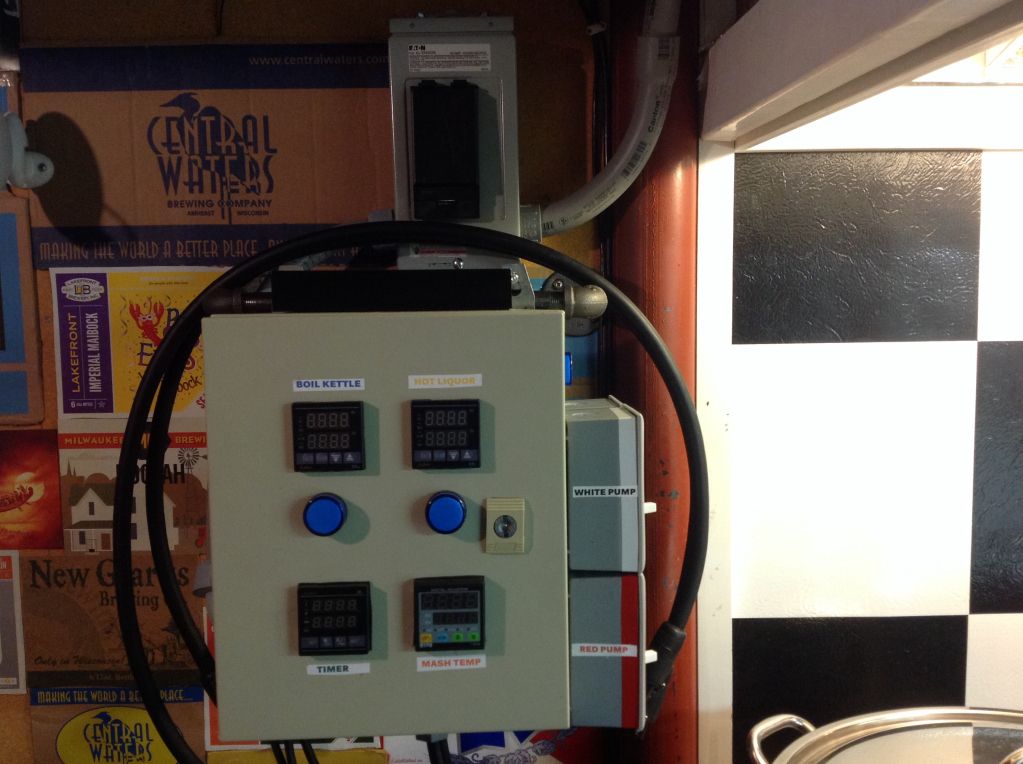
My pin pid for mash temp
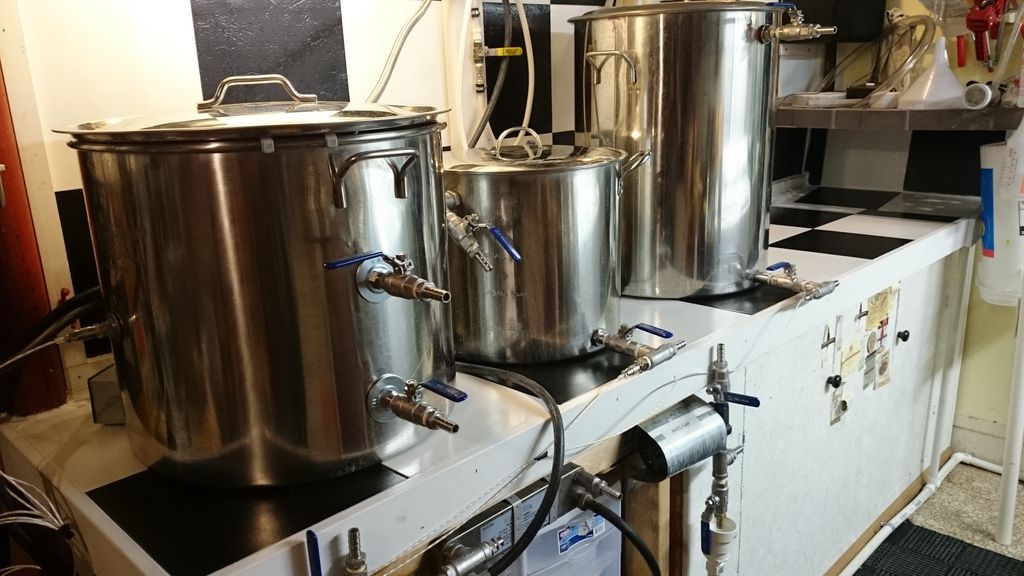
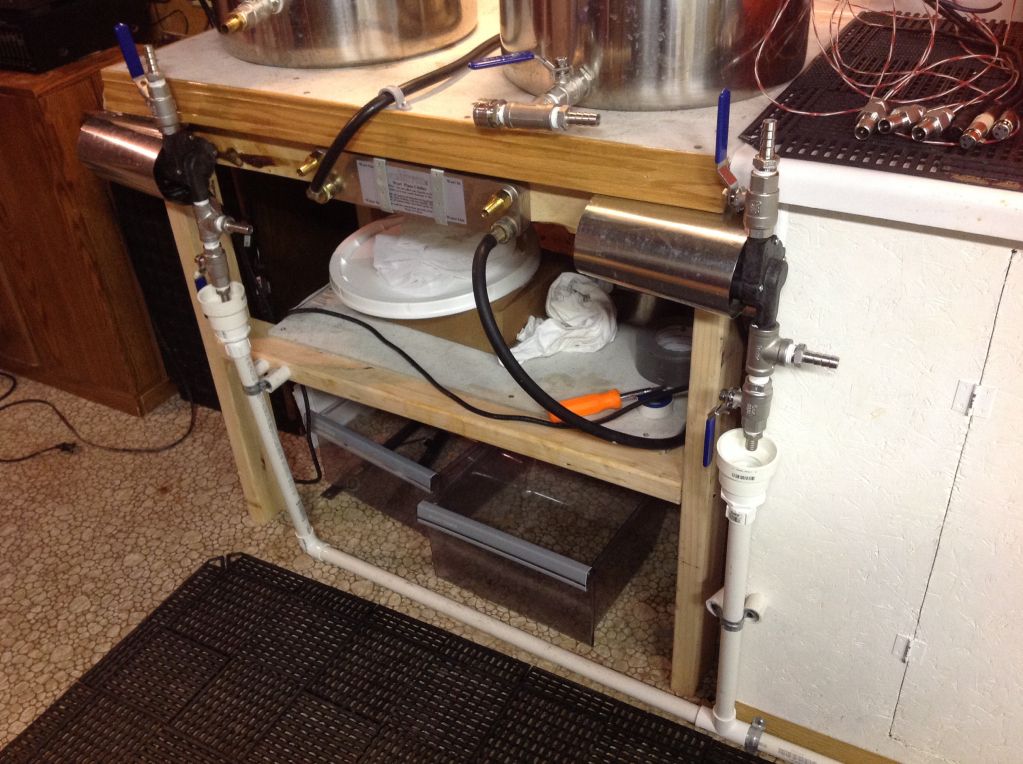
10 gallon Rubbermaid cooler
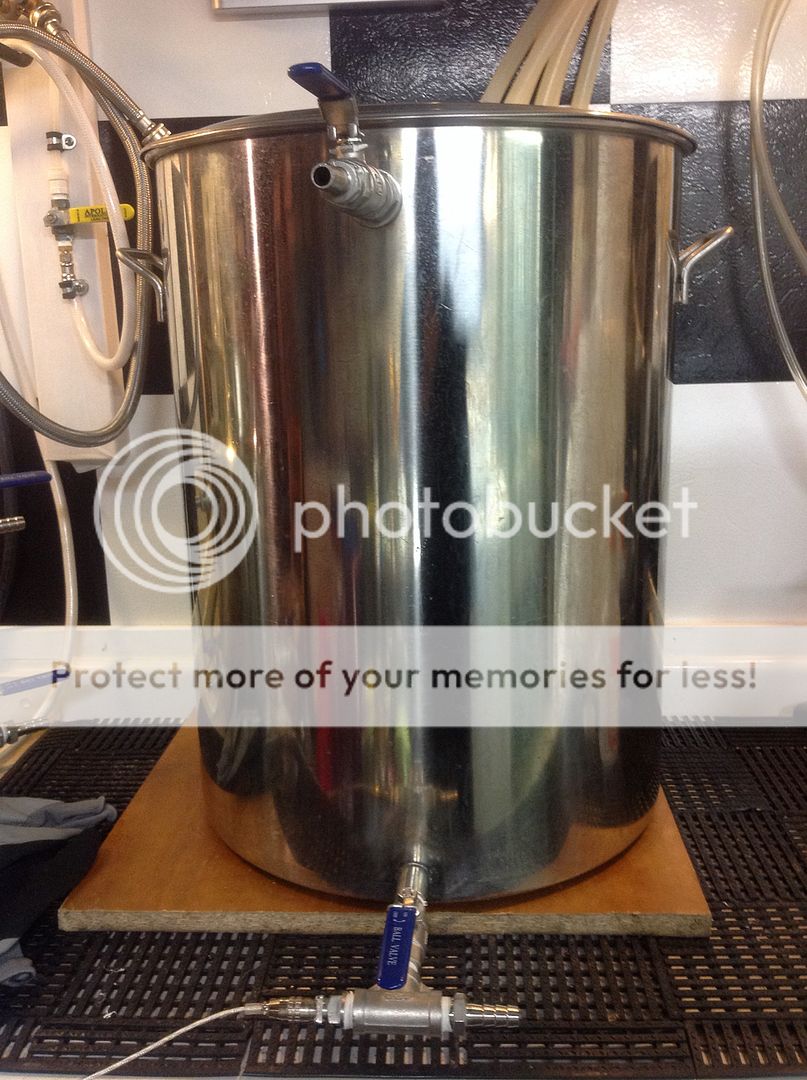
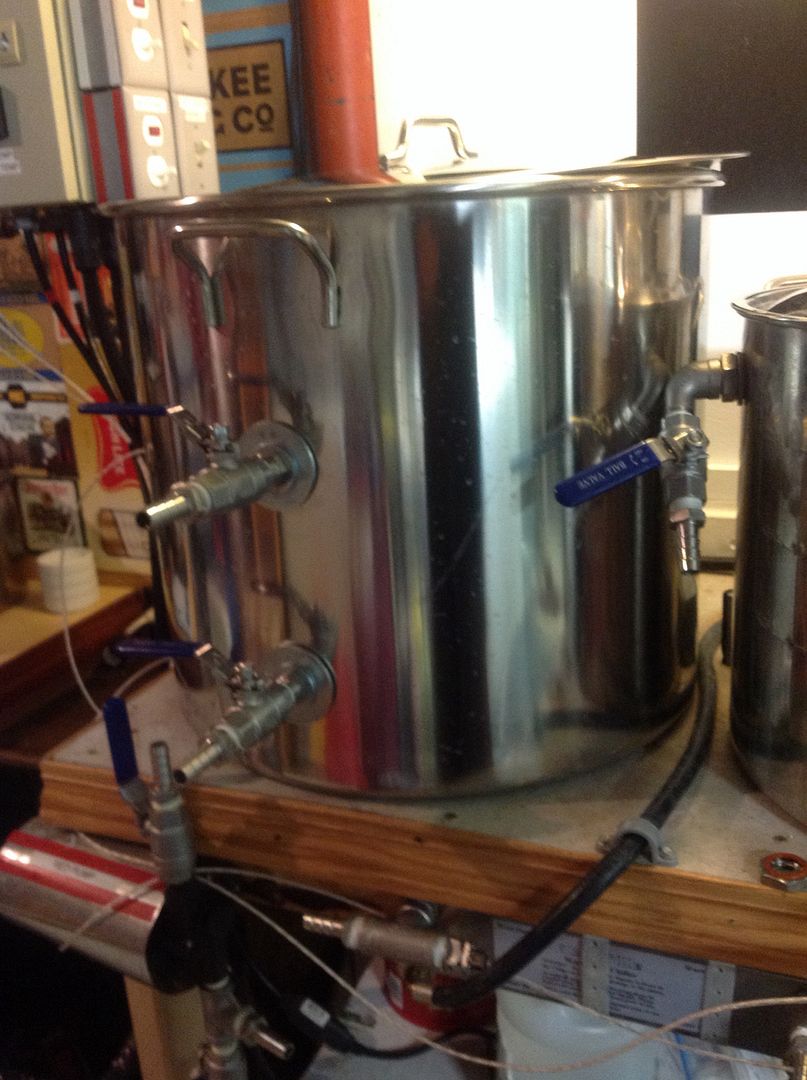
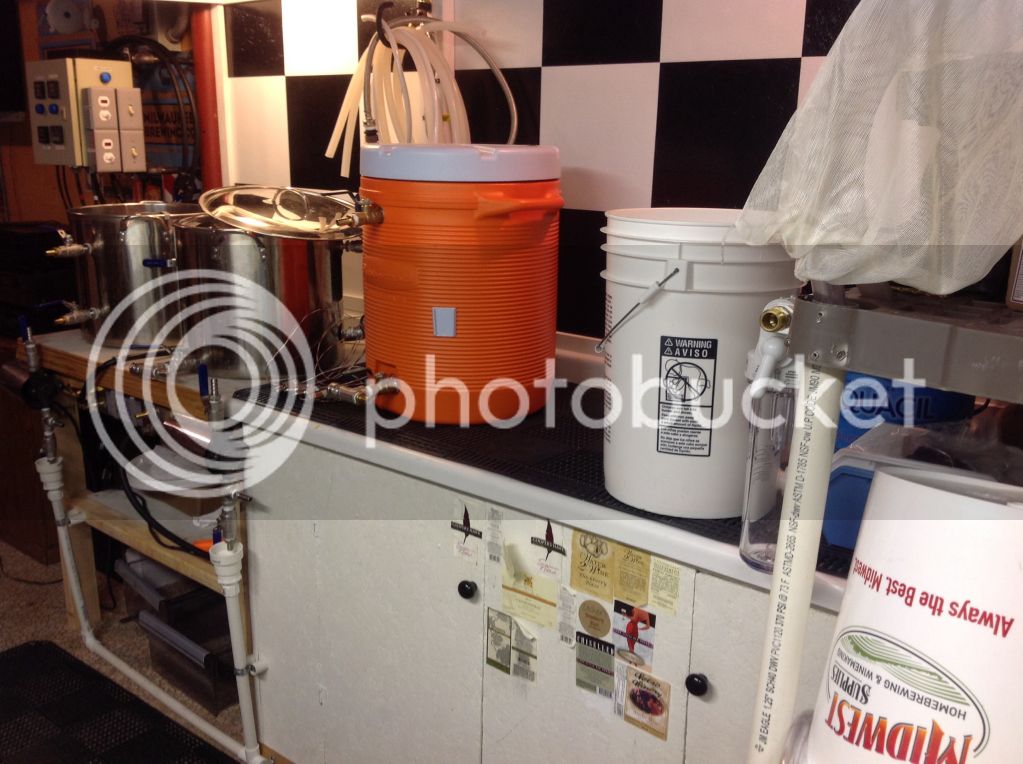
10.5 gal polar ware pots
Polysulfone chugger pumps (I know not $25 pos eBay pumps, but not stainless)
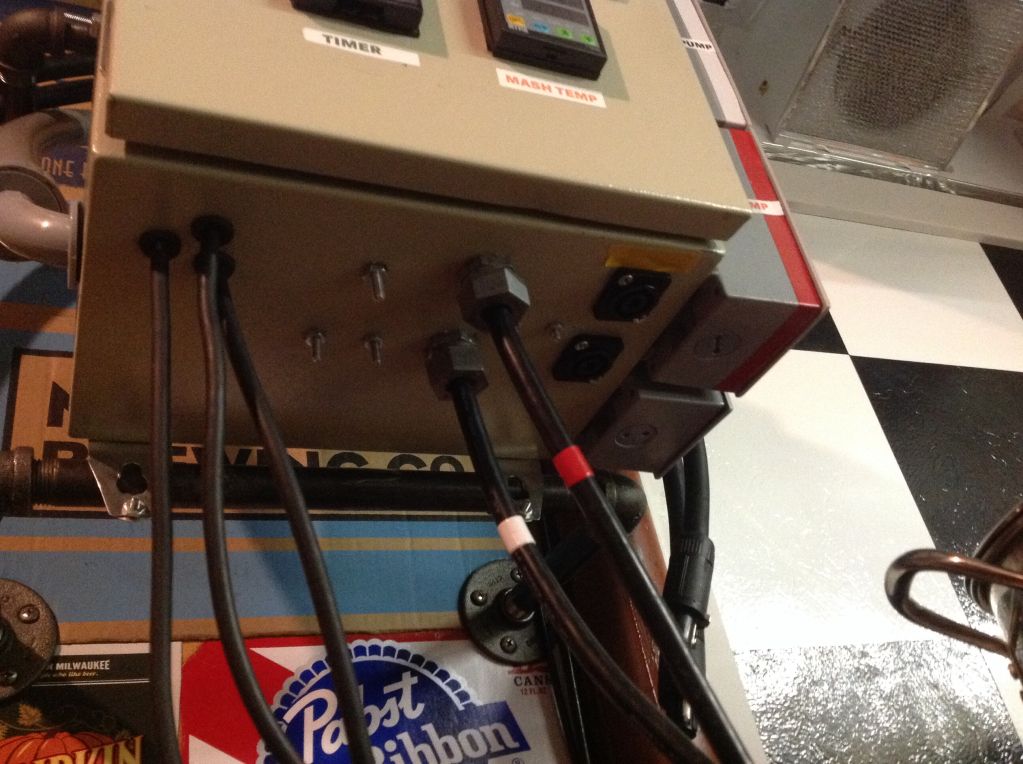
Switchcraft speakon high voltage connectors ( controversial )
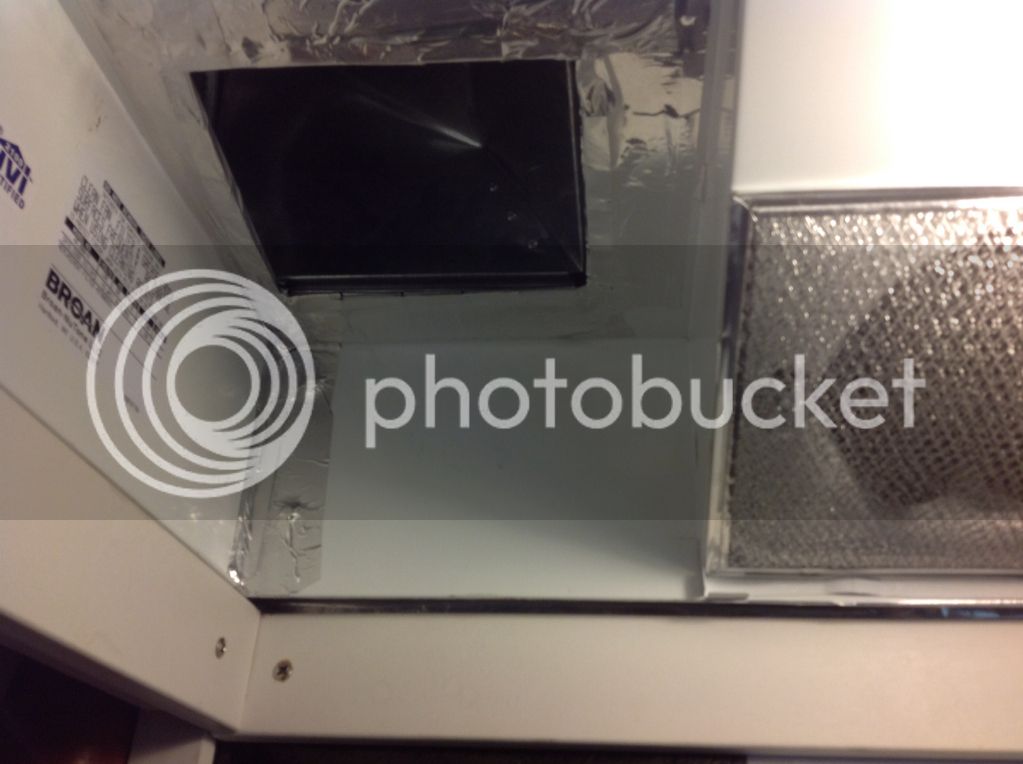
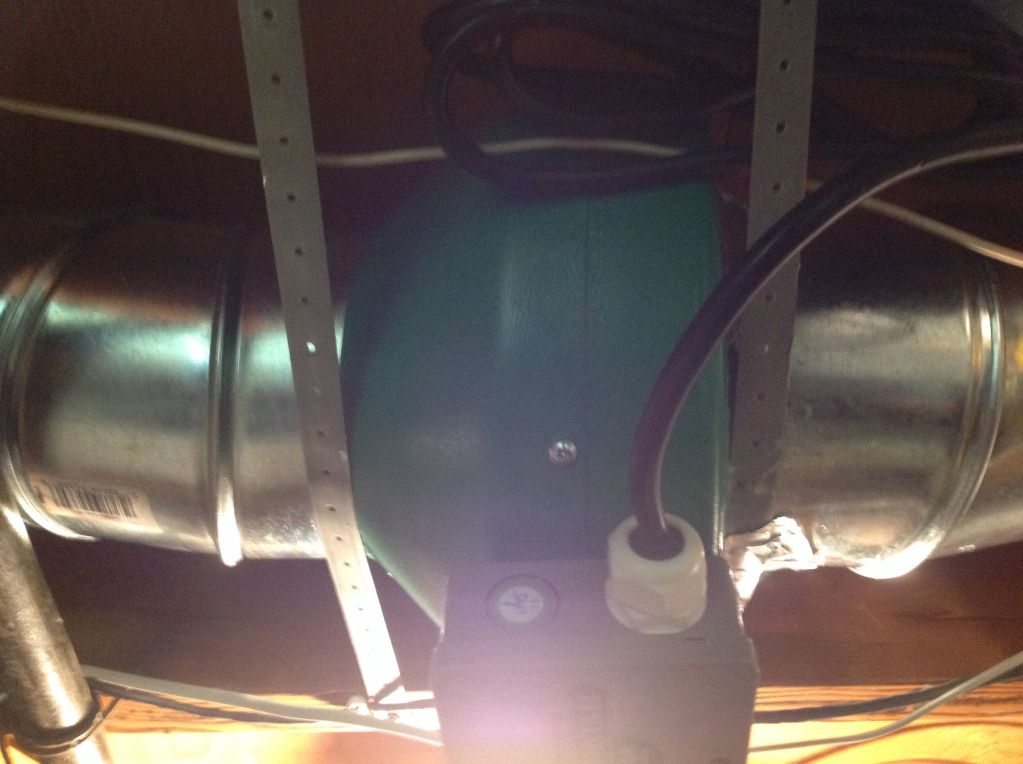
Hydro farm 6"inline fan (not vortex) modified into a cheap kitchen hood
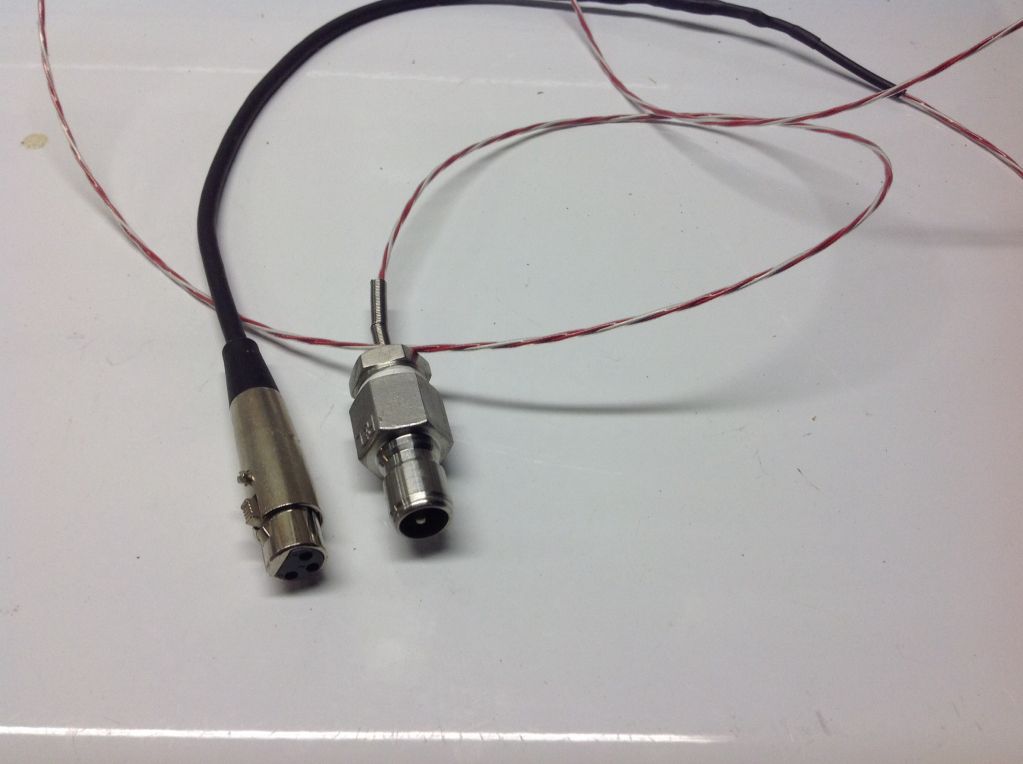
Homemade XLR to RTD (most inexpensive RTD threaded into a quick disconnect)
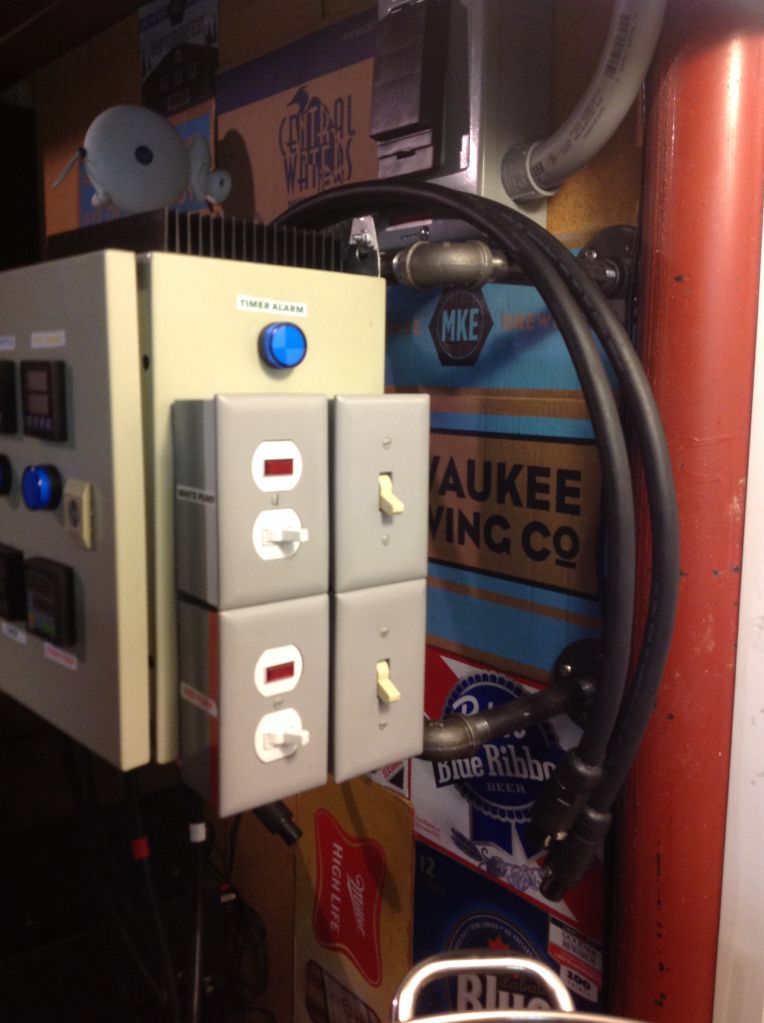
30 amp wall switch to manually turn off elements
20 amp wall switch with led for pumps
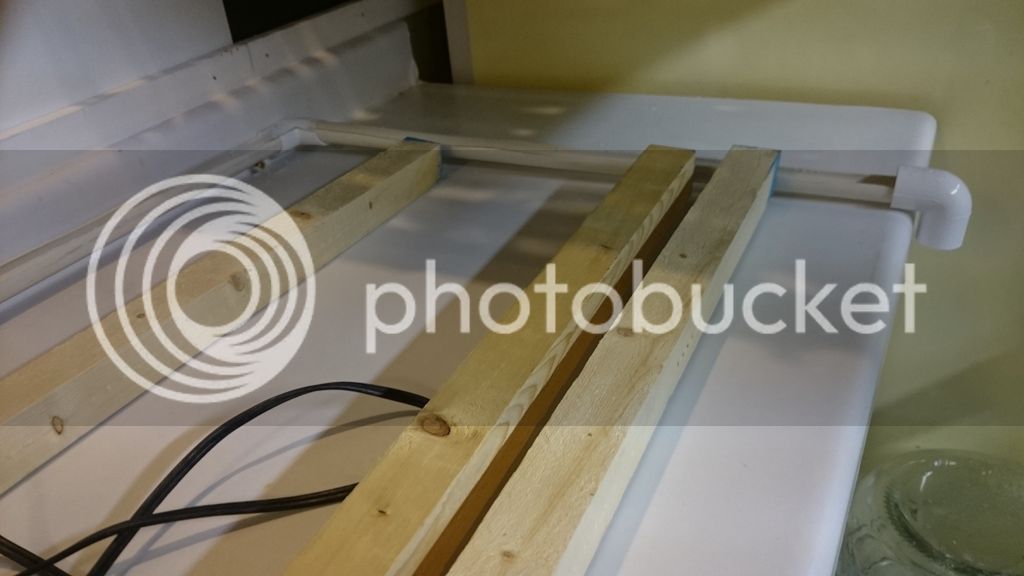
1/2" black pipe wall mount
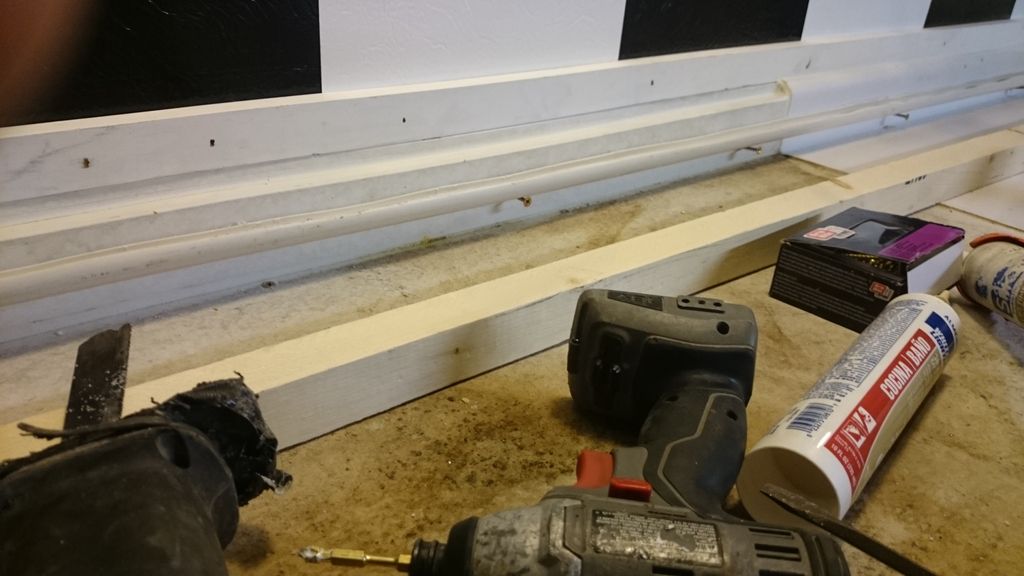
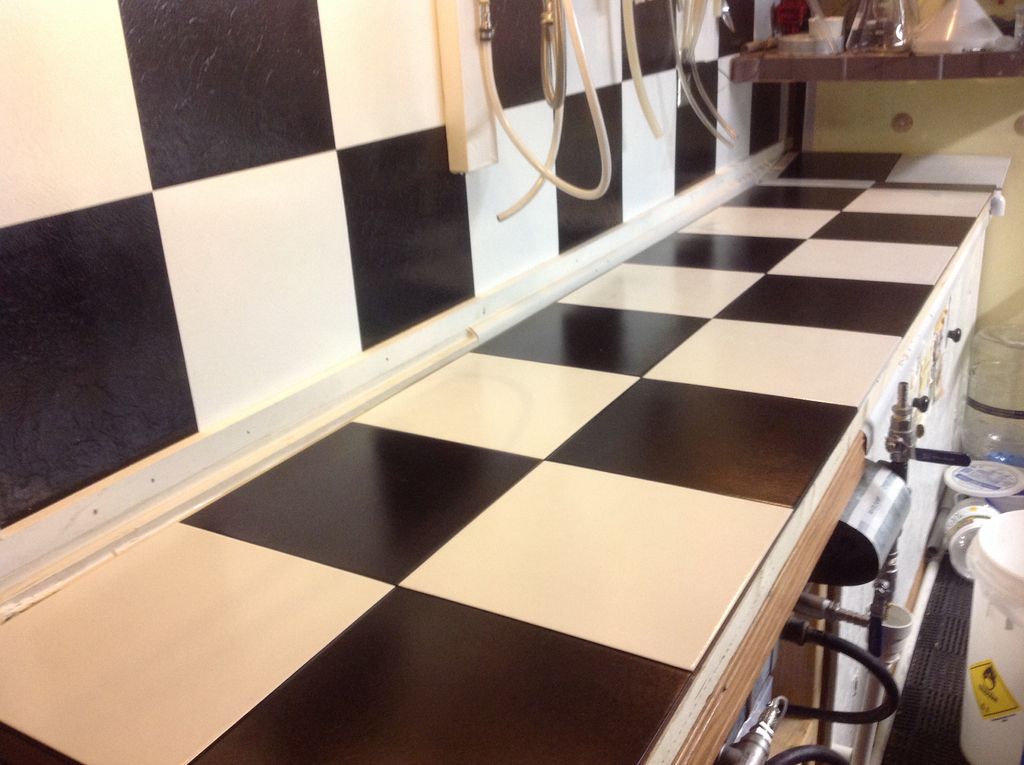
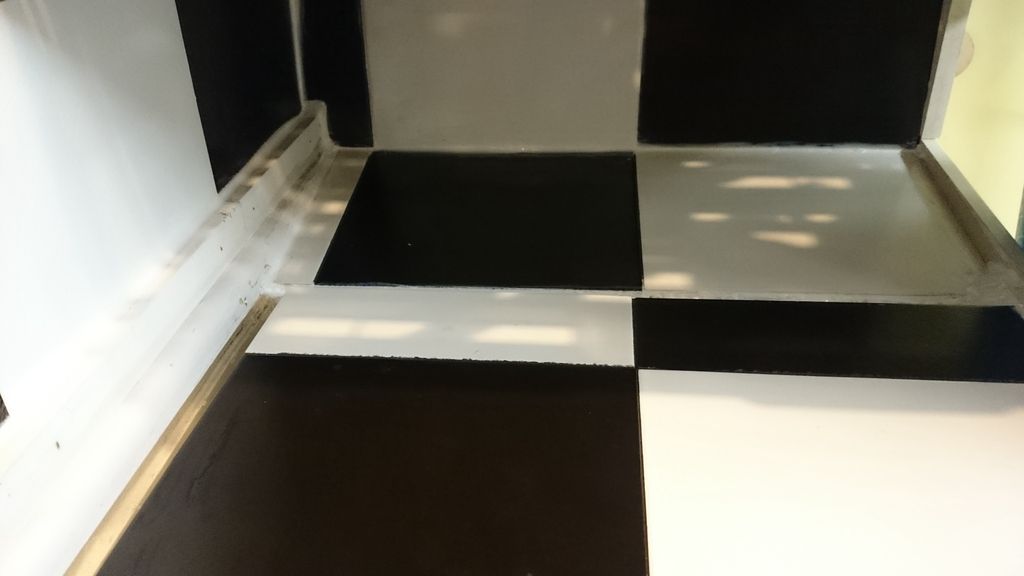
Self stick tile wall behind kettles $15 + $10 pine trim
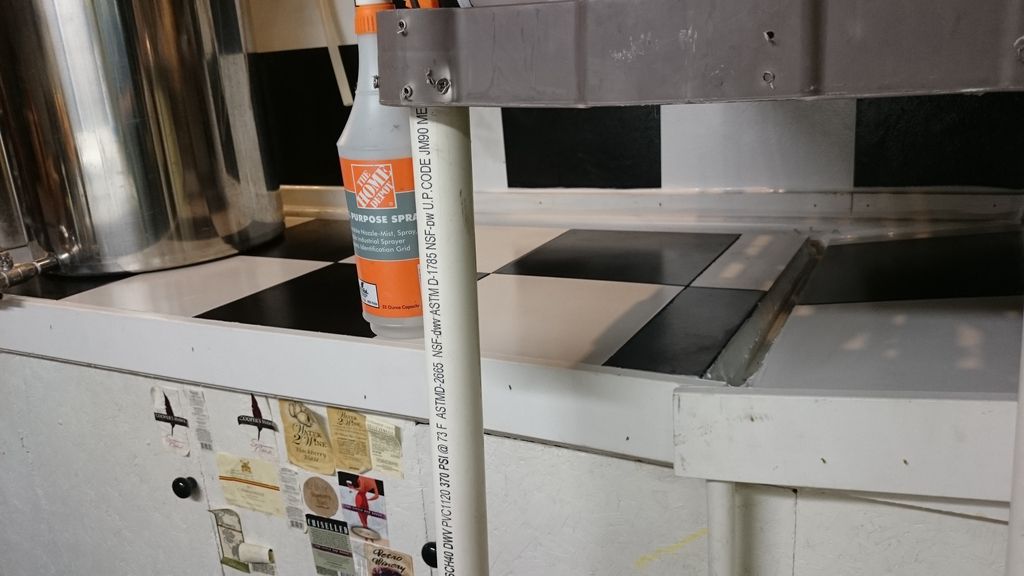
Brew stand with cement board top $20 (next to existing counter / cabinet)
"Regular" items:
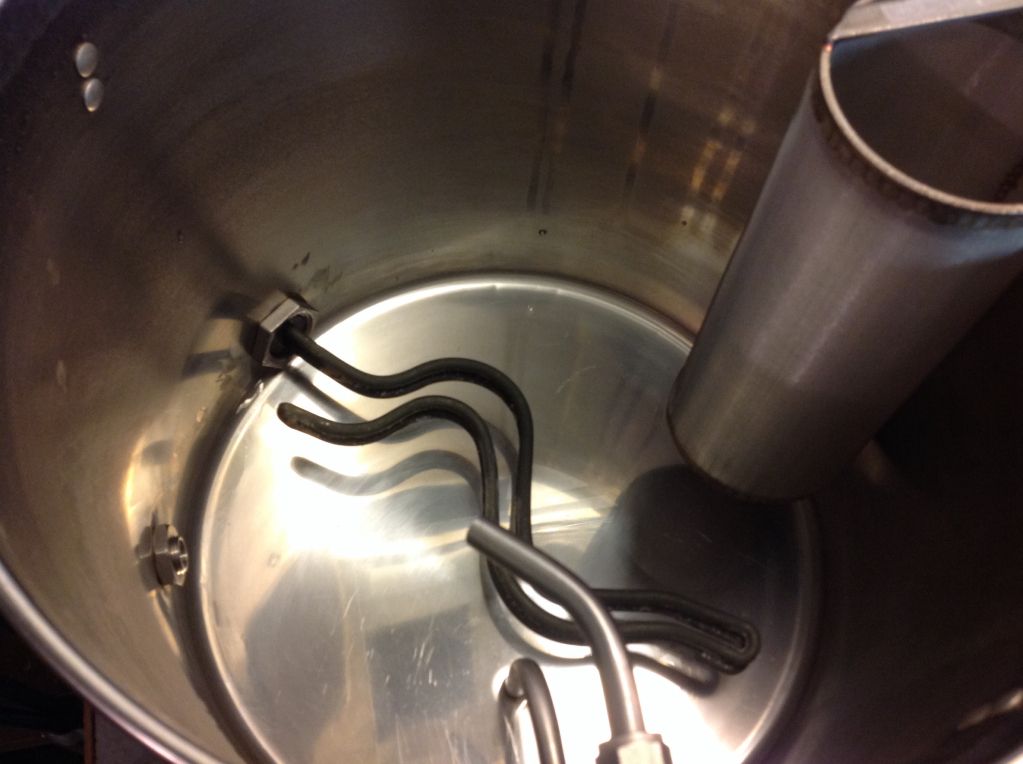
2 camco 5.5 ULWD elements
2 auber syl2352 pid controllers
1 auber beer brewing timer
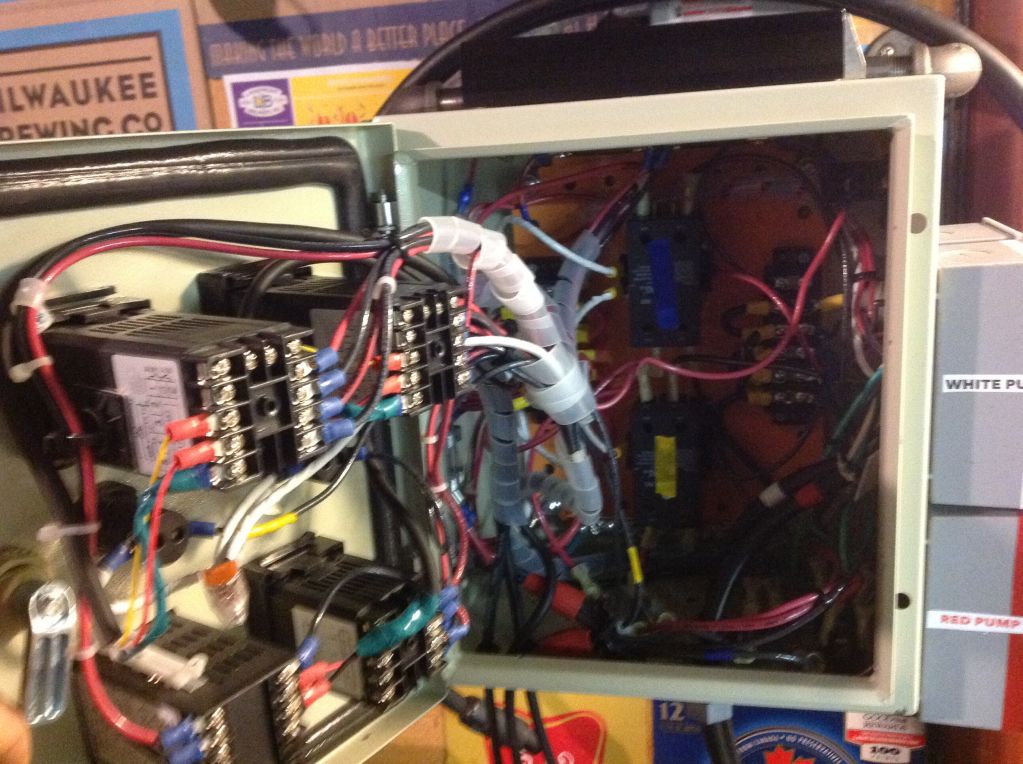
Auber control box with 2 precut pid holes
Auber 40amp ssr's controlling 30 amp contactors
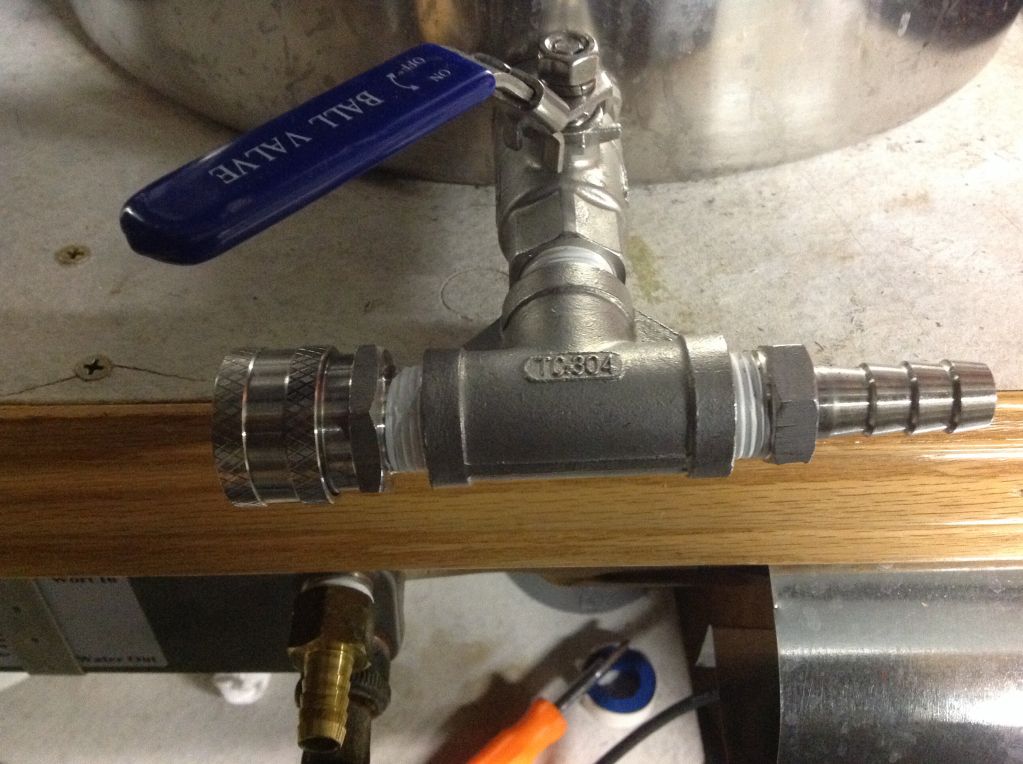
Stainlessbrewing.com herms coil and stainless fittings
Still need a few stainless barb fittings to replace the brass
Need to get some good labels made up also...
Thank to all on HBT for their reviews on ebrewery products and processes. I read a lot of good threads on this forum for great ideas. I spent some time wiring and designing on the fly. Kinda wish I had more to do now, I have been working on this for the past 2 months straight. I started collecting parts a year ago.


Here are the budget items:
My pin pid for mash temp
10 gallon Rubbermaid cooler
10.5 gal polar ware pots
Polysulfone chugger pumps (I know not $25 pos eBay pumps, but not stainless)
Switchcraft speakon high voltage connectors ( controversial )
Hydro farm 6"inline fan (not vortex) modified into a cheap kitchen hood
Homemade XLR to RTD (most inexpensive RTD threaded into a quick disconnect)
30 amp wall switch to manually turn off elements
20 amp wall switch with led for pumps
1/2" black pipe wall mount
Self stick tile wall behind kettles $15 + $10 pine trim
Brew stand with cement board top $20 (next to existing counter / cabinet)
"Regular" items:
2 camco 5.5 ULWD elements
2 auber syl2352 pid controllers
1 auber beer brewing timer
Auber control box with 2 precut pid holes
Auber 40amp ssr's controlling 30 amp contactors
Stainlessbrewing.com herms coil and stainless fittings
Still need a few stainless barb fittings to replace the brass
Need to get some good labels made up also...
Thank to all on HBT for their reviews on ebrewery products and processes. I read a lot of good threads on this forum for great ideas. I spent some time wiring and designing on the fly. Kinda wish I had more to do now, I have been working on this for the past 2 months straight. I started collecting parts a year ago.