Chainsaw_Mechanic
New Member
- Joined
- May 31, 2014
- Messages
- 3
- Reaction score
- 1
I came up with a nifty idea about how to build a jockey box. It went something like "I already have one... it's just disguised as a mash tun. I'm rather handy so I schemed up a jockey box.
Shopping list for jockey box
1/4" x 25' copper coil
10 feet liquid keg line (in two 5' sections)
barbed keg disconnect
picnic tap
four 1/2" stainless steel hose clamps (the kind with screws, NOT pinched)
drill with 1/2" chuck
27/32" drill bit
New lid for Tun (this ran about 24 bucks, had to call Rubbermaid and order it direct. Have the model number ready, it's printed into the bottom of the vessel)
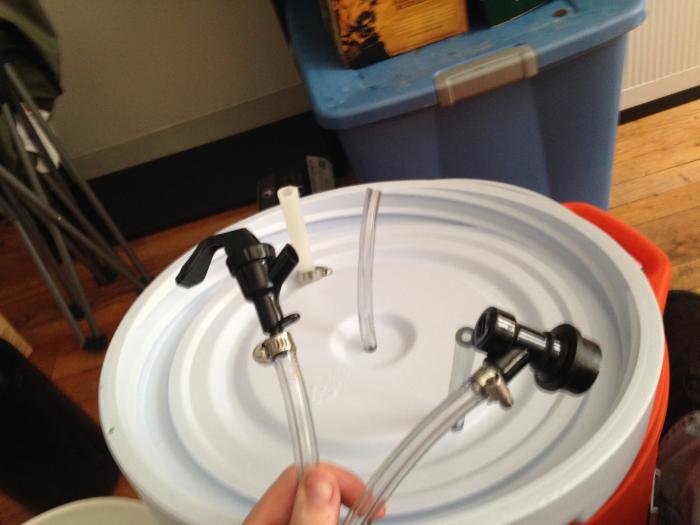
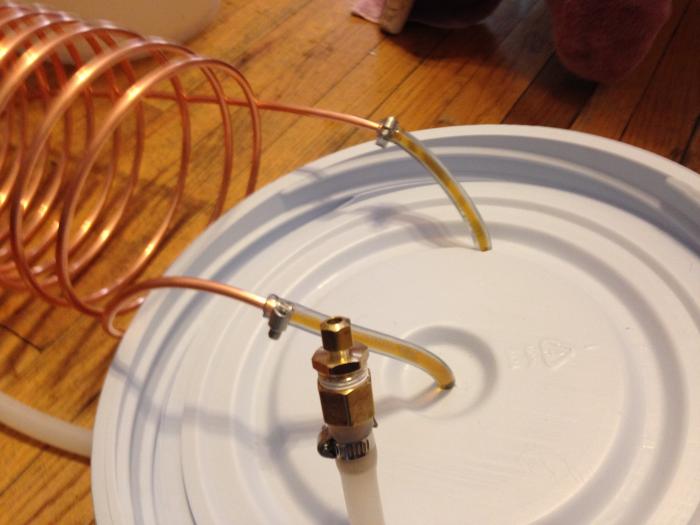
I drilled the lid at the middle and about 4.5 inches away (there happens to be another thin area in a ring around that radial distance). The drill bit is noticeably smaller that the tubing diameter, this is completely intentional. The best way to feed the tubing in is to cut the end at a sharp angle for about 3/4 of an inch. It will look like a pointy stick (but with a hole in the middle obviusly), and feeding this pointed tube into the drilled hole allows some to poke through to the other side before the whole diatemeter hits the small hole. Here's the trick to this: now, with some poking out to the other side, stop pushing, and start pulling the tube from the pointed end. This allows the tube to stretch and thin slightly, making it easier to pull through, but very secure and fast once it settles. I left about 5" inside the lid on each line, the rest of the 4.5 ft is for the keg disconnect and the picnic tap. The keg line I have is 1/8" wall on each side, 1/4" ID, making it .448" OD (i have a micrometer). 27/64 is .022 inches smaller so you have plenty of grip, and it's not too hard to feed in.
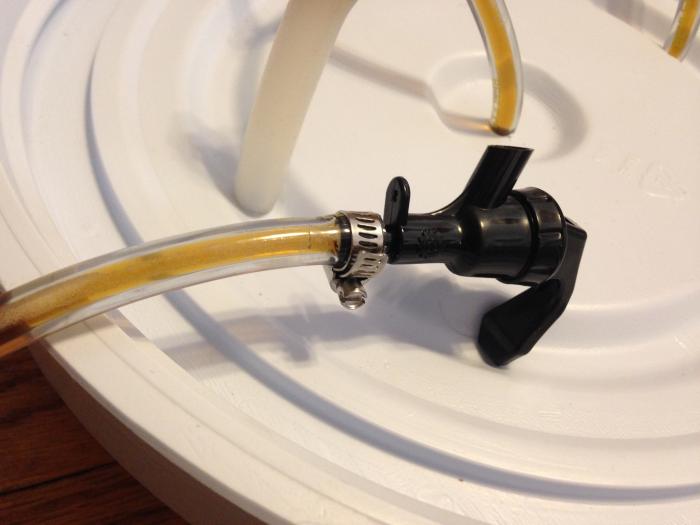
So, you do that for both tubes, cut the 'pointed stick' tips back to square. Hook on the keg disconnect (mine are ball lock, but it matters not) to the one line on the side, the picnic tap to the other one thats drilled through the center of the lid (yes this matters). Hose clamp these ends, you'll be running about 40 PSI, you will need good grip on all fittings.
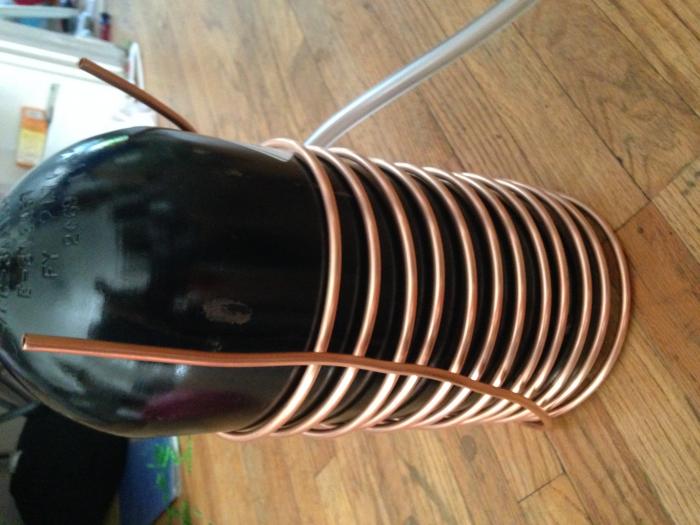
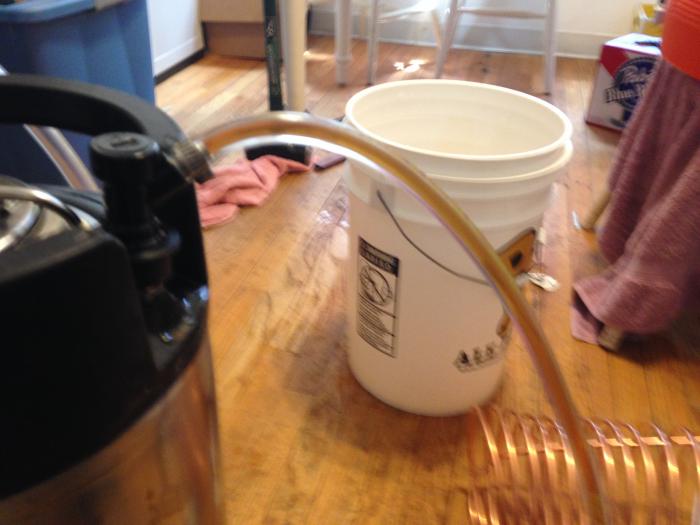
The tubing I formed around my 10 lbs CO2 tank using my hands and a tubing bender. The bender is not necessary but i recommend it, particularly for the parts that buck the coil shape and turn up the the lid (inlet and outlet). It doesn't really matter which one you designate as in or out in you coil. The copper tubing is also difficult to put into keg line, but there's no trick here. Just be careful. If the tube gets crimped, you have to cut that part off and start over, of don't get mad, but probably also don't have a home brew. Even the heat of your hands will make the walls considerably more malleable. Hose clamps of both lines. Make sure there is more (at least 25%) copper inside the keg tube than the with of your hose clamp. again, more grip is better than less.
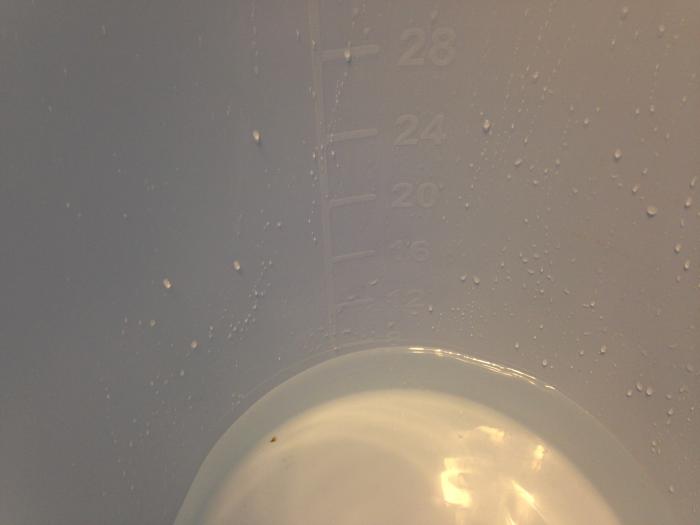
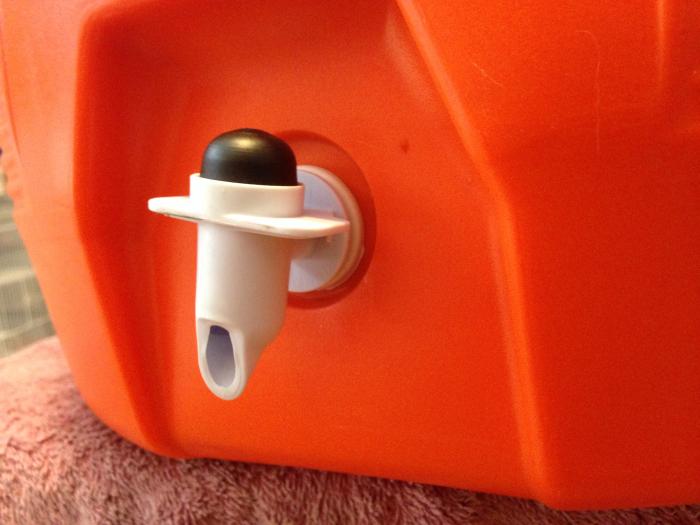
TEST with low psi, then with low psi with the picnic tap open. Then with high. then high open. CHECK EVERY FITTING. Then check the tun. I put the original cooler faucet back in instead of my ball valve, it's better thermal insulation, but that could leak too so i filled it with 2 gallons and checked for leaks. then I bumped up to 6 gallons, checked again and added ice.
AS SOON AS YOU ATTACH TO THE KEG POST, YOU ARE AT THAT PSI AT ALL PRESSURIZED FITTINGS. START AT LOW PSI.
I had no leaks, but the best way to deal with them is see if you can get a couple more turns out of your hose clamp, and if that doesn't do it, the keg line is probably scratched or compromised at that fitting. Disconnect from the keg and cut the line. Reattach the fitting with the new (somewhat shorter) line and hope you have better luck here.
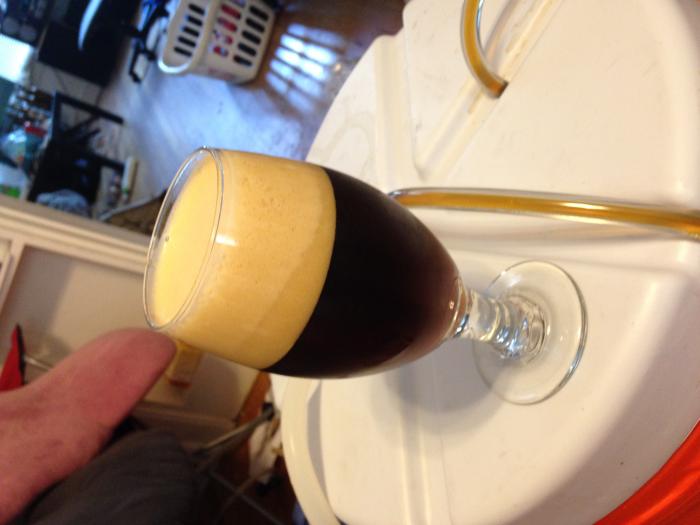
Once you have no leaks, put in ice bath, serve to test. It will foam like crazy at first, there is a lot of area getting it's first touch of beer with dissolved gas. After about 5 ozs, it calmed down for me.
Clean the lines, just like you would for any jockey box being used the first time (run through with pbw, rinse, run with star san, rinse). I did it twice, because copper is poisonous, and acids (like low ph beer) leech it from the walls. Only so much can be leeched though so after 4 or 5 times being cleaned, everything will calm down. For the first month or two, if beer is in the line overnight, toss the first glass or two, it'll save you worry.
SO... THREE IN ONE... As i made this i realized, a Jockey Box is just a wort chiller at lower temp and much higher pressure. For to add the wort chiller:
shopping list:
6' High temp silicone tubing 3/8 ID (this will suck, mine was like $4/ft)
1/2" drill bit
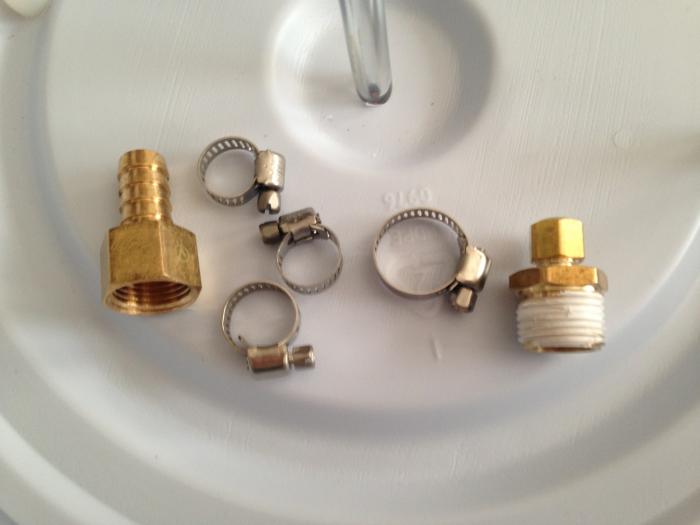
** 1/2" barbed fitting x 1/2" female threaded pipe fitting
** 1/2" male threaded pipe fitting x 1/4" compression
** for these two you can use 3/8" or 1/4" for the two middle connections. use whatever you can find, this is what i found at my local Do It Best Hardware
3/4" Stainless hose clamp (again, with screws)
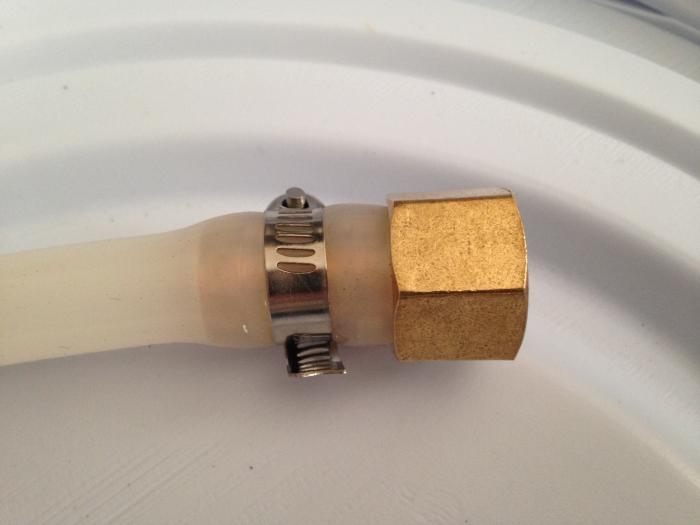
Drill a half inch hole opposite the two 27/64" holes so they create a line. Describing this is hard, look at the pic. Feed the silicone line in the same 'pointed stick' method, squaring once it's in. Attach the barbed fitting with the hose clamp. You have 3/8" ID tubing and a 1/2" barb, but silicone is VERY stretchy so they will fit. I guess i just like things snug. Thread the 1/2" FPT x 1/4" Comp into the back.
Once you are ready to use this jockey box for a Wort Chiller, simply remove the copper tubing from the keg line with the disconnect, and place in the compression fitting. Tighten. You now have an ice bath heat exchanger wort chiller.
3 IN ONE cause you can still take the old lid and use it as a Lauter/Mash Tun.


