Must be the only one reading
or at least posting!
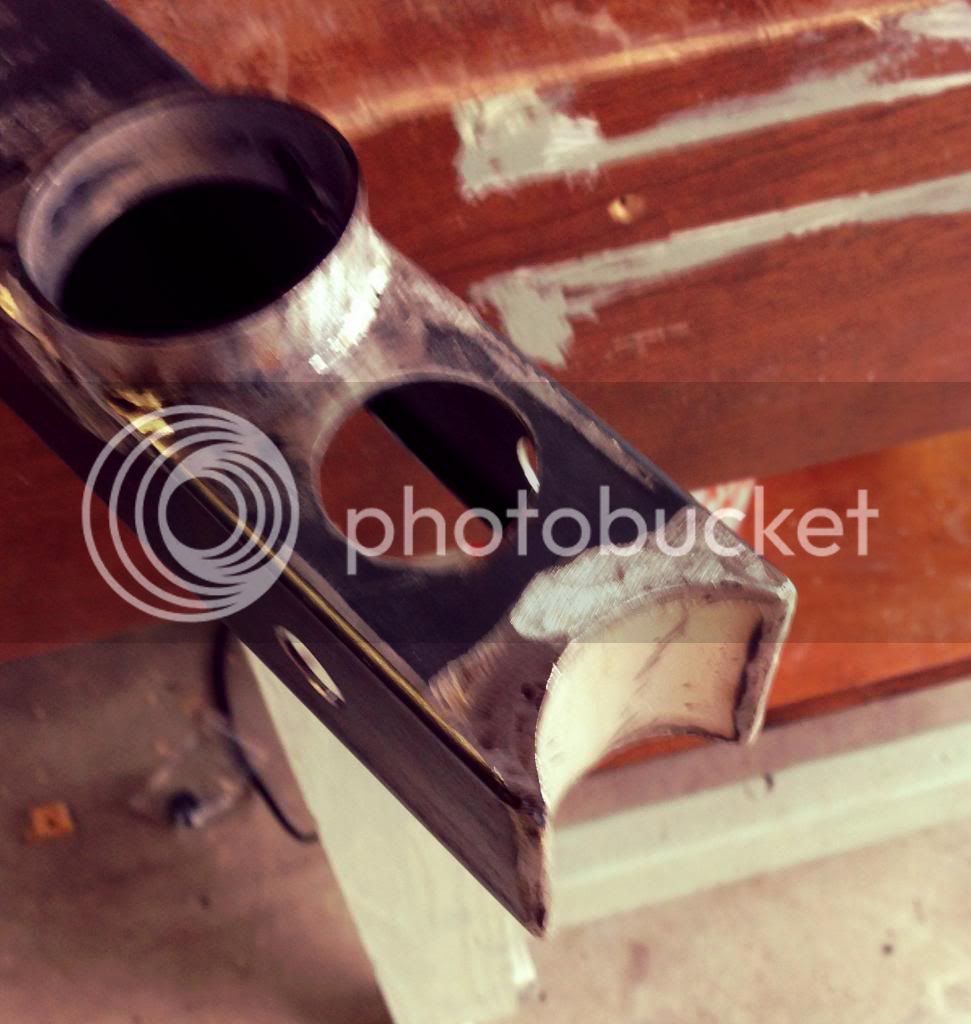
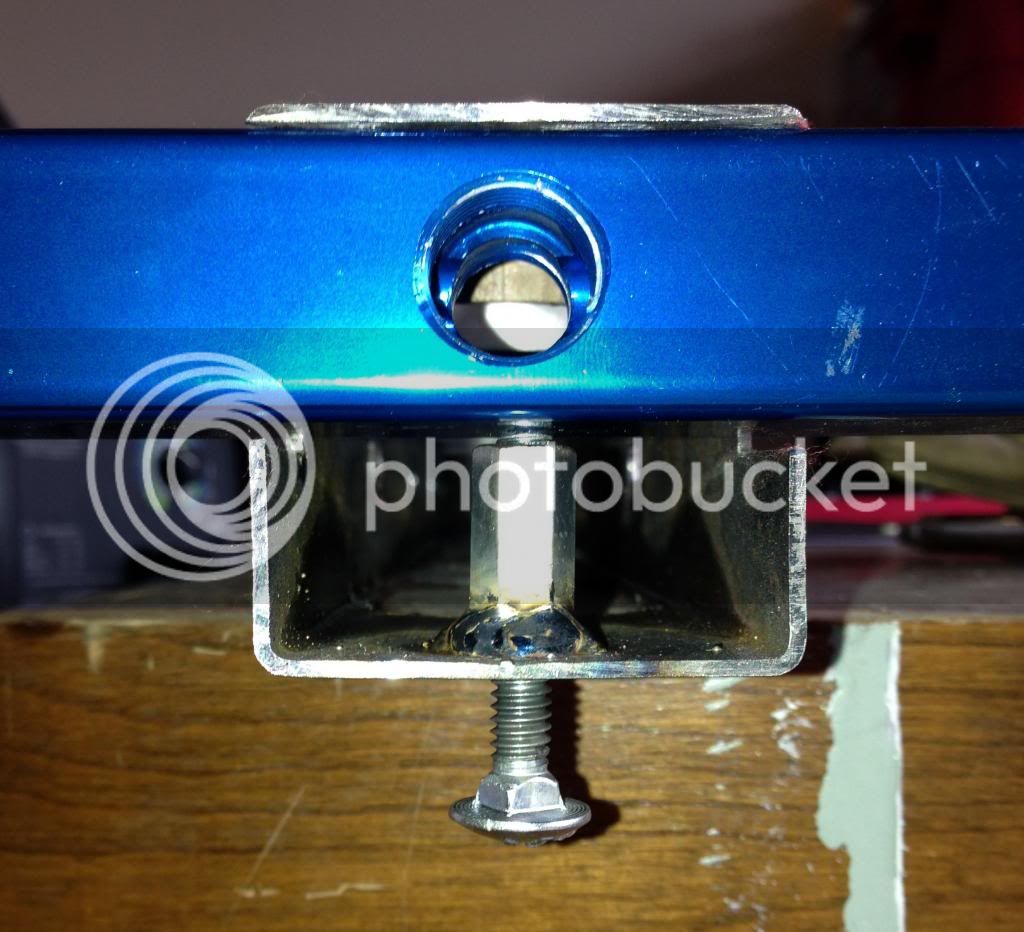
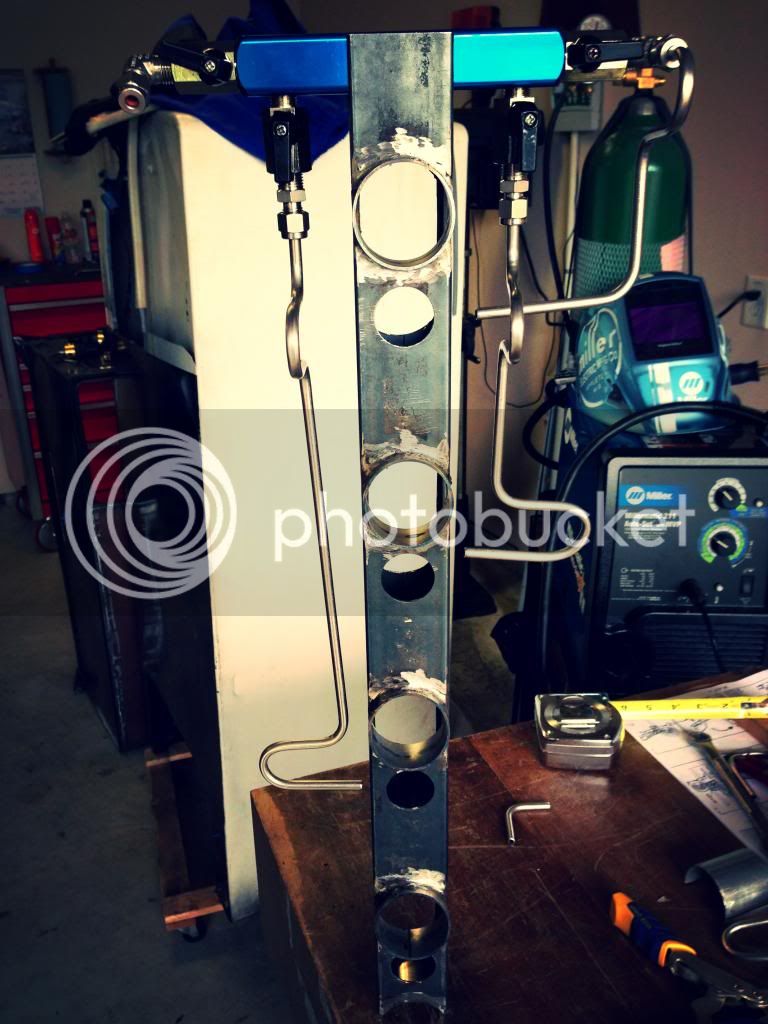
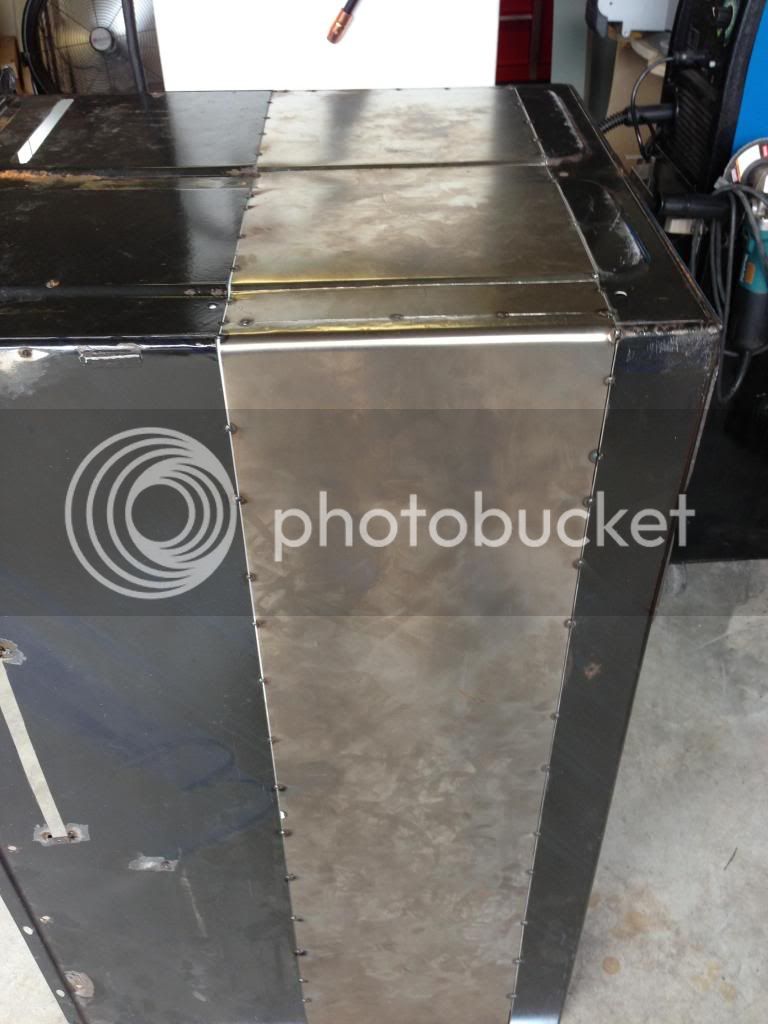
The lurkers will soon emerge when they see how cool this is. I'm thinking of using something like this to roll some 1/4" or 3/8" stainless tubing for a jockey box.

Must be the only one reading
or at least posting!
You are without a doubt a genius level Mad Scientist, and I mean that in the best possible way !!!!


And now you're going to get me all interested in upgrading my kegerator...


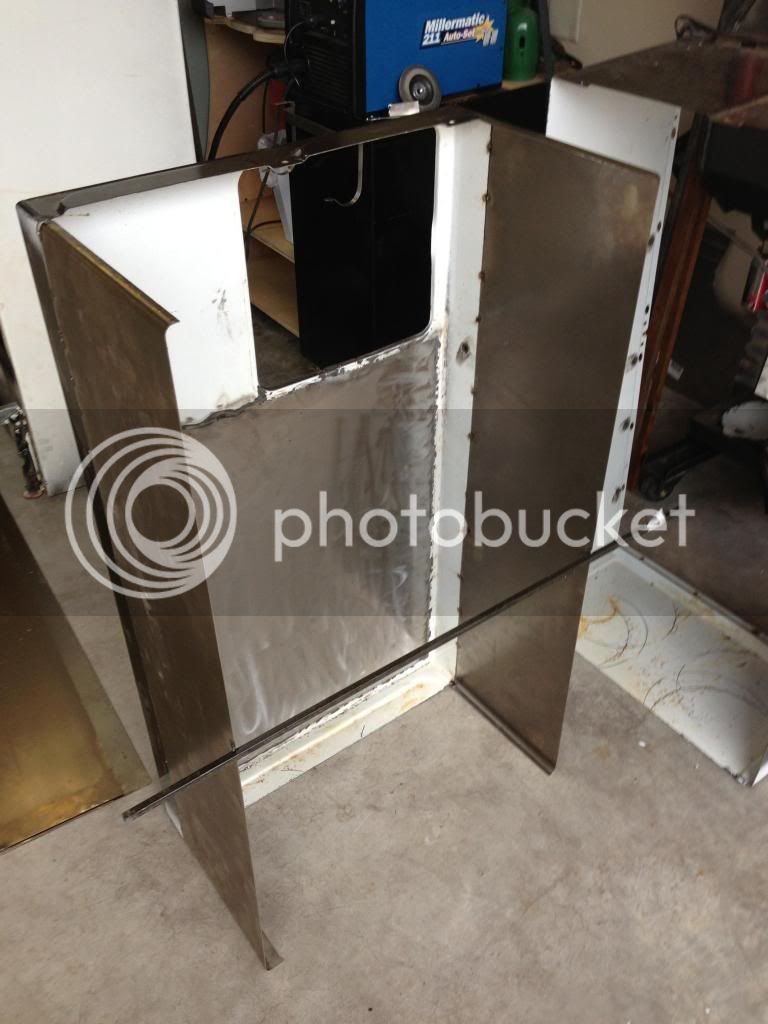
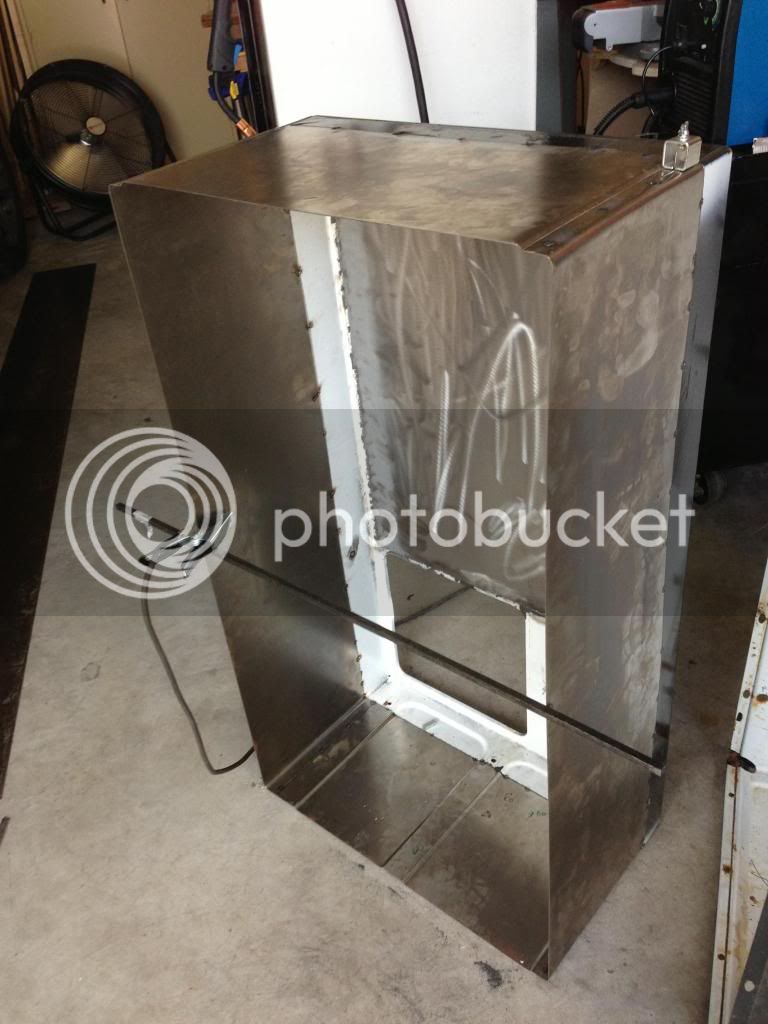
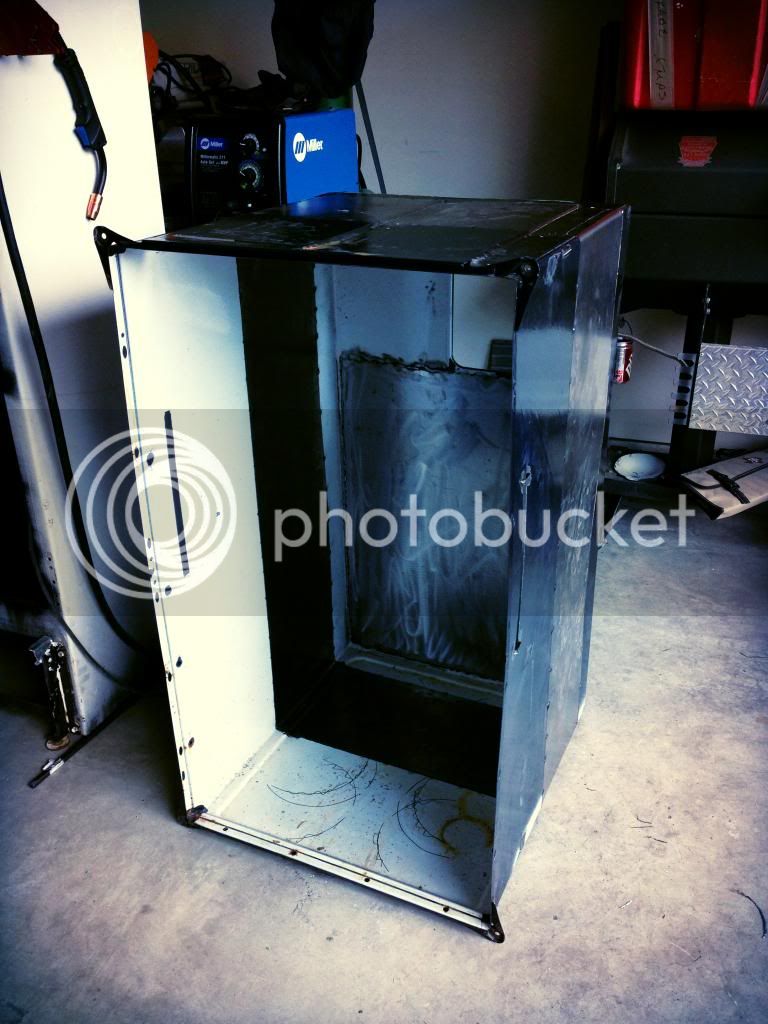
So maybe I missed it somewhere, but now that you have expanded the inner cabinet, what's your plan for the outer cabinet? Will that be expanded as well? I have a similar fridge and the space between the cabinets all around is about 3".

I'm diggin' it!
Have a LARGE weekend!

Metal working skills of this quality are truly artwork. Looking forward to seeing how it will look in the end.


Aggie, you are a true stud. I've been watching your build along with Kerber's and am just blown away. You've taken this thing so much further than I thought possible.
I am restoring a nearly identical model that has a TON of rust. It's a slow going process. While I'm waiting to connect with someone who can weld for me I had some questions for you.
Can you tell me a bit more about the process involved in fitting and wiring up the STC-1000? I was just going to spend the $75 and get a Johnson but my engineering major buddy told me he'd help me get it set. Just wondering if you could offer a guide or overview of your process regarding that to help.
Thanks so much and keep up the amazing work!
")
I've put these up before, but I love showing it off so here it is again. nothing fancy, only two taps, but it is a '49 Frigidaire. It has worked betters than I ever expected.

aggies08brewer said:Looks great, did you have the jewelry rechromed? That fridge was in rough shape!
Thought about getting it rechromed, but tried a polish by Eagle One I got at an auto parts store first. Did a great job at a fraction of the price. Was hard taping it off to avoid getting paint on it. Wish I had the time/ equipment/know how to do a complete rebuild like you. Inside is beat up, but looks good from the outside, And it serves cold homebrew. So I guess the essentials are covered.

I just finished refurbishing a fridge exactly like this one. I got it for free and plugged it in and let it run for a day and it worked well. So I tore it all apart, cleaned and painted it. I just got it back together last night and plugged it in. After 45 minutes it was down to 37*. When I went to check on in this morning, it was 55* and not running. No amount of fiddling with the wires or unplugging would do anything. <sigh> I'm so bummed. Oh well.
I hope you have better luck than me!
Casey
ps: I don't want to seem like a downer, I just needed to vent.
Ok Aggies & hopefully Kerber as well -
I just acquired a 25# CO2 tank for my nearly identical-yet-still-in-shambles 50's GE Fridge. I can fit 2 five gallon corny kegs in the fridge with the tank OR 3 five gallon corny kegs AND 1 two gallon keg if I pipe in the CO2. My question is.. where would you do this? Would you drill a hole in the bottom or top rear corner and pipe it in that way? If you did do this what would you do to insulate/protect the transition? I'm not a super handy man but I can dream.
I'd love anyone's thoughts on this. I'm so ready to get this thing put back together so I can finally have beer on tap as well!
I had a similar experience with a 1949 GE fridge. It's currently the largest paperweight in the house. Mine ended up being a freon issue. You have to be REALLY careful pulling out the evaporator. I thought I was careful, but apparently not as careful as I could have/should have been.
If yours isn't running, it sounds like a compressor issue or a thermostat issue. I was able to diagnose the same problem on a mini fridge by shorting the thermostat and the compressor kicked on. I'm not sure off hand how to do this with the older GE fridges, but the principle should be the same. If shorting the thermostat does not kick on the compressor, then it's either the start relay or the compressor is dead. Unfortunately, I'm not qualified to help you in either of those cases.

how did you remove the badge/emblem?...
Enter your email address to join:
