broncosaurs
Well-Known Member
First off:
OP: Hi my name is Brad and I love beer.
Forum Readers: Hi Brad
OK got the intro out of the way. Been reading a lot here, and thanks to all. Most every question I had, it you look hard enough, can be found here. For the last 6 months I have been building a brew stand. I will post a "how I dun it" when I have some of my beer to drink when writing it up. In the mean time I just finished the RIMS tube and thought others might like to try this build. Total cost was about $100. See drawing for prices. All fittings were silver soldered.
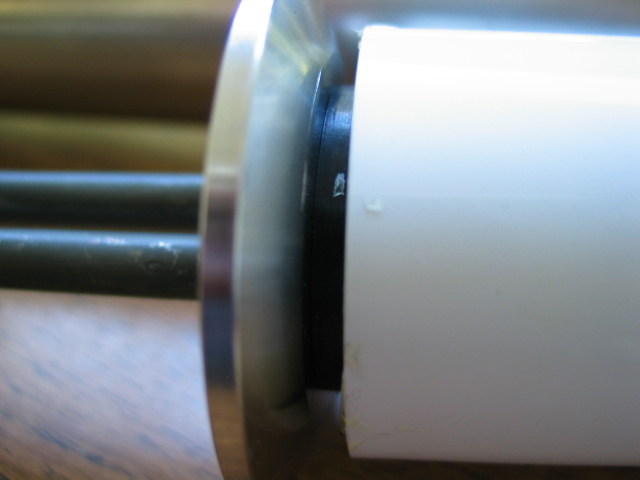
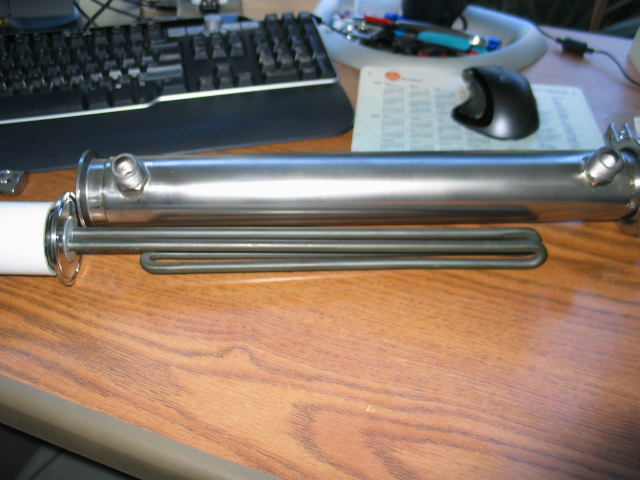
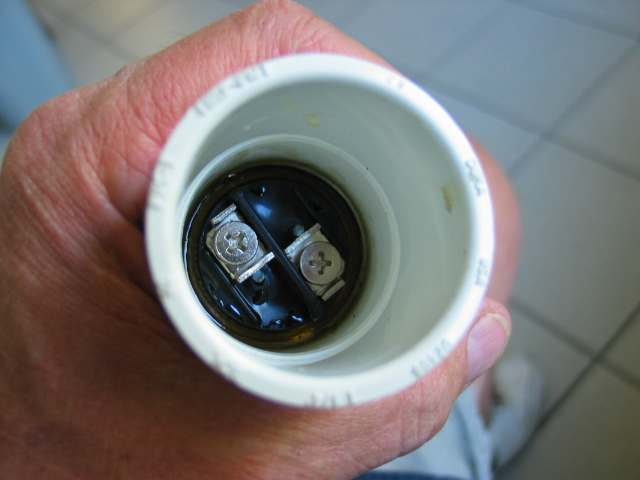
The sanitary fittings are inset into the 2.125 ss tubing about .5" not butt fit. This is why I looked and found the SS 2.125 x .063 wall tubing. Found on ebay from an exhaust shop. The tubing ended up being very nice. I taped the cap 1" npt loose so heater, 5500w ULWD, will screw in enough to seat the seal. To cover the wire I epoxied a 1 1/4 PVC coupling to the heater. The coupler was a nice tight fit onto the hex of the heater. Taped off between coupler and heater nut and epoxied. If the seal leaks water can not get to the electrical. Also, If the heater goes out I wont care about another $.78 coupler. I then bring the coupler down to a 3/4 npt with another pvc fitting. This fitting I'm going to use some silicon oring grease so I can remove the fitting.
Top cap is taped 1/4 npt to fit the T/C tube adapter. I offset this hole so the cap can be rotated so the T/C can be placed in front of the outlet.
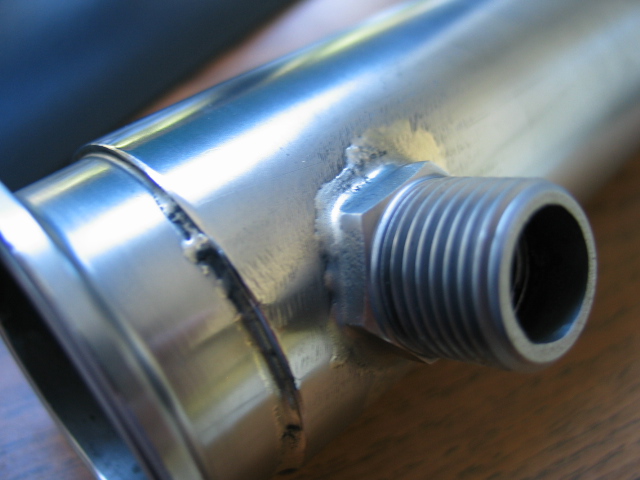
The inlet/outlet are 1/2 npt adapters. I rounded the mounting side to about the radius of the tube using a grinder then a 1/4 round file. Silver soldered fittings to the tube before I drilled the holes. Then used a 1/2" drill which just fit into the adapter so the drill was centered in the adapter and just made a small start mark in the tube. I then used a step drill which was centered in the 1/2 drills indent to open the hole most of the way. Finished off hole with the 1/2 drill.
First Pict is my idea drawn
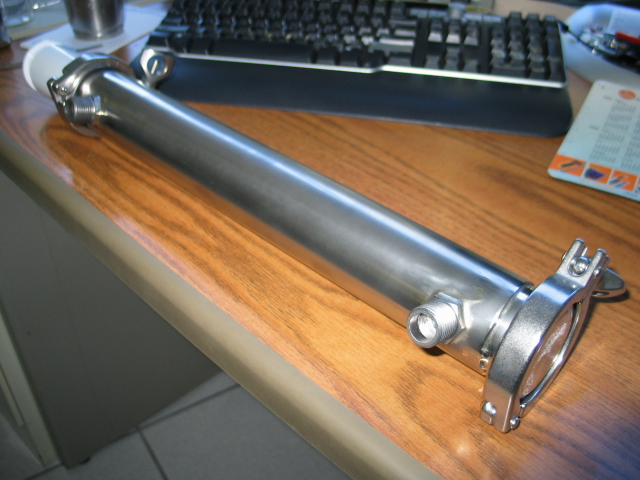
Second Pict is the finished part
Third Pict is back side of cap with heater installed
Forth and Fifth Pict are the PVC coupler showing the epoxy


