horseinmay
Well-Known Member
Super cool setup. What are you using in the bottom of the mash tun for a filter?
I live right across the 405 from you.
I live right across the 405 from you.

Super cool setup. What are you using in the bottom of the mash tun for a filter?
I live right across the 405 from you.
See links to valves posted just a few messages back. The BCS unit works fantastic. I have several friends that have them as well and we are all happy with it.what kind of electronic ball valves are they ? and where I can buy ? on the BCS 462 how good it is ?
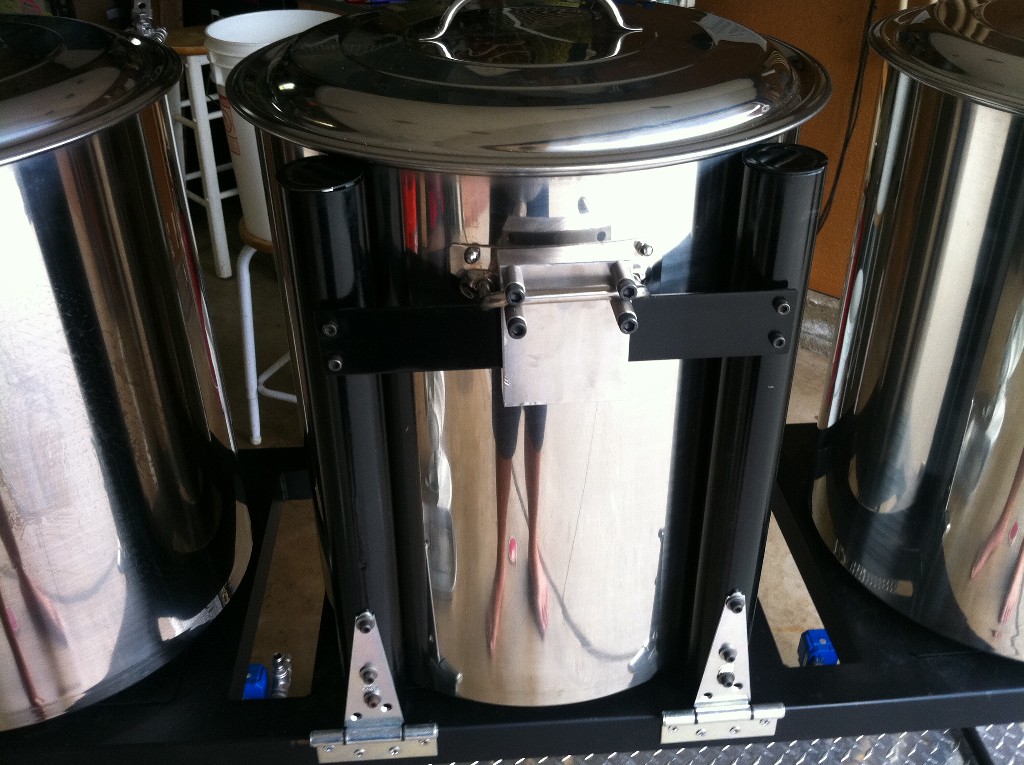
In case you missed it, there are dimensions listed further back in the thread. The gussets have a bead welded along their sides to attach to the rails. They sit inside the center area so that the top (face) of the the gusset is flush with the top rails. Yes, they'll hold the weight just fine.I really like your design and if you don't mind, I may use it in designing mine. Sorry if this was discussed but how did you attach the triangle corner gussets to the rails? Are they welded from underneath? Are they load baring? My pots are 15.25" in diameter so it seems they would be supported mostly by the gussets.
Thanks!

Beautiful setup Jon! Are the gas solenoid valves adjustable or is it just full blast?
Thanks. I don't mind at all.... I've pulled many of my ideas from others as well.First off, gorgeous rig dude. I am looking at ideas for how to update mine and I think I may borrow liberally from your design. Hope you don't mind.
They powder coat is holding up pretty good, except on the very top where the kettles sit. At some point, I'll have to sand & paint the top surface. I would just go with the high temp paint. You'll only get paint fumes the first time you fire it up. It will be fine after that.I do have one quick question. My current rig was painted with (I guess) high temp rattle can paint by the person I bought it off. Does the powder coating seem to hold up to the heat better? The area around my burners I have noticed the paint is all but gone. It doesn't seem to be an issue yet, but I can imagine rust being an issue one day, and the idea of my beer having paint fumes in it doesn't exactly give me the warm fuzzies (at least not the ones I like).
Yeah, it was just ease of access. I would have to go behind the rig to adjust them and it just made more sense to have all the plumbing accessible from the front.Also, what prompted you to move the gas line to the front? Was it just ease of access, or did you have another reason?
Because I don't connect/disconnect any plumbing during the brew day, I don't really worry about liquid spills. The ball valves are pretty well sealed and they've taken a few splashes without issue.Lastly, (and this could be a question on any other thread, but I am here...) what about water shielding the servos and solenoids for the gas and liquid? Are they shielded already or do you worry about spillage on them like the March pumps, too?
Thanks for the quick reply. Any chance of getting a wiring schematic? Especially the bits on the bottom of the stand and how you connect it all to the BCS?
Jon,
Love the simplicity of the system and would love to mimic it in a build of my own someday. Couple of questions:
1. How did you decide to go with the jet burners over Hurricanes or something similar? Were there any benefits with one over the other?
2. Can you show us some photos of your pilot light system and a parts list?
3. Is the BCS box on your wall hardwired to the brewstand (i.e. temp probes, valves, etc.) or is it somehow wireless?
Do the electric ball valves adjust when you start sparging or do you recirculate the mash and sparge at the same rate ?
Pretty easy to set a flow rate. I don't see that as needing to be automated.It seems a pity to have to adjust a ball valve when the sparge starts (Im assuming you recirculate slower than the sparge).
There must be a way to get the ball valves to close/open to a preset setting. Possibly one of the electronic experts can comment.
Or do you could divert the wort through a different ball valve when the sparge starts ?
I do not currently have any pictures of the inside of my control panel. I can tell you though that it is MUCH simpler than most of the electric brewery builds you see going on here. All outputs from the BCS are low voltage triggers that you wire up to relays. As noted above, 6 outputs to a relay board to trigger the valves, 6 outputs to SSR's to trigger the pumps and solenoids (for gas) and a few more outputs for igniter, kegerators and fermenter all going to SSR's.Have any pictures of the control unit (wiring)? I'm looking into the BCS method and would like to see examples of the control units and wiring.
Regarding the wiring, my BCS has 3 cat-5 data jacks on a faceplate on the wall and another 3 on a j-box on the stand. On brew day, I attach 3 patch cables between the stand and the wall. One cable is for temp probes, one for the 12v valves and the third one for the pumps and solenoids (via SSR's).
Jon, could you share a little more as to how the cat-5 cable works? For instance, do you have to somehow split the cat-5 to control 3 pumps with one cable or is there some electronics piece that accomplishments this? Sorry for the newbie questions, but I have never wired anything in my life.
I don't have a parts list for the pilots as they came with the burners. I will say however that just last night I pulled them out and put on electronic igniters. In theory, the pilots work well. However, I live by the beach and I have a continuous breeze that causes issues with blowing them out. Walmart carries a bbq igniter system with 3 probes for less than $20. I've wired that into the BCS system and the burners now fire automatically. This works pretty well and is way cheaper than using the 24V igniter systems that many use. I am always present at my rig when the burners are going on and off, so I'm not concerned with having the (expensive) safety valves and igniters. I'll try to get some new pics up soon.
Did you solder wires to the battery contacts and connect it to a relay output? If so, are you driving it with 1.5v like the AAA battery, 3.3V, 12V? Any special considerations for electrical isolation from the rest of the controller?
Any update on your ignitors? I'm very interested to hear how they are working out for you.
kevmo said:I should be done with my rig in the next couple weeks. I thought you might like to see your influence. I'll post a full explanation when it's all done.
http://i.imgur.com/3AEGS.jpg
Mike3701 said:Just keep an eye on how close those motorized valves are to the burners. I think i have the same ones and had to move them away from my burners because they were starting to melt.
Just keep an eye on how close those motorized valves are to the burners. I think i have the same ones and had to move them away from my burners because they were starting to melt.
Any update on your ignitors? I'm very interested to hear how they are working out for you.
It looks to me like your temp probes are on the "in" side of the pumps, a lot of rigs I have seen put them closer to the vessel being monitored. How did you decide to put them there? Has it worked well? Awesome rig, I will be borrowing a lot from you when I get the time and money....cheers...wnc
Cool, I like that they are down there away from flame and out of the way.
One more quick question...have you ever had trouble with stuck sparges or over compacting the grain bed with constant recirculation? On my current system, this will happen if I vorlauf too quickly (open the pump outflow too much)
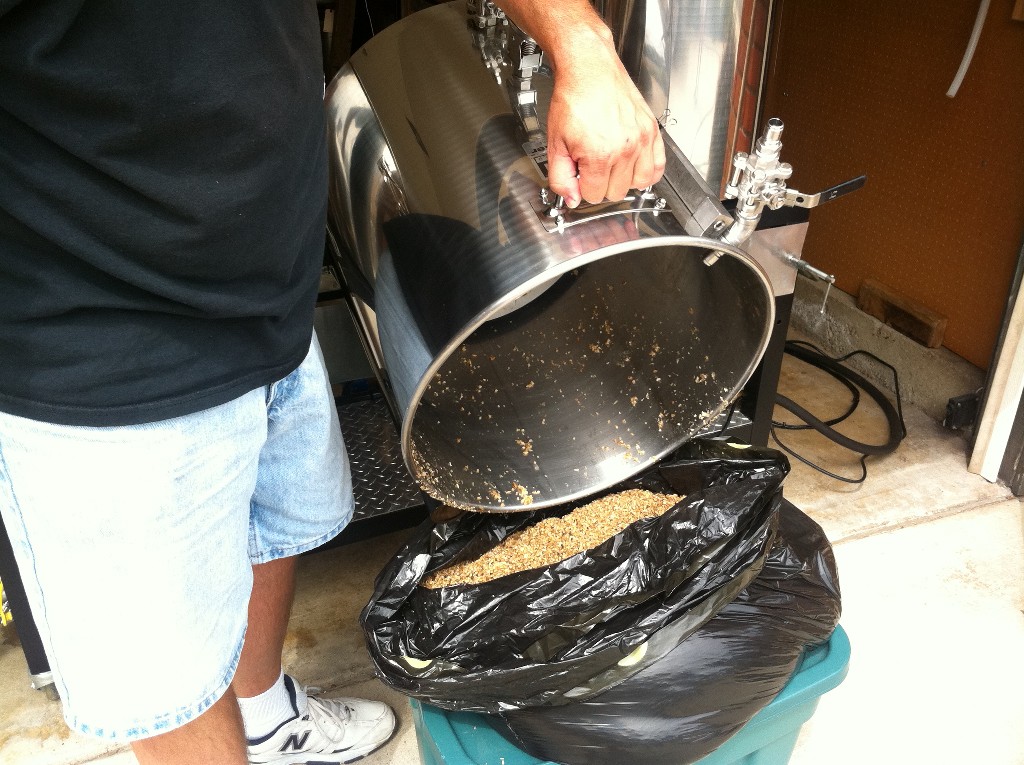
JonW said:No problem at all. I mill my own grain and I have the mill set to a very fine crush. The BL false bottom works very well. I do have the flow throttled back quite a bit, but still at a good rate. I have run it through at full throttle and it did not stick. Also, I re-stir the grain every 15 minutes and then let it sit for the last 15 before starting the fly sparge.
I usually adjust my valves for 3 different levels:
Full Flow - When I'm heating strike water, it recirculates at full throttle.
Med. Flow - When mashing, I want the recirculation to keep the temperature consistent throughout the grain bed.
Low Flow - When fly sparging, I cut the flow to get my 12-14 gallons of wort in about 45 minutes.
Enter your email address to join: