Hoppo's Cedar Cigar Box Stir Plate Build

Homebrew Talk - Beer, Wine, Mead, & Cider Brewing Discussion Forum

Help Support Homebrew Talk - Beer, Wine, Mead, & Cider Brewing Discussion Forum:

This site may earn a commission from merchant affiliate links, including eBay, Amazon, and others.

Hoppopotomus

Cedar Hollow Brewing
Joined
Nov 18, 2010
Messages
1,423
Reaction score
104
Location
Ortonville/Oxford
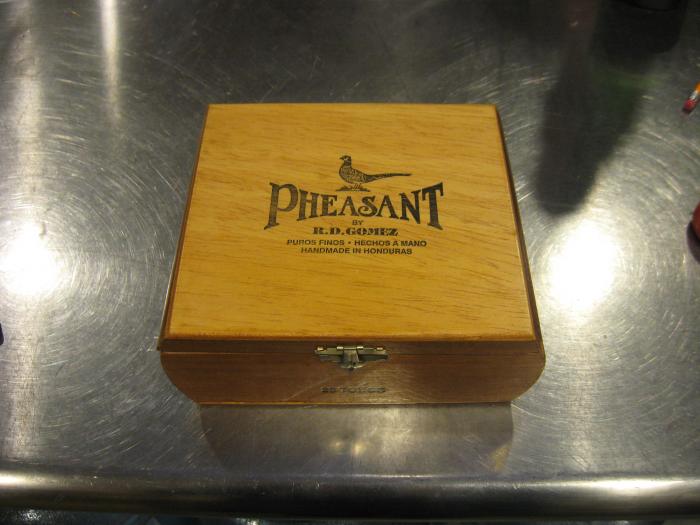
Now that my basement brewery is complete and I am brewing larger batches, I have decided that continuing to purchase Wyeast Smack Packs is just plain crazy. Paying $16 for yeast ($8 per pack) for every 10 gallon batch of beer that I brew makes me cringe. I have already brewed 6 ten gallon batches on my new system and have spend almost $100 on yeast.....WTF! After combing the threads and reviewing some pretty amazing builds, as well as watching a few YouTube videos (thanks Don O!), I have decided to take a stab at building my own. I combed Ebay today looking for a suitable cedar cigar box for my build......cedar, imagine that. :D I should have it within the next few days.

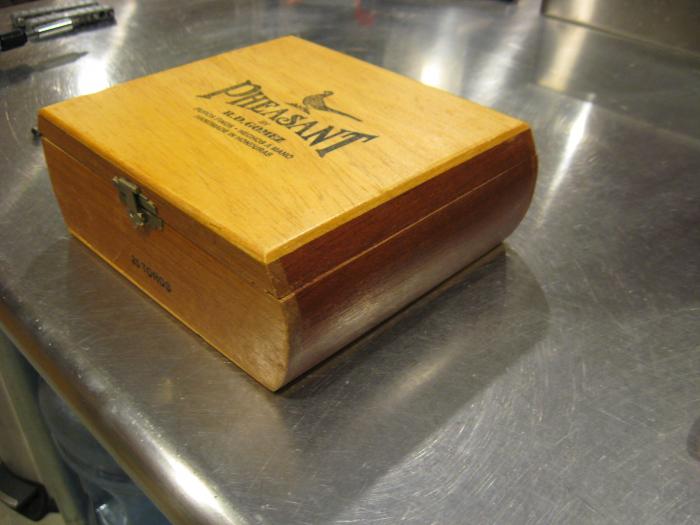
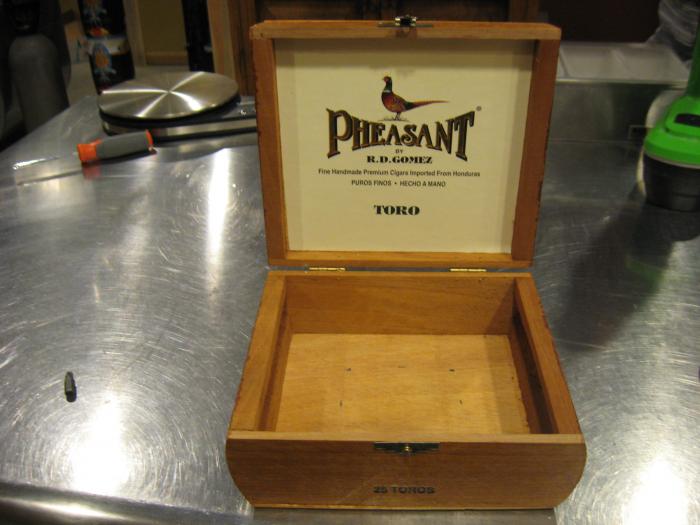
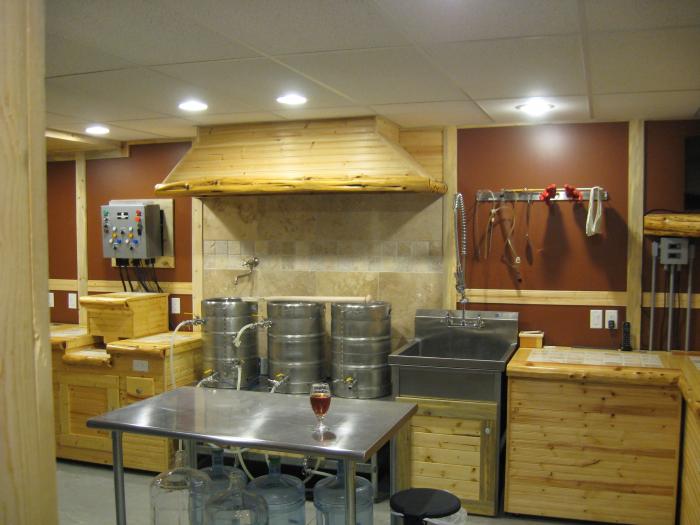
Here is the box that I purchased for $12 + shipping and I should have it within a few days. For those of you not familiar with my DIY projects, I tend to use a lot of cedar logs, knotty pine, tumbled travertine, slate, etc. for a rustic look. Here are a couple of pics of my basement brewery and bar area to give you an idea of the sytle I am leaning towards. Sorry about the crappy picture quality, but the camera that I used for my brewing projects is ancient.
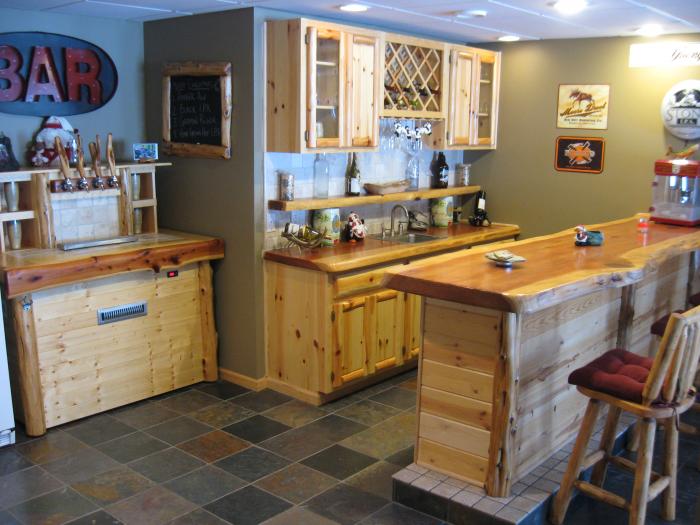
IMG_2990.jpg


IMG_3428.jpg
 
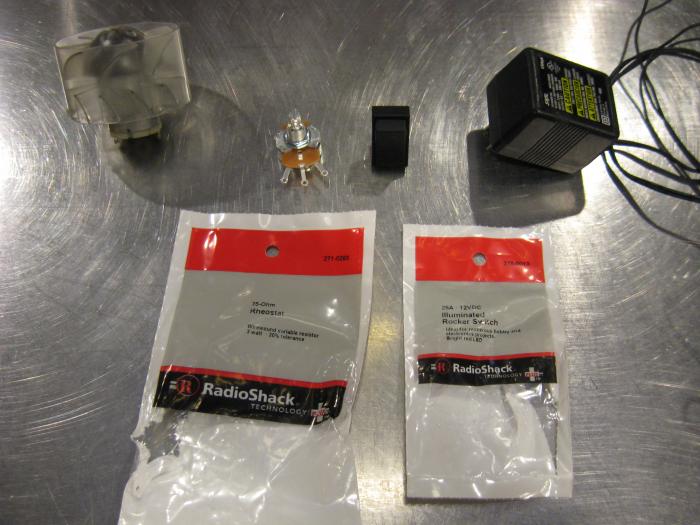
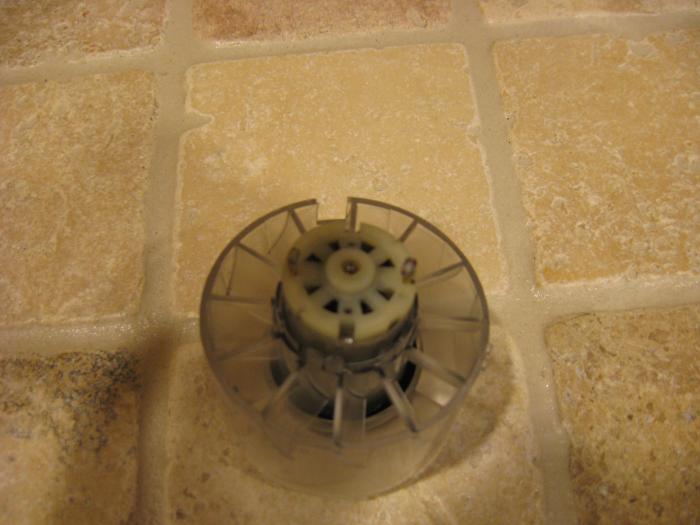
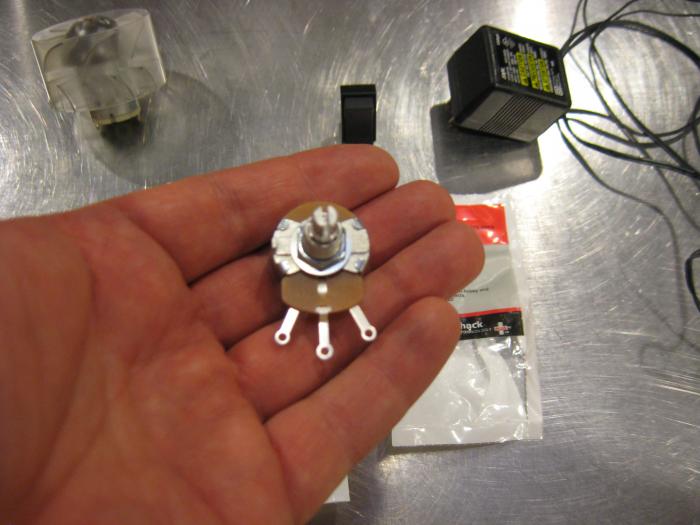
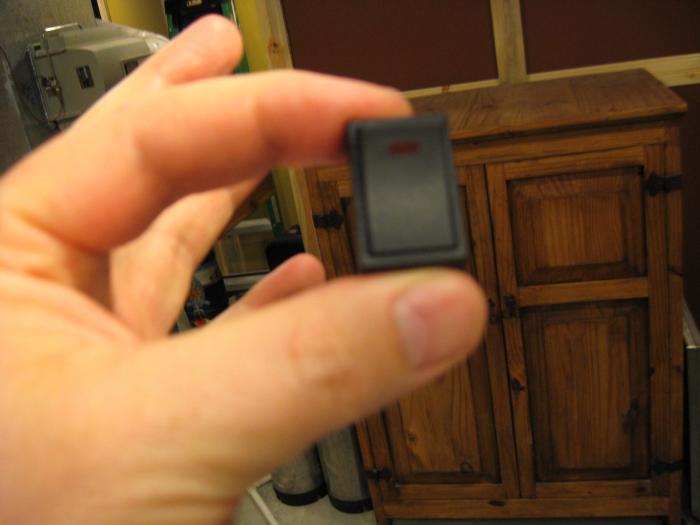
I have a Radio Shack across the street from my office, so I stopped after work today to purchase a potentiometer and illuminated switch. My wife purchased a new hair dryer last week, so I tore it apart and harvested the blower fan. I have an old computer buried somewhere under my basement stairs, from which I will tear out the hard drive and harvest the earth magnets. This is the only computer junk computer that I have at this point and I already harvested the fans for one of my fermentation chamber builds. I was able to scrounge up several different DC adapter plugs from various devices for the power source.

I am already having an issue and would appreciate some advice from some of the more electrical savvy members. I wired the power source to the switch and then the potentiometer and out to the fan without problems. I can flip the sitch and use the potentiometer to adjust the fan speed without any issues. I cannot, however, get the light on the toggle switch to illuminate. The toggle switch has 3 tabs, one of which is for grounding. From what I am reading, the switch must be grounded for the LED to illuminate on the switch. I believe that with computer fans, there is a ground wire, but with my hair dryer fan there are only terminals for the hot and neutral wires. How do I go about grounding the switch to make the light work?

IMG_3447.jpg


IMG_3444.jpg


IMG_3449.jpg


IMG_3451.jpg
 
Hey that stir plate should turn out awesome your basement brewery looks great keep us posted


Sent from my iPhone using Home Brew
 
LOL....oops, I meant that I tore apart the old one to harvest the fan out of it. :mug:

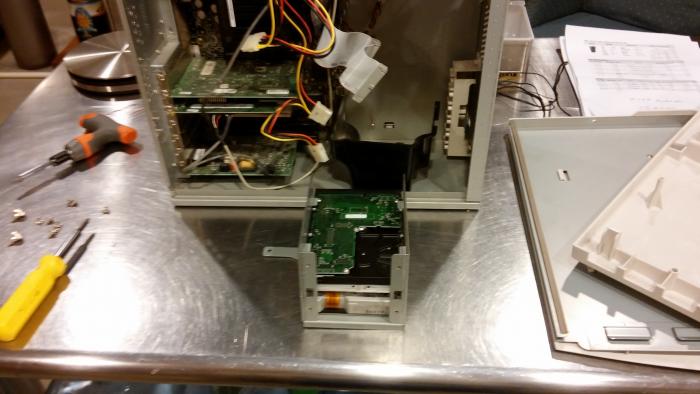
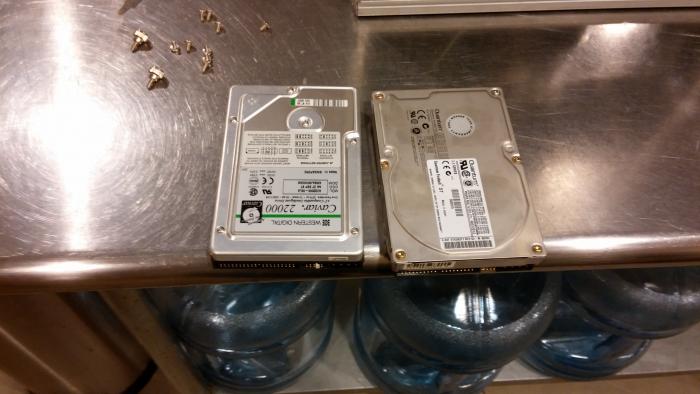
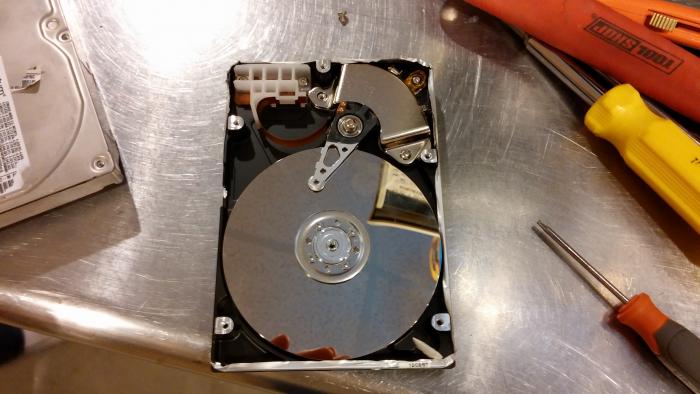
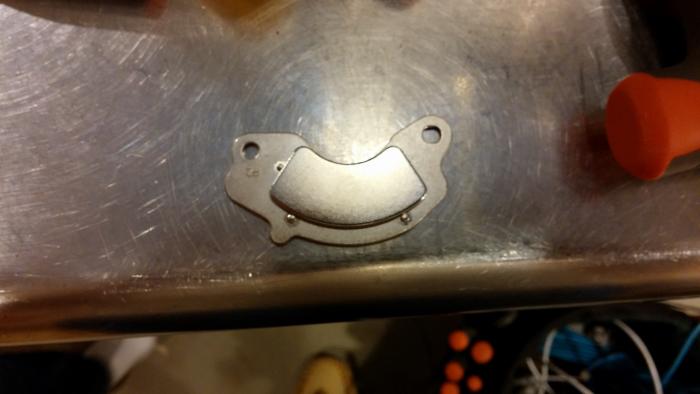
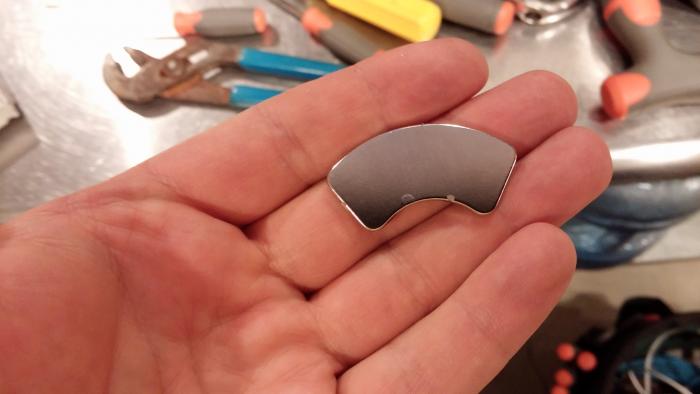
I did tear apart an old computer last night with the help of my 11 y/o son, who loves tearing stuff apart to see how it works. He will someday be an engineer or an architect. We pulled out the hard drives (it had two) and tore them apart to get the magnets. Good thing I had two hard drives, because with the first, I tried to remove the magnets with Don O's approach and broke both. When I cracked open the second hard drive, it only had one magnet, so I watched a couple more YouTube videos and found a different technique using channel locks. Thankfully that one came off without breaking it. I should have the cigar box by the end of the week, so I started building a mounting plate for the fan, as it doesn't have existing holes like the computer fans have. Pics. later.
 
If that cigar box doesn't work out, let me know. I have LOTS of empties sitting around I'd be willing to part with ;)
 
If that cigar box doesn't work out, let me know. I have LOTS of empties sitting around I'd be willing to part with ;)

Whatcha got? I'm not in love with the one I purchased, so if you have something nicer, let me know. You have seen my threads, so you know the look I tend to lean towards. Thanks!
 
When I built my cigar box sir plate years ago I just stopped by the local cigar shop and asked if they had any empties. They took me to a back room FULL of empty cigar boxes. They said 3 boxes for $5 pick what you want. I only used one and the wife used the others to decorate book shelves around the house.
 
For mine I went to the local shop, bought a cigar and asked if they had any boxes laying around...they let me have one.
 
Thanks for the advice fellas. If the one I ordered on Ebay doesn't work out, then at least I have options. I do have a couple of tobacco shops in the area near my clinic, so I may swing in to them tomorrow and snag a few more. I have a couple of friends that have recently gotten into brewing, so I may build them stir plates for the hell of it.....seems simple enough.

P.S. I found Jakecpunut's YouTube video on his stir plate build and I think that I figured out how to properly wire the components to allow the LED light on the switch to illuminate. I'll run home after work tonigth and give it a go.
 
Once you figure out the wiring to get your switch LED to light up, please post a pic or wiring diagram. I am getting ready to build one using a similar switch and was wondering how to wire that up too.
 
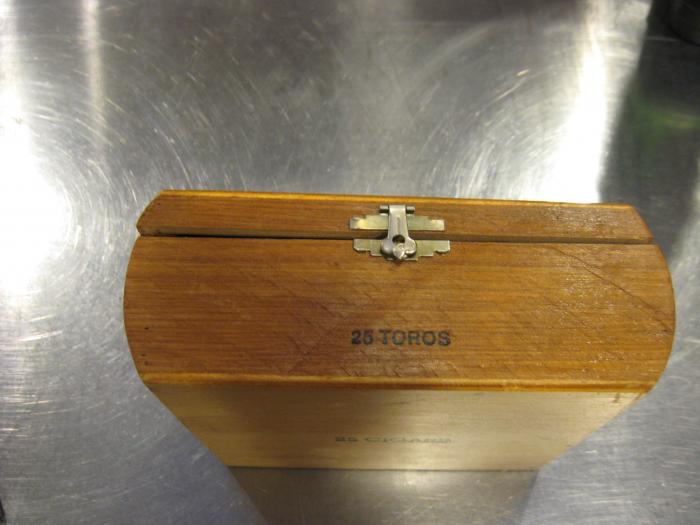
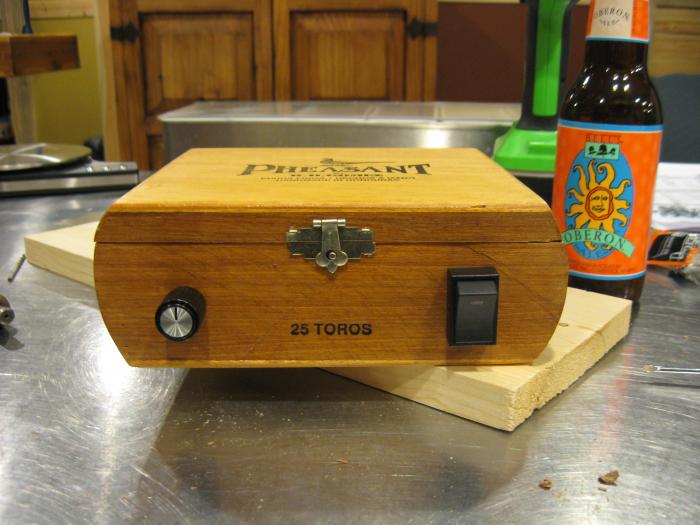
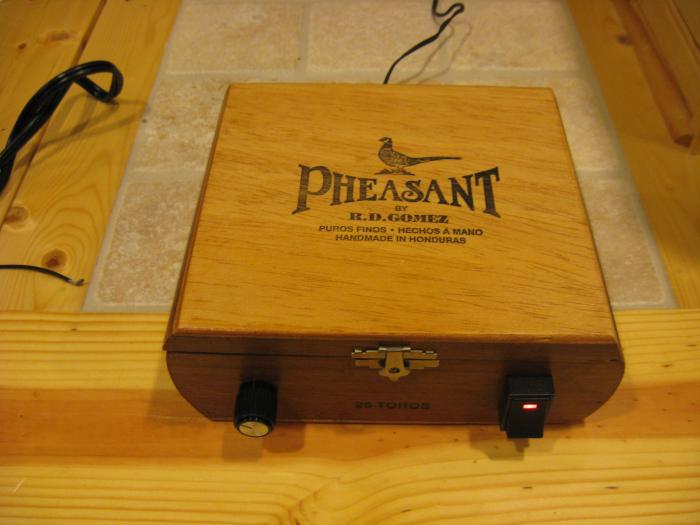
Here's the cigar box that I received from some dude on Ebay. After calling around to some of the local tobacco shops, I paid way too much, but this one fits in somewhat with my decor, so what the hell. After calling 3 cigar shops, they all inidcated that they sell the wooden boxes for $2 each. The fan that I pulled out of my wifes old hair dryer was just a tad to tall for the box, so I had to go with the standard computer fan option. I called my local computer repair shop that I do business with from time to time. The manager is going to try to hunt down a box full of old computer fans and hard drives, so I may start making these things as a hobby. He is going to call me on Monday, but I wanted to knock this project out this weekend. I had to pull out all of the xmas decorations from under the basement stairs to get to another old computer to harvest a fan from.

IMG_3458.jpg


IMG_3459.jpg


IMG_3460.jpg


IMG_3461.jpg
 
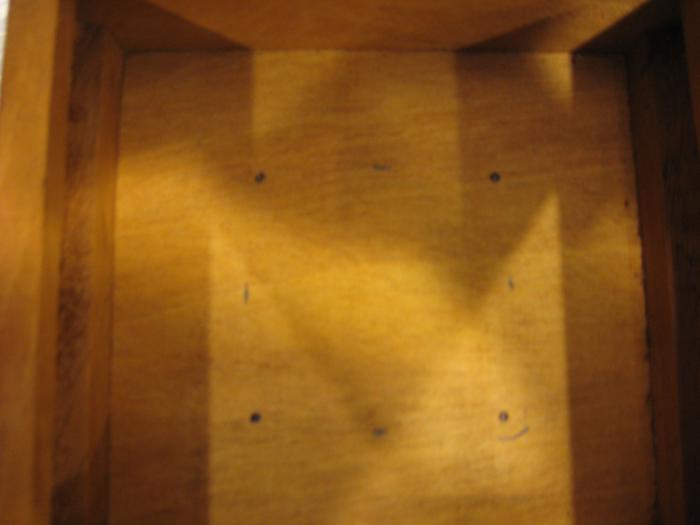
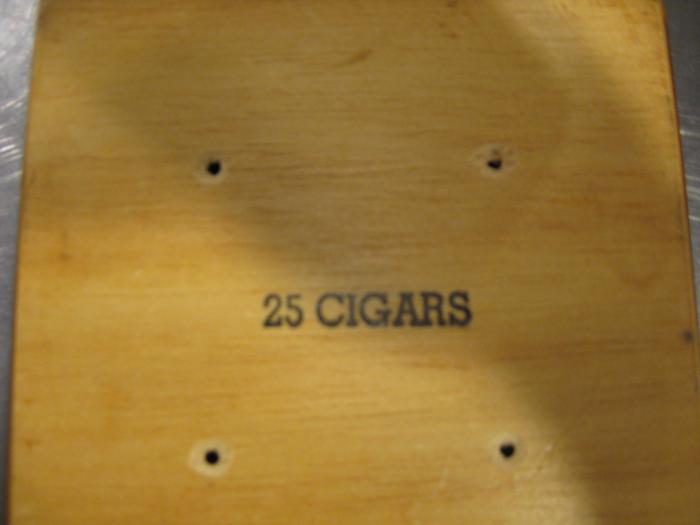
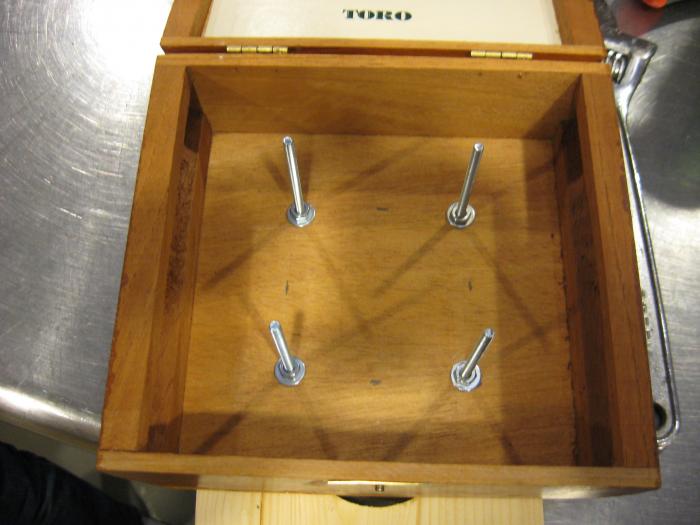
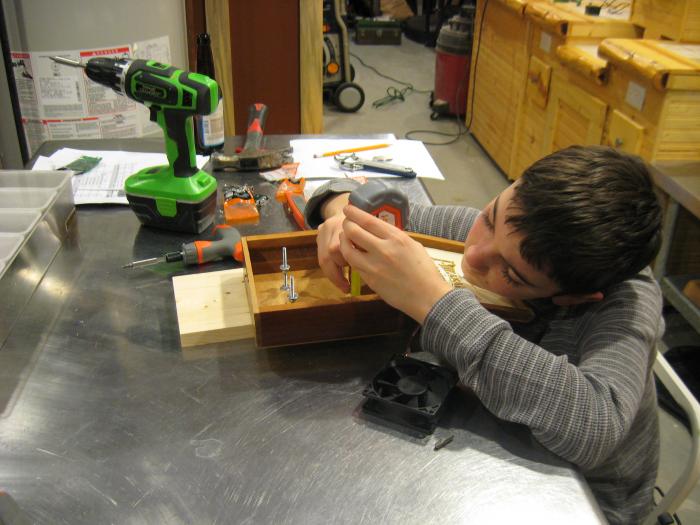
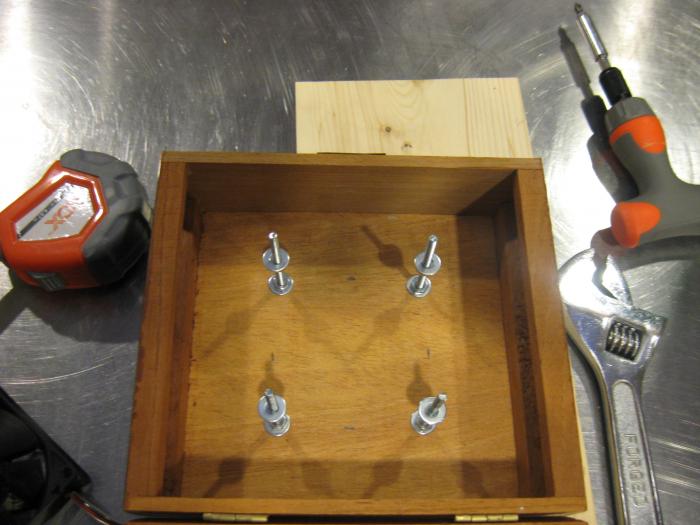
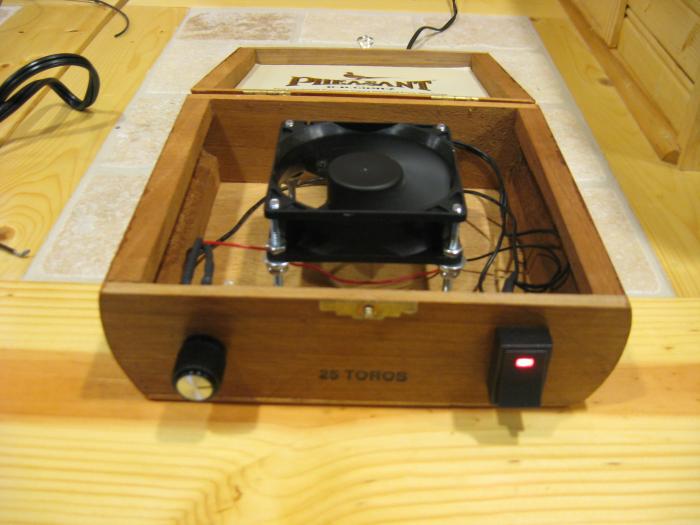
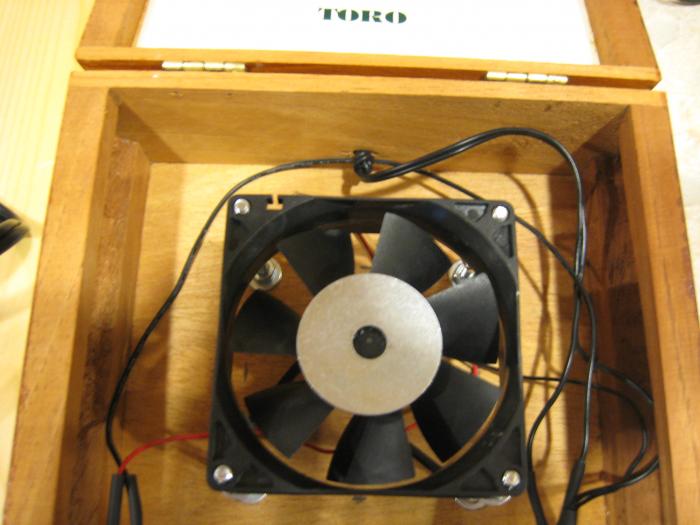
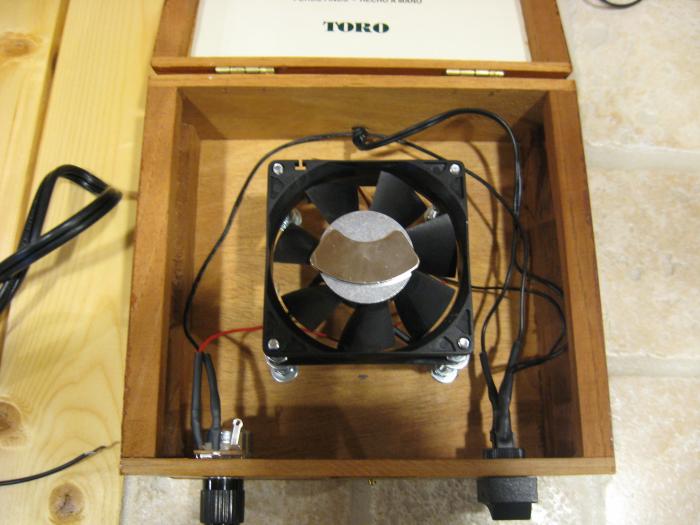
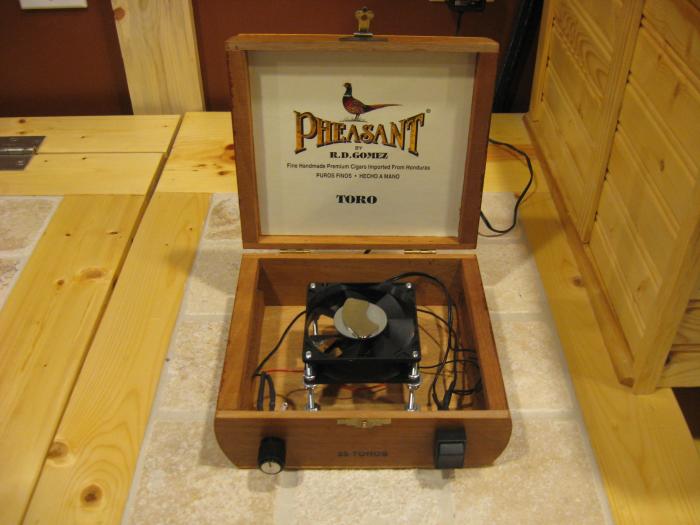
My son helped me this afternoon with this project and we were able to knock it out in about an hour. Here are some step by step pics. First we marked out the position of the fan in the box. I have seen the fan mounted to the under surface of the lid, but I didn't want screw heads on the top, so we went with 2 1/2" long #8 screws as posts through the bottom. We drilled the holes for the posts and used washers and nuts to fasten them. You can see that I used a larger bit on the bottom to countersink the screw heads. Then we used two nuts with a washer to get the correct height of the fan just below the lid. My son did all of the fine tuning and measuring.

IMG_3462.jpg


IMG_3464.jpg


IMG_3465.jpg


IMG_3468.jpg
 
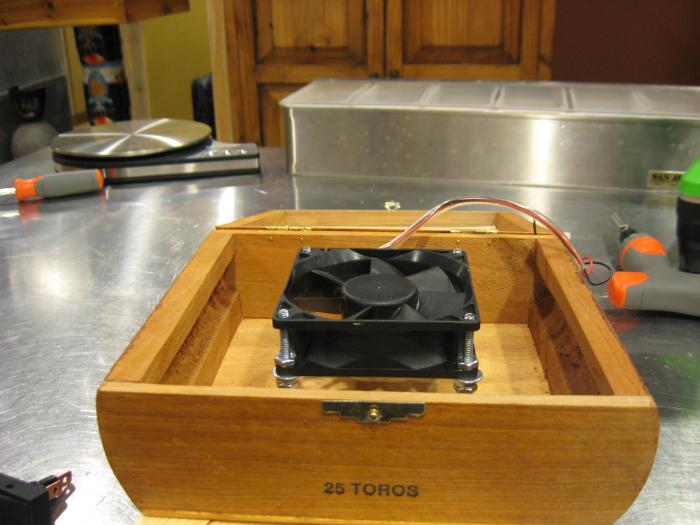
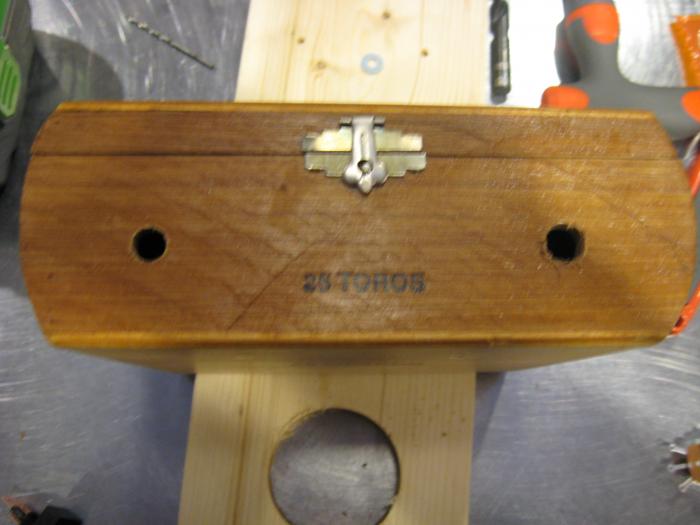
Here are a few more pics of how we mounted the fan to the screw posts. Pretty straight forward. I have seen many people use rubber washers to dampen the vibration, but once everything was mounted and we were 100% complete, there was no vibration. I can easily add them if needed later. We then drilled the holes in the front of the box for the rheostat and the LED toggle switch and installed them.

IMG_3469.jpg


IMG_3470.jpg


IMG_3472.jpg


IMG_3475.jpg
 
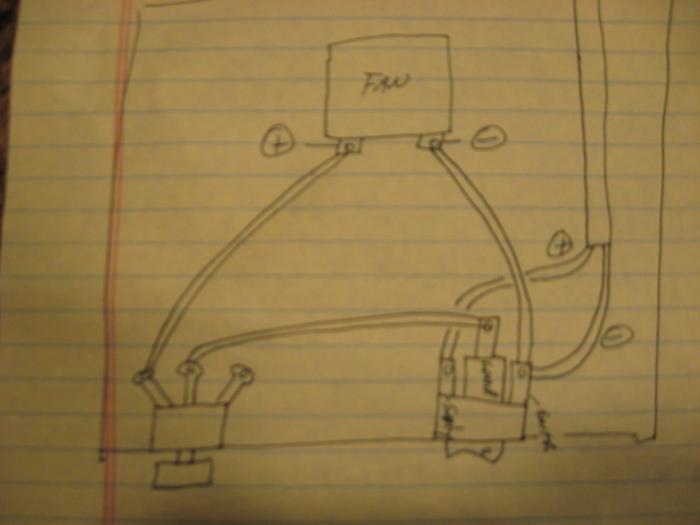
Then we wired the components together, flipped the switch and it worked....no problems. I snapped a pic. of a simple wiring diagram as requested by Foosier. Sorry it's a little tough to read, but you should get the point. I twisted all of the wires to the appropriate post and used shrink tubing and a blow dryer to secure all of the connections. I then super glued a large fender washer to the central surface of the fan and did some trial and error to get the magnet balanced.

IMG_3476.jpg


IMG_3493.jpg


IMG_3479.jpg


IMG_3480.jpg
 
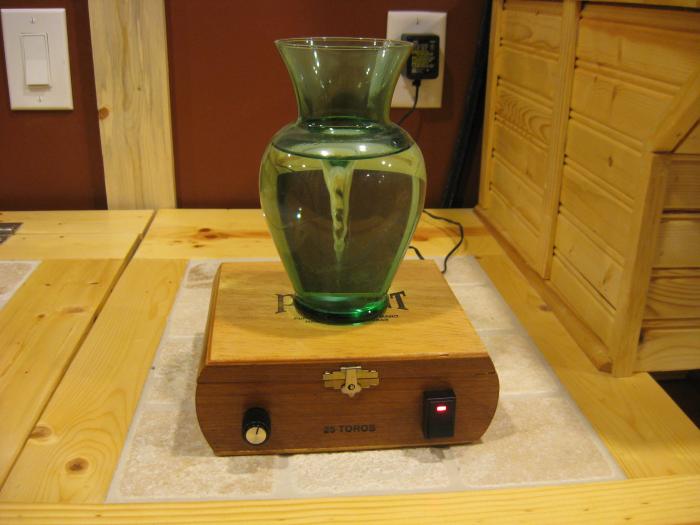
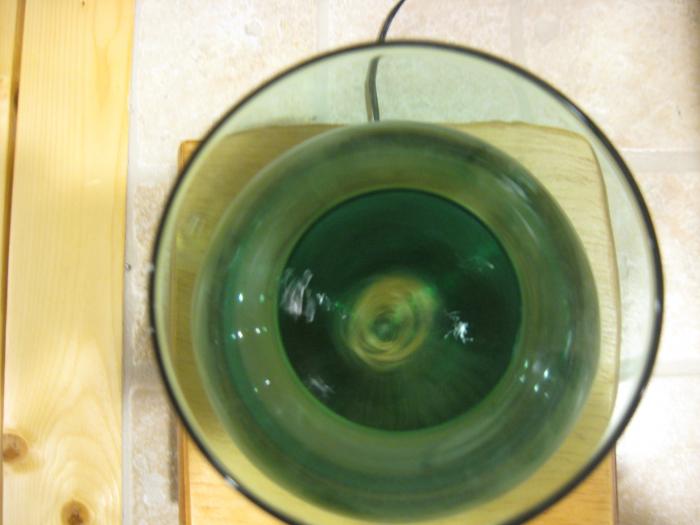
And finally the finished product. I don't have a teflon coated stir bar or a flask yet, so I used a flower vase and 1" hexagonal phillips head bit as a stir bar. As you can see, it created a very nice vortex and should do the trick with my future yeast starters.

IMG_3478.jpg


IMG_3483.jpg


IMG_3487.jpg


IMG_3486.jpg
 
I thought I would post the grand total for the project:

Cigar box - $12 (now I realize that I can get them for $2....live and learn)
LED Toggle Switch - $4.49 (Radio Shack)
Rheostat - $3.49 (Radio Shack)
Computer Fan - Free (dug another one out from under the basement stairs)
Rare Earth Magnet - Free (harvested from hard drive of old computer)
12v AC to DC Cord - Free (everyone has these laying around)
Wire - Free (computers are full of it)
2 1/2" #8 Bolts - 4 Pack - $1.19 (Home Depot)
#8 Nuts (10 pack) - $1.09 (Home Depot)
Fender Washer - $0.29 (Home Depot)
Small Washers 12 pack - $1.29 (Home Depot)

Total - $24 (could have done it for $14 if I didn't overpay for the cigar box)
 
I built my first stir plate out with hard drive magnets. My second one used rare earth 1/4 disk magnets. These worked MUCH better. I replaced the hard drive magnet in the first one with the same disk magnets and it worked much better too. I am able to spin much faster without throwing the magnet.


If you want to make more of these, take a look at this.
http://www.amazon.com/dp/B00080G0BK/?tag=skimlinks_replacement-20

The fan motor is strong, it comes with a potentiometer, and it just needs a USB power supply.
 
Last edited by a moderator:
Back
Top