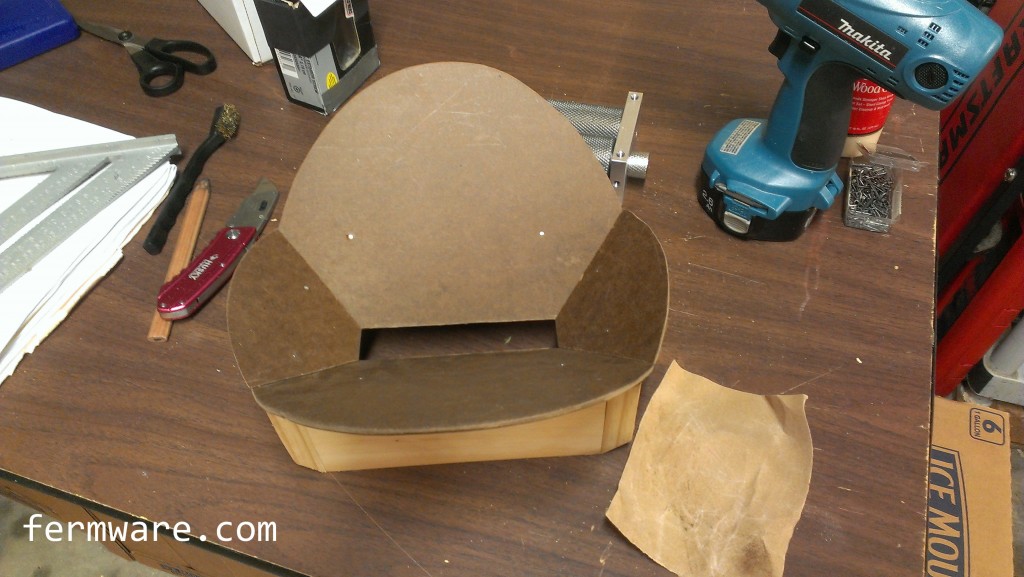
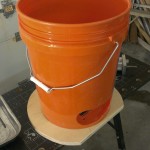
I've been using a hopper made from a Home Depot "Homer" bucket for a while and finally got to getting the first post done to introduce it. I'll have more posts that will show how to make each part and then also have some CAD models and templates to use to make your own.
Here are the advantages of this hopper design:
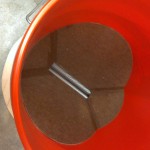
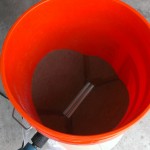
It's worked out great for me, since it holds about 20 pounds of grain. That's about the max my BIAB system can handle.
Now that I got the first post done, the subsequent posts should come easier. Anyway, come check out my DIY. I'll update this post with links to the additional info.
Homer Hopper Introduction
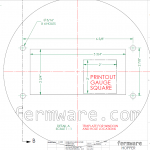
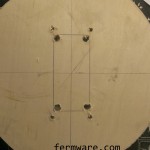
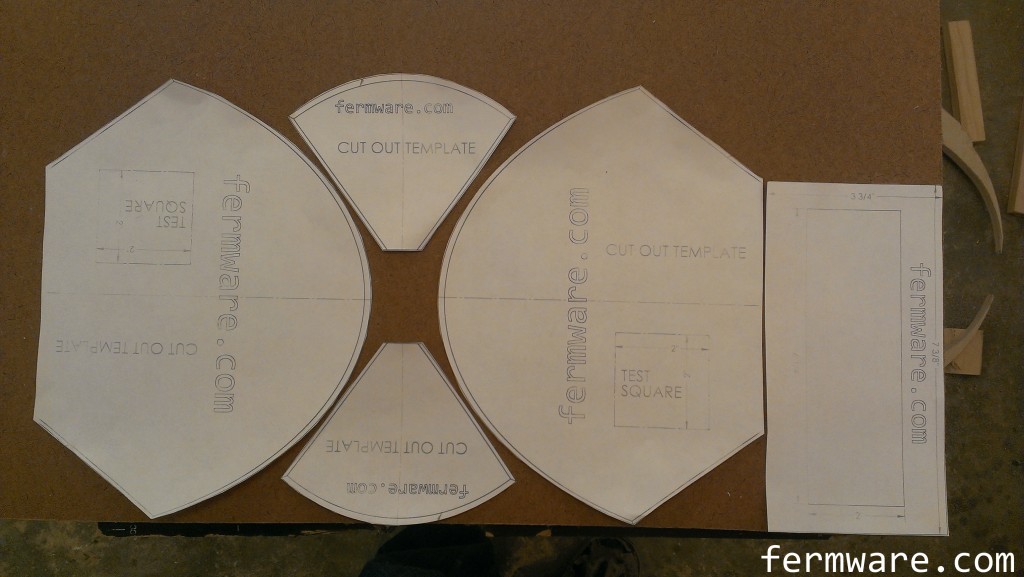
All printout templates are currently available in a zip file at the bottom of the introduction post. Note that they all have a "calibration" square printed on them so that you can measure them once printed and you will know if your printer is printing at the correct aspect ratio.
Part 2: Homer Bucket Modifications
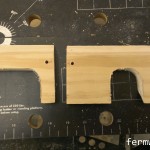
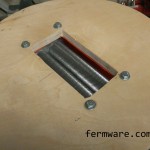
Part 3: Wooden Base
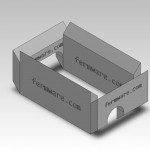
Part 4: Mill Box
Part 5: Hopper Panels
Part 6: Final Assembly
Hopper in action
Easy clean up with compressed air!
Here are the advantages of this hopper design:
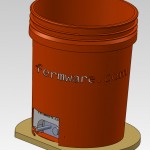
- Uses a commonly available bucket
- When you are done, you can put a lid on the bucket and have it all self-contained
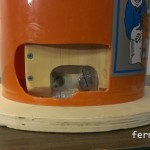
- Low dust design while milling
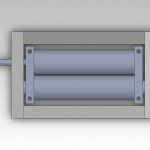
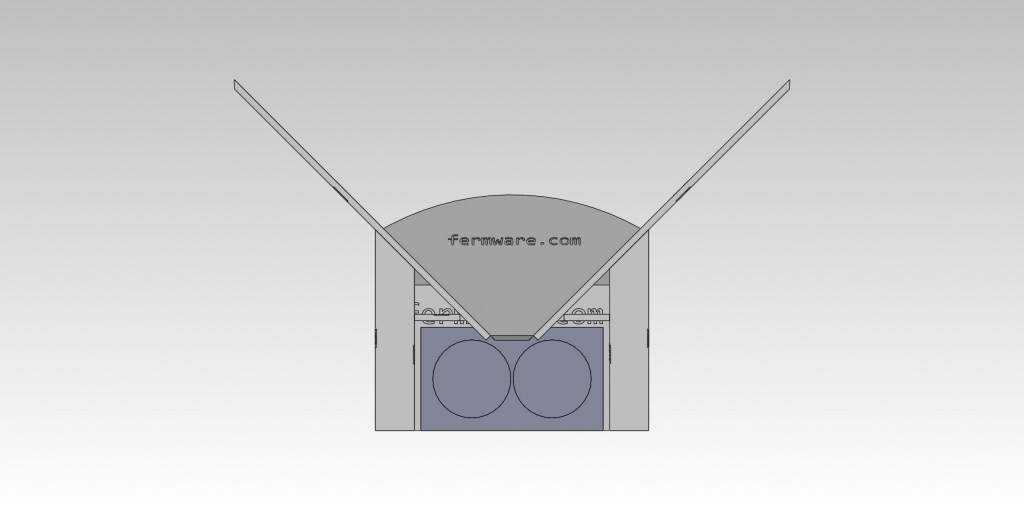
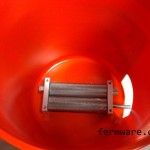
- Design utilizes the entire roller area, instead of just a small section like with funnel based hoppers
- With the mill inside the bucket, it allows the bucket to sit flat and gives more stability
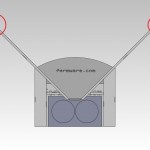
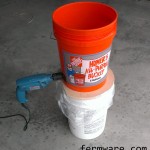
- Allows for using a power drill to drive it
- Holds an entire grain bill for most 5 gallon batches (19-20 lbs)
- Mills that grain in just under 2 minutes*
- Low cost
- No shaking involved to get grain to rollers
It's worked out great for me, since it holds about 20 pounds of grain. That's about the max my BIAB system can handle.
Now that I got the first post done, the subsequent posts should come easier. Anyway, come check out my DIY. I'll update this post with links to the additional info.
Homer Hopper Introduction
All printout templates are currently available in a zip file at the bottom of the introduction post. Note that they all have a "calibration" square printed on them so that you can measure them once printed and you will know if your printer is printing at the correct aspect ratio.
Part 2: Homer Bucket Modifications
Part 3: Wooden Base
Part 4: Mill Box
Part 5: Hopper Panels
Part 6: Final Assembly
Hopper in action
Easy clean up with compressed air!
Last edited by a moderator: