BrothOfVigor
Well-Known Member
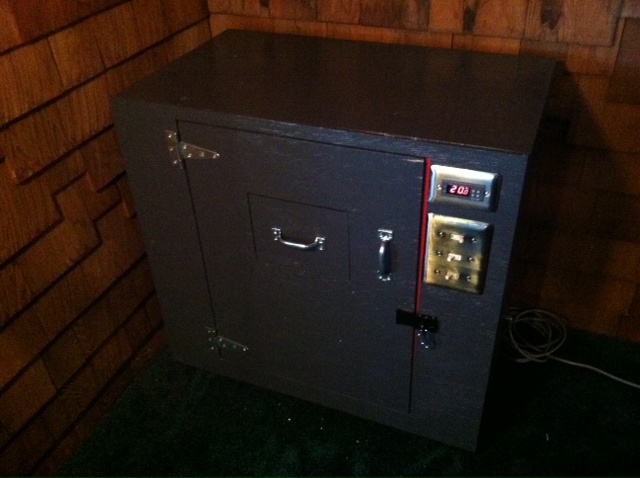
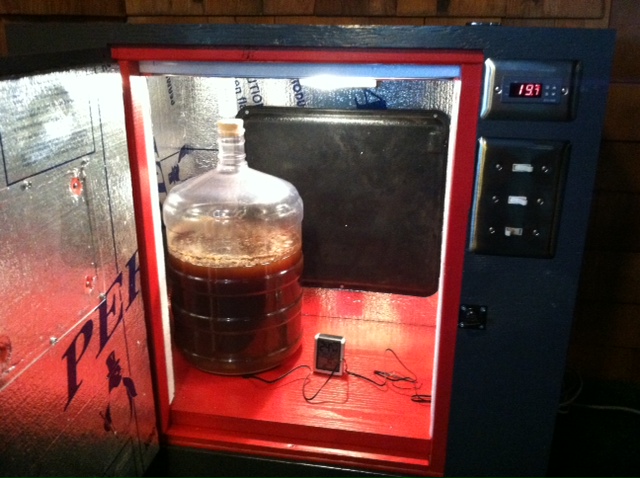
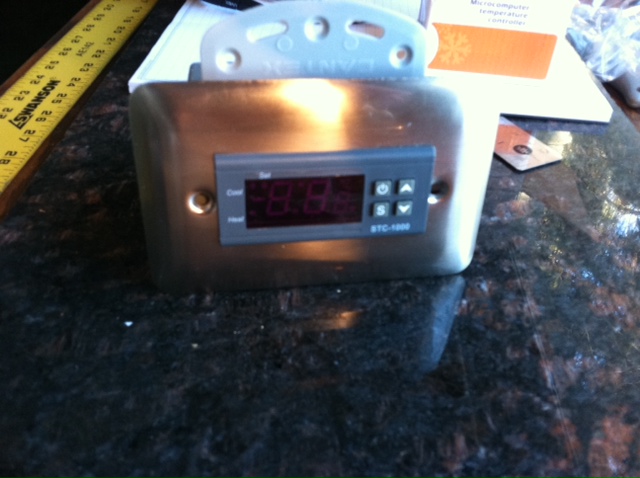
In short, another DIY fermentation chamber using the famed e-bay temperature controller, the STC-1000. With no need for cooling, it will be a heat-only cabinet.
I'm lucky enough to live in a place where the house is year-round too cold (or just about perfect sometimes) for good fermentation. In the winter the entire house is chilly. In the summer the basement keeps a pretty constant low 60s. To date I've been fermenting in a tiny bathroom that has heat. After a dizzying electricity bill this last January, I decided it was time to chase down all wasted electricity sources. Finally an excuse to make a dedicated fermentation chamber. Granted the cost will probably take years to recoup, but its an investment, right?
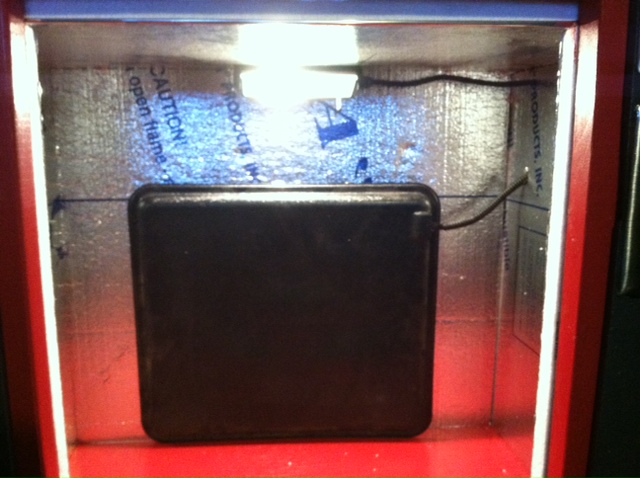
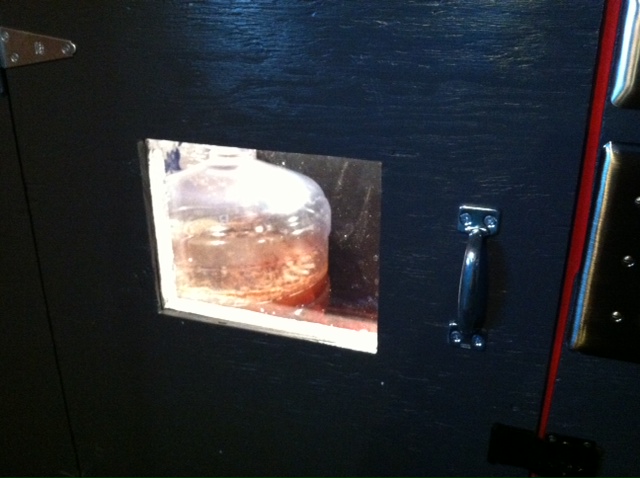
I have a nasty tendency to over engineer things. The basic requirements I wanted: temperature control, good insulation, and enough space for two carboys and a stir plate. The not so basic desires: a viewing window (who wants to open the door to check on things?), a light (what good is the window without proper lighting?), and construction like a battle ship. I made some good finds at the local thrift shop, but in total for all the electrical materials, building materials, insulation, and hardware, this build has about a $150 price tag. Way more than I had originally planned... but its an investment!
The building materials:
5pc. 2"x4"x8' (not much waste)
1pc 2"x2"x8' (not much waste)
2pc 15/32"x4'x8' plywood sheathing (tons of waste, really only needed about 1.25 sheets, but the cuts were awkward)
1pc 1"x4'x8' foam insulation board (not much waste)
1pc 3/16"x2'x4' sanded oak ply
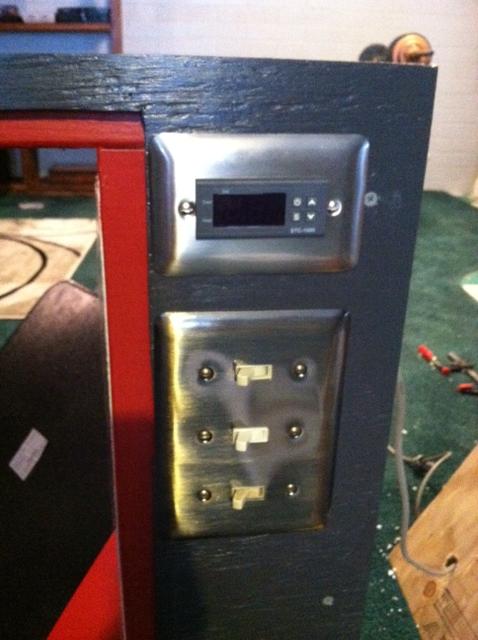
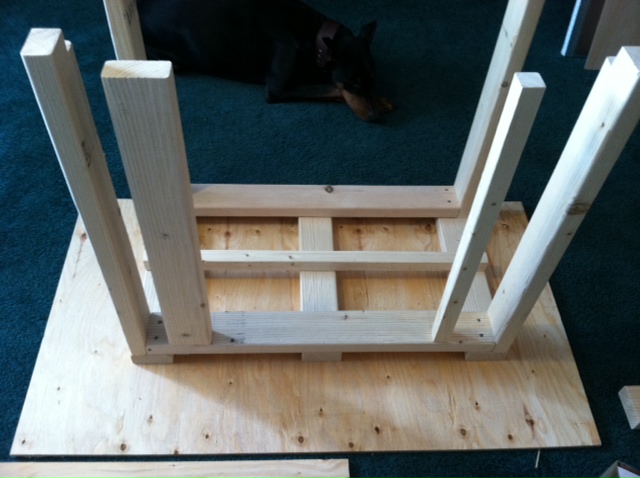
So far I've cut all the pieces and constructed the base. The door frame will be hinged on the 2x4 and latch on the 2x2. The spacing between the 2x2 and the corner 2x4 will house the gang boxes used for the controller, switches, and inner outlet.
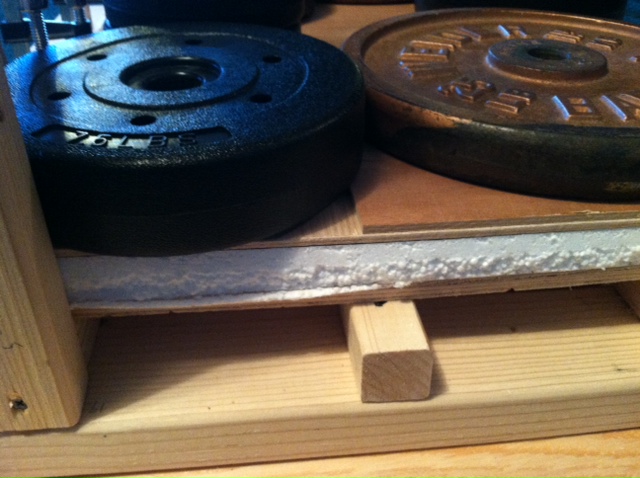
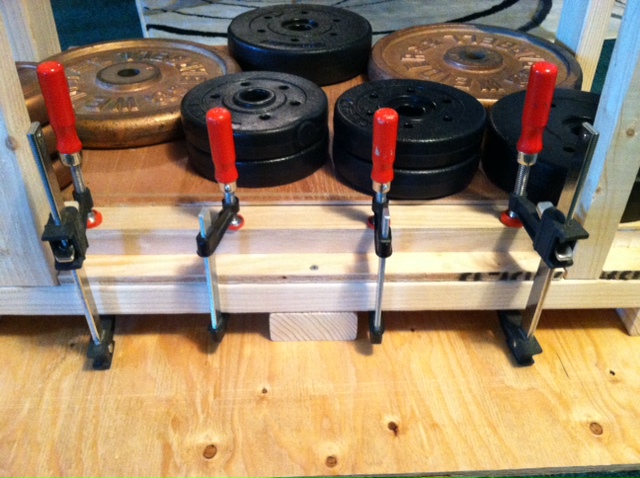
The floor's insulation is sandwiched between the sheathing and the oak ply. In the door frame the insulation is faced off with a strip of the oak for aesthetics, pictured below with the clamps on to set the glue. After the pieces set overnight the base will be painted. Once dry the wall insulation will go in, followed by the electrical.
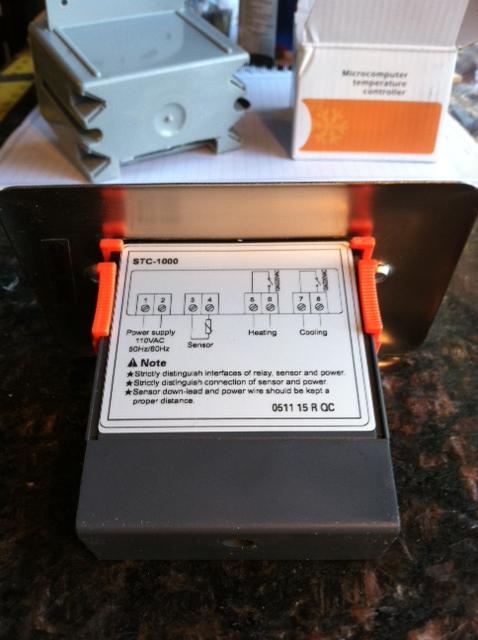
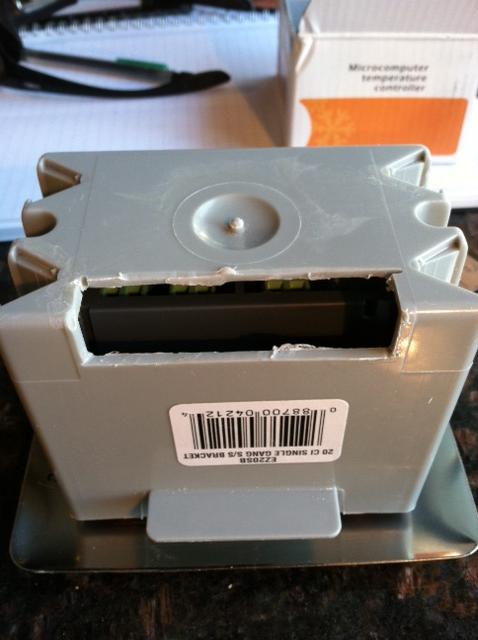
The STC will be housed in a single gang box. I cut a mounting hole out of a gang cover, and cut out the back/bottom of the gang box where the connections will enter/exit.
So far it is pretty smooth sailing. I hope to have it completed and ready for use by the weekend. Updates to come throughout the week!
I'm lucky enough to live in a place where the house is year-round too cold (or just about perfect sometimes) for good fermentation. In the winter the entire house is chilly. In the summer the basement keeps a pretty constant low 60s. To date I've been fermenting in a tiny bathroom that has heat. After a dizzying electricity bill this last January, I decided it was time to chase down all wasted electricity sources. Finally an excuse to make a dedicated fermentation chamber. Granted the cost will probably take years to recoup, but its an investment, right?
I have a nasty tendency to over engineer things. The basic requirements I wanted: temperature control, good insulation, and enough space for two carboys and a stir plate. The not so basic desires: a viewing window (who wants to open the door to check on things?), a light (what good is the window without proper lighting?), and construction like a battle ship. I made some good finds at the local thrift shop, but in total for all the electrical materials, building materials, insulation, and hardware, this build has about a $150 price tag. Way more than I had originally planned... but its an investment!
The building materials:
5pc. 2"x4"x8' (not much waste)
1pc 2"x2"x8' (not much waste)
2pc 15/32"x4'x8' plywood sheathing (tons of waste, really only needed about 1.25 sheets, but the cuts were awkward)
1pc 1"x4'x8' foam insulation board (not much waste)
1pc 3/16"x2'x4' sanded oak ply
So far I've cut all the pieces and constructed the base. The door frame will be hinged on the 2x4 and latch on the 2x2. The spacing between the 2x2 and the corner 2x4 will house the gang boxes used for the controller, switches, and inner outlet.
The floor's insulation is sandwiched between the sheathing and the oak ply. In the door frame the insulation is faced off with a strip of the oak for aesthetics, pictured below with the clamps on to set the glue. After the pieces set overnight the base will be painted. Once dry the wall insulation will go in, followed by the electrical.
The STC will be housed in a single gang box. I cut a mounting hole out of a gang cover, and cut out the back/bottom of the gang box where the connections will enter/exit.
So far it is pretty smooth sailing. I hope to have it completed and ready for use by the weekend. Updates to come throughout the week!