Fremzilla leaks?

Homebrew Talk - Beer, Wine, Mead, & Cider Brewing Discussion Forum

Help Support Homebrew Talk - Beer, Wine, Mead, & Cider Brewing Discussion Forum:

This site may earn a commission from merchant affiliate links, including eBay, Amazon, and others.

burtom

Well-Known Member
Joined
Jul 11, 2015
Messages
158
Reaction score
120
Hello, I just took the second batch out of my Fermzilla and both times I have had gas leaks and liquid leaking from the collection jar. My first use I just chalked it up to user error. This time I sealed and tested for two days using 20 pounds of pressure and it held pressure and no Starsan leaking, then tore it down to sanitize put it back together the same way and serious leaks both gas from the lid I'm assuming and liquid again from the collection jar area as soon as it pressurized. The liquid is definitely from the collection jar because as soon as I close the collection valve the leak stops.

Does anyone have one that does not leak? If so are there some secrets, chants or particular way to hold my tongue when assembling these so they do not leak?

As is this is just an expensive PET fermenter.

I liked the original Fermentasaurus which is why I bought this one.
 
Thank you for the video link! I was not very happy with the leak I couldn't seem to fix coming from the jar o-ring. After round 3 of tightening, it seemed to work. I removed the jar, re-lubed the oring and reinstalled it hand tight only. No visible leaks after 1 hour.

Update: It was my fault! After watching the video above, I realized that the o-ring wasn't seated properly. The o-ring was resting on the lower lip at the bottom of the threads instead of seated inside grove.

I am still dealing with a small pressure leak right now because the pressure tube kit I installed seems to have a very slow air leak and I don't want to keep removing the top to work on it. Morebeer hasn't shipped my replacement top yet but I was fortunate enough to find a NY vendor that had one.
 
Last edited:
Hand tightening is all that is needed. Make sure the pressure posts are not leaking.

I have about 16 brews through my 2. I happen to love the collection jar.

After fermentation is done, I remove it, clean out the yeast and settled trub, sanitize it, add finings and screw it back on. I only hand tighten it about an eighth turn after it start having resistance.

I then purge the collection jar with CO2. I fill to 15 PSI with the valve closed and then release the pressure about 10 times. Then open the valve.

You can check for leaks in collection jar by closing the valve and adding pressure just to the collection jar. Put on a spunding valve to verify it is holding pressure.
 
I tried all the stuff in the tips and tricks video with no good results. Returned mine when I called tech support and they gave me a list of seven things to try and wanted all of them filmed and then they would send me a different gasket. Thankfully I bought it from my LBS and they are awesome when you have problems. I was the second one to return one and the third was returned for leaking while I was there.
He stopped selling them immediately. The people that have them and they do not leak love them but I will probably try the new one coming out by the people that did the fermentasaurus originally.
 
For anyone that has successfully installed the temperature tube, how did you do it? The metal nut that goes inside is much larger than the notched groves so it won't bite into the fitting properly. I took a dremel and removed as much material as I could so the screw now gets at least 2-3 threads but it's still not enough to form a tight seal. I watched the youtube videos showing the install but they just skip over the part I'm having trouble with.

Look at this video:

at 1:45, it shows the indents that I'm talking about around the hole he drilled. If I don't remove those indents, I can't even get the screw to make contact with the insert.
 
full


Hopefully you can make out that the nut does fit inside the raised edges. The bore hole has to be PERFECTLY centered for the nut to fit in.

This was the hardest thing for me to do. No way could I do that freehand with a hand drill.

I bought a couple of extra lids and ended up clamping a lid into my drill press to get the hole centered and drilled.

Good luck
 
52176F4E-CDF5-4143-A95E-E28514F38E15.jpeg
Thank you. Obviously I did not drill mine perfectly then. :( What does the top look like? Can you still see the black oring or is it recessed fully in the hole you drilled? The YouTube video suggested tapering the top which I did but probably not enough.

I think someone could make a few bucks offering a service to add accessories to these caps since they're so easy to screw up if you don't have the correct equipment. :) I'd buy the cooling coils if it wasn't such a PITA to install in the cap. :)

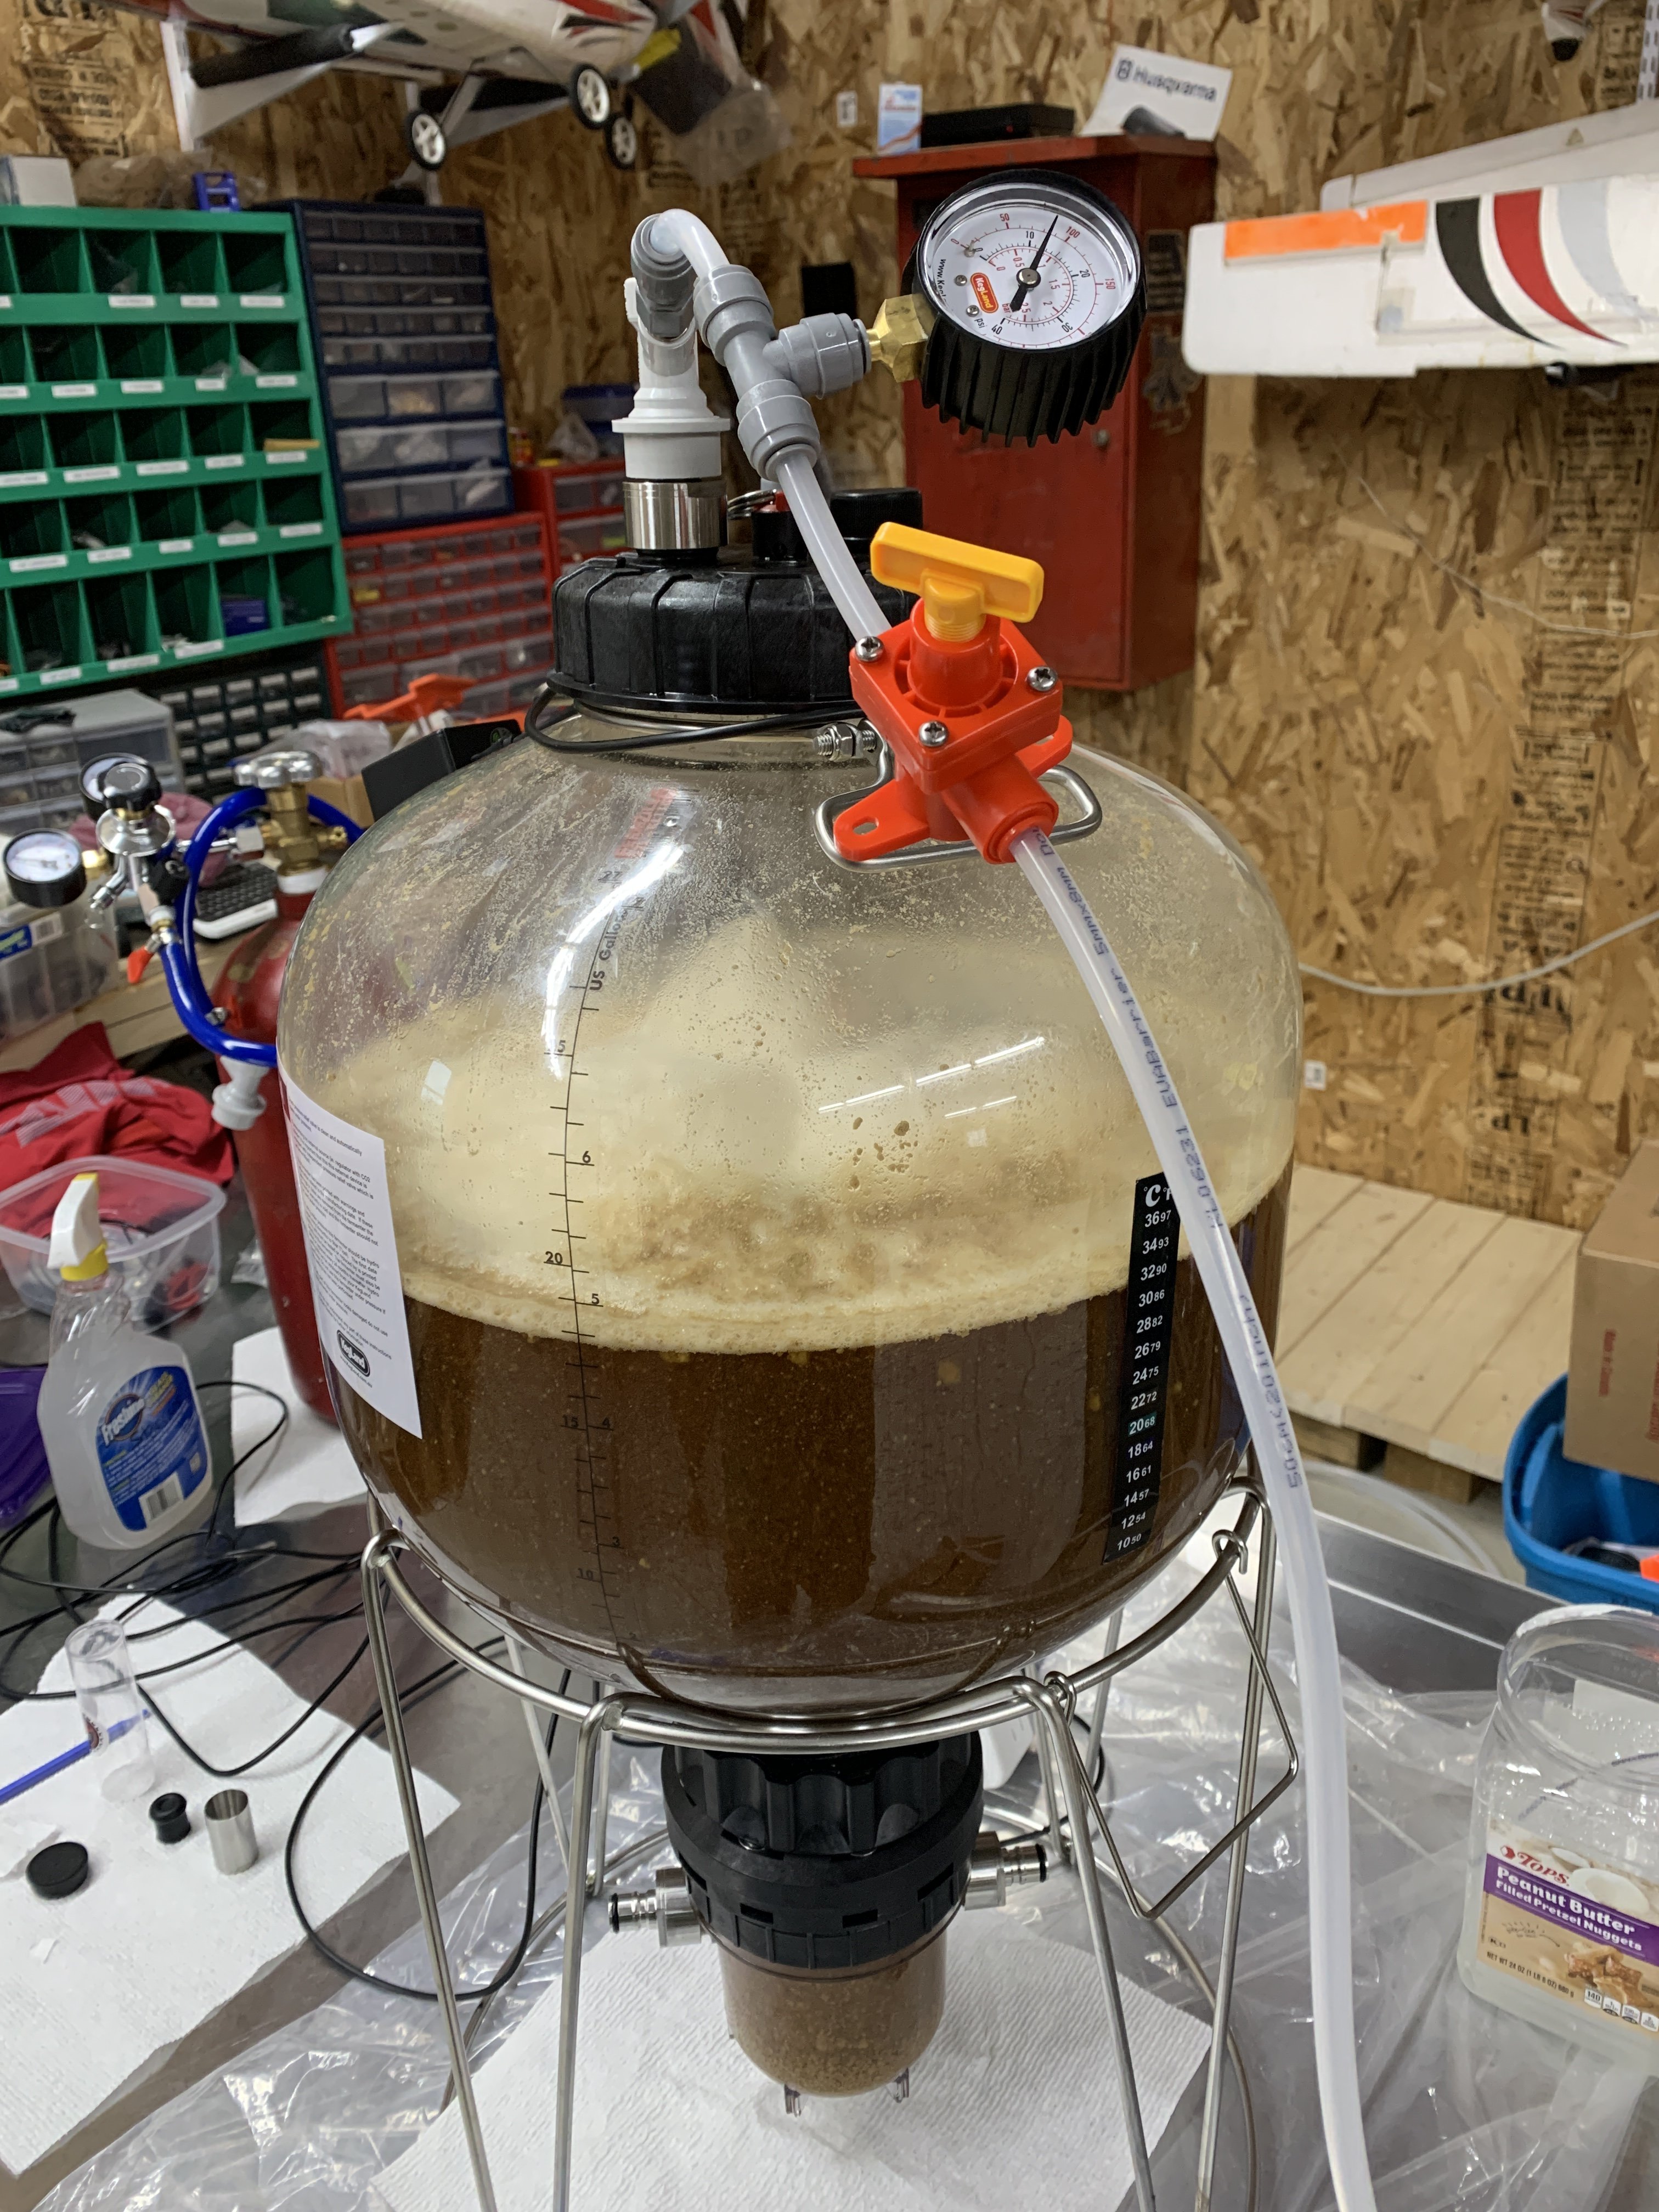
Here is a picture of my fermenter holding 12psi at the moment.
 
full


I did countersink the top of the lid.

full


The cooling coils are not as critical for mounting as the nut is on the top.

As MoreBeer.com is the importer, US distributor and they have a shop, I think they should offer pre-drilled lids. Perhaps you should ask them if they could do that.
 
Back
Top