
EarthBound
Well-Known Member
I built the Son of Fermentation chiller.
I also built the Remote Sensing DIY Controller for Less Than $25.
I built this like 2 years ago and still havent used it, but I figured I might as well post it on here. Sometimes I feel it was a waste of time, but since it was the first of my many HB projects, I consider it to have been acceptable. I do not plan on going into much detail with this first post because I assume this project is self-explanatory with the links I provided. However, if you have any questions, Ill be happy to answer them.
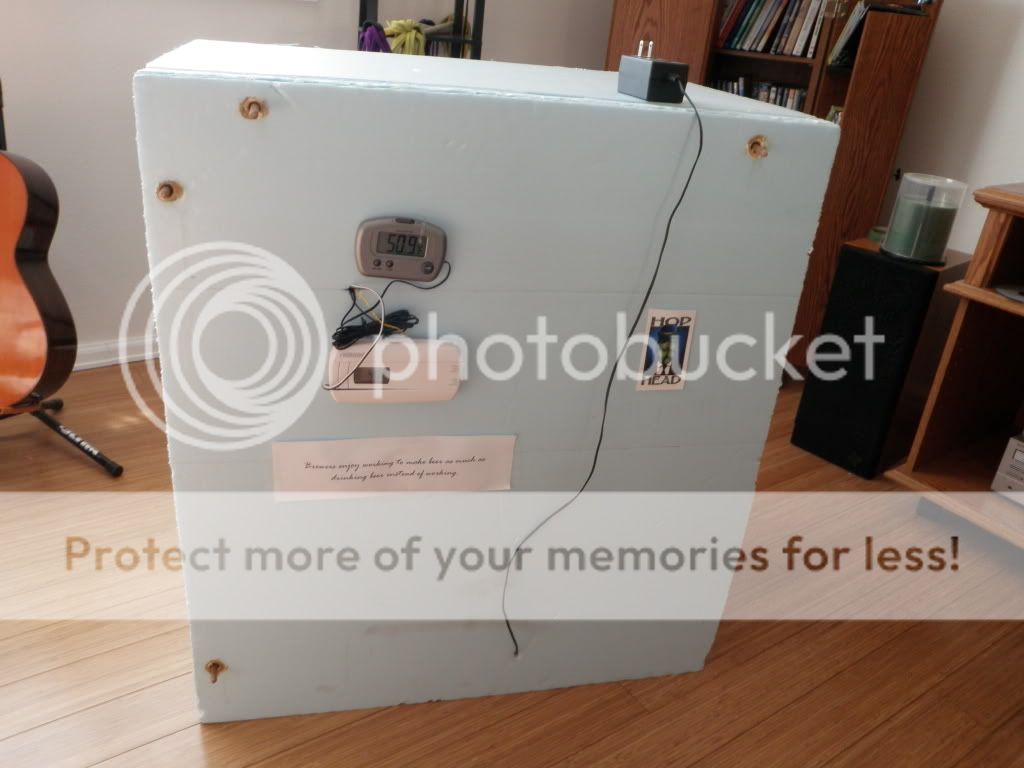
In the first picture, you can see the white thermostat on the bottom and the black thermometer on top. I used liquid nails, grommets, and pieces of dowel rod to keep it all together. Heres how I wire the thermometer:
1) Jumper wire between the RH and RC terminals
2) Positive lead from DC converter connected to the RH terminal
3) Positive lead from fan connected to G terminal
4) Negative leads from converter and fan connected to each other
There may be a small lag time when adjusting temps. It can take about 2 minutes to respond.
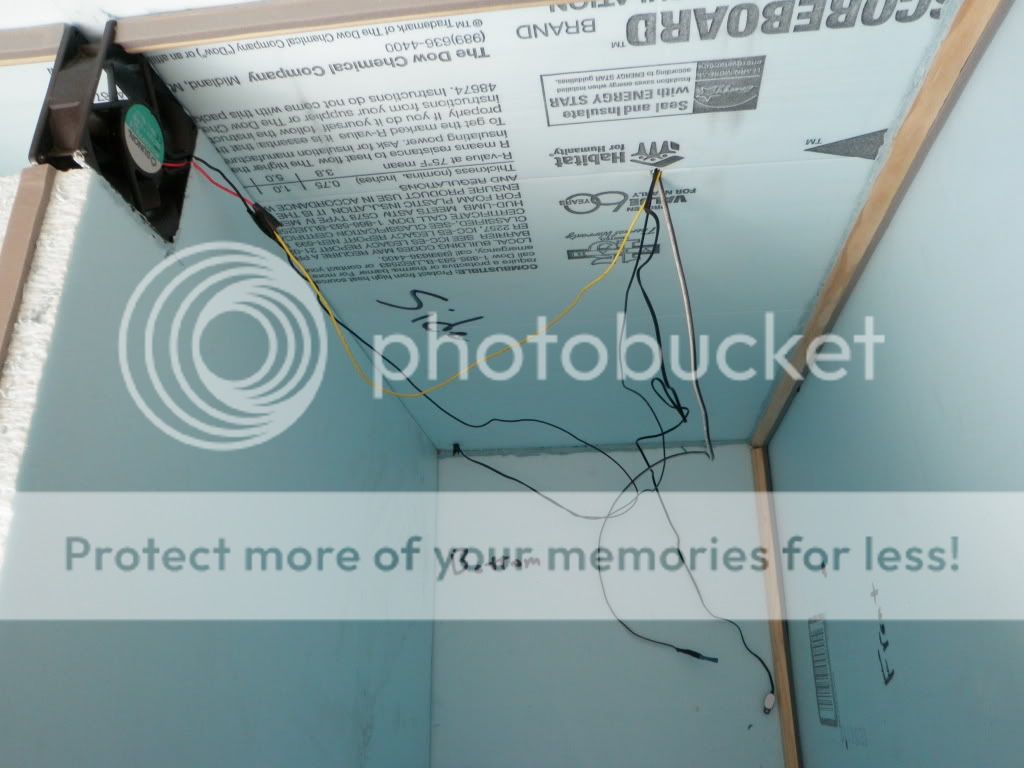
In the third picture, the black and white wires are connected to the thermostat on one end and the thermistor on the other end.
I think this remote thermistor idea is cool because you could use it to switch a relay (DC in, AC out).
I also built the Remote Sensing DIY Controller for Less Than $25.
I built this like 2 years ago and still havent used it, but I figured I might as well post it on here. Sometimes I feel it was a waste of time, but since it was the first of my many HB projects, I consider it to have been acceptable. I do not plan on going into much detail with this first post because I assume this project is self-explanatory with the links I provided. However, if you have any questions, Ill be happy to answer them.
In the first picture, you can see the white thermostat on the bottom and the black thermometer on top. I used liquid nails, grommets, and pieces of dowel rod to keep it all together. Heres how I wire the thermometer:
1) Jumper wire between the RH and RC terminals
2) Positive lead from DC converter connected to the RH terminal
3) Positive lead from fan connected to G terminal
4) Negative leads from converter and fan connected to each other
There may be a small lag time when adjusting temps. It can take about 2 minutes to respond.
In the third picture, the black and white wires are connected to the thermostat on one end and the thermistor on the other end.
I think this remote thermistor idea is cool because you could use it to switch a relay (DC in, AC out).

