Can Seamer DIY

Homebrew Talk - Beer, Wine, Mead, & Cider Brewing Discussion Forum

Help Support Homebrew Talk - Beer, Wine, Mead, & Cider Brewing Discussion Forum:

This site may earn a commission from merchant affiliate links, including eBay, Amazon, and others.
Joined
Mar 12, 2022
Messages
11
Reaction score
37
Hi guys,

I'm new to the forum, although I've been following you from the shadows for a long time. First of all, sorry for my bad English, I'm from Spain and I'm a bit oxidated on the Shakespeare language.

I'd like to start in this community sharing with you my new project, a 3D Printed Can Seamer.

My main idea, to save effort in a solid structure, is that the sealer was anchored to the wall, so the wall would be the structure. I've already used this idea whit my counter pressure filler support (I'll make a post ASAP with the design pieces)

So, for now I can tell you, I've been designing the top part main pieces:

FNateyTXIAEZNCD.jpeg

And printed the most difficult part. The piece that would fit the lid of the can:

FNop4O4XsAENM-5.jpeg


Apart from screws, nuts and bearings (which I will specify when I check that everything fits), the only metal parts that I cannot print and need to be purchased are the two sealing wheels:
1st Op Roller
2nd Op Roller

WhatsApp Image 2022-03-12 at 10.04.28.jpeg


I'll be back with more updates soon!! Stay tuned!
 
Hey. Some updates!

I've started printing some pieces this week:

WhatsApp Image 2022-03-15 at 19.01.10 (2).jpeg


All the top part is printed and mounted on the wall. There are 3 parts, the main support, the upper disc (where the can lid tightens), and the handle with the 2 wheels. The upper disc and the handle are placed in the main support through two bearings.

So, for now, my canning corner is working fine!!

WhatsApp Image 2022-03-15 at 19.01.10 (3).jpeg


Hope you like it!
 
This looks great, mounted on a stainless steel shield like your counterflow filler and perhaps with a " reversed / upside down bench capper unit " to lift the can in place it looks a brilliant thing. It would tempt me to can some beer.
 
This system is thought to spin with a drill. I'm thinking to modify it to adapt some type of electric engine with some sensors to make the process more automatic. But for now I prefer to test the seamer process with the drill.
I have one and mine is mounted on a benchtop drill press
 
Hi guys!

I finished the bottom part and try to test the system.

To press the can to the top part, I designed a screw with a rotating part.

WhatsApp Image 2022-03-20 at 10.05.53.jpeg


And here we go with the first attempt! As you can see, there are some looseness that must be solved. But it works!


I'm redesigning the main piece to reduce the looseness, adding 2 bearing for axis, incrementing the density of some parts. I think it would be better to use a screwdriver than a drill :confused:.

I'll be back with more updates soon!
 
Looks like there is a threaded bolt inserted into the chuck of the drill? The drill is very wobbly probably because of that. A shape like a hex wrench would have more stability or even smooth vs threaded as drill bits are sometimes just smooth and round. That's if you intend to keep using the drill. Also, a mount for the drill would keep it steadier.
 
I've just made a try with a screwdriver and it seems to improve the stability. Anyway, I'm printing a new support to handle 2 bearings per axis and maybe take your advice and print a support for the screwdriver to fix this issue. Thanks!
 
@deadulus
I agree with you there looks a big moment on the drill, a mounting to hold it still and a drill type with a slow start might be helpful.
Very impressive work, the higher density plastic should help it as well.
 
Hi again!

New support piece mounted. It has 2 bearings per axis and more density and x/y reinforcement:
FOXQqS9XMAA37nQ.jpeg


The looseness has been removed. The spin of the can is not perfectly circular due to the base piece, but it seems that it does not affect the closing.


And here we have the final result!
 
That's looking good. I read somewhere that warming the can up was a good way to test the integrity of your seaming?
Wondering if a Cam shape with a lever would be a good way to lift the can up to position rather than screw in and out. Might be a bit quicker for lots of cans.
I'm impressed and thinking about ordering the wheels for the seamer given it's taken more than 2 months for my order ( so far ) from aliexpress.
 
That looks great!

Just athought from my side:
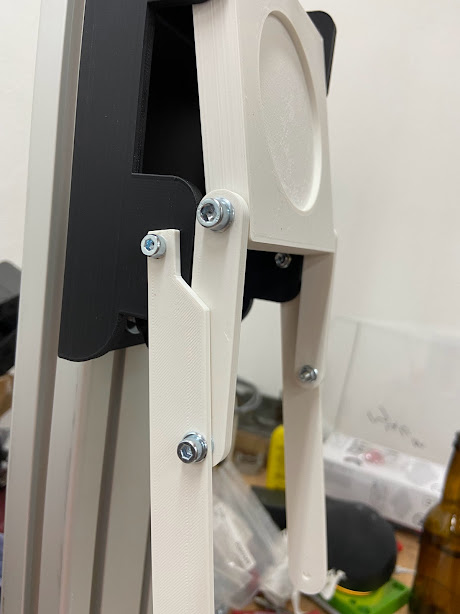
Can fixation could be done with a toggle clamp:
1648101415991.png


This would greatly improve the usability.

An alternative would be something similar I used for my counter pressure filler (if you want to stick to your all 3d print approach) :
1648101670646.png

sorry for the crappy pic...

With what kind of program do you design your parts? Any chance that you upload the parts in its current state, I would love to take a look at it. Maybe I can help in some way.

Lukas
 
@Liero
Your picture is this a bit like a scissor lift for the bottle / can? it would need to lock or stick at the raised position as your hand would be needed to trigger the drill and the seaming wheels. Nice design though.
I'll get some pictures of my counter pressure bottle filler which is spring controlled which would be " handsfree" and is user friendly.
 
@EspetoHomebrewing & @Liero great work! Would you both be willing to share your 3d CAD files on the can seamer, counter pressure fillers and bottle lift? I just received a set of sealing wheels from morebeer! and would like to build a filling / canning / bottling station. I have a 3d printer and a metal / woodworking shop and would like to make a "hybrid" mix of all the above. Thank you!
 
Yes please share files. there are a lot of people here that would be very interested in building these. they look very nice and would be quite useful.
 
As my design is heavily inspired by other projects, have to ask for their permission. After this I would love to make at least my files available.
 
Hi, I'm trying to fix one piece that is not working well and back to you with the final designs. Sorry about that

No problem! I appreciate your work & ingenuity and you sharing it all with us.

The picture that @Liero posted above with the aluminum extrusion with the T-slots is giving me some ides on how to set this all up. I 3-d printed a section similar to that for another project I am working on. I want to make this set up easy to put away when not in use as I don't currently have a dedicated spot for this and don't do a lot of bottling (or hopefully soon, canning). Maybe some sort of modular filling / canning station?
 
Love the project! Any updates on your final designs? Super excited to try it out myself.
 
Hi guys,

First of all, sorry for the delay and being disconnected all this time. I started this project last year, and since then my life turned very busy.

I can share with you the final design (or at least the first one fully functional). My thoughts were to share a step by step process, but unfortunately during the design I lost all the photos made, so I'll try to explain how to mount it and share the parts with you.

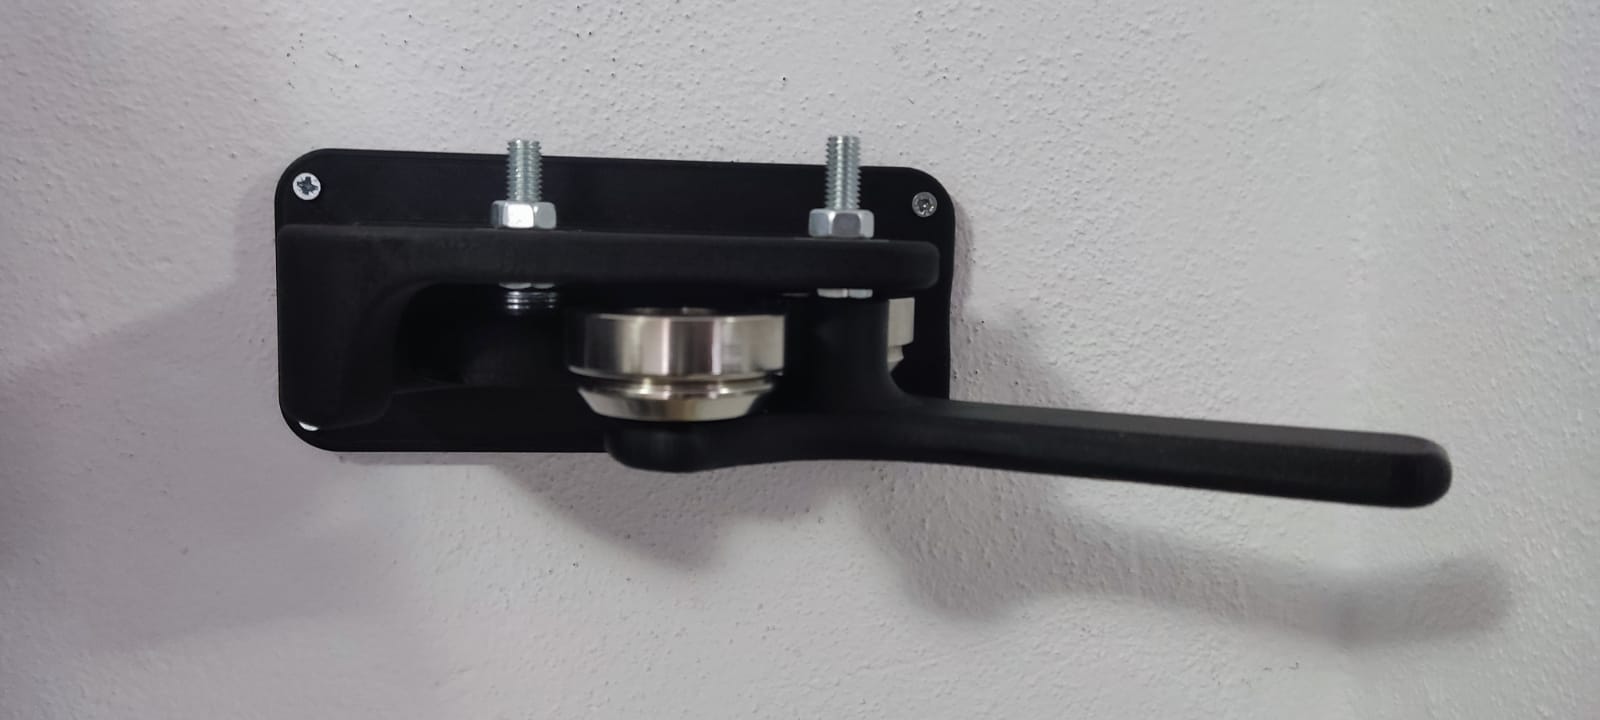
First, a picture of how it is finally:


IMG_20230116_124433.jpg

The STL files to be printed:


I recommend to print with a good quality pla filament and if possible a high infill percentage.

So, the only parts you need to buy are the seamer wheels:
https://es.aliexpress.com/item/4001...t_main.15.30bc194dXymPQh&gatewayAdapt=glo2esphttps://es.aliexpress.com/item/4001...t_main.14.30bc194dXymPQh&gatewayAdapt=glo2espThese wheels are different, you need both, 1st and 2nd op.

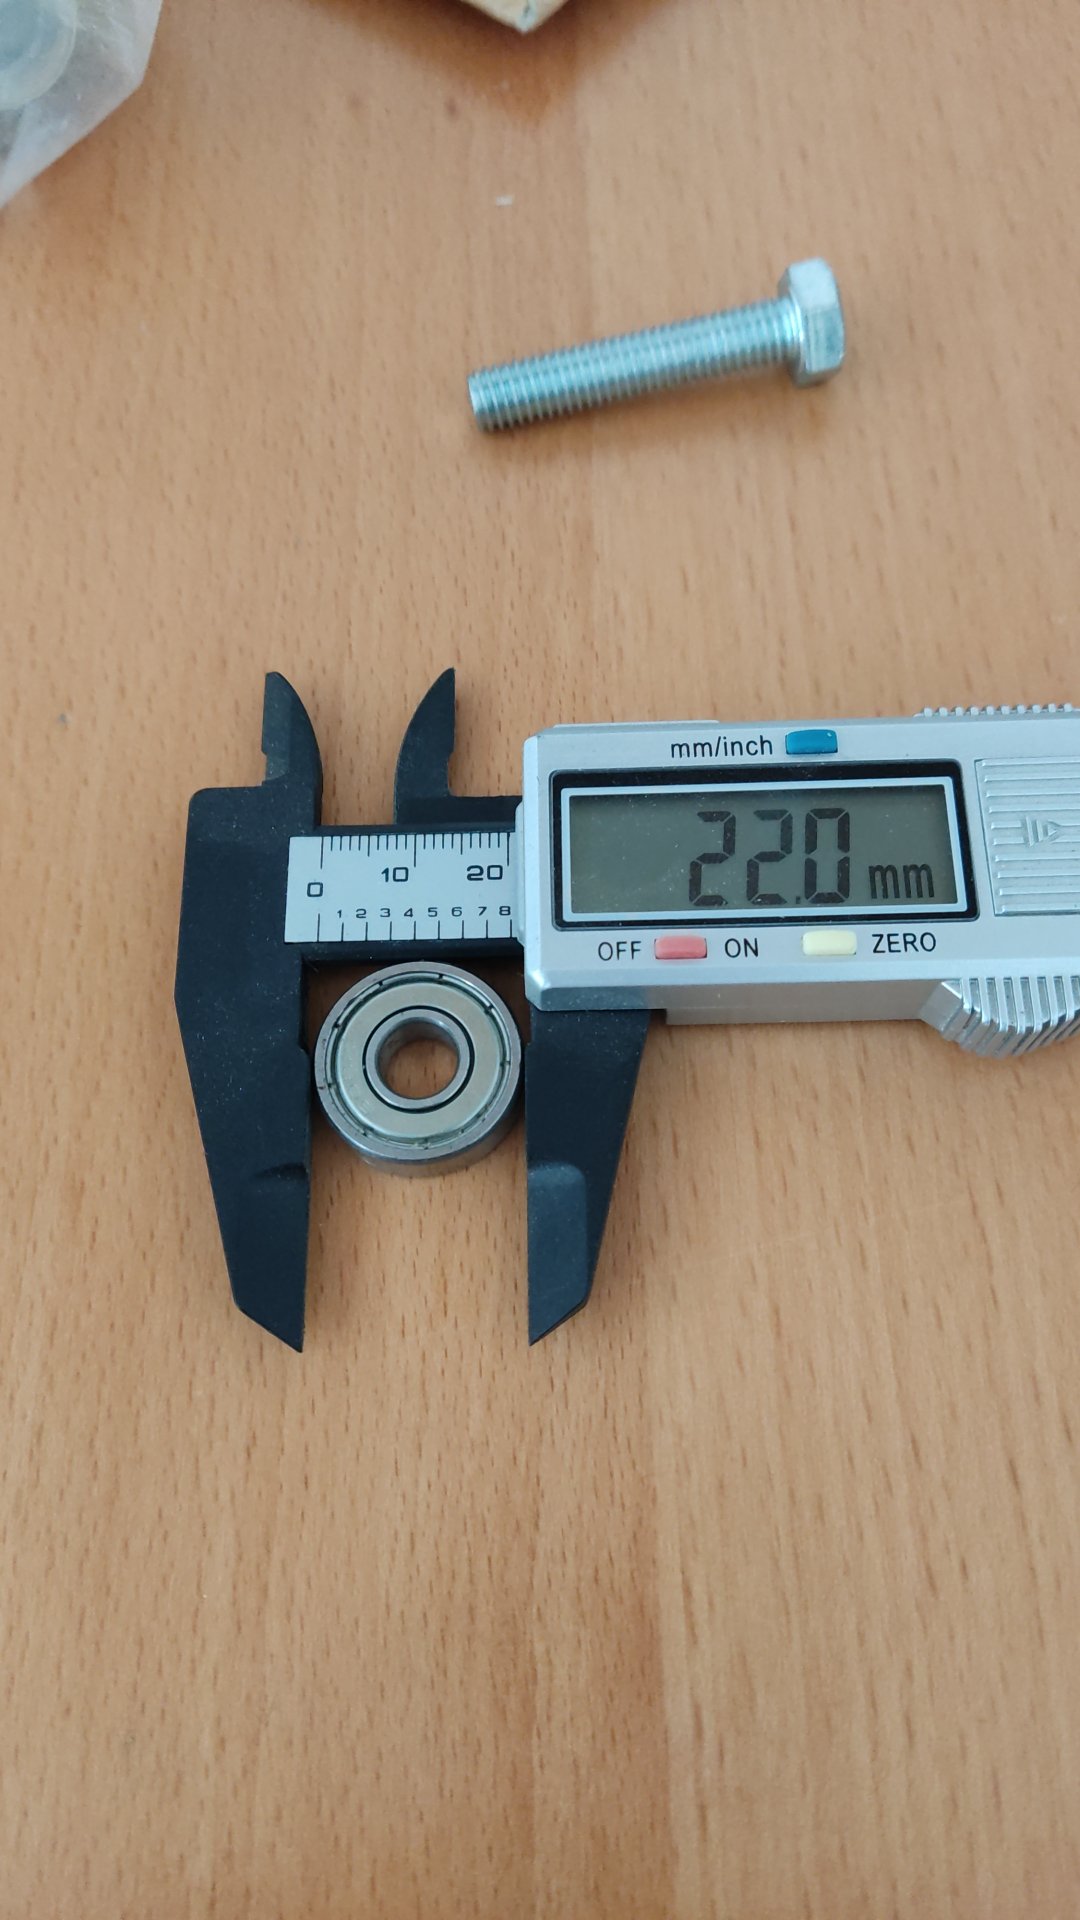
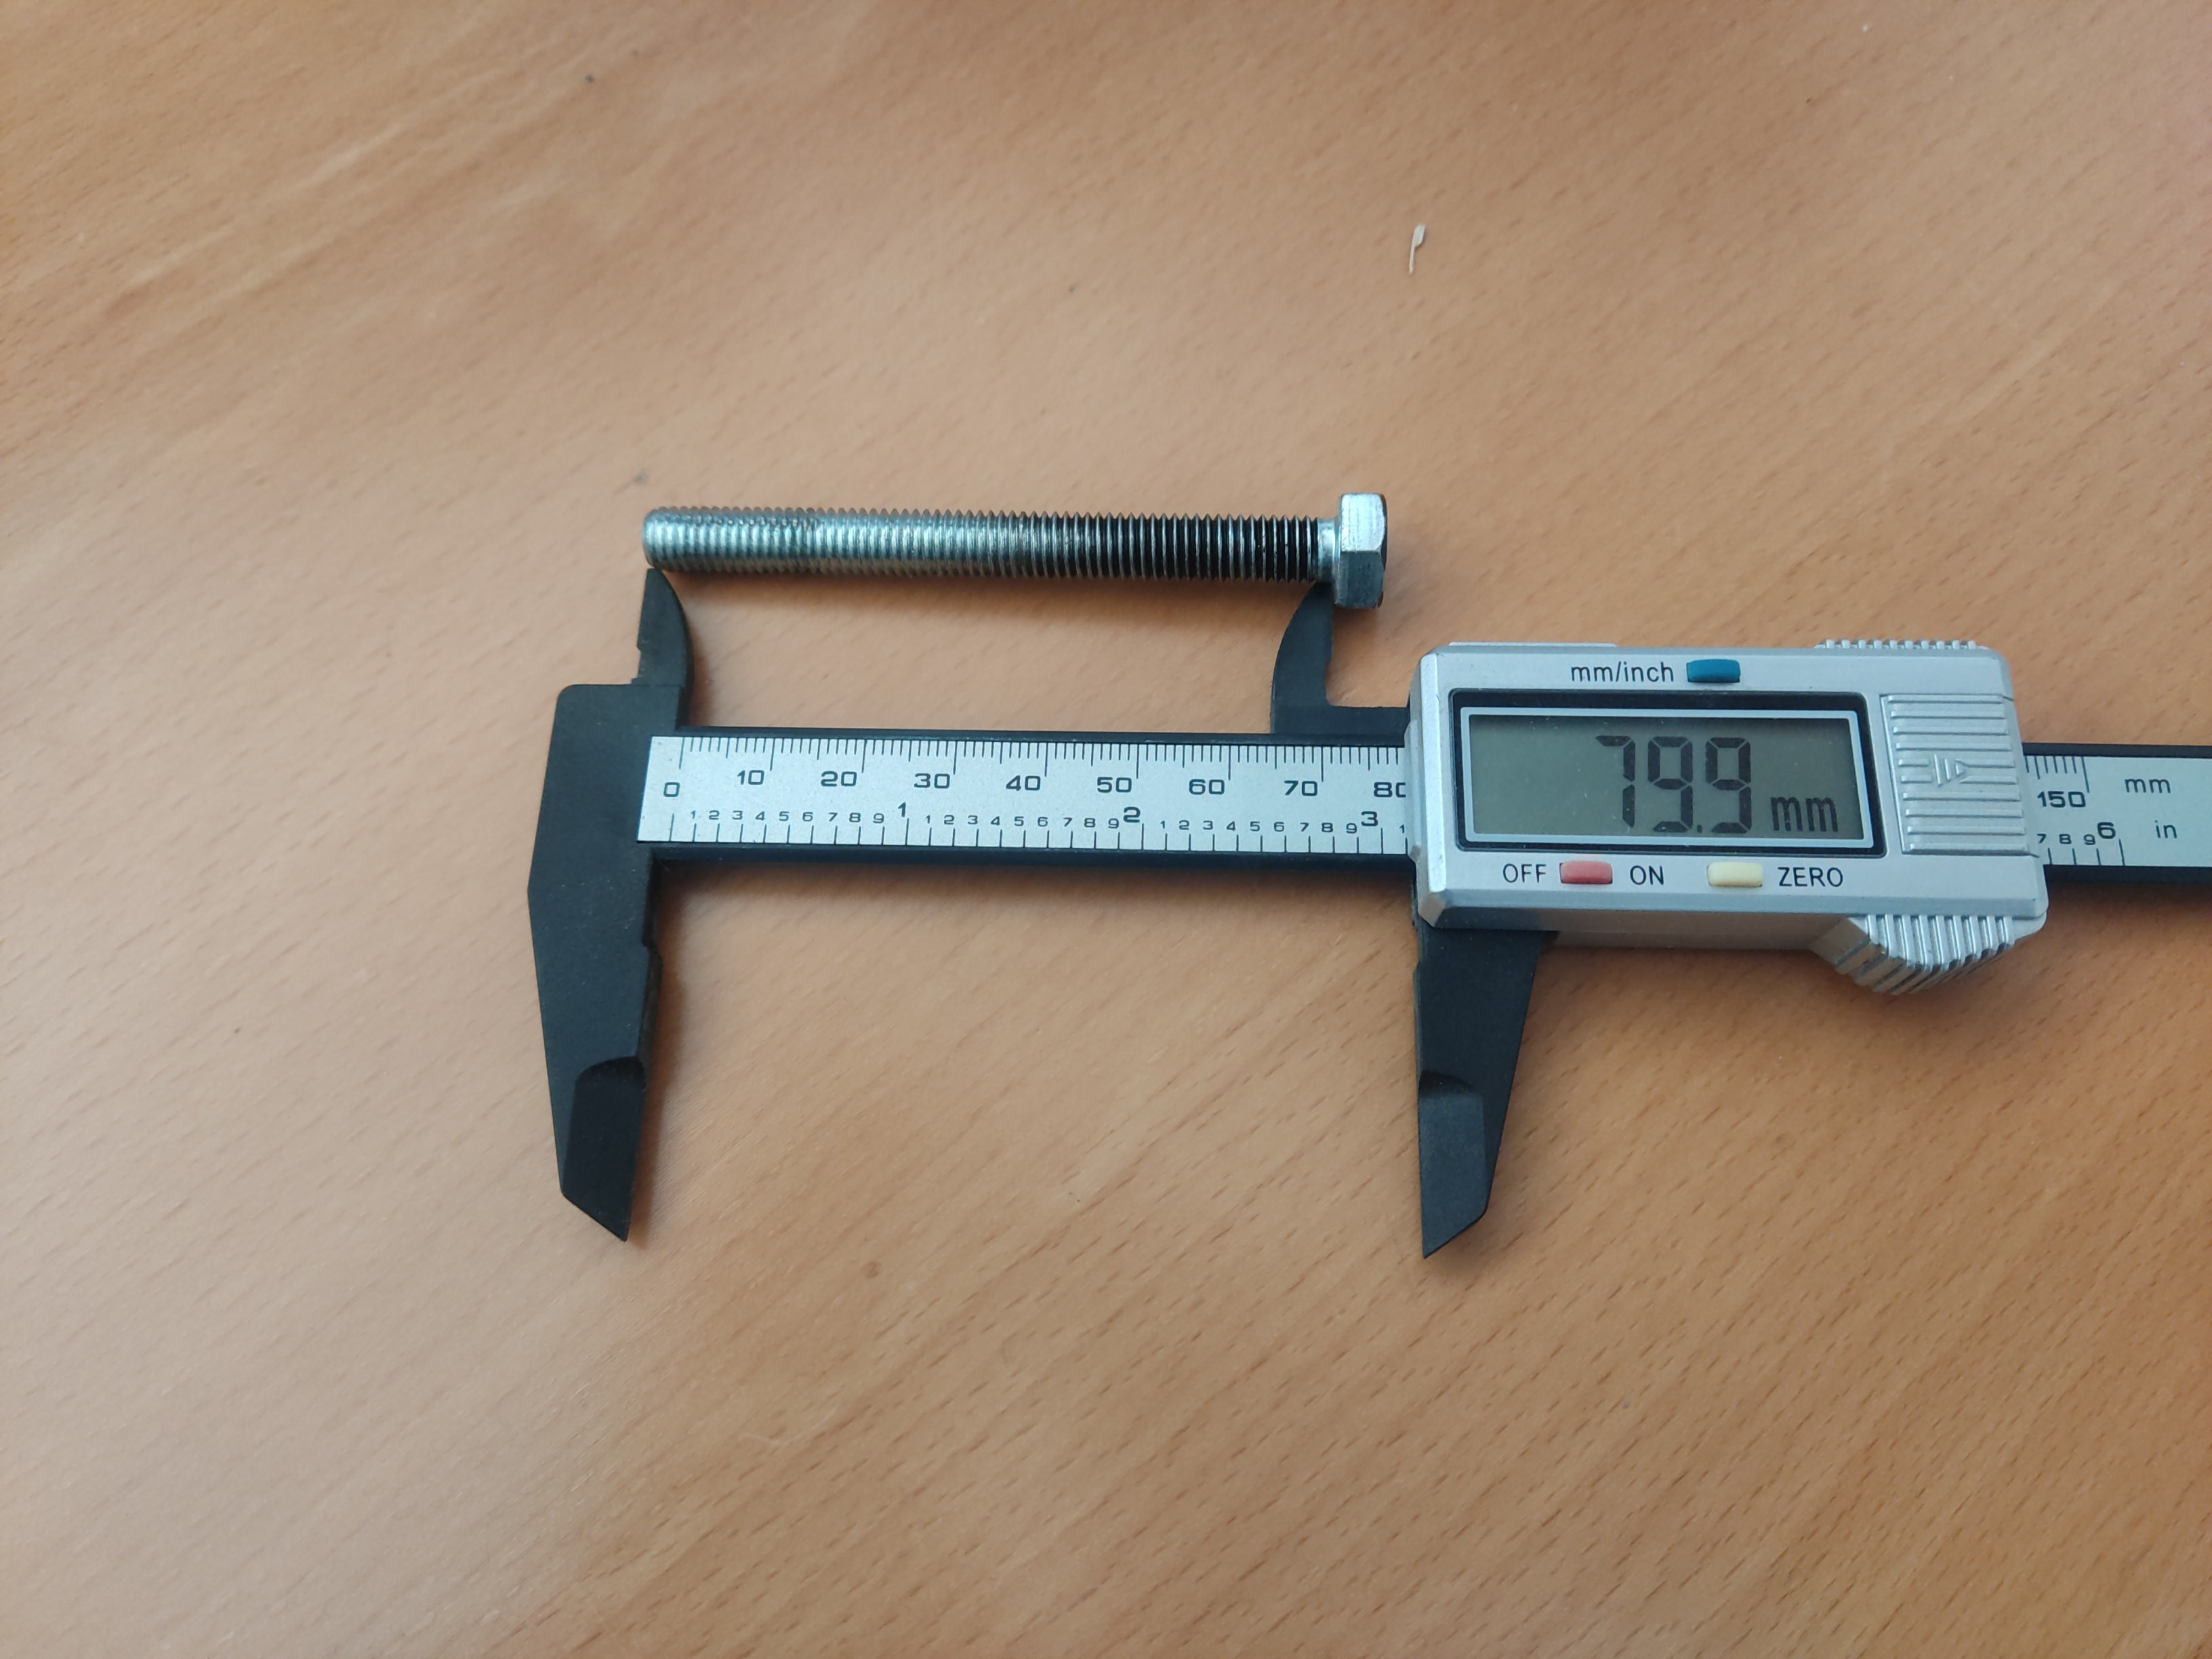
Apart of that, you would need 5 22/8mm bearings ,3 hexagon screws (8mm diameter)

IMG_20230116_151243_753.jpg


20230116_130213.jpg

At least one of them 80mm long (or more).

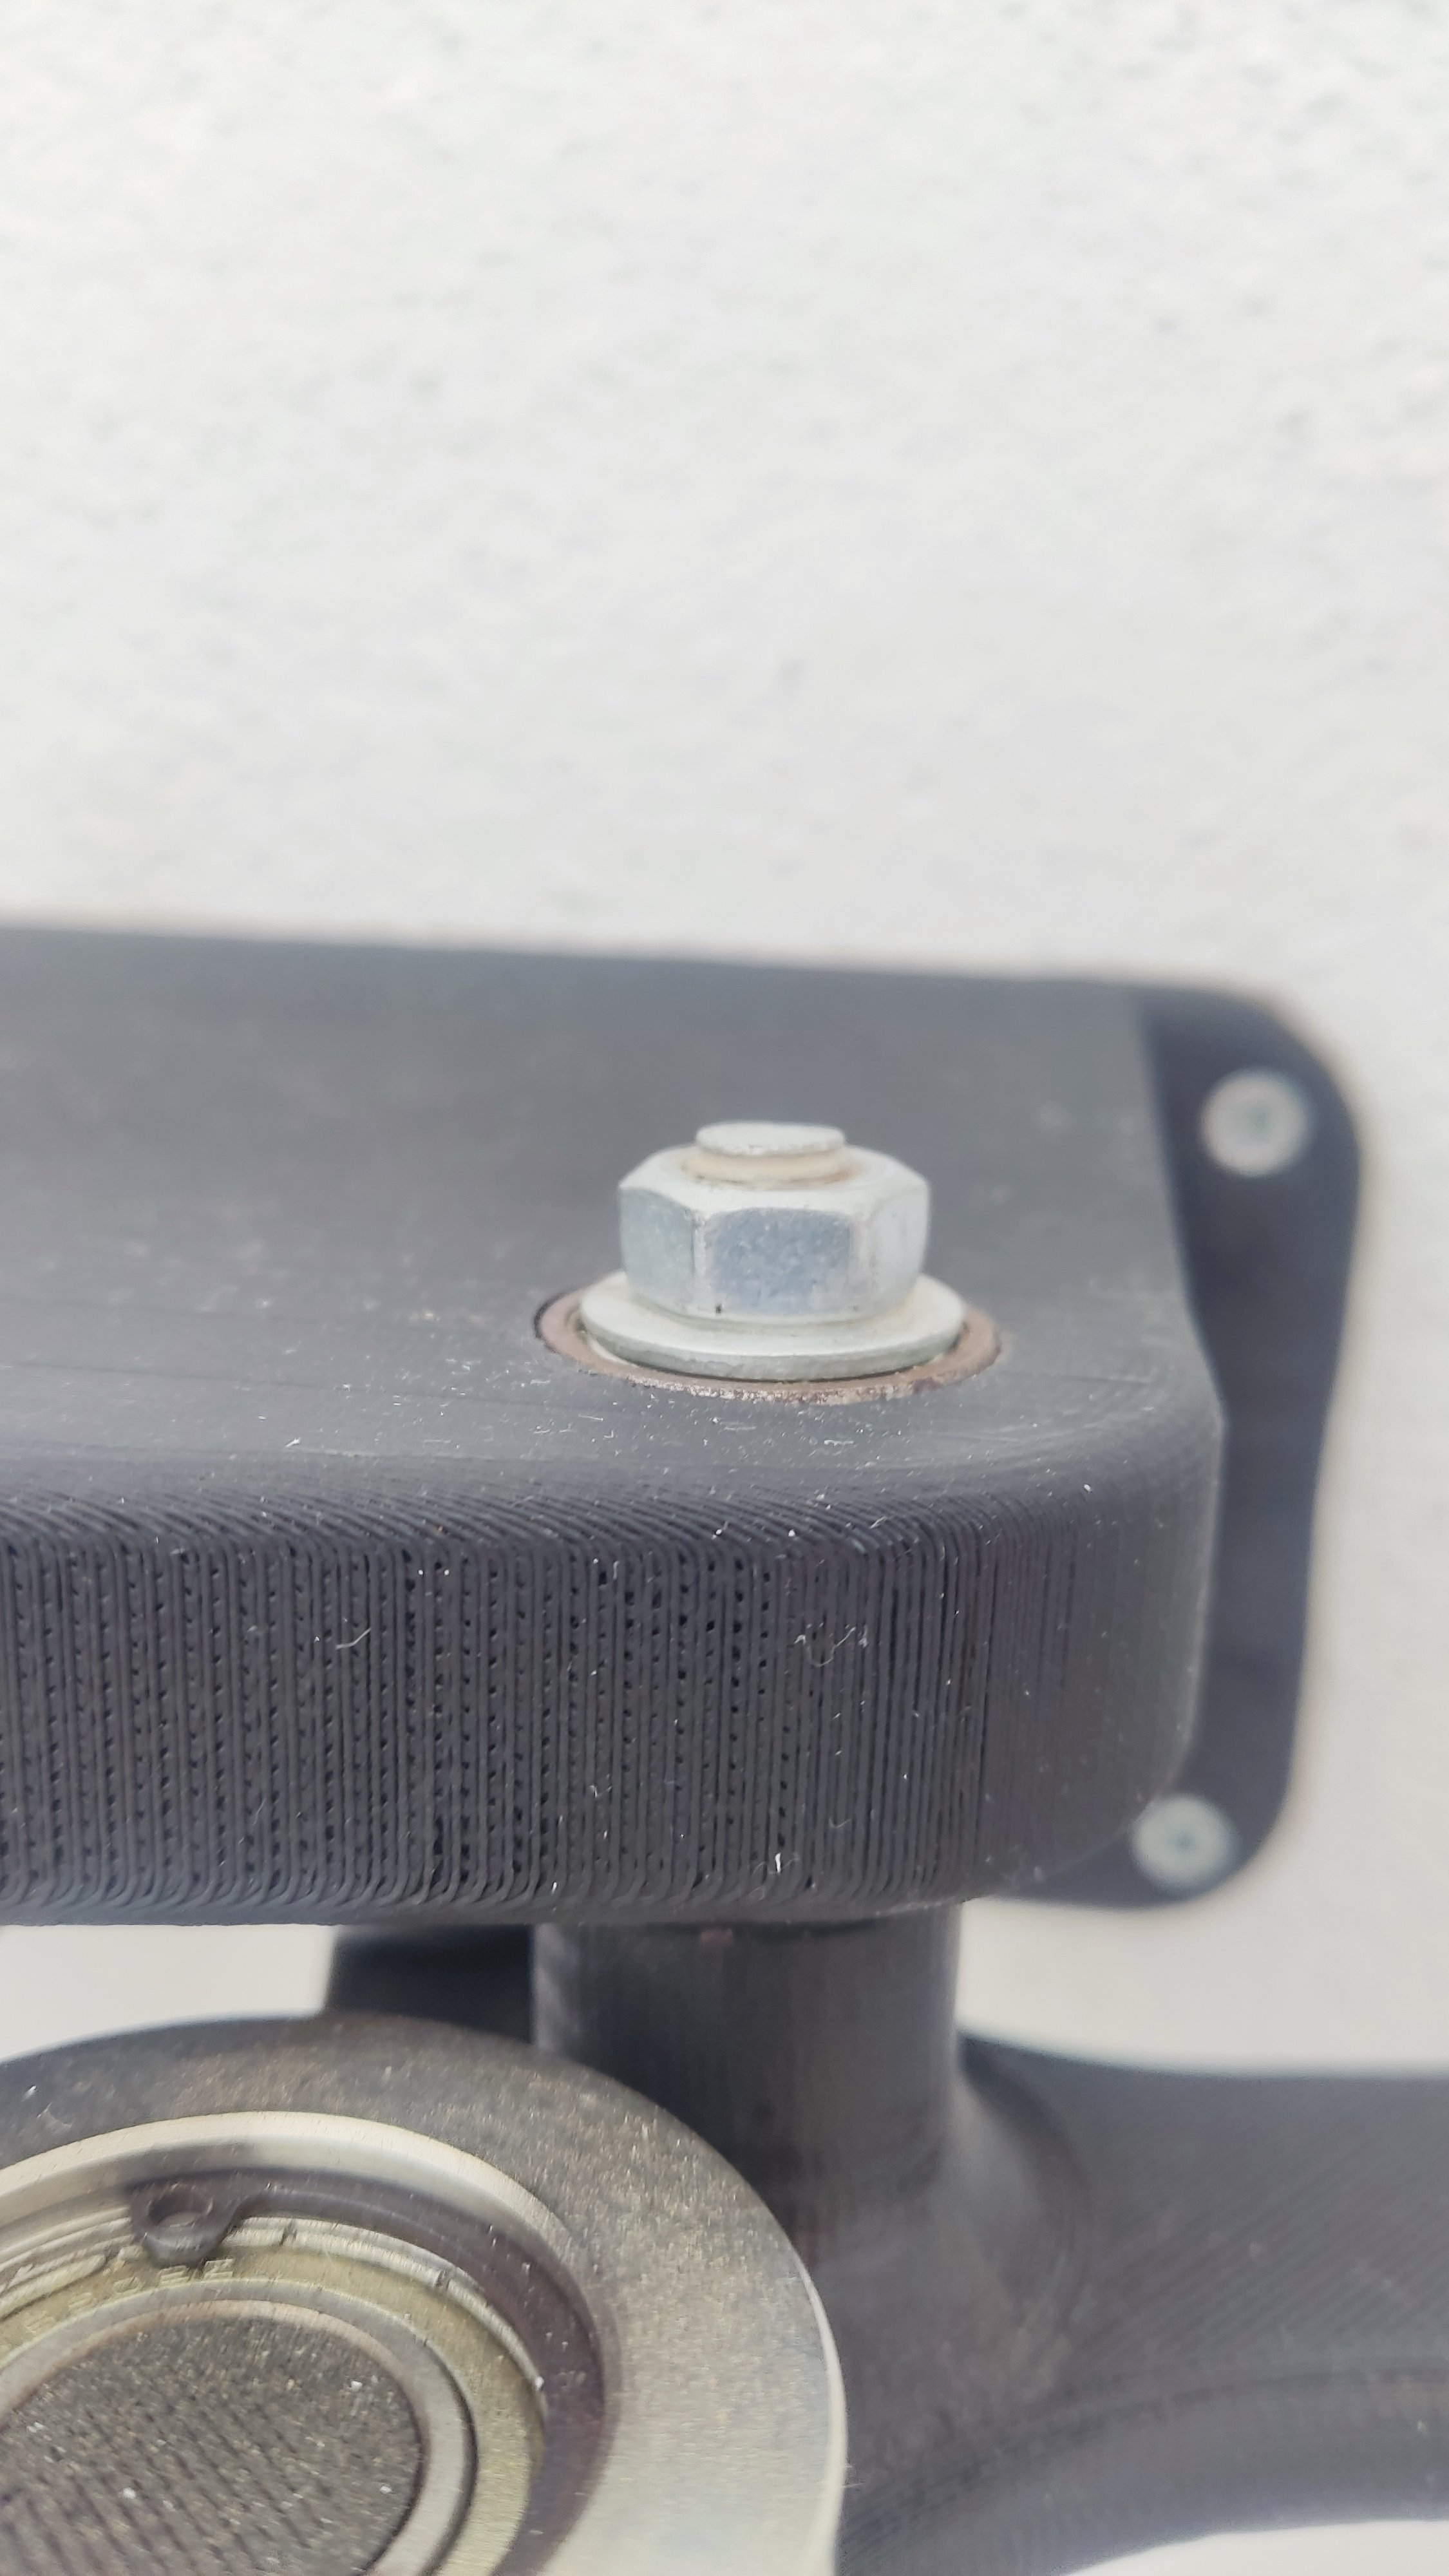
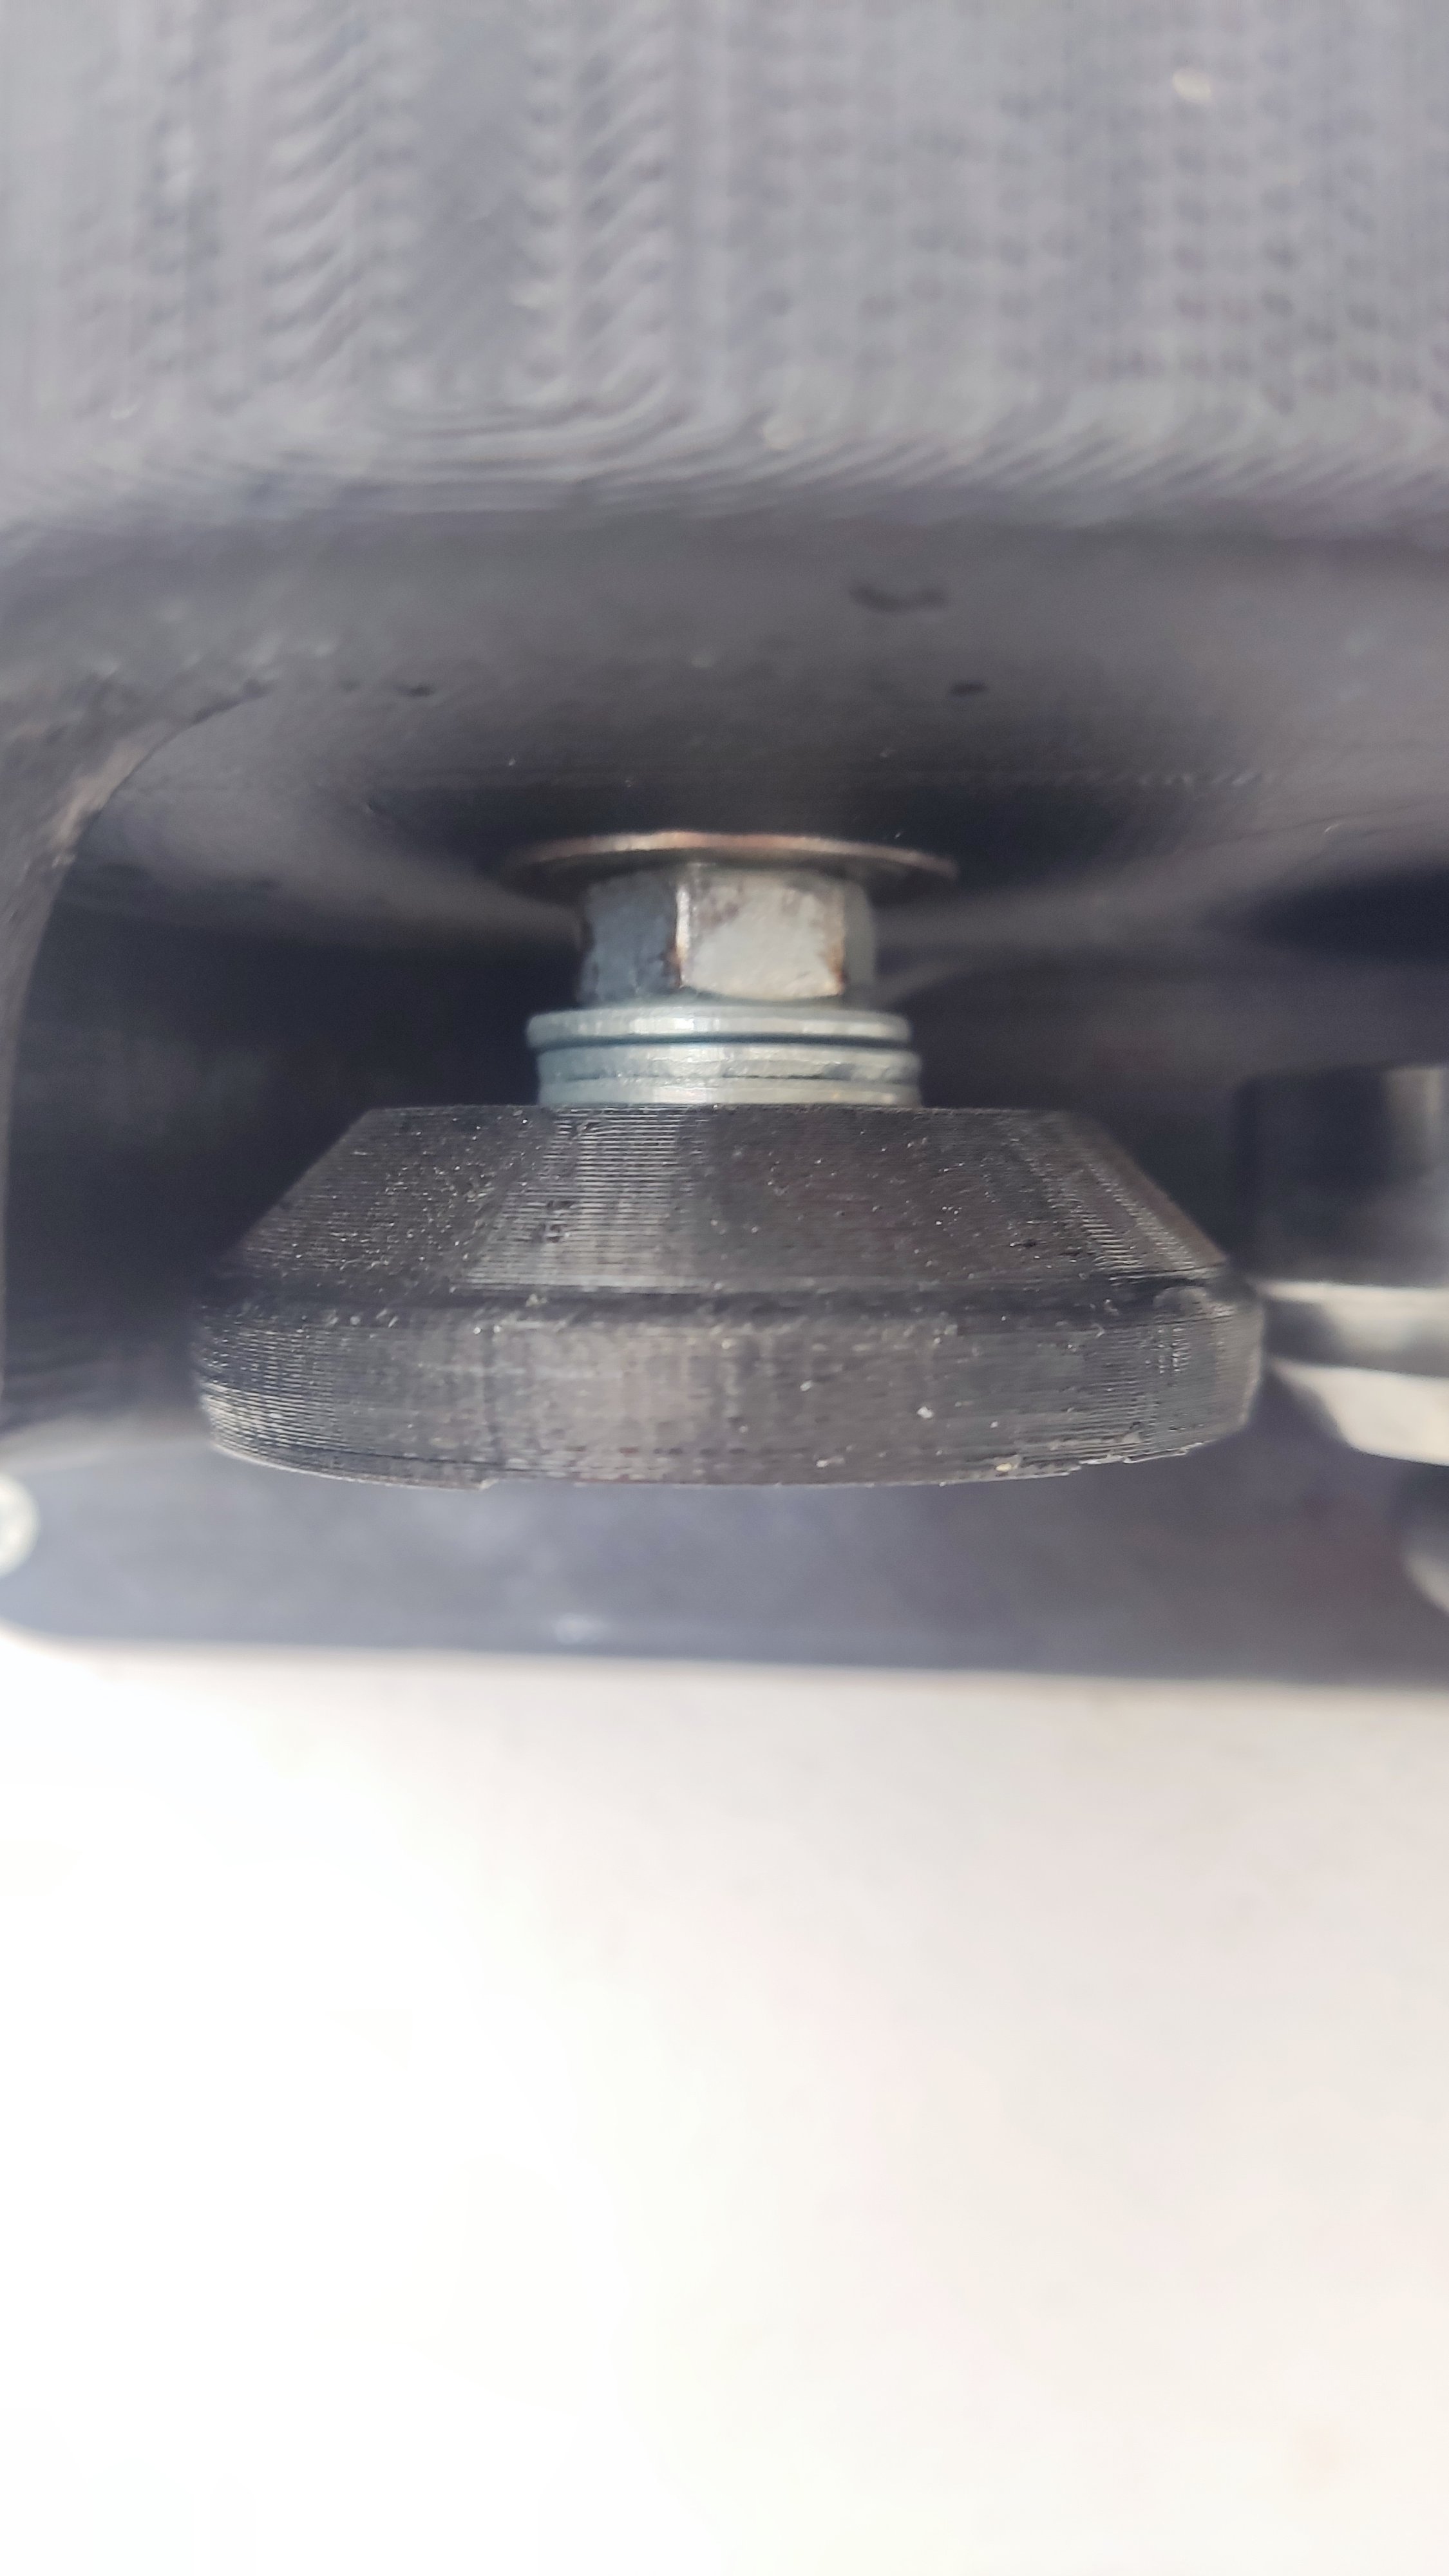
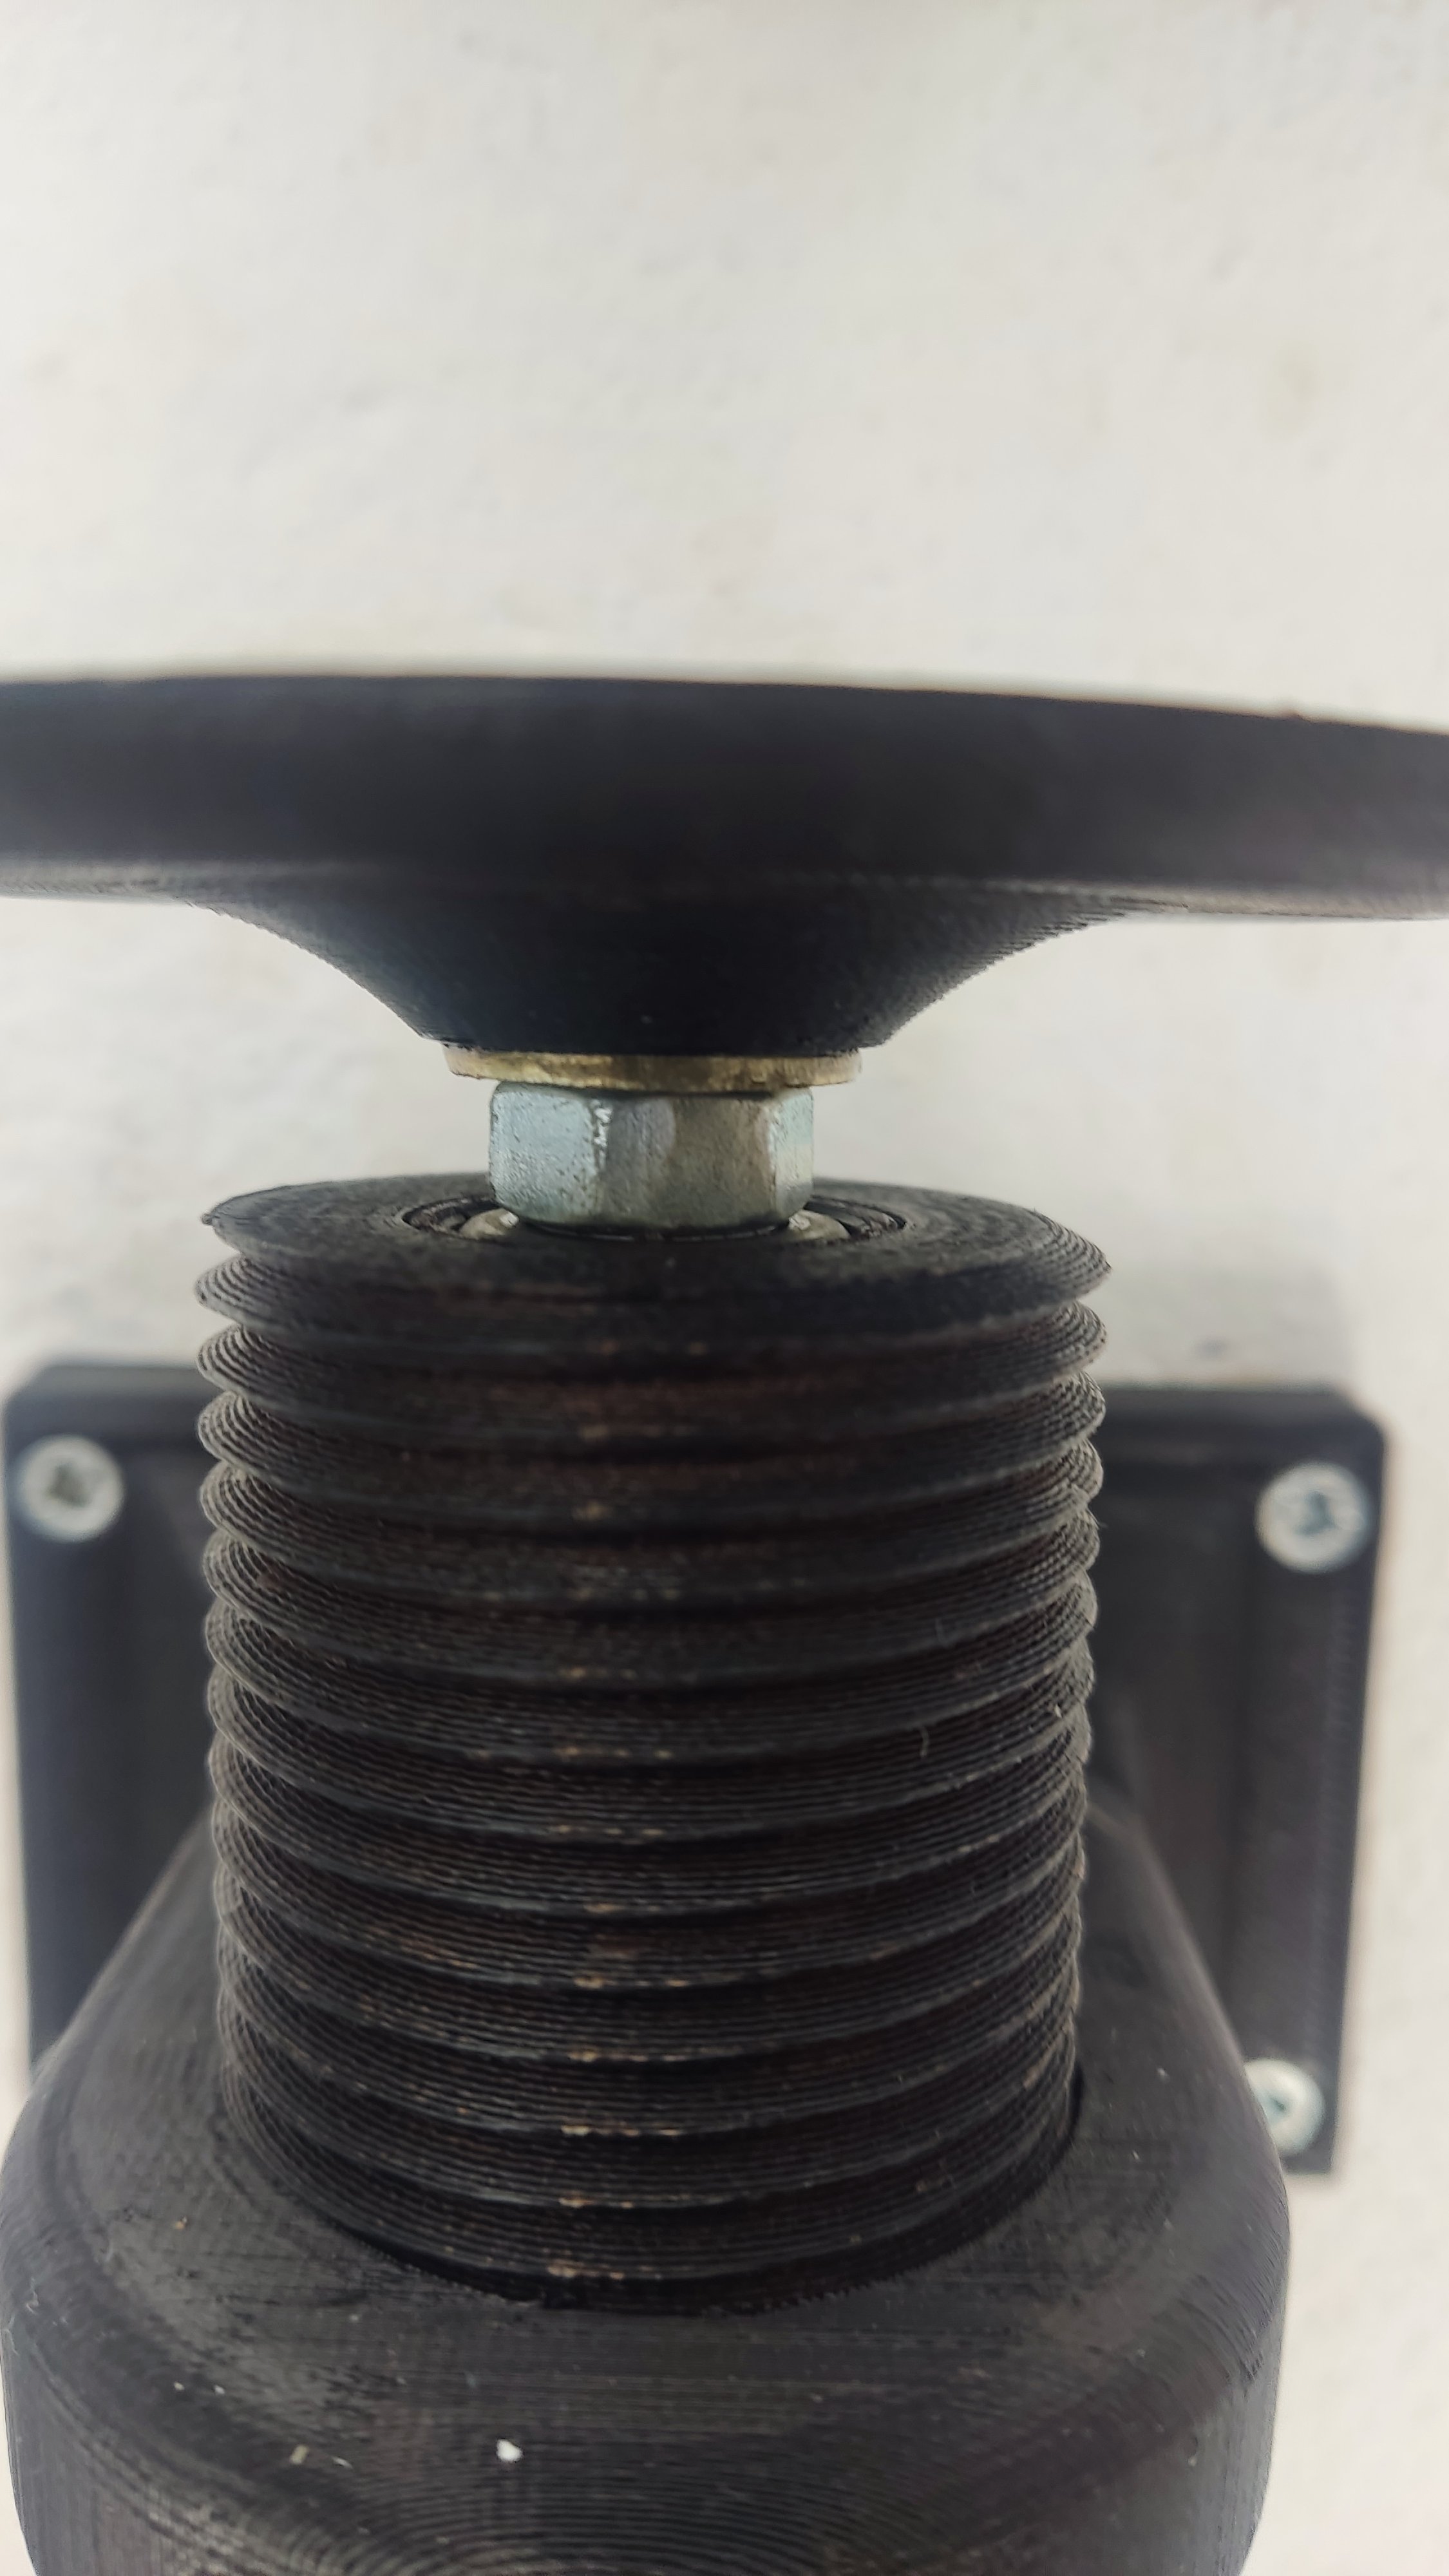
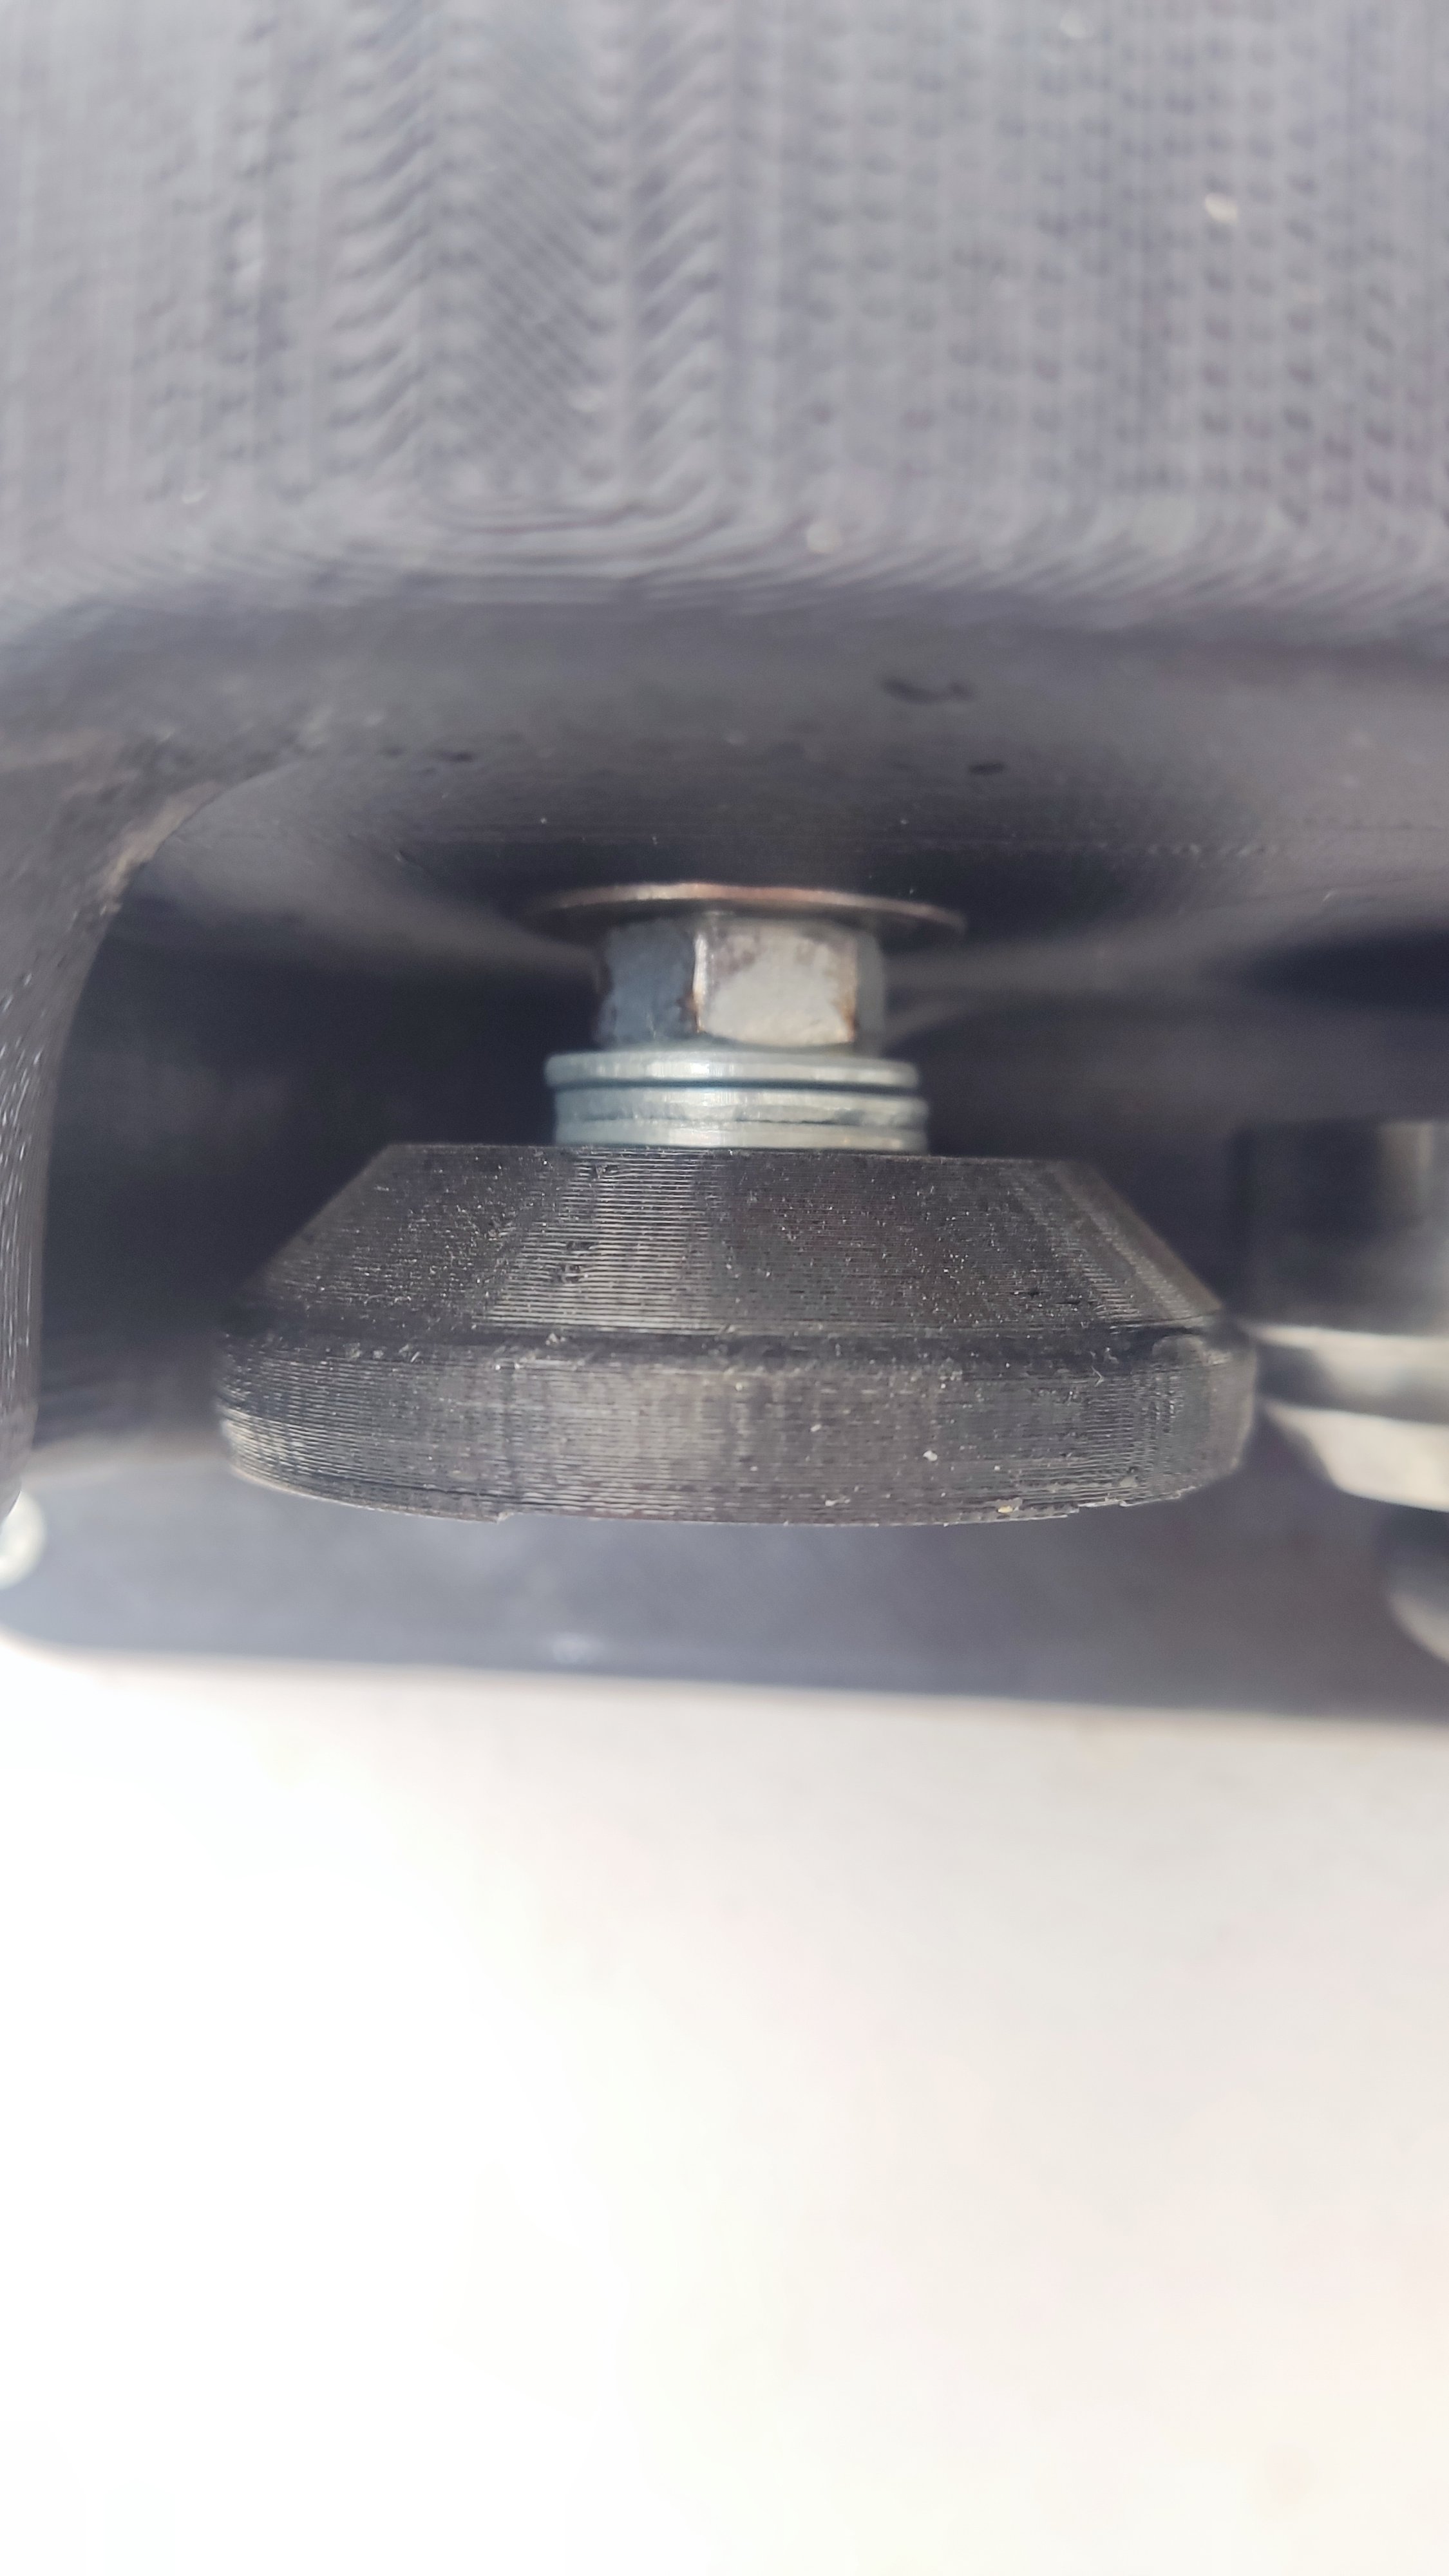
The mount is very simple, just keep in mind to introduce every bearing in its hole and calibrate the height of the wheels and the top plastic piece with some rings, like the following:
IMG_20230116_124547.jpg
IMG_20230116_124540.jpg
IMG_20230116_124521.jpg
IMG_20230116_124531.jpg
IMG_20230116_124601.jpg
IMG_20230116_124527.jpg
IMG_20230116_124523.jpg


Some tips:
- I recommend to use a screwdriver instead of a drill, to control speed which must be slow or medium to control de seam process
- First seam must be done from soft to hard slowly, but finishing hard enough to be sure is perfectly seamed. Patience, you will waste a lot of beer while you get the perfect can XD.
-Second seam must be done soft, it's very common to broke the can in this process, so be careful. It's just an aesthetic seam.
-Take your time. This is not an Oktober Design machine

I have a lot of movement and vibration on the spin, but I'm trying to fix it for future versions. If you control the speed of the screwdriver and control the strength, it works fine. I'll try to update the design for v2.0

I hope you can enjoy it soon and share your own. I expect to upload a video soon, but in the meanwhile you can see some of them in my Instagram profile.

See you soon ( hope less than a year)

Inst: https://www.instagram.com/s/aGlnaGx...59546555346028_4818335541&igshid=YmMyMTA2M2Y=
 
Last edited:
Thank you for sharing! I got a set of seamer wheels from morebeer and would like to try this. I have a project on the 3d printer now but will get one of these going when that is done. I just need to get some cans now!
 
Hi everyone, I also took a stab at this project based on the ideas in this thread. I didn't want to post anything until I had confirmed that it can reliably seal cans. I have everything mounted to 4080 extrusion, and the platform mechanism is taken from Liero's project. I made some significant changes to the parts originally provided by EspetoHomebrewing. The rollers are individually adjustable on the lever now so that you can fine tune the height. The platform bearing uses the original cannular platform 2-piece bearing since it's only about $5. I did end up buying a B64 cannular chuck also, since it made the sealing action a lot more repeatable. All told, this project cost me a spool of filament, $100 for the rollers + bearing + B64 chuck, and another $75 for the aluminum extrusion. I also designed a mount for my nukatap counterpressure filler so that I could use the back of the aluminum extrusion as a can/counterpressure bottle filler. That way, you are able to fill and seal all on the same tower. I have some more tweaks to the files that I need to do in order to prevent some slight wooling on the can, but everything works quite well and the seals hold carbonation. I will make a full write up and post all the files when it is done.

Here is a picture of a sealed can on the system, just as a teaser :) Thanks everyone for the inspiration and prior work on this project.
 

Attachments

  • PXL_20230531_050247040 - Copy.jpg
    PXL_20230531_050247040 - Copy.jpg
    2.4 MB · Views: 0
Hi everyone, I also took a stab at this project based on the ideas in this thread. I didn't want to post anything until I had confirmed that it can reliably seal cans. I have everything mounted to 4080 extrusion, and the platform mechanism is taken from Liero's project. I made some significant changes to the parts originally provided by EspetoHomebrewing. The rollers are individually adjustable on the lever now so that you can fine tune the height. The platform bearing uses the original cannular platform 2-piece bearing since it's only about $5. I did end up buying a B64 cannular chuck also, since it made the sealing action a lot more repeatable. All told, this project cost me a spool of filament, $100 for the rollers + bearing + B64 chuck, and another $75 for the aluminum extrusion. I also designed a mount for my nukatap counterpressure filler so that I could use the back of the aluminum extrusion as a can/counterpressure bottle filler. That way, you are able to fill and seal all on the same tower. I have some more tweaks to the files that I need to do in order to prevent some slight wooling on the can, but everything works quite well and the seals hold carbonation. I will make a full write up and post all the files when it is done.

Here is a picture of a sealed can on the system, just as a teaser :) Thanks everyone for the inspiration and prior work on this project.
Hi, is it possible to upload everything needed to do it your way. Blueprints, purchased items, generally the overall build.
 
Back
Top