OP
OP
Comparable boils, which are "very gently rolling".

") ).
). OK, I've put it through its paces, at least a bit. Here's a short video showing how it works. Amazingly enough, it pulls a slight vacuum and no steam escapes the kettle around the lid. The equipment is first-rate and easy to set up.
However.....as you watch the video, note the steam that escapes the bucket. I'm sure it's less than if I just left the kettle uncovered, but there still was a fair amount of steam. I think it may work best in a bucket on which there's a lid and a hole for the silicone hose. If not, all we're doing is changing the location where the steam originates.
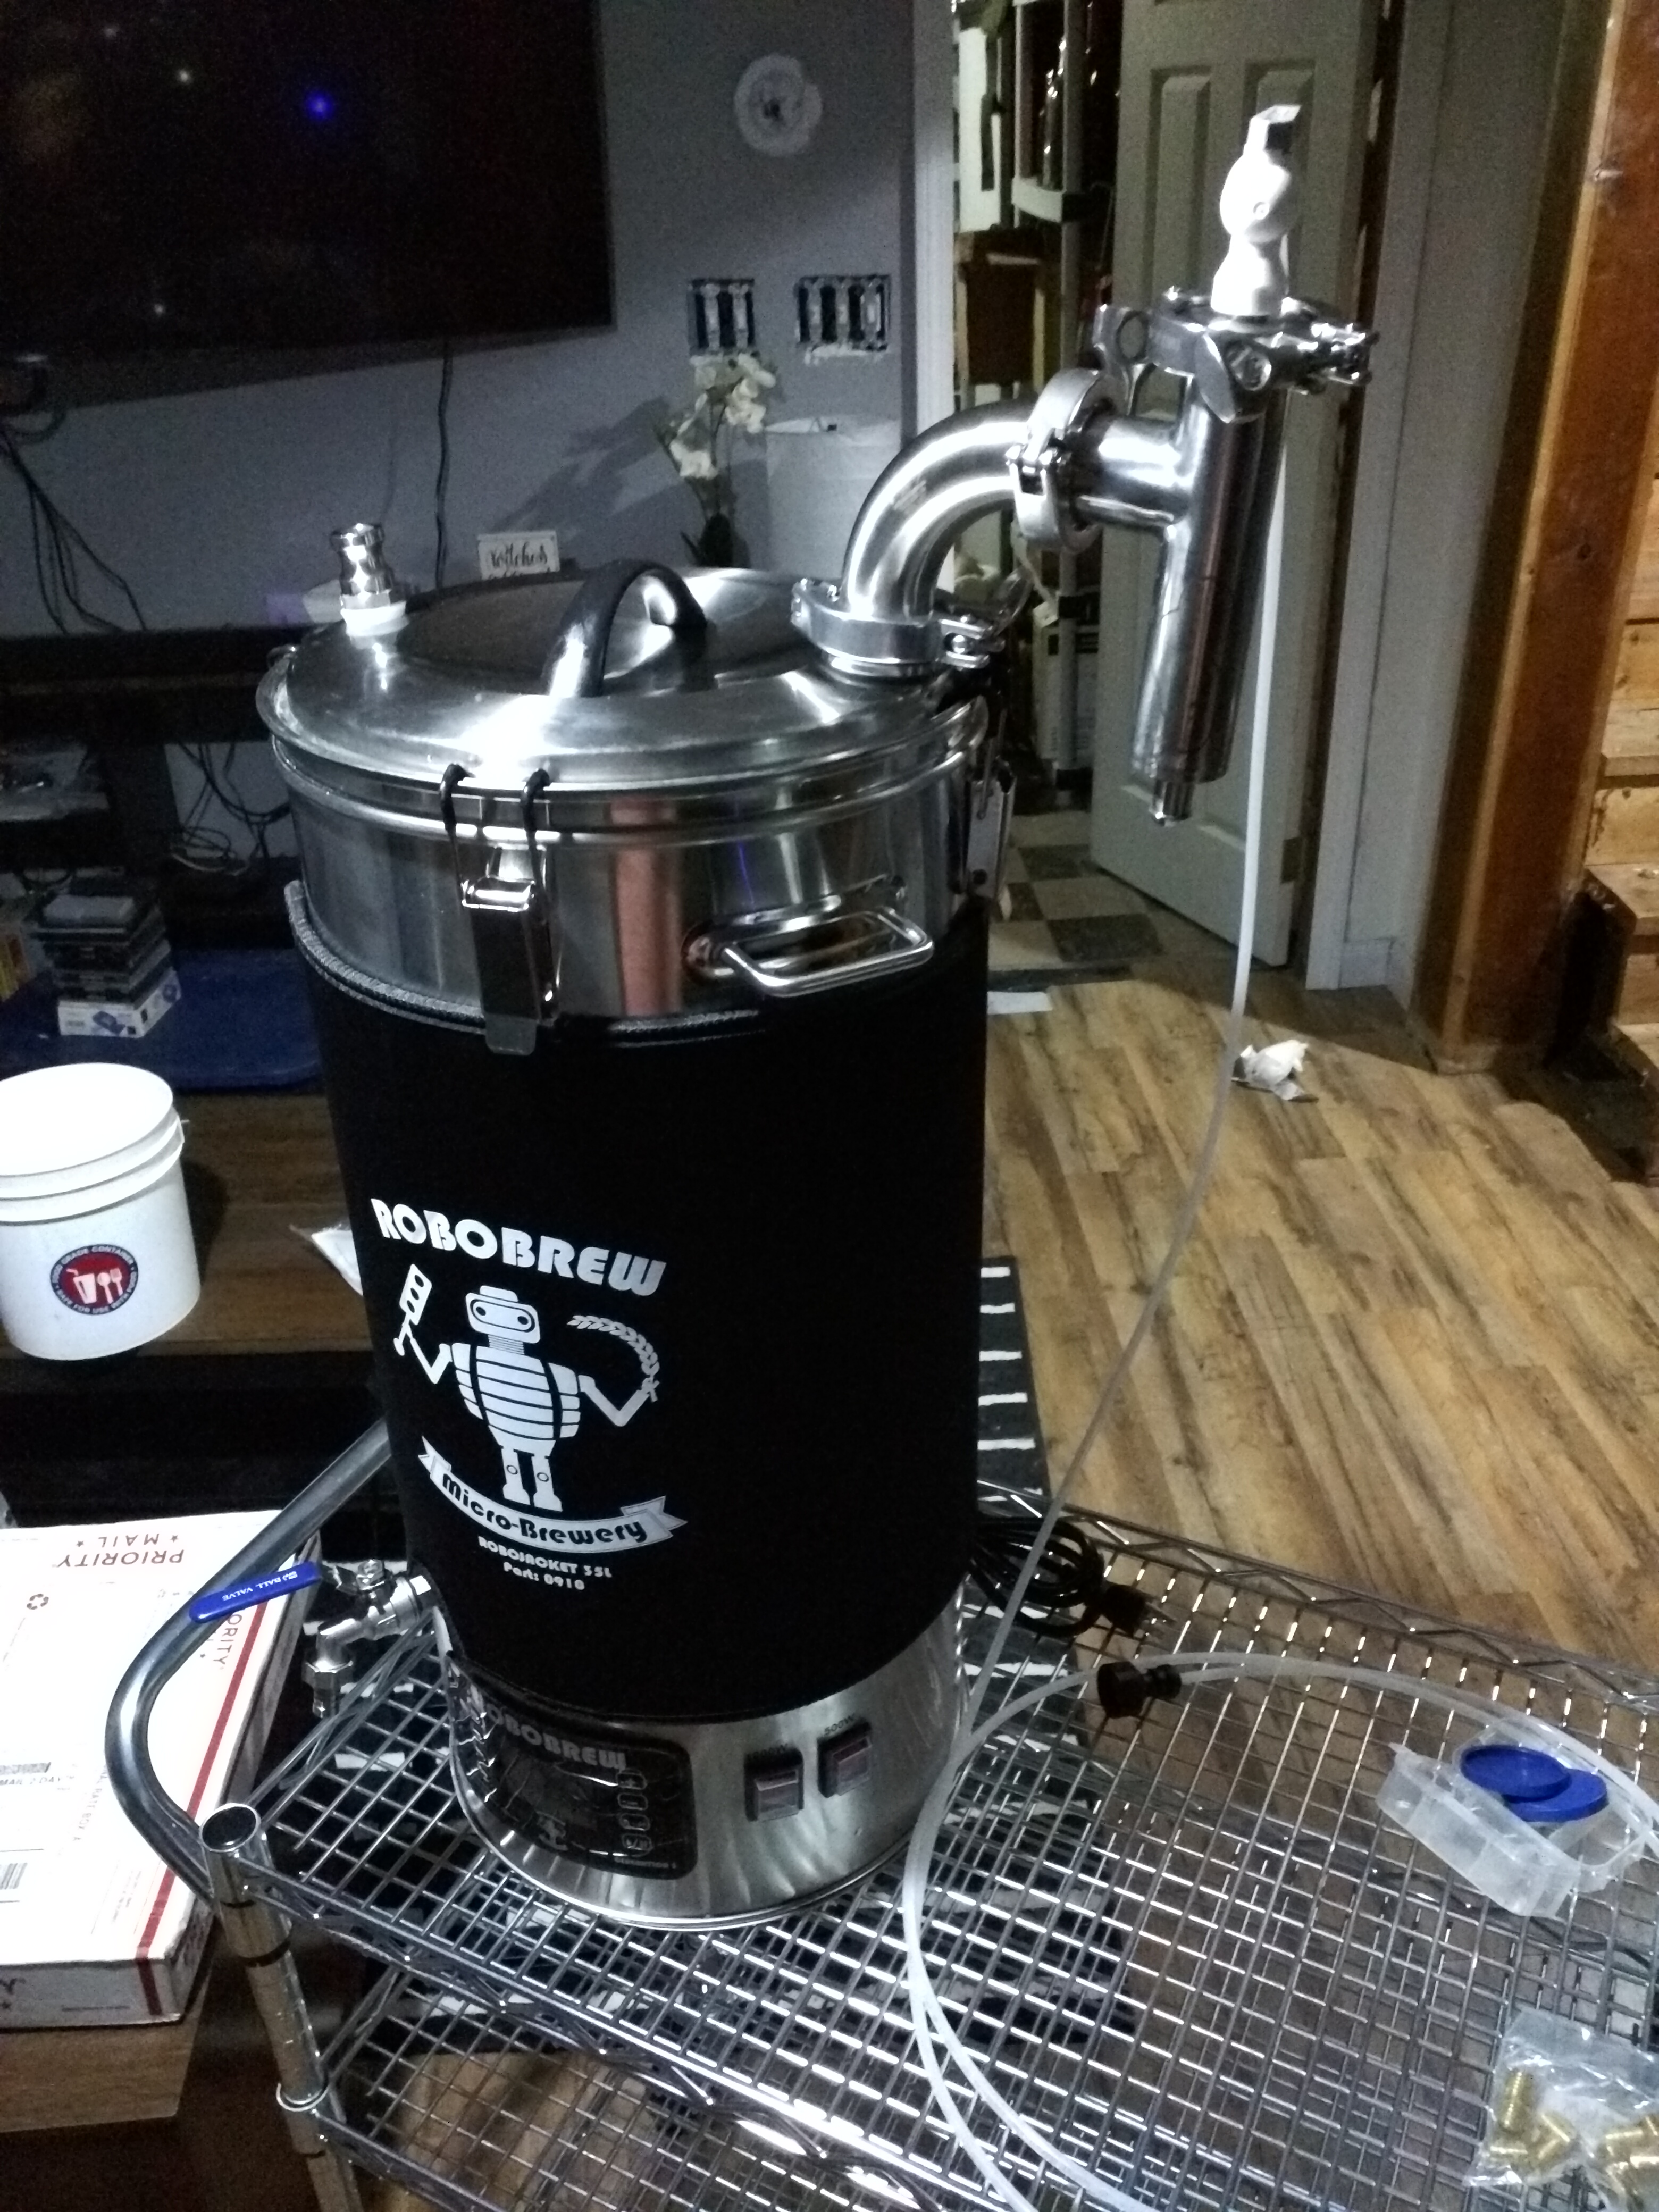
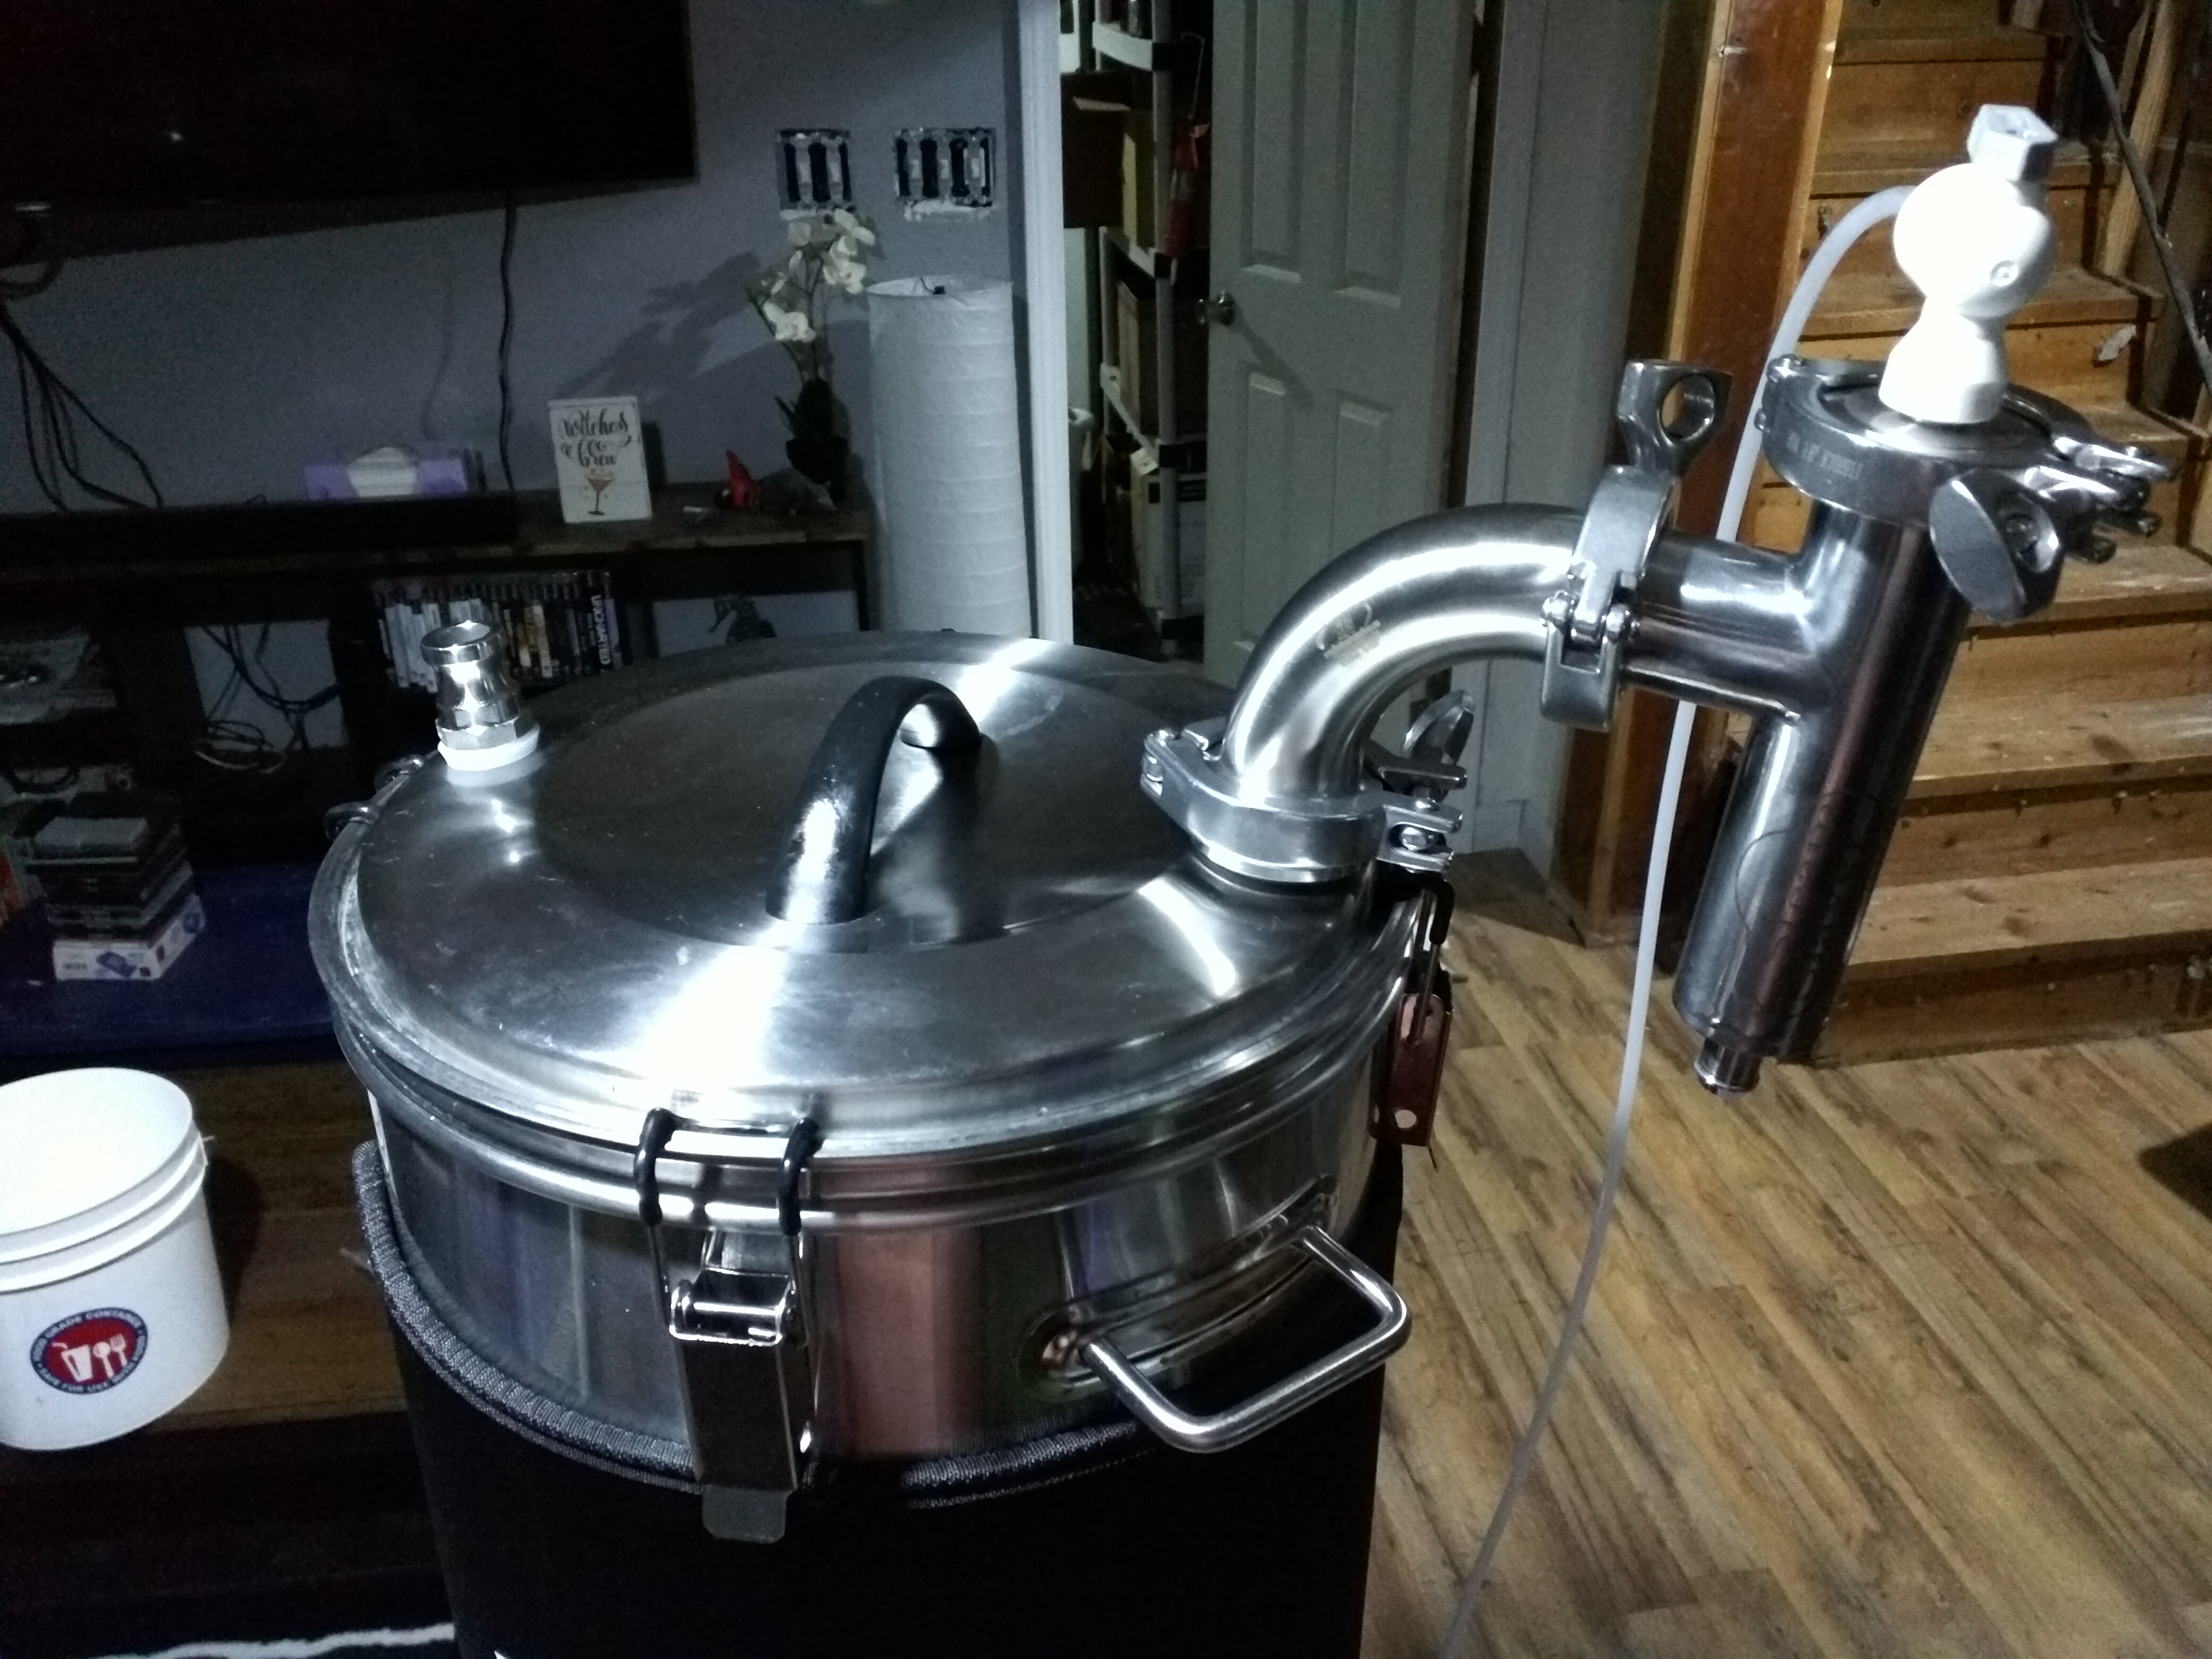
Here is a pic showing the use of two 90-degree elbows to either raise the unit or change the location relative to the kettle.
View attachment 589120
I have the 9gph nozzle on mine. I collected the waste water for 5 minutes by timer and measured the output: 1 gallon and 3/4 cup of water. Multiplied by 12 for an hour, and it's about 13 gallons. I may be able to dial that back a bit with the main valve; the small on on top of the unit is not able to adjust finely enough to do that. The water collected in the bucket was about 154 degrees.
I don't know if the 6gph nozzle will also work and of course reduce water usage. I'll have to see if I can get one, or if Bobby will offer them as a separate part.
So--it works, though some work needs to be done with the steam coming out of the bucket. I was hoping to virtually eliminate steam, and that's not happening at this point. More experimenting will be done. I might use a longer silicone hose and extend it to the P-trap under my sink, though that would just change the location of the steam coming from the unit.
What you need is a pressure vessel of some sort... like a RO system pressure bladder so that the pump cycles get absorbed/buffered. A long length of flexible type tube might work... but the tube would have to provide the compliance since water is non-compressible.
Maybe something like this could work, but would probably need larger: http://a.co/d/gi6HWbi. Something like this definitely would: http://a.co/d/aSlDez4
Or, if I am you... I would crank the pressure switch up to the pump's limit. The pump will have a harder time providing high volume at pressure and might run continuously. It will also atomize better and add more water to condense better. Give that a try first - worse comes to it you burn out the pump a bit prematurely... but for $20 it wont crush the wallet.
Sorry but I couldn't see any steam coming from the bucket. Are you able to use a long enough hose to run the water outside? The water cooling via a longer run might eliminate the steam all together.
Dude I feel for you. My wife just came down with that a few weeks ago and we are in the testing mode now. That **** really hurts, my wife is tough and it has debilitated her so much. I hope you find relief.I have 4 CFCs, copper chillzilla, stainless version, stainless shell and tube and just got the stout one. The shell and tube was ok, not near the efficiency of the spiral cfcs. There was a difference between the copper one and stainless one, but I recriculate, so was not a big deal. I recall it was just a few more minutes. Have not tested the stout.
I have idiopathic neuropathy in a toes and feet, been through every test know to man. No idea, so I started to eliminate things in life, so I cut all copper out of my Brewery, has it helped, unsure I changed so many things in my diet, but why risk it.
I plan to install mine on the lid. I will also include an access port that can be flipped open to add hops. If the lid is clamped tight and the port is designed right it shouldn't affect performance. IMO;-)I originally planned on a lid port but drew the same conclusion you did, i.e., it'd be harder to maneuver.
After examining my kit from Bobby M, I've decided to go with the lid mounting option, for two considerations. 1. Wherever I put it on the kettle, I'll probably wish it was somewhere else. 2. I can clamp the lid on my drill press table.I plan to install mine on the lid. I will also include an access port that can be flipped open to add hops. If the lid is clamped tight and the port is designed right it shouldn't affect performance. IMO;-)
I spray right into a pot, no escaping steam:OK, I've put it through its paces, at least a bit. Here's a short video showing how it works. Amazingly enough, it pulls a slight vacuum and no steam escapes the kettle around the lid. The equipment is first-rate and easy to set up.
However.....as you watch the video, note the steam that escapes the bucket. I'm sure it's less than if I just left the kettle uncovered, but there still was a fair amount of steam. I think it may work best in a bucket on which there's a lid and a hole for the silicone hose. If not, all we're doing is changing the location where the steam originates.


For the record, no need to clamp the lid on with a lid mounted system if it's mounted inward enough. I have mine just set on and there's no risk of tipping or falling off. I'll probably add a second 1.5" TC to the lid for adding additions, but for now it's easy enough to just lift the lid and dump in quickly.
Ignore the messiness. I hadn't trimmed the zip tie markers on the sight tube yet, and the water source line placement was just for testing.
View attachment 589290
Hi @mongoose33Sent my kettle into Spike last friday to have them add a couple TC ports to my kettle. I was just stunned at the quality of the work--unbelievably good. I don't know how they get it to look like this, but I'm not complaining.
That port is for Bobby's steamcatcher. Hope it's close to being here, I have other things I need to order from him and I'd like to get it all on one shipment.
View attachment 583630
I like orings for my sight glass markers, little cleaner.For the record, no need to clamp the lid on with a lid mounted system if it's mounted inward enough. I have mine just set on and there's no risk of tipping or falling off. I'll probably add a second 1.5" TC to the lid for adding additions, but for now it's easy enough to just lift the lid and dump in quickly.
Ignore the messiness. I hadn't trimmed the zip tie markers on the sight tube yet, and the water source line placement was just for testing.
View attachment 589290
Hi @mongoose33
Would you mind sharing info about how much Spike charged and what the turn around was? Did they send a return slip or did you have to figure shipping on your own? So glad I still have the box.
Thanks for any info.
The steam condenser route is probably the more logical and cost effective way to go after pricing out a condensate hood.

This is terrific information. Thank you very much! Figures that you live very close since it was hardly a weekend after you got your kettle back.It cost me $50 per TC port welded into the kettle. As it turned out, I had two ports welded in, plus bought an extra lid. Total $140. Because the amount was above $100, shipping was free.
Now, I live about 2 1/2 hours from Spike, so I don't know what they would do in your case (Seattle). Clearly you'd have to have more than $100 of work, and I'm guessing you'd have free shipping, but that's only a guess.
Turnaround is that they only do custom work on Fridays, so if your kettle shows up on Monday, it's not getting done until Friday. Also, you need to fill out a spec sheet that shows exactly what you want and where on the kettle you want it positioned. Then they'd have to slot you in. Again, contact them at their email address.
Here's the one I sent them. There was a limit to how close to the kettle rim I could go, and how close to the handle, you may have to talk to them and figure that out.
View attachment 589653
This is terrific information. Thank you very much! Figures that you live very close since it was hardly a weekend after you got your kettle back.
Just waiting to hear back from them.
Still, pretty awesome.Actually, I didn't ship; that's just what it would have cost. I had a friend go into Milwaukee on Thursday night; he dropped it off Friday am, picked it up late Friday pm, and I had it back Sunday night.
Are there people using a CFC as a steam condenser?I have skimmed through this thread, so my apologies if this has been answered. What are the advantages of this system over a CFC or condenser like a still uses?
What are the advantages of this system over a CFC or condenser like a still uses?
WTF is a CFC in this respect?Are there people using a CFC as a steam condenser?
This system is intended to 'collect' steam, for the purpose of brewing indoors (electric only) without having to install an expensive ventilation system. It does not duplicate a distillation condenser, and is not in any way related to a Counter Flow Chiller (CFC). Hope this clears up any confusion.I have skimmed through this thread, so my apologies if this has been answered. What are the advantages of this system over a CFC or condenser like a still uses?
...but that's just lagniap, as they say in New Orleans. Something extra, for free.
Spike just contacted me about adding the port. $60 for shipping both ways and $50 for the addition. Much more reasonable than purchasing and installing a condensate hood. Estimated turn around will be 1.5-2 weeks. Good thing I still have the box.
Luckily I didn’t sell me ebiab set up yet which will be my substitute kettle until I get it back.
That’s what I was looking to do until I saw what Spike did for @mongoose33 and I really dig at how clean and flawless the weld was in the photo.you can use brewhardware's weldless, he even sells the drill bit, around $30 for both

The Brew-Boss unit comes like this and apparently it works for them. I bought one a while back, but I just removed it and went with a trip clamp, but I think there's Hope for it.View attachment 590013
I put mine in a 13/16” hole I already had. Not expecting it to work but cool if it does and a plan b if it doesn’t.
Are you saying that the small amount of steam that's generated sitting at near boiling temps is filling the bucket overnight? If so, no need for a valve. Just submerge the end of the steam slayer hose into a few inches of water. It'll create enough back pressure that it keeps anything from escaping.Plan A is dead before i even started. Since I pre-heat my water the night before to near boiling it's already filling the bucket. Gonna have to put a valve on i guess.
Are you saying that the small amount of steam that's generated sitting at near boiling temps is filling the bucket overnight? If so, no need for a valve. Just submerge the end of the steam slayer hose into a few inches of water. It'll create enough back pressure that it keeps anything from escaping.
Yah that's what was happening. The steam is escaping and condensing in the slayer, then dripping down. I'm not sure submerging would help a lot but i suppose i can try something like that next time. For now i just took the slayer off and capped it. I'll put it back on before i transfer to the BK.
I guess its a good sign though that steam was making its way in through that small hole.
Seems to me that if you just terminated the hose in a bucket of water the steam would escape around the rim, defeating the purpose.
Is there any way you can put a timer on it?
One reason--there are several--I switched to electric brewing was so I didn't have to babysit the propane burner. Now, when I get up, before I make coffee, I flip on the burner in the already-filled kettle. Then while I'm doing other things, that water is heating up.
Don't know the details of your system--looks like a 20-gallon kettle above, mine's a 10--but I'm hitting boiling in about a half hour. Double that for a double batch....maybe the answer is just flipping it on early.
Another idea--I've done this--is pre-boil or pre-heat the night before and cover it and/or just let it sit. It'll retain a lot of heat that way so you don't start from zero.
Some thoughts on things you might try, might work or not for you, or might stimulate some other idea that's better.
Also, sounds like you need some legit automation!
Enter your email address to join: