Am I right?

Homebrew Talk - Beer, Wine, Mead, & Cider Brewing Discussion Forum

Help Support Homebrew Talk - Beer, Wine, Mead, & Cider Brewing Discussion Forum:

This site may earn a commission from merchant affiliate links, including eBay, Amazon, and others.

OG-wan Kenobi

Arcane Artisanal Ales
Joined
Oct 11, 2018
Messages
1,175
Reaction score
2,317
Location
Long Island
Am I right in thinking this Kegerator only uses 70 grams of R134a? I would have thought 10 X that


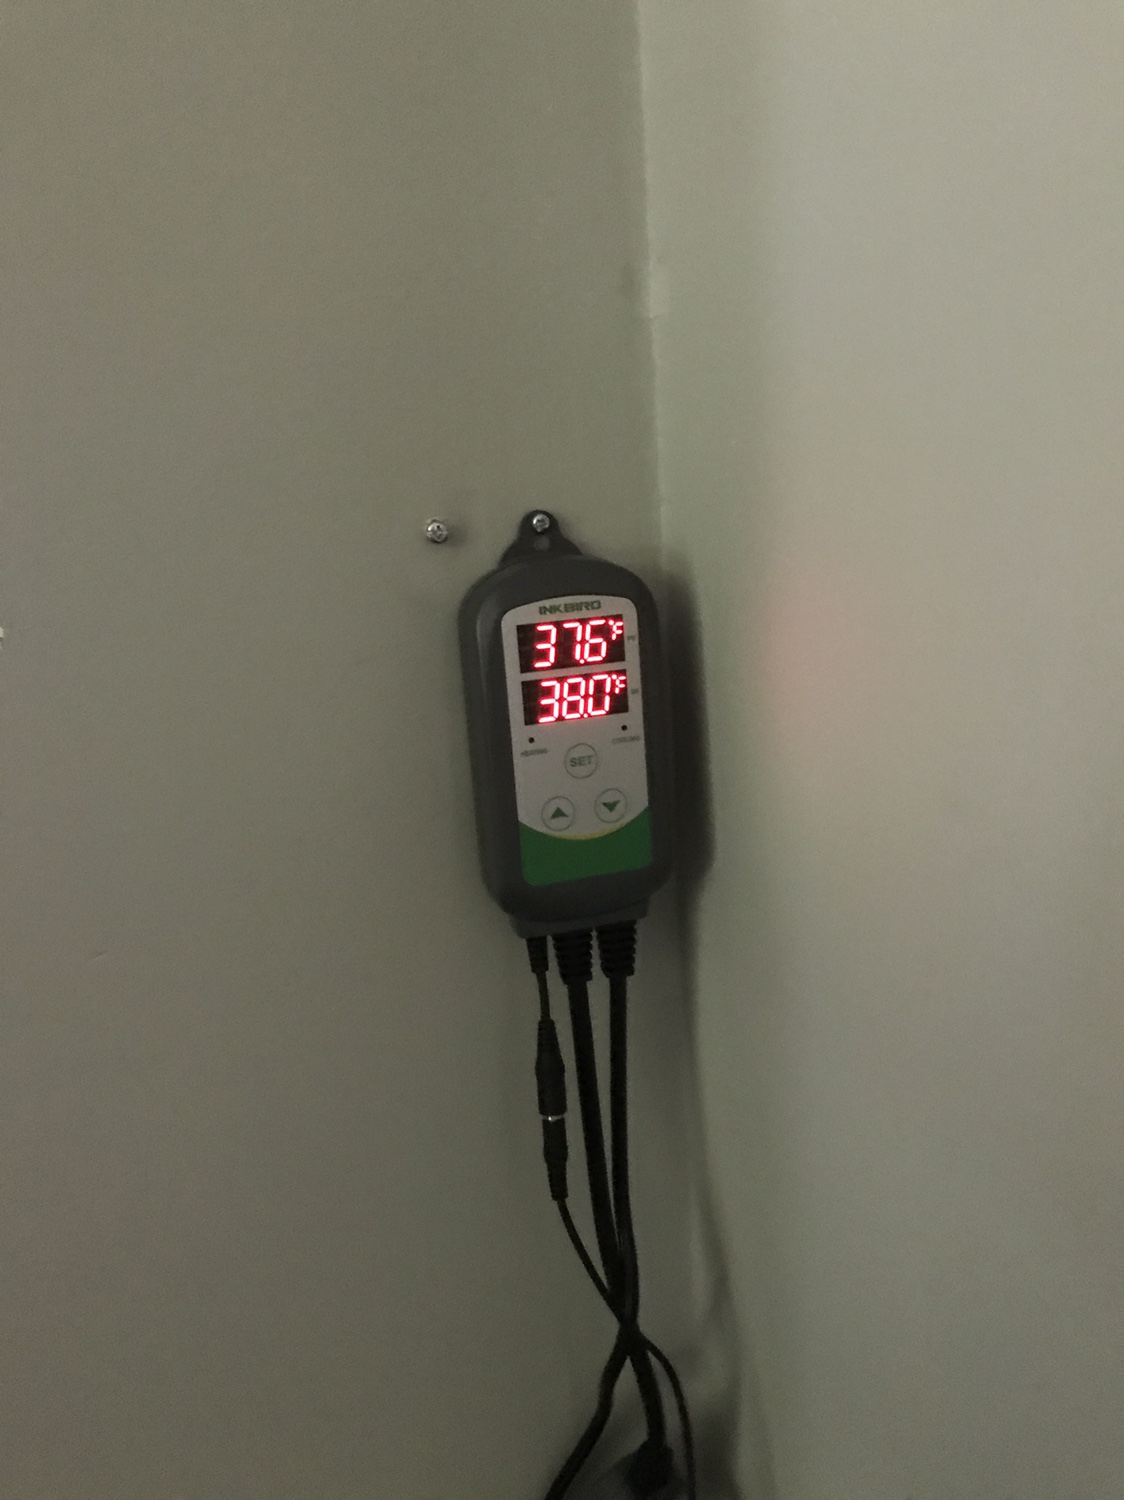
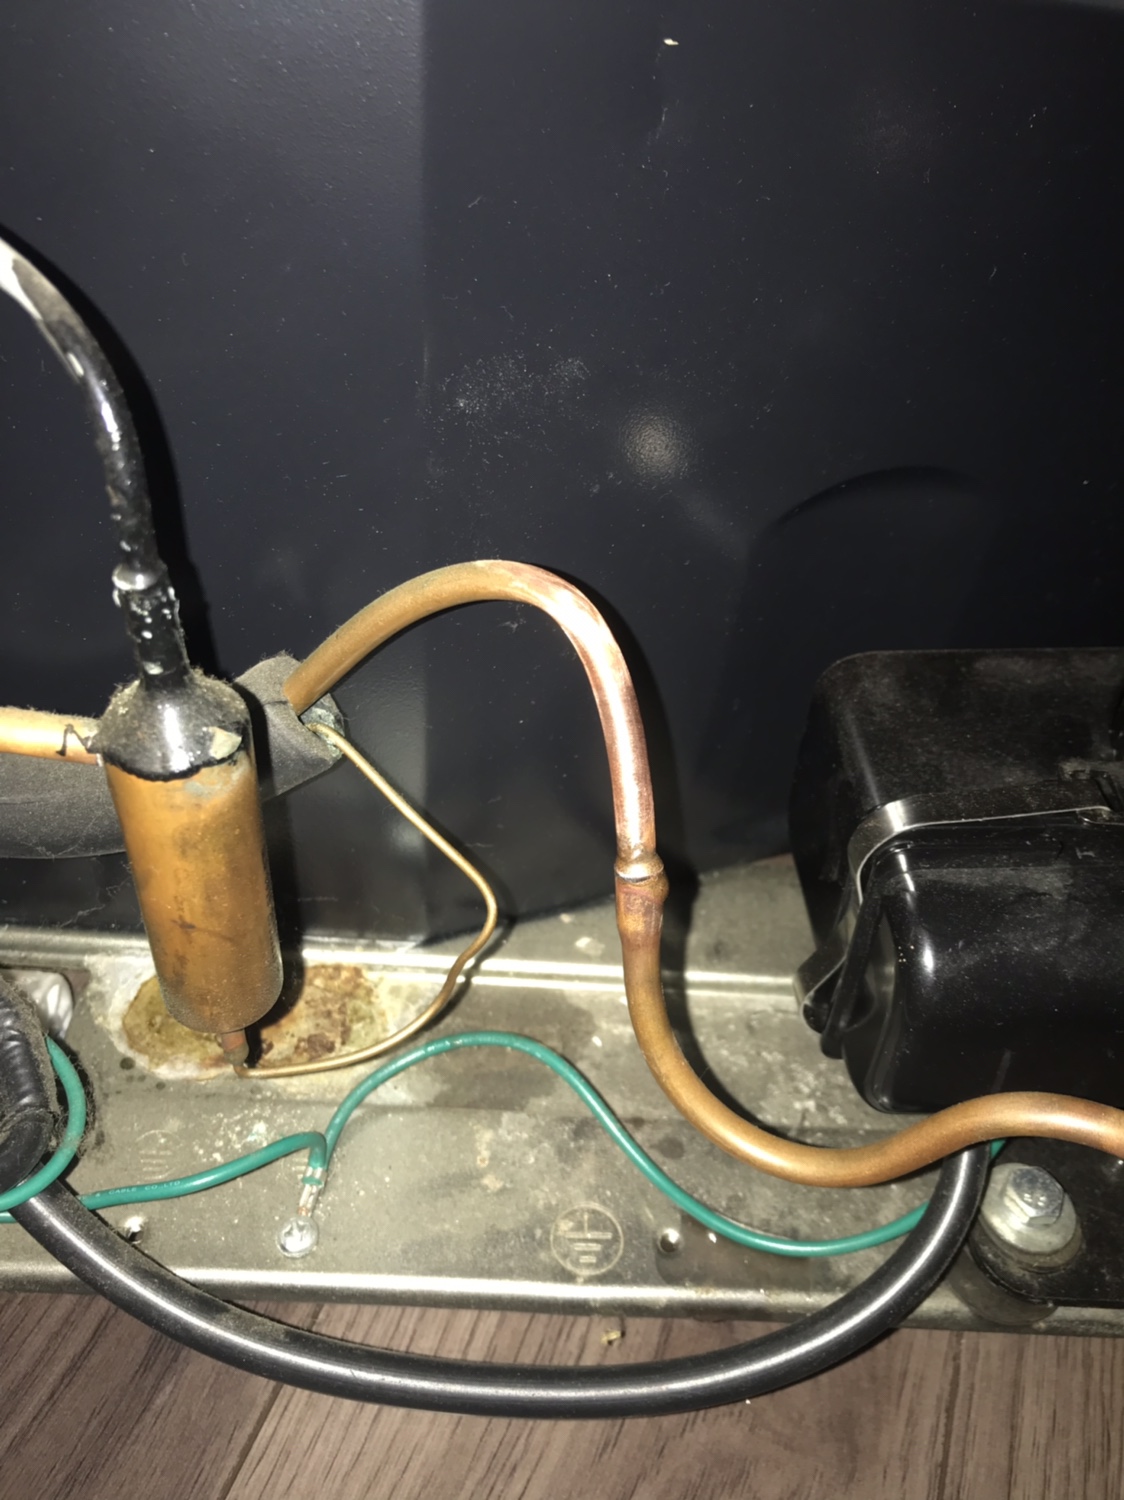
It's 6-7 years old I just fixed it from being stone dead and stripped and of course a few weeks later its only cooling to 41-43 degrees when set at 38 and I am thinking she may need a recharge because it was getting down to 6 and I had to throw an ink bird on it to correct that. I see no coils to clean the liquid line goes right up into the back of the unit, the plate in the back of the fridge that chills it is usually covered in ice and it only had a small patch on it and it's making a gurgling noise. Only using 70 grams and the R134a also lubing the compressor I am pretty sure it's low. If indeed it's 70 grams


thumbn55555ail.jpg
 
Yea I am going to fill it but 70 grams is nothing it just seems so low to me.

I can fix the leak easy I got R134a with dye so if it’s an repeat issue it’s an easy fix.
 
Yea I am going to fill it but 70 grams is nothing it just seems so low to me.

I can fix the leak easy I got R134a with dye so if it’s an repeat issue it’s an easy fix.
Overcharging the system won't make it work better, that's why it's important to get the correct amount in there. If you have one of those testing manifolds, you can read the pressures on both the low and high side which should tell you if it needs more refrigerant.

I hope you find the leak. Or the problem could lie in the compressor.


Yea I’m going to measure the draw on the suction line if I am negative pressure I know I need to add some R134a. I am just thrown off by how little it says it uses. If the pressure on the line is not negative it may be the compressor but I happen to have one if that’s the case but I doubt it. If the unit only uses 70 grams of R134a it won’t have to lose much to function the way it is now. I had to order a valve to add onto the unit as it does not have a valve to service the system so it looks like I have to wait until next weekend to fix it/properly diagnose.
 
Keep in mind that once you attach a manifold and hose, you will have bled off a large portion of the charge, assuming it was fully charged to begin with. A “standard” 60” hose can hold well over an once of refrigerant, and your system is only charged with 2.5oz.....
What type of service valve are you going with?
 
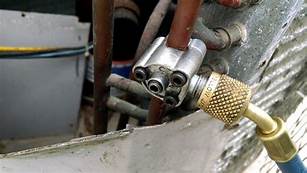
I am going to install a bullet piercing valve so the system should remain closed until I open it.
thA8WQF222DJZ.jpg


The manifold is only 20" and with the BPV I can run the compressor and with it on the suction line it should pull the line clear making waste minimal. It will be tricky getting the charge correct I am basically going to try to get the negative pressure to zero out and just hit it with a quick burst after that and let it run to see if it gets to temp and if the gurgling noise goes away, if not I will have an easy access service valve and it will take maybe a minute to hit it again if I even need to, it will be easier to add more than to take it out.


Keep in mind that once you attach a manifold and hose, you will have bled off a large portion of the charge, assuming it was fully charged to begin with. A “standard” 60” hose can hold well over an once of refrigerant, and your system is only charged with 2.5oz.....
What type of service valve are you going with?
 
The style of piercing valve you pictured is ideal (as far as piercing valves go) because you are able to close the valve off manually, and not relying on a schrader valve to seal it when the hose is removed.. With the tools it sounds like you have on hand, the steps I’d suggest after installing the valve on the suction line are:

Verify the compressor and suction pressure- (rough check)
1. Hook up a bottle of 134 to the accessory port of your manafold and loosely attach low side hose to the valve.
2. Purge the hose with vapor (bottle upright) for several seconds then tighten hose connection to your new service valve. Now come the accessory valve and low side valve
3 now go ahead and screw in center Allen head to make the pierce and take note of your standing pressure.
4 turn unit on see if pressure pulls down, verifying compressor is pumping
5 let it run for a while to let things settle. Your suction pressure should range anywhere from about 25 to 30 psi if the box is at room temp, down to 5 to 10 psi when box is chilled.

If you deem a charge is needed.
1. Blow (of course I meant reclaim) what little charge there may be, very carefully using the shutoff feature of the piercing valve with no hose attached.. You want to start “fresh” but unless you have a vacuum pump, you’ll need to make sure to maintain a slight positive pressure to keep moisture out of the system. Close valve. (If you happen to have access to a vacuum pump, simply pull system into a vavuum for this step.)
2. Hook your hose back up and purge again, this time with liquid (invert drum).
3. Set your refrigerant on a scale (hopefully you have one you trust for grain etc)
4. Use the service valve to add the 70 grams / 2.47 ounces, then close the valve. (Don’t use the manifold valves to charge)
5. Done. System is now as close as it’s getting....

Try to refrain from “checking” your pressure now if at all possible. If you need to however, I’d suggest removing the liquid from your hose re purge with vapor like the first step suggested.

Good luck!
 
I never thought about using the scale to check the weight loss in the can great idea. And yes I think I am going to "recover" the system ;) and start fresh
 
Excellent! ^

Thank you @501irishred for such detailed instructions.

That full size "hot fridge" I have probably needs this done. I still wonder why it lost cooling capacity slowly but steadily, until it had none left. That points to a possible leak, but where?
 
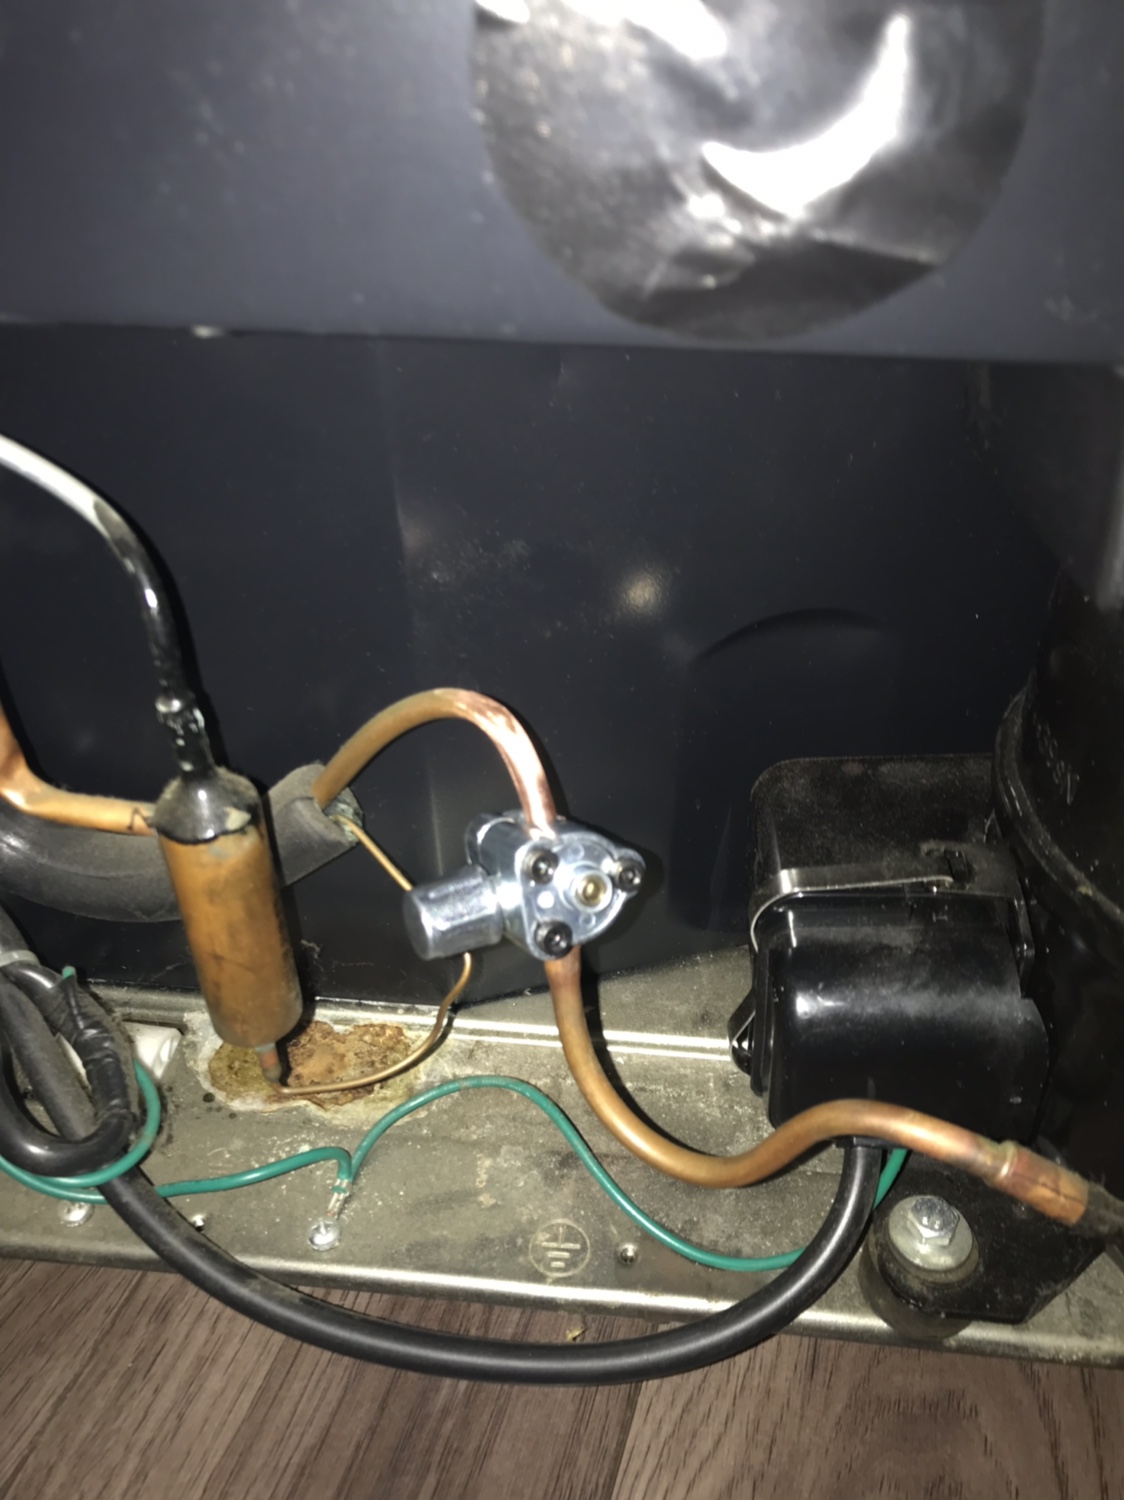
Installing this service valve was quick and easy just cleaned the pipe up nice and put it on

Back to 5 taps now :)

Glad it worked out! Were you able to identify any potential leak sites?

Excellent! ^

Thank you @501irishred for such detailed instructions.

That full size "hot fridge" I have probably needs this done. I still wonder why it lost cooling capacity slowly but steadily, until it had none left. That points to a possible leak, but where?

No worries. So many (including yourself) have provided me with guidance on a ton of topics here, I’m just glad to be able to pay forward occasionally.
As for locating a leak.....patience and an OCD like approach is sometimes needed for some “micro” leaks. This would be how I’d start, assuming no special tools other than a test manifold... After verifying the system is in fact low (I’d suggest going ahead and attempting to charge it, one, to verify operation and make sure you only have a leak to find and fix standing in the way of cold beer, and two, to make sure there’s as much standing pressure as possible). Assuming all systems are go, oil and bubbles are now your friend to find leaks! Any oily residue can be a sign of a leak, so take note of the location. As for bubbles, they make special “leak detector bubbles”, but a solution of dawn and water in equal part will usually do to trick. After unplugging from power, let it sit for 10 minutes or so to make sure the system has equalized. Begin spraying bubble solution on every connection and line that’s visible. You will be looking for ANYTHING out of the ordinary. Small repeating bubbles, a cluster of tiny bubbles, and of course large popping bubbles can all point to your problem (Keep in mind you only have a small amount of pressure on the system using this method). Don’t hesitate to use your fingers to guide soap underneath lines, fittings and joints. If no leaks are found here, it’s time to to see what makes your unit tick, and expose everything, again looking for any oil tattletales. The u bends at the ends of both coils are notorious for leaks, including the interior of the coil just past the supporting plates, so make sure to hit them well. Pause each time you spray to give a leak time to show itself. When leak searching, I always try to remember my grandpa teaching me to use a plastic worm fishing “when you think you going too slow.....slow down some more!
 
No leaks identified I used R134a with dye though so if the issue repeats I can look for the problem

@IslandLizard If your thinking about this the bullet piercing valve is a R22 fitting and the can is a R134A can connection you will need a gauge that will connect to these 2 different styles, they can be had for under $20

actually I'll just link in what I used to fix this

Valve
https://www.amazon.com/Supco-BPV31-...iercing+valve&qid=1560169966&s=gateway&sr=8-1


Manifold
https://www.amazon.com/Enviro-Safe-...r134a+can+r22&qid=1560170047&s=gateway&sr=8-4


R134A
https://www.amazon.com/Enviro-Safe-...ds=r134a+dye&qid=1560170155&s=gateway&sr=8-13
 
Back
Top